https://www.youtube.com/watch?v=DVpH36SHHDo
How To Make Textured Paint With Coffee Grounds - Easy Diy Tutorial
Hi there .
It's from our upcycle life .
Welcome to my channel .
If you like drifting Diy s and repurposing , you've come to the right place and we'd love to have you follow along .
So make sure you like , subscribe , hit the bell for notifications .
So you don't miss any great diy content today .
I have a video on how to , to make coffee grind paint and this stuff is fabulous .
The end result on a project um is just , I love the texture of it .
So make sure you stick around so you can get the recipe for it .
And I'm gonna show you what I did to a thrift vase to upcycle it with this paint .
And also if you've been back and you've looked at some of my previous videos and you see some graphics that you like .
All my youtube friends , make sure that you use the code .
Save 50 because you get 50% off all my graphics in my Etsy store .
And I'll put a link below down in the description also for you .
OK , let's get started .
I'm gonna teach you how I make my coffee grind paint .
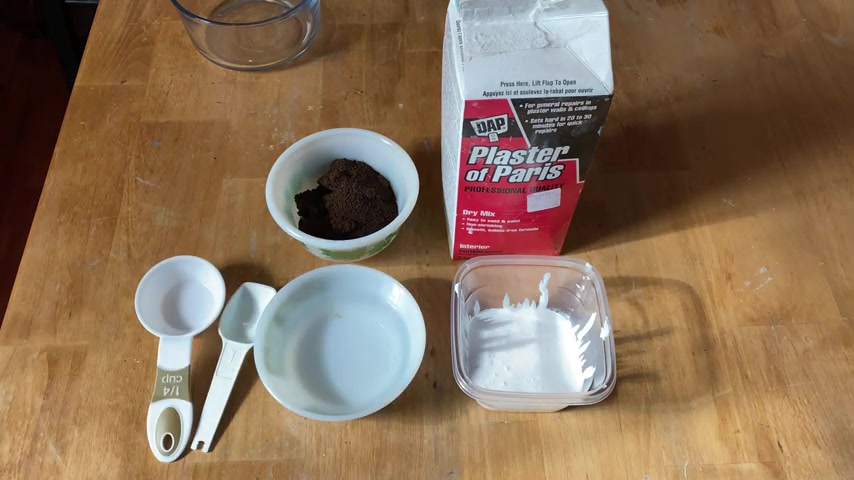
This is what you're going to need to make your coffee grind , paint , a measuring spoon and a measuring cup .
Some warm water , some paint of choice plaster of Paris and some dried coffee grinds .
You're going to add a quarter of a cup of the plaster of Paris .
And I actually have filled this up a little bit more than a quarter of a cup .
So I might need to add a little bit more water .
But the recipe calls for a quarter of a cup and two tablespoons of warm water .
I'm going to mix this all together and I do need to add a little bit more water because I overfilled my quarter cup a little bit .
So I'm just going to put in another tablespoon of water because you want a nice creamy consistency .
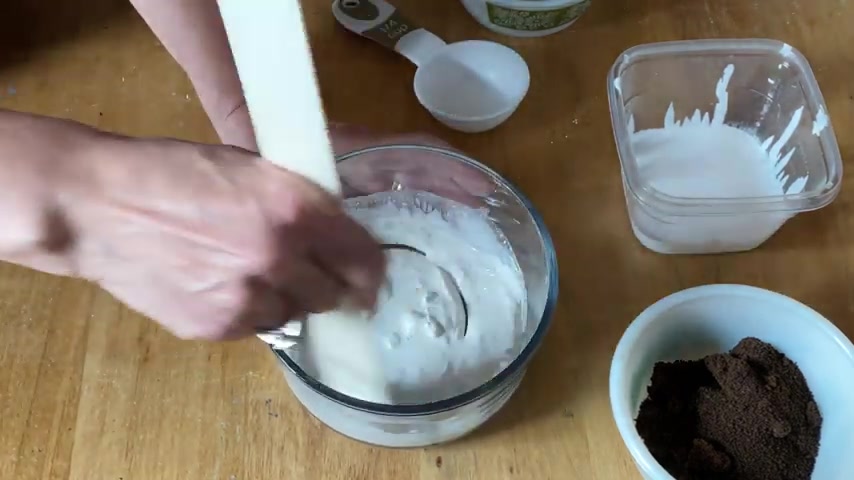
You want to make sure that you're using warm water .
So it dissolves the plaster of Paris really well .
I'll have a link down below in the description where you can purchase plaster of Paris on Amazon and this is what your plaster of Paris mixture should look like .
Nice and creamy .
Now , you're gonna add two tablespoons of your paint of choice .
You can use chalk paint , latex paint , acrylic paint and any color I like using a white because then when you are finished , you can have your coffee grinds show through , incorporate the paint really well into the plaster of Paris mixture .
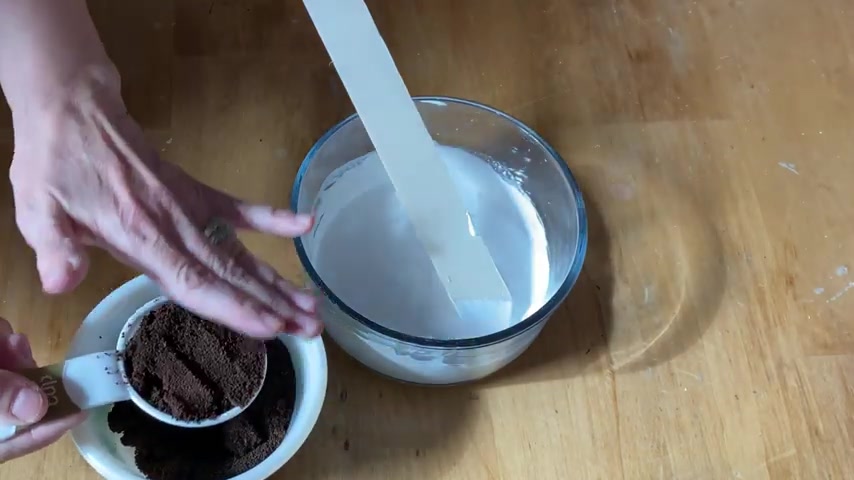
And now you're gonna add a quarter cup of the coffee grinds .
I actually took these out of my coffee maker , put them on a cookie sheet and let them dry overnight .
You don't want the moisture in the coffee grinds to be in this paint formula .
Stir it really well , make sure it's all blended really well into that plaster of Paris and the paint mixture and we're ready to use the paint .
Ok .
It's all incorporated together and this is a consistency that it should look like when all of the coffee grinds are all mixed in with the plaster of Paris and the paint and this is the vase that's going to get the makeover .
I picked it up at the thrift store for a couple of bucks and it needed to be freshened up .
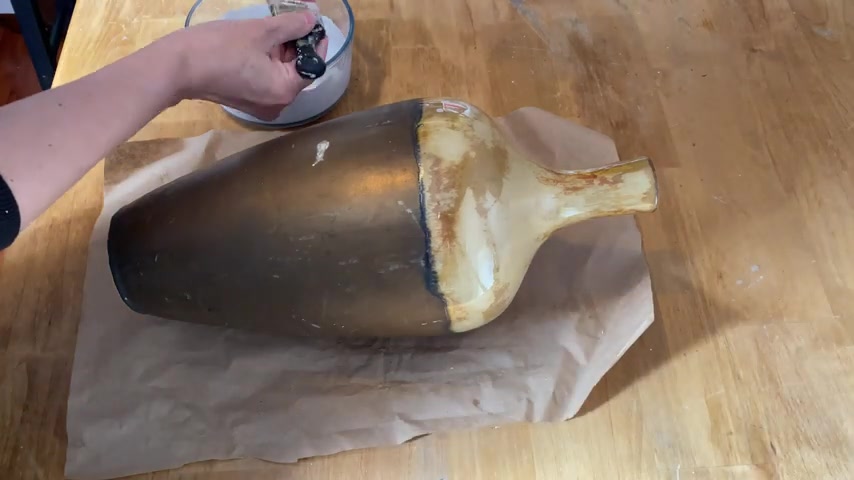
So this coffee grind paint is going to be perfect for it and we're ready to get painting and you can use this paint on any project on wood , on glass , on ceramics , just use your imagination and give it a try .
Now , I'm using long strokes just trying to get the coffee grinds kind of evenly dispersed throughout the project .
Um Later on the next coat , you can kind of pat it on .
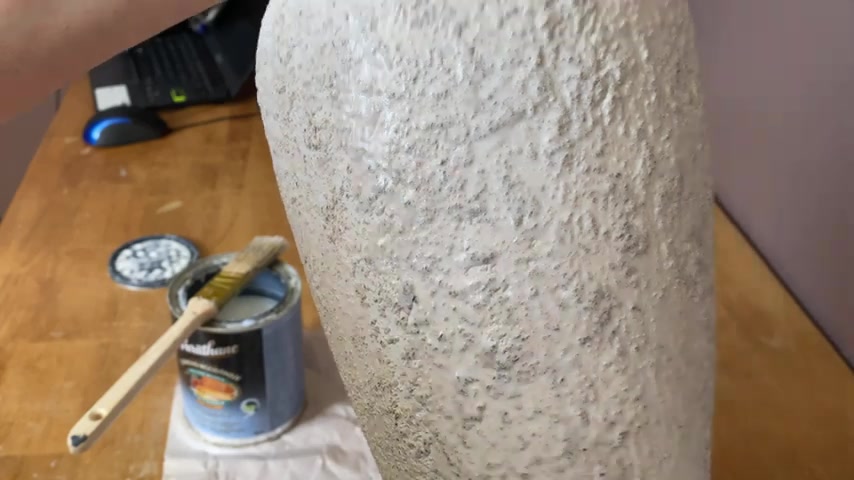
But this first coat you just want to literally paint the whole vase and you can already tell how fabulous this texture is going to be .
And if you guys have never used one of these Wooster paintbrushes , they are amazing for craft projects .
Um I'll put a link below down in the description .
So you can check them out on Amazon because they're a really neat crafting paint brush .
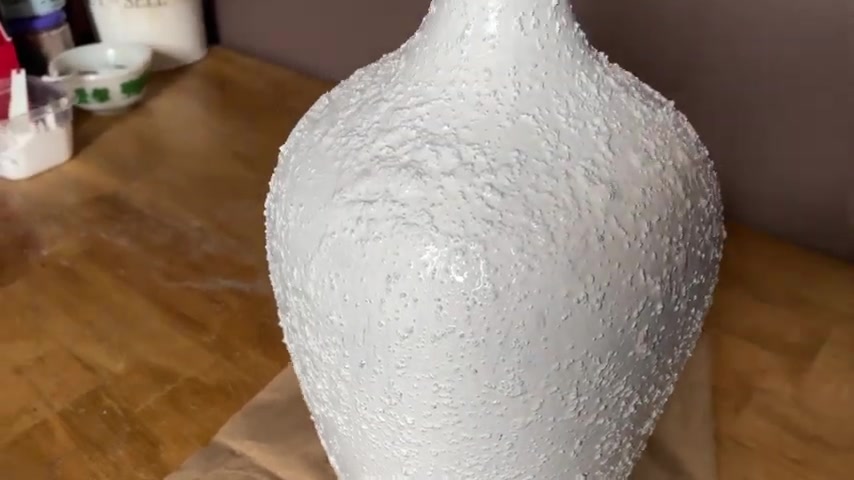
And I got the first coat completely done and it looks really great .
I love the texture of it .
And now we're just gonna let it dry completely before we put on the second coat .
Now , when you're putting on the second coat , just do long strokes and wherever you see , there might be a little spot where you need to add some more texture .
You can dab it on with this paintbrush and just , it doesn't have to look perfect .
That's not the idea of this kind of paint .
You just want it to kind of look very rustic and very old and antique .
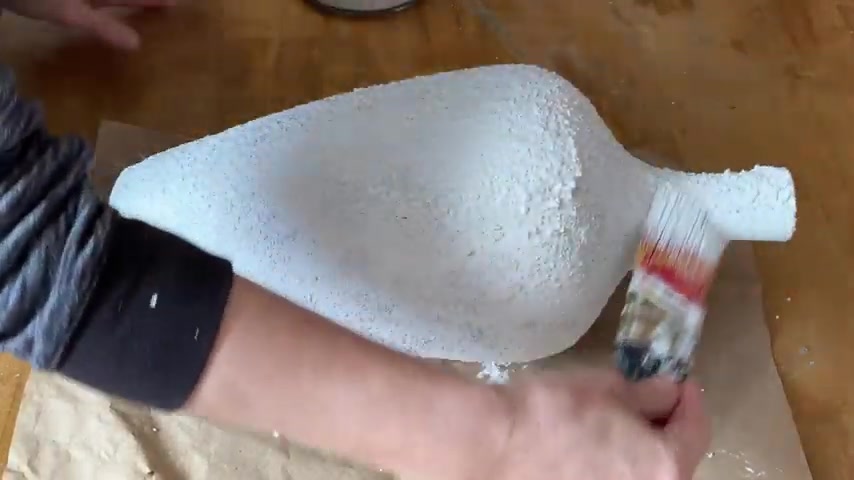
So just dab away paint and it'll look fabulous when it's all dry and to finish off this second coat , I'm just going to take my side of my paint brush and just kind of dab all over the whole base just to give it a little bit more texture .
And if you see any spots that need a little bit extra paint or a little bit extra of the coffee grinds , just dab it on at the end of the video , I'll have the recipe so you can take a screenshot of it and I'll also have a link down in the description .
Ok .
I've let this dried completely and now I want to take my sanding block .
This is like a 1 20 sanding block and I'm just going to gently sand the whole vase .
And what this is gonna do is it's just gonna take that paint off the little edges of the coffee grinds and let that brown of the coffee grind kind of peek through and I have it all sanded down and it looks wonderful .
I love the way the little bit of the coffee grind kind of shows through that brown and it makes it look really antique .
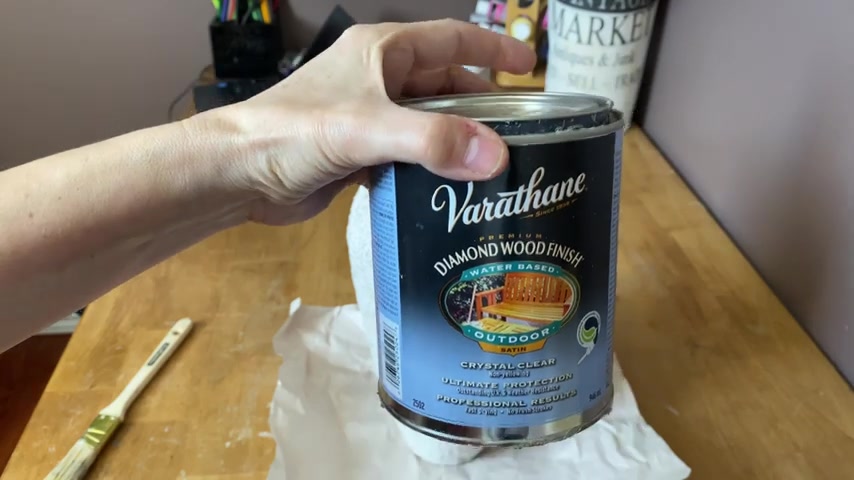
Now , when using this paint , I like to seal it with a polyacrylic sealer .
I'm using the Varathan Matte finish and I'm just going to put a liberal coat over the whole vase .
I find if you don't do this with this paint technique , the coffee grinds kind of have a tendency to kind of fall and flake off a little bit and this seals everything in nice and tight .
You also might find that you have a little bit of a coffee odor .
And by putting the polyacrylic on top of it , it will get rid of all of that smell .
Not that it's a bad smell because I love coffee , but it just , if you're putting it in your living room and somebody is sitting beside it , you don't want it to have that coffee odor .
So by putting the polyacrylic on top of it , it will seal it all up and eliminate all of that smell .
And here's the finished vase and I just love it .
I love this texture .
It's so cool .
And last week I did a video on how to make sand paint and this is the base that I did with the sand paint .
So go back and check out this recipe because it's really cool too .
I'll leave a link up here and also a link in the description um and give them both a try .
Let me know which one you like best .
Ok .
Happy painting .
Thanks so much for watching today's video .
And if you have any questions or comments , leave them down below .
I love to read them .
I'll be sharing so many more diy thrift repurposing videos .
So if you aren't already following along , make sure to hit that subscribe button and the notification bell .
And that will let you know when I upload my next video .
See you real soon .
Take care and have a great day .
Are you looking for a way to reach a wider audience and get more views on your videos?
Our innovative video to text transcribing service can help you do just that.
We provide accurate transcriptions of your videos along with visual content that will help you attract new viewers and keep them engaged. Plus, our data analytics and ad campaign tools can help you monetize your content and maximize your revenue.
Let's partner up and take your video content to the next level!
Contact us today to learn more.