https://www.youtube.com/watch?v=z-USZQRDceM
How to Make Creamy Coffee Melt & Pour Soap - Perfect for Beginners _ Bramble Berry
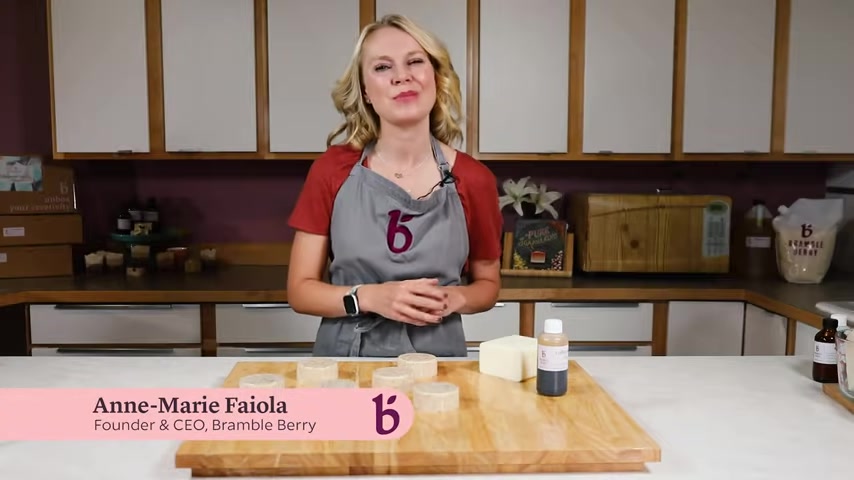
Hi , I'm Anne Marie from Bramble Berry dot com .
And today I'm gonna show you a great beginner melts in po recipe .
But there's nothing basic about this beginner recipe .
We are using one of Bramble's favorite fragrance , oil espresso , freshly ground , well , freshly made coffee , literally using the coffee grounds from this morning's coffee that then we spread out , get some of the excess liquid out and then put in the soap and most excitingly , some coffee seed oil .
It is literally oil that is pressed from the coffee bean .
It smells amazing , has antioxidants and of course polyphenols .
So in this recipe , the coffee seed oil imparts really great moisture and conditioning properties .
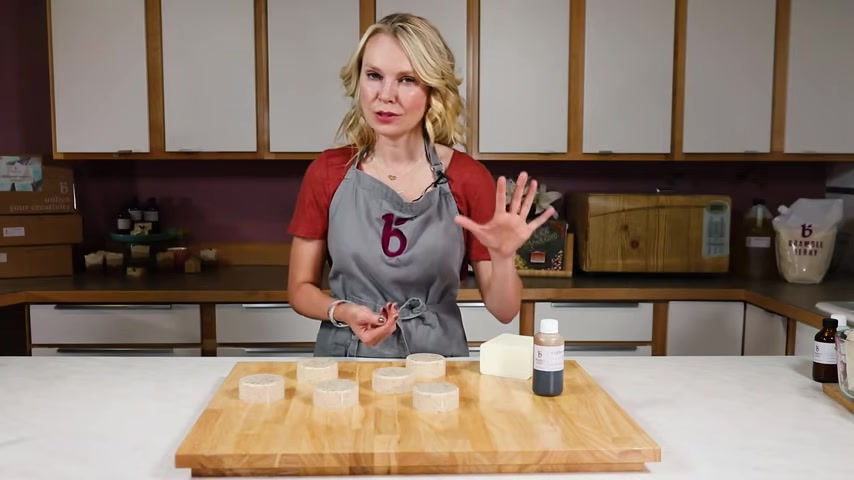
One thing to keep in mind is as with any mel and pour recipe , you always want to keep your oil additives to about one teaspoon per pound of soap or else they start to weigh down the leather .
So let's get started first things first .
Well , with mel and pour soap , it's pretty fast and easy .
Mel and pore is a premade soap base that literally has some extra glycerine added to it , some heat sources added to it ahead of time .
So that once you re melt it down in the microwave , it actually hardens up quickly again and it's ready to use right away .
No cure time safe for use with Children .
In fact , my kids have been making melting pour soap with adult supervision since they were about two years old .
In this case , I'm using the bramble berry goat's milk melt and pour soap , which is wonderfully skin conditioning and skin loving .
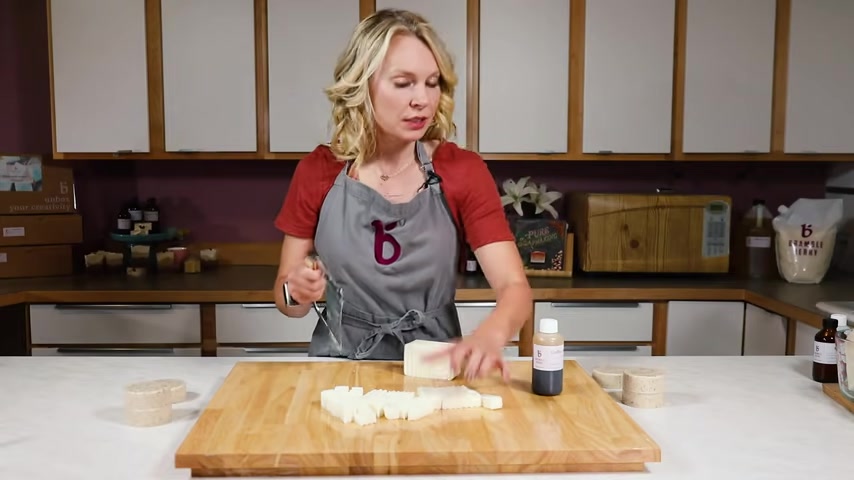
So , in addition to that coffee seed oil , we have the goat's milk properties , which with its lactic acid helps to promote softer skin through cellular turnover , which is just a fancy way of saying the lactic acid in the milk helps to make your skin slough off any dead skin cells that might be holding it down or weighing it down .
So the little chunks here are really helpful , not just because they help me with ease of measuring and weighing , but because in the microwave , the chunks help the soap melt down more evenly if I was just putting a giant chunk of soap in the microwave , like a little like the big block .
What ends up happening is the microwave melts it unevenly and you end up with kind of a well a gelatinous weird blob of soap that is both sort of melty on one side but also very burned on the other .
So you always want to melt your soap down in these kind of little blocks .
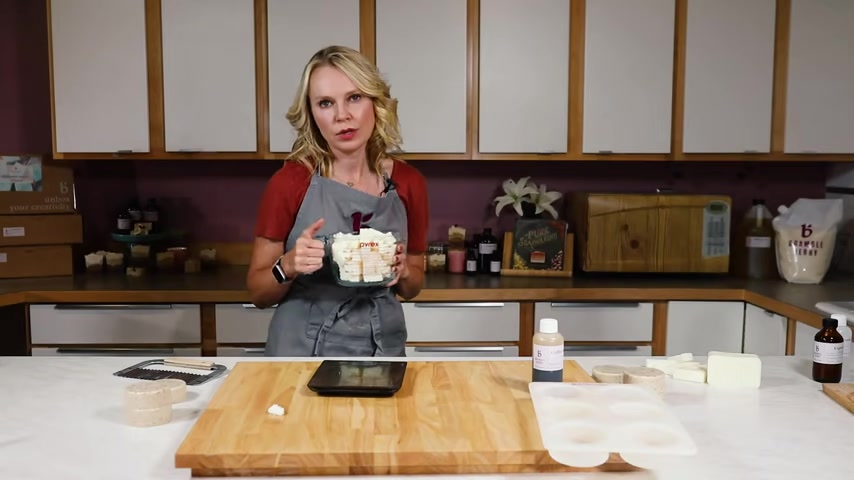
And then another tip is when you're using this in the microwave , just melt it down on 32nd bursts even though it does seem like it takes a little longer because you don't want to scorch any of your soap .
Now that our soap is fully melted , it's time to add the fragrance .
And in this case , the vanilla color stabilizer , vanilla color stabilizer is a product that Brimberry sells that helps keep your whites white and makes the discoloration that happens with say a vanilla based or in this case , a coffee based fragrance from happening .
So normally because of the natural ingredients in this espresso fragrance , uh the coffee extracts and the like the soap will actually go brown .
But here we're gonna be adding vanilla color stabilizer , which is technically a fragrance component .
So the actual inky , the international nomenclature name for it is fragrance .
You add it in direct proportion like a 1 to 1 proportion or ratio to the fragrance .
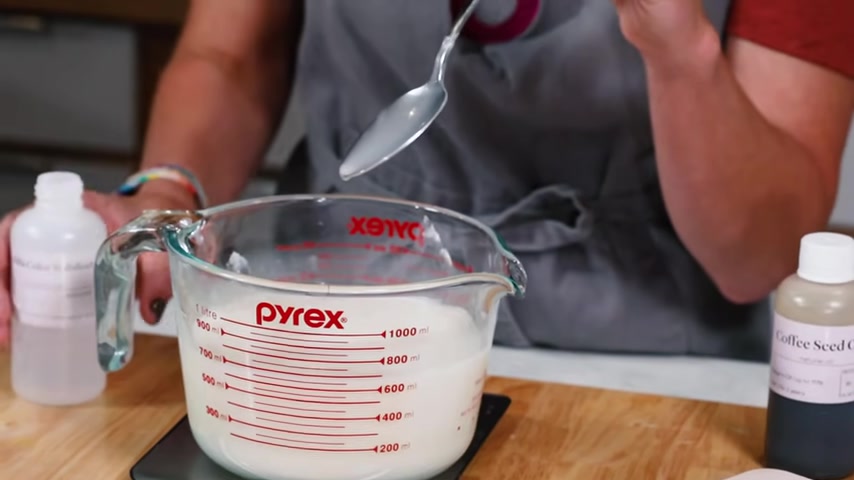
So in this case , we did 0.4 ounces of the fragrance , we'll do 0.4 ounces of the vanilla color stabilizer , ok ?
And now you just mix the whole thing in and you are done and that will help your soap from turning the full color of brown that it normally would have gone without the vanilla color stabilizer .
It's totally optional .
But in order to get this kind of look and cue and shade , uh it's it , you do have to do that .
Otherwise you'll end up with a much more brown soap .
So this is cold processed soap and the vanilla color stabilizer does not work in cold process soap , unfortunately , but I did want you to see the natural color that the espresso goes .
If you don't use vanilla color stab blazer , it's a very different color and now it's time to add that coffee seed oil .
I'm just gonna do a teaspoon but not like a , not like a perfect teaspoon .
A pretty big heaping tea because remember we can add up to about one teaspoon of extra fixed oils to your mel and pour .
So before it really starts to inhibit lather all that much .
And so this will leave the skin feeling really conditioned and nice and silky smooth .
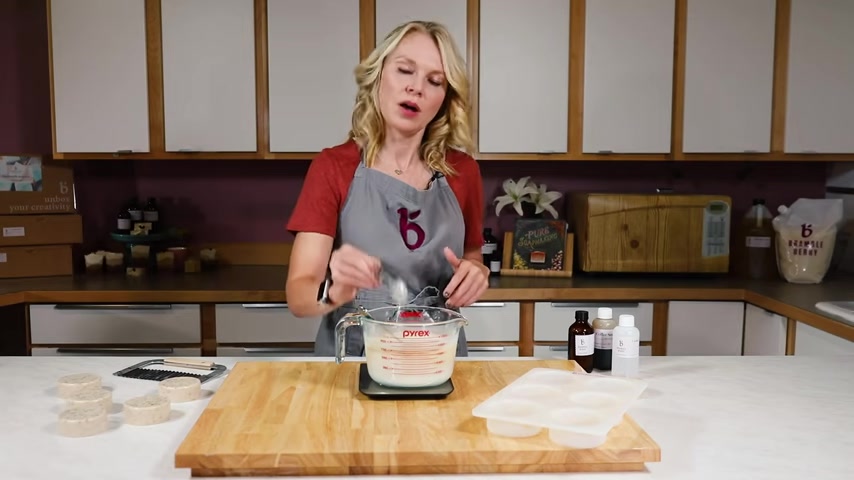
Uh because it'll leave a little fine layer of the coffee seed oil on your skin after you're done with your shower .
Since this isn't oil , you do have to stir it in really well .
And of course , since this is opaque and you can't see if you stir it in really well , make sure you just give it an extra few 2030 seconds .
So that way you're you're really certain that all the additives have been stirred in fully .
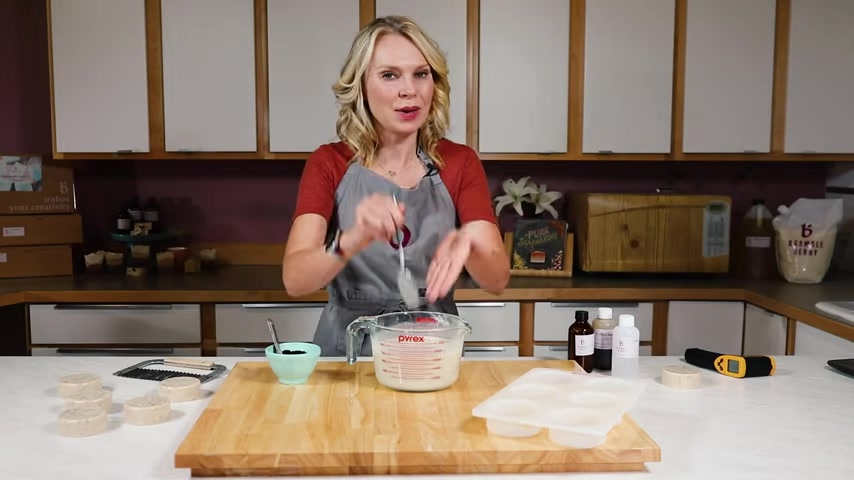
I'm gonna do a quick temperature check before I add my coffee grounds .
So right now I'm uh about 1 48 which is just a little bit warm to suspend because what we really are looking for is we're looking for the soap to be viscous enough to suspend the coffee grounds .
I'm just doing about one teaspoon and you know , beauty is in the eye of the beholder here .
You can always add more .
But remember if you add more , the more scrubby the whole thing gets .
And so we were looking for a functional Barrow soap that doesn't take the entire first layer of your skin off .
So I like this scrubby .
You could do a little bit more if you like a more scrubby barrow soap though .
So I'm just gonna kind of give it a quick visual check .
Are my grounds staying suspended .
If they're not staying suspended in here , they're never gonna stay suspended in your smaller bar of soap .
And in this case , they're doing pretty well .
I see a little tiny bit of droppage from the top , but honestly on the sides , I see no movement whatsoever .
So I feel great about this .
So I'm gonna go ahead and pour and I have gonna make sure my rubbing alcohol is at the ready just to spray on the back to get rid of any extra bubbles .
And in this case , I'm going to fill these mostly to the tippy top because that's exactly how much soap I made and I do see lots of bubbles forming .
So I am also going to give us a quick stir , make sure everything is fully suspended .
Spray those bubbles away and move on to the next two .
So Now I'm just gonna let this sit for about 4 to 6 hours on the counter and then come back and pop these up .
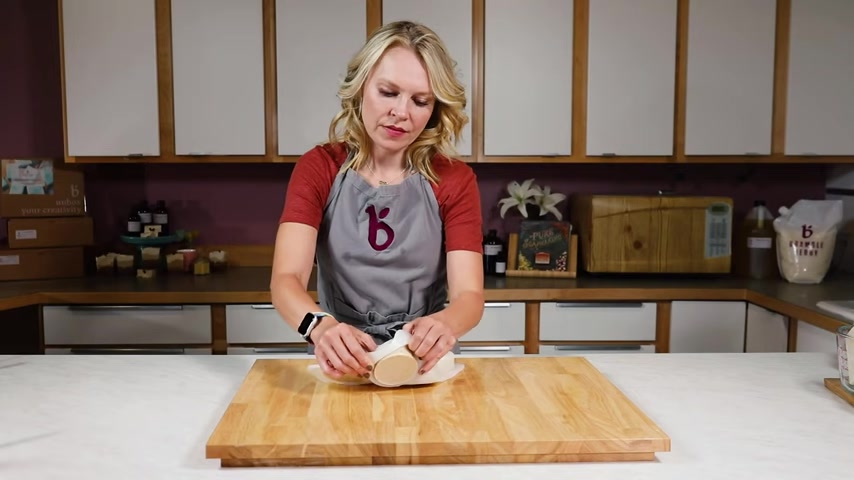
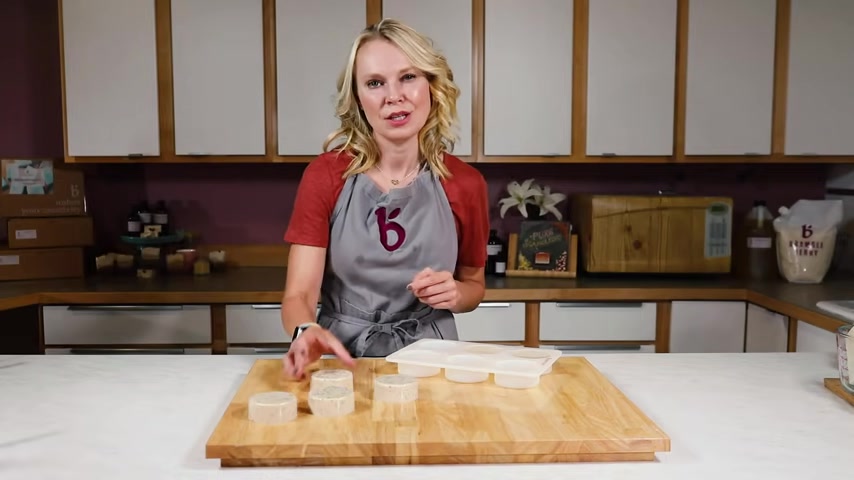
So I made these soaps yesterday and they are in the silicon cavity mold from Bramble Berry and they come out really easily and I love that they're just a little translucent .
I can see the kind of next layer of the coffee grounds on there , which is really fun .
I do notice that I have more coffee grounds on this side than that side .
But honestly , they're distributed pretty well throughout and let me smell .
Hm It smells so good .
It smells just like a freshly pulled shot of espresso .
So the awesome thing about Mel Pour is that you can give these away right away , you can sell them right away .
You can uh store them for a while and sell them when it's convenient for you .
But Mel Pour doesn't have any cure time or anything like that .
So these are ready to use right away .
Once they get popped out of the mold , if you like this video , please give it a thumbs up below and of course , subscribe to our channel .
So every single time we come out with a video , you are notified and when you make this project or any other project , we would love to see it out in the wild with the hashtag bramble on .
So I see your stuff , our team sees your stuff and more importantly , your fellow soap makers and artisans also see the products you make and get inspired right alongside you .
Until next time , happy soaping , I had forgotten the original soap queen sound .
It's in my head now .
Are you looking for a way to reach a wider audience and get more views on your videos?
Our innovative video to text transcribing service can help you do just that.
We provide accurate transcriptions of your videos along with visual content that will help you attract new viewers and keep them engaged. Plus, our data analytics and ad campaign tools can help you monetize your content and maximize your revenue.
Let's partner up and take your video content to the next level!
Contact us today to learn more.