https://www.youtube.com/watch?v=SRCd_cuxvE0
3 LEVELS of Coffee Tables -DIY to PRO Build
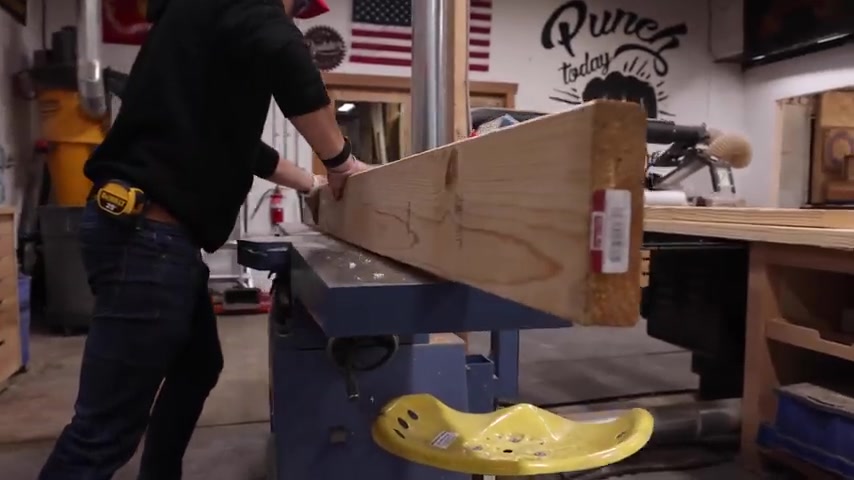
So the first actual furniture piece that all three of us ever built was a coffee table and we figured why not bring three different levels ?
So here you go , Diy all the way to pro baby .
Let's get it .
Hi , I'm Jordan .
I'm gonna be walking you through the beginner coffee table .
All we need is some lumber , a saw and a drill .
Let's get into it .
So what you just saw was me breaking down the lumber .
You can get this already cut down the size .
Our local big box store was just out of two by two .
I had to make my own .
And if you do decide to like break it down like me , it's important that you actually cut it down to the right dimension before going to the because we're gonna have some a and that's gonna mess up your length if you cut on the Microsoft first and then rip them down .
But make sure if you get like a two by six like I did , you rip it first , then you chop it , rip and chop , rip chop .
Now , uh I'm gonna start breaking it down into my smaller pieces and we're gonna start with the base first because the top is really simple .
Let's just get it .
OK .
I got most of my base pieces broken down into smaller pieces .
And so now I'm gonna take those pieces and then cut into those pieces using this pocket hole jig to assemble all the pieces together .
You don't have a pocket hole jig .
You don't need to use this one .
This is just the one I chose to use because it was just easier for me to grab when I was being lazy .
They sell a smaller one that you can get .
You can also do face screws too if you want and then just put over them later .
But so stay with cure is now to go get me the correct screws .
Make sure you have the right line screw for your material thickness .
This should go a little smoother Judd .
If you do decide to use pocket hole joiner for this for the top , make sure the pocket holes are up because you won't see them , they'll be covered by the top for the bottom one .
Make sure they're down because you're not gonna see them because they're three inches off the ground .
No one's going under there .
It's a little building tip for you try and hide your pocket holes , that's real hot tip next up .
These are technically a skirt .
I guess that's a skirt , side skirt or wait front skirt , side skirt .
I don't know .
It's all perspective at this point , I'm gonna take these pieces , attach them like that .
And then this guy gonna go over here , it's gonna go up just like this just like this after pocket holding these .
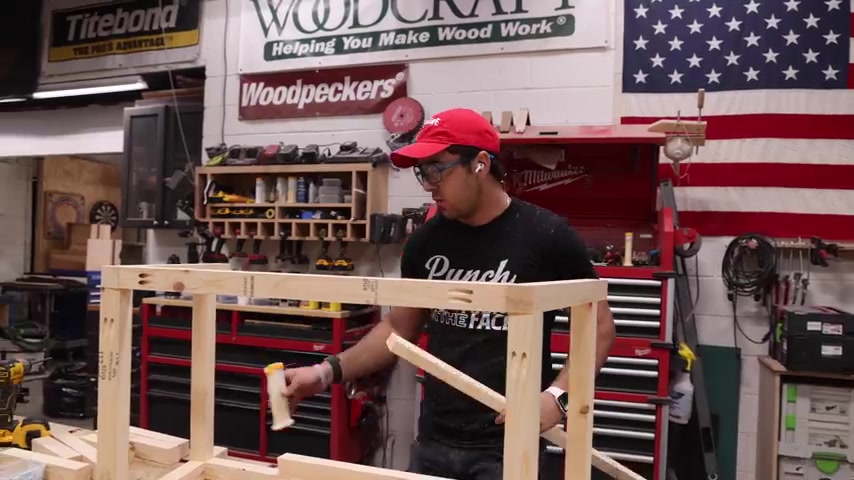
And if you don't want a pocket home , you could probably Brad new or face .
But this is the method I chose with , let's build it .
So what you're gonna do is actually save your cutoffs from uh the two by two material that's gonna be your spacer block .
So go in like this , not a boom , boom , boom , go to the next one and then work their way up and then our base will be complete .
The bass assembled and glued up , sanded all that jazz .
So next part is do the top .
And what I did was I put my bases relatively where it's gonna be on the top .
Take that and I traced it .
Thought I traced it anyways .
The idea .
Yeah , tracing it that way because we're gonna attach these pocket holes as well .
And um you could do a traditional glow up as well too .
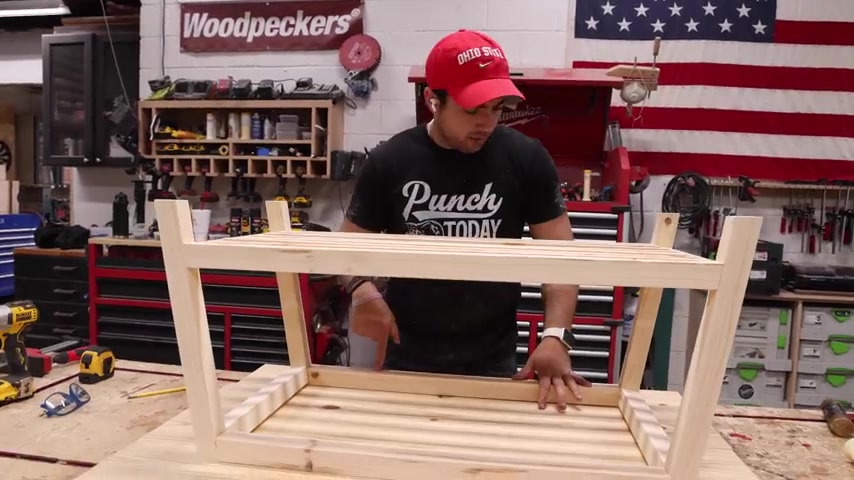
But John said I get that the way we're gonna assemble the base to the top is through the skirts and I just don't want to drill into a pocket hole .
Do you know what time it is ?
What time is it ?
So whenever you're starting to get in the building , a good tip that I picked up , always make things oversized that way .
When you like do like table top glew ups or big panel glue ups .
That way you don't have to rely on your glue up being perfect .
So , as you can see , it's not exactly even .
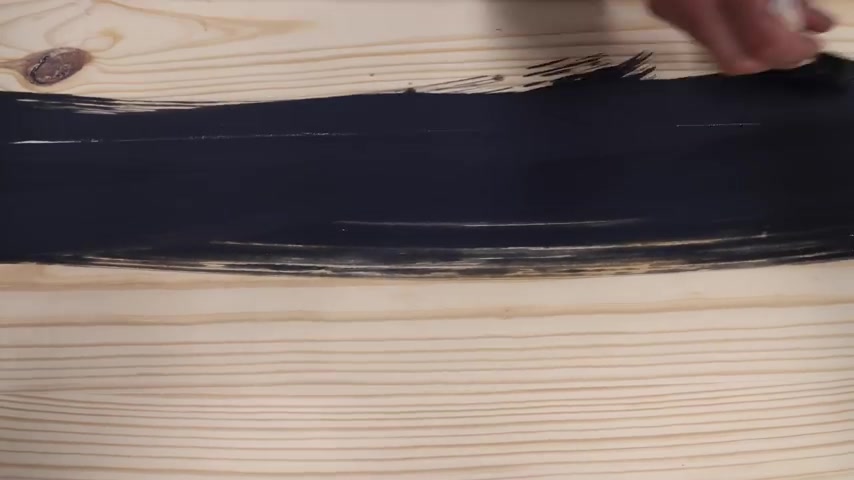
So luckily I left it long that way I can come back , trim it off and you're good to go update .
We finished .
That was Friday .
I put , stain on it dry over the weekend and I came in this morning and stained the top looks great .
So now what I'm gonna do is attach the base to the top and we're just gonna do that with some screws through skirt here , that should be fine .
And then you could also add some on the side skirts as well .
We'll see .
So right now , I'm just trying to center the base on the top .
I believe it should be 4.5 in on each side .
Ok .
Last step .
Uh I'm gonna hit this thing with some lacquer .
Uh If you don't have a fancy pants machine like us , they sell lacquer in like a rattle can like spray can form , but this will help protect the coffee table over its lifetime from coffee mugs and whatnot .
So , you know what the saying is , let's spray .
That's gonna be it for this one guys .
This was a lot of fun building this beginner coffee table .
We will have plans available for it and if you decide to build mine , tag me on Instagram other than that .
Let's see what Sam's got cooking for those that don't know .
I am Sam .
I will be taking you on the magical journey of the intermediate project .
Today , we are going to make a very Scandinavian kind of modern style coffee table that I found a design online that I wanted to do and make a small scale version .
And Jordan taught me how to use a computer .
Let's get into this .
We are going to use a red oak .
We'll probably stain it like a nice medium brown .
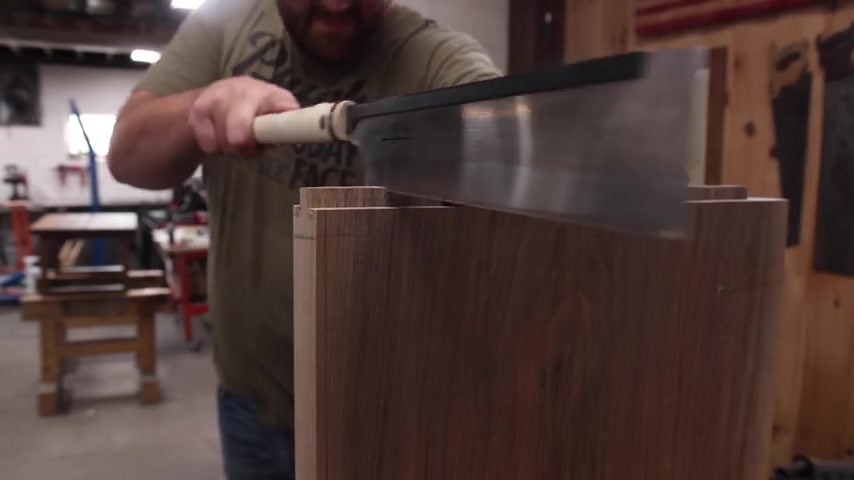
We're gonna use box joints .
Uh All the drawing will be cut probably on the table saw .
I may do some of it with a circular saw just to show you guys how to do some of that .
So let's just make the thing , got everything pretty well known to size .
Some of these pieces are still long .
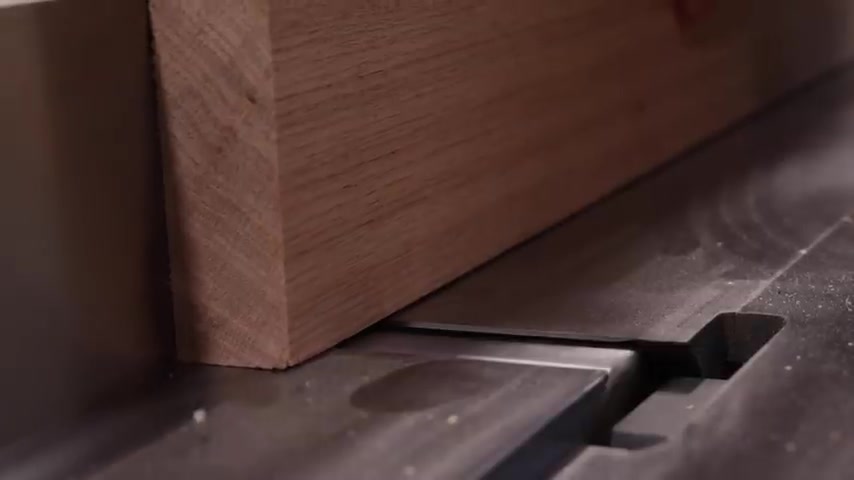
I always like to leave things long when I'm putting them through the planner and the joiner because there is a chance that it could snipe , which means it leaves like a little thinner spot on the end .
So I always want to give yourself a little room so you can cut that off .
So you don't leave that in your project .
This project though , it's pretty simple .
The devils in the details of like , really take your time to make sure your boards are nice and flat and square and jointed because of the way this design is .
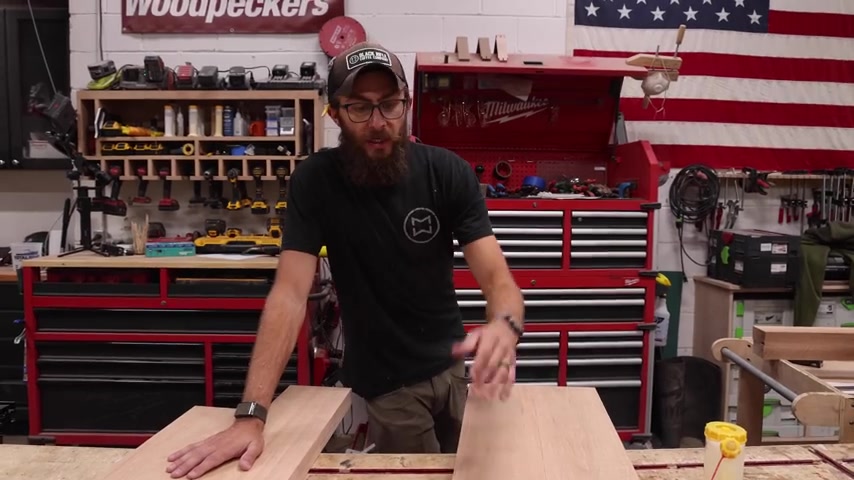
It's really important that these are like , really , really nice .
So don't rush through it .
Take your time .
The other thing to note is that when I did the two , the four pieces for the top , I left these a hair thicker .
It'll fit through the planner once they're glued up and they are two separate pieces .
So it's always better to be able to run them through and then they'll be a perfectly smooth surface .
Uh it'll be easier as far as sanding and glue , clean up and all of that stuff .
So the next thing we're doing is I spent a little bit of time and I really want to make sure this looks as good as possible .
So I flipped around some of the material ideally , I wish it was all quarters on like this piece .
Uh Unfortunately , dealing with what we have , uh , and making lemonade .
I don't have those options , but I think this combination of things glue up quite nicely .
But these give you a nice even glue layout because you don't really need that much glue when you're gluing something up .
I think the type on people told us it's only one molecule between two pieces of wood is enough to make it stick .
I could be wrong with that .
So don't go crazy .
The other thing to note here is because they are just two pretty thick boards .
I'm not going to do any kind of biscuits or dominos or anything .
I don't think it's necessary for a project like this .
What you could if you're worried about the alignment , but I trust myself to be able to line up two pieces of wood .
So we are now to the point of doing the box joints uh to do .
So we have a half inch data stack with our half inch box joint jig .
Uh This is , didn't think this through quite right .
So we're gonna have to get a little bit squarely , but that's after the course here .
Fortunately , because of the way this sled was made using three quarter inch material and this data stack and this all combination , the blade doesn't quite get tall enough .
So I'm gonna have to touch them up with a router .
It's less than ideal , but I think it's the only way to do it because I otherwise I have to remake this sled with like a half inch bottom or do like some sort of sacrificial fence cross cut .
So I think this is the right way to do it still .
So to do this , as you can see , I have a half inch slot , a half inch gap and then a half inch like tooth kind of thing .
So you have your verticals and your horizontals , one of them , you start on the line of this gap here and then the other one , you start against the tooth that way , you know , they're offset and they lock together and keep perfect alignment .
So the other thing to keep in mind is you want to keep track of how everything goes .
You don't want to rotate your piece this way .
When you're doing this , you want to rotate it this way so that you keep the same side because otherwise you'll get them backwards and the whole thing will be skewed .
So it's important , I'm going to do all of these pieces first and then make those pieces according to it .
But I want to go nice and slow and focus on what I'm doing here , as I earlier stated because of the way that jig was made and the material sizes and all of that pieces aren't quite cut deep enough .
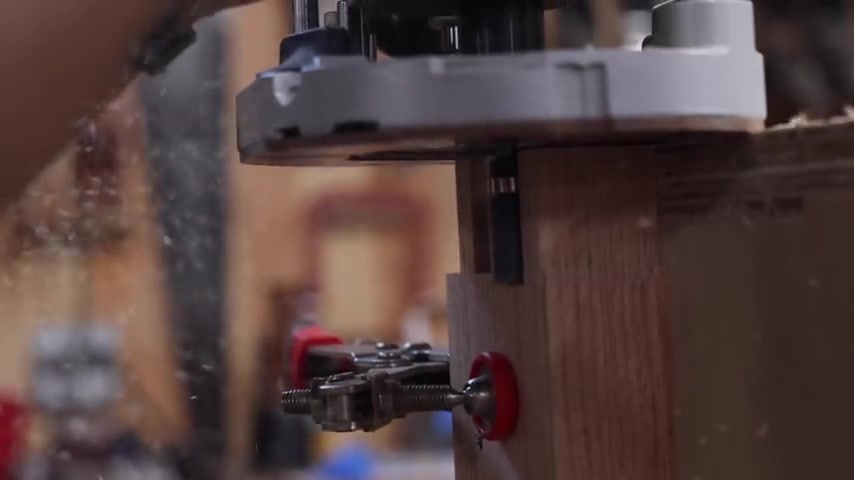
As you can see here , we're about a quarter of an inch , maybe a little less .
So we took , this is a jig John uses for when he cuts , dovetails to clear out the pins .
I'm gonna use it with just a straight cut bearing bit to try to clean out this part .
So I have this set to the right height .
I hope this works , but we're gonna try it .
So I got these all cleaned up as you just saw and then I laid out some jewelry .
I laid out the half laps by finding the center of this and then I centered my half lap joint off of this .
So I found the center line there and then I went , you know , half the distance of my material in each direction .
And then I actually traced the material .
I gave myself a little reference marks , but then I actually traced it by laying it on here with a square and drawing deep into that corner .
So I have an actual this thickness versus a measurement because it doesn't matter what the measurement , I think it is , it has to be this way .
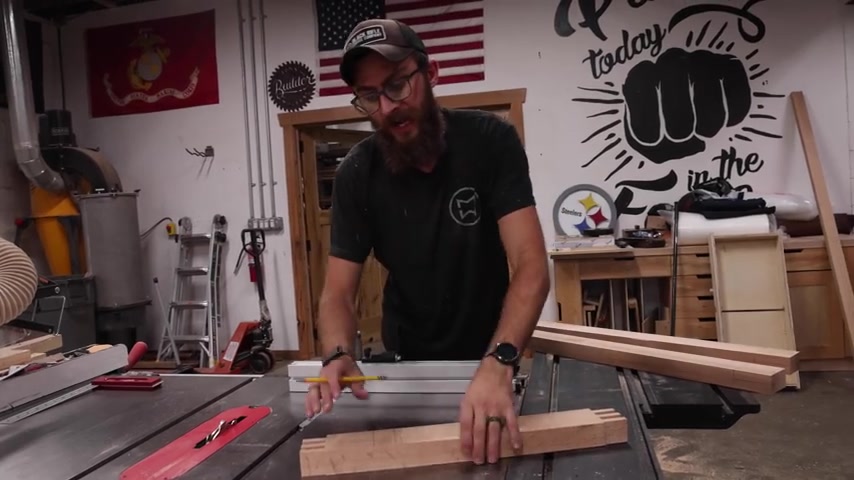
You start worrying about things being the same and fitting versus like what the measurement is supposed to be .
Now that I have those laid out , I left this data stack in , I got this set to three quarters because that's half of my inch and a half thick material .
And now I have reference marks on the side so I can then take it and I can line it up there .
I've already made sure this is nice and square with a test piece and then I'll cut this side and then I'll cut that side , then I'll hog out the middle and then we'll prove that it fits .
And if it needs any adjusting , we can come back to it .
You're not 100% sure where you're at , cut it a little bit smaller and creep out to it and then cut it bigger and then have it loose because this is important that it's a really tight fit .
It is now time to do kind of a complex glue , kind of a stressful glue .
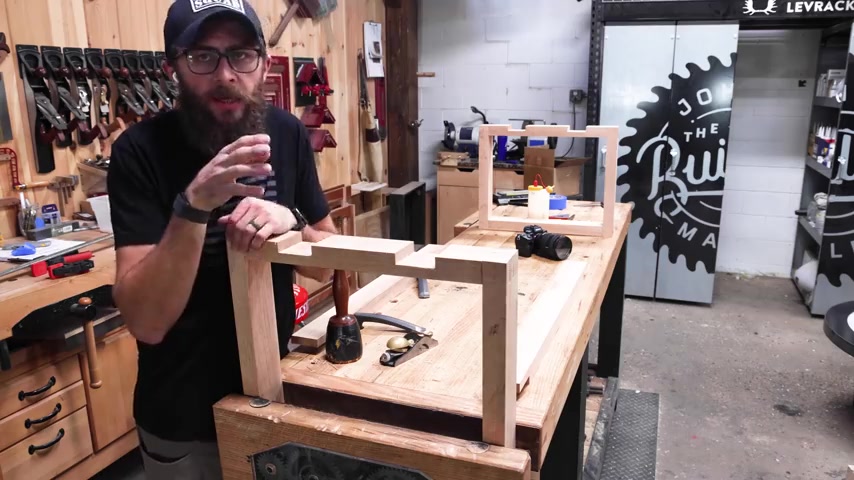
For being honest , there's a lot of surfaces in these little finger joints , box joints , I still don't know what the hell they're called , but it does make for a really strong joint because of all the surface area when you do get all the glue in there , but it's a lot to get glue on quickly .
So it can be a little stressful if you lay everything out and then if you have someone that can help you or at least film you and heckle you , it helps .
Typically you only need to glue one side of a joint .
But I always like to glue both sides of this just to make sure you get it all because it's , it's so easy to miss a spot .
It's the next morning I pulled these out of clamps .
I got one of them locked up in the vice , the glue ups .
Ok .
I wish it was a little bit better , but we'll , uh , address that when we get to it .
So the next part is it just sharpened up a hand plan .
This is a fancy Lee Nielsen one , but you can use anything just to heighten up the fit on these .
So I have these all labeled .
So I know which one will live where and then I'm taking the time to tune each one to its spot .
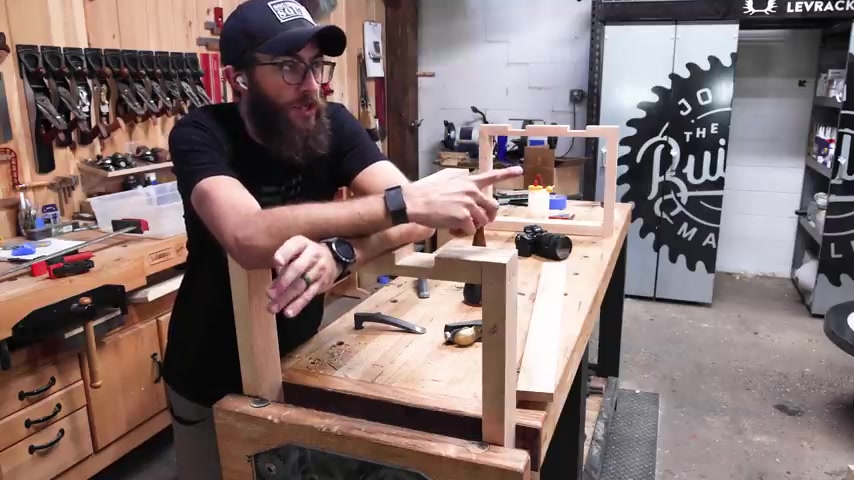
So this one's fitting pretty good .
My heights on my half laps are off just a little bit .
So I'm just cleaning them down , touching them up and getting this one to see this one fits pretty good .
Now , I got to do the other side and we'll get it all ready for the second glue up .
Get that glued up , then we'll work on the top some more .
Get those things sanded and ready .
Maybe even put some finish on those .
Shouldn't be too much longer before we have ourselves .
Ok .
We have one more glue up .
We gotta connect all the pieces .
I took a little bit of time off camera to sand out any sort of layout marks or glue or anything .
It would be hard to get to after I didn't do like a full perfect sand that's like finish ready .
But I wanted to make sure that there wasn't anything that was gonna be hard to get to later for the final glue up , get this thing ready for glue .
We'll let it sit for a few hours and then we'll put the top on it and finish it .
We're getting pretty close .
So we've got this thing mocked up .
The top is not attached yet , but it's got everything pretty much sanded final standing .
And that's sort of the love I actually really liking .
This is red oak , but for some reason , it's not very red .
It's got way more of like a white oak kind of vibe going on .
I'm not really sure what's going on there .
I still think I'm gonna make it brown , have this like nice medium brown tone that I think will look really nice on it .
So we're gonna do that and I have to do at least part of the finish before I can assemble it because this is going to be like a split top design as seen in that graphic .
So because of that , I can't get the finish down into the middle part very easily after it's assembled .
So I think I'm gonna prefinish everything , then I'll drill all the holes , touch up anything that I ruin in the process .
And then we'll put the whole thing together and we should have this thing done in the next couple of hours .
Now , for everybody's favorite part .
Caramel glaze .
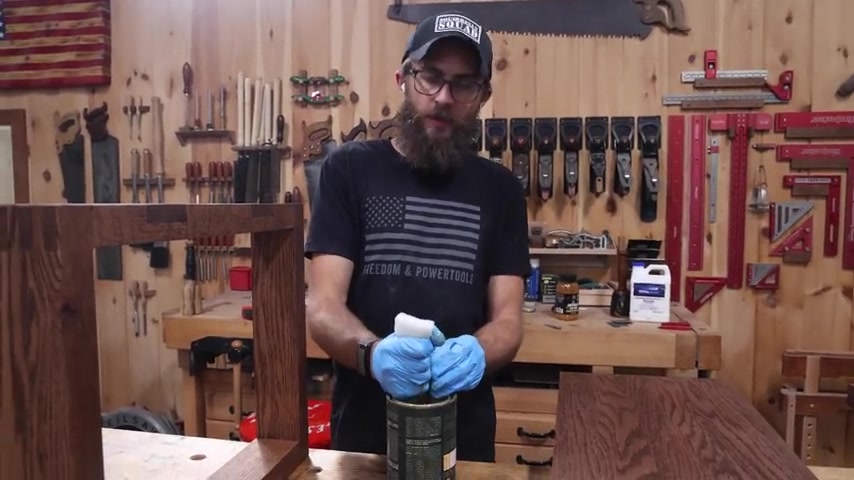
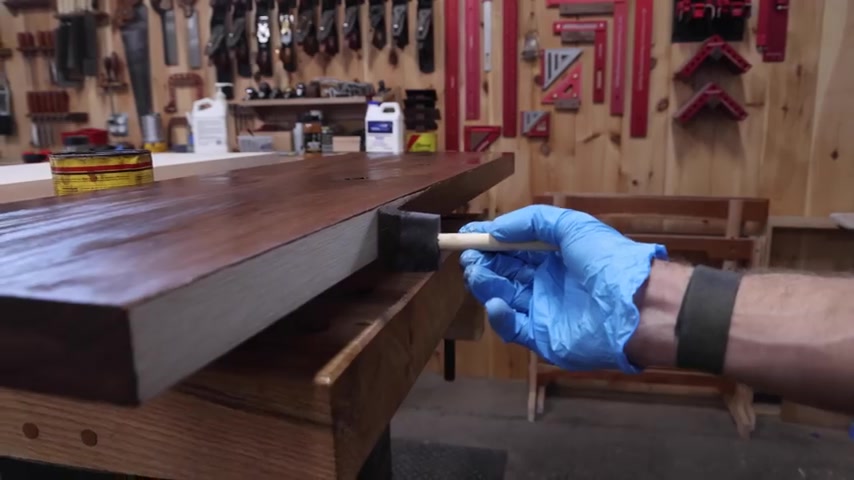
Now we're gonna put Rubio on this .
I've tried the samples of the colored rubio and we just didn't have a brown that spooked me .
I'm just using regular old Rubio on top .
That was a lot .
Final thing to do is drill some holes for the threaded inserts , got some bolts , got the threaded inserts .
I'm gonna do a little counter sink with a bit , hide the bolt heads .
I'm just gonna do eight total four on each side just to kind of even out the load .
I've got it lined up with pencil in between is the gap and pushed together and then I measure a bunch of times to center it .
So it's exactly where I want it to be right now .
So first I'll do the force center a bit and then I'll drill because that'll leave the perfect center in that bolt .
Then I'll drill through for the actual hole itself .
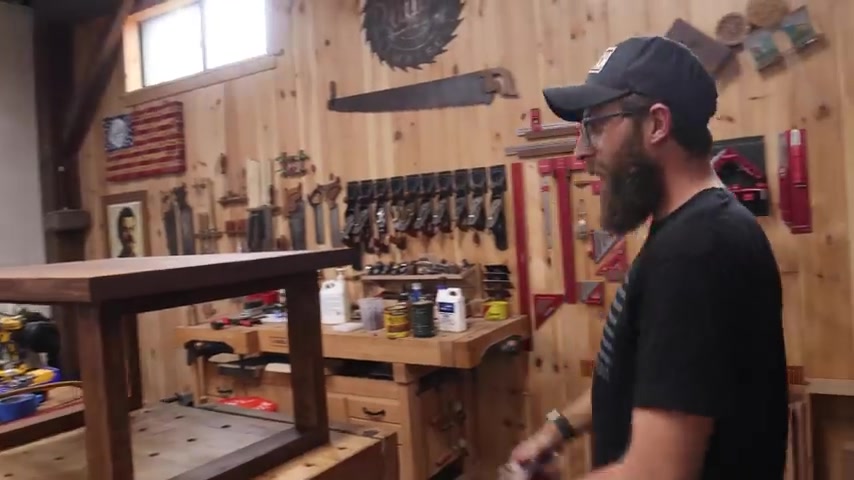
Oh , we don't make light furniture in this place .
Oh , holy crap .
That my friends is a woodworking project .
If you guys want to make this coffee table , there's a plan down below .
If you make it , I'd love to see it .
So find me through the interwebs and tell me about it .
Now , let's see what John has to make for the pro level coffee table .
We're going to go with a Nakashima style table , which I absolutely love .
I used to do a ton of live edge furniture and it's in fashion .
So we're gonna do some live edge breakdown as well as construction all from the same slab , which should be a lot of fun .
So let's get to it .
So I've got a walnut slab here and this is called a crotch .
The jokes .
I want that to be the kind of the focus on the top of the table .
Nakashima style .
Typically he uses a lot of like figured woods in his building .
Um and projects .
If you're not familiar dude is a little bit , I like to make my tables around 40 inches in the top .
So I'm gonna make a line here at 42 from that end and I'm gonna just quickly find the line center here here .
It's all rough .
I'll get the flattening after this , but I got a pretty cool concept .
Of what I'm gonna do here .
I'm stoked to show you guys .
All right .
So this is essentially going to be the rough shape of the table top .
What I'm gonna do next is put it on the floor because I'm going to use a software to take a photo of it , then draw a CAD model , which is awesome .
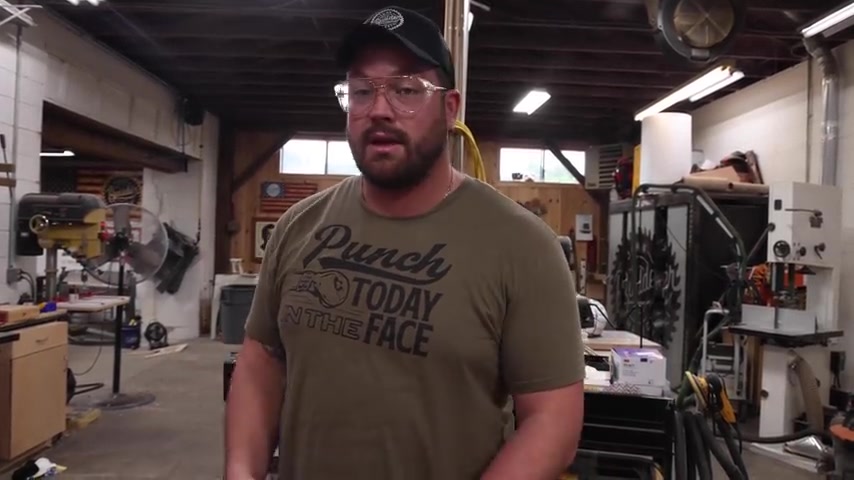
So we're super pumped for this build to have a sponsor Shaper 3D , which is a 3D CAD modeling software that's incredibly easy to use .
Jordan's been using it for months to do a lot of stuff for us .
And I'm super excited .
So I got this on the floor .
So I'm going to take a photo of the slab overhead and then when you use the photo , it comes into the model itself .
So I'll click the little point there and it , you're gonna , you can change the way and now using trees and then when you get to the curve add pressure with that .
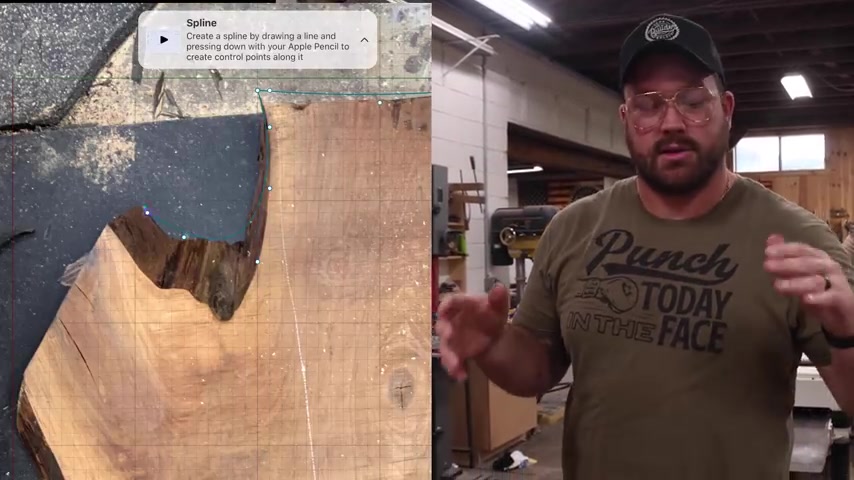
So what we're doing here is you can see is tracing out our slap , which is awesome .
And it truly goes to show how intuitive a piece of software like this can be .
We're drawing on an ipad .
It's available on Mac , which we all use .
Our whole business is based on Mac and this guy they did just release it on Windows , which is awesome .
So we use 3D models for just about everything .
When we do custom jobs , it absolutely changes our proposal process and just creates a much more professional dynamic .
If you're not using a 3D software for your planning , you're probably wasting a lot more materials than necessary .
And it also gets a little bit clunky in my opinion , when you're trying to send proposals or drawings or whatever to potential clients .
So I highly suggest using a CAD software and I definitely suggest using shape or 3D and they're so cool that they're going to give you a 10% discount on the site by using the code Maleki 10 and check it out .
It's awesome .
We're big fans of it around here , all three of us do our projects for this build specifically and like I said , we've been using it for months .
It's been awesome .
So I'm gonna get back to designing what I'm thinking in my head and thank you Shaper 3d for sponsoring this build .
So after like 15 minutes , as you can see , we've got an augmented reality , but you can kind of see what the table would look like and you can walk around it too , which is cool .
Yeah .
So before we use anything , we need to get it flattened , we're gonna use AC NC .
But I have , I don't even know how many videos of hand flattening slabs .
If you don't have AC NC , you can do that .
Got to flatten it on both sides .
We're gonna use Miss Piggy because we got her .
But you can do this on your own .
I've got a video that shows you how to build a jig , how to use one that you pre bought .
It's all good .
Get it flat and then we'll get the work .
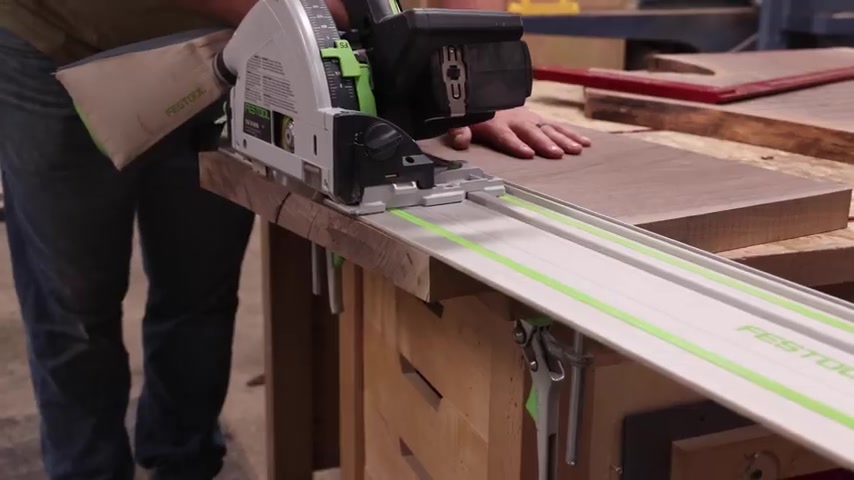
So this piece is super rough .
Still .
I'm gonna run it through the cleaner , but I wanna make sure that I don't have any side to side rocking .
So I'm just taking off the high spots you can see , I'm just trying to get rid of that before I put it in .
All right .
So we need to mortis this into the bottom of the table .
You can see here .
I drew some lines and picked a location that I want to put it in .
Now , I'm gonna build a quick little router jig that I can use a templating bit and get the perfect sized mortis for this leg here .
I'll be waiting here this evening and then we're gonna need the router jig that goes in the track .
So now we're gonna set up the router .
This is the same Plywood here .
I'm gonna get it set up to cut a half inch deep mortis and then we're off to the races .
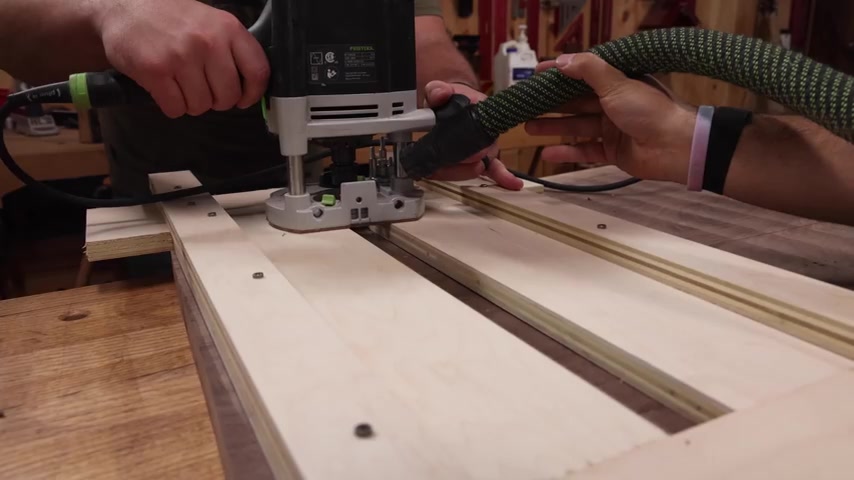
You are in the Festal track , right ?
So our top bearing bit is pretty old and dull , switching over to an up spiral bit that will remove most of the waste , stay inside my pocket and then I'll trim up just the edges with that and it should be good .
All right .
We cleaned up the corners .
Now , let's peel it off and make another one for the next stupid left hand put in torn currently , like what I want to do because originally I had just like two legs at an angle that I was going to taper , which I still think would look pretty good .
I like having as many as minimum points of contact with the floor as possible because if the floor is out of whack , then the table doesn't sit well , but a coffee table specifically sits on a rug .
So another part of me thinks that like maybe something like this will look cool .
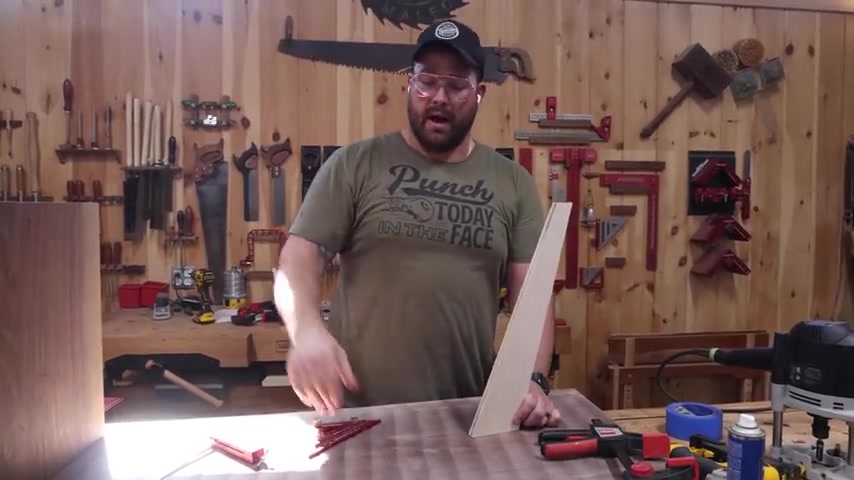
Can you squeeze kind of Jordan on the double some ?
Feel the burn .
John , feel the burn .
He just dated myself .
All right , I made a little template here of something I wanted to look at first , I highly suggest that when you're building like an organic piece and there's a couple of styles , Nakashima tables that are around the internet , I haven't done a deep dive or deep study .
So I hope I'm not being ignorant to traditional style , but because this has a crotch in it , I kind of like this double leg vibe that I've seen a couple of people do .
So I need to make these legs , but then I need to Morice them in which is not something I normally do .
So we're gonna figure this out as we go .
No , no , no , no .
Cheetos , one of the last things I want to do is on this big chunky arm is add a little detail at the bottom to get a little relief .
Any time I build a table , I like to get at least three points of contact , but I don't like to have large , like long pieces of wood laying on the ground where we are in Pittsburgh .
You're very rarely going to find a floor that's flat .
So we by making this detail will have less surface area that's going to touch the floor , which should be nice .
We did a bow tie in LA for tiktok already .
Right .
Yeah .
Don't you remember it ?
Got like a million views or something ?
Probably did get a million views , right .
They all saw it .
Oh , you followed me on tiktok .
Thank you .
We already did this on there .
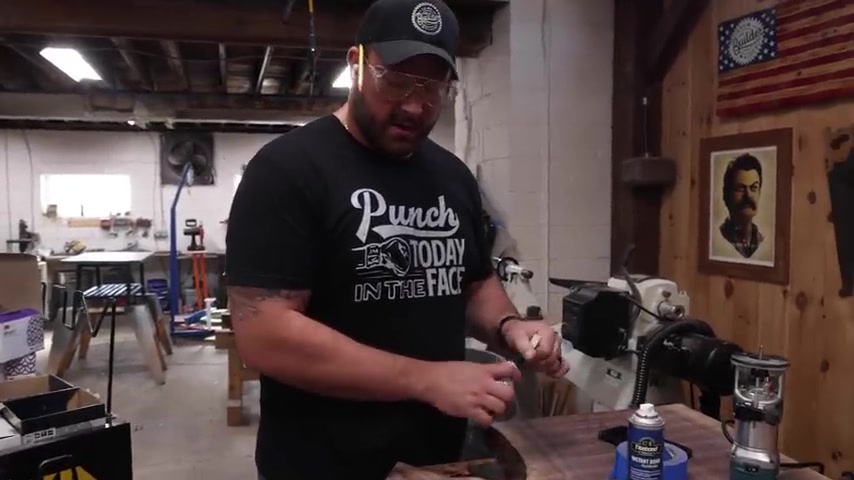
So , and I have a full video .
So we're gonna do a little bow tie because I feel like when you have cracks and you have , uh , the opportunity to film them , I like the look of bowties and this is my piece of furniture .
So I'm gonna put one in and if you haven't seen , we've got a video on bow tie in Las .
I think we actually updated it last year .
Right .
Sam .
Yeah , we did one recently .
We did have an old , old , old , I got an old , old one , but I use the same now for what seems to be a complicated look because it is .
Wish us luck .
Nakashima would have never used Lacquer , but I'm not him .
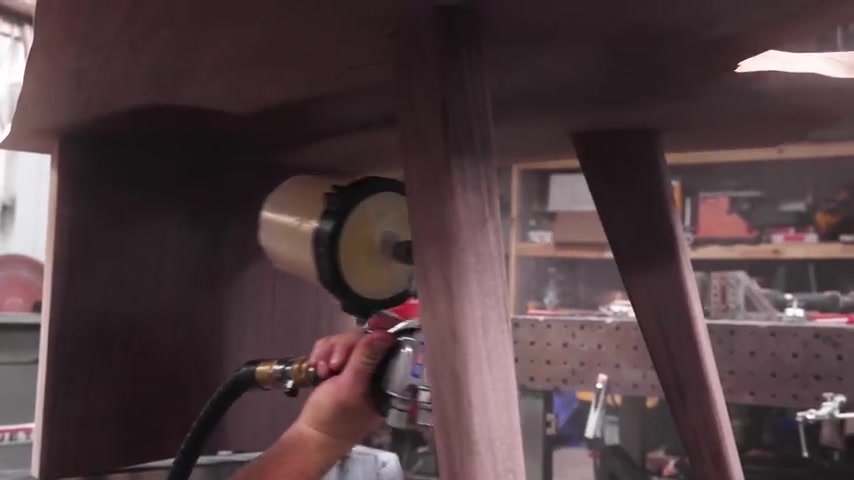
So let us spray and that's gonna be a wrap on this one .
I really like how these three turned out and I gotta say , I think my favorite one is Sam .
So Killer job .
Sam .
Let me know which one yns like the most .
And if you want to see more three levels , I got a whole play this for you right here .
Are you looking for a way to reach a wider audience and get more views on your videos?
Our innovative video to text transcribing service can help you do just that.
We provide accurate transcriptions of your videos along with visual content that will help you attract new viewers and keep them engaged. Plus, our data analytics and ad campaign tools can help you monetize your content and maximize your revenue.
Let's partner up and take your video content to the next level!
Contact us today to learn more.