https://www.youtube.com/watch?v=Yb-qqQWV1Ss
How To Make Beautiful Paper Flowers and More!

Everybody .
It's Annette green here today and I am going to talk all about flowers today .
I'm going to teach you all kinds of things you can do to make your own paper .
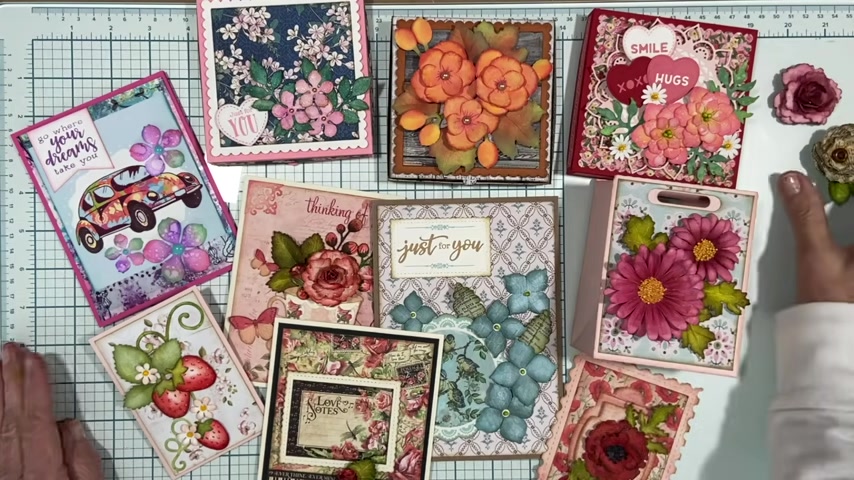
Flowers basically from pieces that are dye cut like this to something beautiful like this .
OK ?
Before we dig in a couple of things that you'll need if you're interested in making these flowers are flower dyes .
And I am going to be showing Elizabeth Kraft Design's Florals Collection .
I am also going to be using their soft finish white card stock .
I prefer the £90 .
They do have 100 and £10 .
Uh You need a soft cushion mat of some sort , a piercing mat , let's say , and then I like to use just a piece of this stiff felt I get from the craft store .
Uh That's just when I'm shaping my flowers .
So they don't skid around .
Uh So you'll see me using that later .
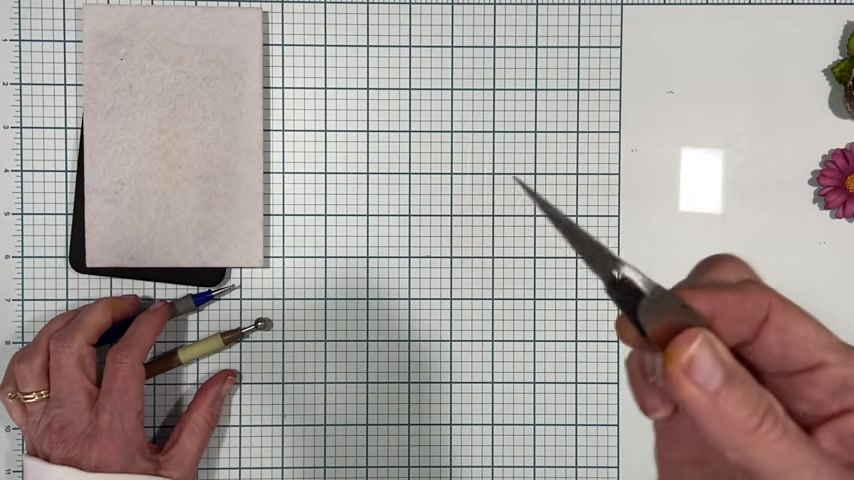
You will definitely need a ball stylists and I would say a large ball stylus for sure .
This one has two different sizes , but they're both pretty large .
And then I also will be showing you just a regular stylus , kind of a small one .
And then I use my reverse tweezers .
You don't have to have reverse tweezers , but you will see me using those while I'm shaping flowers as well .
And one more thing I'll preface with is that I am not an expert at this .
I just love doing it and I'm showing you my way of doing things if you want more inspiration and really see some experts at this .
I would strongly recommend finding Karen Berger who is amazing at making these flowers and also Anita Eisen Dorn .
So I'll be sure to put both of their links to their blogs in the description box below and be sure to check them out because they're fabulous before we do any flowers .
Let's just do some leaves really quick .
So you can see here that I have used just white card stock .
This is the Elizabeth Krafts white soft finish card stock and this is how um I have colorized it .
So you can see there's the white on the back .
So it looks very realistic .
So here's how we do that .
I take uh a lighter green little dabber here and I just start pretty much covering the entire surface .
If I think that I might see any of the back , I'll put some ink on the back , but I'm going in with this sort of bright olive , the colored green , it's almost yellow .
OK ?
And get that mostly covered and then I'll go in with a little darker green .
This is like a peeled paint color and I'll just start kind of focusing on the outside edges .
The base .
The beauty of this is you can just keep on working it until you're happy .

As long as you don't go too heavy .
And you see how I'm kind of leaving that shiny center that's like , uh , you know , a shot of sunlight that might hit it just right .
OK .
I'm getting close .
I think I'm pretty happy .
OK .
And then the last thing I would do is grab some brown ink .
So this is vintage photo and I would just hit those outside edges .
OK .
I'm happy with that .
I did add a little bit more green .
I actually used uh a brighter green and then a little bit darker brown around the edges and I did ink a little bit on the back .
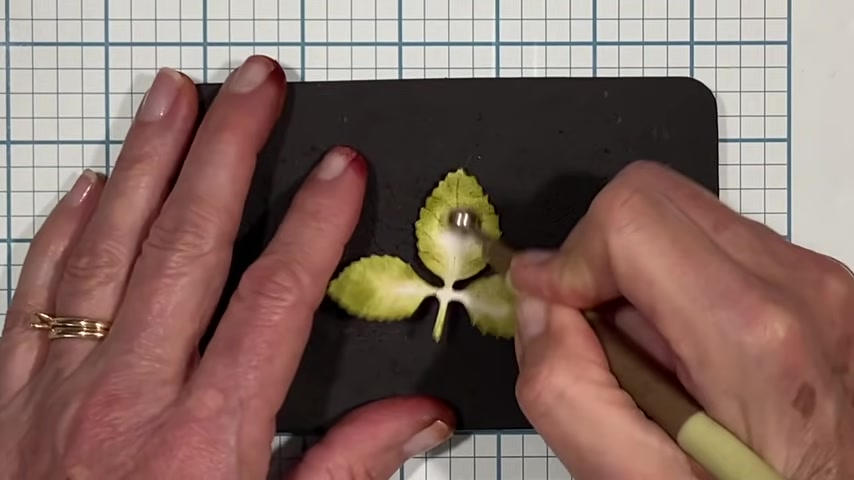
So now I'm just gonna put it on my cushion here and I'm gonna use my large ball stylist to kind of just soften up those paper fibers , get those things shaped a little bit instead of super flat , use the small side to really get those wrinkles in the leaves on those outside edges .
OK .
And then I will flip it over and you could use a small ball stylus and run it down the center .
So if I was gonna do that , I would just take this on too .
This is just a piece of felt , it's like that stiff felt that you can buy at the craft store .
And I'm using a very small ball stylists and I can pull down the center of all of those .
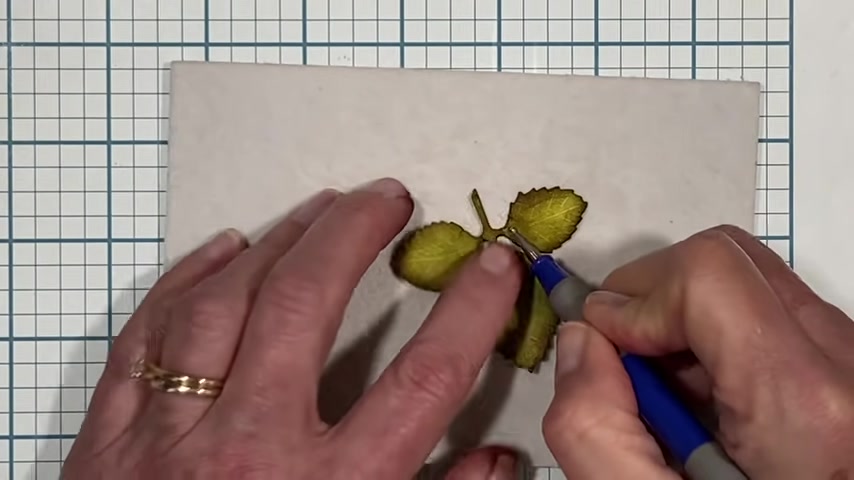
I don't really need to stroke out on all the veins , but then it would take my reverse tweezer and you can do this from this side .
It doesn't matter and give that a little pinch down toward the base there .
You don't have to do it all the way up just to the base .
You can see my fingers .
This is an inky mess , but it sure is fun .
OK .
So that , gosh , I like that one almost better than that one .
While we're talking about leaves .
I'll show you a few more that I did here again on the soft finish white card stock .
Sometimes I used a little marker in between .
I haven't shaped these yet , but um that's just a different look of a leaf .

Uh You can definitely cut the leaves out of card stock that's already colored like this and do the same sort of technique .
Add a little bit of darker color , shape it with your tools .
Um You can die , cut the leaves out of pattern paper .
This had a little bit of a green hue to it .
This was from the reminiscence uh the book from Elizabeth Kraft designs .
As were these ?
All right .
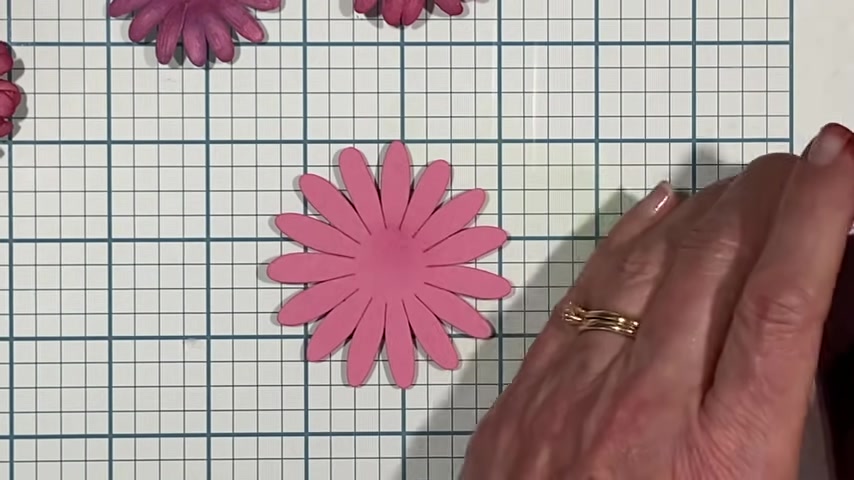
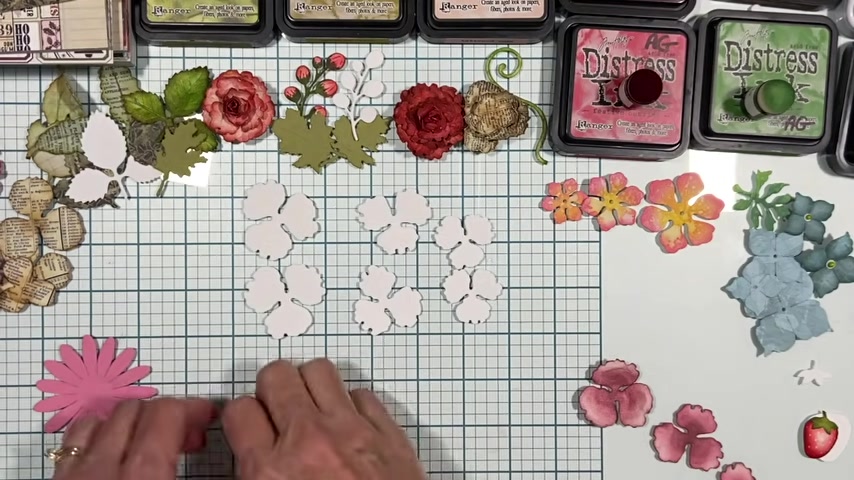
So let's make a daisy sort of flower .
OK .
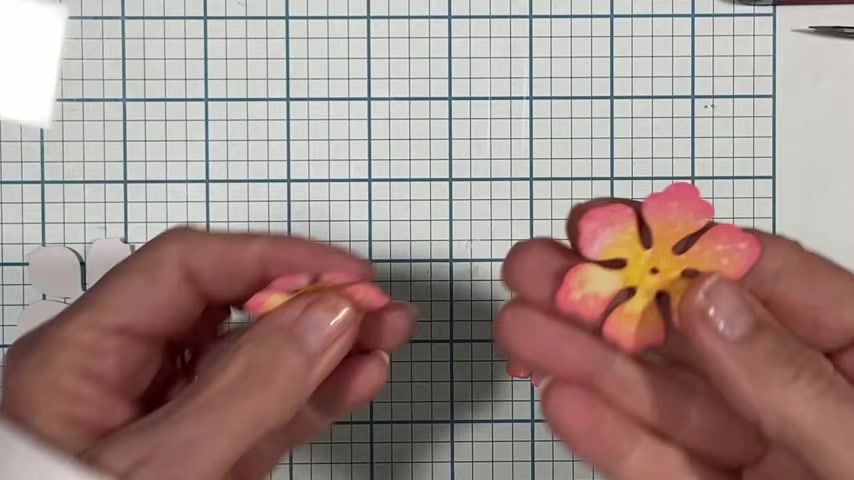
Uh One thing I want to point out is that if you use colored card stock like I did here to start , um , this is the kind of look that you're gonna get , which is great .
Uh If you use the soft finish white , then you have a little bit of a different look .
This is exactly the same two inks that I use on here .
Um , because I started with pink over here , it gives it a little deeper look over here .
Um You know , these two can go together .
I think that looks great together .
They don't have to be matchy , matchy .
So it's really up to you if you don't have any white and you'd rather use , you have card stock to use up , you can do that .
Ok .
So these were very , very easy .
I'm gonna go ahead and demonstrate with one , this very large one that is cut from the pink card stock and before I shape it , I'm gonna do just like I do with the leaves .
I'm gonna get a pink color .
I'm not gonna , I don't think I'm gonna use a lot of different colors here just gonna kind of blend this out .
Well , I might go in with a darker color in the center .
We'll see , we'll see how it goes anyway , just blending it out and you can pounce or blend or whatever you wanna do swirl .
You just don't want to get a hard line when you're coming out .
Uh the very center doesn't matter a whole lot because we are gonna stack it on another one and the cut the center is gonna get covered up .
But I'm just working my way around here blending it out , almost all the way out to the edge .
And I've done one already over here and I've shaped it and everything .
So I'm just trying to compare uh , if I want to put any other bright color in there and I think I will , I'll put just a little bit of this darker , darker pink in there .
I'm not sure if that's gonna make much difference , but I'll do that .
Ok .
So again , I would take that original pink , I was using just kind of hit those outer edges .
This particular card stock that I'm using is uh it has a white core to it .
So I don't want to see white when I go to start shaping the flower .
So I'm just kind of getting in there real quick .
All right .
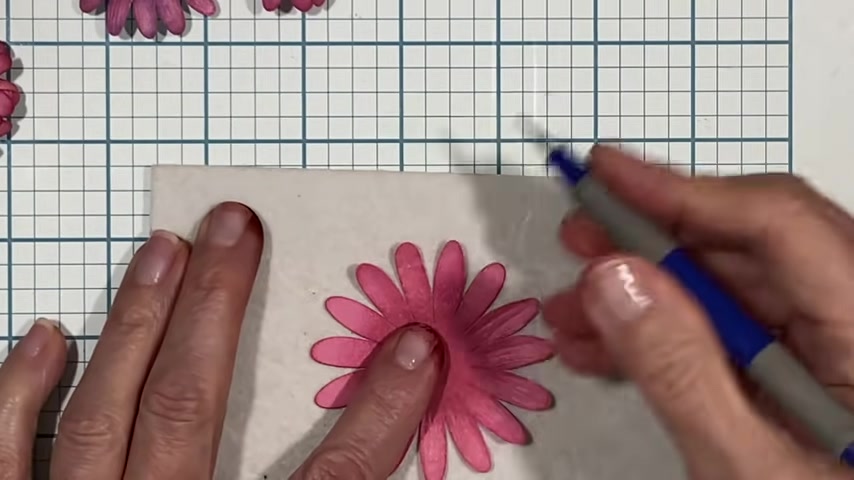
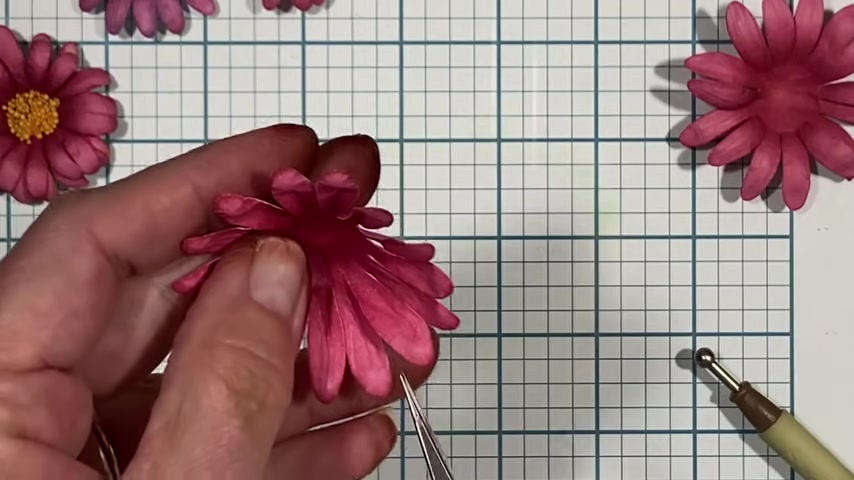
Now , before I shape it and make it dimensional , I'm taking my , again , the very small ball stylus and I am just sort of making strided lines on the pedals just to sort of mimic the look of a daisy .
You know , the idea is just , you know , make it look a little more realistic than just card stock , but you don't have to work too hard to make it perfectly realistic .
But these little details are helpful .
I would recommend pulling toward you instead of pushing away like I'm doing and I'll show you this close up in just a second .
I am using a lot of pressure as I go around .
Ok .
Let's see if you can see the detail there .
Hopefully you can .
OK ?
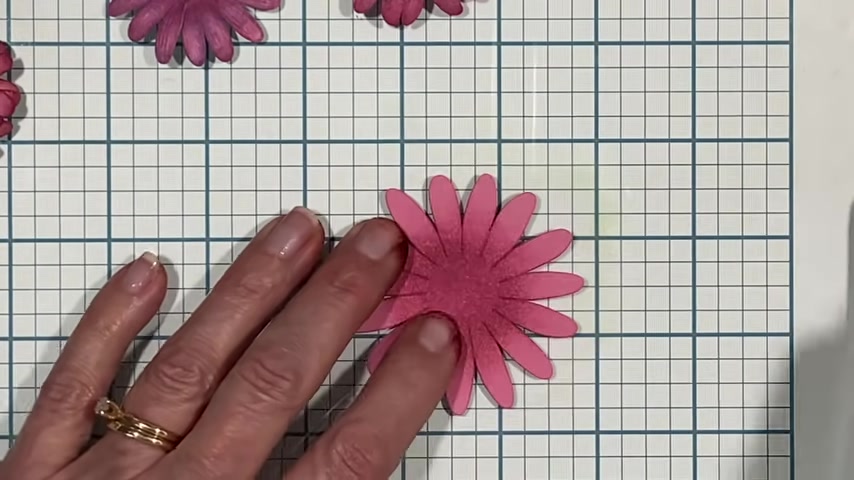
And then I would switch back to my soft mat and I'm gonna put it face down this time .
Give it a good stir in the center kind of strip those pedals a little bit .
I don't want to get rid of my , um , those lines that I just made .
So I'm just giving it a pull toward the center .
Everybody's curling in and that's exactly what's supposed to happen here .
Just kind of hold that center .
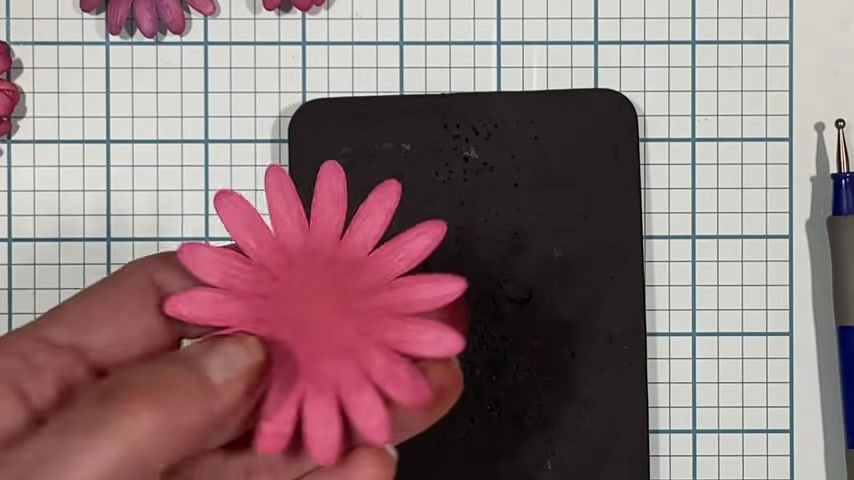
OK .
And then I'll flip it back over and give it a good stir in the middle and a really firm press straight down into the mat and it starts to do all that , which is very natural looking .
And then , so you can see that there is a little bit of a difference here still .
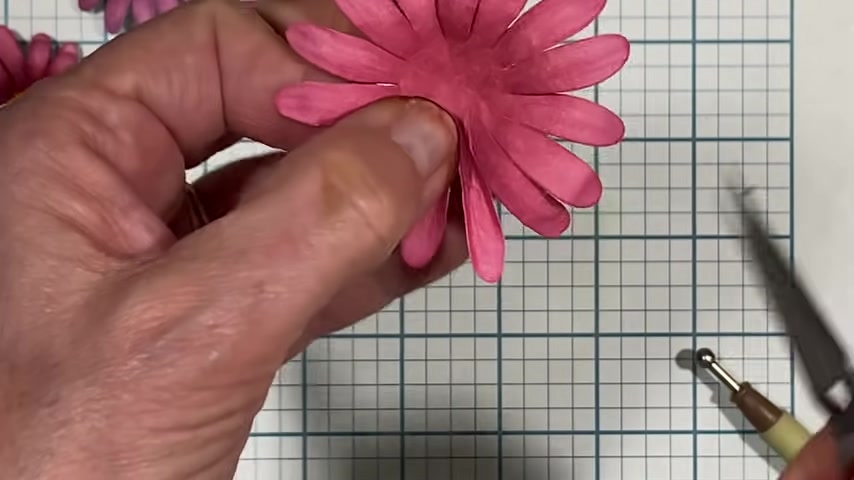
So , what I've done to this one is I've gone in with my reverse tweezers and I've done the same thing that I've been doing and I got it in there and I pinched just at the base .
So I'm going to do that to this one .
I'll do a few for you again .
So you can see it , get it right to the center of the flower and I'm just pinching inside a little bit , I'm not pinching all the way out .
So you're getting that little bit of dimension in there that's given it even more of a realistic look .
And it's super easy to do if you didn't have tweezers at all because it doesn't have to be reverse tweezers .
It can be any kind .
These are just nice because you don't have to keep squeezing .
But you could make a little half of a score line from the center about halfway down the pedal and then fold and pinch on your little score line .
I think that would work .
Whoops .
OK .
So you're getting the idea , I'll finish this up and then we'll put these together .
OK ?
My big Daisy is finished .
There's two layers , you can do as many as you want .
Really a true Daisy I think has just maybe one or two layers to it .
I have done the smaller version here and pretty much the same colors .
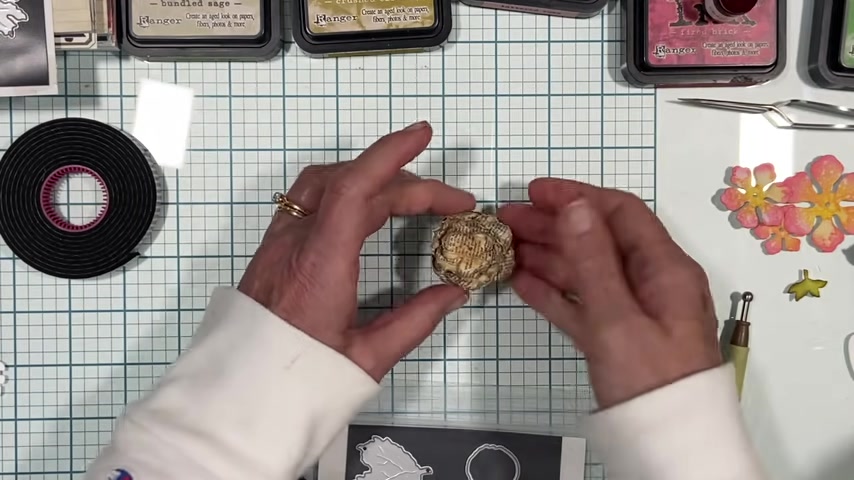
The inside .
I have filled with Perls .
I don't know if you've heard of those , but these are Perls .
They are these tiny little jars or these teeny , tiny little bead like uh guys and they um see how they're not all solidly the same color , very realistic and they're even different sizes .
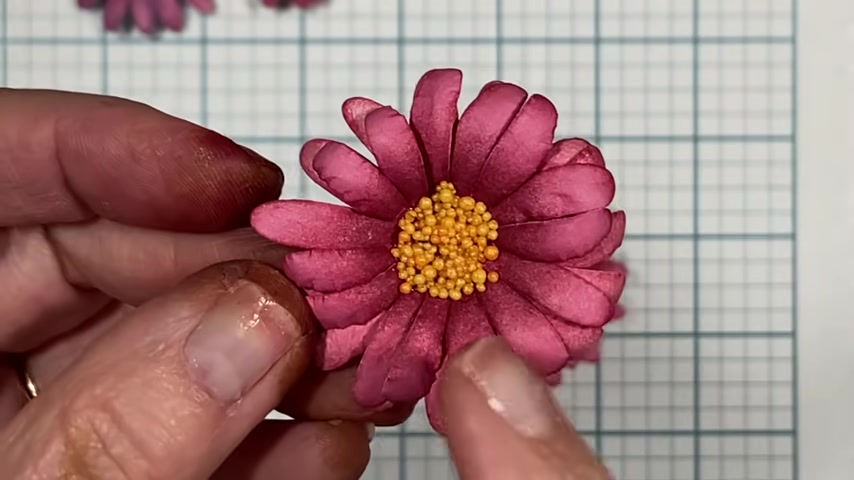
So they are perfect for putting a little bit of glue down in your flower and then pouring some pearls in there and letting it dry .
You have to make sure you have to use a glue that dries clear and sometimes I even do another layer .
Uh , you certainly could use , uh something that would hump this out even further like a daisy does , which would be maybe half of a , I don't have any but a little styrofoam ball .
I would cut it in half or in a third and then put that little styrofoam ball in there and then cover it with the pearls .
I think that would be pretty .
OK ?
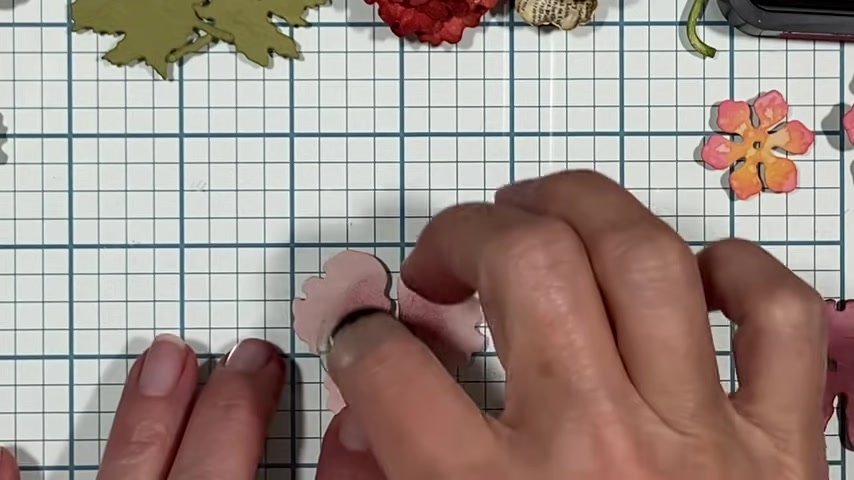
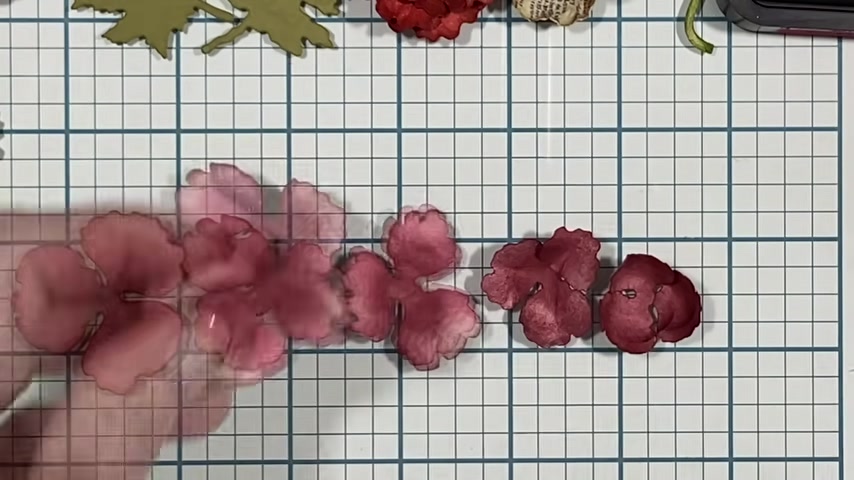
Now we're gonna make a rose similar to this .
So to kind of simulate a rose , I used florals one .
Uh I was very much inspired by Anita Eisen Dorn with the Elizabeth Crafts design uh team .
Uh So I'm doing it similar to her , but I'm gonna put my own little twist on it .
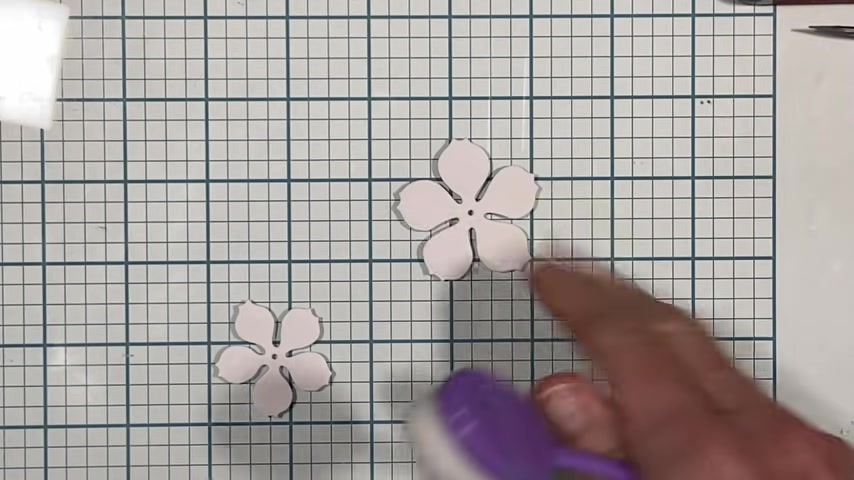
So I use the dye .
I cut out the three different sized flowers , 123 , uh two of each here .
I'm just showing them in white , but I did the option where I use a very soft colored pink card stock .
Um It's a little bit now it's probably about the same thickness as the soft finish white card stock .
So I'm gonna use that .
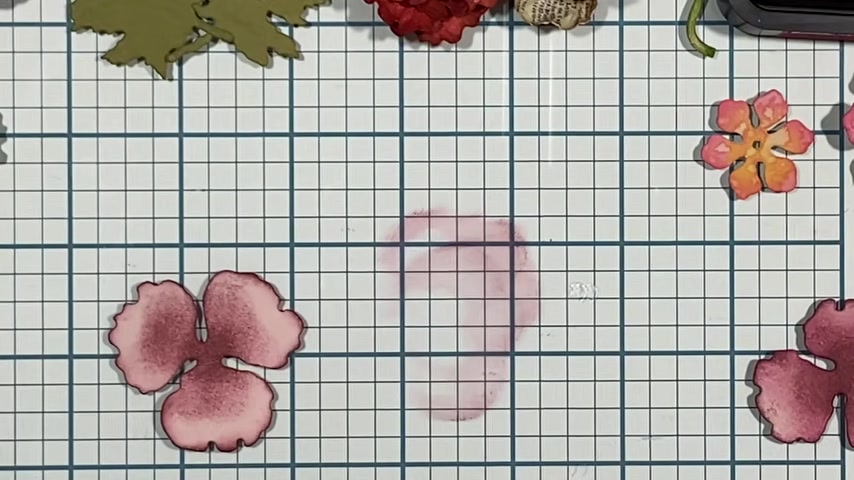
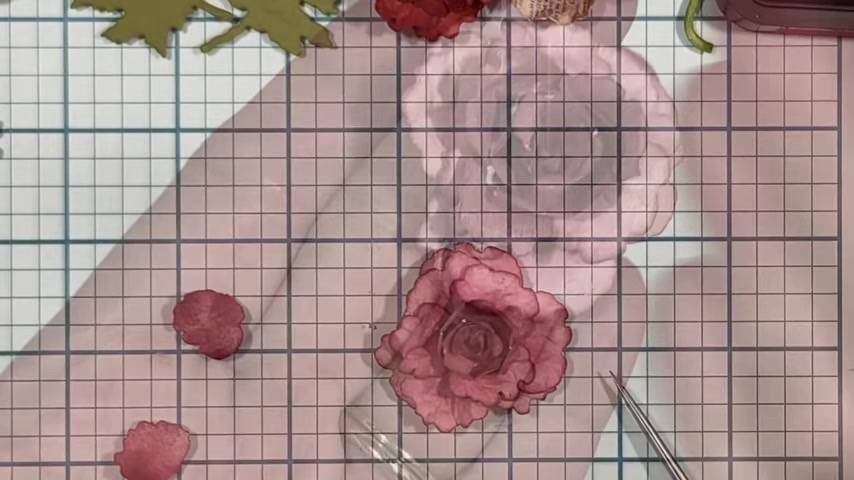
I have some , my piece is prepped already started with two inks and one is a nice deep kind of burgundy color .
They call it Sangria .
Uh use what you have .
And then the second color is another shade of pink and it's like a cotton candy pink .
So a medium colored pink and a dark kind of burgundy .
I take the darker color first and let me zoom in for you and I have a little fingertip dabber here and I'm just gonna start tapping the center .
Now .
I am definitely not an expert at making these roses and my goal isn't really to make it look exactly like a rose .
So I'm just enjoying the process and , and that's how I like to do it .
So there's that and then I would go around the outside edges , but that same color just barely , I'm not coming in too far , just kind of getting those outer edges .
OK ?
And then because I think that I'm gonna see some of the back of these petals , I'm gonna go ahead and ink those pretty heavily everywhere but the center OK .
Kind of like that .
Then I'm gonna come in with my medium , let me clean that up my medium pink color and I'm just gonna kinda stroke it and blend it outward from that color that was previously there , almost all the way out .
So you can see the difference there .
So I'm gonna go all the way around and do that on all three pedals .
You can do as much or as little as you like , I got my little cushion here .
I've got my ball stylists ready .
I'm gonna use the large ball since this is the largest of the three flowers and I am going to put it face down on my mat and I am just going to start to condition the paper kind of soften it up , kind of stirring , kind of stroking .
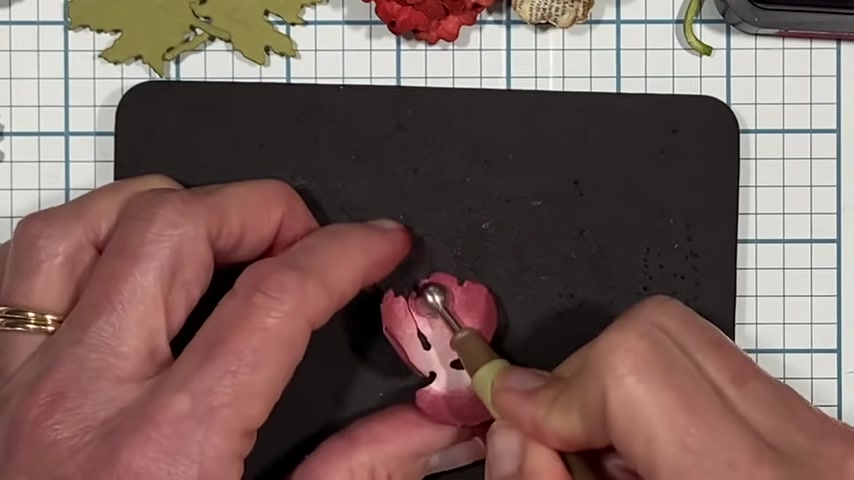
And I do this kind of a lot and then sometimes I'll switch to the smaller one , especially around those outside pedals .
Uh If it doesn't slide easily , as you see mine sort of dragging around , that just means that the ink isn't dry yet and that's just going to do in a video .
Normally , I would let that ink sit there for a little bit before I went at it .
So , um , now you can move to a smaller ball stylus and start to kind of pull in heavily with a little more pressure on those outside edges .
I'm pulling in toward the center and it's really getting soft .
The paper is , it's almost starting to feel like a flower petal .
So I'm gonna do that all the way around .
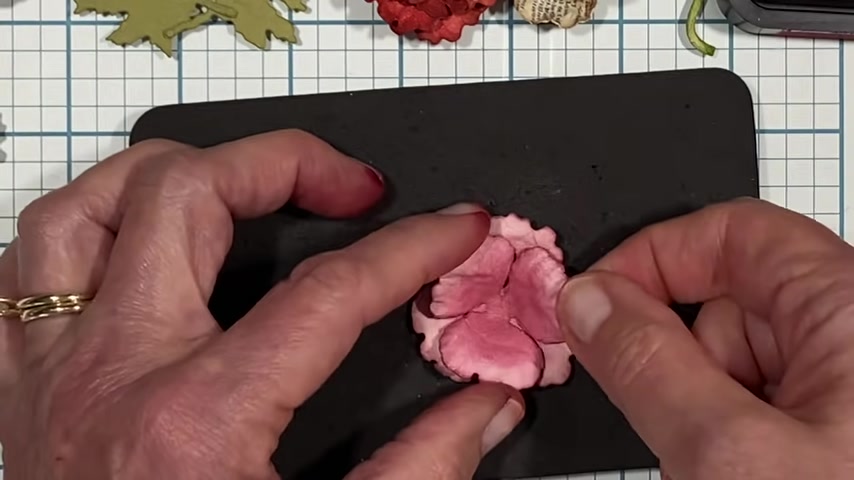
OK .
And then I will flip it over and I'll give it a really hard smush right in the center and then just in the center area kind of stirred around a little bit .
OK .
And so what happens now is that we're gonna put that one right on top of the second , one of the same size and then we'll continue with our other sizes .
But when we get to the smaller ones , I'm gonna change it up a little bit .
I've got all my pieces shaped and what I did here I did these two , this , these three the same way that I showed you .
This one , I went in a little bit further .
I pulled them in tighter .
Uh It's because I want to get smaller and smaller as I go inside my rows .
And then this one , I completely cup the entire time .
I never folded anything back .
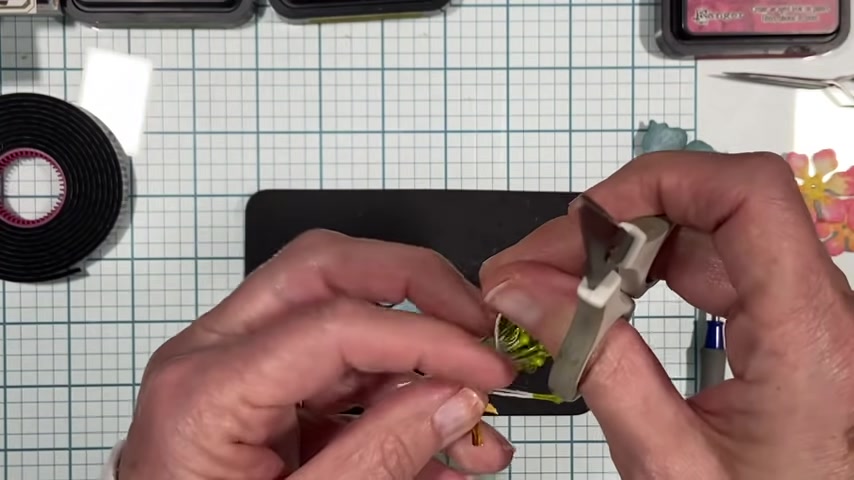
And then this one was the , the last small one and I rolled it up with my tweezers and I made a little bud to go inside .
So I'll show you that specifically in a bit .
I'm not gonna , uh , I think it's getting full enough that I don't have to do that one .
So I think I'm gonna skip that next size down and I'm gonna put in the one that's very cupped like this .
OK ?
Can you see that ?
I've got it all rolled up .
I've got some glue in there .
I've gone in there with my reverse tweezers and just kind of spun it a little bit just to get a nice swirl in there .
OK ?
And then I've kind of pushed these back a little bit .

So like I said , I'll show you in just a moment how to make um a full bud instead of just this inside part to the flour .
But you can see it's a very long cone shape and I am gonna trim that .
All right .
I've glued it to the table .
That's OK .
It's a glass mat .
OK ?
So you can see how that's turned out .
Very nice .
Uh If you wanted it to be fuller , you could certainly go back to that one set of petals that we eliminated .
And what I would do is I would cut them apart like this , shape them again in the center with the tweezers .
Give them a little pinch , make sure these kind of roll out a little bit and then you could , you know , you could glue them in there and kind of fill that out a little bit .
It doesn't look bad .
So maybe I'll do that real quick and then I'll come back and show you .
Ok .
It looks nice .
Right ?
I just did a little bit of filling in .
The glue needs to kind of dry .
So it goes clear .
Uh , but you can see by just using different inks , how you have a different look and um , one great way to use this one would be , let's say , uh if you have a little card here , just happen to have one and you could , well , I think this one's gonna match this card better .
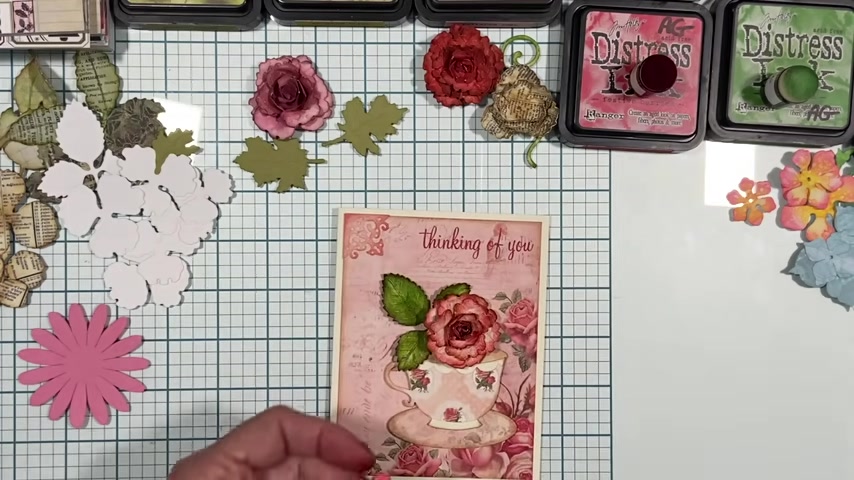
Um We could take our little leaves here , we could put our little rose here and then it , to me it feels like it needs a little something more .
So I cut out this particular shape .
This is from , um , the leaves and branches set and I just use markers to entirely color it this time instead of any kind of inks and I think that that would look cute , just kinda coming up like that kind of fill out the card a little thing .
Um But maybe you find that if you wanted to make a card , uh something that you want to send in the mail , you don't want to put a big dimensional rose on there .
So you could make a little rose bud instead .
So let's make one of those real quick this time .
I've cut the smallest and the next size up .
And I have colorized them the same way this time because they're rose buds .
I made them a little bit darker .
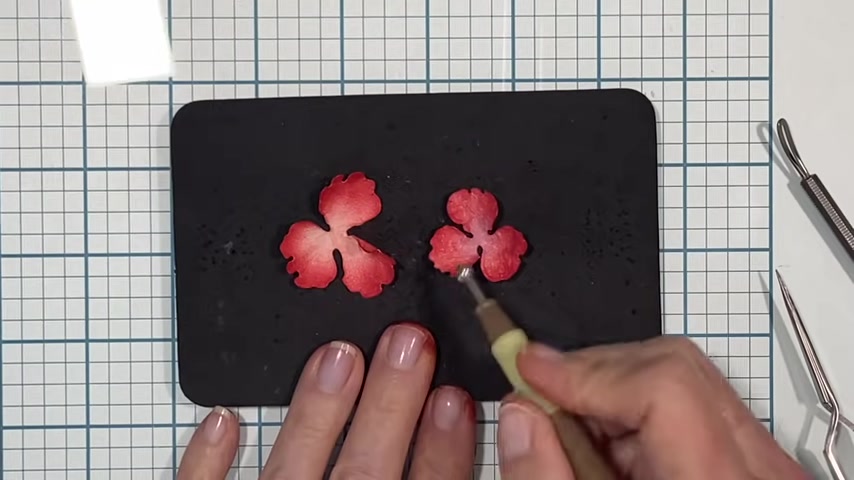
I've gone through the same process of shaping and kind of stroking those pedals and I have colored them on both sides .
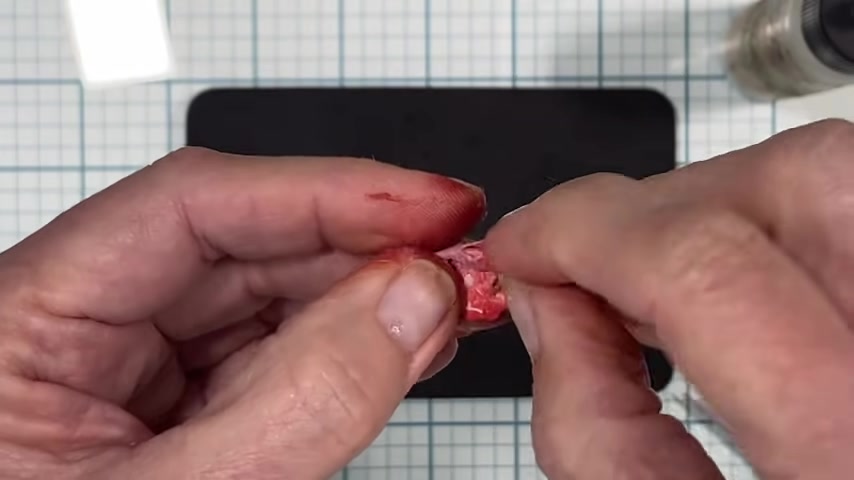
So the first one , the smallest little guy that's going to be the most inside portion of our bud .
So I've got my little reverse tweezers .
You can use any kind of tweezer .
I'm gonna grab one edge over here , get my glue ready and I'm gonna start putting the glue just to the right edge .
I'll do two pedals at first just to the other side of the tweezer .
Oops .
And then I'm gonna just start rolling , holding tight .
Oops .
Sometimes it lets go .
Uh I'm so used to regular tweezers that I want to squeeze these , but you don't have to do that in there .
And then I'm gonna get the tweezers out of there and do the rest of it .
With my fingers and you can see I've got one more left over here , but you can kind of see how it's starting , right ?
Ok .
And so I will get some glue on this last one and just kind of follow suit and roll it around .
Ok .
And while I'm kind of waiting for that glue to grab and set , I'm just gonna kind of push out a little bit .
Ok ?
And then we'll take this guy and instead of rolling him as well , because he's going to go on the outside , I'm going to snip these apart and I'm making a nice flush cut when I do these .
And I'm coming up a little bit higher than right in the middle there .
OK ?
OK .
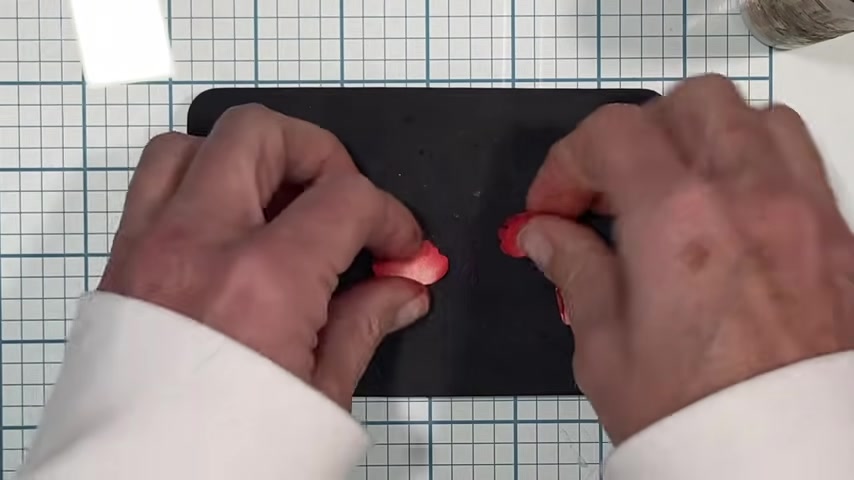
So I have three pieces that are kind of squared off like that .
And then I'm gonna take one by one and wrap them around this time .
I'm not gonna put a ton of glue around the edges .
I'm just gonna kind of mostly hit the base a little bit up the side and then I'll just start like kind of overlapping where I ended before and roll that around .
It's not going to reach all the way around and that's OK because we're gonna go with another one and another one .
So let me just get those other two on there and I'll show you how it looks .
Ok ?
So our little bud is done looking really cute .
And now we want to put a little bit of green around the base of it .
So I've actually cut this little flower shape here .
This is from uh the floral seven set and it's just uh this not the smallest one , but the next size up flower , it looks like a little daisy .
I've colored it green on both sides and I am going to do the whole stirring and cupping thing on one side and I really want this to curl up pretty tight like that .
Can you see that ?
OK .
And then I'm gonna get some of my glue in there all around the edges .
Best I can or you can put it around your Rowse .
And I also wanted to point out that if you wanted to , let's say I have already stuck this in there and I saw that it was just a little bit sticking out a little bit higher than I wanted .
So you can always trim that with your scissors , but a little bit of extra glue on the bottom here , a little bit around the sides .
OK ?
And then we can put that right in there and wrap that around and hold it and keep moving around until all the little green parts wrap around your rose .
You could always add it to that card .
So there are three on there or I can save it for something else .
Um But yeah , that's a good solution and you can even kind of press down on those and make them even flatter if you wanted to , to mail them in a regular envelope .
But typically in a card like this , I would put it in a padded envelope just like I mentioned with the leaves , you can cut your flowers from pattern paper .
This is very thick , almost like card stocks .
So it's perfect for the flowers .
Uh I have started to put this together here , but in the same fashion , you would just soften up your paper fibers .
I'm going to do it face down to start with .
And then instead of just pressing the center on this one , I am going to actually stir and make it cut forward just for a different , just a different looking flower .
There is absolutely no name for this flower .
It is just my own little creation .
So it doesn't matter how it turns out as long as I'm happy .
So that's definitely something you can do , put a little glue on this and get that in there .
So many different options .
And of course you would put something in the center of that , but that's pretty interesting and different .
I would put , yeah , some kind of center in there which we'll talk about in a minute .
But here's , here's a great example .
That's uh the same flower .
So this dye is florals four .
And of course , you have a wonderful picture on your packaging and that is a completely different looking flower there uh even than the one I made here on this little pizza box .
And then the one that I've made here .
So that's the beauty of the dyes is you can make them look all different .
Another example of using pattern paper .
This is also cut from pattern paper from the reminiscence the book collection from Elizabeth Kraft .
And it's , you know , flat , no dimension and it can look like this .
So super duper easy , just like we've been doing , I'm gonna take this and put it face down .
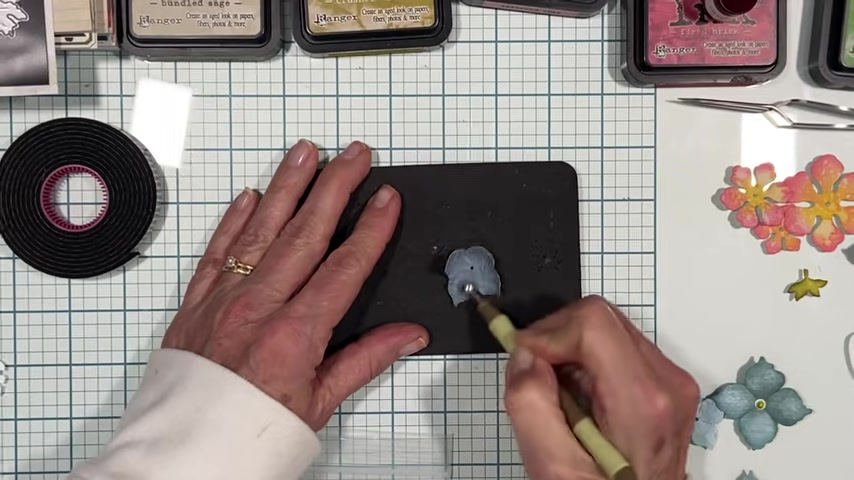
Give it a bit of a stir just to soften that up and then press hard in the middle .
And I mean , that's really it .
Uh the only thing that's a little extra on this one , that's kind of fun if you notice the center here in the dye , which incidentally is the florals too .
Uh You have these little circles and of course leaves and all kinds of things .
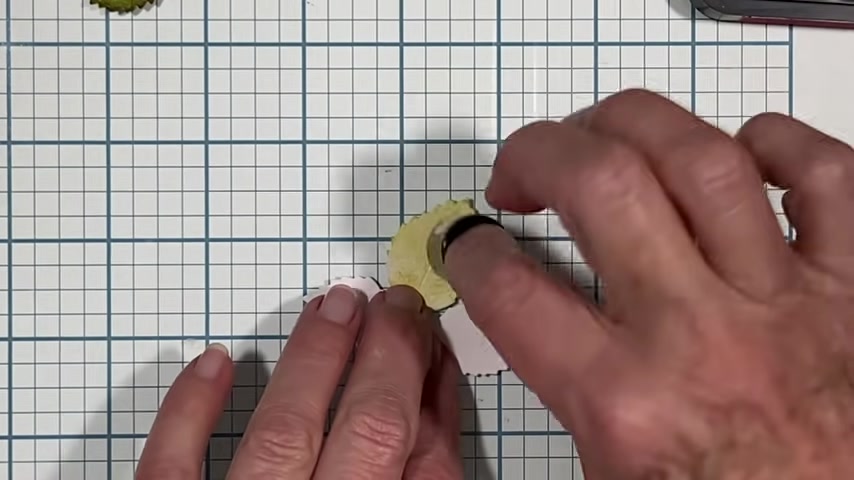
So I'm going to take one of those circles and this is a medium flower .
So I'm going to take a medium circle and I'm going to press it with a smaller ball , stylus very firmly .
You can kind of stir it , but I'm just gonna press really firm and then it will go right in the center there with some glue .
All right , I added a little bit of blue ink around the edges .
I've got my little circle in there and then I'm just gonna go in there was a hole already in that flower .
But I covered it with the circle there , which is what you can do .
You can stop there and be done with it .
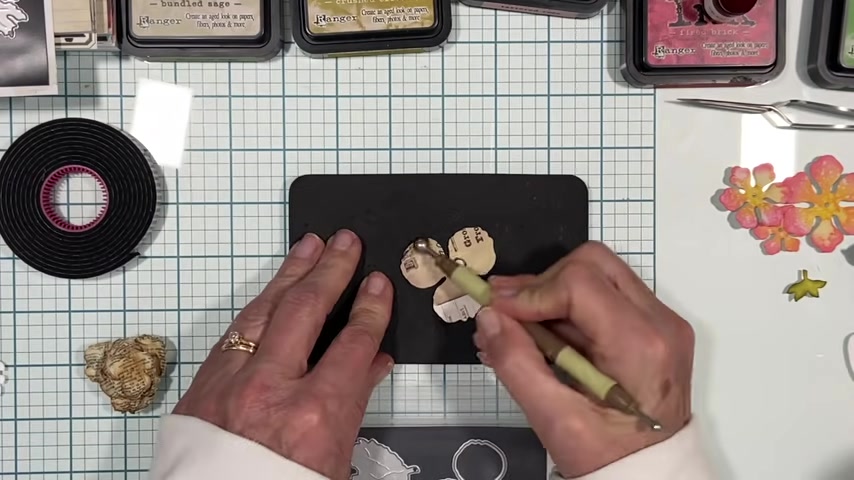
But I'm actually going to pierce through again and get a pretty decent sized hole in there .
And then I'm going to use one of these flower stamens .
Now , look at these , they have , um , the colors on each end .
I bought this giant pack of assorted colors on Amazon .
I also got an assortment of uh just ivory colored ones and , and they have all different sized , um , heads on the stamens .
There's little pointy ones , you can cluster a few at a time , uh which I'll show you on another project , but I'm just going to cut one of these away .
And this is the great thing about that being on both ends is you can just snip them and use one end or you can fold them in half and use two at a time , whatever you want to do there .
And I like to take a little bit of glue and just kind of get in there right around the hole .
And then that way I can just push this through and that glue will hit the um the green part of that stamen .
So that's pretty cute .
Right .
So I've done that , I'm going to let that one dry and I've done that to all of these .
And I also , I think I showed you these leaves earlier .
So we're going to use those .
Those are all from that set after snipping off that little extra off the back of the flower .
Then I went ahead and put some techie glue behind these and cluster them all onto this pretty car .
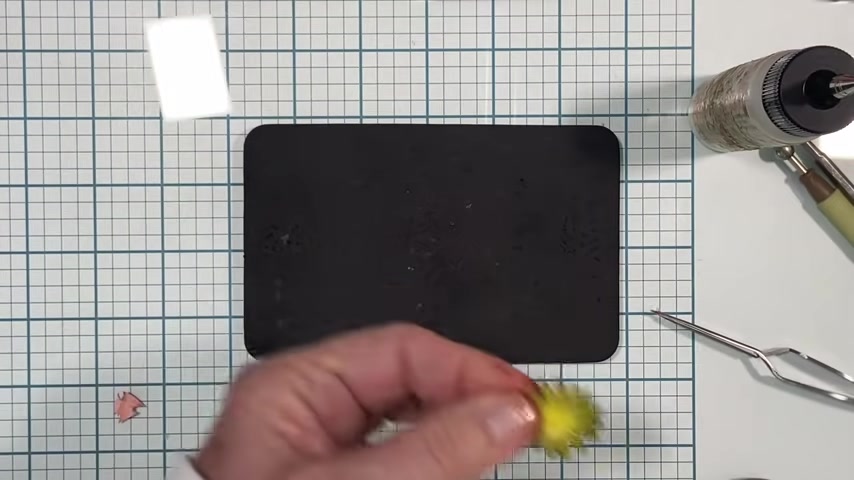
Sometimes you want a flower that would never exist probably in real life , in nature .
And this is a great example of that .
I don't think I've ever seen a flower that looks like this , but I sure like it .
It's kind of fun , kind of pretty .
And here's an example of it used on this pizza box here , here's an example when I was talking about those stamens , how you could use three inside instead of just one , especially on bigger flowers .
I've used them inside the daisies as well , just a single one , but here is three .
So anyway , uh the way to achieve this fun look , you can do it several ways you could use water color paper , um sketch paper .
I'm just going to use again , the Elizabeth Kraft designs , uh soft finish , white card stock .
And this time I'm going to use oxides uh just because they're so reactive with water .
So this is kind of a fun technique .
Let's say you wanted a rainbow looking flower and you wanted it to be purple and pink and sort of green , just kind of all over the place .
So I'm using a very soft um blending brush this time , I'm just going to randomly put some purple I'm not even gonna think too hard about it , not worried about it being in the center or anything like that .
This is not meant to be super duper realistic .
So it doesn't matter a little more .
OK .
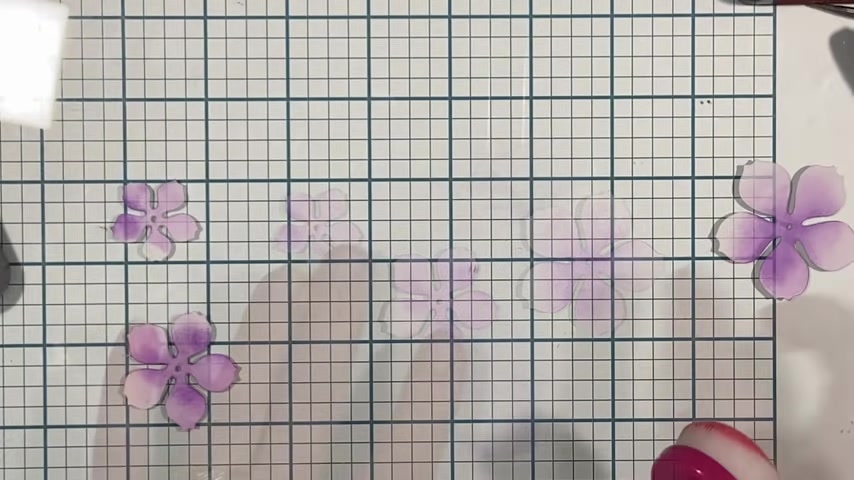
And then I would go in with my second color , take my little water spritzer and I'm just gonna not blast it , but I'm gonna let big droplets kind of Sprinkle onto there and I'm gonna let that sit for just a second and let the oxides do their little magical thing .
All right , let's take a close look at what's happened here .
So that's kind of cool , right ?
The water droplets , I did not touch them .
I didn't dab them off with a cloth .
I just let them sit there and kind of interact with each other , all those colors in the water .
And I have this great splotchy uh effect that I love .
I did go in to speed up the process and I use my , my heat tool .
Now , let's try that other technique with actually putting the color on your surface .
I'm working on a glass mat .
You can use that if you have it .
Um You could also use a non stick craft mat if you have that , whatever works for you really , you could use a plastic postcard , you know , coated postcard or old magazine page .
Uh So I've just kind of spread some of that on the surface .
I'm gonna add a lot of water and I'm gonna grab one of these great looking , it looks like a tropical leaf , like a big old elephant ear .
They call them in Florida anyway .
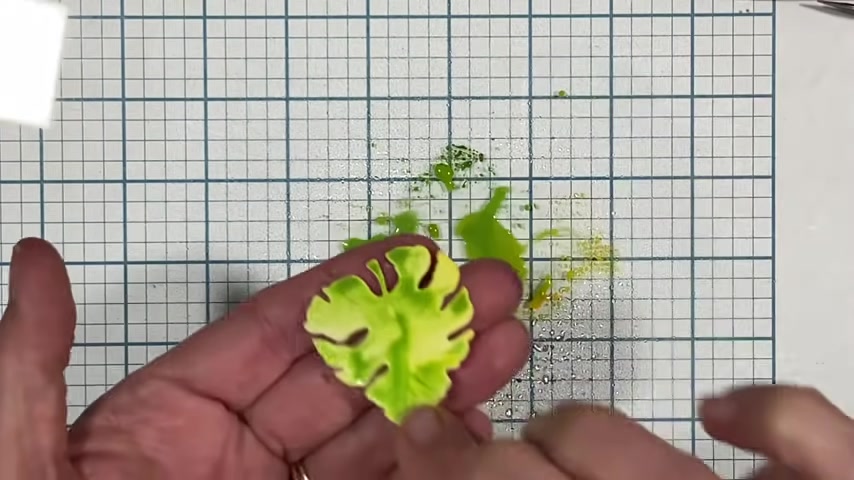
And you can uh touch and dab them right into that ink and get this really cool effect and you can keep on doing it um , as you desire .
If you want a little more of that darker green , you can do that on the outside .
Now , that looks pretty cool and just so you can see the finished product .
I did go around and ink the edges with compatible colors on these fun funky flowers .
And then I did the same with um those very colorful leaves .
I hit them with some green on the outside edges and then I kind of shaped them .
Uh but you know , you can use oxides , you can use watercolor paints , you can use markers , regular markers .
Um There's so many possibilities when coloring these flowers , but let's say you don't want to make a flower at all .
You want to make a strawberry .
Well , we can do that .
Uh There is the number 17 77 strawberries dye from Josette .
That is wonderful .
Um I use this on a card that I don't have anymore , so I will pop that up right now .
So you can see it .
And as you could see on the card , it was very dimensional and full looking uh looked almost like a real strawberry there .
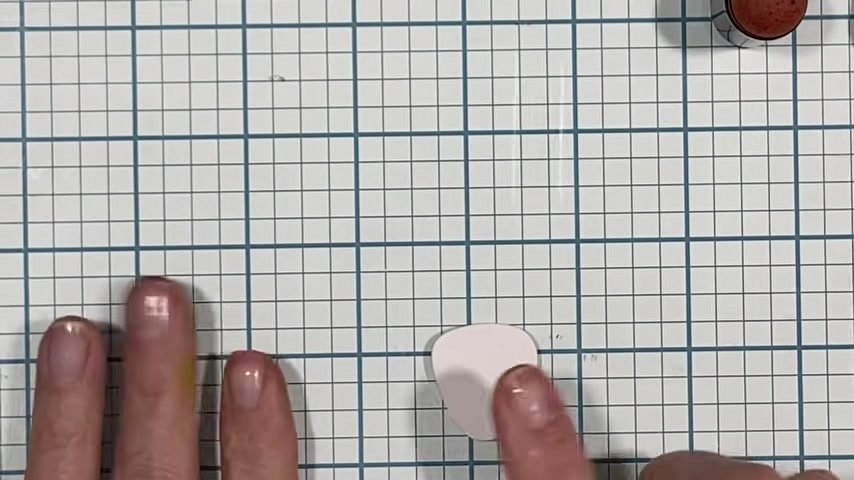
And so that here's how that's achieved .
Uh I'm gonna take a very , very light pink and I'm gonna just kind of swirl it around the entire strawberry , but I'm gonna leave a little , I always call that a shine spot uh kind of in the middle , maybe a little bit toward the off center to the right a little bit .
So we have a little bit of a shiny white center where there's no ink at all and I'm just using distress inks again .
Uh This time I'm gonna come in with a little bit of red very gently .
I'm working now .
I'm working from the outside in .
Can we get any closer ?
No , we can't .
OK .
So I'll hold it up and show you .
But you know , you can start light like this and you can always darken it back up .
So if you wanted to know the colors , the first , the pink that I used was tattered rose and this is festive berries , but I barely have any of this on the um the dabber .
It was just residual that was on there because it's a very bright , bright red .
OK .
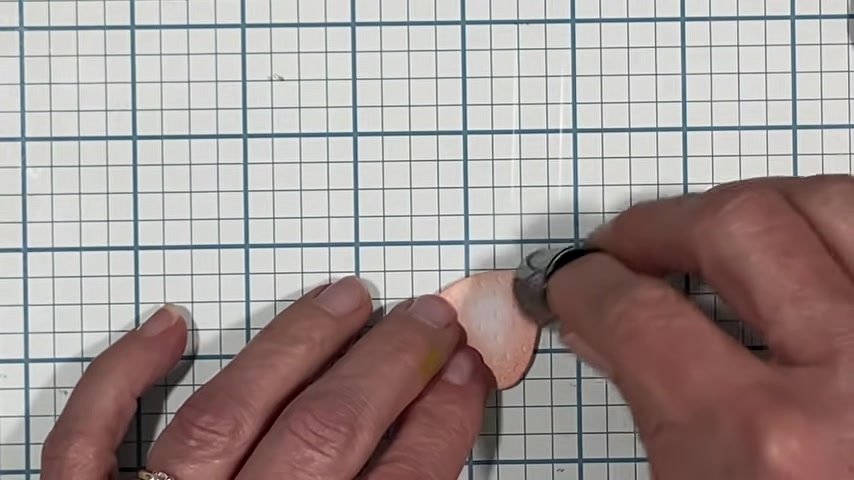
So this is starting to take some kind of shape and then I would go in with fired brick .
Let's see if there's anything on this dabber .
In fact , I'm using a new fingertip dabber each time I change colors , uh you can use the same one for reds , but I like to change them out because I know one is darker than the other .
So now I'm coming in with even a little bit more pressure and this is really starting to get that dimensional look about it .
However , there is one more step , actually , there's a couple more steps .
Now I'm gonna take vintage photo and just kind of hit gently the outside edge .
You can kind of blend in a little but um I kind of focus on that outer edge .
OK .
So that's looking pretty realistic .
It almost looks rounded and it's completely flat .
But wait till you see what we're gonna do , right ?
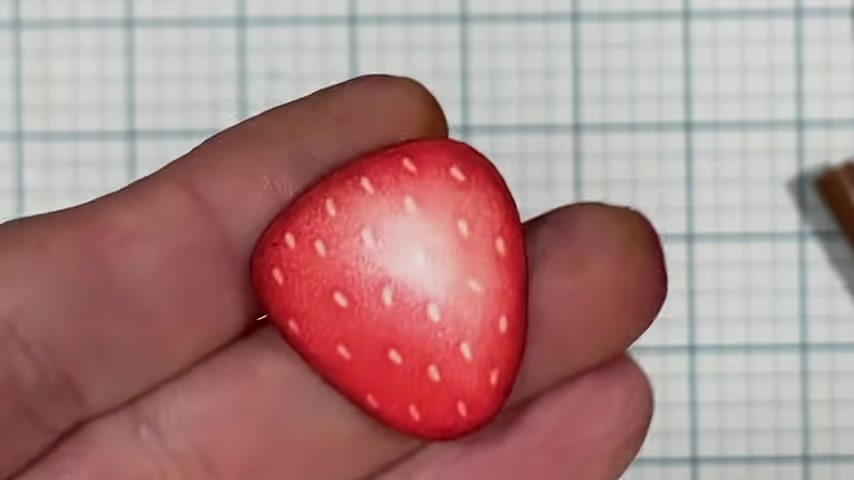
So as we know , a strawberry does not have white seeds necessarily if you take a close look , they look almost greenish , uh sometimes yellow .
So I'm gonna go in with just a yellow marker and I'm just gonna stroke on all those little seed spots , ok ?
OK .
Starting to look even more realistic .
And then , and I only know this because I googled strawberry and I pulled up some images uh then you can take a brown and it's like a medium brown and do just a little bit of a uh see along the left curve of each seed .
So even more realistic .
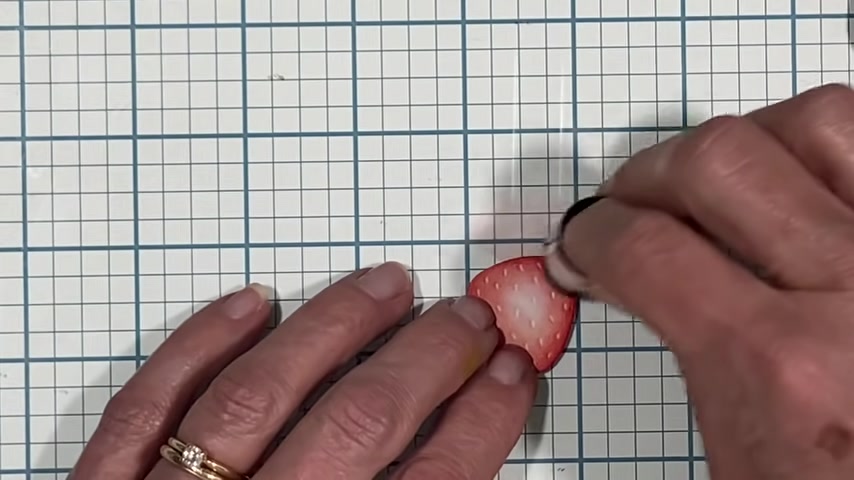
So the next step that we would take is like we've been doing with our flowers , we get our little cushion mat faced down with our strawberry and using the large ball stylus because this is the large strawberry .
I'm just gonna stir around those edges nicely .
And then toward the center , we don't want it to cup too much .
We just want to give it that rounded dimension like that .
And then of course , we have our little cap , the little stem cap , which I have also already curved on the , the mat here earlier and I'm going to glue those together on top .
OK .
Cute .
Right .
And then my very last step would be if I was ready to put it onto a card , which I have this little , let me zoom out a little bit .
I have this little seed packet already ready to go here .
Uh And I have some paper on here and I've done a couple of strawberries and also these little swirls , the leaves and the little , the small flowers that look like little daisies , they're all in that set .
So to pop this up .
So it doesn't smoosh down flat .
I'm going to use two squares of just some white foam tape in the center .
Oops , I find that two , you , you can't see it quite from the side .
So two is a pretty good amount .
And then I would put that maybe like so and there we go .
Cute .
Right .
Well , I think that's it for me today .
I hope that I have shared as much information as possible about making these flowers , different options that you have different techniques , you can try different projects even that you can make .
So I want to show you really quick before we go , some things that I did create , you might have seen some little sneak peeks as I was demonstrating some of the flowers .
Uh But remember those funky florals that I made , I didn't use the leaves , but I did end up using the fun flowers that look very groovy to me .
So I popped them onto this cute card with this VW uh just made a little card .
So there's that and we saw the strawberries on the seed packet before .
Uh One other thing I didn't mention before that you can do some of your florals .
This is the pizza box um from Elizabeth Krafts .
It's the dye .
Uh You can use a wink of Stella or some sort of glitter marker and you can brush over the top of your leaves .
You could also spread a little thin layer of glue and Sprinkle glitter .
I mean the opportunities there are endless .
Uh Let's see , we saw this flower already on this pizza box and we talked about this one .
Uh The daisies .
I wanted to show you that I put them on this cute little bag here .
This is the one where we poured the pearls down in there and I added some leaves .
I still have one more daisy left over here .
So I'm going to use that on something else .
Uh What else do we have ?
I didn't show you how to make the poppy , but it was the same dye that we used to make the rose and I just mounted on , on this and it may go on a card or a gift bag or something later .
So there's that sample .
Uh , remember when I made the little uh flower that was this same flower , but I made it out of the print card stock that had the , um , you know , the words on there .
And so I put a little button in the center and added the leaves to the , the back and I'll just save that when I need it .
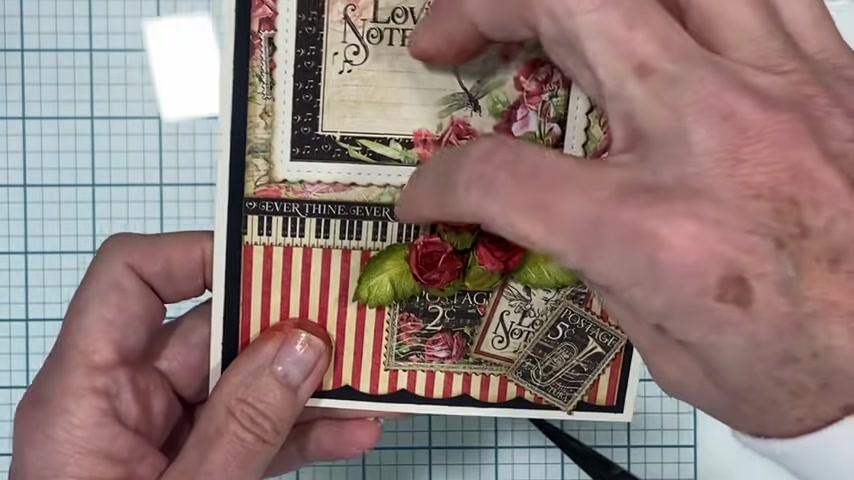
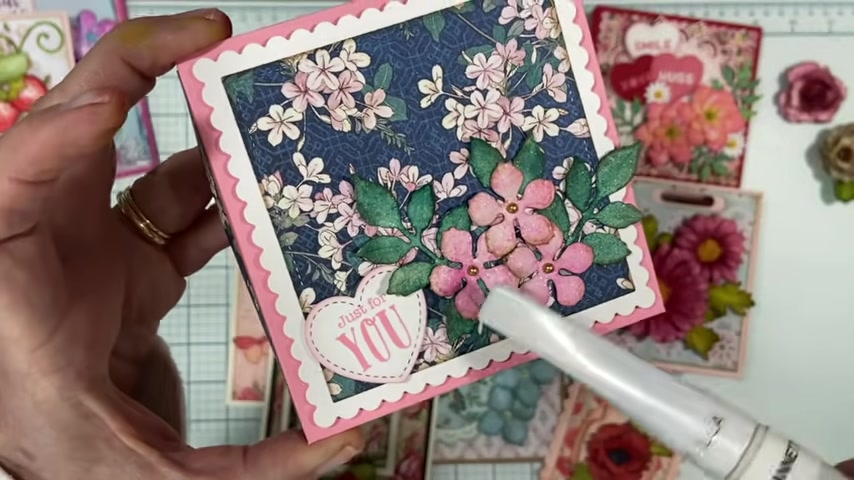
Um The rose buds there they are .
I put all three on this card .
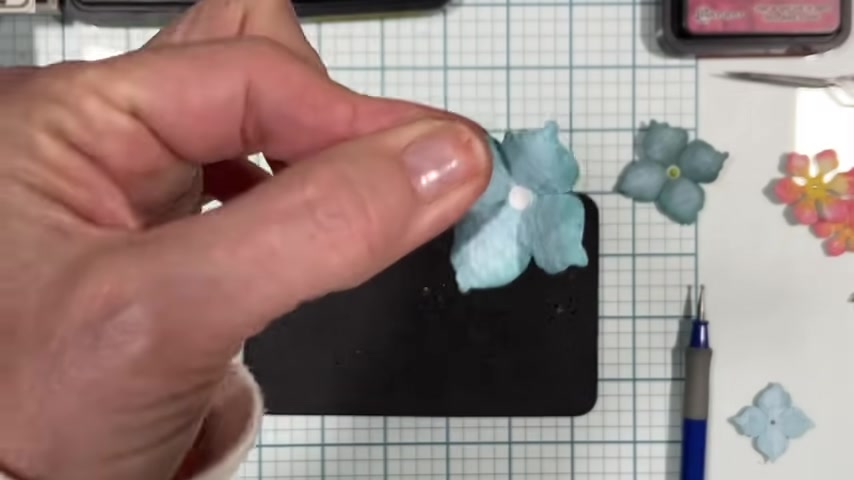
It's a lovely card and I think we saw this one too .
These look like hydrangeas to me .
And then um I think this was the very first rose that I was showing you how to make .
So this is a finished card that that went on as well .
So that is everything everybody .
I hope you like that .
Uh I hope you give it a try .
And if you have any questions at all , let me know I will link to all the dyes that I used and any other things I can think of that will be helpful to you .
Thank you so much for watching .
Have a great day .
Are you looking for a way to reach a wider audience and get more views on your videos?
Our innovative video to text transcribing service can help you do just that.
We provide accurate transcriptions of your videos along with visual content that will help you attract new viewers and keep them engaged. Plus, our data analytics and ad campaign tools can help you monetize your content and maximize your revenue.
Let's partner up and take your video content to the next level!
Contact us today to learn more.