https://www.youtube.com/watch?v=_ugkkYbjAO0
How to make Paper Flowers Bougainvillea (Flower # 72)
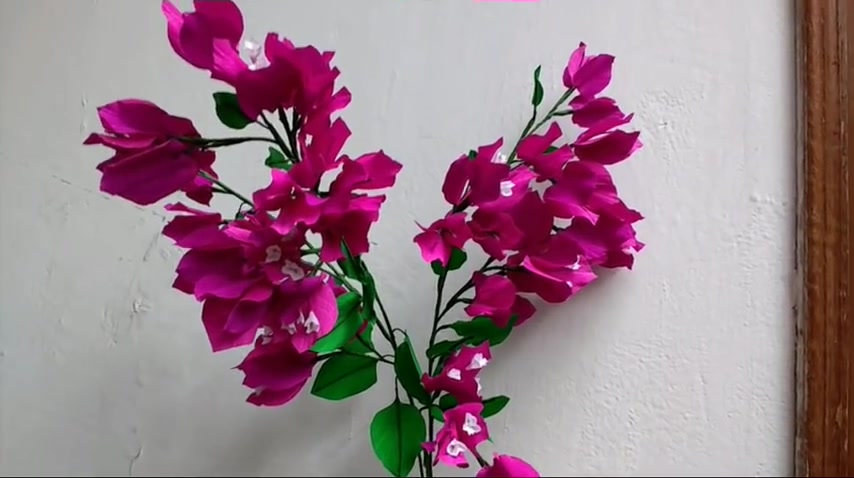
Hi , today I'm going to meet William .
A beautiful springtime flower .
The material required are gray papers in green , white and dark magenta , a thick wire , thin wires and a green floral ta .
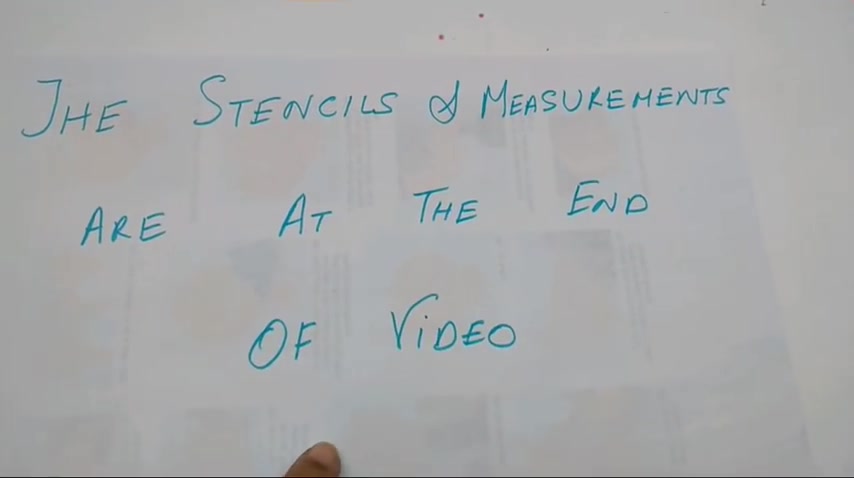
The stencils and measurements are all given .
At the end of the video , take the thin wire and cut out 24 centimeter long pieces and 18 centimeter long piece like this .
Cut a long piece from the purple floor tip about half a half a centimeter wide .
Apply glue on one end and bind this on a thin wire that we just cut .
So starting from the top , just fold it on the top of the wire and then just wind it on the wire .
Ling take the small piece for the floor .
I'm using uh if you have these scissors , cut scallops on there on one side and stretch it .
Apply glue on one side and stick it over to make a Yeah .
Yeah .
This will form the floor .
So now take another thin wire first turn the flower round and apply glue inside .
Take the thin wire , insert it inside and just press the sides together .
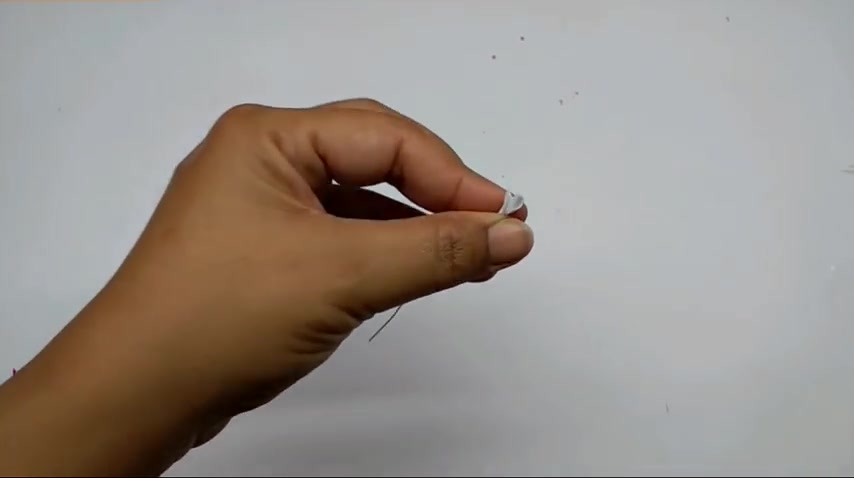
We even roll the base .
Take a pair of scissors or anything that you can use to open the floor .
This is the actual flower of the Bougainville .
I'll take the purple of paper that , that strip that we have , apply glue on it again and bind this from the base of the floor till the end of the wire .
You just find it like this and this is how it look .
I've made three pieces like this in a flower .
You have three like this .
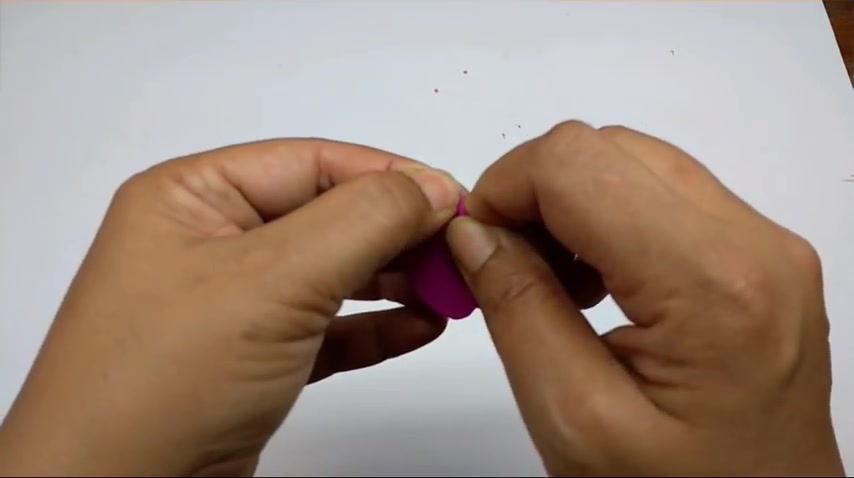
So you can have either two flowers or one flower or uh no flow .
That is entirely up to you .
First crim the side that is just pull the sides between your fingers , book of the paper .
So do this all along the edge like this .
Then take a scale or anything slightly pointed and score veins in the center and on the side like a leaf .
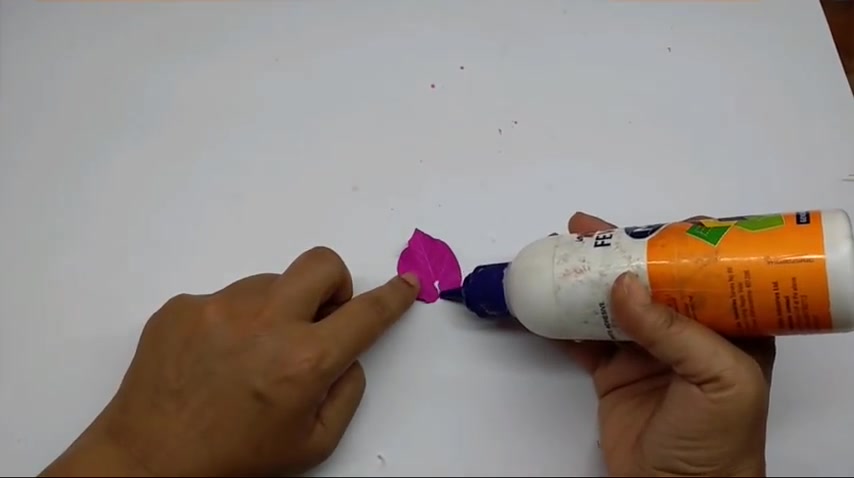
This is how it looks , apply glue about one centimeter and very close to the base and then sticker or flour that we made or a plain stem that we made earlier , just take it leaving a gap of about half a centimeter from the top .
So this is how it looks .
I met the others , the plain one and another flower cut a piece from the green floral ta .
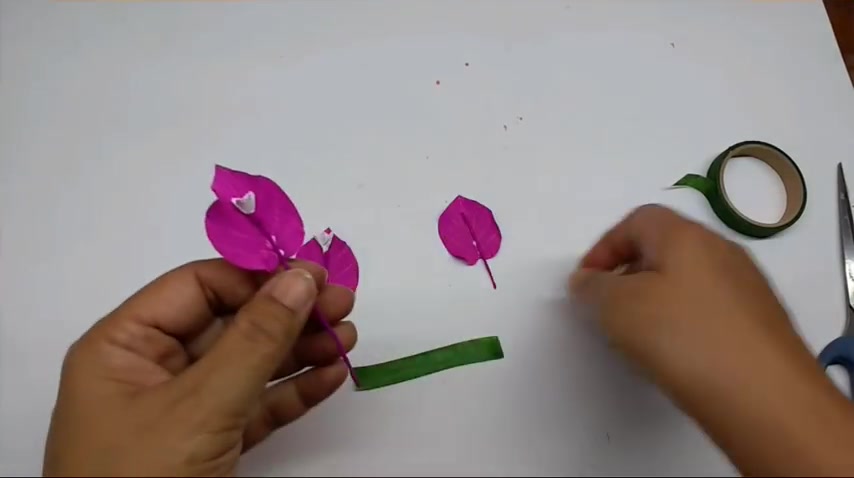
Yeah , stretch it , then take the three bracks that we prepared , call them in front of each other forming a kind of a triangle like this .
Then hold them between two fingers and one thumb like this and apply glue on the tape .
This is to make sure that it really sticks well .
And when this on the base of the flat till the end of the war and this is how the flower looks .
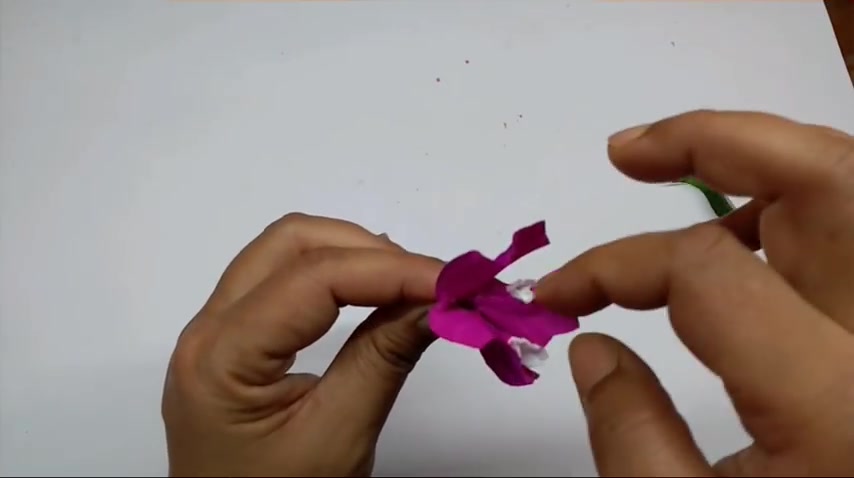
So just now open it , open out the racks a bit and this is how the flow would look .
I've made others in the same way like this one has three flowers .
Um This one just has a single floor .
I've made two smaller ones like this .
You can make as many as you want .
Just remember the smaller ones will not have any flour .
They will just be the , the fla stem , not the flow .
So now I'm gonna stick them together .
So take a tape , green tape and cut off a slightly long piece , stretch .
It , then take the one which has all three flaws and start binding the tape at that base almost of the space in the middle .
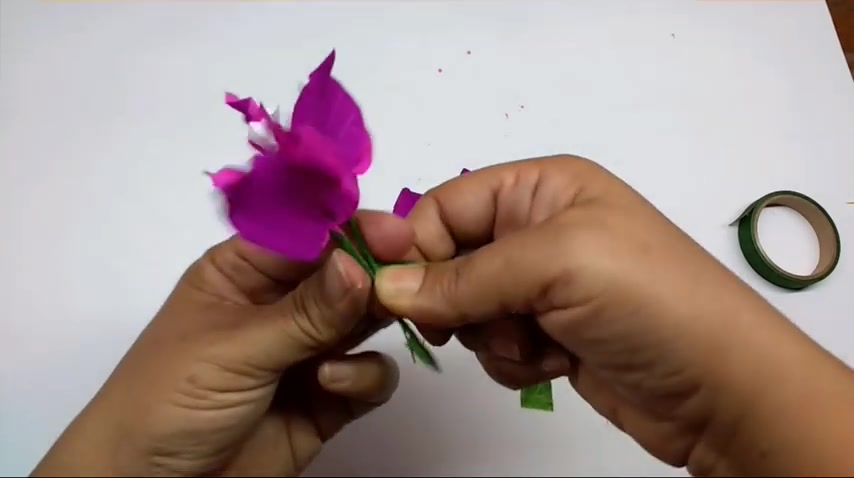
Then take another one , put it slightly lower than the first one .
Wind the tape , they pick the third one big one again , slightly lower .
Win the tape and attach the two smaller ones in the same way .
This is how it will look the bunch .
I'll just open out the flowers a bit all in one direction except for the first one .
So it'll all be in one direction .
I made more bunches like this one has just four pieces .
This one has two and so on .
So you can have three , you know , a bunch of three flowers like this .
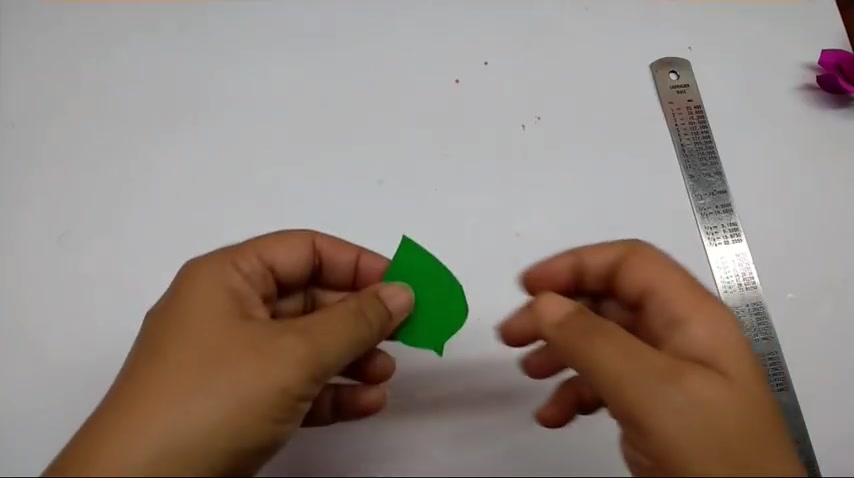
Now take the leaf piece and again , trim the sides as we did for the BRACT all .
Then again , take a pointed object and score in the veins like this .
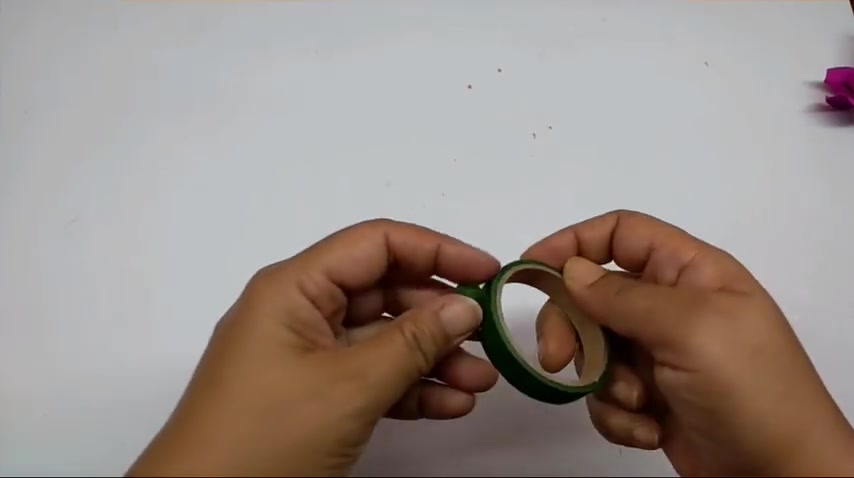
Now take a green tape again , cut a piece from it , distracted and take a six inch long piece via piece that unwind it on the wire all along the length of the wire .
Apply glue in the center of the leaf , leaving about half a centimeter from the top to the base and stick this wire on it .
On the margin like this , you can make different sizes of leaves .
I mentioned three but you can make more sizes because bougainvillea has very small leaves .
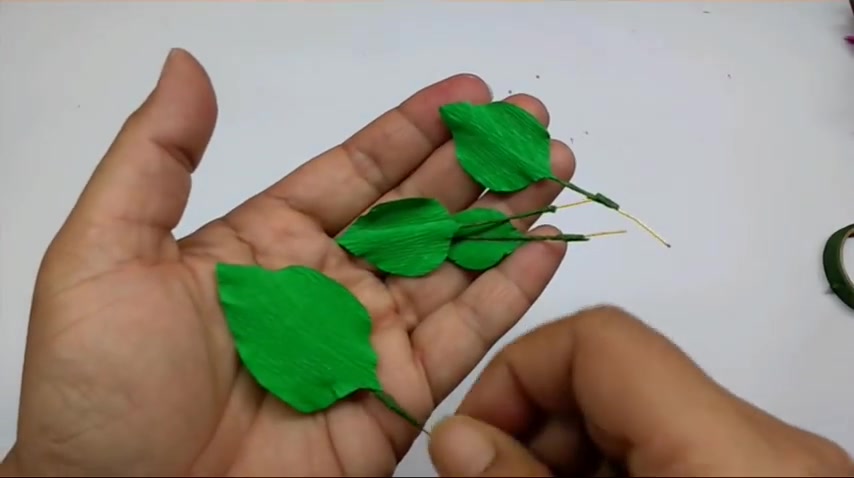
Two very big leaves language take the green tape and cut out a long piece from it .
Stretch it take the thick wire and a small leaf .
I'm starting with a small leaf .
If you want , you can start with flowers because each Bougainvillea branch is different .
Wind the tape then take a bunch with two flowers .
Find that when I attach a leave at the base of the floor , take another bunch and should be at the same side as the previous one .
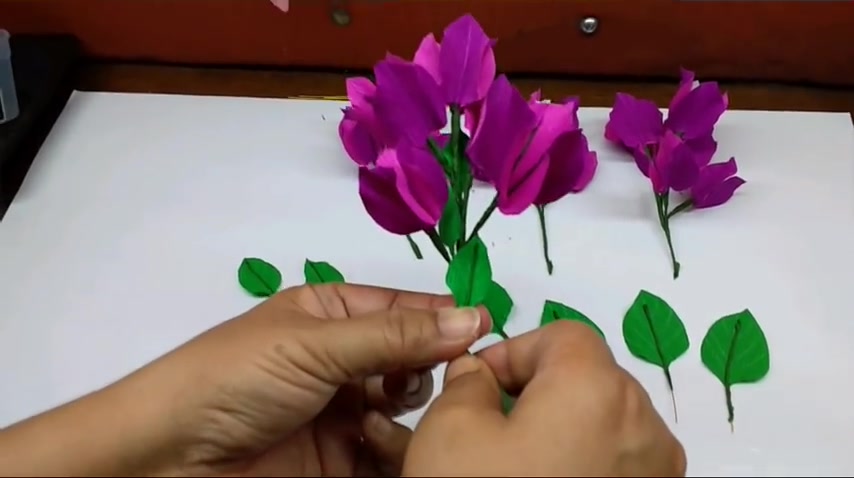
Attach a leaf and so on .
And this is how the flour would look .
Now , just pull out the leaves and the flowers , open them out .
The flowers is almost uh perpendicular to the main stem .
So just open it out like that and in one direction , so they will all be falling like this .
The leaf also would be facing a bit downwards .
There should be almost a gap of one in between each floor .
And this is how the Bogan stumbled .
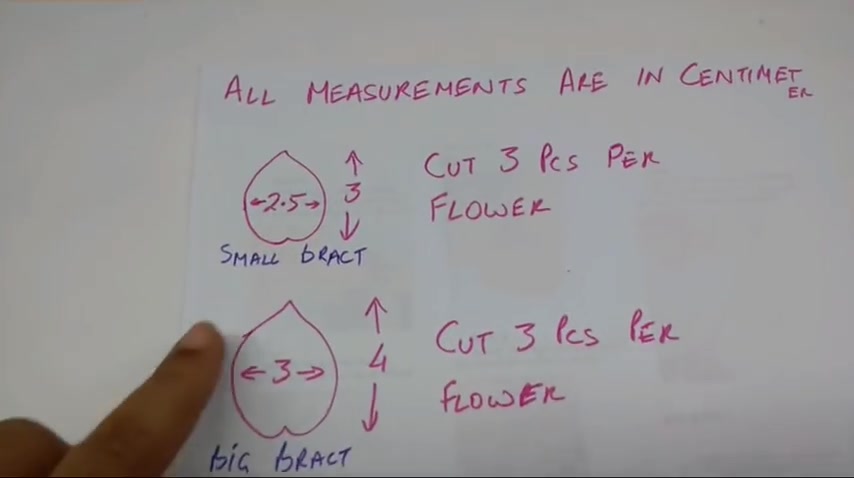
All the measurements are in centimeter .
This is a stencil of a BRACT , small BRACT .
This is three centimeter by 2.5 centimeter cut three pieces per floor .
This is a stencil of the bigger BRACT .
This is four centimeter long and three centimeter wide cut three pieces per floor .
This is the stencil of the actual floor .
This is a strip to one centimeter high and two centimeter wide cut three pieces or two or one piece per floor .
These are the stencil of a leave various sizes and you can make smaller leaves and this and bigger leaves and this cut as many leaves as light .
Are you looking for a way to reach a wider audience and get more views on your videos?
Our innovative video to text transcribing service can help you do just that.
We provide accurate transcriptions of your videos along with visual content that will help you attract new viewers and keep them engaged. Plus, our data analytics and ad campaign tools can help you monetize your content and maximize your revenue.
Let's partner up and take your video content to the next level!
Contact us today to learn more.