https://www.youtube.com/watch?v=BygJGz3TC3o
How To Make a Concrete Coffee Table and How to Embed a Metal Design in Concrete
Hey there .
Welcome to Diy projects with Pete .
Today .
I'm going to walk you through the process of building a two inch thick concrete coffee table .
We'll wet polish it to give it a nice , smooth and sleek finish and then I'll show you the process of embedding a metal design or a logo like I did here of the state outline of Montana where I live .
Now , many of the techniques used in today's project can actually be used to build concrete counters if that's something you're researching .
So let's go ahead and get started with today's project .
The first step to making a concrete table is to build the mold mark for your dimensions and use a straight edge to draw lines to follow .
Then cut the piece of three quarter inch thick melamine down to size using a circular saw or a table saw .
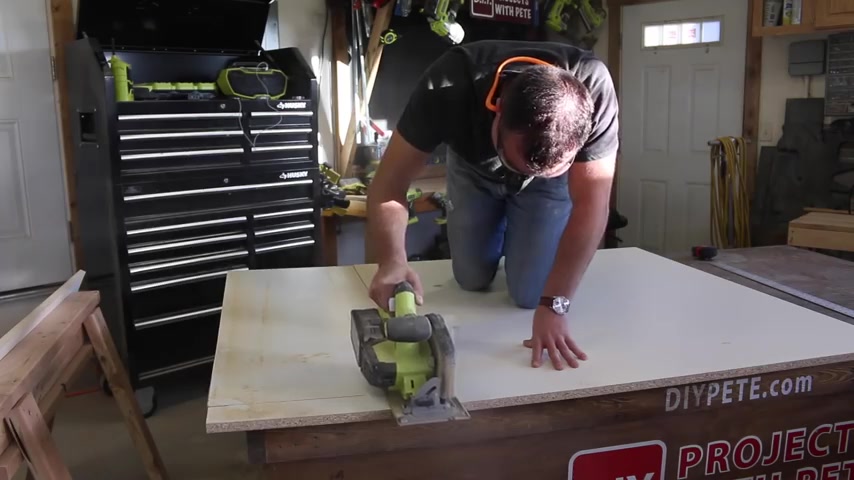
Once the base portion of the mold is sawn , I cut a manageable size of melamine to make the side walls out for a two inch thick concrete top .
You'll want to cut the strips at two and three quarter inches in width to compensate for the base piece of the mold .
Use a mitr saw to cut the side walls to length .
You can find all the measurements used in today's project in the free plans at dip dot com forward slash concrete table with inlay .
Then begin attaching the side walls to the base piece on a flat and level surface .
Always pre drill to prevent the wood from splitting , make sure the screw goes in straight and level .
So it ends up in the middle of the base piece , then work your way around all four sides .
Use a carpenter square to make sure all the corners are squared up and that the side walls are at 90 degree angles to the base piece .
Next , we'll prepare the reinforcement that will help strengthen the use a bolt cutter to cut the mesh down to size .
There should be about an inch between the perimeter of the mesh and the side wall in many of my other videos where the concrete tops are 1.5 inches or thinner , I'll only use the steel re mesh .
But for thicker projects like this two inch thick top , I'll add some 38 inch rebar , cut the rebar with a reciprocating saw and then attach the rebar at each corner and it to the re mesh using rebar tie wire .
Once the rebar is added , go ahead and bend the re mesh as needed so that it's as flat as possible .
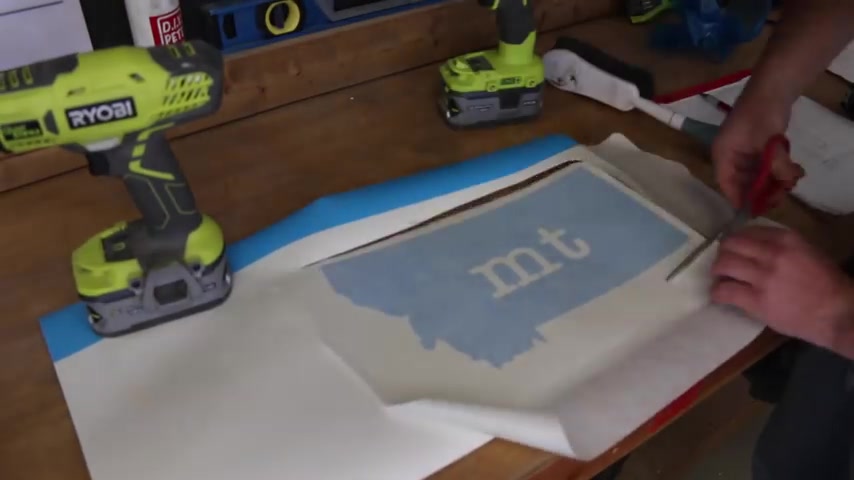
Now , we'll move on to creating a design for the metal that will be embedded in the concrete .
I used a vinyl cutter to create a stencil of the outline of the state I live in which is Montana .
Now , if you need stencils or vinyl details for Diy projects , I'd highly recommend checking out my buddy James's sign company at signs the mountains dot com slash diy vinyl .
He'll get you all hooked up with what you need .
I applied the stencil traced around the design on stainless steel and then started plasma cutting .
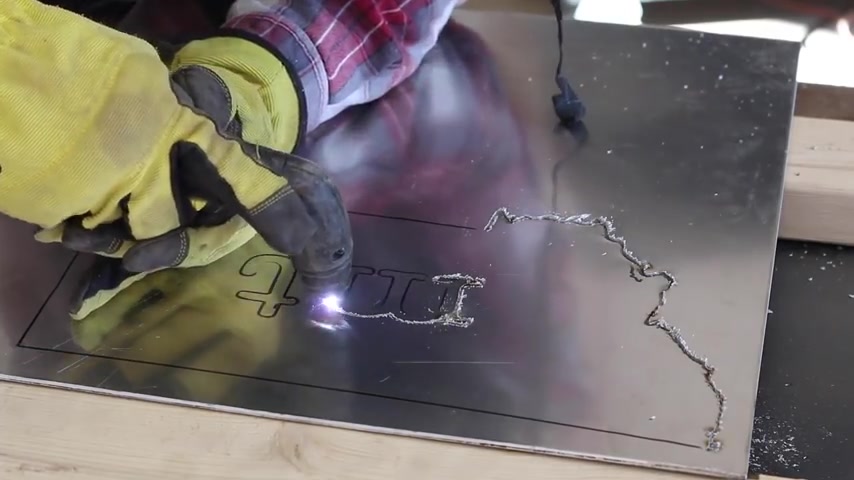
If you don't have access to a plasma cutter , I'd recommend finding a company in your area who could cut your design on a CNC plasma cutting machine .
My plasma cutter is one of my favorite tools in the shop and this Hobart 250 C works awesome and is definitely one of my best tool .
Investments .
Take your time following the outline of your graphic and use both hands to help hold it steady .
Always use the safety protection recommended when working with cutting equipment .
After cutting , you're going to have some slag and rough edges on the metal .
I like to use a flat disc on an angle grinder to clean up those edges and there are a lot of different ways to finish the metal .
But I used an orbital sander with 122 120 grit sandpaper to remove scratches from those surfaces and to give it a nice look .
I then roughed up the back of the design with an angle grinder to help the concrete bond to it .
Before placing the metal in the mold , you'll want to make sure it's nice and clean .
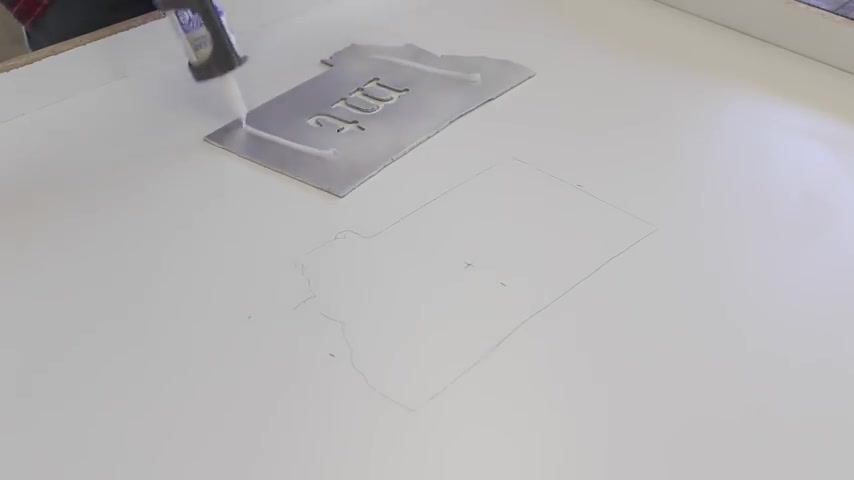
Use a shot back to get rid of debris and some rubbing alcohol in a clean rig to make it spotless , determine placement for the design and then apply a small amount of silicone on the front of it .
Use a razor blade to spread it around evenly and super thin .
The silicone is strong enough to hold the design in place during the pore , but it will easily peel away from the melamine and stay in the concrete .
Once the project is de moded , go ahead and seal the edges and corners up with 100% silicone .
This is also going to give the top edges of the concrete a slight bubble .
I used a beveling tool to round over the bead of silicone and always have plenty of paper towels to clean up any excess .
Another way to do this is to use masking tape on each side of the seam and then run your index finger over the seam to create the rounded edge .
This is a great method as well .
It just takes a bit more time to tape it .
Let the silicone cure for at least a couple hours .
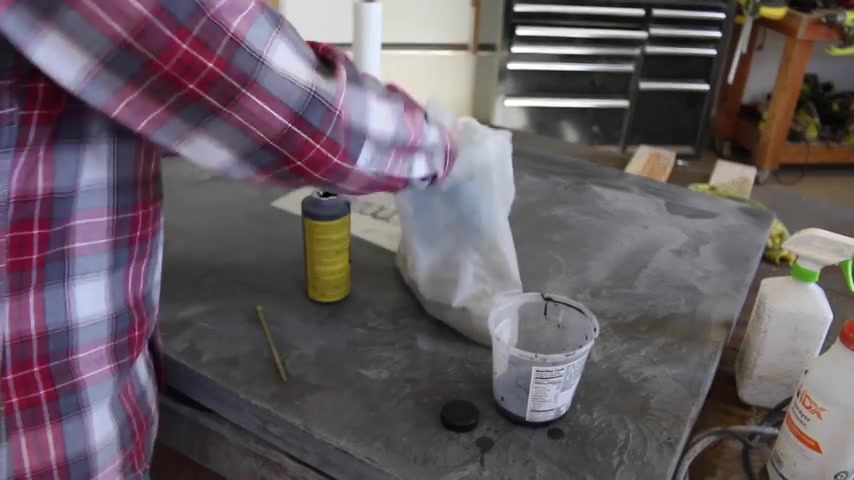
Once the silicone is cured , you can start mixing up some concrete .
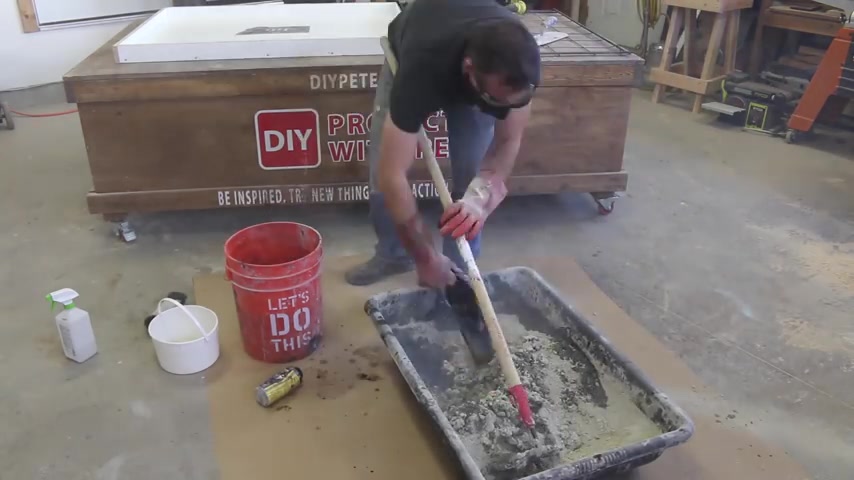
I used a 5000 psi mix from the hardware store that was about $5 a bag .
And I wanted to darken the color of the concrete to a darker gray color .
And so I mixed some charcoal pigment into the water according to the instructions , you can make the concrete , whatever color you'd like .
So have fun and put your creativity into your table .
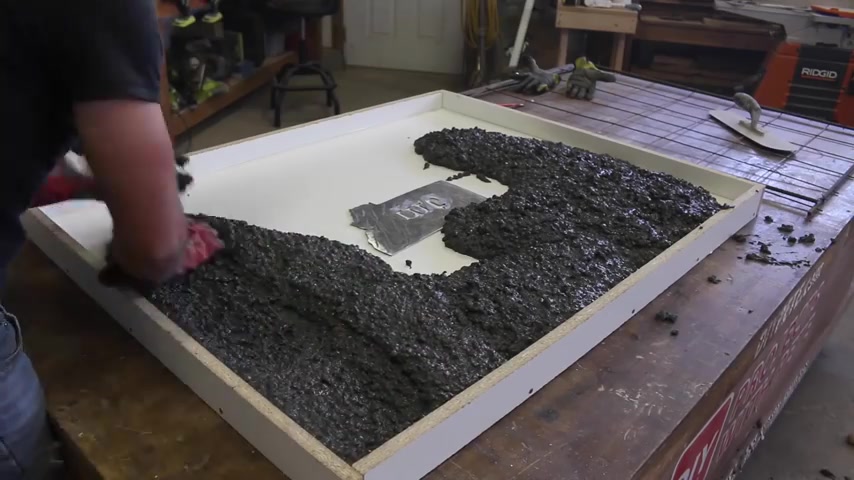
I mixed this batch of concrete to an oat mill like consistency and then transferred it to the mold , fill the mold about half to a little more than half full with concrete wear , rubber gloves and use your hands to spread the concrete around the mold and your fingers to press it into the edges and the corners .
Throughout the process .
You want to make sure to vibrate the concrete to minimize air pockets and voids in the finished surface , then add the reinforcement , making sure it sits nice and flat on the existing concrete .
Mix up an additional few bags of concrete .

You'll notice this batch is a little lighter in color and that's because I thought I had a few more pigment bottles laying around the garage , but I was one short and it ended up blending well and I was able to darken it up a bit on the sides of the mold .
But moral the story , make sure you have enough color for all the concrete .
All right .
So fill the mold until it is full , then use a straight board , discrete and level off the concrete , move it back and forth in a saw like motion and fill in low spots as needed .
Then vibrate the concrete again to get as many air pockets out of the concrete as possible .
Shaking the work surface helps out a lot and all the time spent vibrating , the concrete will be well worth it as the finished surfaces will have fewer voids to fill and will look a lot nicer use a rubber mallet to tap the mold on the side walls and from underneath .
And once this is completed , you can smooth out the concrete a bit with a towel and then cover it with plastic to help that concrete cure evenly .
Now that the pouring is all done , take some time to clean up your workspace and tools that way you'll be able to use everything for your next concrete project .
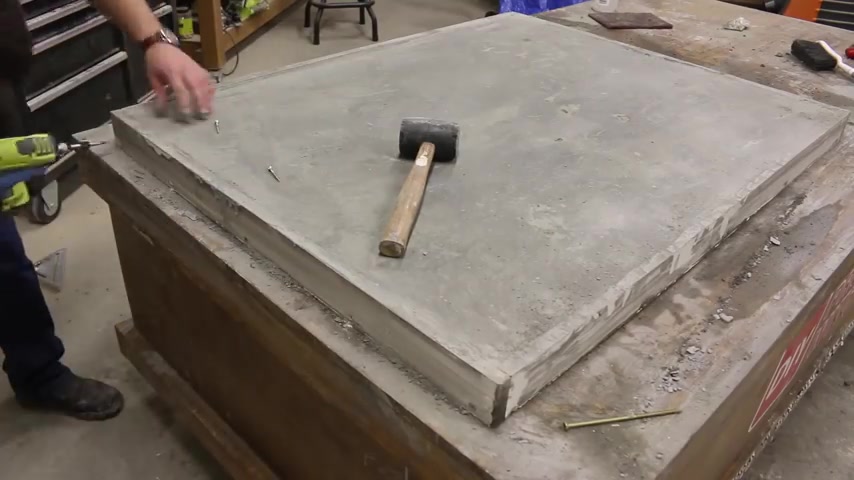
Let the concrete cure for a couple days prior to removing the concrete from the mold .
Now , curing time is going to vary depending on the type of mix used and the temperature and humidity levels , remove the screws and then take one side wall off .
At a time .
You can use a flat screwdriver or a chisel to help pry the side walls off and make sure to always pry against wood and never against the concrete work your way around all four sides and then use a sanding block to soften the edges of the concrete .
This is going to help prevent edges and corners from breaking when working on it during the finishing processes , get ready to flip the concrete by spacing some two by fours evenly for the concrete to rest on and use some old rigs to protect the concrete from chipping while flipping .
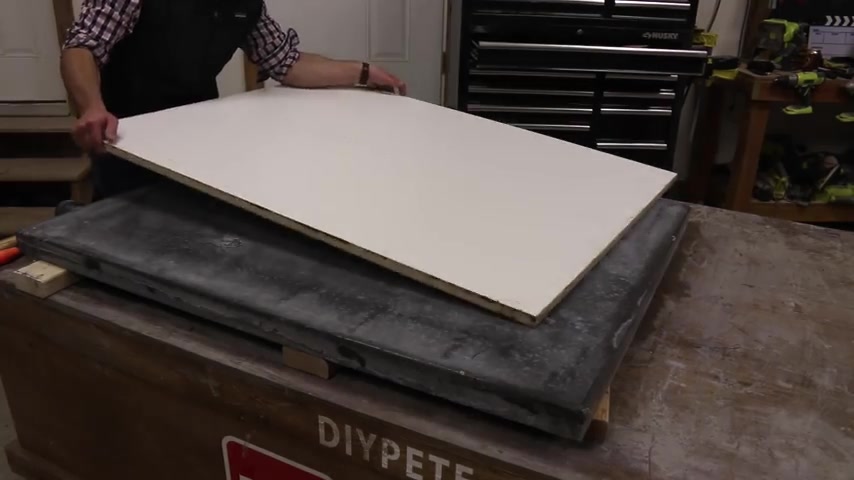
It is a good idea to have some help for this process because the concrete is heavy , slowly pull the melamine away from the concrete to reveal your table top for the first time .
I didn't have too many air pockets or voids and was really happy with how it looked .
Remember that it is still a diamond in the rough though .
And so now we will take some time to polish to fill voids and then seal the concrete .
I like to start by smoothing out the underside a bit .
I especially recommend going around the edges or perimeter where someone might run their fingers , having a smooth surface on the underside edges will give the project a real professional feel .
I typically start with a 200 grip polishing pad and go up to a 400 for the underside .
Once the underside is complete , rotate the concrete right side up and begin polishing .
I started with an 800 grip pad because I didn't want to expose the aggregate , which is the rocks and sand in the concrete .
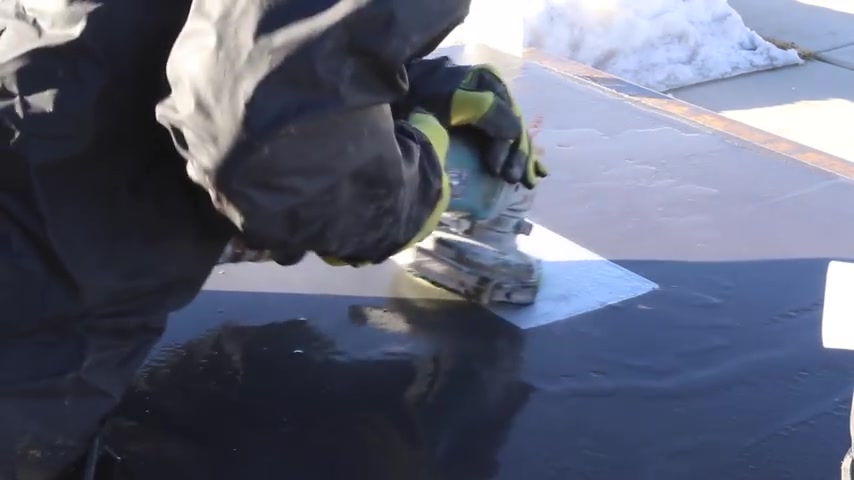
Go over and around the metal inlay to clean the area up and you may need to use some rubbing alcohol and a scotch pad or razor blade to remove any silicone residue .
If you do want to expose aggregate , you can start with a lower grip pad .
I like to refer to the 50 to 400 grip pads more as grinding and the higher pads as polishing since you aren't removing much material .
Say with an 800 drip pad , the concrete polishing tool hooks up to a water supply like a hose or I rig mine up to a pump sprayer .
Water shoots out the center of the polishing pads to keep them cool .
Now , if you are planning to do a lot of concrete projects or to do counters , I would recommend looking at getting a wet polisher which I'll link to in the description below .
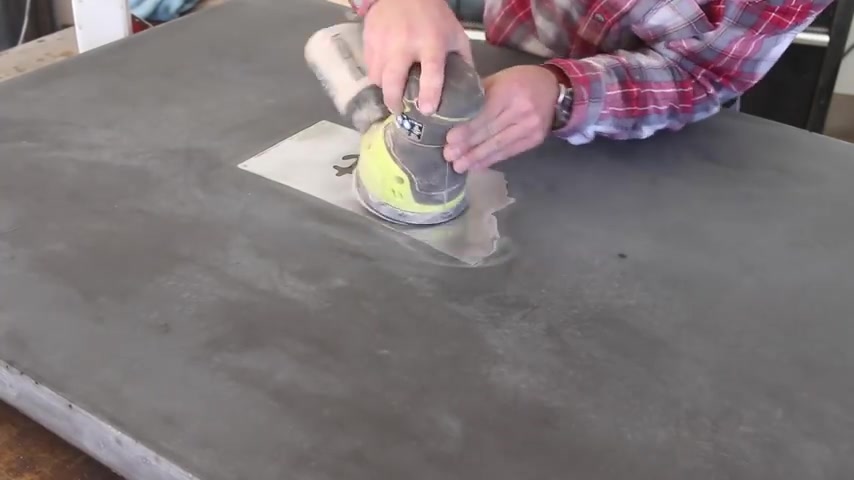
But if you simply want to give a couple of projects a try , you can use an orbital sander similar to how I did the concrete dining table project which I'll link to as well .
Take your time to polish the sides , the edges and the top surface and work in small sections .
At a time , the polishing process will open up some voids and pinholes in the concrete surface and will fill the voids by creating a slurry mixture that consists of cement water pigment and an optional acrylic fortifier .
Aim for the consistency of toothpaste and then fill the voids with the slurry .
The mixture will lighten up considerably as it dries .
Usually you'll want the slurry to match the concrete top as closely as possible .
But I have used contrasting colors before to give Connors a really unique look , fill the holes as best as possible and remove excess with your hands or a plastic putty knife .
So you don't have to spend extra time polishing a bunch of hardened excess slurry .
You want the slurry to cure for a few hours , then come back and do a final polishing .
I used an 800 grip pad to do the final polishing and this is going to remove the slurry residue .
It's going to polish up the concrete and give the project a professional finish .
Then let the concrete dry , clean it up a bit with a rig and polish up the metal inlay if needed .
I used an orbital sander to shine it up prior to sealing the surface .
First seal the underside with a couple of coats of concrete sealer .
I used a water based acrylic concrete sealer that I'll link to in the description the sealer dries pretty quickly .
So you don't need to wait too long between coats once dry , flip the concrete right side up , give the surface a quick cleaning and then apply the concrete sealer with a clean microfiber rig .
I did about six coats of sealer on the top .
I dilute the first couple coats about one part water to one part sealer .
After that , I dilute each coat slightly less and the last couple coats are done full strength , finish up with the final coat and then move on to building a base for the Table .
I built the out of a four by four , some two by fours and plywood , but feel free to modify your table base .
However , you'd like , I've actually done quite a few out of metal and they've turned out looking really cool .
But for this specific project , I wanted to keep this base real simple and affordable to make .
So it's all made out of pine .
After making all the cuts lay out the boards on a flat work surface .
All the dimensions used to build the base can be found at dip dot com forward slash concrete table with inlay , set a pocket hole jig up for 1.5 inch thick stock and then drill two pocket holes on the ends of each board .
Then set the pocket hole jig for a three quarter inch stock and drill pocket holes around the perimeter of the plywood , which will be the lower shelf .
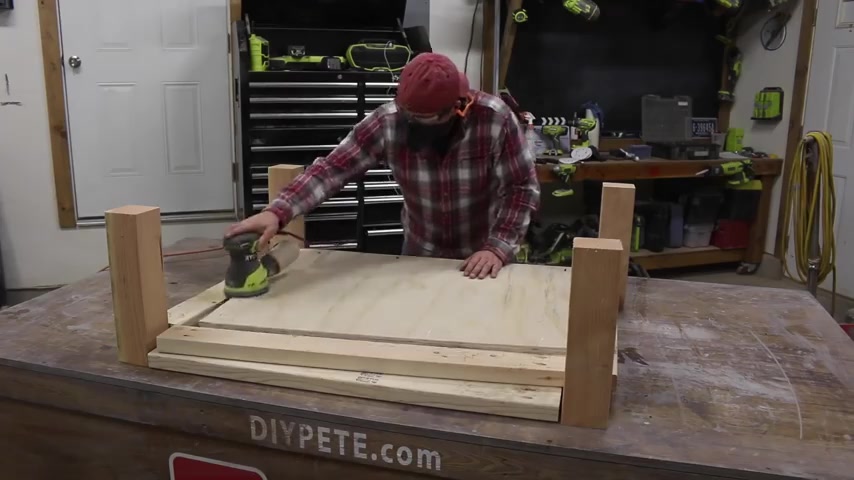
Once all the pocket holes have been drilled , sand the wood .
So it is nice and smooth .
Prior to assembling .
Next , we'll attach each of the boards to the corner legs using wood glue and 2.5 inch long pocket screws line up each board and then slowly insert the screws until the joint is tight .
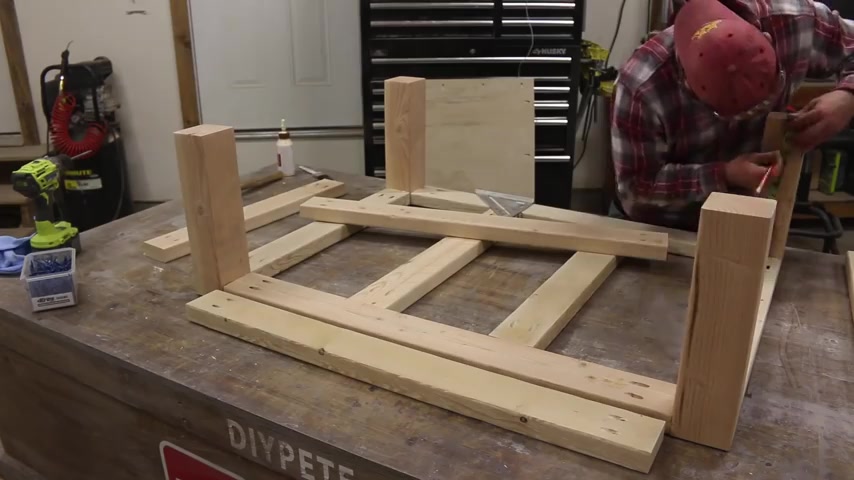
I attached four outer boards before adding the two center supports space , the center supports evenly and then wipe up any excess glue using a damp rig .
Next measure 2.5 inches in from the end of each leg and draw a line .
We'll then attach each two by four which will help form the lower shelf .
I use jack clamps as my extra set of hands for this project to help hold the boards at the proper height while attaching them .
And a set of bar clamps or longer clamps can come in handy for this project as well to hold the boards tightly in place during assembly .
I cut spacers out of a scrap two by four board to hold the lower shelf at the correct height .
Then I attached the shelf from the under side using screws .
You'll want to make sure that the plywood is flushed with the two by four s for the shelf sand the base and apply a stain or paint of your choice .
I used a stain and sealed the base with a water based polyurethane .
Lastly find somebody strong like my good buddy Dustin to help carry the table into your home .
I hope this inspires you to build a project using concrete .

If you found this video , helpful , please give it a thumbs up and subscribe to the channel .
Please comment below and let me know what you'd like to see built in an upcoming Diy video .
Thanks for watching and cheers from Montana .
Are you looking for a way to reach a wider audience and get more views on your videos?
Our innovative video to text transcribing service can help you do just that.
We provide accurate transcriptions of your videos along with visual content that will help you attract new viewers and keep them engaged. Plus, our data analytics and ad campaign tools can help you monetize your content and maximize your revenue.
Let's partner up and take your video content to the next level!
Contact us today to learn more.