https://www.youtube.com/watch?v=EO9XCtVm2II
How to Make A Multi Vendor eCommerce Marketplace Website in WordPress (like Amazon & Flipkart)
Hi guys .
Today , we're going to see how you can create a multi vendor e-commerce website .
Let's say you want to create an e-commerce website where you want to allow other sellers to sell products on your website , you can do that by watching this video .
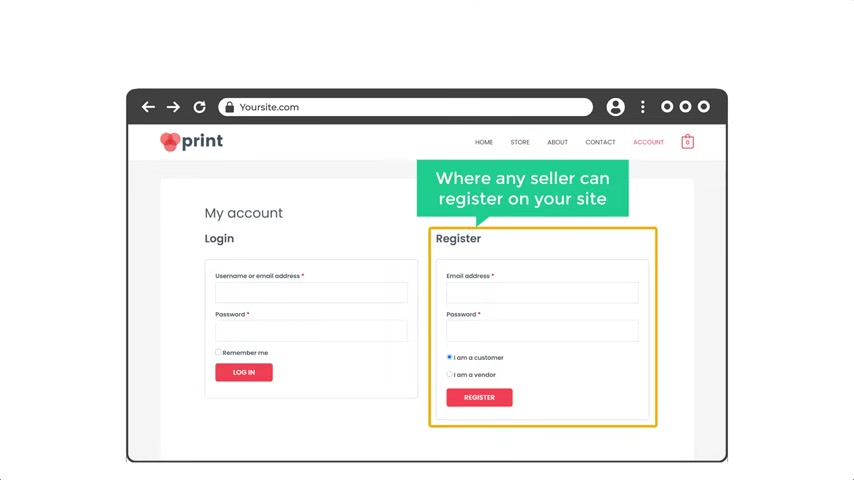
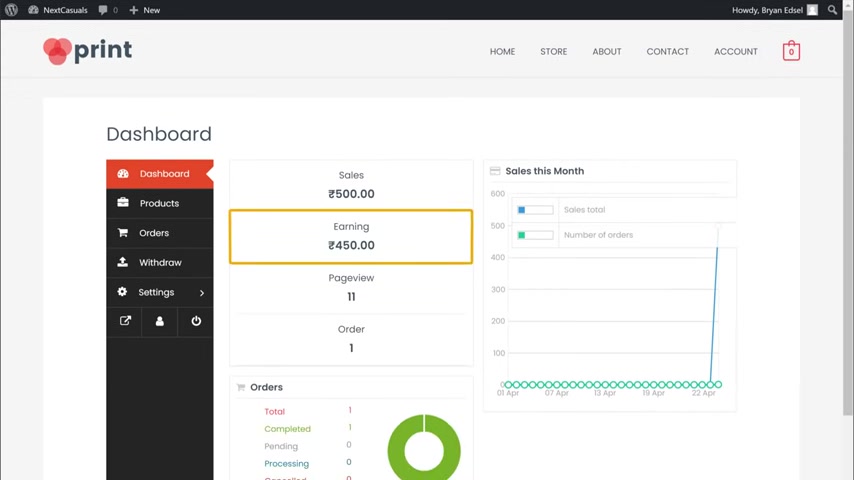
So after watching this video , you'll be able to create a multi vendor website like this with any silicon visitor on your site and get a dashboard like this where they can add their own products and these products will appear on your site like this .
And anyone who is visiting your site can order these products online by making the payment and then get the product delivered from the seller .
The sellers will be able to view their earnings with their own dashboard .
You can also get a commission for that sale .
So this is brand rule set learners and let's start creating a multi vendor ecommerce website .
So to create a multi vendor ecommerce website , we are going to do four parts .
The first part is to launch a website .
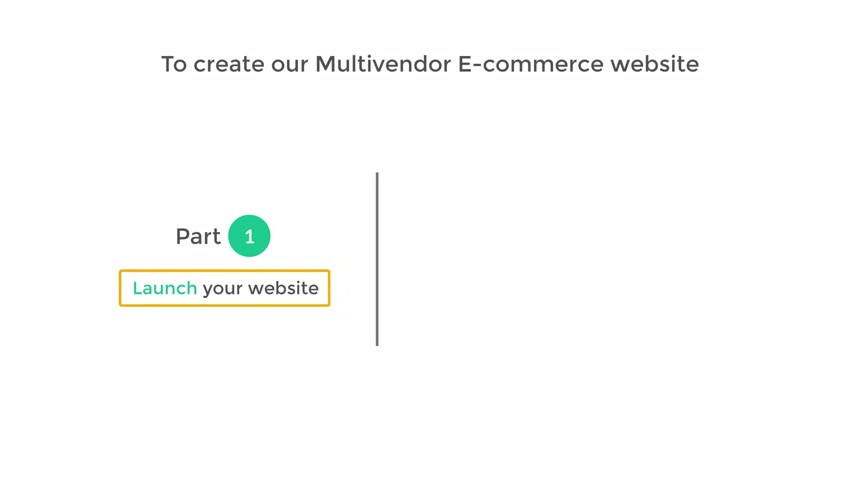
Now , this is where you get a new website live on the internet .
So to launch your website , we're going to do two steps .
The first step is to choose your website's name .
Now to choose the name , just click the link below this video and it will take you to this page .
Now , enter the name you want in this box .
I'm going to enter next casuals dot com and click check availability .
Now , here you can see that the name is available .
So once you choose your name , you can go to the next step , which is to get this domain name .
And hosting domain is the name of your website , which people have to enter here to visit your website .
And hosting is the place where your website's files are stored , like your website's images and files .
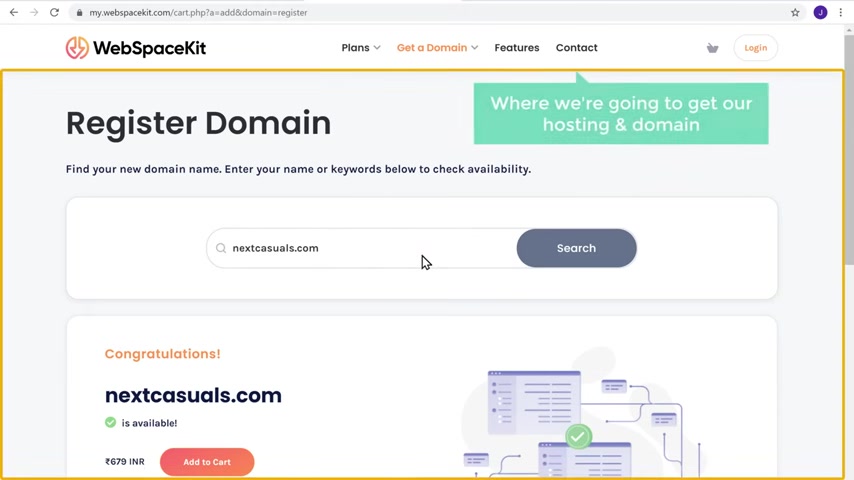
So to get your hosting and this domain just scroll down this page and click get hosting and it will take you to this page .
This is the place where we are going to get our hosting and domain .
And as you can see our domain is still available .
So let's click add to cart and click , continue .
Not here .
It will ask us to choose a hosting plan now , hosting is needed so that your website is visible on the internet and can be accessed by anyone .
And as you can see here , hosting provides the space to store your website on the internet .
So based on the number of websites you're going to build , you can choose a plan here .
I want to build one website .
So I'm going to choose this plan and it will take you to this page here .
You need to choose how long you want to have the hosting .
I'm going to select 12 months and click continue .
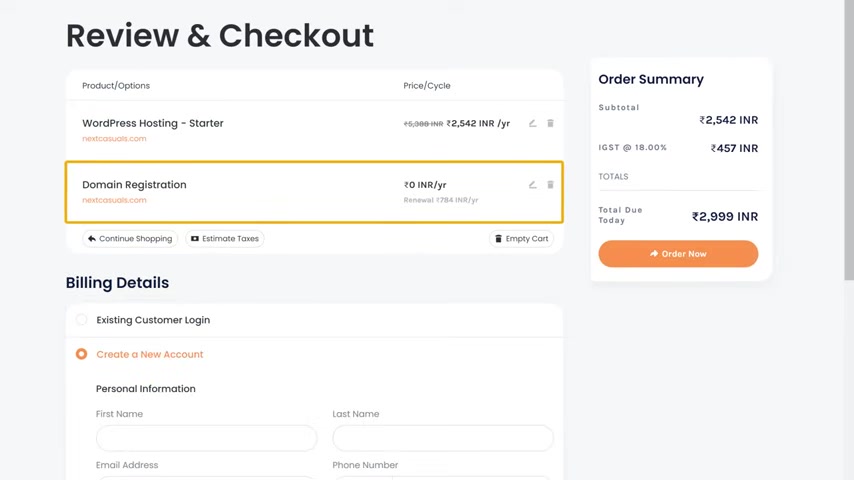
Now , here you can see that we're getting our domain which is next casuals dot com for free and are hosting for 12 months .
Now , both of these are valid for one year , which means once we complete this purchase , our site will be live on the internet for one year .
So to get a dominant hosting , let's pull up these details .
And here choose the payment method you want , then enter your details and click order .
Now , so now we have successfully placed the order .
Now , if we click here , you can see that we have successfully got our domain and hosting .
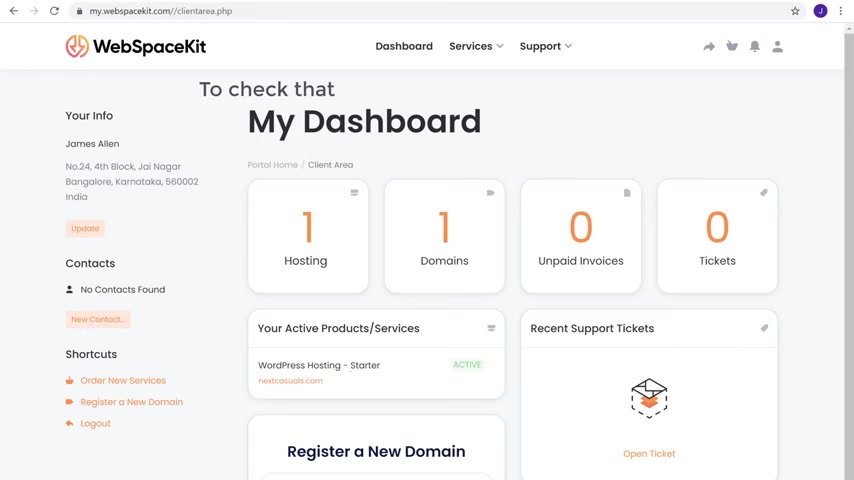
So once you've got your domain and hosting , your website should be live on the internet .
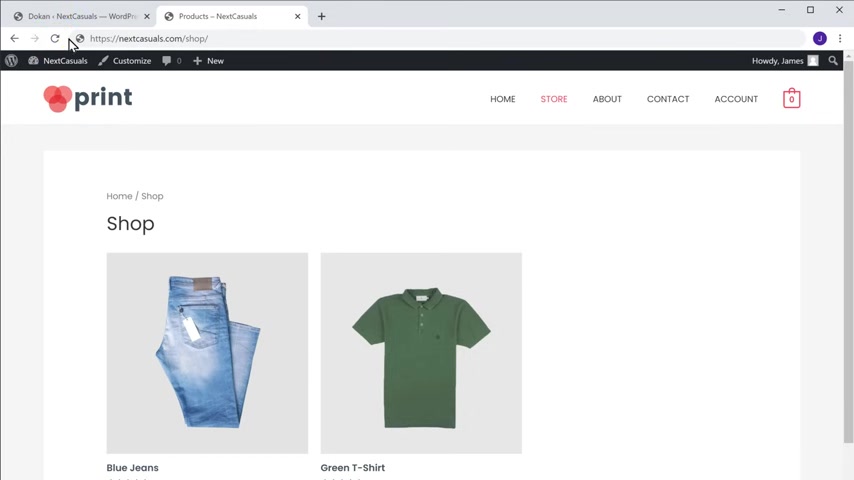
So to check that let's open a new tab now , free type next casuals dot com and press enter .
You can see that we have a brand new website on the name which we selected .
Now , sometimes it might take a few minutes for the domain to become active on the internet .
So if you're not seeing this , try refreshing after 10 minutes and you will see it .
Ok .
So now we have successfully launched our website on the internet .
Once you have launched your site , let's go to part two of this tutorial , which is to start building a e-commerce site .
Now , instead of building a e-commerce site from scratch , we are going to import a sample e-commerce site and then we are going to edit it to make our own site .
So this is going to speed up the process .
So to input the sample side , we are going to do two steps .
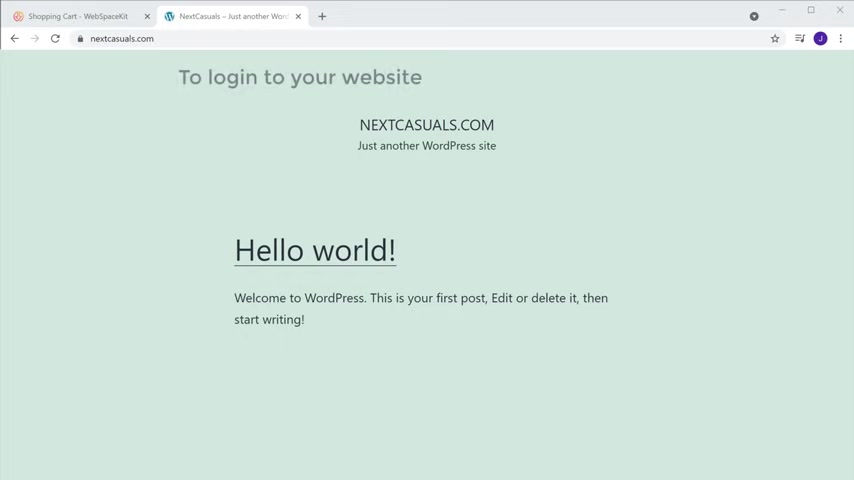
The first step is to log into our website .
So to log on to your website , all you have to do is just type slash WP hyphen admin after your site's address .
Now , if you press enter , it will take you to the login page of your website .
Not to log in , you need to enter the user name and password , which was sent to your email .
So to get the user name and password , let's go to our inbox and here you can see the email from webspace kit which has our log in details .
So let's open it .
And here you can see the user name and password for logging into our site .
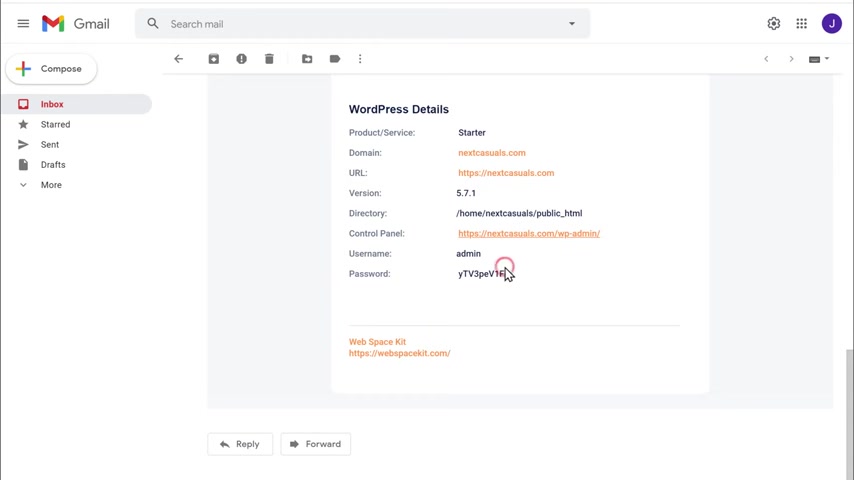
So first let's copy this user name and paste it here , no copy of the password and paste it here .
Ok .
So now if you click log in , you can see that we've successfully logged into our website and this is known as our Wordpress dashboard .
This is the place but you can control your website and make any kind of change you want .
Ok , we can now go to step two of importing the sample side which is to install a theme in wordpress .
So we're going to install a theme called Astra , which is going to let us import the sample e commerce site .
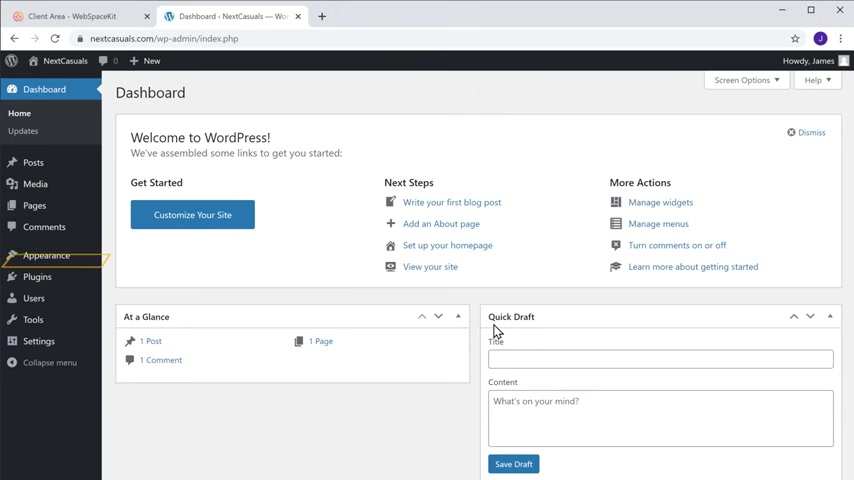
So to install the team , just go to appearance and click themes .
Now click add new and then search for a team called Astra and you'll get this theme which is going to help us import the sample side .
So to install the theme , just click install and then click , activate .
So now we've installed the Astra theme next tempo , the sample side , click get started and it will take you to this page .
Now , once you reach this page , just select element or which will make it easier for you to at the site in the future .
So let's select that .
And now it will take you to this page where you can see different designs which you can apply to your site .
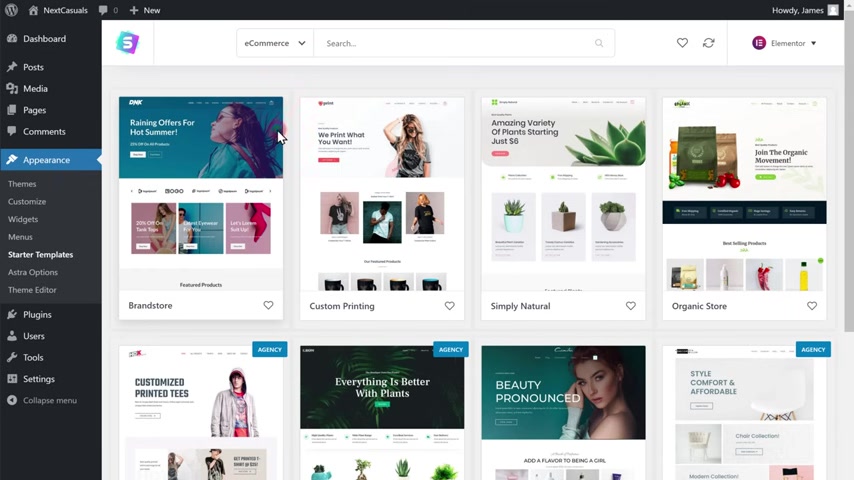
Now , as we are going to build an e-commerce site , let's click here and then select view commers and you will find different types of e-commerce side designs .
So now just select the design which you like .
I'm going to choose this one now to input this design into your site , just click , input complete side and then click skip .
And now the entire e commerce design will be imported into your site .
OK .
Now the sample side has been imported .
Now , let's see how our site looks .
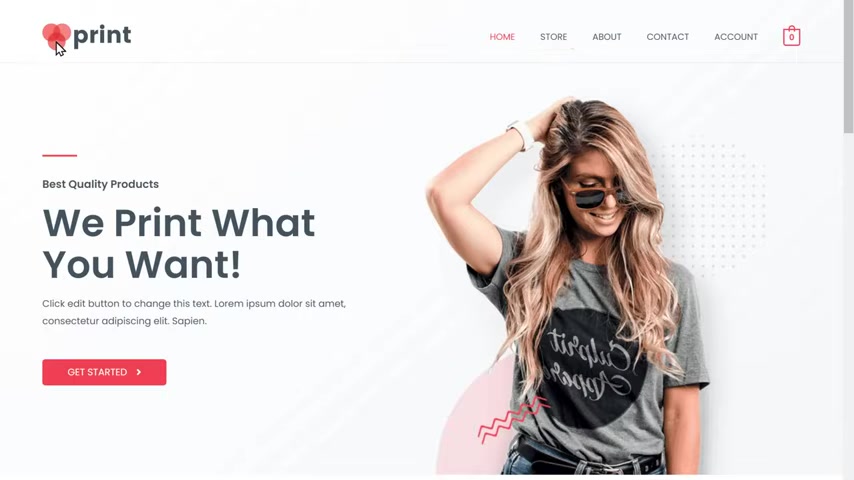
Now , if you go to the tab , you can see this is our site was before it was almost empty .
Now , if we click refresh , you can see that we have got the entire ecommerce design into a site .
Now , this is a fully working e commerce site .
So now we have successfully imported our sample e-commerce site .
Ok .
So once we've imported the sample side , we can now go to part three , which is to set up part two .
No store is the place where your customers can see your products and then purchase them .
So let's go to our now to set up a store .
We are going to do four steps .
The first step is to change your currency here .
You can see that we are the default currency .
Now to change this to your currency , let's go to your dashboard and then go to Woocommerce , click settings .
Now to change your currency , just scroll down this page and here you will find the currency option .
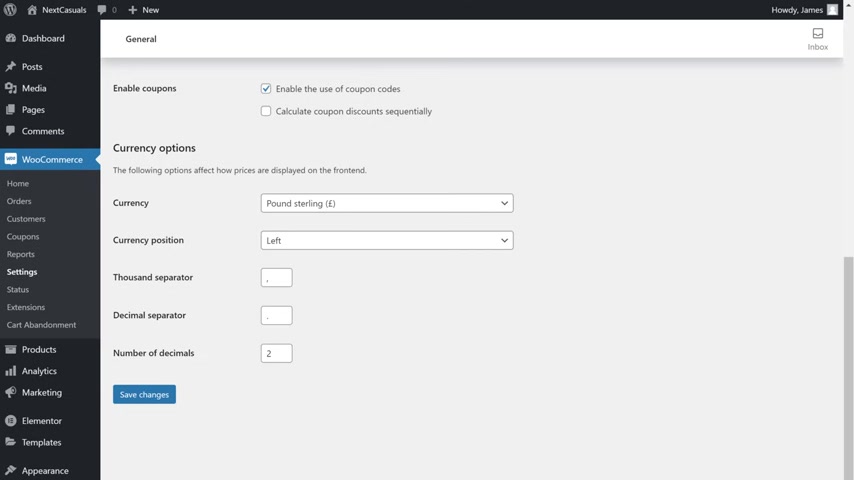
So to choose your currency , just click here and enter the currency using which you want to sell your products .
I'm going to search for ruby , then select it and click save changes .
Now , if you go to our product page and click the fresh , you can see that our product price is now shown in rupees .
So now we have successfully changed our currency .
Next , let's try buying this product from our website .
Let's click on the product .
Now , if you click add to card and click , proceed to check out , you can see that it says no payment methods are available .
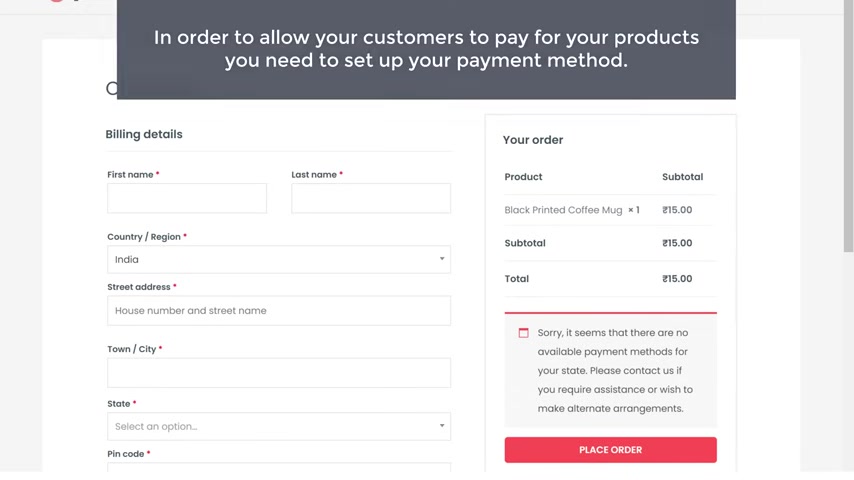
So in order to allow your customers to pay for your products , you need to set up your payment method .
So next , let's go to step two of setting up our store , which is to set up your payment method .
Once you set up your payment method , you will be able to receive payments directly to your bank account .
When someone purchases your product .
Now we are going to use the Stripe payment method on our site .
So to add Stripe to your website , you need to install a stripe plug in on your side .
So install the plug in .
Let's go to our workers dashboard .
Now go to plugins and click add new .
Now search for a plug-in called Stripe for Woocommerce and you will get this plug in now to install this plug in .
Let's click install and then click activate .
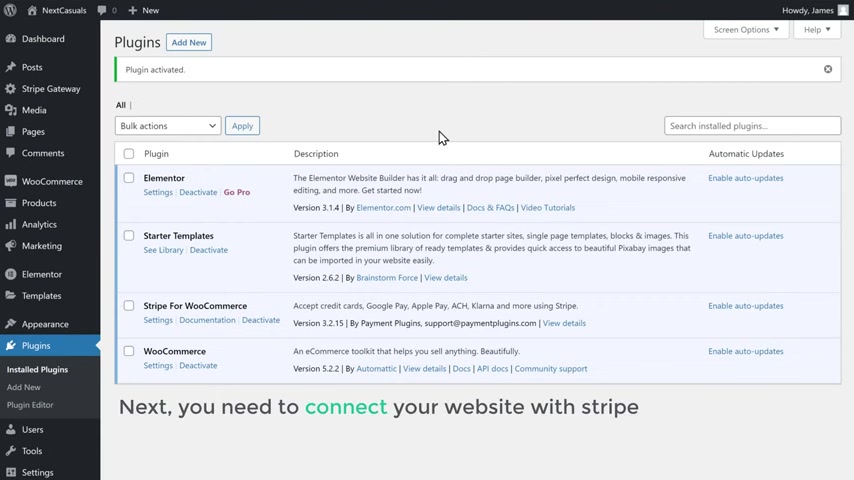
So now we have installed this type plug in .
Once you've installed the plug in next , you need to connect your website with stripe .
So to connect it just go to settings here , you can see test mode is active for Stripe .
So let's click here and change it to life and click , save changes .
Now to connect your site with stripe , click connect and it will take you to Stripe no matter your email and click next .
Can I give you a password for your Stripe account and click next .
Now you need to fill up a few details about yourself .
So let's fill up these details and click next here .
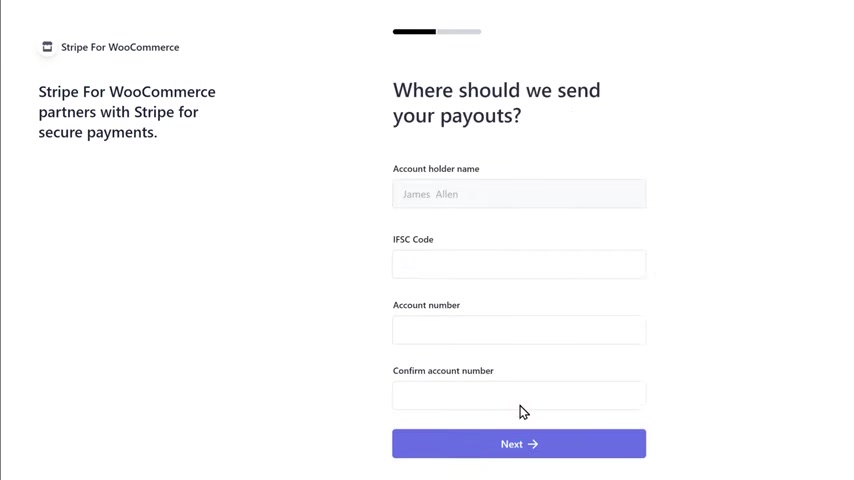
You need to enter your bank details , but you won't receive your payments and click next .
Now , when someone purchases a product from your side , that money will be sent to this account .
Once you've added all the details , you can take it here , then click done and it will take you to your dashboard here .
You can see that your Stripe account is now connected to your website .
So let's click save changes .
Now , we have successfully connected our Stripe account with our website once you have connected Stripe with your website .

Now if you go back to our page and click the first , you can see that we now have the payment option on our site .
So now we have successfully set up the payment method and your customers can buy products from your website .
Ok ?
So now if you go to us to , you can see that we have these sample products here .
Next , let's go to step three , which is to delete these sample products .
So to delete them , let's go to our dashboard , then click products and here you can see all the sample products not to delete the sample products .
Just click here and then click here .
So select move to trash and click apply .
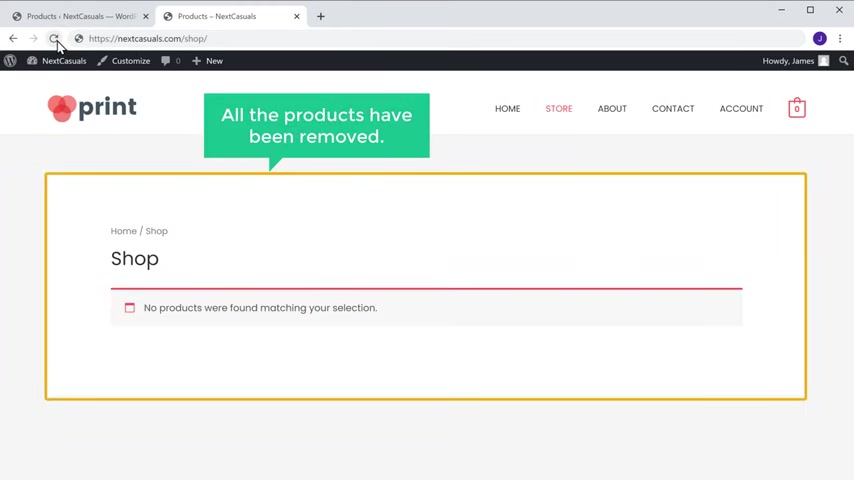
So we've deleted all the sample products .
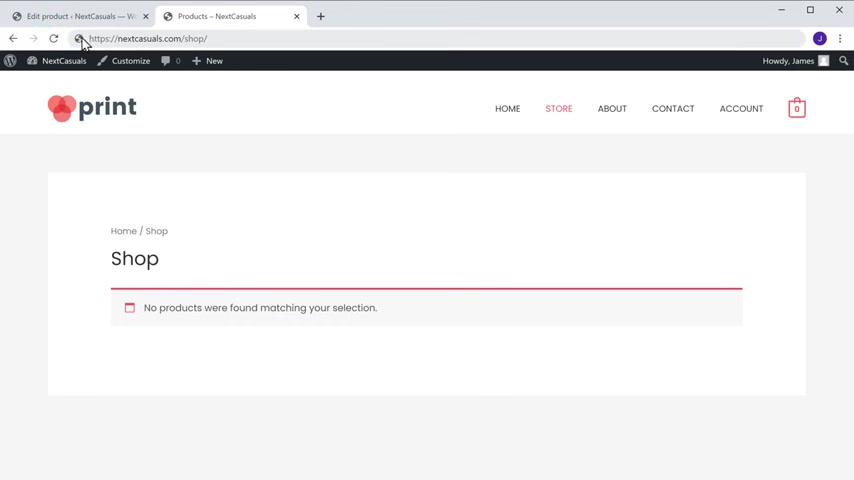
And now if you go to a store and click refresh , you can see that all the products have been removed once you have removed all the sample products .
Next , let's go to the final step of setting up a store which is to add your own product .
Now , if you don't want to add any products of your own and only want the other sellers product on your site , you can skip this step .
So to add your own product , just go back to your product page and look at you .
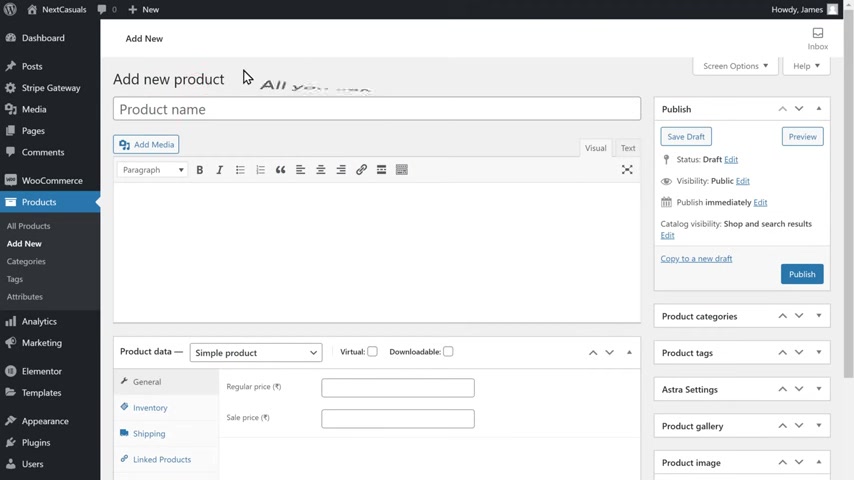
So to add a new product , all you have to do is just enter the product name , its price and some details about the product .
OK .
So once you've added these details , you can now add your product team mates .
So to add the image , just click set product image and then drag an image from your computer and drop it here .
And as you can see the image has been added .
So now we have added all the details about the product .
Now , do I put it to our website ?
Let's click publish .
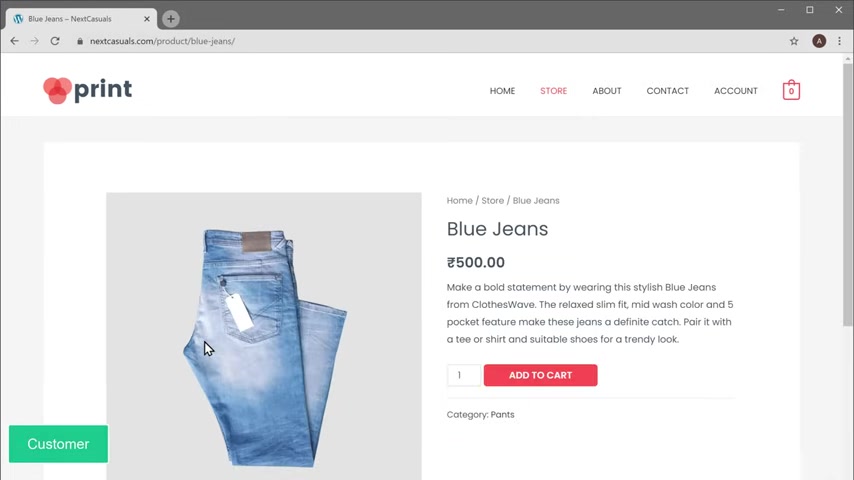
And now if you go back to us two page and click the first , you can see that we have a product .
So this is how you can add your own product to your website .
Next , let's try buying this product from our site .
So just like a customer would do , let's click add to card and click , proceeded to check out and fill up these details .
So if they enter the card details and click place order , you can see that the payment has been made and the order has been placed .
Ok .
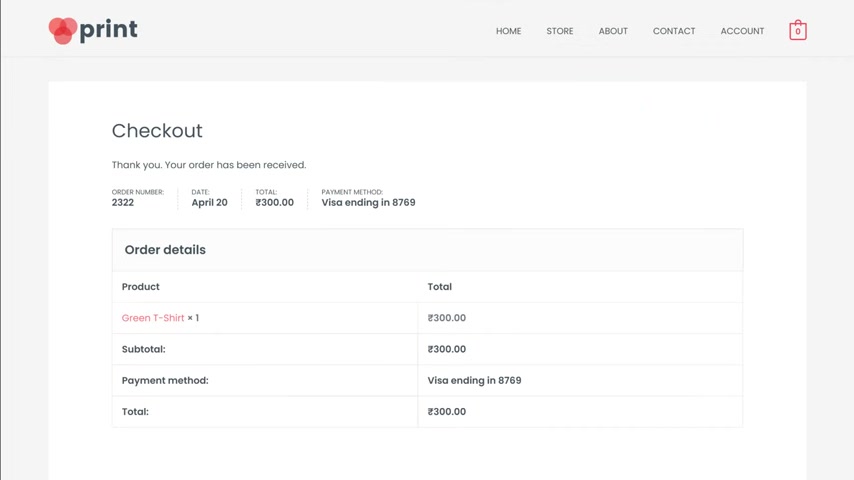
So this is how a customer can buy a product from your side once the customers purchase the product .
So now if you go to Iron Works , you can see that we have received two emails .
The first email is from wordpress .
The second email is from stripe .
So if you open the first email from wordpress , you can see that we have all the details about the order .
So we have the name of the product which the customer has ordered and their address know if you go back and open a second email , you can see that Stripe confirms that you have received a payment .
So once you get this email , you can go ahead and deliver the product to your customer .
Now , if you want to know how to deliver products to your customers , you can watch this video .
So now we have created a fully working e-commerce website where you can sell any product you want .
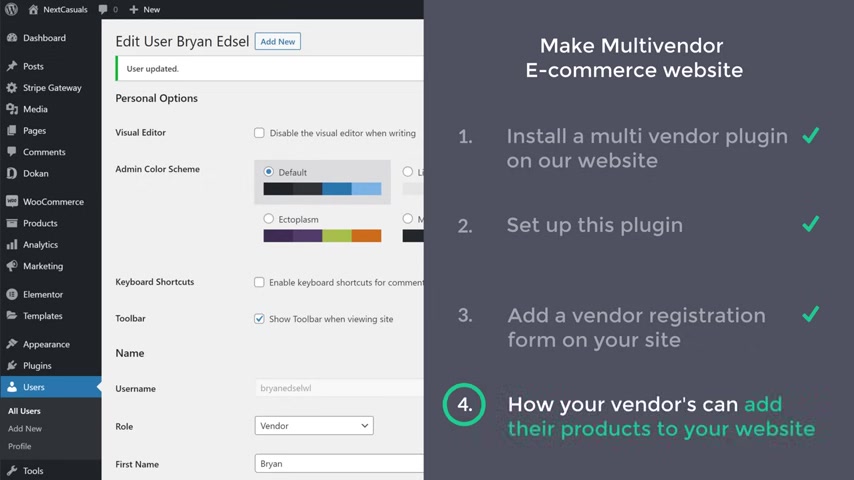
Once you have created a e-commerce website , we can now go to the final part of this tutorial which is to make the site into a multi ecommerce website .
Once you do this , you will be able to allow other sellers to sell their products on this site .
So to allow other sellers to sell products on your site , we are going to do four steps .
The first step is to install the multi vendor plug in on our website .
So to install the plug-in , let's go to our dashboard , go to plugins and click add new the source for a plug-in called Doan .
And you will get this plug in .
This is the plug in which is going to help us make our site into a multi vendor website .
So to install this plug in , let's click install and then click activate .
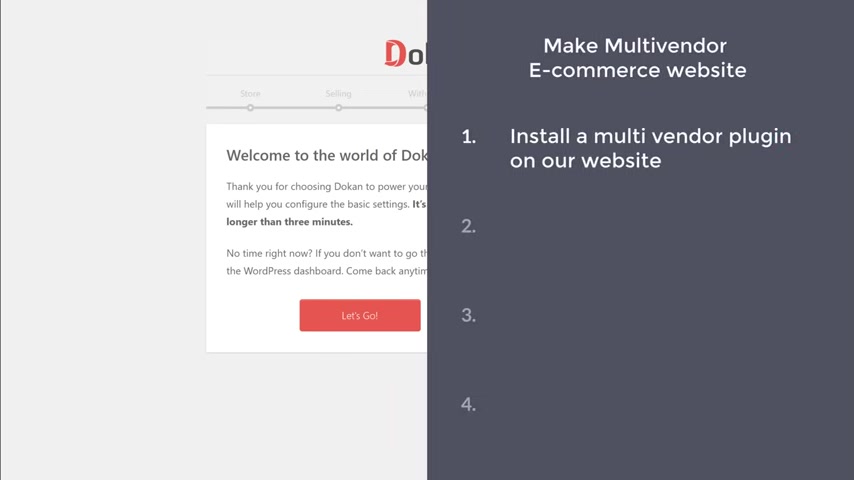
So now we have successfully installed the plug-in .
Once you have installed the plug-in , we can go to step two , which is to set up this plug in .
So to set up the plug in , just click here and it will take you to this page .
Now , click continue .
Now on sites like Amazon and flip card , anyone can become a seller and sell their products and whenever a sale happens on their side , a percentage of it is taken by the website owner which is Amazon or Flip Cart .
So in the same way , when you let sellers to sell their product on your side , you will be able to earn a commission from their sales .
So here you need to enter the percentage of commission that you want to receive for each sale .
So I'm going to enter 10 .
Now , when a customer purchases any product from your vendor , 10% of the sale amount will be shared with you as the commission .
Ok .
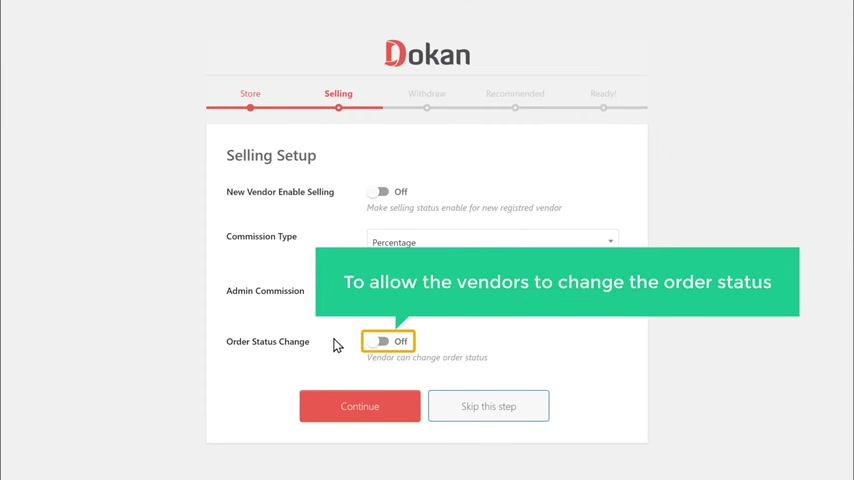
So here you need to choose whether you want to allow the vendor to change the status of the orders or not .
So to allow the vendors to change the order status , let's enable this option .
Once you have entered these details , click continue .
And here you need to select the payment method which you want to use to send the money to your vendors .
Now , when a customer purchases a product from your vendor , that money will be sent to your stripe account .
And now you are in charge of sending the money to the vendor .
So here you need to choose which method you want to use to send the money to your vendors after they have made sales .
So I'm going to use bank transfer .
So let's enable that .
Now , whenever you receive an order on your site , by default , its status will be set as processing and once the vendor has shipped the product , they can change the status to completed .
Ok .
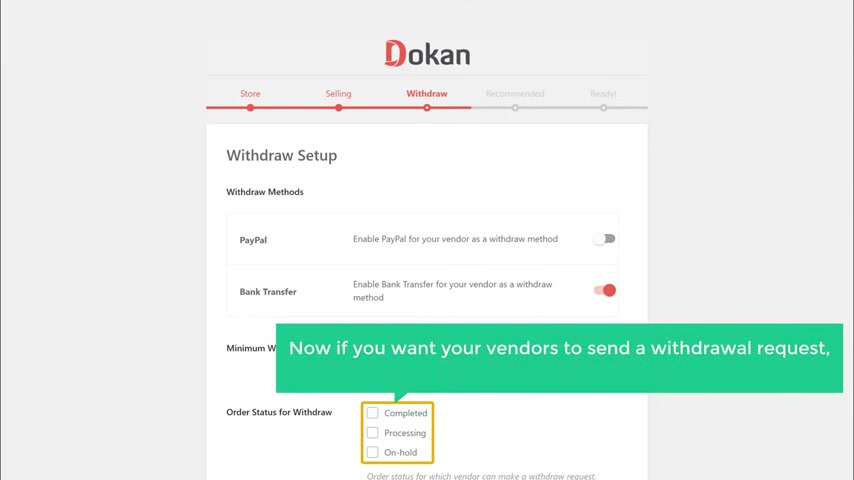
Now , here you can select at which order status your vendor can ask for a withdrawal for the sales they made .
Now , if you want your vendors to send a withdrawal request , only after they have delivered the product to the customer , just select completed .
So now only when the order is marked as complete , they will be able to send the withdrawal request once you have selected these click continue .
And now we have successfully completed setting up the multi vendor plug in .
Now , if you click here , it will take you to your worker's dashboard and as you can see we have got a new section called Doke where you can see the details of the sales and vendors .
And also you will be able to see your commissions or earnings here .
So once you set up the multi vendor plug in , we can now go to step three of making your multi vendor website , which is to add a vendor registration form on your site .

No , for vendors , it's our website and goes to account , you can see that they do not have any form to register on your site .
So all our vendors to register on your website , we are going to add a registration form like this on our side .
So to add the registration form , let's go to our wordpress dashboard .
Now go to Woocommerce , click settings and go to accounts and privacy .
Now to add the registration form to your site , just enable this option and then click save changes .
Now if you go back to our website and click refresh , you can see that we now have the registration form on our site .
Once you've added the registration form .
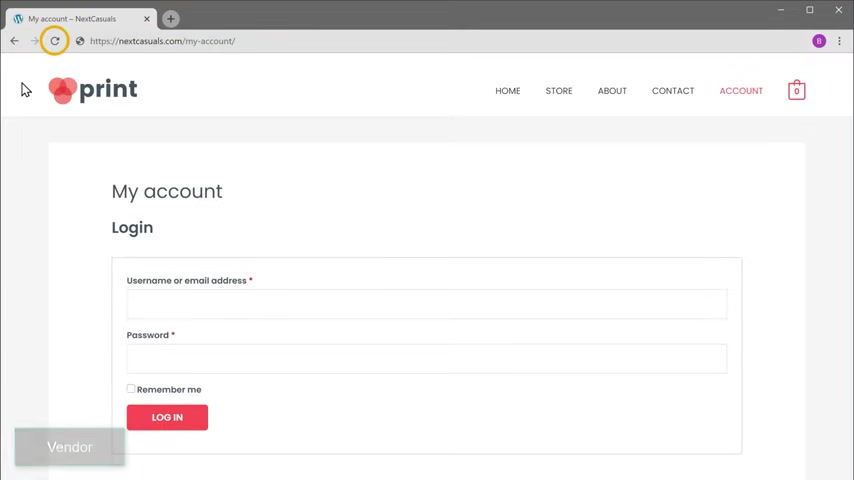
Next , let's see how a product seller can register on your website and become a vendor .
Let's say someone wants to register on your site .
All they have to do is just select the vendor option and then fill up these details .
Now , if they just start , it will take them to the vendor set up wizard which will let them choose their settings for selling products on your site .
So as a vendor would do , let's set this up .
So now if you click here , it will ask us to enter the details of our two .
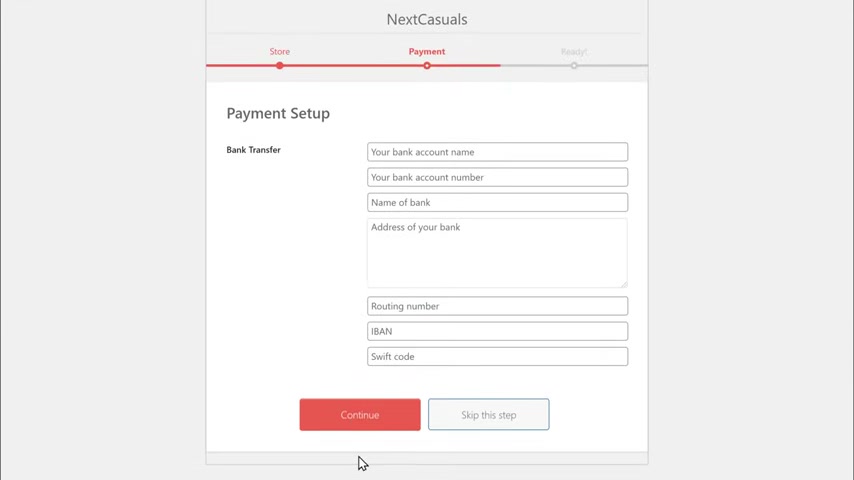
So let's fill up these details and click continue next here to ask your vendor to enter their bank details .
Now , if your vendors from India , they can enter the ifse code here .
These details are needed so that you can send the sale amount to your vendors .
Once they have entered their bank details , they will click continue .
And now the vendor is successfully registered on your website and they can start adding their products .
This is how a seller can register to your e-commerce website once they are registered on your site .
Now , if they click go to your store dashboard , it will take them to the vendor dashboard .
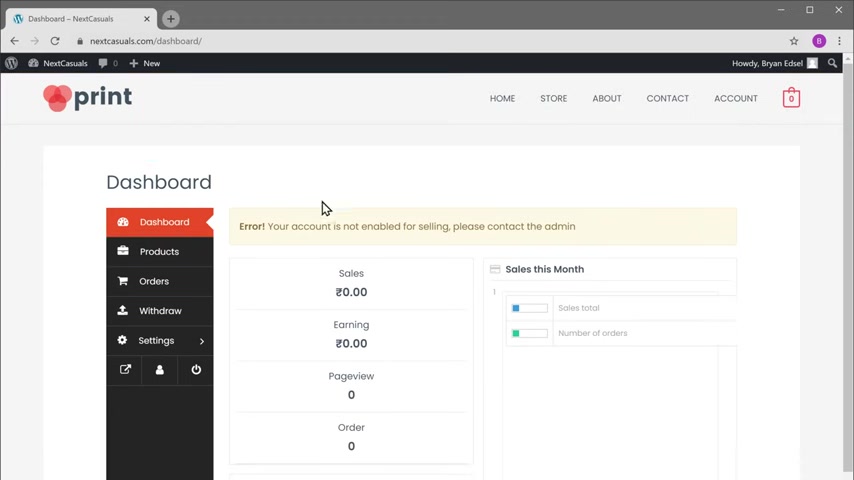
This is the place where your vendors can see the sales and earnings they have made after your commission .
And if they go here , they will be able to add their products on your website .
Now , if they go here , they can see the number of orders they have received .
Ok .
Now if you see here , we have a message saying account is not yet enabled for selling , which means your venda cannot start selling their products now .
So in order to allow your vendors to sell their products on your site , first , you need to approve them .
So next , let's see how you can approve the vendor's request .
Once the learner has registered on your site , you will receive an email to your admin inbox .
So now if you go to our inbox , you can see that we have got an email about the new vendors registration .
So let's open the mail and here you can see the details of the vendor now to approve this vendor , just click here and it will take you to your dashboard .
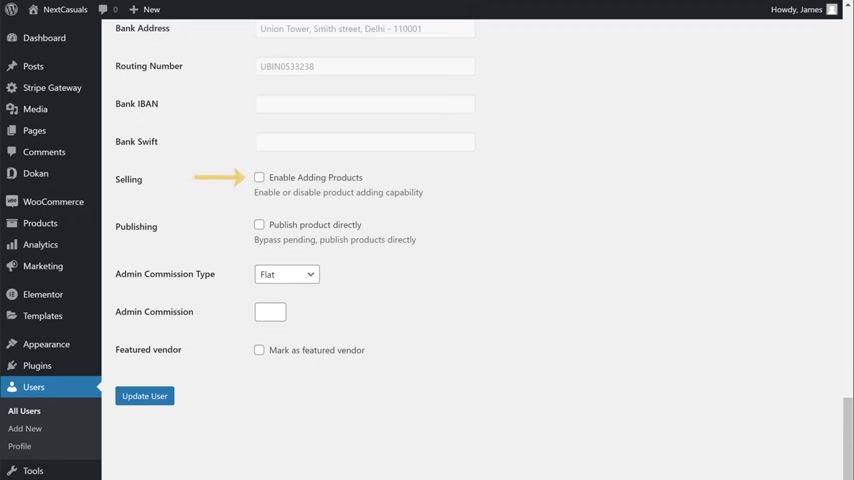
Now scroll down .
So here by default , your vendor does not have the access to add products on your website , not to allow the vendors to add products on your site .
Just enable this option .
And now we have given access for the vendor to add their products on our side .
Now , if a vendor tries to add a product on your side , it will not be directly added on your side .
The product will be under pending and you need to approve it manually .
Now , instead of approving each product manually , if you want to directly publish the vendors product on your side , you can enable this option once you have enabled this option , click update .
So now we have successfully accepted the vendor's request and approved them to sell products on our website .
Ok .
Once you approve their account , your vendor can now start adding their products on your site .
So next , so let's go to step four where we see how your vendors can add their products to your website .
So to add their product first , they need to log in to their dashboard .
So to log in , let's go to our website .
Now click account here .
They need to enter the login details which they have selected while creating their account .
So let's enter the login details and click log in .
So now we are logged in into the vendor's dashboard .
Now to add the products , all you have to do is just click products and then click add new product .
Now here enter the name of the product and then enter its prize .
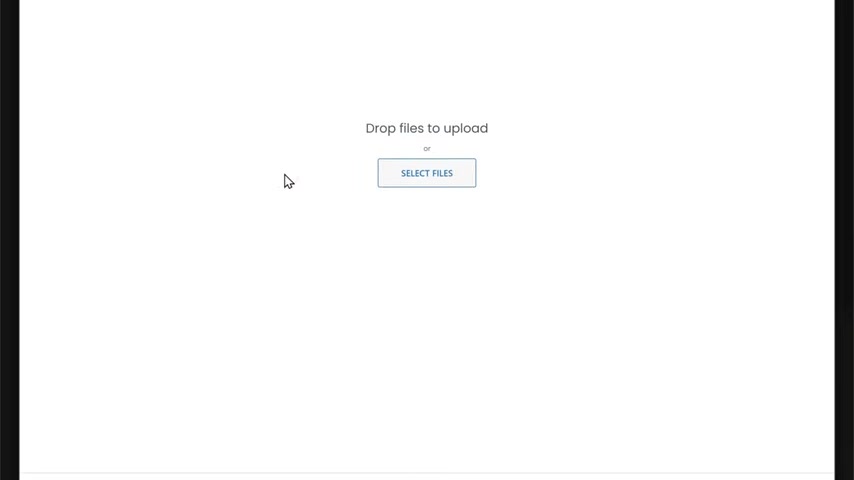
Now to add the product images , they can click here and then drag an image from their computer and drop it here and select the product category and add a small description about the product here .
Once they have added the product details , if they click create , you can see that the product has been added here and now the vendors product will be published on your website .
So to check that , let's go to our product page here .
You can see that this is the product which we have added before .
No free click of the fresh .
You can see that we now have the product which was added by the vendor .
So this is how your vendor can add products on your website .
And now anyone who is visiting your website can buy this product .
So next , let's try buying this product from a site like a customer .
Let's look at to God .
Now , here you can see that we have the name of the vendor under the product name .
So let's click , proceed to checkout and fill up these details .
So if they enter the card details and click place order , you can see that the order has been placed and this money will be sent to your Stripe account .
Ok .
Once the order has been placed , the vendor will receive an email about this order .
Now , if you go to the vendor's inbox , you can see that they have received the mail about the order .
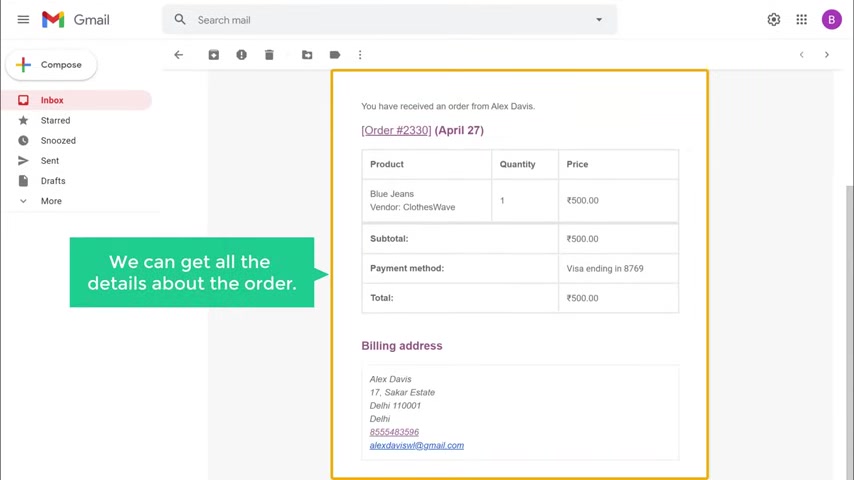
And if you open it , we can get all the details about the order here .
We have the name of the product and the customer's address .
So now the vendor can ship the product to the customer after receiving an order , the vendor can also view it from their dashboard .
Now , if they go back to their dashboard and click orders , you can see that we have got the same order here .
Ok .
So now you know how vendors can be notified about new orders .
Next , let's see how your vendor can update the order status after they ship the item .
Let's say the vendor has delivered the product to the customer .
Once it is shipped , they can change the order status from here .
Now , if they click here , the order status has been changed to completed .
Now , if you go to a customer's inbox , you can see that they have received an email about the order completion .
Ok .
Once the vendor has completed the order , they can now request for the withdrawal loan from you .
Now , as the money was sent to your stripe account , you need to make the payments to the vendors for the sales they receive .
Next .
Let's see how your vendor can request for the money after they complete the order .
So to request for the money , all they have to do is just click withdraw .
Now , once the commission amount is given to the admin , the vendors can check their remaining balance here .
Now to withdraw the money , just enter the amount here , then click submit request .
Once they submit the request , you will receive an email about the request to your inbox .
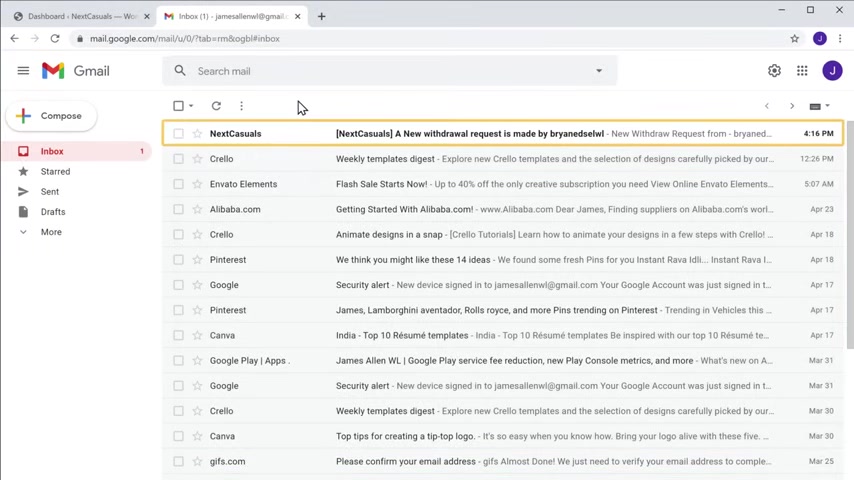
So if you go to your inbox and open the email , you can see the request from your vendor .
Once you have got this request now to approve your vendor's request , just click here and it will take you to this page where you can see the vendor's bank details .
So you can now send the money to your vendor using these details .
Once you have sent the money , just click here to approve the request and the vendor will receive an email about the approval .
So if you go to your vendors inbox , you can see that they have received the mail about the order .
And if you open it , they received the mail about the approval .
So this is how your vendor can request for payment and get paid for their sales .
Now , if the vendor goes to their dashboard , they can see their earnings from Europe once you have sent the money to your vendor .
Now , if you go to your wordpress dashboard and click ton , you can see the earnings from the vendor .
This is how you can know the commission that you receive from all the product sales .
So now you know how a vendor can sell their products on your website .
Now , let's say you want to disable a vendor from your site .
How can you do that ?
Now , if you want to disable a vendor from your site , just click vendors here .
You can see the list of vendors who are active on your site .
Let's say you want to remove this vendor , just click here to disable them and the vendors products will be removed from your website .
So now if you go to our website and click refresh , you can see that the vendor's project has been removed from our site .
So this is how you can disable a vendor from your website .
Ok .
Now we have the complete multi vendor website .
So to make your multi vendor e-commerce website , all you have to do is launch your website , import the sample website , set up your store and make the site into a multi vendor website .
So that's it guys .
This is how you can create a multi venter e-commerce website .
Now , if you need to start making a multi venda ecommerce website , just click here and it'll take you to the page which we saw in the first step , which was choosing your website name .
So just choose your website name and then start building your website .
Now , if you want to learn how to create a mobile app for your e-commerce website , you can watch this video and also make sure you subscribe to our website learners to get more videos like this one .
Thanks for watching .
I'll see you in the next video .
Take care .
Bye bye .
Are you looking for a way to reach a wider audience and get more views on your videos?
Our innovative video to text transcribing service can help you do just that.
We provide accurate transcriptions of your videos along with visual content that will help you attract new viewers and keep them engaged. Plus, our data analytics and ad campaign tools can help you monetize your content and maximize your revenue.
Let's partner up and take your video content to the next level!
Contact us today to learn more.