https://www.youtube.com/watch?v=O8PJPomtP_4
Divi blog post template design using Divi Theme Builder
In today's video .
I'm gonna show you step by step how to create a blog post template using DV 4.0 theme builder .
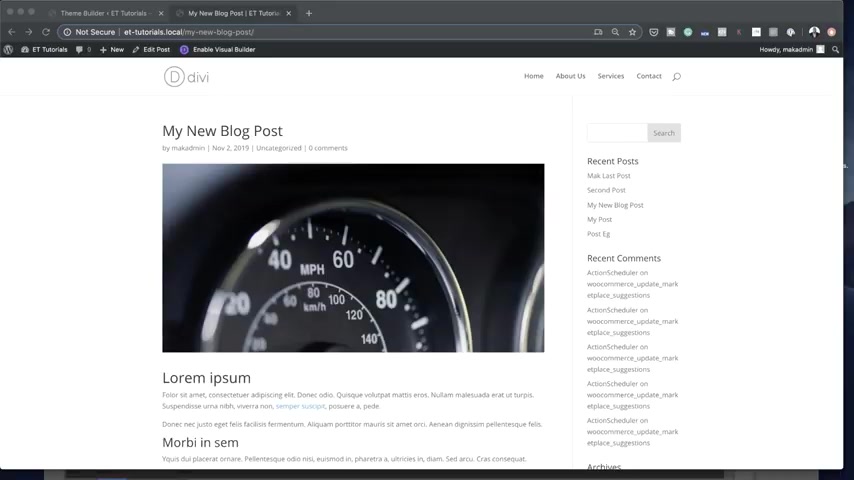
So when you start designing a blog post , in fact , this is what we used to get before we got the theme builder .
So as you can see , this is pretty much boring .
It's not exciting .
It's also quite difficult to um customize this text here unless you go into some CS S , but I'm going to transform this blog post and show you what you can do with a brand new theme builder .
All right .
So the first thing you wanna do is to come over here .
In fact , let me come to the dashboard so you can see how you get started .
So this is where you log into your wordpress admin dashboard , right ?
So you wanna come over here to DV Theme Builder .
Now , before I go into the tutorial , uh I have a course coming up called D VA Blueprint Four .
This is a course which will teach you step by step how to create awesome looking websites with Divi and this is ideal for beginners to advance .
So if you buy DV , using my affiliate link , which I'll leave in the comments box below .
You get access to this course , it's worth about $397 .
So let's dive in and let me show you how to build it .
So over here , what we're gonna do is we are going to add a brand new template .
So I'm gonna click here on this plus button and I'm gonna come to all posts because this is what we need to create a blog post template .
Alright .
So now I'm gonna click on create template and where we need to go here is here where it says add custom body .
So I'm gonna come over here , build custom body .
And then next , I'm gonna come over here to build from scratch .
So I'm gonna start off by adding a single column and in here we're going to add a post , I mean post content , right ?
So as you can see it comes in with uh this detail here which we can go in and customize .
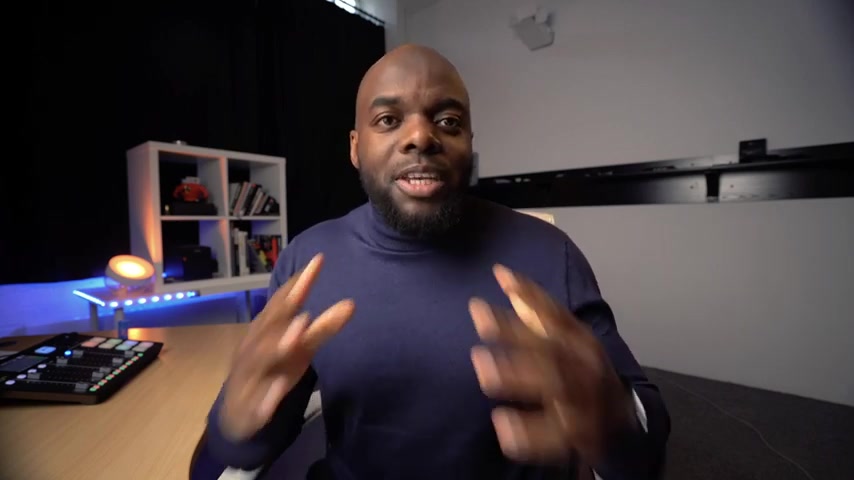
So if I go into my module settings here , I can go into design and change my headings my paragraph , text and so on .
So let's start with the heading text .
So over here , we're gonna change this from Monserrat to let's say later and uh let's leave it as all caps .
Let's move on to the next one which is heading two .
So right now I'm just changing these fonts .
So you can see how easy it is to go in and change it .
So this is what your blog posts are gonna look like when you start creating your content .
So now I've just changed all this uh content to later .
So that's all my headings .
In fact , you know what , for heading three ?
I don't think I like that color .
So I'm gonna come over here and just use this default color .
All right .
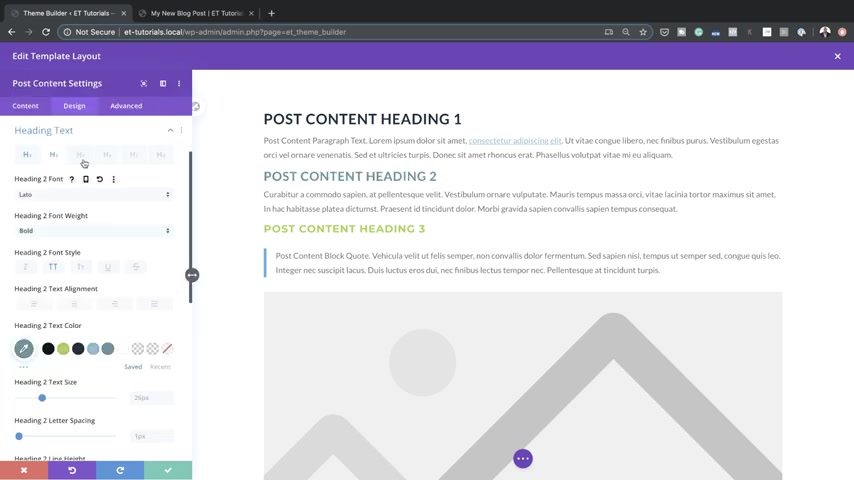
So now that I've added all my headings , you can do the same for your paragraph , text as well .
So here you can come to text , you can change this to whatever you want .
Let's say you want this to be monster .
There we go .
And I am pretty much happy with the size here and the line height .
So that's looking good .
Next over here on the images you can use , you can do basic styles like adding rounded corners if you want to and let me show you how to do that .
So if I come over here to my image , I can add some rounded corners here just like that .
You can see my rounded corners being added there .
So I'm gonna go with , let's say 10 , right ?
So these are subtle changes that I'm adding here .
I'm gonna save this and then save this one more time and then close it and then over here on the thin builder , you wanna make sure you save this .
So what we've done here is we've just gone in and customized and given our headings a custom uh size and also with a con custom font type .
So this is the initial changes that you may want to do to your blog post .
Now let me show you how to add all your content into your blog post and how that's going to be transformed once you apply this template , right ?
So what I'm gonna do here is I'm gonna go back over here to my post and just create a brand new post .
So over here , I'm just gonna come and click on add new , let's do this in a new tab so that I don't have to keep going back and forth .
So here , I'm just gonna say uh my new , my new template .
So instead of using the DV builder here , because what we've done already is to go in and create our template .
So now we don't need to go into the DV builder .
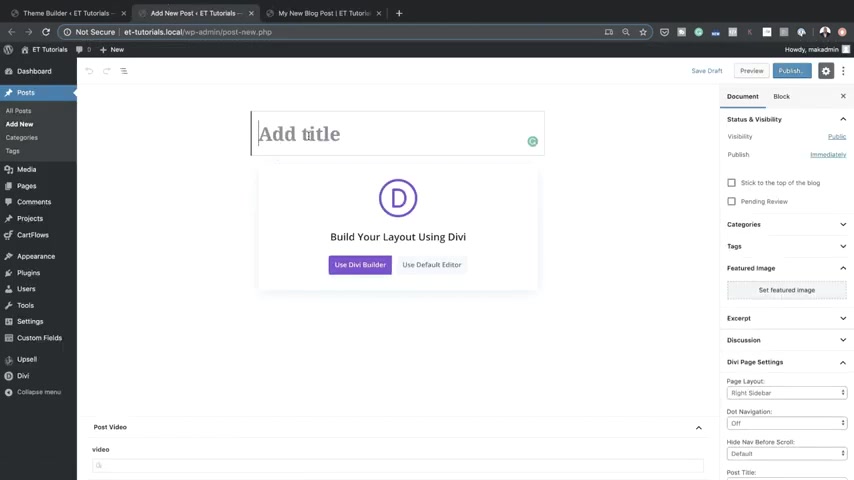
All we have to do now is to come to the default editor .
So I'm gonna come over here and this is where we can add all our content .
So let's say I want to add an image .
I'm gonna come over here , click on image media library and I'm gonna add my image from the media library .
So I'm gonna go with um let's say this one right here , click on select and now you can see my image has been selected next .
I'm gonna add some paragraph text here .
I paste it .
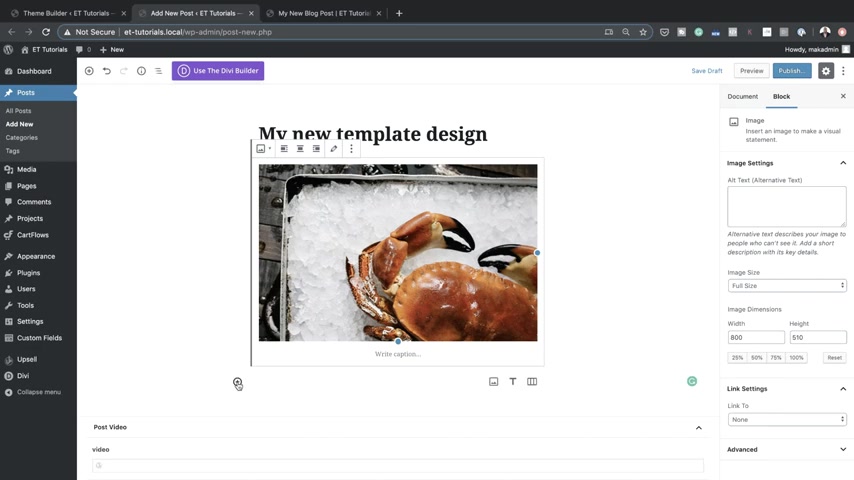
Now , what you may also want to do here is to add a heading , right ?
So I'm gonna come over here just give , just give this a capital C right ?
And this text right here .
I want to change this to a heading .
So I'm gonna highlight it , go to heading and let's give the heading one .
Great .
So that's what I'm gonna do .
I'm just gonna add an image here and I'm also gonna add a title .
So what's gonna happen now is those settings that we added in the templates are going to apply once we save this .
OK .
So let me show you how that works .
So if I , in fact , before we publish , you may also want to add a featured image .
Let's go ahead and add a featured image here .
So my featured image here is going to be let's go with , let's go with this one here .
Select that .
So now I have a featured image for my blog post .
Next , I'm gonna hit publish , publish one more time .
OK ?
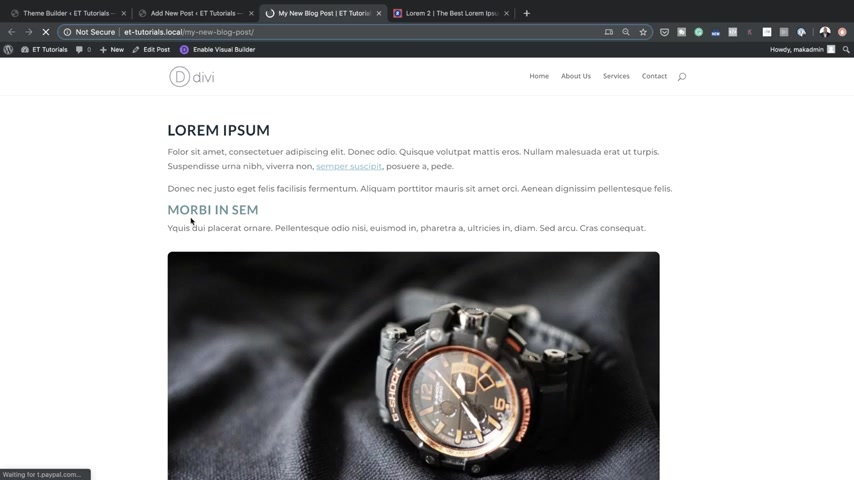
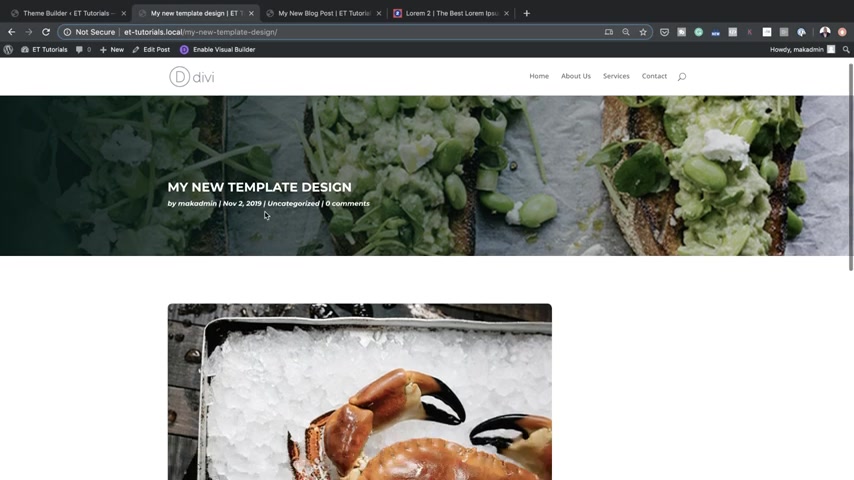
Now this is pretty much the layout that we had before and even if I refresh this , you'll notice a change .
Now , I have Lauren Ipsum here .
You can see this is the styling that I added .
This was my paragraph text , this was my my heading text and the image that I added had rounded corners .
So now you can see the rounded corners .
So my template now has been applied to all my blog posts on my website .
Now , let's take a look at the post that I've just created .
So if I come over here , I can click on view post .
And again , you can see I have my rounded corners here .
I have my title , text , my , my heading text and my body , my body text .
So that's looking great .
But of course , we want it a bit more advanced than this because this , to be honest , looks quite boring , but at least it's better than what we had before .
But the most important thing here is now you have a standard customized uh layout that's gonna be applied to all your blog posts , which is really , really good .
And we also , we also have one place that we can uh do all our changes and these changes will be applied across the whole website .
All right .
So what we're gonna do now is we're gonna add a featured image .
So I'm gonna come over here , go to our custom body .
So the way I'm gonna add my featured image here is by adding it as a design element .
So I'm gonna come over here to the bottom , scroll all the way down here , click this plus button and let's add a full width header .
I mean post title , right ?
So here I'm going to come over here to elements so you can disable what you don't want to show here .
You can see we have a featured image that shows in here , but I prefer not having it in there .
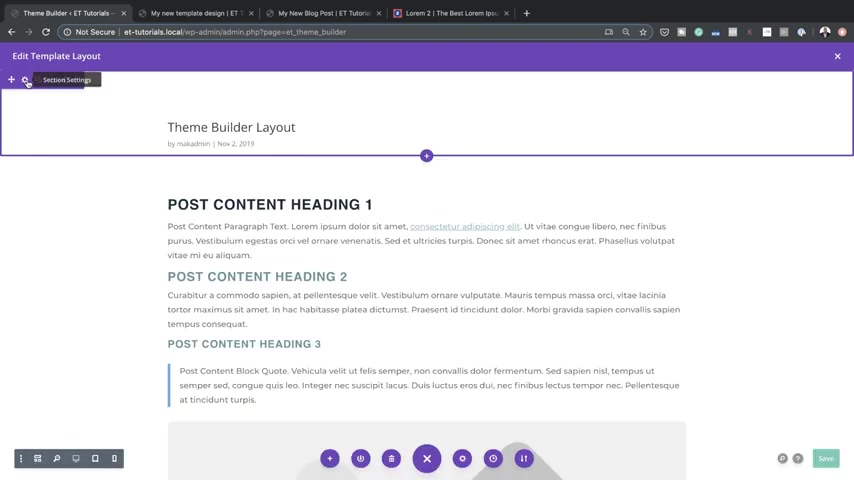
So I am going to not show the featured image .
So all I have now is the uh blog title and the meta text .
So we can go in and also customize this meta text .
But before I do that , I just want to save this and show you how we're gonna build this design .
So I'm gonna drag this all the way up to the top and then I'm gonna come over here to my section settings , click on background and this is how I'm going to add my featured image .
I'm gonna click here on this plus button to add my featured image as a dynamic image .
And over here , I can do some clever stuff as parallax and all of that .
But you know what , I'm not gonna do that for this .
Next I'm gonna come over here and add a gradient .
So my first color here is gonna be this really dark gray and then my second color is just gonna be transparent .
Great .
So I want this gradient to show .
So I'm gonna come over here place gradient above image and now you can see my grade has been added , but I want my angle to stop from the left .
So there we go .
So that's looking much better .
So the next thing I'm gonna do now is to save this and then stylize my text .
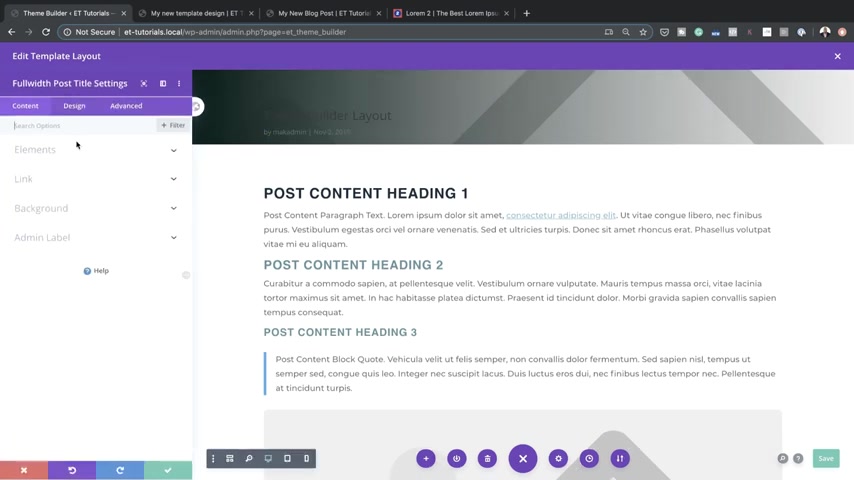
So I'm gonna click here on this gear icon to go into my full with post settings .
Click on design and then over here on my title text , I am going to change my font here to monster rat all caps .
Let's make it bold and uh let's also make it white .
So it's easier to read and on the metal text , I'm gonna do the same as well .
Change this to Moran , make it white and this time I'm gonna be making a Tay go to bold .
Alright .
So that's looking much better .
You may want to add some space here .
I mean some padding to make sure that your um image shows really well .
So let's go in and do that .
So I'm gonna scroll all the way down here , come to uh spacing , add a bit of padding to the top and a bit to the bottom as well .
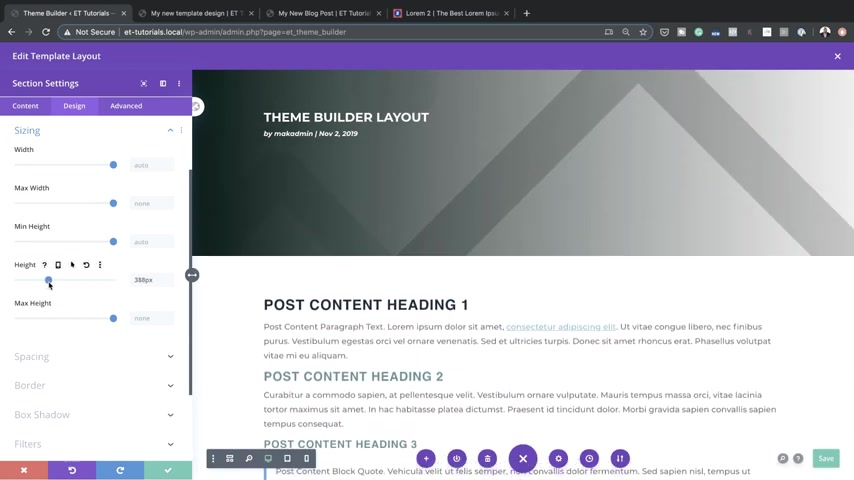
And then I'm gonna save this , come over here again to my section settings , design sizing and this is where I wanna add a height so I can play around here with my height .
I can make it maybe 4 26 if this looks better .
Save that .
And then I'm just gonna drag this into position by just adding more padding .
All right .
So pretty much I'm happy with that .
So this area here is where my dynamic image is gonna come .
So notice what happens when I save .
So I'm gonna come over here save and right now I'm working on my template .
So now that I've saved this , I also need to save it over here on my team builder .
So if I go now to my post and refresh , look at the design that we've just achieved .
So now we have this featured image with our title here of our blog post and we have our content right here on the bottom .
Now , I'm gonna go to a post that I've created before , refresh this and let's see what happens .
There we go .
So that looks beautiful .
And this is a quick way to actually go in and create , you know , beautiful looking pulse types using the new DV 4.0 the builder .
Now you may be asking , right ?
So how do I add other elements to this blog template ?
Like for example , you may want to add an opting form so that when people come to your blogs , they are able to add in their uh their email to build your mailing list .
So let me show you how to do that .
So what we're gonna do here again , we're gonna come over here to our template .
So all the work that you need to do is can be done on the actual template .
So what I'm gonna do now is I'm gonna come all the way down here .
Let's add a new row , single column and this time it's gonna be an email opt in .
So here we go .
We have our email opt in , I'm gonna come over here to uh in fact , let's go to content .
So here we can choose our email provider .
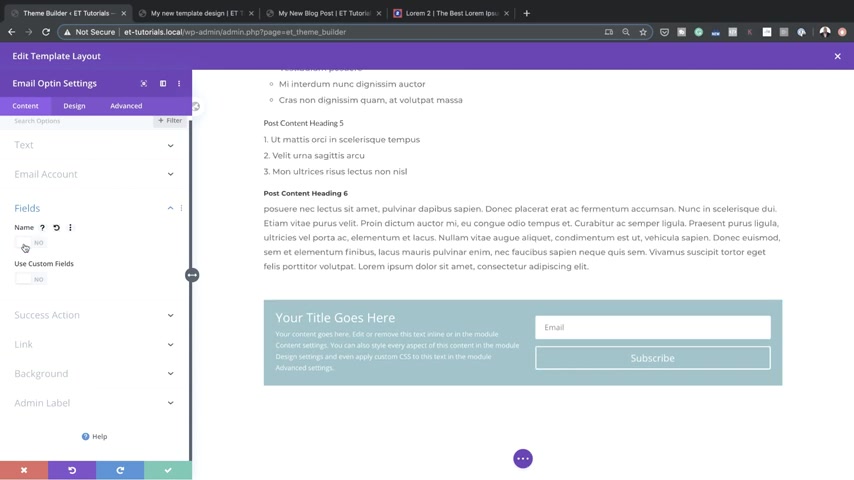
So let's say you choose convert kit , you can choose your list and then once you've chosen your list , just click on add and then over here on , uh let me cancel this over here on the fields .
You can show the name if you want to , but if you want to disable it , you can just click that and now I've disabled it .
So that's looking great on the background as well .
You can remove the background all together and then save .
And then what you wanna do is to come over here to your row settings and this is where you want to add a background .
So this is just how I'm just playing around with this design .
So as you can see here , my content is way too close to the edges .
So you wanna go in now into your spacing , add some padding .
So let's say 20 let's try 20 here and let's do 20 as well all around .
OK ?
That's not enough .
So anyway , I can just play around by just adding a bit more here .
So let's go with 40 like that .

So that looks much better now .
And for the text here , you can also go in and customize this text , make it look great , make it look like it's part of your design .
So I've just added my option here .
Now , this is going to be added on to every single blog post on my website and this is the beauty of using this post template .
So let me show you how that works .
So I'm gonna save this now and then over here , I'm gonna save this .
In fact , I'm gonna close it and then save here on the theme builder .
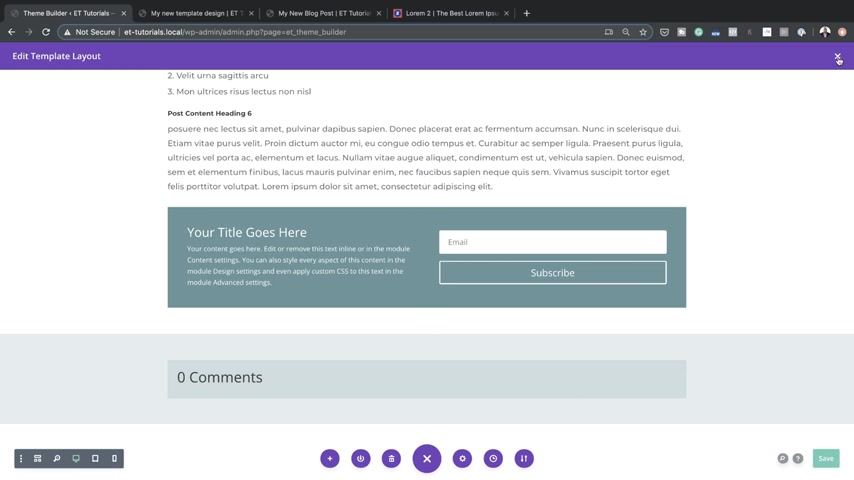
Now , let's take a look at this template and see if we have our opt-in on the bottom here .
So I'm gonna refresh that and now here's our opt-in .
So to double check and make sure that this opt in is on all the blog posts .
Let's open a uh another post that's on my uh website here and see how that looks .
So I'm gonna come over here again , I haven't refreshed this .
So if I refresh it , take a look at what happens now , we have the opt in which is fantastic .
So all the features that you need to add can be added on the , the builder and all the changes there will be transferred throughout your whole template .
So when we take a look at our template here , we can see that we don't have an option where people can come over here and make some comments to our blog post .
So this can also be added in our theme builder .
So let me show you how to do that .
So I'm gonna come over here , go back into our custom body and all the way down here , let's add a new section , regular section , single column and this is where we're going to add our comments .
So I'm gonna select it here and we are also able to go in and totally customize this and make it look the way we want it to look .
So I'm gonna save this for now and I'm just gonna give it a slight gray background here so we can distinguish this from , from everything else .
So I'm gonna add some transparency to it .
Uh I'm gonna come over here to my row settings .
Come over here to design .
Let's head over here to spacing .
So again , I'm gonna add some padding here just to give this up some breathing space .
Great .
And then I can also add a background color here , add some transparency to it and save it .
I'm gonna save this one more time .
So as you can see all the elements that I'm adding here are all being added to my template and all the changes are being applied across all my posts on my website .
So now I'm gonna come back over here .
Let's do a quick refresh .
Now , if I go all the way down here , now we have our comment section .
Isn't that cool ?
So this is how we used uh how we use the um theme builder to create a custom layout .
Alright guys .
So that's all I have for you today .
Let me know what you think and uh if you have any suggestions or anything that you don't understand .
Let , ask me your questions in the comments box below .
But the most important thing is if you haven't bought Divi yet , you can buy Divi using my affiliate link and I'll give you access to my Divi blueprint course .
And also if you want to get access to all my courses , head over to funnel to income dot com and become a VIP member .
In fact , I'll leave all the links in the comments box below .
Keep on designing awesome websites using divi take care .
Are you looking for a way to reach a wider audience and get more views on your videos?
Our innovative video to text transcribing service can help you do just that.
We provide accurate transcriptions of your videos along with visual content that will help you attract new viewers and keep them engaged. Plus, our data analytics and ad campaign tools can help you monetize your content and maximize your revenue.
Let's partner up and take your video content to the next level!
Contact us today to learn more.