https://www.youtube.com/watch?v=PyPWtIFIzbk
How to Draw Eyes
This video is all about drawing eyes , starting with a simple sphere structure for our eyeball and then moving on to placing an eye lid over it and an eyebrow and then showing how we can actually place it into a head consistently .
So it sits properly in a skull .
Then we'll take a look at some of the subtleties that happen when you open and close your eyes or when you look from one direction to another , we'll look at how the appearance of lids change when you look at eyes from different angles and then we'll finish with a tight drawing of and I done in a fairly simple style to really break down how we can go about describing our forms .
I'm David Finch .
I've been a comic artist for over 25 years .
If you enjoy this video , please hit like and subscribe and share with your friends .
This video is brought to you by Squarespace from websites and online stores to marketing tools and analytics .
Squarespace is the all in one platform to build a beautiful online presence and run your business and to do it all incredibly easily .
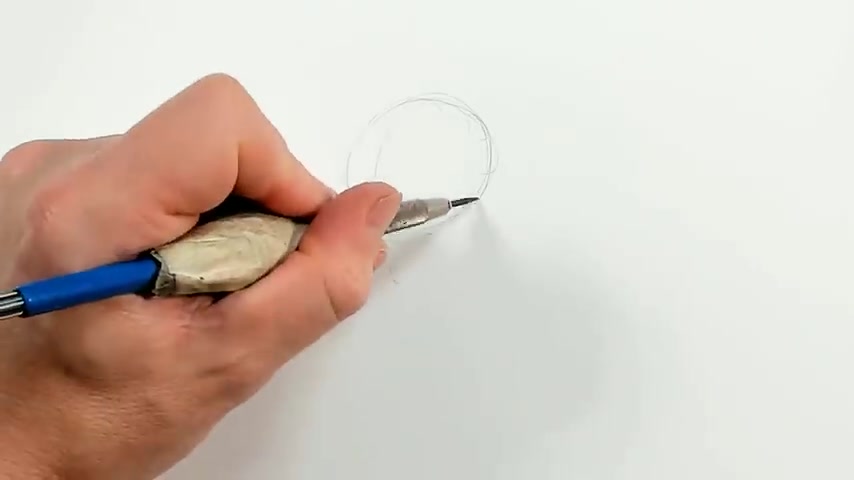
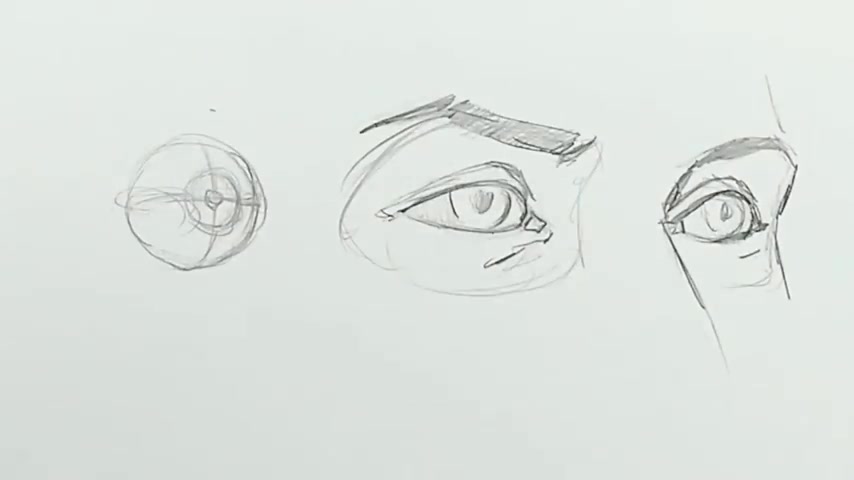
All right , to start to talk about drawing eyes .
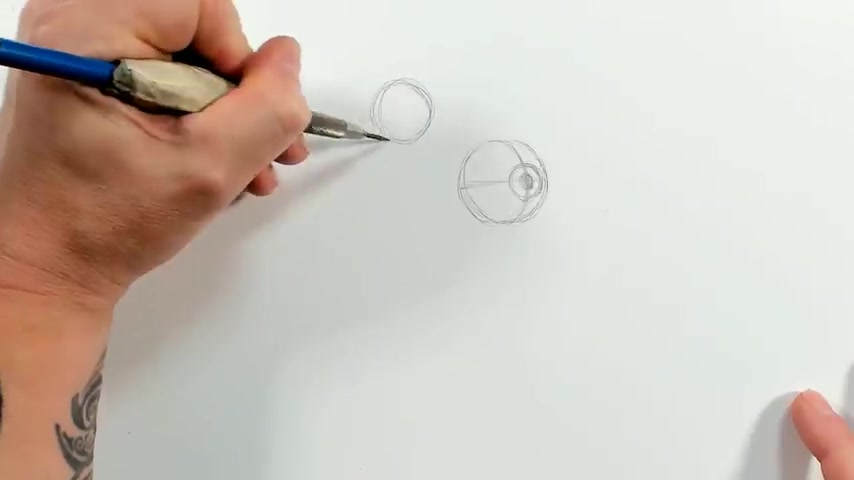
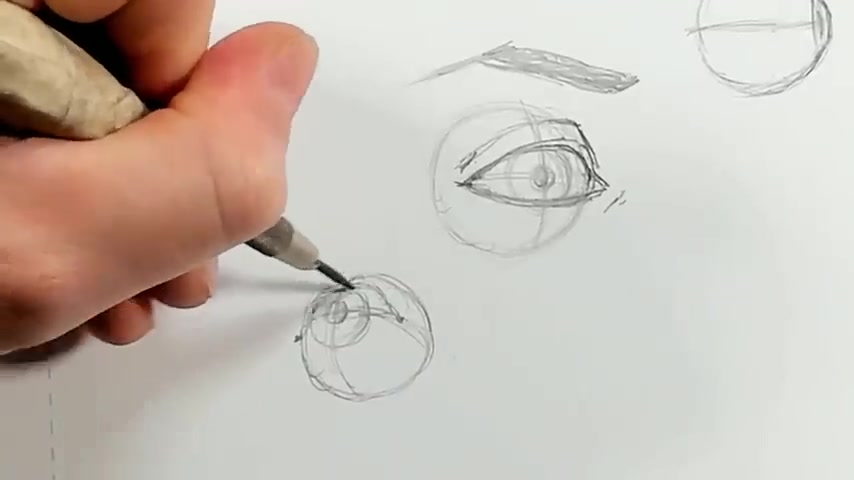
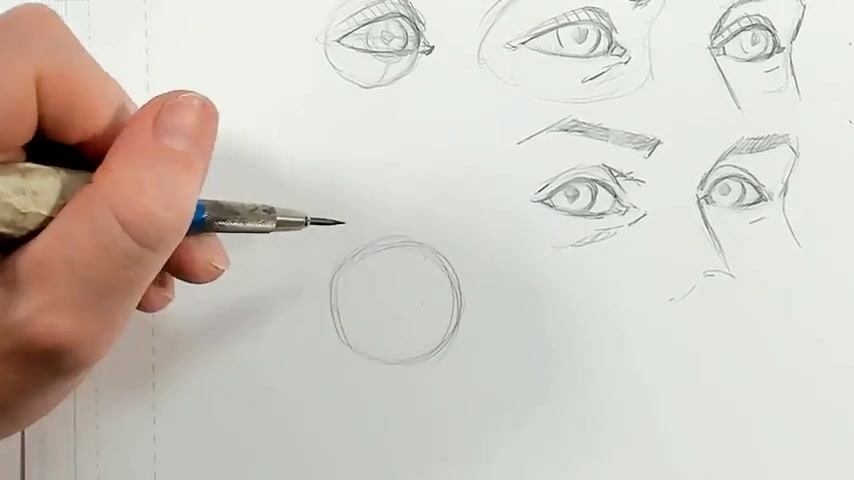
We're gonna start with a sphere and the way that I take a circle like this and turn it into a sphere on a flat page in a way that I can understand is I draw a vertical center line and a horizontal center line .
And my people will go here and my iris will go here .
I can draw that same circle because it's a circle .
It's really not gonna change shape no matter what angle I draw it at .
And I can draw my vertical here and my horizontal ear and then I'll have my iris here and my pupil here .
And so I can angle it really any way I want .
And I have a good sense of where my eye is in space just with my vertical and horizontal lines and , and clean this up just a little bit .
And one other thing to bear in mind , I'm gonna draw another circle for my eye .
I'm gonna draw my horizontal completely flat along and then my vertical is along the side of the eye .
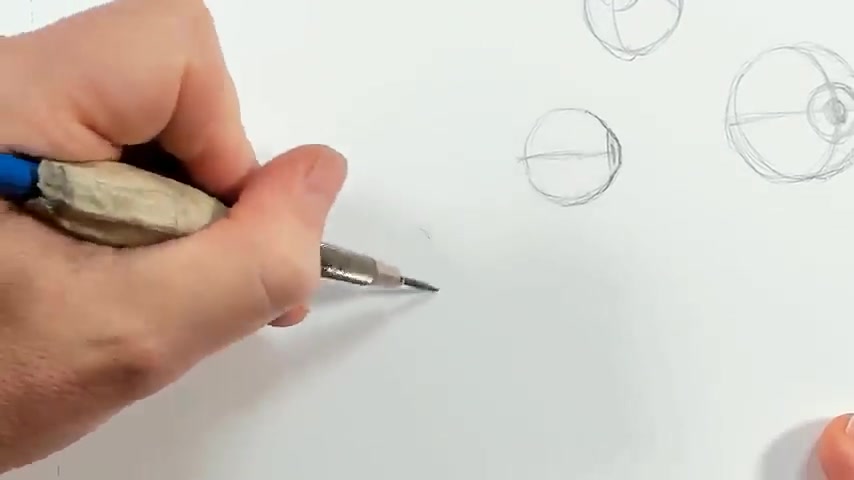
And so my will be here and my pupil will be here and the eye actually comes out just a little bit .
So it , it doesn't sit completely flat along that circle .
So you actually get a bit of a bump out there and that's all well and good .
But you're not gonna get very far drawing eyes like this .
You really need to be able to put them in lids and then once you get your lids working , you need to be able to place them in the head .
And so the next thing that we're gonna do is we're gonna start to draw some lids on our eyes .
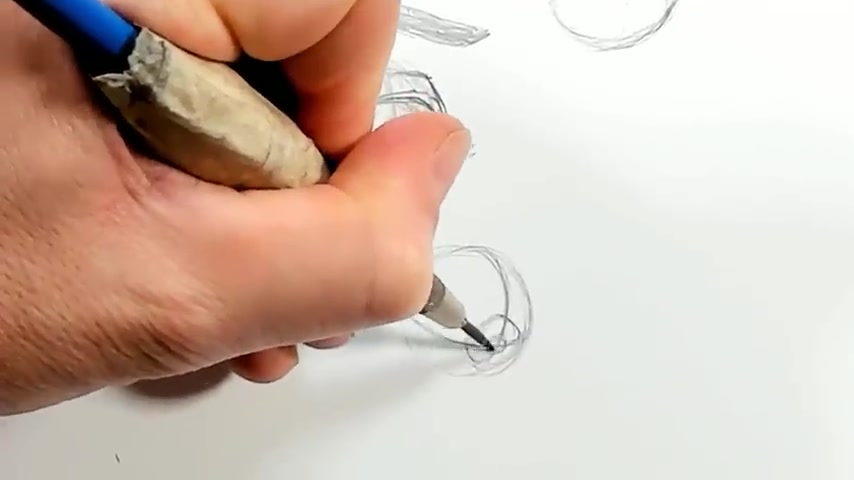
And so I'm gonna draw a sphere for my eye .
And this is truthfully not something that you'll need to do when you're drawing these practically .
But just for understanding the form that we're dealing with and getting a sense of the overall shapes , it's a good idea to draw through .
And that's really what we're doing right now .
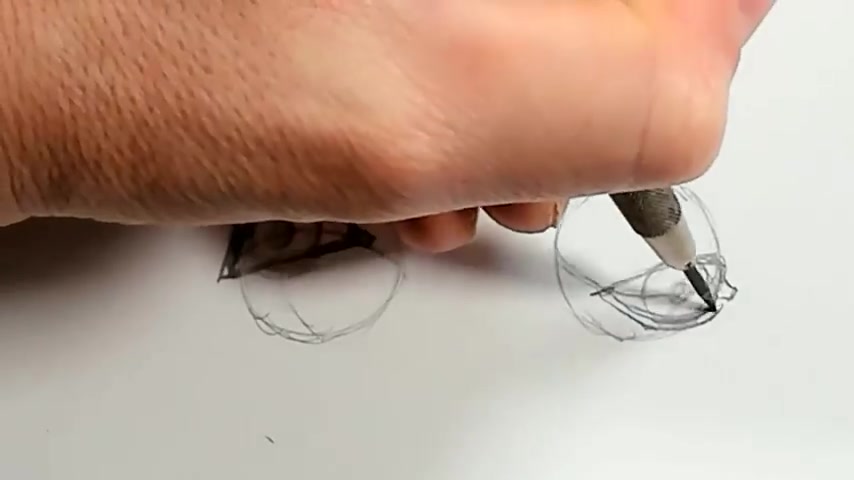
So I've got my overall eye drawn in again and my lid is gonna connect along this line , the center line , approximately , some people's eye will ride up just a little bit on the outside or maybe down or up or down here .
But generally speaking , we're gonna draw and it's gonna connect to just about the top of my iris and maybe cover some of it .
And my bottom eyelid is gonna cover some of the lower iris .
And then my tear duct is gonna sit right here and that's good as a basis .
But what we really need to understand from here is that our eyelids actually have a little bit of thickness .
And so I'm gonna draw some of that thickness along the top here and some of that along the bottom here .
And then I'm gonna draw my fold of my upper eyelid and my eyebrow will go just about here , rough it in here quickly .
Now , this eyebrow isn't gonna make a lot of sense and it's gonna be a struggle to place until we start to actually construct the head , which we'll do in a minute .
But just for now , just to get our shapes established , that's gonna do it .
And I'm gonna draw the same eyes .
So this will again be the right eye .
So I'm gonna have my lids attached here in here along this line and you can see that line curves and so my upper lid will be here and it touched the top of my iris .
My lower lid is gonna be here and it's gonna cover some of the bottom of my iris and my tear duct will just sit like this .
I'm gonna see quite a bit more of my upper lid thickness from this angle because I'm really looking up at it and I'm really not gonna see any lower lid thickness here at all .
And I'm gonna get my gold for the upper lid here and my eyebrow .
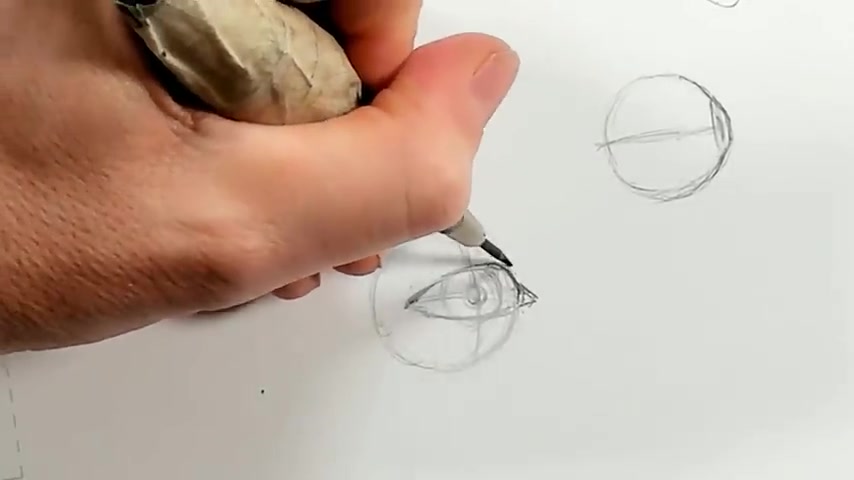
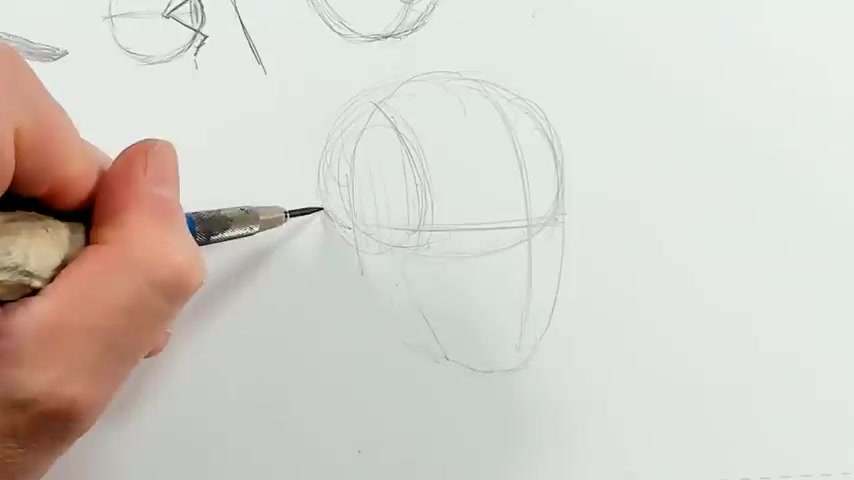
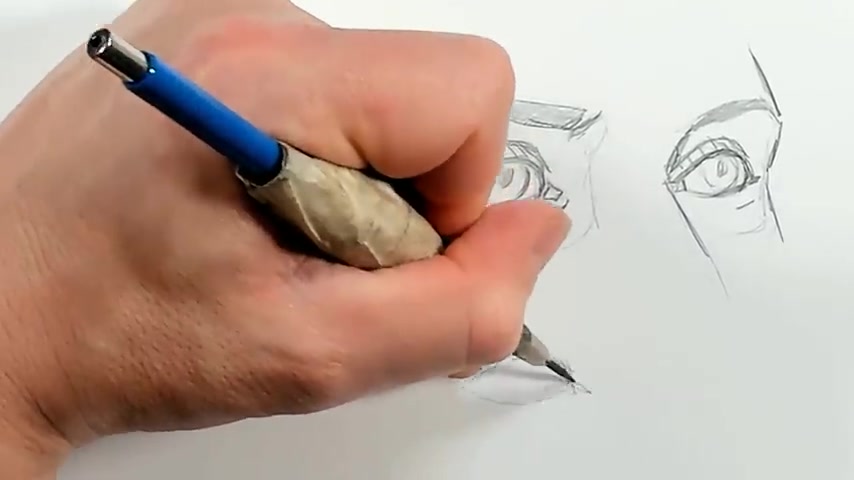
And if I draw an eye looking down , we'll do this , we'll do two more examples , one looking down and then one looking directly inside .
And so I'm gonna angle my vertical like this , my horizontal like this .
So my eye will be looking down .
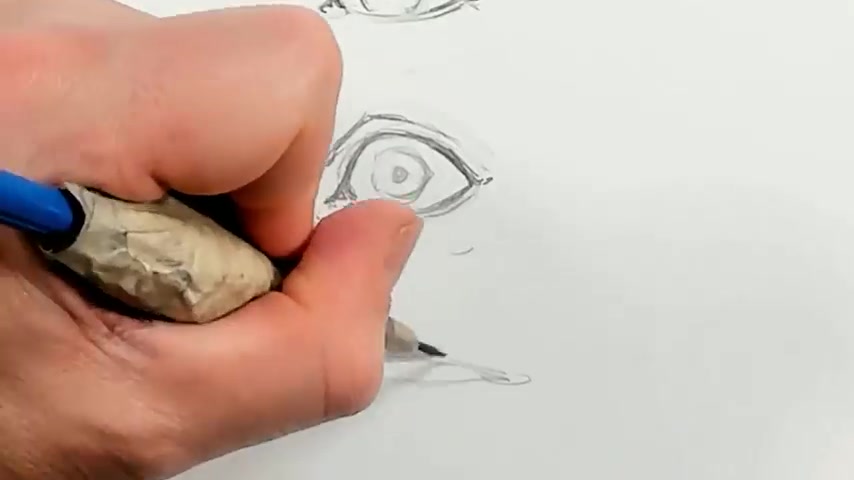
Here's my er people I tend to draw in a very sketchy way and then I clean just with the needed eraser and it's a very helpful way for me to be able to not have to commit to a lime and still get something tight and clean in the end .
And this is still fairly loose , but it's gonna give us everything we need .
And so now I'm gonna want to connect one eyelid here .
My other eyelid will connect here and it's very for shortened on this side because it turns away from us there .
And so here's my upper eyelid , my lower eyelid is gonna have quite a bit more curve to it because it's curving around the bottom of the eye .
And it's , you can see that my overall line horizontally around the sphere of my eyeball curves .
And so this actually really kind of follows that curve too the same way that this actually followed this curve here .
And because of the angle that we're looking at , I'm gonna see more of my lower eyelid and I'm just gonna use this eye here .
We're gonna connect our eyelid just about here .
There's my upper lid .
My lower lid is gonna be just about here .
There's my upper eyelid , my lower eyelid is gonna stay just like this and there's really my structure , my eyebrow will be just about here .
Hopefully , this gives you a simple sense of how your eyelid fits over your eye based on the angle that you're drawing the eye and how you can change that angle and think of it in terms of a 3d sphere by using this method here .
But we want to take this construction and make it work on a face .
I tend to use a very simple skull construction .
Here's the center line from my head .
And you can see I'm using a vertical center line .
I'm gonna use a horizontal center line and I've got a sphere slightly flattened for my cranium here and then my actual face sits below it just like this .
I'm gonna draw another center line around this side and this will be where my ear sits here .
And I've got a line for my eyebrow here , a line for my forehead here , a line for my nose here and then my chin here and these are all even divisions .
And so from here , I need to get a little bit more shape because drawing an eye on here , I'll be drawing an eye on something that really is just a flat shape in space .
And so I'm gonna start by indenting for where my brow indents into , into my eyes coming back out , slightly the base of the nose back in and then slightly out again , or my chin , the indent again here , my cheek that's gonna connect into my chin here on this side .
I'm gonna indent just like this and follow my cheek down like this .
This will be the side of my head here .
And so I've got something that really flattens around to the side here and it's obviously not completely flat , but that'll give you a good starting point .
The nose connects just about here .
This will be my brow and I'm just gonna get you in a brow here quickly .
So you can see that your nose doesn't start at your brow .
It starts just below and so you indent a little bit , then you come out and the nose ends at this line here and your mouth will sit here And so your eye is gonna sit just below your brow on your face just like this .
And I think I'm a little large with my overall skull .
It's my ear , get my proportions working a little bit better .
And this right here represents the kind of simple form that you can use when you're trying to represent a head for drawing as a basic structure to place all your features on and it works well once you understand the forms .
But because this is a simplification of a skull , there are things that you really need to know in order to be able to make this work as well as possible .
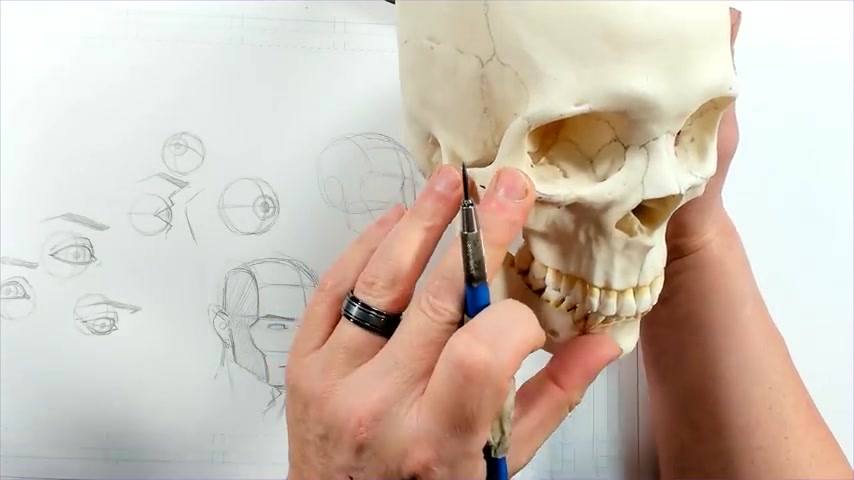
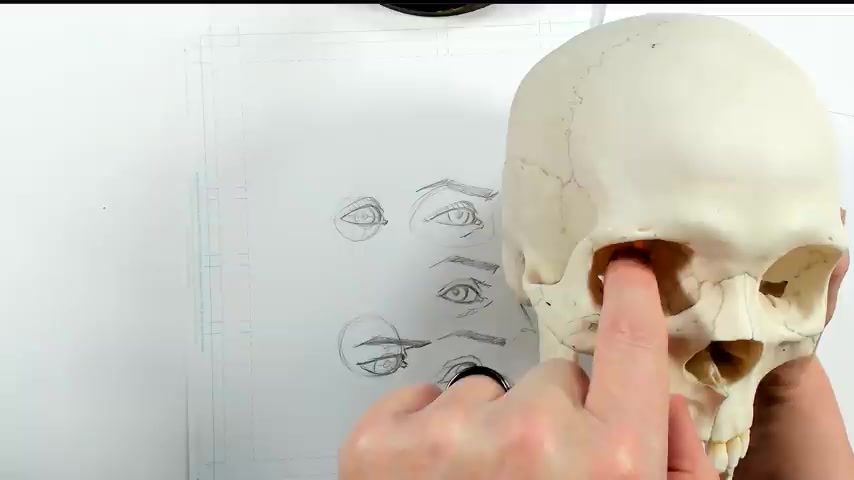
And so to help us with that , I have an actual skull , an actual skull .
This is a fake skull that I bought on Amazon , but it looks pretty real .
And it's a very useful tool for really understanding the actual planes of the face and how they're made up .
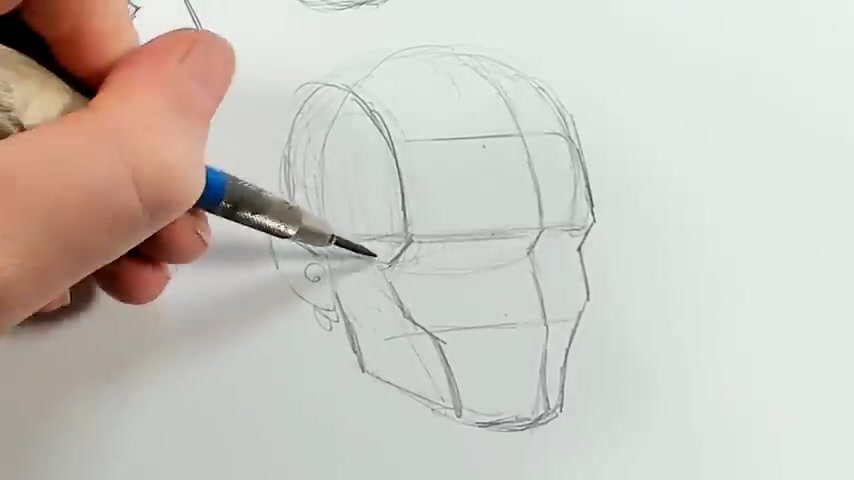
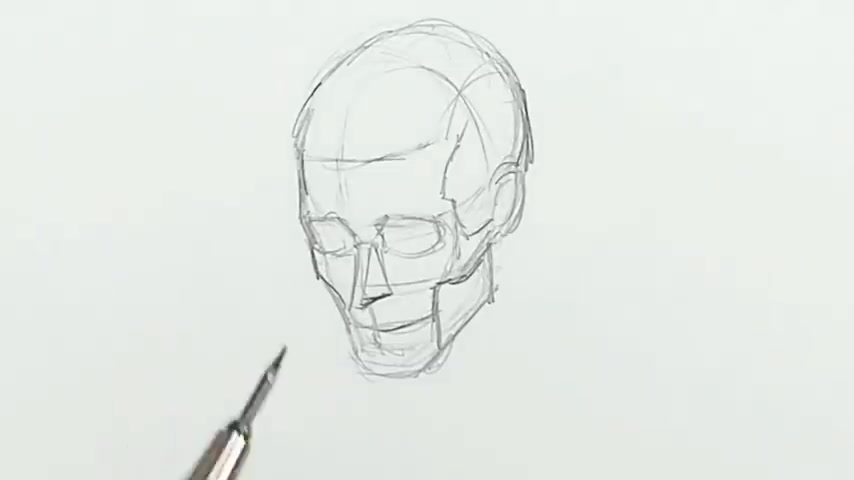
And so I'm gonna go ahead and draw my simple head shape again using my skull as a reference .
So I've got a sphere for my cranium and my face and attached just below that , I've got a line for my brow .
My ear will attach just back here .
I've got a center line line for my nose line from my forehead and then my chin here .
And I've got basically something like this , a very simple form just enough to give me a basis to draw my face on .
But with the skull , I can really see that I have sockets for my eyes .
And this is really the key to making your eyes work on a face .
And so I'm actually gonna go ahead and draw those sockets .
So instead of just drawing a really simplified form , I'm gonna draw a bit of a simplified version of the sockets that I can see in my skull that I'm holding in my hand and my nose is gonna come out here .
Obviously , I've got a hole , but I don't really need to draw that I can just draw a nose and my cheek would come around .
And I just about like this .
My other cheek is here , my mouth area neck just like this .
So here's more of a skull construction or a face .
Hopefully , you can see why drawing this every time underneath the face would start to get a little bit tedious .
But it's really important for drawing eyes more than anything to understand the bone structure that exists , right .
Here .
So I'm gonna go ahead and lighten this down and I'm just gonna finish the eyes along the crest of the bone at the top here will be my eyebrow and it becomes very easy to place because it just follows the shape of the , the ocular cavity top of that bone .
And then my eyes actually gonna draw them as balls will fit inside .
And you can see I've got my eyes fit inside those , those cavities .
And I'm gonna draw a center line on the line across by people and Iris and I can delineate where my ovis will go here just like this .
And my other eyelid is like this and let's lighten this down .
We don't need all that under drawing and so you can see and so hopefully , you can see that it becomes very easy to place eyes properly in the skull .
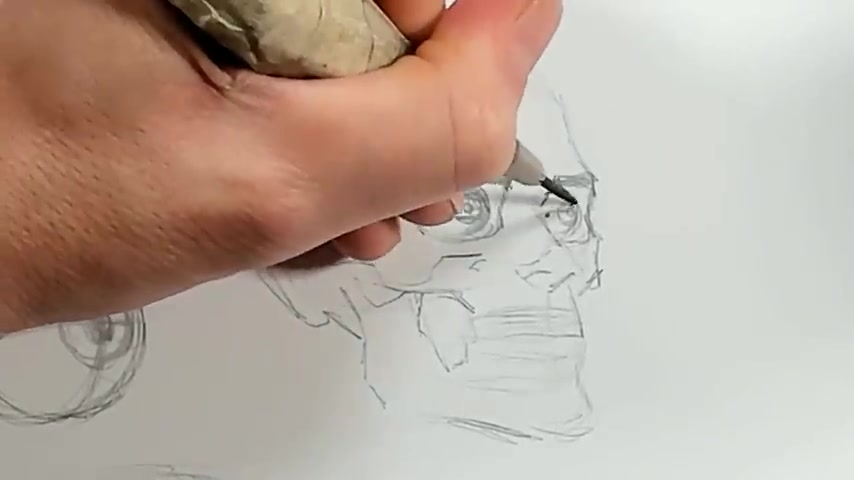
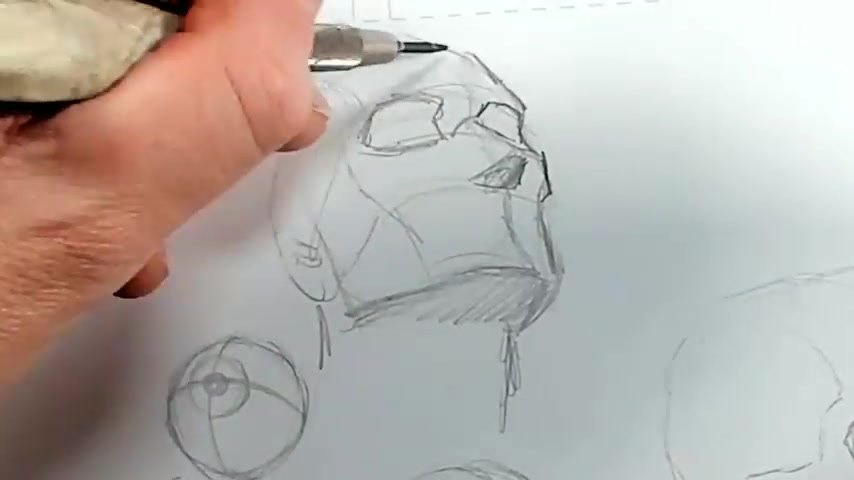
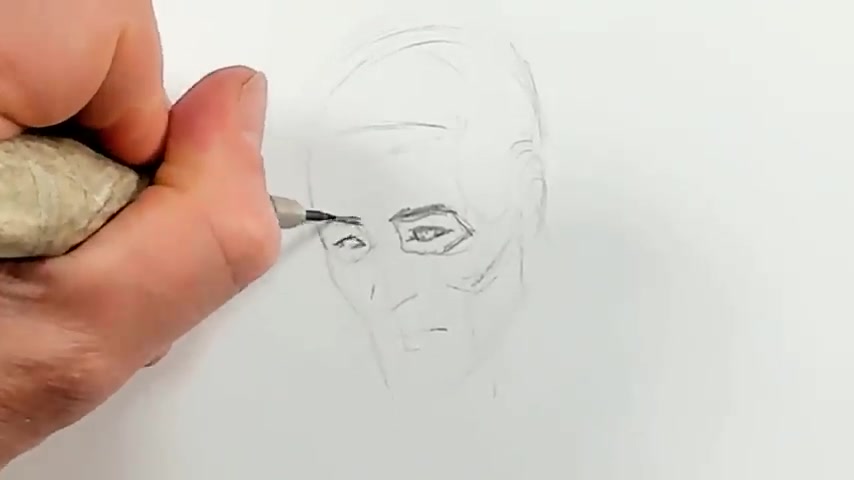
If you think about it , in these terms , I'm gonna draw a face from the side .

I quickly get my overall form established and it can be a little bit difficult to know where in here to start placing your eye .
Is it here right up against the nose , which I see very commonly people do this or , or is it well , back here , the secret using a skull , I can really see exactly how that cavity sits in here and I'm gonna go ahead and draw that .
And so that would be the cavity for my eye right there .
And let's lighten that down .
I'm gonna go ahead and draw my eyeball inside there and I can just draw my eyelids , draw my eyebrow along the top of that bone , finish my nose this down , clean it up a little bit and you can see that that eye is pretty well placed in there and it becomes very easy using this kind of form .
Let's draw a face that we're looking up at .
There's my very simple head construction .
We're looking up at this face here .
I'm gonna lighten this down a little bit and let's use this again very quickly .
You really won't need to use reference at all .
And the angle that I'm seeing at the this side will be different than what you're seeing .
But the important part is to just understand that you're drawing the shape of the skull in space .
I know it starts here , jacks out with the other eye cavity , my forehead will come above it here .
My mouth will be just along here .
There's a pretty simple construction just to get the idea across and for me to put my eyes in here , I'm gonna draw an eye inside here , another i inside here .
And so I'm gonna draw my brow again just along the top here by the brow here .
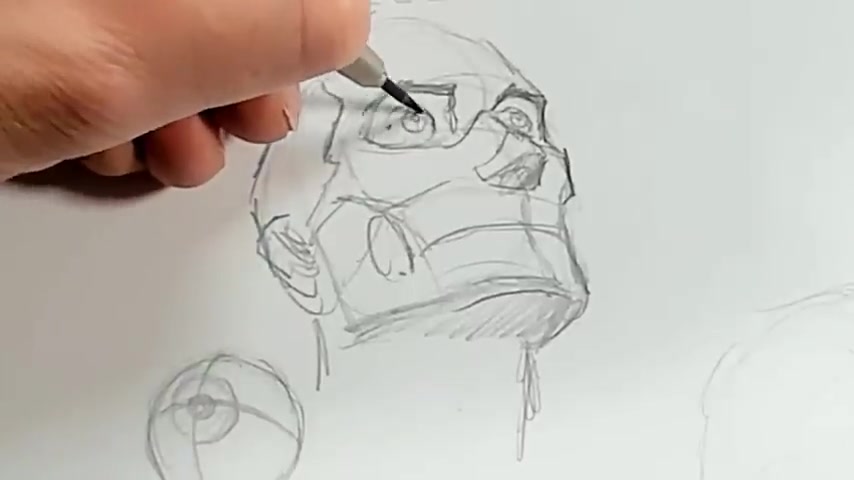
My eyelids will sit to your ducks right there and you can see that that really places those eyes nicely on the skull before we move on .
I wanted to take a minute to talk about this video sponsor , Squarespace .
Squarespace is a one stop website solution ideal for artists with easy to use templates that you can just drag and drop all of your content into do social media integration , video galleries and e-commerce templates .
So you can start selling artwork and merch right away .
Squarespace will even allow you to connect with your audience and generate revenue through gated members only content .
You can manage your members , send email , communications and leverage audience insights all in one easy to use platform with squarespace .
There's no need to go anywhere else .
Setting up a website and updating are easier with squarespace than anything I've ever tried .
I can't recommend it enough if you're ready to give squarespace a try head on over to squarespace dot com forward slash David Finch to save 10% off your first purchase of a website or domain using code David Finch .
All right , let's get back to it .
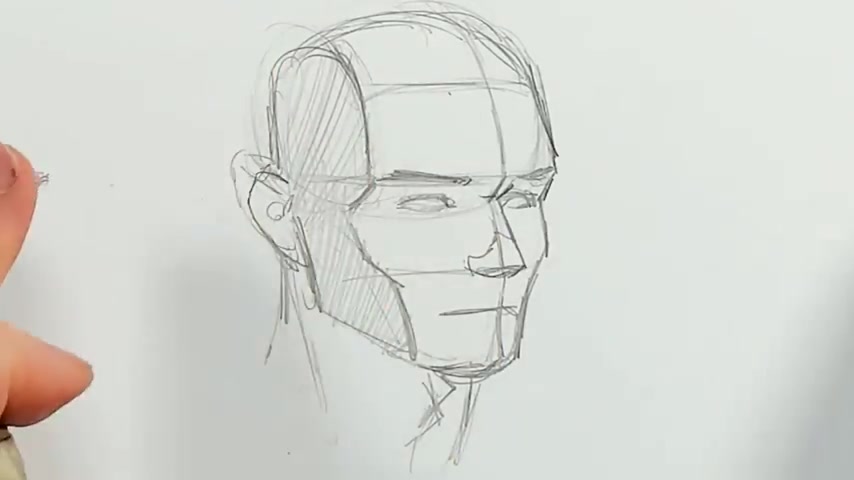
I'm gonna go ahead and draw another simple head .
We're not going to use this skull this time .
I'm just gonna use my knowledge of the shape of my eye cap to help me with my head construction .
So here's my basic shape .
I've got , I've got my face here , my skull portion here , my nose is here , my chin , another division for my forehead here .
So these are nice even divisions my ear will be just about here comes up between the brow and the nose , these are just simple shapes at this point .
And I'm gonna go ahead and just draw in shapes , my ocular cavities here .
And I feel like at the angle that I've drawn , I'm a little bit thin and drawing those cavities in actually really made that clear to me .
My nose is gonna project out from here .
Our tear that would be the bridge of my nose .
My mouth would be just about here .
I feel like I came a little bit short with my chin .
I and I wanna point out , I really wish that this was all working out absolutely perfectly and I wasn't having to erase and my proportions were working perfectly .
But I find I'll go through times inexplicably where I'll draw my face in and once I get everything properly established , my head will be too short or too long or whatever it is .
And so you need to be prepared to make those adjustments .
When you draw your initial shape , it's easy for it to be a little bit off .
But once you start to establish all of the finer shapes inside it and get it constructed .
Well , it makes it much more clear where you need to make adjustments .
And I find to this day , I end up making those kinds of adjustments all the time .
And so that would be much more of a , the kind of head construction that I would use now based on the knowledge that I have if I want to make sure that everything fits well .
And so I'm gonna go ahead and lighten it .
So , in a more practical sense , this is the way that I would actually approach drawing .
And I , I'm not gonna bother drawing that entire circle in there , but I'm gonna allow this ocular at a space to inform where my eye is gonna go .
Here's my brow , I'm gonna draw on my other eye .
That's really much more how I would actually approach it .
And if I feel like I'm , I'm not really working properly , I can go ahead and just draw through drawing the spheres from my eyes here just like this and make sure that they're sitting inside that cavity .
Well , so that's how we can go ahead and make sure that our eyes are actually sitting in our skull properly .
Now that we have that let's draw the actual eye itself and I'm gonna start drawing an eye in the way that I would do it .
This is something you'll be quite a bit more familiar with .
I know that I have a sphere behind here , but I don't need to draw that whole sphere .
I just am aware of it .
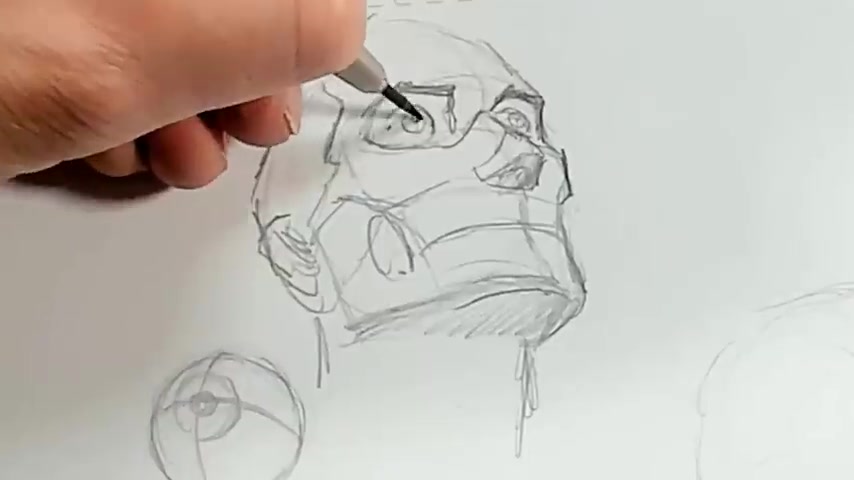
I've gone ahead and sketched in a pair of eyes here .
I'm gonna lighten this down and I want to point out a few things that are very important because my eye is at this angle here .

And so that's the angle that I've drawn this eye at and I didn't bother actually doing this on my real drawing because that would start to get pretty tedious .
But it's important that I understand that I'm dealing with this form .
And so you can see that I see quite a bit more eyes here than I do here because it's for shortened as it turns away from us .
And so in my actual eye here , because I'm looking at it from a bit of an angle .
I've got more , more of my square showing here than I do here .
I wanna see some of that lid just a little bit there .
Some of my eyelid also for shortens around because it's rounding around a rounded form my tear duct and then my lower lid attaches here and I've got my brow draw just like this .
I've got the bridge of my nose and this is really defining my ocular cavity that we were talking about earlier .
So that's gonna sit just like this .
And so I've got my brow sitting along the top of that , the ridge of my nose here and it comes out here and then my eye , I'm gonna see again more of the sclera on this side and less on the other side .
This is also gonna round around a bit of the square there and that's gonna be it .
So it's very , very important .
You can see how I'm actually rounding out and around and then my curve is much longer here .
And then it curves around that form here like this very quickly .
Then I've got my , my tear duct here and my eyelid actually follows kind of around the shape of that eye .
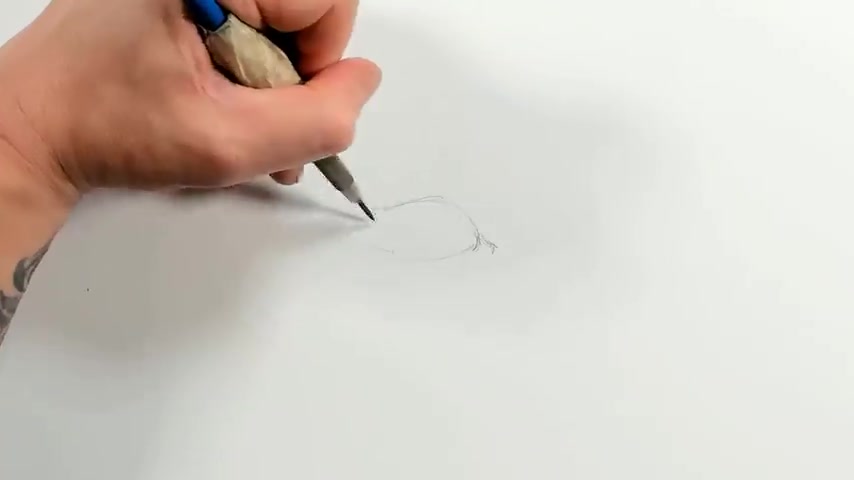
And as we discussed earlier on , I'm gonna draw a circle for my eye here on the front of that circle .
It's gonna bump out where we actually have our uh iris that might be a little bit exaggerated .
But the fact that it bumps out like this actually creates an interesting effect when it comes to your eyelids that you really need to be aware of .
So I'm gonna draw this eye again just below and I'm gonna turn , instead of looking out this way , I'm gonna have my eye looking the other way .
So I'm just gonna start the same way that I did and just sketch in my eye and my upper lid here , my eye would be here .
But instead I wanna draw it here looking this way and I'm not gonna change a thing and that's fine , but it really doesn't look right .
And the reason for that is when you turn your eye , it actually changes the whole shape of your lid .
And so I'm gonna leave this here and now this is gonna flatten quite a bit and it's gonna round more , much more over my eye .
And so I'd get something much more like this where I'm actually pulling my lid over this way and lifting it and this eye would , would really work exactly the same way .
And so now I have my eyes looking out this way and you can see that it's really pulled my lids a little bit subtly but definitely noticeably in the direction of the eye .
It really lends an incredible amount of realism to your eye .
It really lends a lot of believability to your expressions .
So it's something that you want to be aware of .
So I've got a very neutral eye that I've drawn here .
And now what I want to do is draw that eye almost completely closed and really wide open and show you the way that your eyelids work in order to make that happen .
And so the first thing I'm gonna do is draw my eye open much wider .
And so in just in my sketch , I want to start with something that's obviously quite a bit wider , my pupil is going to be just about here .
There's my tear duct and I'm just kind of sketching in .
And so I get a much taller , more rounded upper lid because your upper lid is really where you get most of your movement .
When you open and close your eyes , the lower lid actually doesn't move much at all .
And when you do move it , you tend to squint .
And so there's an eye open much more widely and you can see that I , I've lowered my bottom lid and so that's moved , but what's really moved is my upper lid and it becomes much more apparent when I draw an eye much more and you can see quite a bit more of your upper lid when your eyes close like this .
And it tends to look a little sleepy and tired because I've just lowered my upper lid .
I've really not changed my lower lid that's sitting in basically the same place and the upper lid , uh , lowers down and that really gives you that expression .
If I want something that looks more squinted , I'll end up with something a little bit more like this there .
And that's more of a squinted eye .
And you can see that I really don't see much of an upper lid because I've got my eyebrow pressed down and that really rounds out your , your upper lid and pushes it down over the eye .
And so you can only really see just a little bit of a lip here .
And so you don't get this , you don't really get this large eye of lid in the same way .
One last thing that I want to make as clear as possible is just how much the angle you're seeing the eye from , changes the appearance of your eyelids .
And so here's my eye , we're looking down at my iris quite a bit here just like this .
And because of that , my upper lid is gonna be very , very shallow and flat and my lower lid is gonna be much more rounded here is my here and my brow will be lowered quite a bit down too .
And if I'm looking at this eye and I'm looking upward , this is our angle , there's my pupil .
Here's my , my iris here .
Now , my upper lid is gonna start here and here and it's gonna be very rounded and my lower lid will actually even kind of come up and round this way .
You have to be a little careful with that .
But if you're looking at it from enough of an angle , you'll actually see it round like this as opposed to downward like this .
And because of that angle , you'll see a much greater space between your eye and your brow like this .
And if that doesn't make sense , I want to show you that your eye is gonna be a point just about here .
And so if I drop my ankle down very low , you can see that there's very little distance between my brow line and my eye .
But if I lift it , so you're looking up at that eye , there's quite a bit more space and that's just the angle that you're seeing at it .
And it's very important in order to be able to draw 3d shapes in your head that understand that concept .
And that's just for shortening .
So that's why that's happening .
So we've got a whole bunch of theory established .
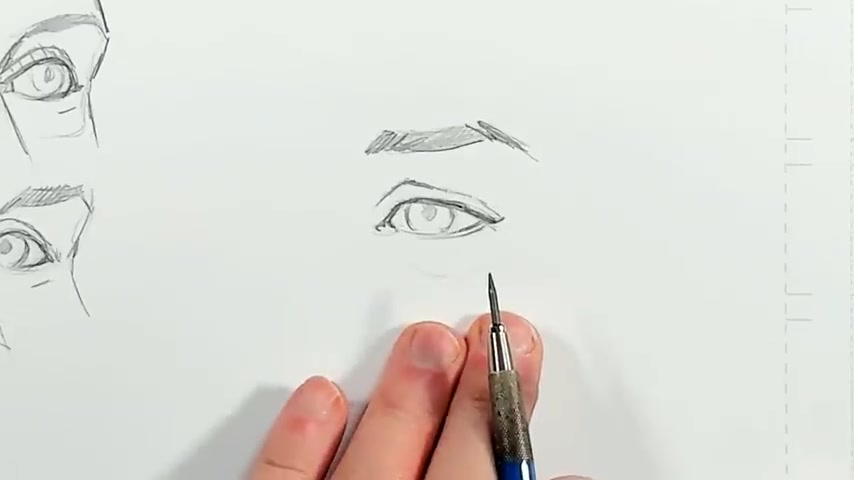
And now I just want to go ahead and draw a nice big eye and talk about the kinds of details that I like to use in my own art style .
I've got my eye sketched in and I'm gonna start to draw tightly .
And at this point now I'm not using any line weight .
I just wanna get my cartoon , I guess I'm using a little line weight I did there .
It's very difficult to resist , but I wanna try to resist as much as I can and just get my forms established .
So I've got my eye basically drawn in , in terms of just simplified form .
I'm gonna finish in my eyebrow and I like to think of my eyebrow in terms of a few pieces .
I've got a piece here and then piece here and then I've got a little end piece just like this .
So what I have right now is fairly simple and I'm gonna go ahead and start to detail this in the way that I would for a finished comic page .
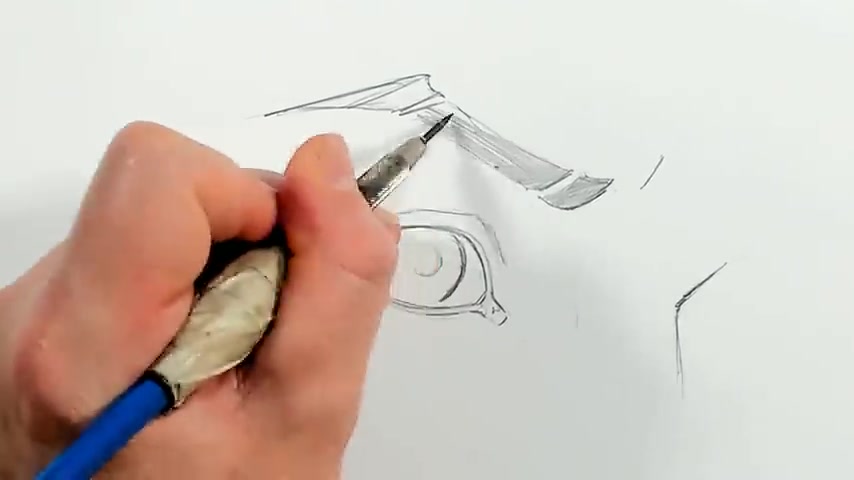
I'm gonna start by darkening in my eyebrow .
I have the basic shape for my eyebrow .
Obviously , that's a little bit too clean and perfect .
And I'm , I want to just break it up .
I don't want to get too carried away , but I'm just gonna draw a couple of little extra lines in there just to give it a little bit more .
I still want to be a fairly graphic one though , even at a large size , I tend to like my eyebrows to be fairly graphic .
That's gonna be just about it .
My upper lid because I've got my lighting and I've decided that my lighting is gonna be coming downward like this .
I can see my upper lid here .
I've got it drawn in .
I'm gonna just darken that it's like this and I actually really want this whole thing to be quite a bit darker and I'm gonna imagine this as casting or catching a shadow because it actually rests over the eye and has a lip to it .
So this would be dark in here .
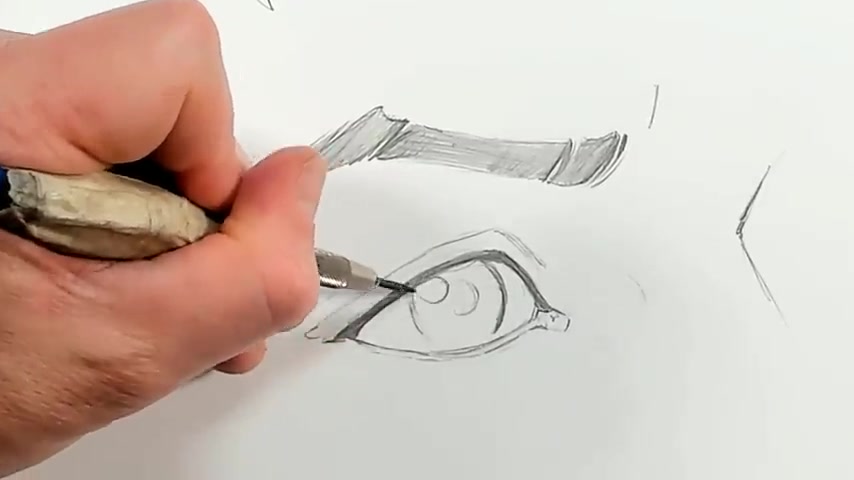
I also , right now , I'm just gonna go ahead and draw in a circle .
This is gonna be a reflection in my eye and I'm gonna draw another little circle here .
This is gonna be a bit of a lower reflection like another , another light source maybe down below .
And these reflection shapes are a bit of a cipher .
I tend to do them all the time just about like this .
I don't really play with them too much because they work and a lot of what I do because it's cartooning tends to be a bit of a , a visual shorthand .
It gets the idea across in a way that makes sense for the reader in a way that they're used to .
And I'm gonna want the top of my eye here because this is actually a recessed to be fairly dark .
I'm gonna darken this whole area up here .
And the reason for that is from the side , you can imagine your eye , you would be your pupil , you would be your iris .
And this is just clear in here .
And so that actually sits back away because of that .
And so when you put an eyelid over that , my eyelid is gonna end up shadowing all the way down in through here .
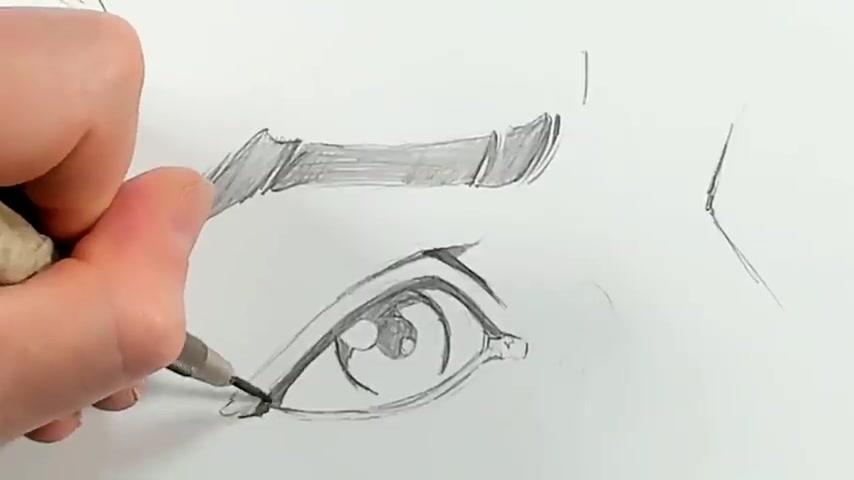
And so I'm doing that and I wanna pull up some shadow in here .
My upper lid actually rests over my lower lid and so I wanna make sure that that's established there .
Pull some shadow into my tear dot And I am gonna go just a little bit dark here .
I don't want to be too dark here because this is actually catching the light with a little bit of a lip .
I don't wanna get too carried away , drawing bags under my eyes , but they can add a quite a bit of liability come out a little bit for or some eyelashes and that's a bit of a choice .
You can do that if you think it works or you can leave that out .
If it starts to look a little eminent , you're looking for more of a masculine look or it starts a little bit overdone .
And so now I wanna get some detail into my eye .

I'm gonna start a little thicker here and go toward my center and just bump the line a little bit , gonna be a little thicker and heavier with it as I go up to the top because I , I want it to darken and it's gonna fade toward the bottom from here .
I can just start to in a really simple way .
Just start to render out just as often in some of these forms .
We talked about rendering in a , a video just a couple of videos ago .
And I'm gonna use basically the same techniques and that's really it .
All right .
Thank you so much for watching .
I will see you every Monday night at eight o'clock Eastern or Monday night draw and I will see you in the next video .
Are you looking for a way to reach a wider audience and get more views on your videos?
Our innovative video to text transcribing service can help you do just that.
We provide accurate transcriptions of your videos along with visual content that will help you attract new viewers and keep them engaged. Plus, our data analytics and ad campaign tools can help you monetize your content and maximize your revenue.
Let's partner up and take your video content to the next level!
Contact us today to learn more.