https://www.youtube.com/watch?v=ZT1fQkXdY6I
How to Make A WordPress Website on Divi Theme - Divi Tutorial (2023)
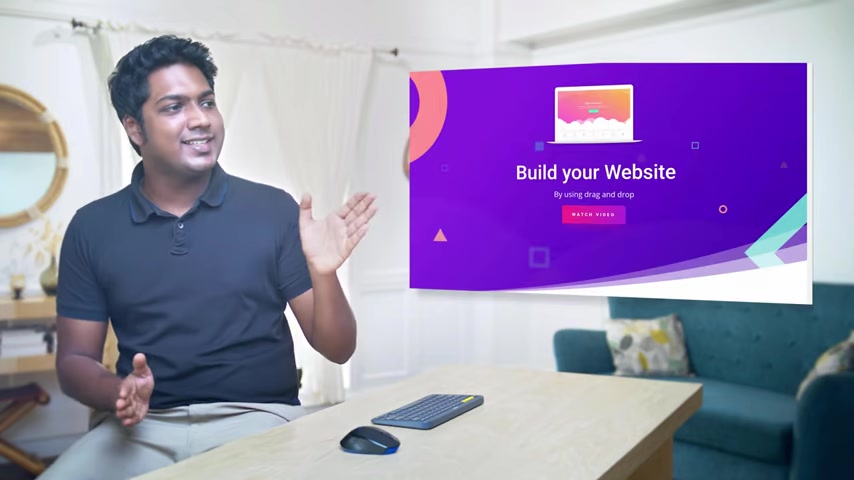
Hi guys today , we're going to see how you can make a website using a DVD .
So after watching this video , you will be able to make a website just like this by using black and drop .
So make sure you watch this video till the end to learn how to do it .
Ok .
I'm brand from website learners .
And let's start making our website using the DV team to make a website using DV .
We're going to do three parts .
The first part is to launch a worker's website .
Now , since DV is a wordpress team , you need to first launch a wordpress site in order to use DV .
So in order to launch our site , we are going to do two steps .
The first step is to choose a name for your website .
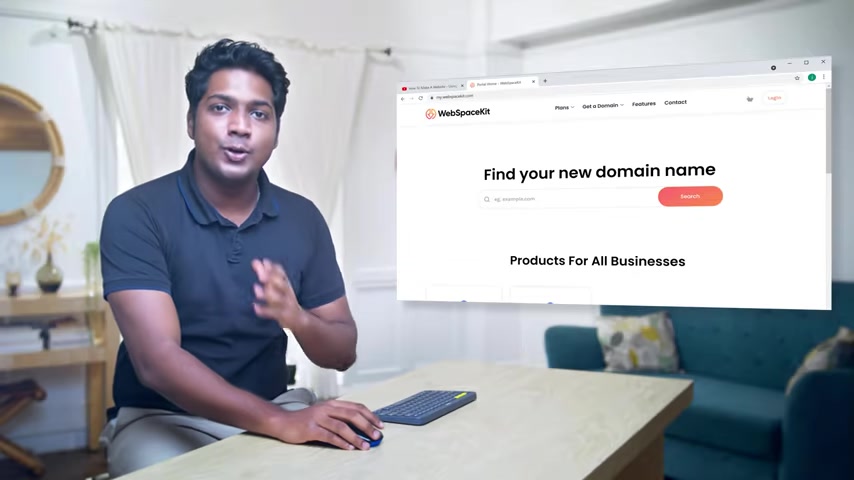
So to choose your website name , just click the link below this video and it'll take you to this page to enter the name you want here .
I'm going to enter web invents dot com and click search .
Now you can see that this name is available .
Once you choose your name , you can go to the next step , which is to get your domain name and hosting domain is the name of your website which people need to enter to visit your site .
And hosting is the place where your website's files are stored , like your website's images and files .
So to get this domain name and hosting , let's click add to cart and then click continue and it will take you to this page .
This is the place where we are going to get our hosting and domain .
Now , here it will ask us to choose a hosting plan .
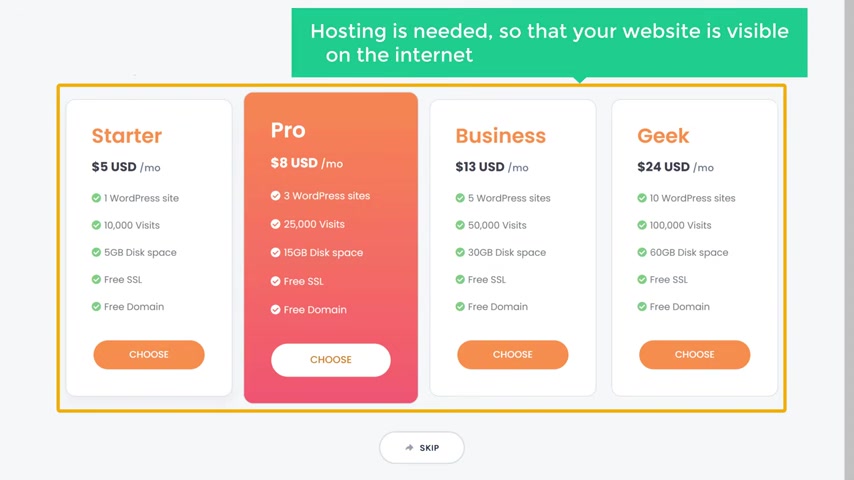
Now , hosting is needed so that your website is visible on the internet and can be accessed by anyone .
And as you can see here , hosting twice the space to store your website on the internet .
So based on the number of websites that you want to build , you can choose a plan here .
I want to build one website .
So I'm going to choose this plan .
Now , here you can choose how long you want the hosting for .
You can choose any length here as you go longer .
You can see that we are getting a discount .
No , I'm going to choose 12 months and click continue .
Now , here you can see that we're getting our domain , which is web bins dot com for free and our hosting .
Now , both of these are valid for one year , which means once we complete the purchase , our site will be live on the internet for one year .
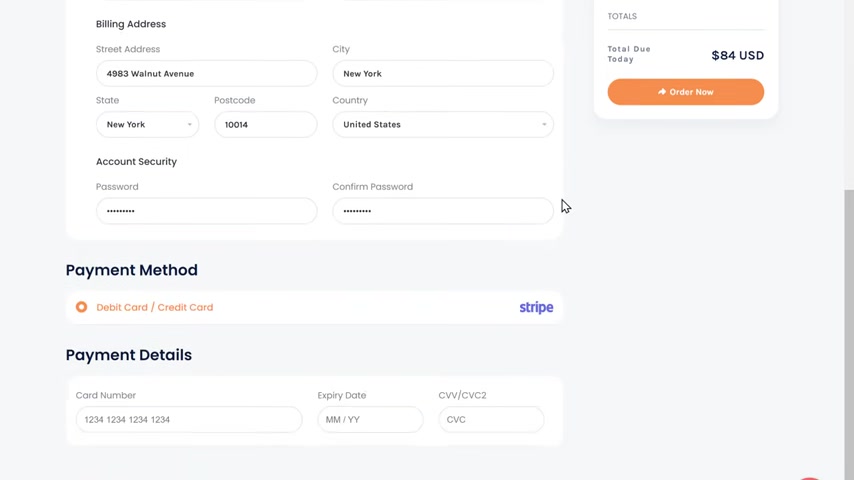
So to get our domain hosting , let's flood these details , enter your payment details and click order now .
Ok .
So now we've successfully placed the order and we've got our domain in hosting .
So now if we click here , you can see that we have successfully got our hosting and domain .
Ok .
So once you've got your domain hosting , your website should now be live on the internet .
So to check that , let's open a new tab now , free type wein wins dot com and press enter .
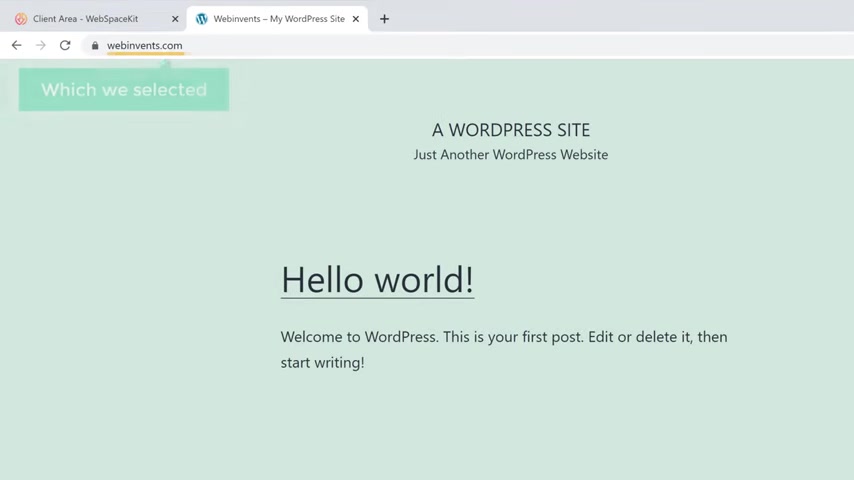
You can see that we have got a brand new website on the name which we selected , but sometimes it might take a few minutes for the domain to become active on the internet if you're not seeing this , try refreshing after 5 to 10 minutes .
Ok .
So now we've successfully launched our website on the internet .
Once you have launched your site , we can now go to part two of this tutorial , which is to set up the DV team in wordpress .
So once you set up the DV team , you will be able to start making your website using DV .
Now , in order to set up the DV team , we are going to do five steps .
The first step is to log on to your worker site .
So to log on to your site , all you have to do is type slash login after your site's address .
And now if you press enter , it will take you to the login page of your website .
Now , here you need to enter your user name and password to log into your workers dashboard .
Now , once your site is active , you should have received the login details of workers in your email .
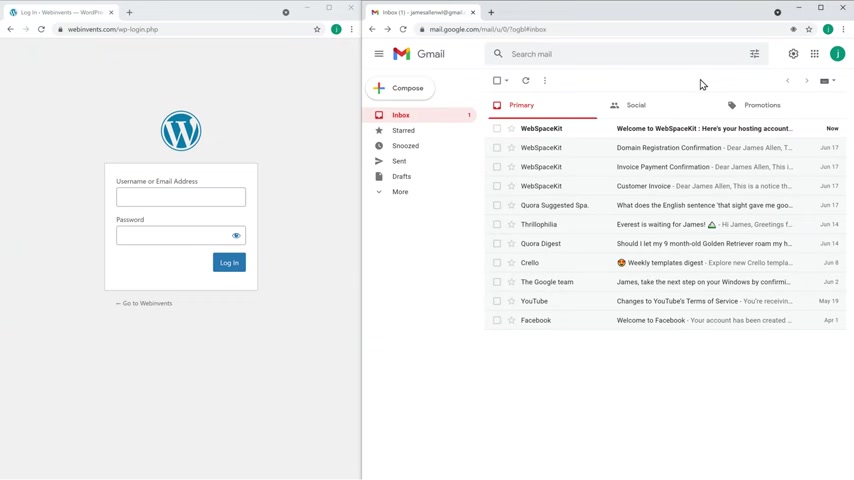
So let's go to iron works .
And you can see that we have got this email just open it .
As you can see , we have the user name and the password now to log into our website , just copy these details and paste them here .
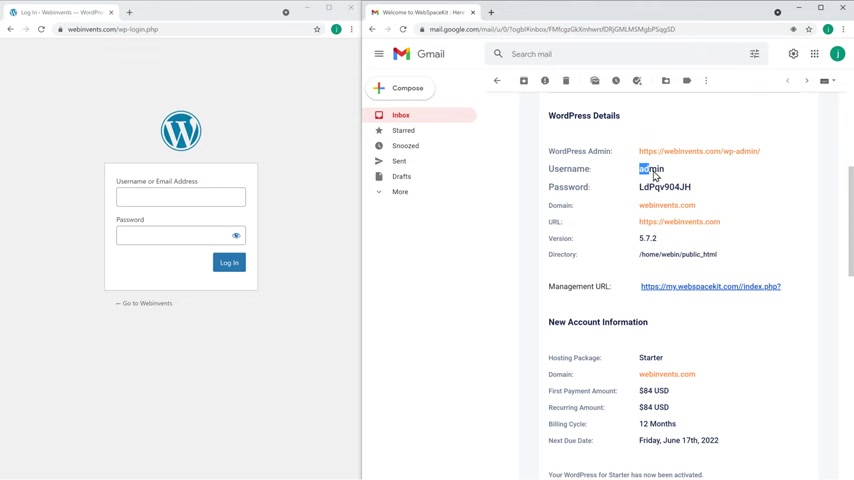
So let's copy this user name and paste it here , then copy this password , paste it here and then click log in .
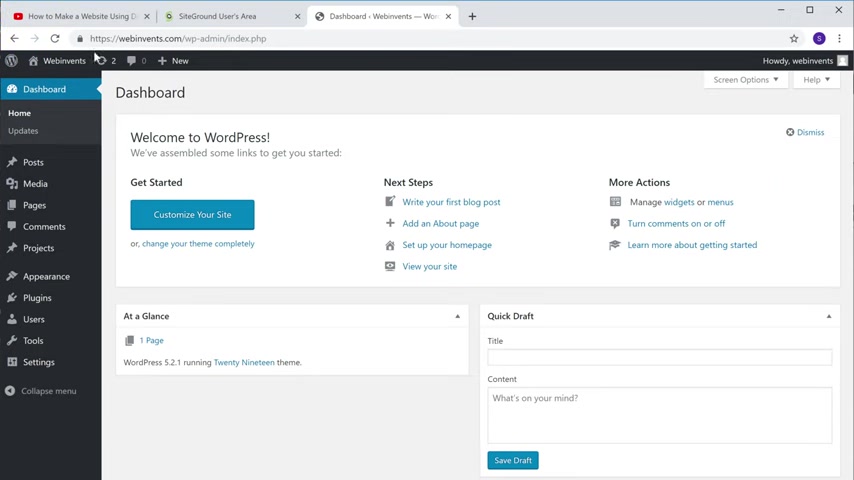
You can see that we have successfully logged into our website .
And this is the worker's dashboard .
This is the place where you can control your website .
So once you've logged in , we can now go to step two , which is to get the DV team .
Now , once you get the DV team , you will be able to start building your website using DV .
So to get the DV team , just go to the video you're watching right now and then click this link now , it will take you to the DV website where you can get the DV team .
Now , once you reach this page , you need to choose a plan for DV .
So the main difference is if you go for this plan , you will get updates to DV for one year .
And if you go for this plan , you will get lifetime updates for the V .
So you can choose any one of these plans based on your need .
I'm going to choose this one .
So let's click sign up now to create our account .
Let's enter these details and click complete registration .
No , enter your payment details and click pay .
Ok .
So now we have got ad V team .
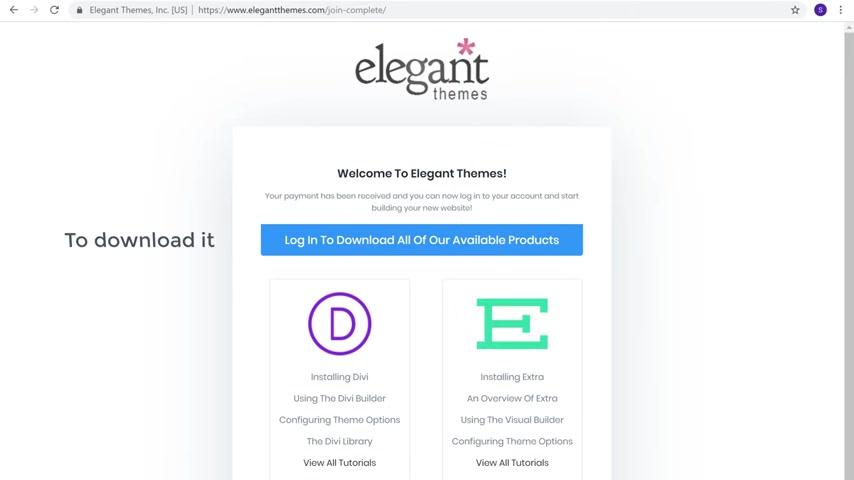
Once you have got the DV team , you can now go to step three , which is to download the DV team .
So to download it , just click log in .
Now enter the user name and password which you created for the V and click log in not to download DV .
All you have to do is click download and the DVD will be downloaded to your computer .
So once you have downloaded the DV team , we can now go to the next step , which is to install the DV team on your worker site .
So to install the DV team , let's go to our wordpress dashboard , then go to appearance and click themes now to install the DV team on your site , just click , add new team and then click upload them .
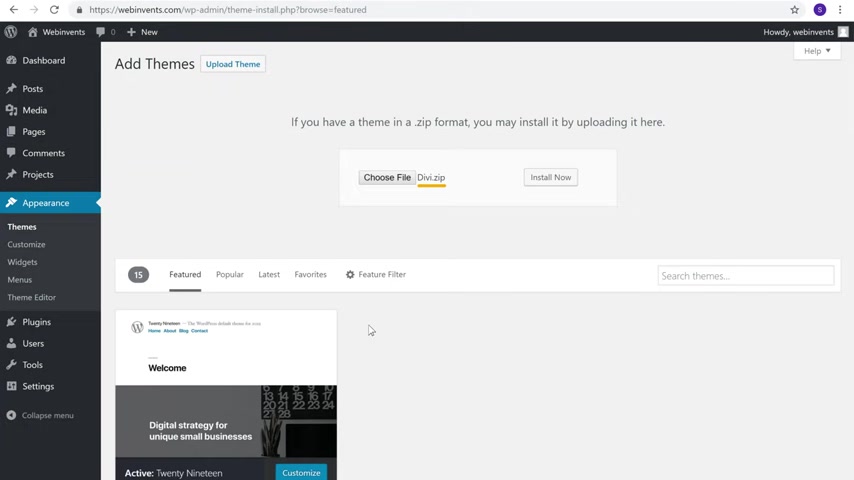
Now click , choose file and then select the DV team which you have downloaded and it will be selected now to install the DV team .
Let's click install and then click , activate .
Ok .
So now we have installed ad V team on our worker side .
Once you have installed the DVD , now if you go to your site and click refresh , you can see that the DV logo now appears on our site , which means the DV team is now installed .
So once you have installed the DV team , you can now go to the final step of setting up the team , which is to activate the DV team .
So to activate the DV team , let's go to wordpress and then click the V .
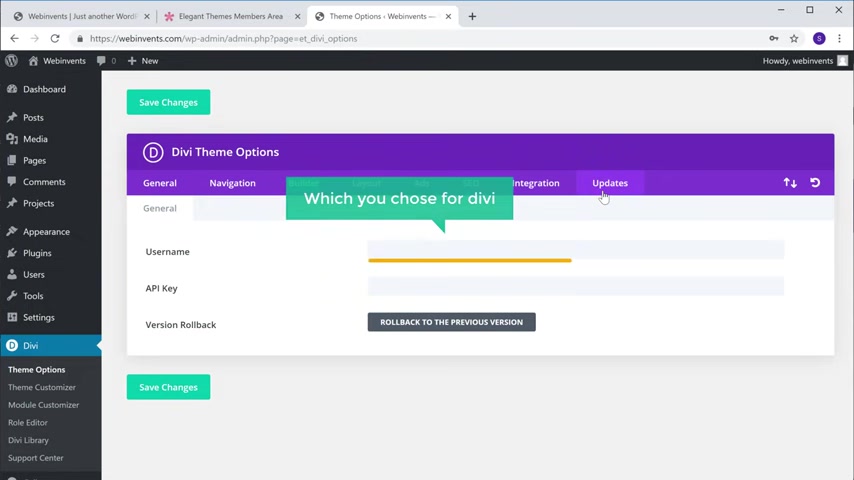
So let's go to updates and enter the user name which you chose for DV .
Now to activate the V , we need to get this key from the DV website .
So to get it , let's go to the VV website and then go to my account , then click API keys .
Now let's click here to copy the key , then go to our website and paste it here now to activate DV , click save and it will be activated .
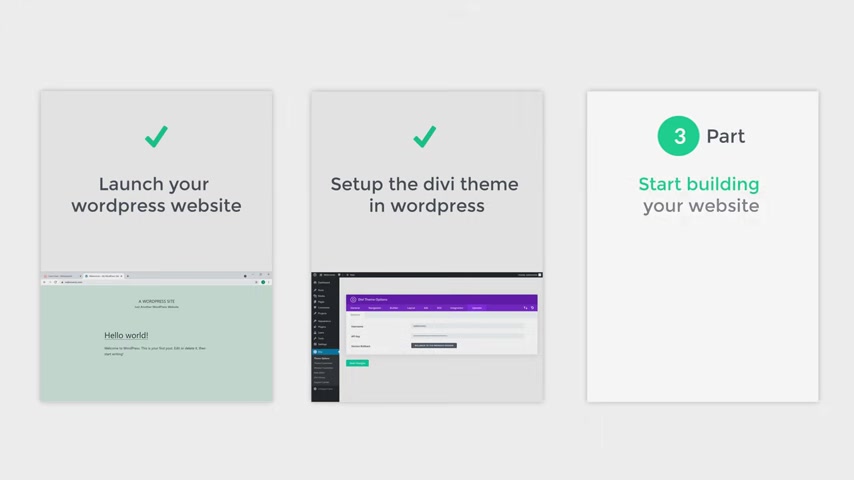
So now we have successfully set up the DV team in wordpress , which means we can now go to the final part of this tutorial , which is to start building a website .
So to build our website , we are going to do four steps .
The first step is to create your home page .
So home page is the page which everyone will see when they first land on your website .
So to create our home page , let's go to our site right now .
You can see this on a home page which is empty .
Not a great a homepage .
Let's go to new and click page .
No , here we need to enter the name for our page .
I'm going to call this space as home .
Now to start building your home page , just click , use DV builder .
And now you will get three options to create your page .
First , we're going to see this option where you can build your page using layouts .
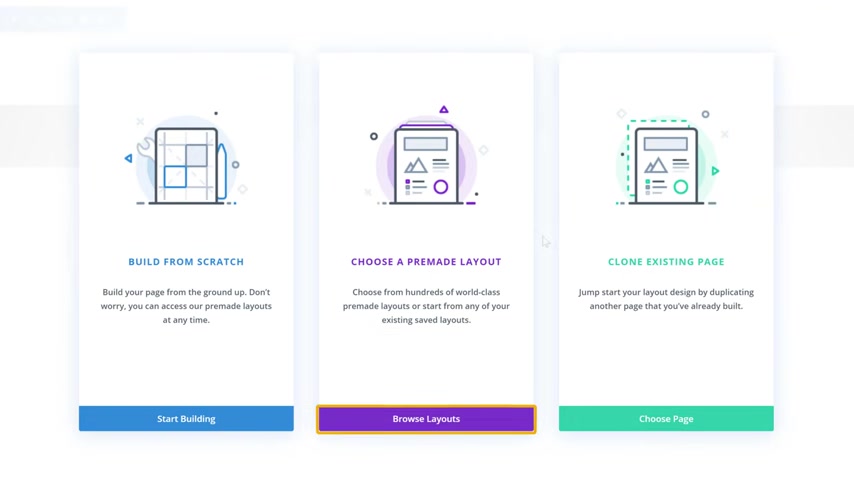
So layouts are ready made designs which you can use to build your page .
So let's click browse layouts .
Now , as you can see , we have different types of layouts here .
Now , let's say you like this design , just click on it and you can see a preview here .
Now , if you want to use this design for your page , just click , use this layout and the entire design will be added to your page .
So as you can see , we have got the exact design into our page .
Now , once you've got this design , how do you change this content ?
So let's say you want to change this text , all you have to do is just select the text and then enter your own text .
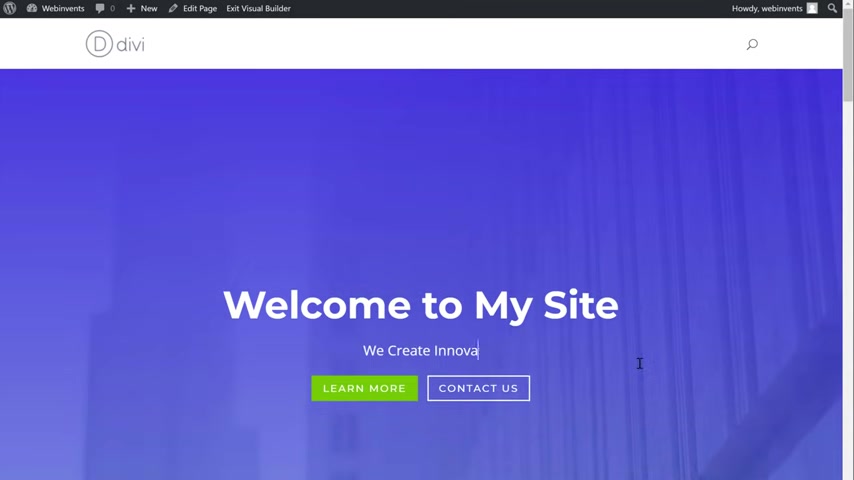
Now , in the same way you can change any text , you want just select the text and then enter your text .
Now , if you want to change the text on this button , just double click it and then change the button text here as you can see the text has been changed .
So that's how easy it is .
You can change everything on this page in the same way .
Now , if you want to change this image just double click it , select the image here .
Now just drag and drop an image from your computer .
You can see that the image has been changed .
So that's how easy it is .
Now , in the same way , you can change any part of this page .
Once you're done with all the changes , just click publish .
And now if we click exit , you can see that we have a new page on our site which has all the content we added .
So you can create any number of pages you want in the same way .
OK .
So now we have created our home page , but we do have a problem here .
Now , if you open a new window and go to a site's home page , you can see that we still have the default page which is empty and the page we created appears on a separate page called slash home nonsense of appearing like this .
How do you want to make this page as our home page which is here ?

So next , we're going to see how you can set this page you created as your home page .
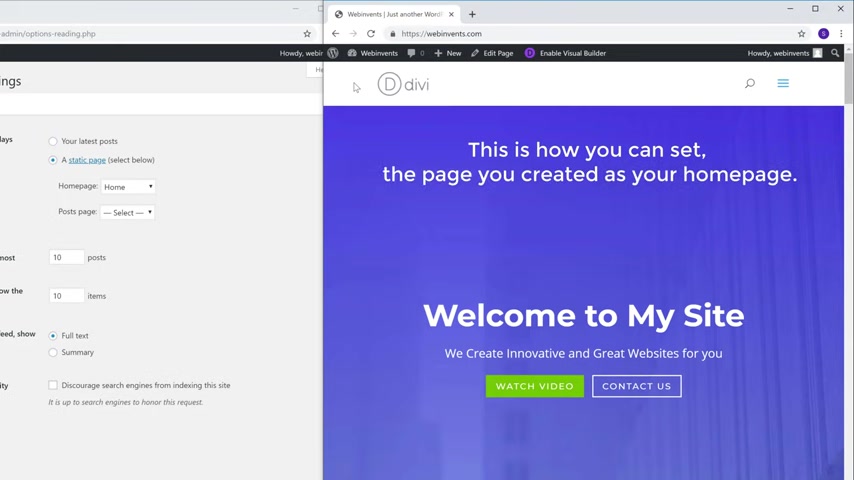
So to set our home page , let's go to our site and then click dashboard .
Now go to settings and click reading .
Now , here you can see that we have this option called your home page displays .
Here , we need to first choose the static page and then select the page we created as our home page .
So let's click here .
And then select home , which is the page we created .
Once you select it , just click save changes .
OK .
So now we have successfully set the page we created as our home page .
Now , if we want to go to our home page , just click refresh .
And you can see that we have got a home page which is here .
So this is how you can set the page you created as your home page .
So now you know how you can build a page by importing layouts .
But what if instead of importing a layout , you want to create a page from scratch .
So how do you start from a blank page like this and then start building your page ?
It's very easy .
So next , we're going to see how you can create a new page from scratch .
So to create a new page from scratch , let's go to new and click page .
Now , let's say you want to create a contact page , just enter the page title as contact and now to start building the page , just click use DV builder .
Now instead of layout , let's choose build from scratch .
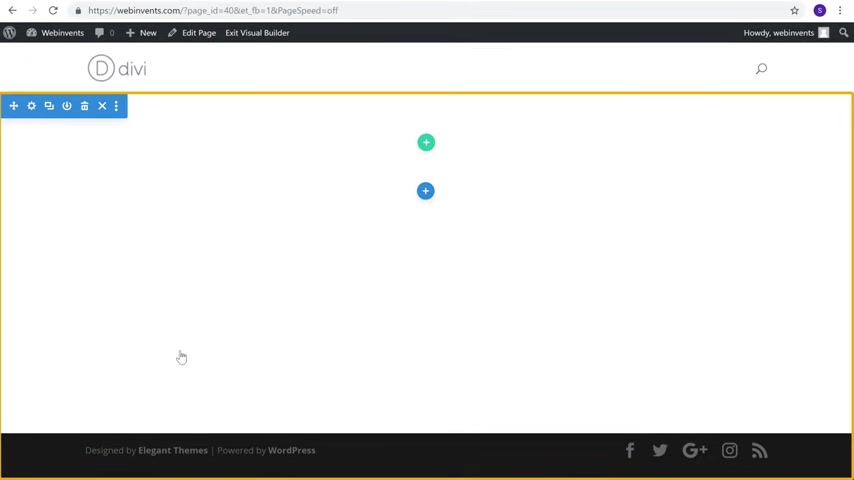
Now , this will give you a blank page where you can start creating a page .
Now to start creating this page , just click the plus icon and you will get these three options .
Now , if you want to create a section like this , which uses the full width of the page , just choose full and you will get different types of fool with items which you can add to your page .
Now , as I want to create a header for this page , I'm going to click full with header and you will get this section .
Now as we did before , if you want to change this text , just select it and then enter your text .
Now to add the next section , just click the plus icon .
This time , we will select regular as we don't need the full width .
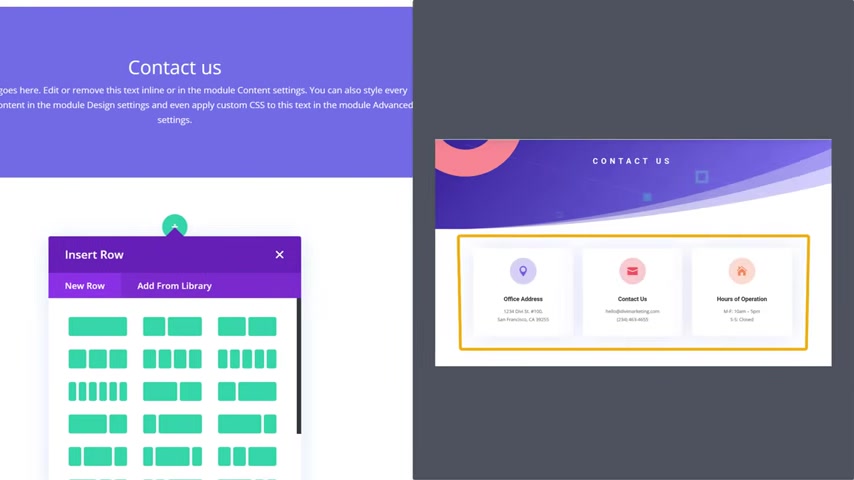
And now you will find different types of sections you can add to your page .
So if you want to have a section like this , you can choose this layout or if you want to have a section like this , you can choose this one .
So I'm going to choose this one and the section will be created .
Now , if we click this plus icon , you can see different types of items you can add to your page .
Now , let's say you want to add an image to your page , just click image and the item will be added here .
Now to add your image , just click here and then drag and drop an image from your computer .
And as you can see the image has been added .
Now , if you want to change the size , just drag here to change its size .
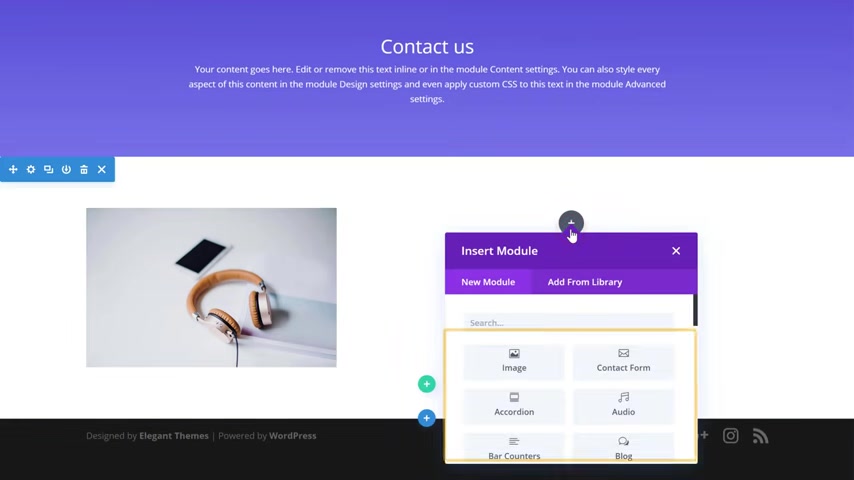
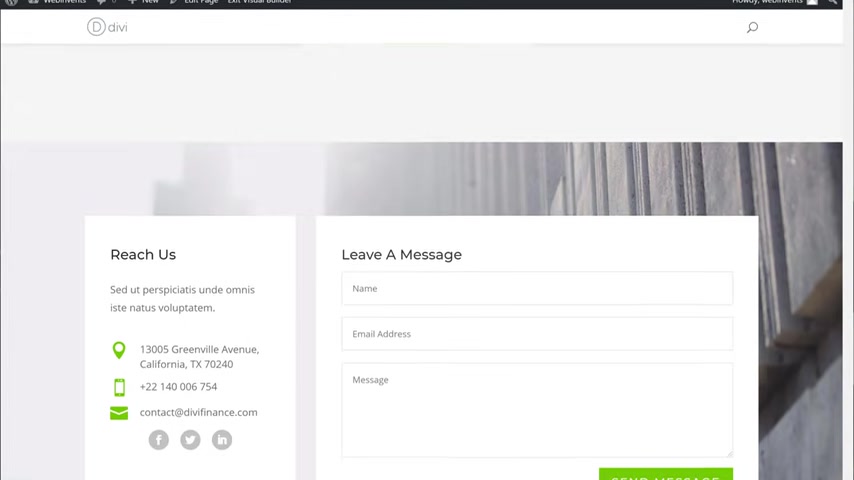
Now , in the same way , you can add content to this area , just click the press icon and select the item which you want to add I'm going to choose the contact form .
So let's click here and it will be added .
So once you complete building the page , just click publish and now the new page will be published on your site .
So now if you click exit , you can see that a new contact page has been added to our site .
So now you know how you can create a new page from scratch , so you can create any number of pages you want in the same way .
Next , let's go to the third step of building our website , which is to create your menu .
Now , as you can see , we don't have a menu here .
So to create our menu , let's go here and then click the customizer , then click menus now to create a menu .
Let's click here .
And now we need to give a name for our menu .
So I'm going to call this menu as main menu .
And next , you need to choose where your menu needs to appear .
So if you want a menu to appear in this area , just choose primary menu and then click next .
OK .
Now we can start adding items to our menu .
So to add the items , just click , add items .
And here you can see the pages which we've created .
Now select the pages which you want to add to your menu .

And now with weekly cure , you can see that our menu has been created with the pages we selected .
So once you're done , just click publish and all the changes will be saved .
And now if you click here , you can see that our menu has been created .
No , if we contact , you can see that we have our contact page and if we click comm we have a homepage .
So this is how you can create your menu .
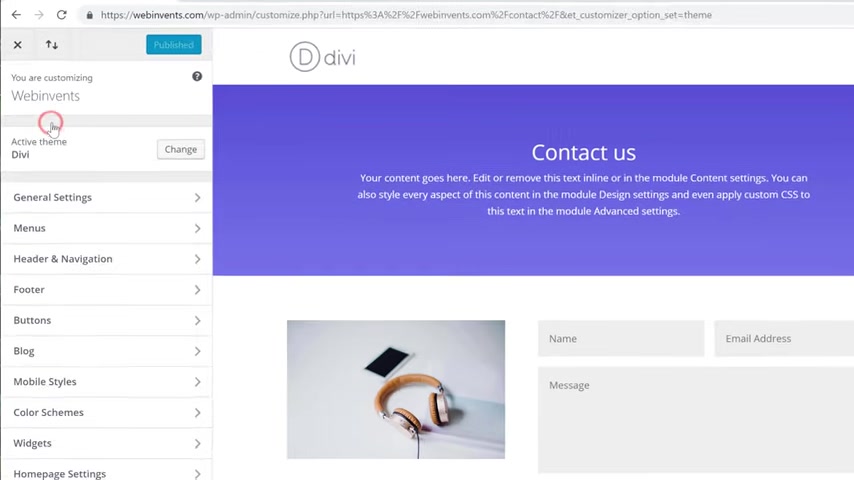
So once you have created your menu , let's go to the final step of building your website , which is to change your logo .
Now , here you can see that we have the default DV logo .
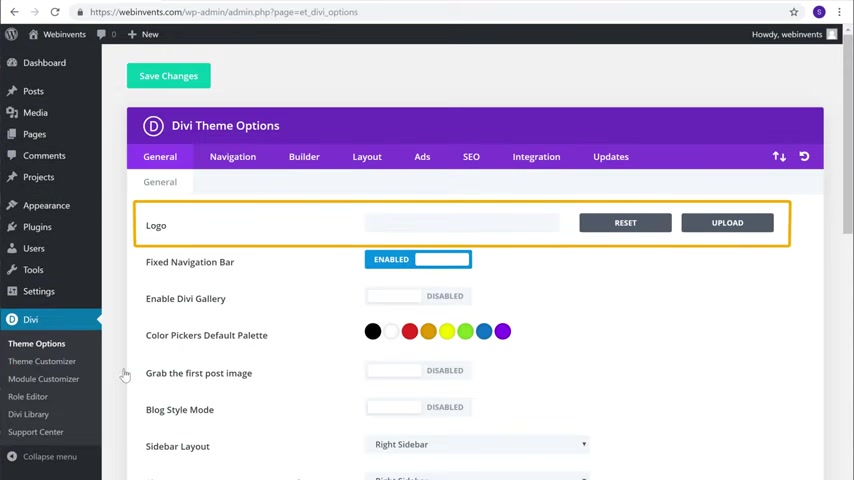
Now to add your own logo here , just go here and click dashboard devi and here you will see the logo option now to add your logo , just click upload and then drag and drop your logo here and it will be added .
Now , if we click save changes , then go to a site and click the first you can see that we have now got a logo .
So this is how you can change the logo of your website .
Now , you know how to change your menu and your logo .
So next , let's go to the bonus part of this tutorial where we are going to see how you can design your page using the V .
So we are going to see how you can change different parts of your page just like this .
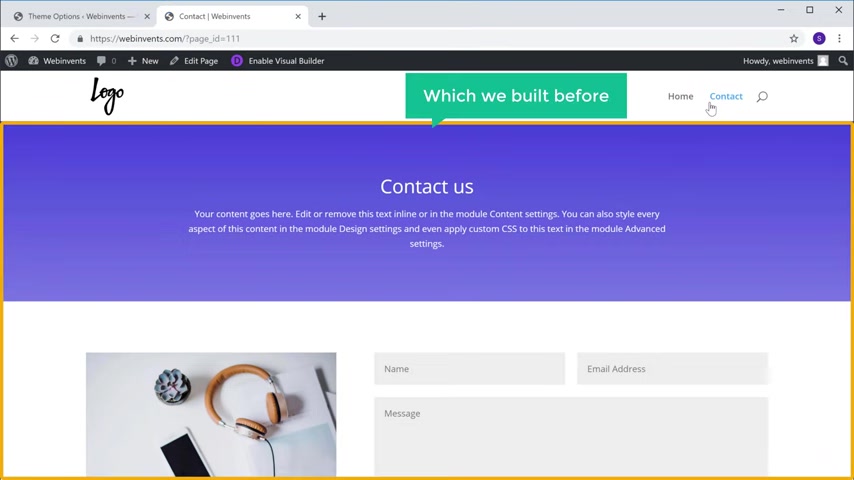
Let's say you want to change the design for your contact page , just click contact and this is the page which we built before .
So to make the changes to the space , just click enable visual builder and it will take you to this editing mode .
Now , let's say you want to change the size of this text , just click settings and then go to design and now you will see different places where you can change the design .
Now , as we want to change the title , let's go to the title text now to change the text size , all you have to do is just drag the slider and the text will be changed .
Now , in the same way , if you want to change the font , just click here and select the font you want .

Once you're done with all the changes , just click here and the changes will be saved .
So this is how you can change the design of any item on your page .
Next , let's say you want to add some space here .
All you have to do is just go here and then drag to add the space .
OK ?
So now you know how to change the design of this part .
But what if you want to change the design of this entire section ?
So to change the design of the section , just click settings here .
Now to make this section look more nice , go to design , then go to dividers , then choose a style and select any design you want .
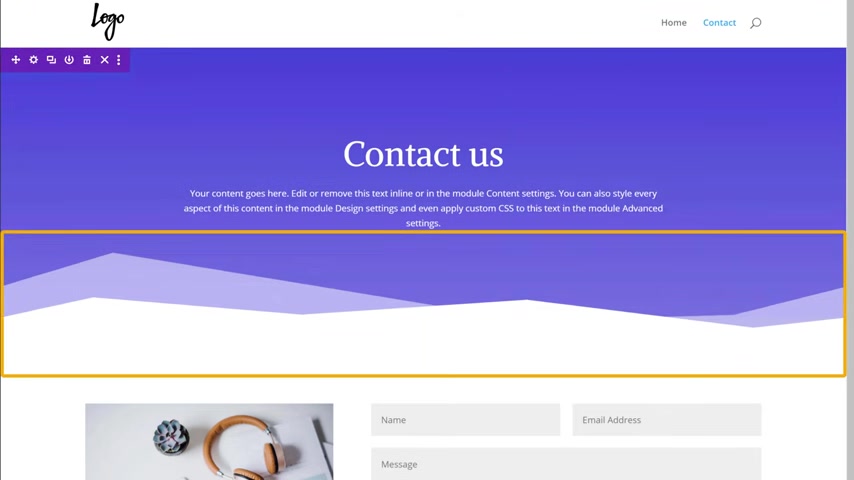
No , if we drag the slider , you can see that we have got that design on our section .
So this is how you can change the design of your section .
So once you're done with all the changes just like to , and now if we go to our contact page and click the first , you can see that we have got a new design here .
So this is how you can design your page using the V .
Now , you know how you can create a website using DV in just a few minutes .
So to create your website using DV , you need to first launch a Wordpress site , then set up the DV team in wordpress and then finally build your website .

Now , if you're ready to start creating your website , just click here and it will take you to the page which we saw in the first step , which is choosing your website name .
So just choose your website name and then build your website .
Also make sure you subscribe to website learners to get more videos like this one .
So thanks for watching .
I'll see you in the next video .
Take care .
Bye bye .
Are you looking for a way to reach a wider audience and get more views on your videos?
Our innovative video to text transcribing service can help you do just that.
We provide accurate transcriptions of your videos along with visual content that will help you attract new viewers and keep them engaged. Plus, our data analytics and ad campaign tools can help you monetize your content and maximize your revenue.
Let's partner up and take your video content to the next level!
Contact us today to learn more.