https://www.youtube.com/watch?v=rJSdPmUyFms
Sketching Animals - How to Draw a Realistic Bird
hi , guys , and welcome to another sketching tutorial .
Today I'll be showing you what I consider when creating realistic sketches of small birds , as well as some common but fixable mistakes that may detract from a realistic outcome and just a quick disclaimer .
This video is , of course , based upon my own experience and opinions .
So what's the ideas I'm showing here have worked for me .
They aren't the only ways of working , so jumping straight into it here .
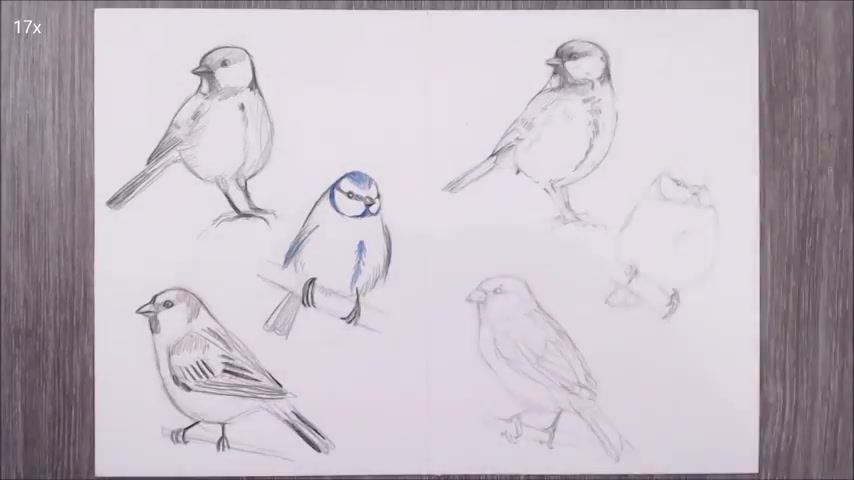
I'm starting on the left hand side of the page , where I'll be demonstrating the problems that can be fixed .
So I'm beginning with drawing just the body and head shape of the bird , and I'll be drawing three different birds in different poses today .
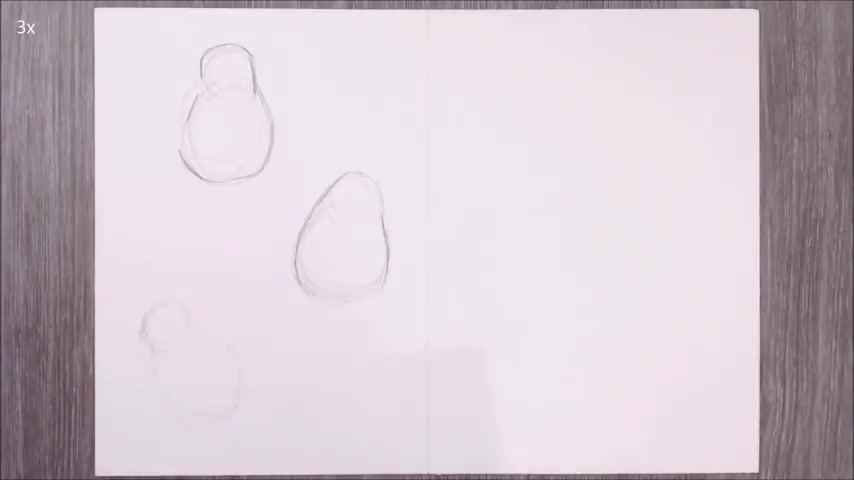
I'm using Prisma colour Coase pencils for all of my sketching here , and I'm just using some no name brand paper to work on , you can see that I'm being pretty quick and rough with how I put figures bodies on the paper , which is an indication that I'm not paying close attention to my reference photos .
Rather than being slow and deliberate , I'm rushing to put something down and using far more lines than is necessary .
I've drawn these birds in with simple geometry , ovals , circles and egg shapes , which doesn't really represent the complex form of a realistic bird .
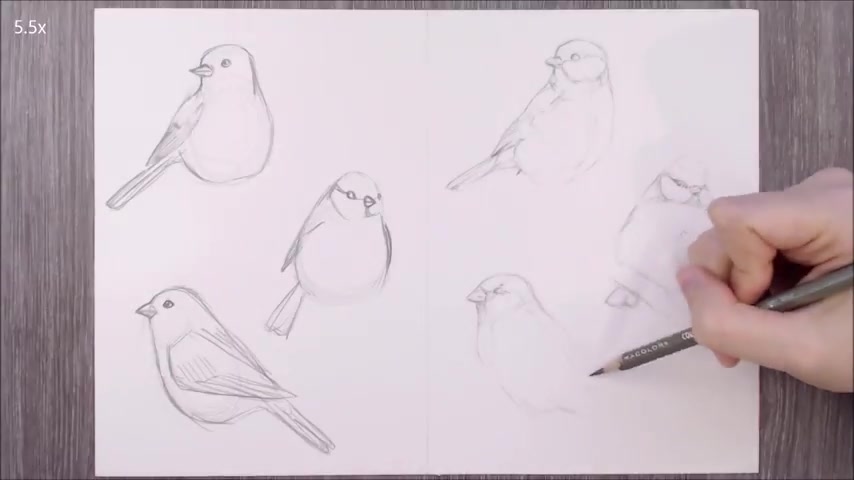
So now moving on to the right side of the paper , where I'll show you what I'd do differently to create a more realistic and convincing outcome straight away , you'll notice that I'm taking a lot longer to draw each body out .
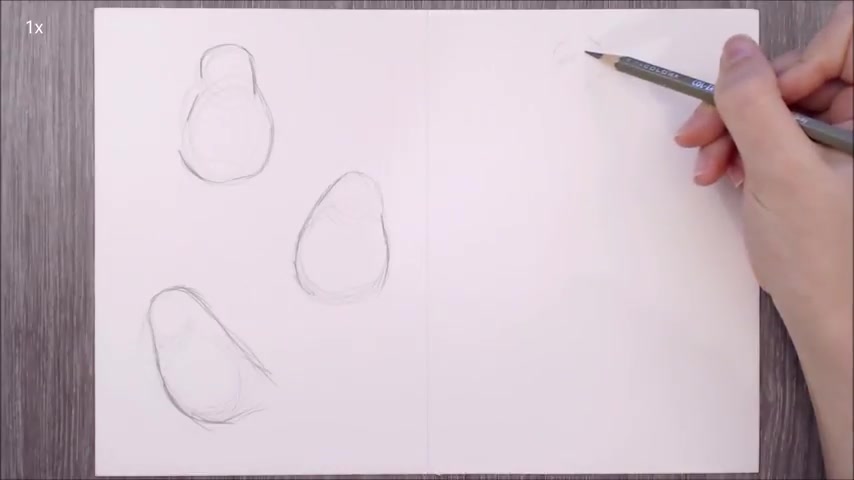
I'm also being very gentle as to not indent the paper and to keep the pencil lines light so that they can be easily erased if I make any mistakes , which is inevitable .
If you're looking to create a realistic result , you should always be very closely observing a reference .
And that's what I'm doing here .
And if you'd like to see the royalty free reference photos that I'm using , I'll leave links in the description box down below .
And if you are following along with the tutorial , I strongly recommend using these reference photos because copying my drawing means that you're interpreting from my interpretation , which will make it more difficult to draw Realistically .
As you can see , I build up the shape of the bird by working my way around its outline , judging each line's distance and angle in relation to the rest .
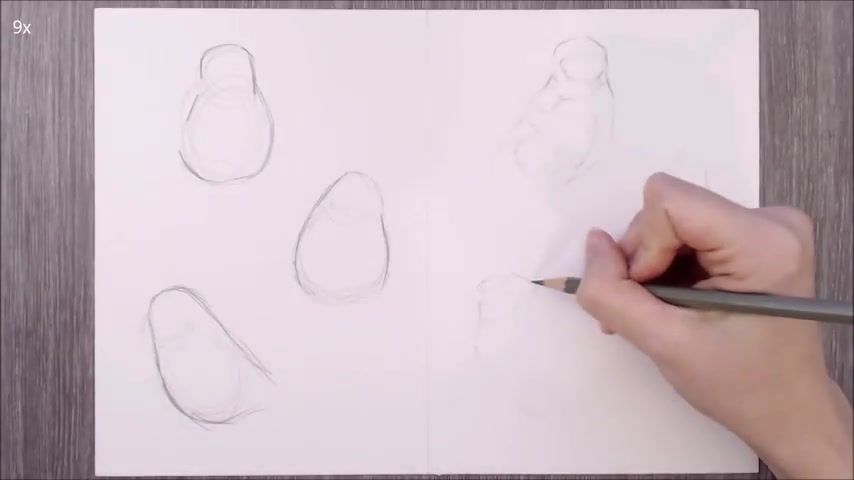
The benefit of this method over the way that I drew the birds on the left hand side is that here I'm giving an indication of all the subtle shapes in the bird's form , and you can see that there's an indication of the bird's anatomy and that the bird is delicate looking rather than one solid lump .
Birds come in all sorts of shapes and sizes , so it's really important that you study a reference photo and see what sort of characteristics your bird has going back to the left side .
I'm now going to start drawing in the eyes and beaks of these birds .
So a common mistake when drawing animals is to draw the eyes too far up on the head .
So that's what I'll do here .
I'm also not considering the shape of the eyes .
I'm just drawing in what I think a bird eye might look like , and the same applies for the beaks .
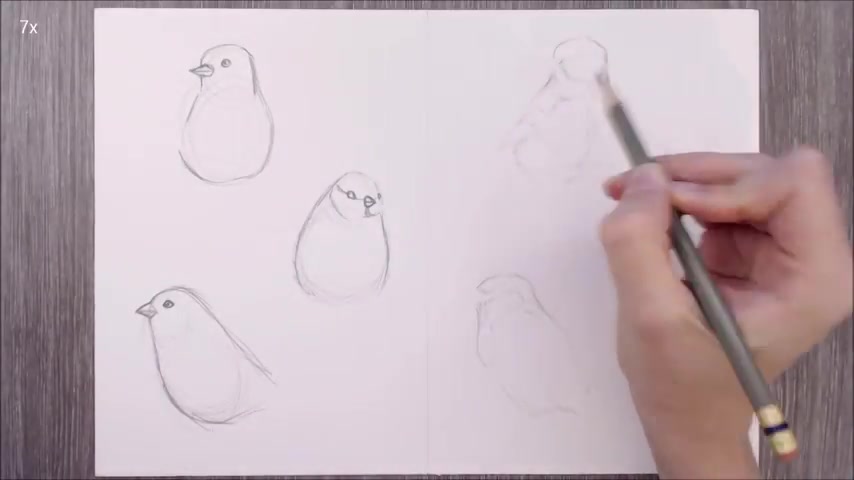
I'm drawing a symbol of a beak , so a triangle with a horizontal line down the middle of it , rather than actually observing what my beaks look like and Needless to say , the result is very flat and cartoony , as I haven't considered the three dimensional form of the beak now to draw the beak and eye in on the birds on the right side of the paper .
And again , this is going to take a lot longer than it did on the left side of the paper .
I'm observing and carefully measuring things with my eyes and placing that information onto the paper .
I'm also open to making adjustments to the lines that I've already placed down .
Drawing is a process of refinement , and it's unlikely that I have everything exact the first time around .
Which is why it's extra important to use a light hand when sketching .
And by this point , I've also broken up my sketch into smaller , more manageable sections by outlining patterns and areas of shadow or highlight .
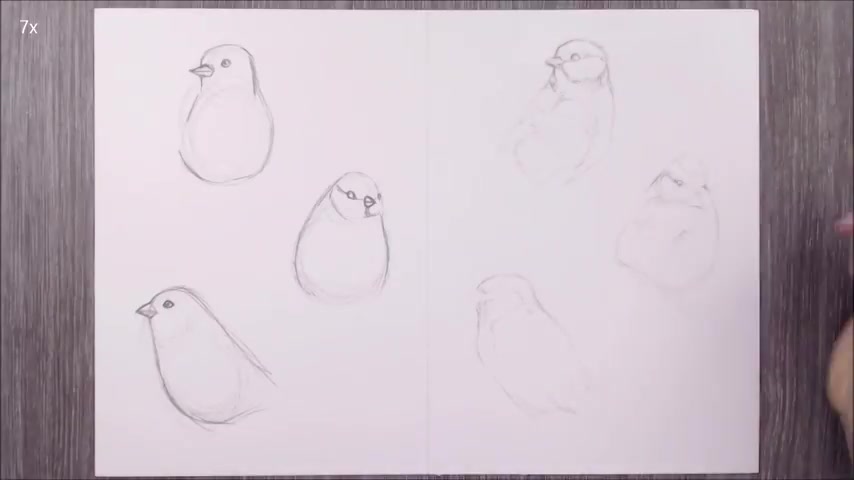
This means that I can use these lines as guides to help place the eye and fit the eye shape into the mosaic of shapes around it , and the same thinking goes for the beak again .
I don't want to oversimplify the shape , and I can break the shape into smaller , more manageable sections by drawing in the shapes of the shadows and highlights and something that I really recommend is that if you're having difficulties , try tracing these areas on your reference photos .
Long beaks in particular , can be really difficult to get right in terms of length and curve .
I do want to quickly mention that the process that I'm showing here is definitely not the usual sequence I draw something in , and I'm separating features out to make the process easier to explain .
So , for example , usually I'd draw the beak and eyes whilst I also draw in the outline of the head .
But anyway , moving on to the wing and tail .
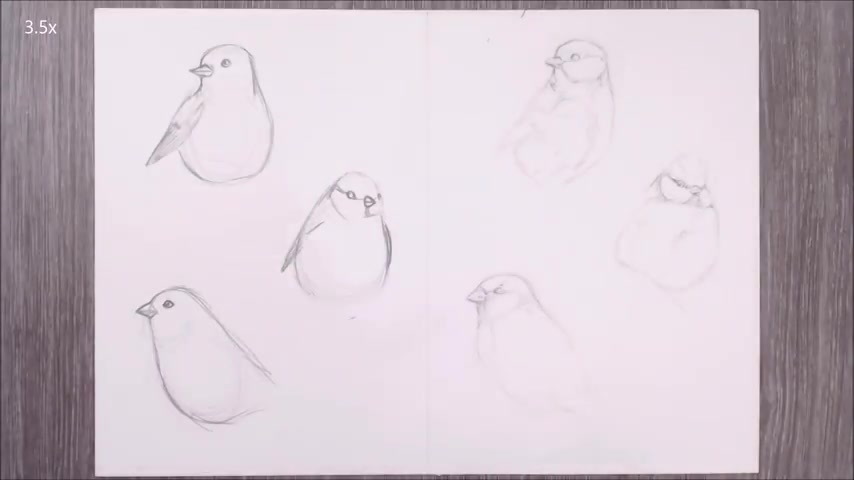
I think these structures and feathers are some of the most difficult to make sense of , and I know that in the past I would rush them or try and find shortcuts as to avoid drawing them all together .
So that's what I'm doing here .
I'm going to give a rough representation of the wing for the bird at the top of the page and the bottom of the page and for the bird in the middle .
I've again drawn what I think I see .
Rather than closely observing the photo so here I've given too much of an indication of the wings , and in reality the wings are barely visible .
In fact , the wing on the right hand side is not visible at all , and the same applies for the tails again for the middle bird .
I've shown too much of it without thinking about the position that the birds in and for the other two birds .
I've not considered how multiple feathers build up the tail and instead given it a very heavy and blocky looking form , heading on over to the right side of the page to draw the wings and tails .
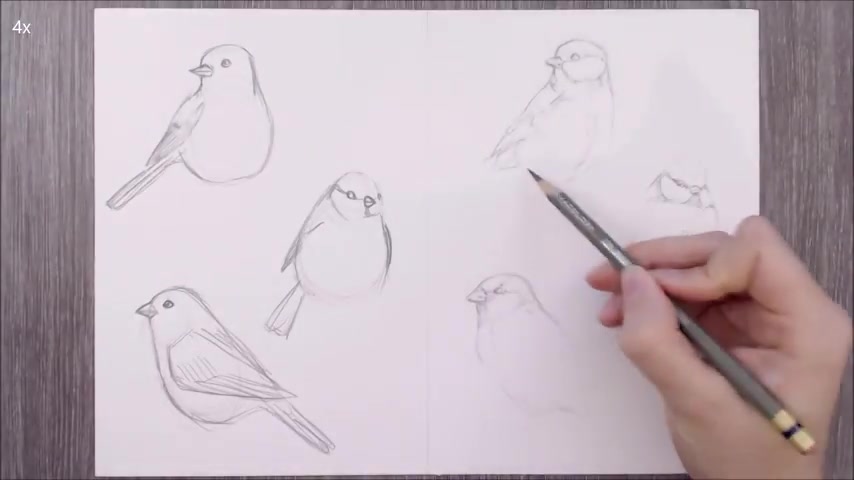
Here , too , starting at the top again , I'm building up this larger form by splitting it into smaller shapes .
A lot of the wing isn't visible because of how the chest feathers obscure it and how the bird is positioned .
So I'm not being too careful about getting in the details here .
I draw in the tail by mapping in each large feather or block of colour , and it's also important to remember to show how the tail feathers joined to the underside of the bird .
It's also worth mentioning that a tiny tip of the Bird's far side wing is visible under the tail as well , and this is something that I certainly could have easily missed if I wasn't looking out for it .
For the middle bird , there's little to draw here for the wing , but to draw the tail , I have to start drawing in the branch that he's perching on as the tail is partially obscured by it .
And the way that the bird is hitting means that the tail is affected by perspective .
So it appears quite short now , moving on to the sparrow at the bottom of the page .
And this one's the most difficult because his wing is fully visible and the pattern makes it difficult to make sense of the individual feathers .
It's easy to get overwhelmed and lost in this pattern , and even after drawing a lot of birds , I still find this sort of drawing to be very demanding .
So if this is the case for you , too , I'd recommend making a tracing , and you can use this tracing to directly transfer your drawing onto the paper , or you could use it as a comparison tool .
For me .
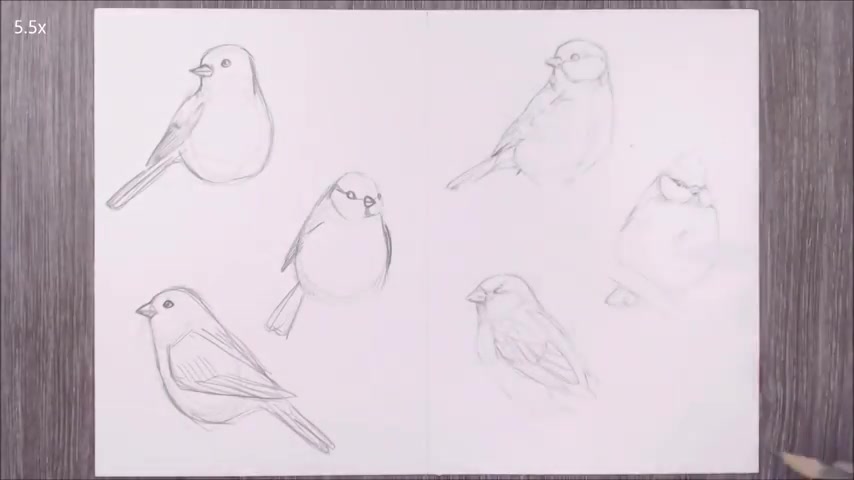
Bird wings are something I'd certainly trace if I was planning to sink a lot of hours into the rendering stage , as I would want to be 100% certain that my foundation was accurate without using up time needing to check and double check everything but the way that I'm free Handing it here is to group the feathers into sections to work on at a time , and I'm using the features of one group of feathers to help place the next again making sure different components fit together like a mosaic or jigsaw puzzle .
Bird wings are covered in lots of different kinds and shapes of feathers , each with different tasks .
And this is when referring to an image showing wing anatomy might be helpful in order to break down and make sense of your reference photo and later on in the video , I'll further refine these feathers with some colour to help distinguish the brown and black pattern on the sparrows wings .
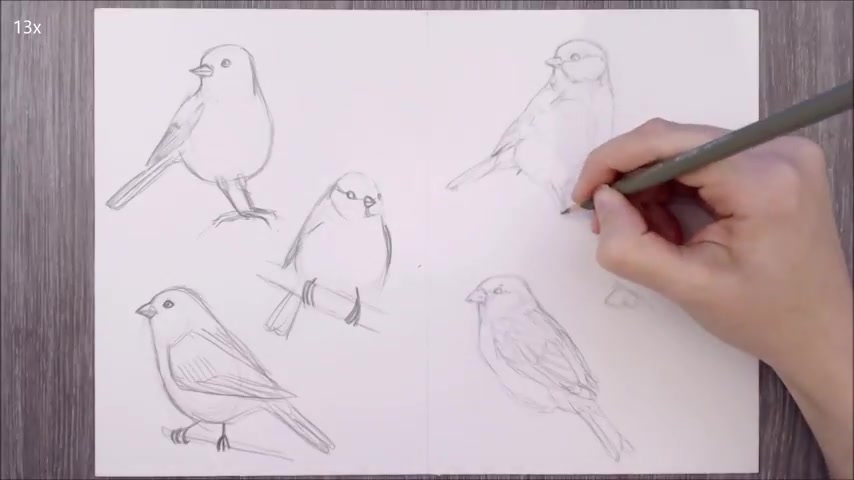
But next I want to draw in the legs and the feet and an indication of the surface the bird is sitting on to on the left side .
Again .
I'm going to oversimplify things , and I'll draw the legs and feet very flat looking almost stick like .
I also won't really consider the anatomy of the feet or toes Here on the top bird .
I've left the toes looking stiff , and on the other two birds , I've drawn their toes as if they are entirely flexible and have wrapped around the branch as if they were wire .
But on the right , like usual , I'm breaking things into smaller sections , and I'll use the negative space between the bird and the branch or ground or between the legs to help position these legs .
I'll also make sure that the toes look like they're curling around the stick that the bird is sitting on , but making sure that the toes bend just at the joints .
At this size , I'm not going to try and outline every abstract shape that makes up the toes .
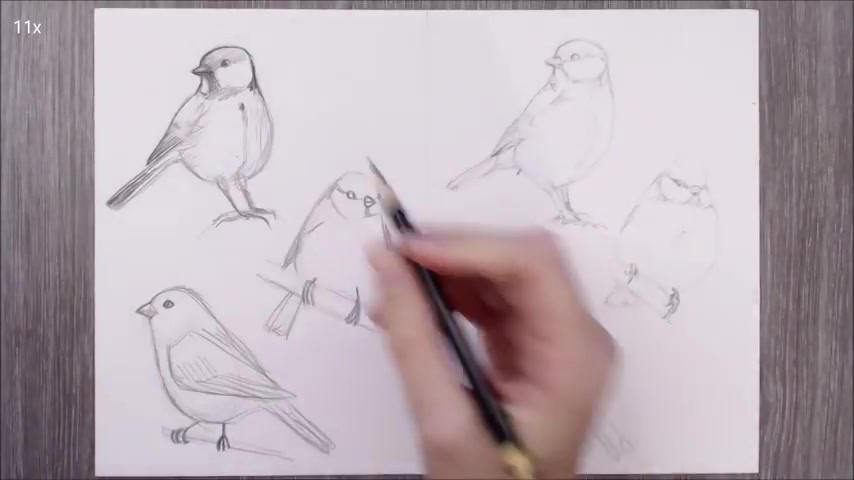
Most of the definition and form will become apparent when colouring or rendering this finally as a bonus step , I'm going to show some simple colouring and refining .
If I was using these sketches as a foundation for a fully rendered piece , I would probably stop on the previous step .
But as a slightly more fleshed out sketchbook study , I'll render the birds a touch more on the left side .
There's not much to refine as I've used a firm hand over the entire sketch , so things won't easily erase .
However , I will add some feather texture in , and here I'm going to do this by drawing in lots of rough and long looking strokes .
I don't know about you , but to me this looks more like fur and doesn't really successfully represent the texture of feathers .
But going over to the right side of the paper to finish up .
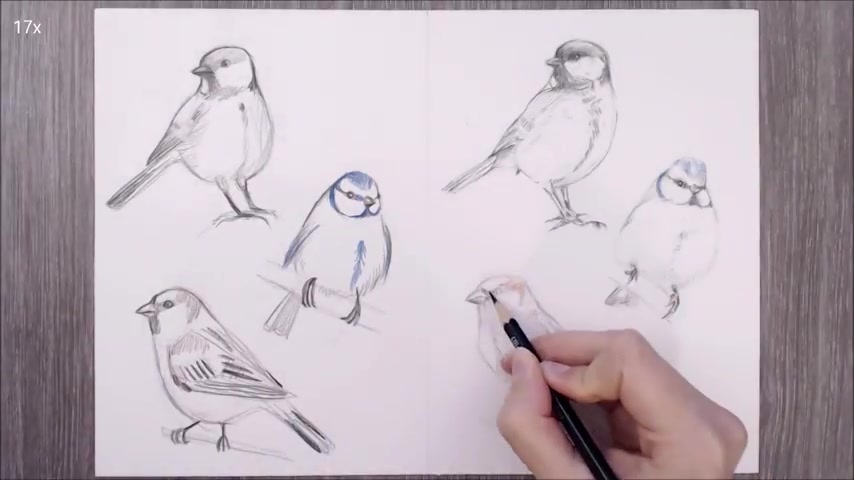
I'm refining my sketches first , and then I'll start adding some simple shading .
And sometimes when everything is put in place , slight inaccuracies will become more apparent .
So you'll see that I'll adjust a few things until I'm happy with how they look .
But I also find that adding a bit of dimension with some simple shading will help to make things look right .
I'm going to give some very subtle indications of feathers on the breast of the bird , and I'll do this where there's dark coloration or a shadow so you can give the effect of feathers by using very short pencil strokes in small groups , and you can also put them in a sort of curve or scallop shape to help indicate an an individual feather .
If I was creating these sketches as a foundation for a coloured and rendered picture , I wouldn't include these small details in the sketching stage as they don't contribute anything , and they would just be covered up later on .
I'd also continue to use a very light hand for the sketching and any shading , and I'd also make sure to use a light coloured pencil for any areas that would remain a pale colour in the colouring stage .
And this is to avoid my sketch lines showing through or potentially mixing into the pale colours and muddying them up .
I adjust the bottom sketch of the sparrow by using some different colours .
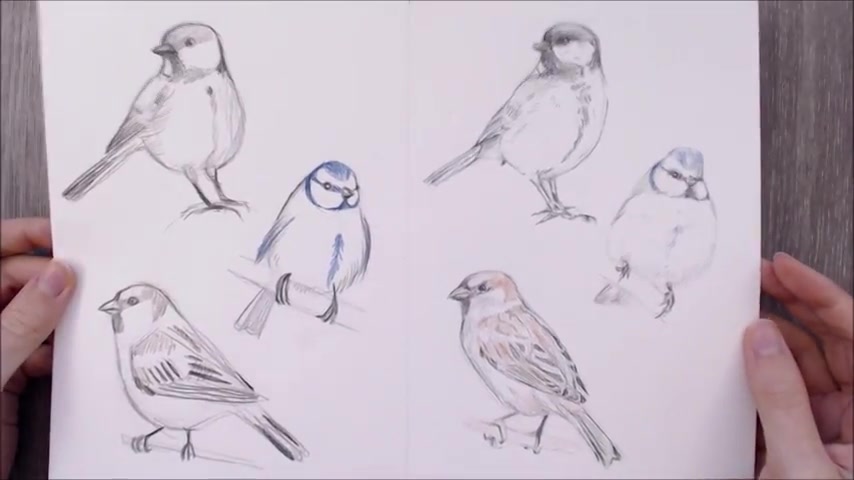
To help indicate the pattern on the bird's wings , I find that blocking in the colours like this can help make a complex sketch or pattern more easily readable .
So this is definitely something you'll see me do in a lot of my foundation sketches for my coloured pencil pieces .
And here is the final result .
If you use my tutorials to create something , I'd love to see what you create .
So be sure to tag me on my social media and use the Claudia sketches hashtag .
Or you can join the Claudia Discord Chat to share your work and chat with fellow drawing enthusiasts .
You can find the link to this in the description box down below , along with just about everything else .
If you found the tutorial useful , don't forget to leave it a like and I'd love to hear your comments , too .
Thank you very much for watching Hope you have a lovely week and I'll see you in the next video .
Are you looking for a way to reach a wider audience and get more views on your videos?
Our innovative video to text transcribing service can help you do just that.
We provide accurate transcriptions of your videos along with visual content that will help you attract new viewers and keep them engaged. Plus, our data analytics and ad campaign tools can help you monetize your content and maximize your revenue.
Let's partner up and take your video content to the next level!
Contact us today to learn more.