https://www.youtube.com/watch?v=xyzH-xbPcII
How to sketch a FACE in 7 steps!
Hey , my name is Scottie and I'm gonna show you a really simple way to loosely sketch her face in only seven steps .
I'll go through the three different views of the face and what you need to know for each one .
But let's start with the front view .
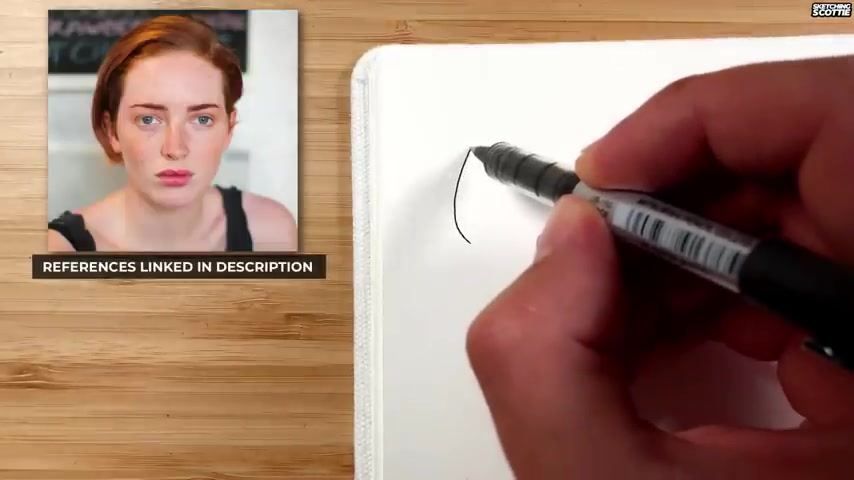
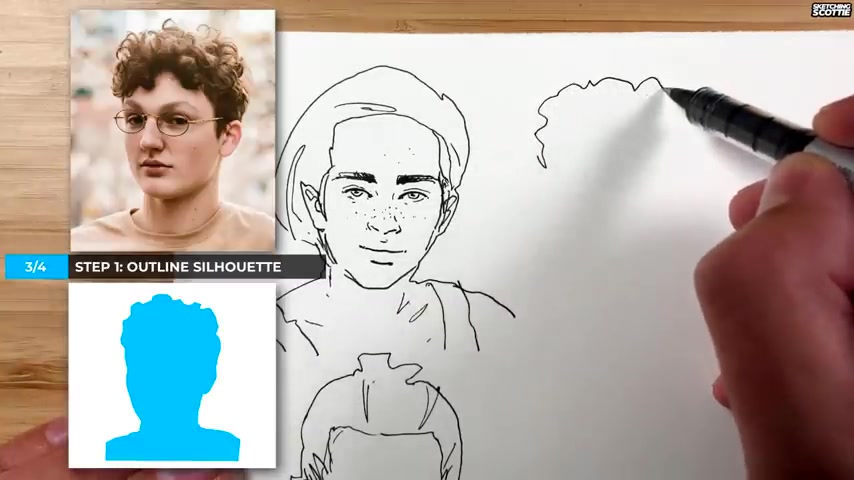
So step number one is to start with the bigger shape , which is the silhouette .
So I'm starting with the hair and then I go down the side of the face a little bit of the shoulder and then I get the other side of the shoulder you can see here , I've blocked in on the left here .
The main shape that I'm looking at this can be very rough with this style of sketching .
You don't need to get it perfect and we can make little adjustments as we go .
Stem .
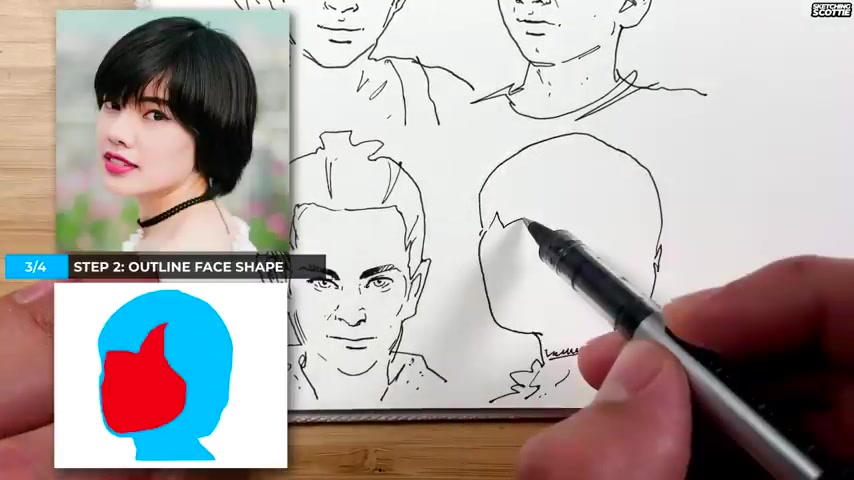
Number two is to block in the next bigger shape , which is the face .
So I'm outlining it with going around the hair and the ear .
So there you go .
That's the face shape .
Step three is to break the face into three sections you can see here on the left .
So my little trick here to divide the face up without having to draw lines across the face is to draw these four dots .
It's also the width of the nose and the distance between the eyebrows .
Now , we can quickly draw the brow and the bottom of the nose there , just the side of the nose and the little indicators where the nostrils are .
Ok .
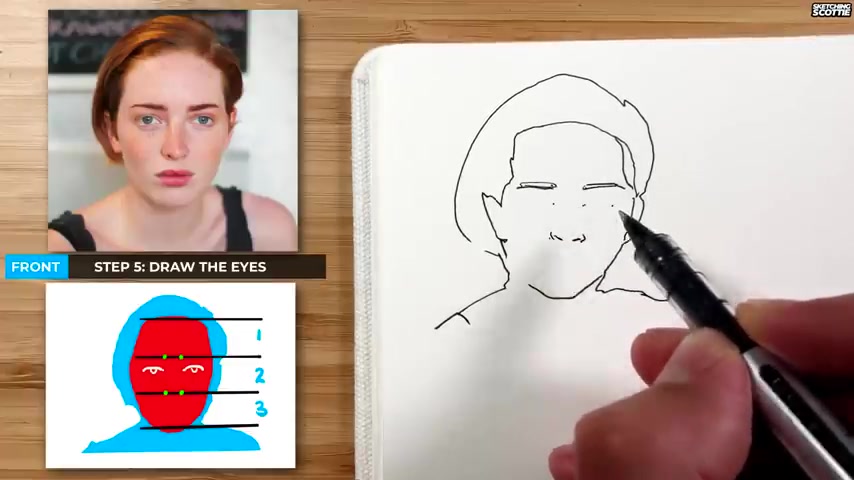
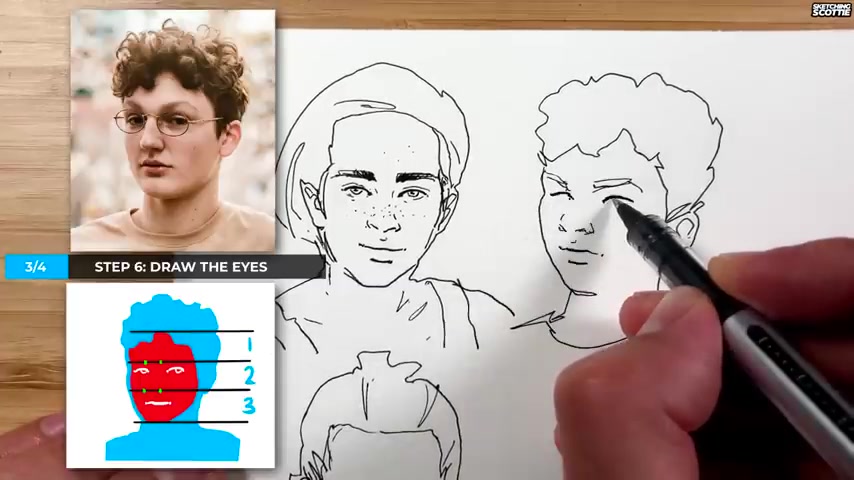
Stem number five is the eyes .
You go up past halfway to find the corners of the eyes and that's actually the width of the nose as well .
And then we go across the same distance as the width of the nose to find the width of the eyes .
And what I do is I draw a really dark line from each dot So that's the top eyelash and that's a really good line to focus on .
Now , we can draw the iris and a little pupil in the middle .
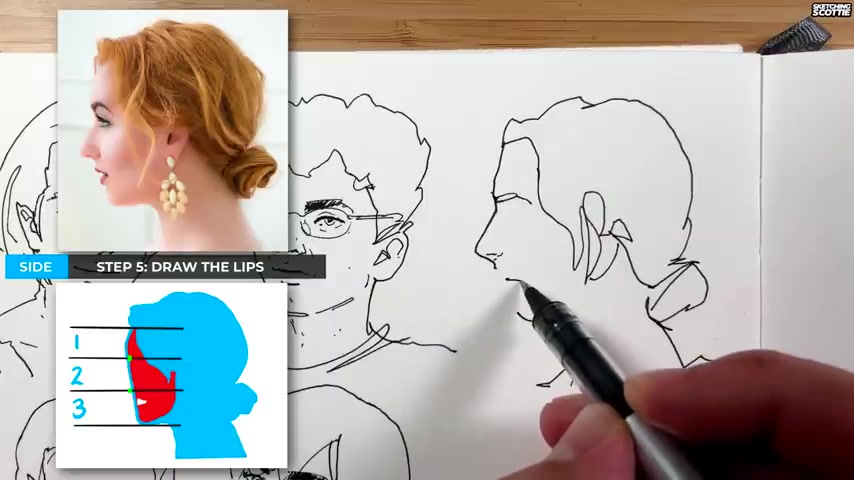
So step number six is the lips .
We draw two little dots just a bit past halfway between the chin and the bottom of the nose .
And that will help us find the width of the mouth and then draw quite a dark line as the split between the lips .
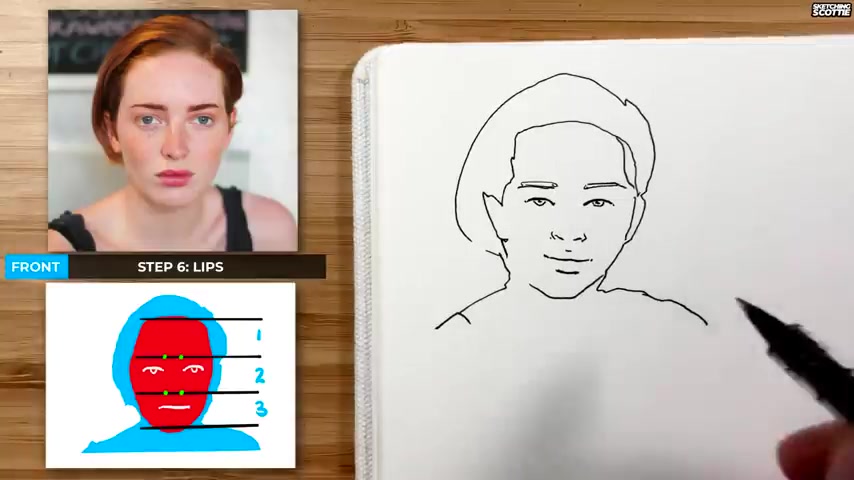
That's what we focus on first .
Now , the face might be looking a little bit weird here , but it will , it'll come together at the end .
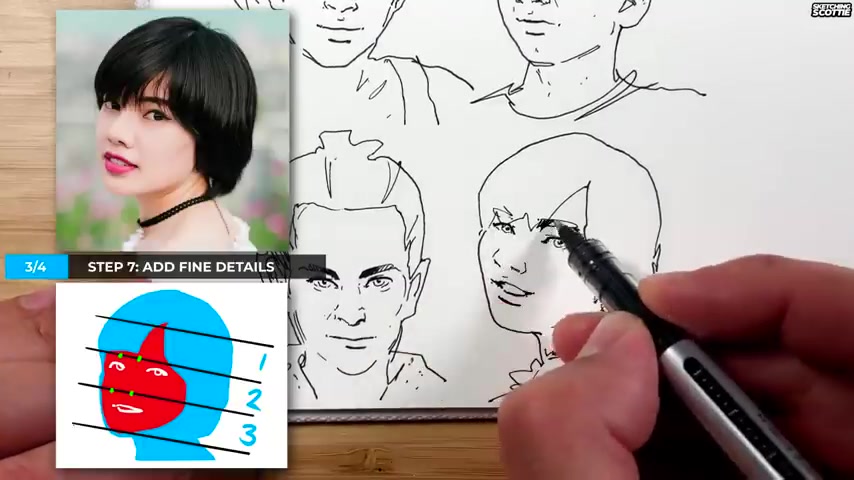
You also have to add a little um dark shadow under the bottom of the lip and a tiny little line there for the top of the lip step number seven is the details .
So we've got all the structure , we've got the main dark lines .
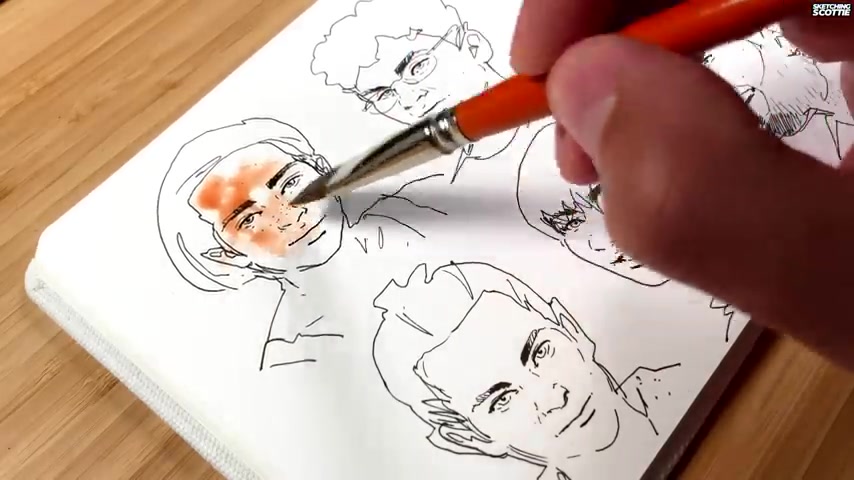
Now , let's go in darken the eyebrows and add lots of support lines around the eyes , around the nose , um around the face .
We'll add some , we'll add some freckles and a little bit of detail to the ears .
And if there's anything that's wrong , like the jawline , we can just adjust that now .
So that's a very loose sketch of the front view .
I'll just quickly go over that with a second example of the front view before I go into three quarter view .
So we start with a , we frame the face with the hair and the jawline .
Now divide the face into three using these four dots , add in the brow and the bottom of the nose , then the eyes using those four dots that are the same width as the nose and will focus on the top eyelash and the middle circle for the iris and then the lips and finally all the details .
So now we go into the three quarter view , we outline the hair here and come down , work your way from the top to bottom .
This is all a bit of guessing and it doesn't really matter if you don't get it perfect .
We're just having a go make sure you're looking at those big shapes .
So don't get caught up in the detail like the angles of the cheek and that sort of thing yet .
OK .
So now we've got the silhouette and now we'll go into the hair .
So the ear here , this is all done by observation and you could draw a sphere and divide the sphere up .
So you know where the ear goes , but here we're just doing observation sketching .
OK .
So splitting the face up into three sections using my four dots .
Now , they have to be more to the left here because it's a three quarter view .
Those dots have to be further to the left .
So you see less of the left eye there .
Now we do the brow and the bottom of the nose and here I'll do the lips first .
You could do the eyes first or the lips first .
So make sure that split between the lip is very dark and then a nice dark line under the lip and you can do a tiny little line there for the top lip .
So next is the eyes , we angle the eyes back , it's not straight above the side of the nose .
We're angling it slightly to the right and the width of the eye on the right is about the same as the nose , but the width of the eye on the left is slightly smaller , have that dark eyelash on the top .
The iris , there's just little quick lines there and then the pupil , I tried to leave a little sparkle in the pupil there .
So I left a little bit white .
So now I've got the structure of the face .
I can kind of mold the rest of the face with the details to fit that face .
So I'll do the eyebrows and all the little details around the eyes .
And I've added in a line here for the jaw line and just some little dots here and there just to show a bit of texture .
So the glass is here , I'll do it all symmetrical .
So I start off with the middle , put the two little arms on the side and then I'll draw the glass .
So one more example , before I get onto the tricky side view , so I start off with a silhouette .
Now frame the face with the hair split the face up with these four dots .
I have to guess a bit where the hairline is so that the brow and the nose are in the right position .
Now drawing the brow in the nose , then the eyes .
So with an open mouth like this one , I don't outline all the lips .
I'm still focusing on that split between the lips .
So I draw the two dots with the width and then I'm focusing on that , that top line and the dark corners of the open mouth .
Then I can do the bottom shadow of that lip and a tiny line for the top .
That's keeping it very simple .
We're not outlining the whole shape .
And then finally , once again , all the details , OK .
We're on to the final view .
Now , this is actually the hardest view .
I find that you can't really go over the eyes and the nose .
So I'm gonna start out with the , the hair and go back .
And now I've got that , I can look at the shape of the back of the head and look where the chin is .
So on the left here , you can see the main shapes .
I really want to find that shape .
So that's why I take my time to find the chin .
And even if I get this wrong , I can just re re go over it later .
Now , I'm outlining the hair as the next main big shape I need to do .
And I'll find that ear here .
That's usually the ear is on the back , half the bottom , back half of the head there .
But I'm just having a little guess just sketching by observation .
Now , when we go back over the face here , now , this is where I divide my face up into three .
I've got two dots but they're on the outside .
So I'm gonna try and uh connect those two dots for the nose .
That's why this is a bit different than the other views because I actually outline the whole nose .
Ok ?
I can go in to draw the brow and then the mouth with a little opening of the mouth .
And then I'm trying to work my way around here finding the bottom edges of most things like the bottom edge of the top lip and the little bottom edge of the bottom lip .
Now , the eye here you angle back a bit from that corner of the nose and you can find where that top eyelid is .
I'm focusing on that shadowy part of the eye .
And now the final thing is to add in some details and I'll go through one quick example of this again , this is an even harder example where he's got his mouth open quite a bit .
So I'll start off the back of the head again , fine with that chin is .
So I've got the whole shape of the face now outline that hairline and the e divide the face up , brow and bottom of the nose , put the eye in right here just to add a bit of an angle back and then the open mouth .
So focus on that , that little corner of the mouth where it's quite dark and a line that goes just above the teeth and then tiny little lines all around details to sort of support that structure .
Now finish off all the details and get that beard working .
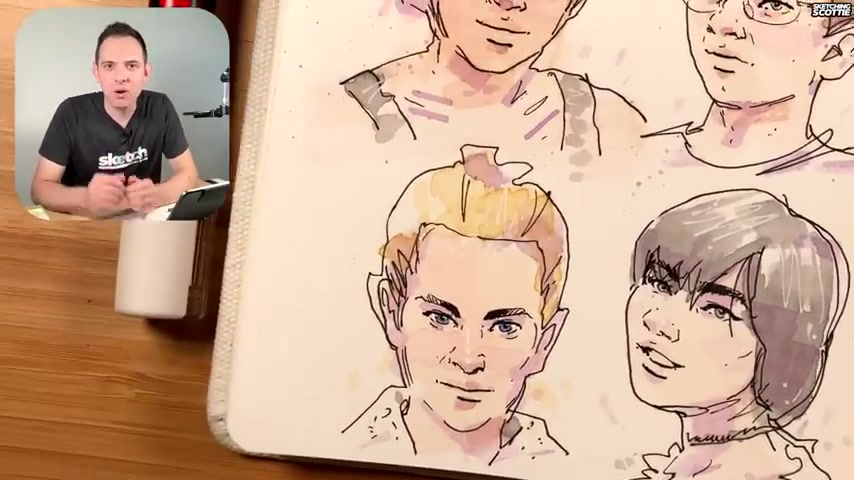
I'm also a big fan of water colors .
So I'm gonna add in a little bit of watercolor here to the faces to brighten them up , bring them to life .
It also helps me to find some of the little shadows and forms that I had that I didn't do with my line work is just a very simple light wash , nothing too special , but just leaving little gaps of white to give that sketchy look .
I then add some white highlights with my posa marker and then to add some extra depth , I like to add a bit of shadow with purple .
That's just my style .
You don't have to copy this idea , but that's what I've been enjoying doing lately .
So here's a final result with a quick wash .
But the face is just the beginning .
If you wanna learn how to sketch people in a similar quick and loose way , I recommend you check out this video right here .
And if you'd like some detailed feedback on your sketching , join me on Patreon where I can help you improve , we can email each other and I can add red lines to your sketches and we can have a chat that way and a big shout out to all my Patreon members .
Thank you so much for your support .
Thanks for watching and I'll see you on the next one .
Are you looking for a way to reach a wider audience and get more views on your videos?
Our innovative video to text transcribing service can help you do just that.
We provide accurate transcriptions of your videos along with visual content that will help you attract new viewers and keep them engaged. Plus, our data analytics and ad campaign tools can help you monetize your content and maximize your revenue.
Let's partner up and take your video content to the next level!
Contact us today to learn more.