https://www.youtube.com/watch?v=Xr3lZhqjRe0
Simple 25 Minute Vinyasa Yoga Class for Beginners _ Breathe and Flow Yoga
Welcome to class today .
I'll be guiding you through a beginner's level uh sequence .
So if this is your first time practicing yoga , welcome .
Thank you so much for not making the excuse that you're not flexible enough to do yoga and understanding that maybe that's exactly why you came to this class .
So today is going to be a simple sequence .
So just about 10 , 15 poses , keeping it nice and easy and gentle .
It's accessible for all levels .
There is going to be a few things in there that are also building strength , but just because it's a beginner doesn't mean you can't be building strength already .
So stick with it , do your best .
And uh yeah , enjoy the class since you're most likely new to this practice .
Maybe you don't even have a yoga mat and that's fine .
You can also practice on the carpet or the floor .
If you do have a yoga mat , of course , grab it .
That's the only prop that we will need today .
Besides that , you just need your body and your breath and positive vibes , we'll get through it together .

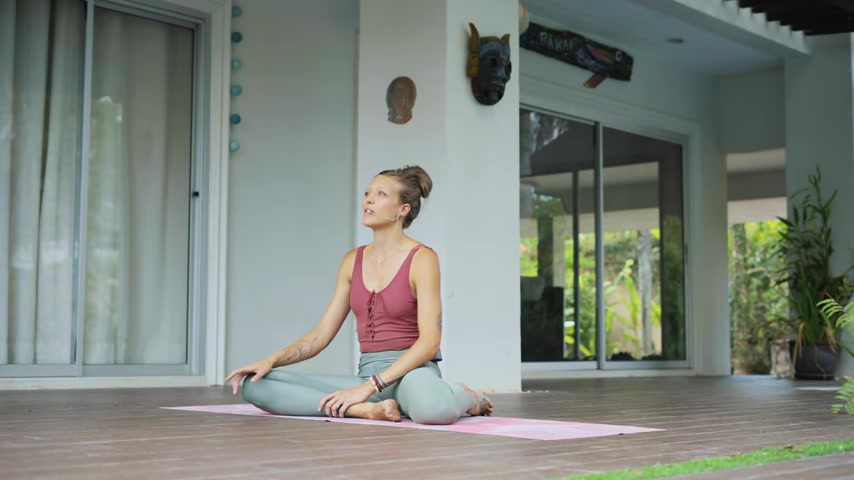
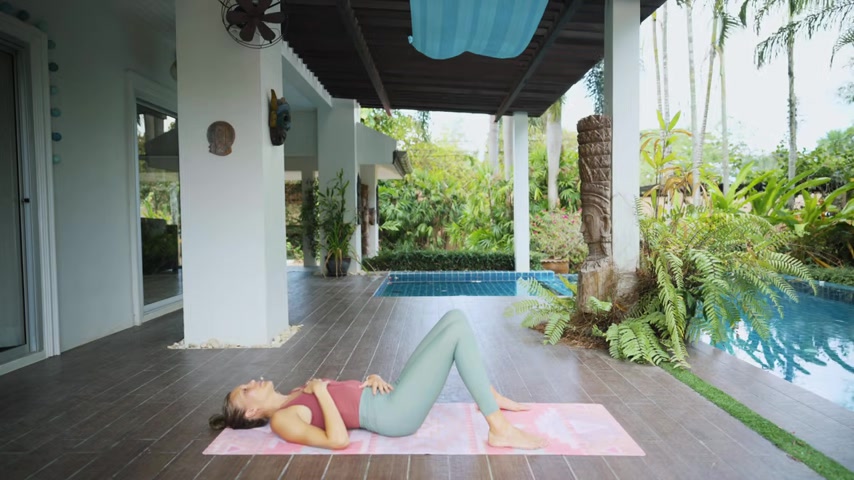
So whenever you're ready , ready to begin , we'll start on our back in half .
So legs bent soles of the feet touch down on the ground .
Feet are about hip distance apart , place one hand on the belly and one hand on the heart , close the eyes and take a few deep breaths .
Here with each inhale field , a lift in the rib cage and each exhale , relax the belly button to the spine , seal the lips as you start to move the breath through the nose .
Just take a few breaths here in this half of us take this opportunity to ground down to arrive in this space on your map .
Letting go of questioning yourself whether this was the right beginner video for you or not because we have like 50 of them on our channel .
No worries .
This is the right video .
There's a reason you picked it .
So just allow yourself the opportunity to arrive , put all of your attention on the breath and then begin to shift away from that thinking mind to a more feeling intuitive mind by running a body scan , noticing areas where you're holding tension and then just allowing that tension to release to relax .
You can either keep the eyes closed or you're welcome to open them .
You'll start to heal to the feet together so that the feet touch and the knees touch , bring the hands down at your side and then bring both legs over to the right side , let the legs rest down and extend the left arm out to your side , easy twist of the spine .
And maybe you already noticed that your end range in the pose is different than where I'm at .
So perhaps your left knee is hovering above your right , a few inches , or maybe your left shoulder is lifted up off the ground , that's perfectly fine .
As long as you feel the sensation and the stretch in the mid back , then it's all good .
No need to force yourself into any deep pose .
And then with the help of your hand , bring your legs back up through center and then bring both legs off over to the left stack , the knees stack the ankles , extend the right arm out to your side .
295.17 --> 359.79
So flex the feet , the toes point up towards the sky and then start to walk your hands forward .
Maybe this is already where you're at just coming to a seat with the legs straight .
This is it and that's fine .
If you still don't feel a stretch here though , in the hamstrings or the low back , then you can start to walk your hands forward to any degree .
And even for me , I've been practicing yoga for several years and I still can't touch my chest to the ground in a seated forward fold .
And that's all right .
I'm just coming to my end range .
I'm noticing my breath feeling good in my body and that's where I'm at .
So no need to force yourself down , just stop wherever you feel .
The stretch .
Don't worry that you're super flexible , especially if this is your first time doing yoga , the flexibility will come over time .
What's important is that you just go easy on your body .
You never go beyond your end range and you're just putting your attention on the breath allowing yourself to arrive as you are in this moment in this space without judgment , only with love , begin to walk your hands back towards your hips .
Hold on to the back side of both legs .

As you lift the knees up , cross the ankles and make your way into a table top .
So you're on the tops of the feet , the toes are not tucked under the wrists are underneath the shoulders , the knees are under the hips .
We'll do a few rounds of what is called cat cow pose .
So as you inhale , let the belly sink down , gaze forward .
This is cow pose , tip the tailbone up towards the sky and then start to round the back , tuck the chin to the chest and push the ground away in hell , let the belly sink down and excel round the back .
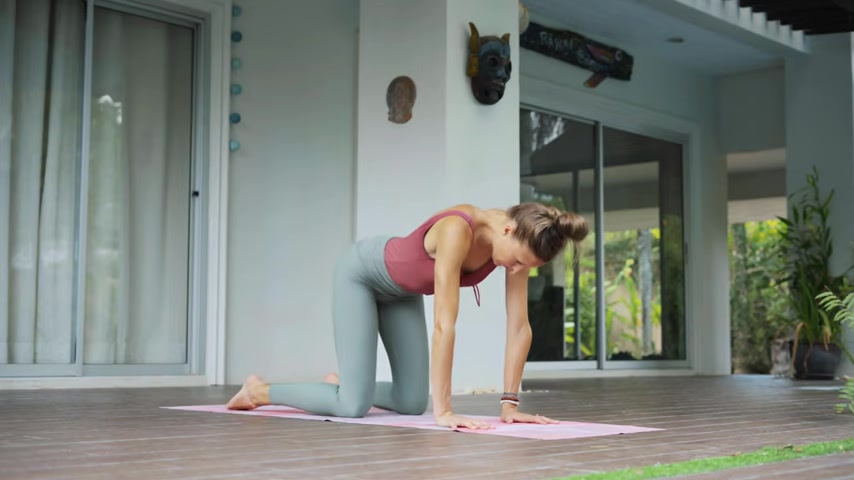
This now will start to move with the breath as you inhale and exhale , just warming up the spine connecting with the breath and back to a neutral spine .
Now rotate the fingers so that they're facing towards the edge of your map and then bring the wrist just a couple inches apart from each other .
Spread the fingers wide , keep the arms straight and then start to shift forward and then make a circle around the wrist back towards the heels and bring it forward .
So a few circles around the wrist doing a wrist warm up is really important part of your practice because you spend a lot of time on your wrist in a yoga practice .

And it's not something that's traditionally taught .
But in modern yoga , it's very common to be teaching this because we've learned the research behind keeping the joints safe .
We always want to warm up the wrists just as important as any other joint or muscle in the body .
Switch directions on that circle and then come onto the backs of the wrist , the fingertips point towards the knees , come on to the toes this time and then sit back towards the heels .
Maybe the wrist lift off , gently sway left and right and then start to walk your hands back as you lift the knees come into a Yogi squat at the back of your map .
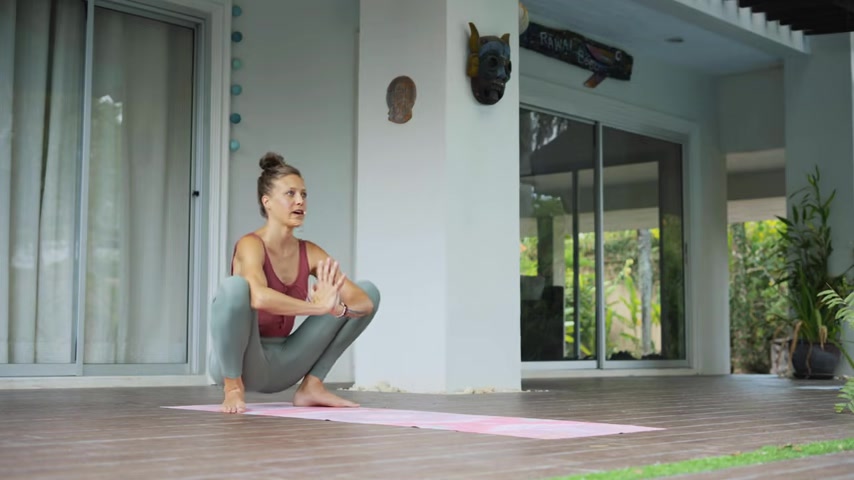
So hell to the feet a little bit wider than the hips , the feet will point out 45 degrees .
So the corners of your room , I guess palms come together hands at the heart , triceps come inside the thighs .
See if you can sit a little bit taller with the spine , the crown of the head reaches up towards the sky , maybe sway the hips a little left and right .
And if you're new to yoga , new to movement , then don't worry if this squat is incredibly challenging for you , it's uh perfectly normal , especially at the beginning .
If you're not used to these movements , just stick with it .
We're here for just two more breaths and then release the hands down towards the ground .
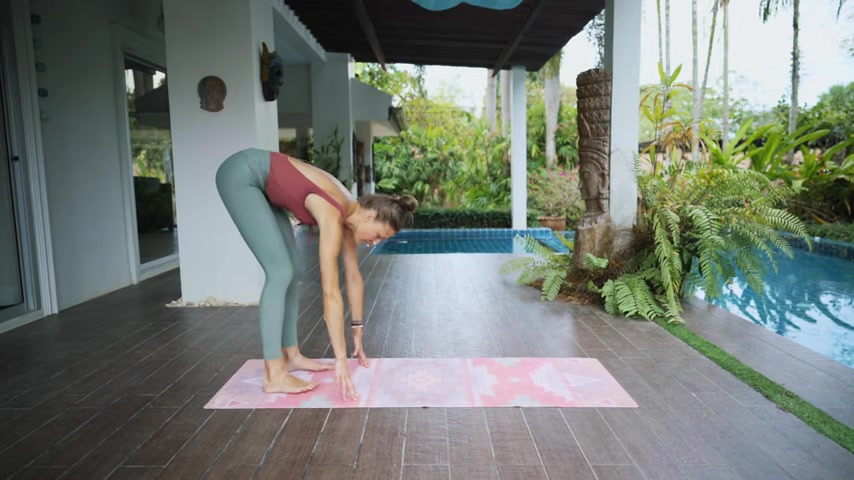
As you begin to straighten your legs , he'll tell the feet about hip distance apart , the hands stay down towards the ground and then start to sway the body to the right and to the left , maybe bend one knee and then bend the other .
Let the head hang heavy , let the shoulders relax , come back to center as you bend both knees roll up one vertebrae at a time .
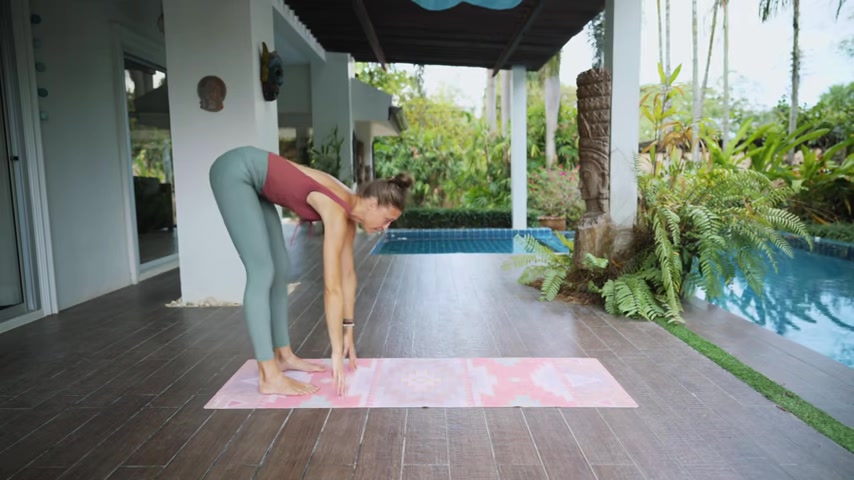
As you inhale all the way up to standing arms reach up , overhead palms , touch and exhale forward , fold , soft , bend in the knees , inhale halfway lift and X A forward fold .
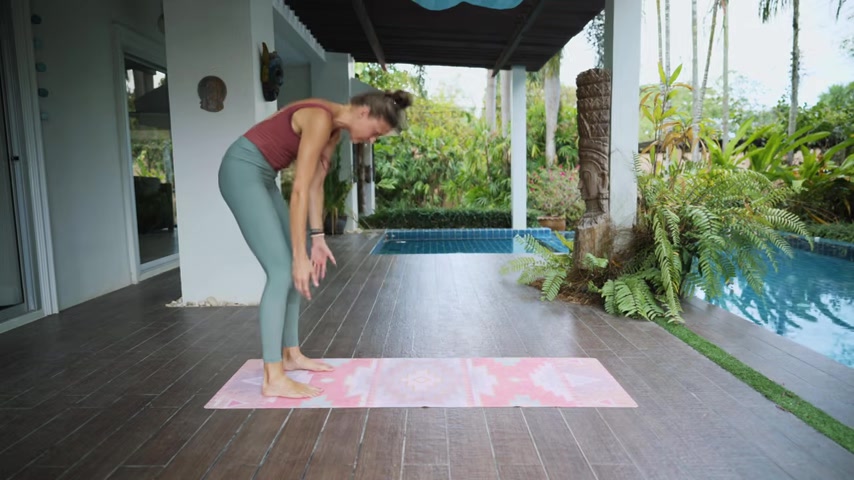
And how all the way to standing arms reach and excel forward fold and how halfway left heart reaches forward , exhale forward , fold in all the way to standing .
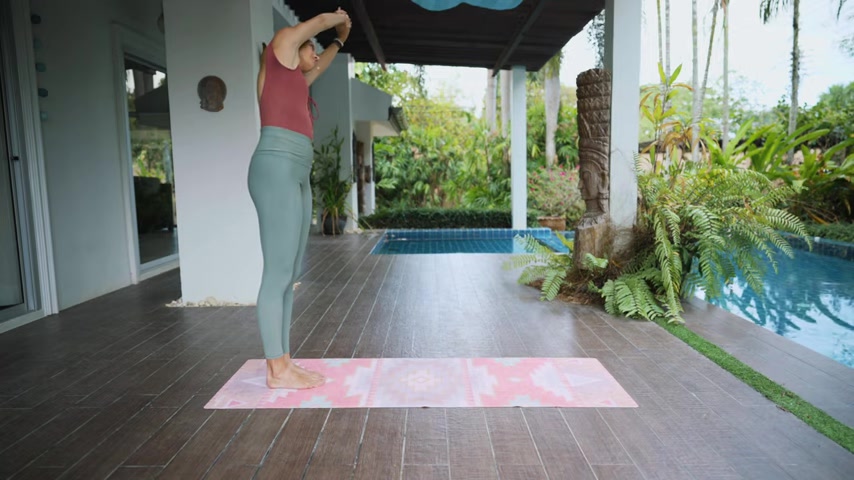
Last one , arms reach up overhead and then you're gonna grab on to the left wrist with the right hand , he'll tow the feet together so that the big toes touch , take an inhale here , reach the arms up as high as you can and then side bend over to the right .
So as you send your hips off to the left , you're engaging your glutes , you're engaging your core and then instead of collapsing the left shoulder down in order to get deeper into this side bend as I am .
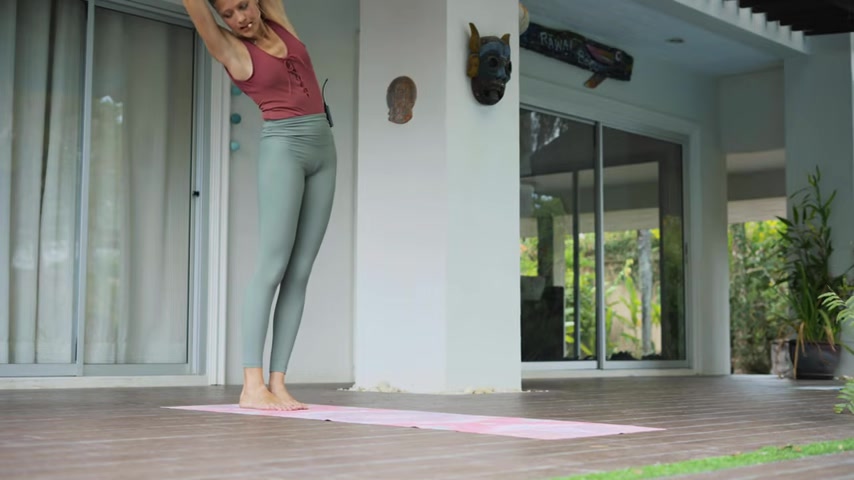
Now , you want to actually lift that left shoulder up and then treat it more like a side bend .
So almost imagine that you're standing in a really thin corridor .
So you don't want to collapse the shoulders down .
What we're focusing on here is creating a little bit more space between each rib on the left side .
Last breath here and in back to center , exhale , switch the wrist , grab onto the right wrist with the left hand in how lengthen and exhale over to the left , send the right hip off to the right , engage the glutes , open the right shoulder and with each in , see if you can add a little bit more space between each rib on the right side .
Nice and easy and held back up to center and then bend the knees for chair posts .
So you want to sit the hips low .
See if you can lift the chest a little higher , bring the biceps close to the ears and send all the energy out the fingertips .
So even though this is a beginner level class , it doesn't mean that you can't have a strength in there .
And chair pose is something that is accessible for everyone .
So , keep doing your best .
I'm doing my best .
Too great job .
We're almost there last breath and XL forward folds straight in the legs in , he'll take that halfway lift and exhale , walk your hands to the top of the mountain down .
We're done .
So in downward dog , we wanna create that upside down shape of a V with our body .
But if you're new to this , then usually this is what a downward dog would look like at the beginning because it's really hard to open the shoulders .
So instead I'd like you to bend the knees , pull the chest closer to the quads and then see if you can open up that space between your shoulder girdle and your collarbone .
So don't worry so much about straightening the legs at this point , just focus more on opening the shoulders , pushing the ground away and then you can paddle the legs one leg at a time .

Start to feel those hamstrings wake up and find some stillness here in your downward dog .
Start to shift forward on the inhale .
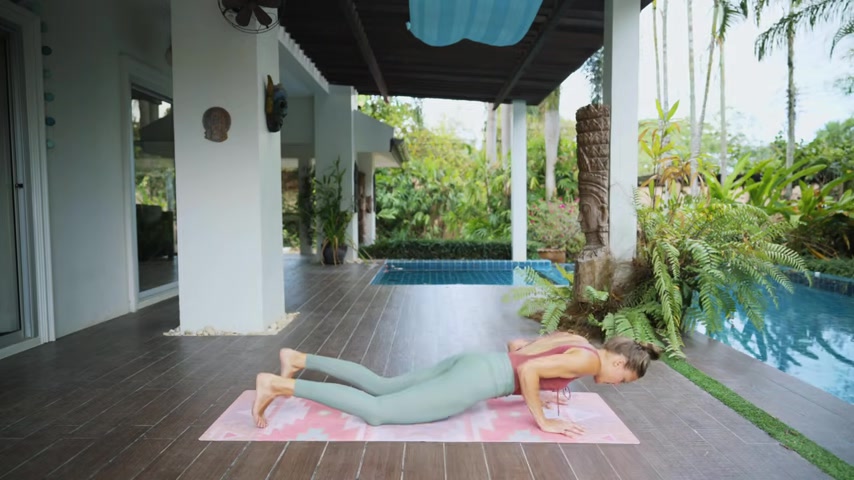
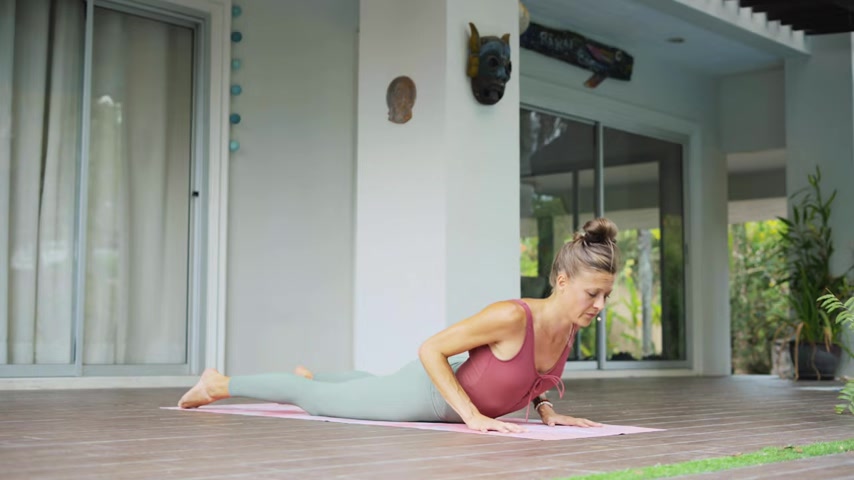
We come into high plank .
So the shoulders are over the wrist and then the hips are about the same height as the shoulders .
So if you need to , at any point , you can set the knees down .
But I'd like you to continue to push the ground away .
So you're rounding the back instead of collapsing the shoulders down and sinking into it and just holding this weight bearing movement , instead , just push the ground away .
So we're still building strength in the shoulders again , option to set the knees down .
There's no shame in that .
We all started somewhere and I did it too .
So it's all good .
Make the practice work for you last breath here , all together , set the knees down and then we're gonna lower down halfway and then push it right back up .
Two more lower down , push it up .
Last one lower down .
This time , we're going to come all the way down to the ground , untuck the toes .
So you're on the top sides of the feet and inhale , lift the chest and exhale lower down in her lift .
El lower one more time in he lift , we're going to hold here in the lift .
So you're really engaging the muscles in your back .
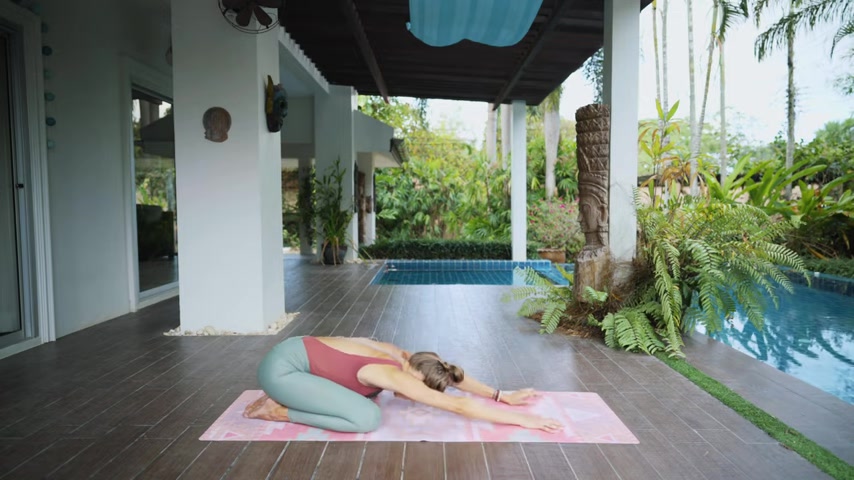
You're engaging your glutes the whole back side of your body and exhale lower down , pressed the hips back to the heels for a child's pose , walk the fingertips forward , find that length in the upper back and then keep the legs where they're at .
Start to walk both hands off the right side of your map .
You can pin down your left hand with your right and then again , rest the head down , start to pull your left hip towards your left heel .

As you take a few deep breaths here again , finding that length on the left side of the body , maybe you even feel it in your shoulder , your lower trapezius , your Serratus muscles , you're back , you start to walk your hands back through center and both hands off to the left .
You can pin down your right hand with your left .
And again , about five deep breaths here .
Beautiful job .
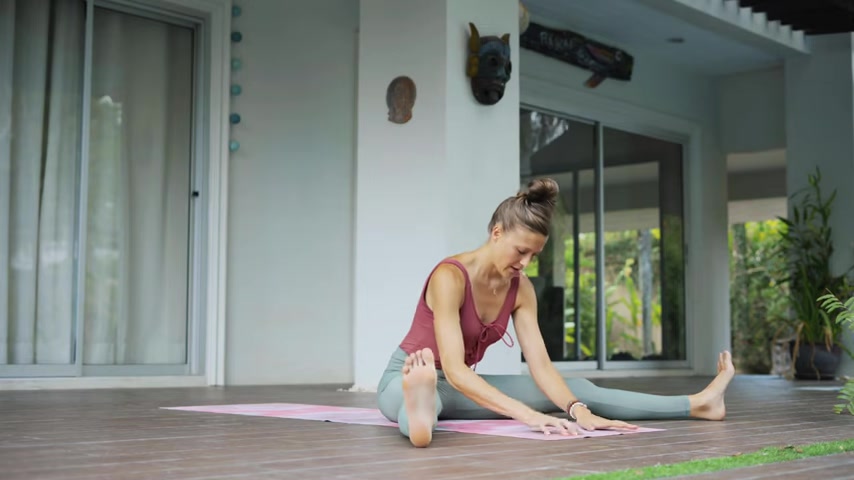
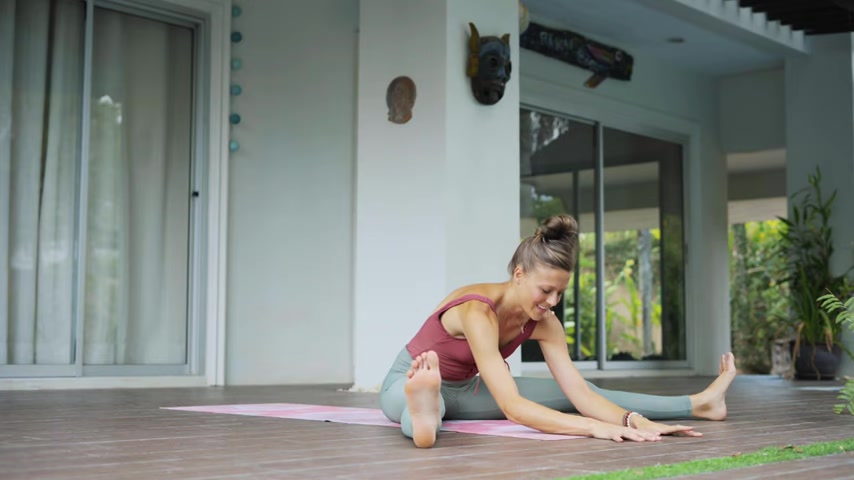
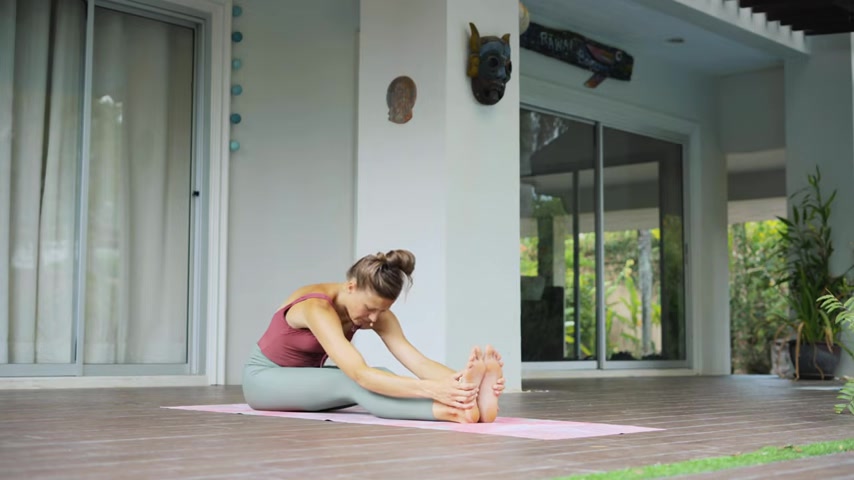
Walk your hands back to center and then walk your hands back up towards the hips as you lift your chest up and then you're just going to send your hips off to one side and extend the legs out in front of you for a seeded forward .
So both legs are together extended straight out in her arms , rise and exhale forward , fold .
And if you can't grab onto the feet , then I recommend that you just bend the knees and then hold on to the feet and then start to walk your hips back , sort of shimmy your way back .
And that way the stretch goes along the whole back side of the body .
It's not isolated on just the hamstrings or just the back .
We're not here for long .
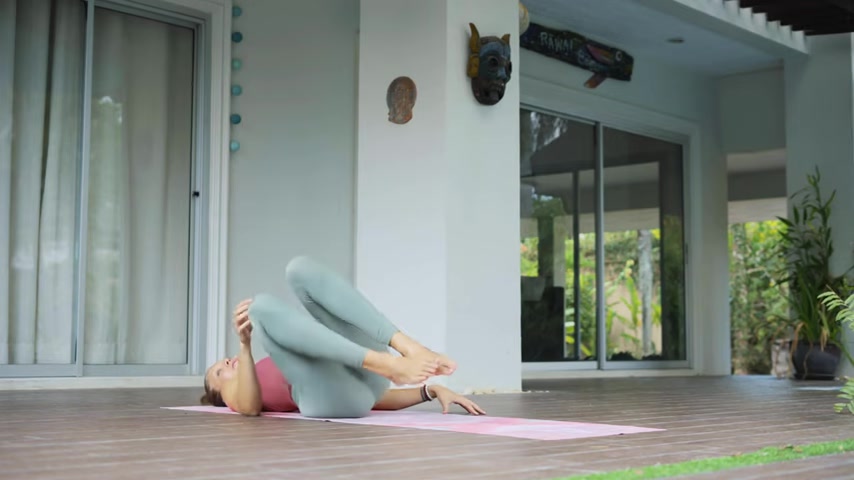
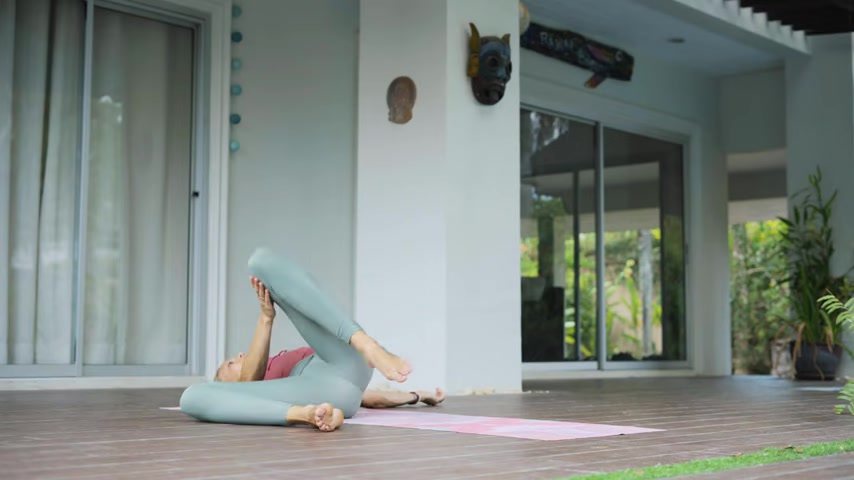
So drop right into the post , begin to walk your hands back towards your hips , keep the feet where they're at and then you're just going to lift the hips and send them more forward , make your way onto your back for happy baby .
So for this , you could either reach inside the knees and then grab onto the outsides of the feet .
But for some of you , maybe that's not accessible .
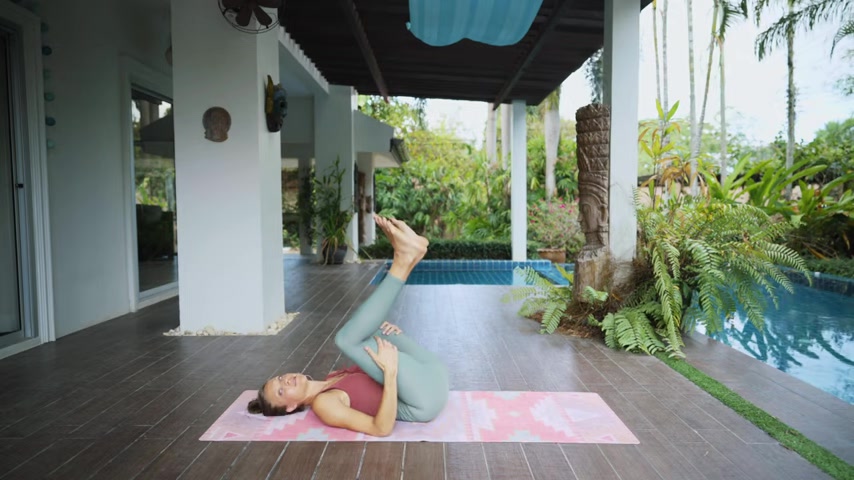
So instead you'll just hold on to the backs of both hamstrings and then gently rock left and right .
Massage out the spine , no beauty .
And the gift of having youtube .
And these online videos is that we're able to share these classes with so many people and really connect with such a beautiful community of humans .
But the downside of these video classes is that we're not there in the room with you .
We're not assisting you , we're not cuing you through particular things in your own body .

So that's why it's even more important that you really listen to your own body and you only do the poses that feel good for you .
If you ever feel sensations of pain or anything that feels uncomfortable or just not right , then please stop , change the pose , modify it .
We have lots of classes here on our channel .
So you have lots of opportunities to learn hundreds of different poses and make a sequence and a practice that feels best in your body , hug the knees into the chest .
Give yourself a little squeeze .
Be so proud of yourself for showing up today for rolling out your map , for clicking on the video for committing to investing in yourself .
We're so proud of you .

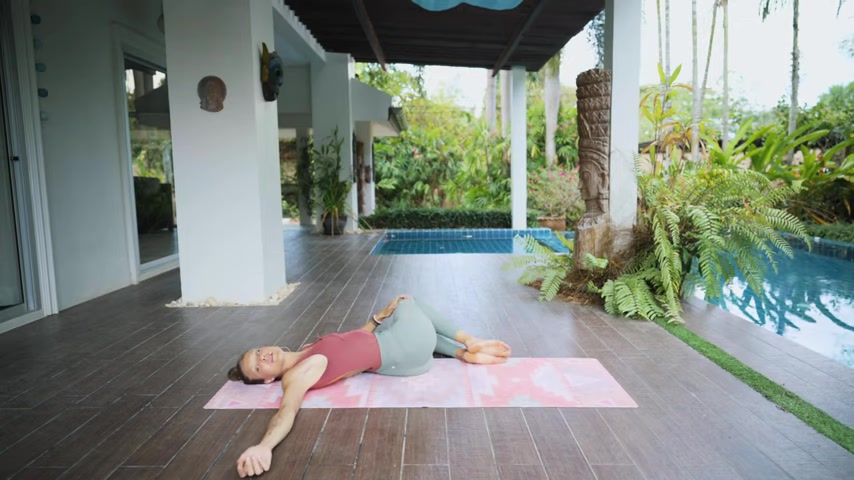
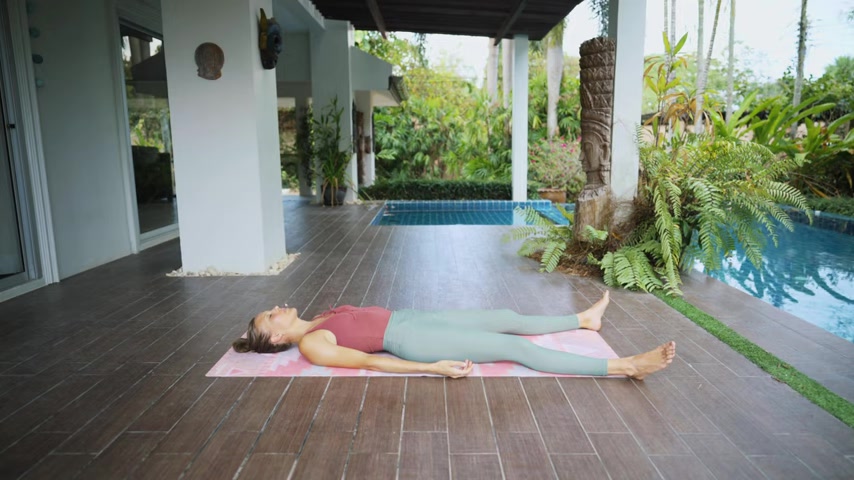
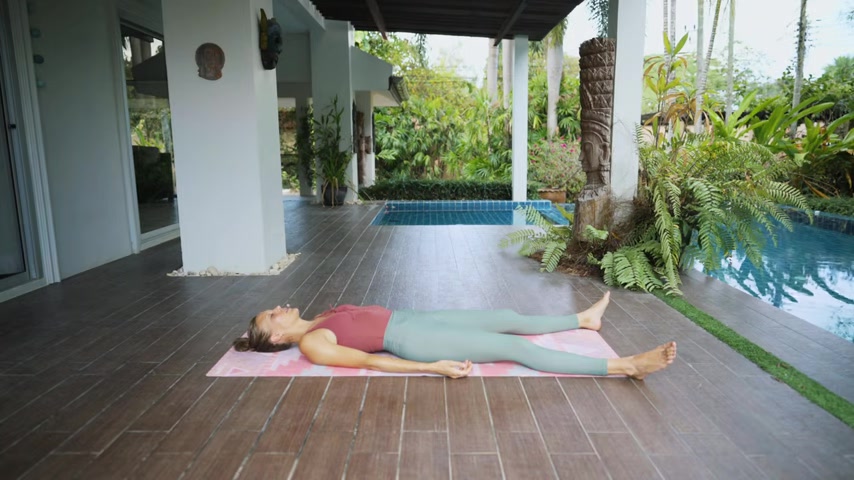
Release the legs , the feet come towards the corners of your mat or corpse pose .
So the palms face up towards the sky , close the eyes and allow yourself to relax .
You've moved your body and many different directions and poses and transitions .
We always close down class by taking because this is really the pose where your body has a chance to sort of run inventory of all the changes that have happened in your body .
Let the body work its magic , no need to control or judge anything that's going on .
Just let it be , it knows what to do to heal .
If you just give it space and a little bit of love , I invite you to stay here in Shiva for a couple more minutes so you can pause the video or let it run .
But I'll be ending class here .
Thank you so much for joining me on the mat today , for trying out yoga , for trying out this channel .
You should already be so proud of yourself for trying something new for taking the time to take care of yourself in this day and age .
It's always so difficult to do .
But the more love you can give yourself the healthier and happier you become , the more love you can pour onto others .
So keep up the good work .
If you enjoyed this video , please subscribe to our channel .
Share the video with friends and keep those good vibes high .
See you soon with love and gratitude and I must stay .
Are you looking for a way to reach a wider audience and get more views on your videos?
Our innovative video to text transcribing service can help you do just that.
We provide accurate transcriptions of your videos along with visual content that will help you attract new viewers and keep them engaged. Plus, our data analytics and ad campaign tools can help you monetize your content and maximize your revenue.
Let's partner up and take your video content to the next level!
Contact us today to learn more.