https://www.youtube.com/watch?v=xFK1WCfoHmo
How To Make Cake Pops _ EASY FOOL-PROOF RECIPE‼️
It's your girl in the building and I'm here to welcome you to my youtube channel .
Hey guys , welcome back to my channel in today's video .
I am sharing with you a no fail recipe that you're gonna love .
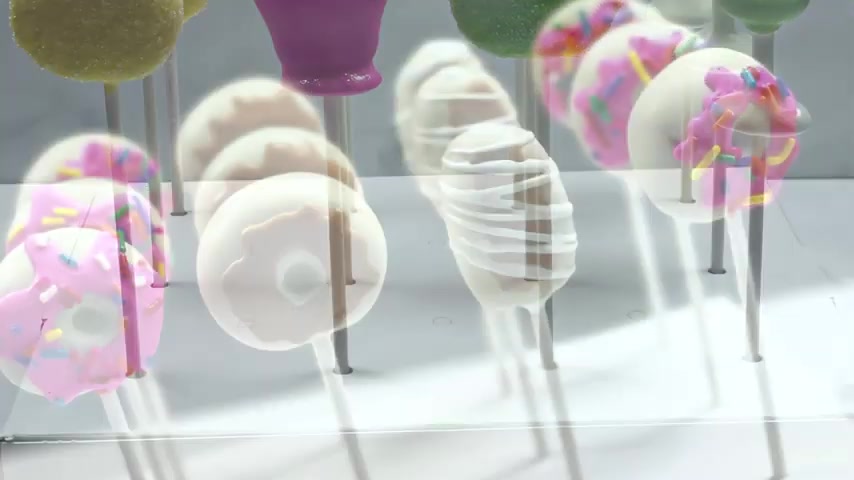
As you see , my beautiful cake pops here , you're gonna have a chance to learn how to make a easy cake pop recipe .
So let's get into the video starting off with a stand mixer using a paddle attachment .
You wanna add in three large eggs , one cup of sugar mix until it's Well incorporated .
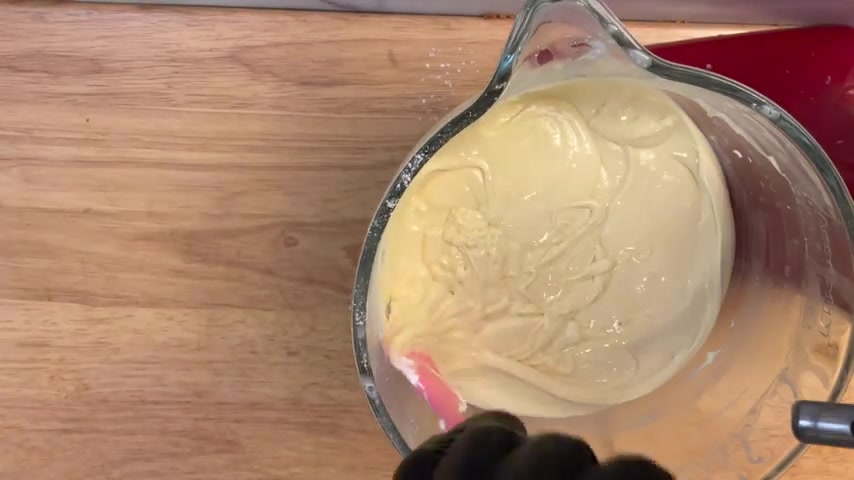
Then you wanna add in one cup of flour , that's all purpose flour and then mix it until it comes out thick like this .
Take your spatula and make sure you scrape your bowl to make sure there's no flour sitting at the bottom of your bowl .
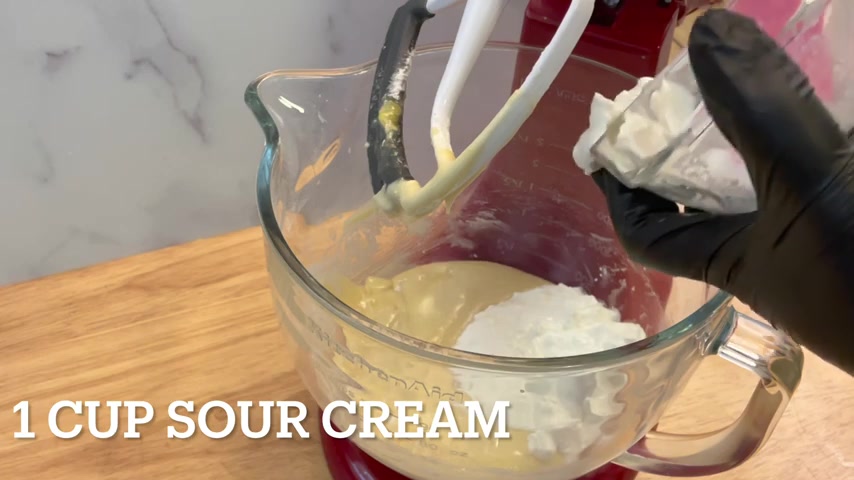
Then add in one cup of sour cream .
You wanna mix it until it's well incorporated , scrape your bow .
Now you wanna add in your box mix and you're gonna add in the full box mix on low and begin to incorporate the water .
You want to gradually add in your water a little bit at a time on low until all the water is completely gone .
You're gonna mix that for about two minutes .
Now it's time to add in your jello mix , add in the full package and then add in two teaspoons of your flavoring and mix it until it's well incorporated .
After all the ingredients have been incorporated , you wanna mix this for about two minutes once it's done , scrape your bowl to make sure there's no ingredients sitting at the bottom of your bowl .
Using a nine by 13 cake pan .
You wanna spray and line it with parchment paper , bake your cake at 325 degrees for 50 to 65 minutes depending on your oven .
Other cake mixes that can be used with this recipe such as lemon strawberry chocolate vanilla and you can compare whatever jello pudding of your choice .
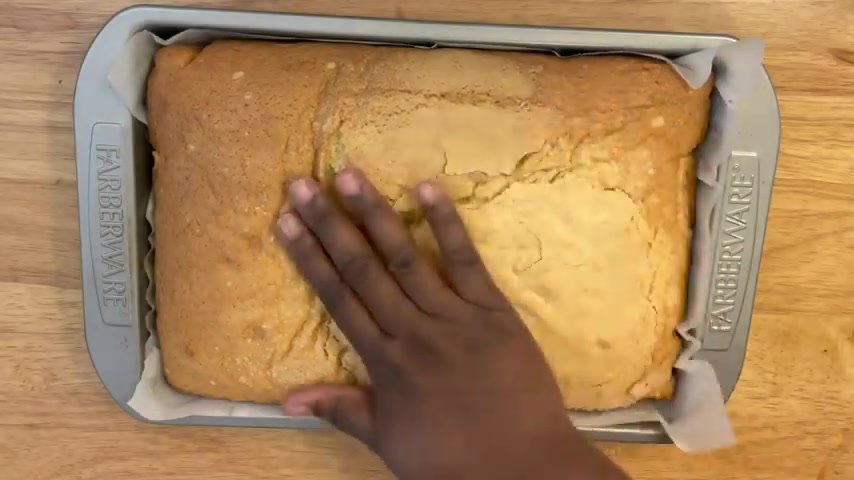
After your cake is done , you wanna remove it and cover it as soon as it come out the oven for 30 minutes .
This process , you're going to sweat out your cake after that 30 minutes is up , remove the fall .
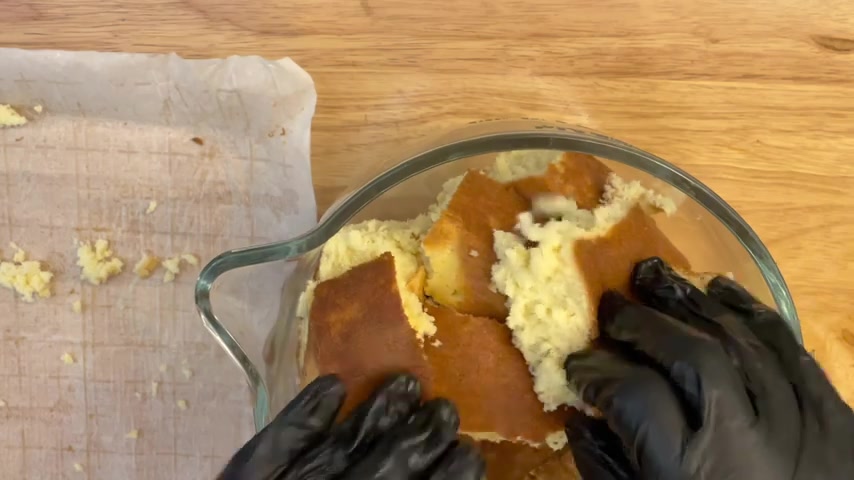
Now remove your cake from your pan and begin to cut the entire cake in small to medium squares .
It is important to know .
Sweating out your cake for this process is very important .
So do not skip this step .
Now add your entire cake to your mixing bowl .
Mhm mhm .
Now using your paddle attachment , you want to mix your cake until it all comes together and break down into a dough or cookie dough like texture , no frosting or no icing is needed for this process .
Another important tip to not do not over bake your cake .
If you do over bake your cake and you get to this process and you begin to mix your cake , it will not come together in the texture that you're going to see here .
Your cake will come out with specs and the cake will not come together together completely .
So as you see here , the cake is coming together , it's smooth .
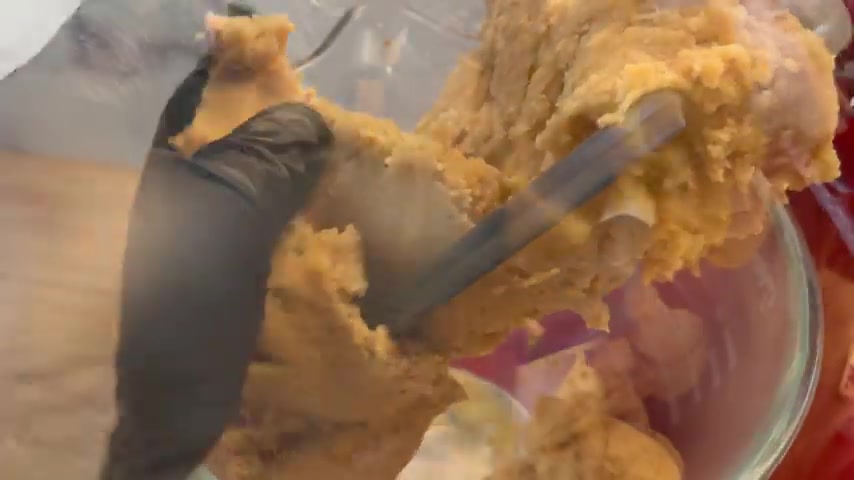
There's no specs and this is the texture that you're looking for to create your cake pops .
If you ever mix it while that cake is over baked , it would not look like this .
Now , this is the texture you should have once your cake has broke down .
As you see , it's nice and smooth .
It's together like y'all .
I do not like cake pops .
I love to decorate them , but that's for someone else , but I'm here to teach y'all how to make a no fail recipe .
So you know , here you go .
All right .
So I'm rolling up the cake dough .
I'm just showing you how easy it is to roll up this dough doing it by hand .
And as you see it comes together so well and I am gonna go more in detail on how to create your cake balls .
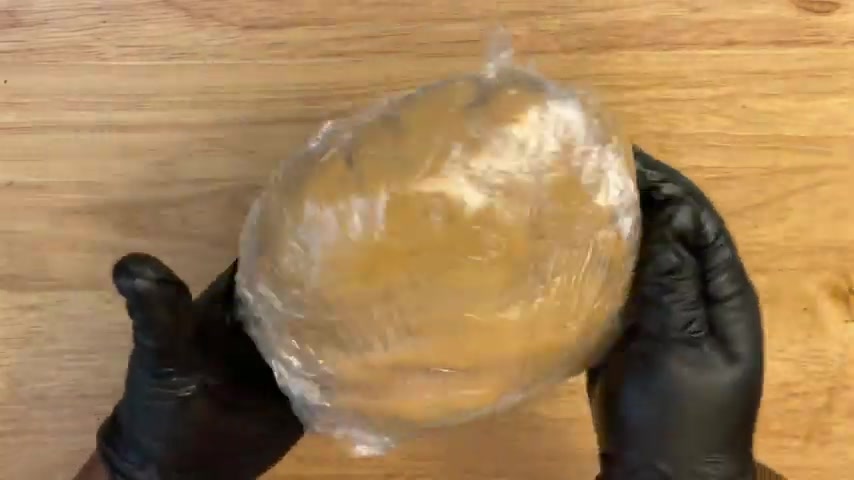
So now I am getting my saran wrap and I am going to store it and you wanna wrap it up really good and store it into a Ziploc bag .
And you want this to sit onto the counter for 6 to 8 hours if you leave it out overnight .
No worries .
But at least let it sit out on the counter for 6 to 8 hours .
Once that time is up , you want to remove it , you can cut it down , cut it in four if you like .
However you choose to do it , depending on how many cake pops you're going to use .
You have two options to store your cake pop dough , store it in the refrigerator for up to a week or you can store it in the freezer for up to a month .
Just make sure that the naked cake pops are stored in an airtight container or a Ziploc bag to lock in the freshness .
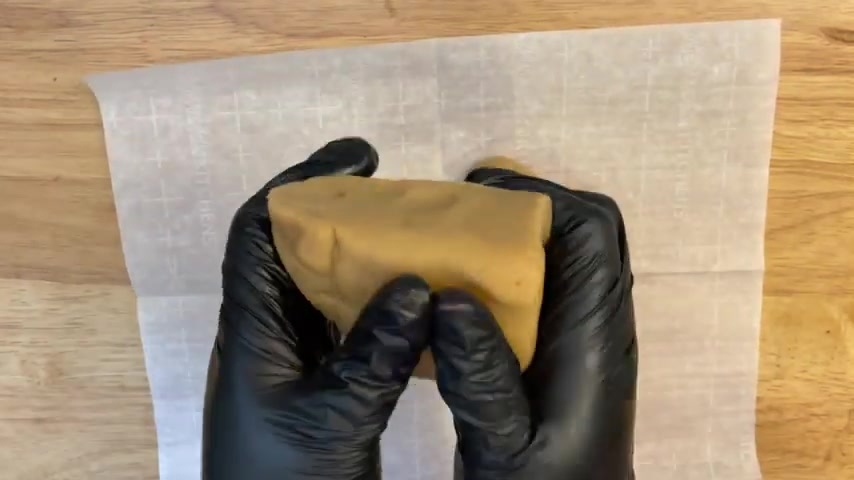
Now , once your cake pop dough has set out for 6 to 8 hours , this is the consistency or the texture .
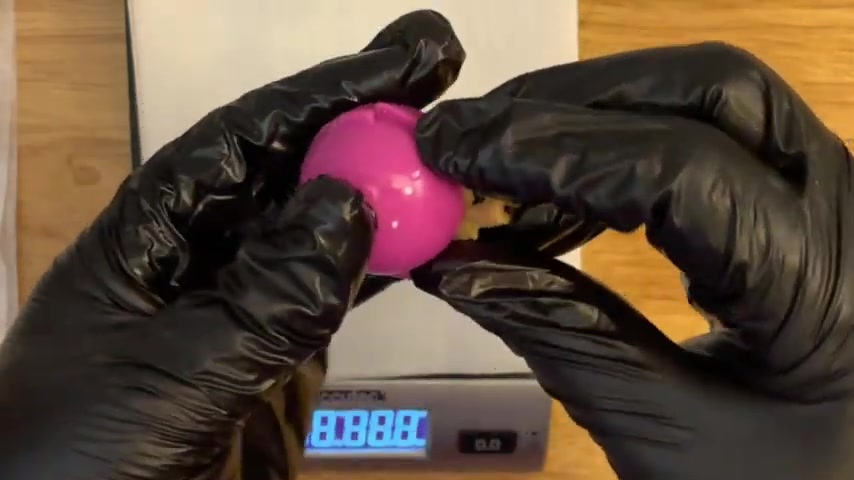
Your cake pop should be using a kitchen scale .
You want to zero it out , but zero it out with your parchment paper on top and you want to measure out your cake pop dough in ounces .
Now , for my standard size , I measure out in 10 ounces .
If you want them a little bit smaller , then stay in between 8 to 9 ounces .
Now taking my cake pop dough , I smooth it out and I begin to add the dough into the middle of my hand cuffing my hand , I call a cuff and roll .
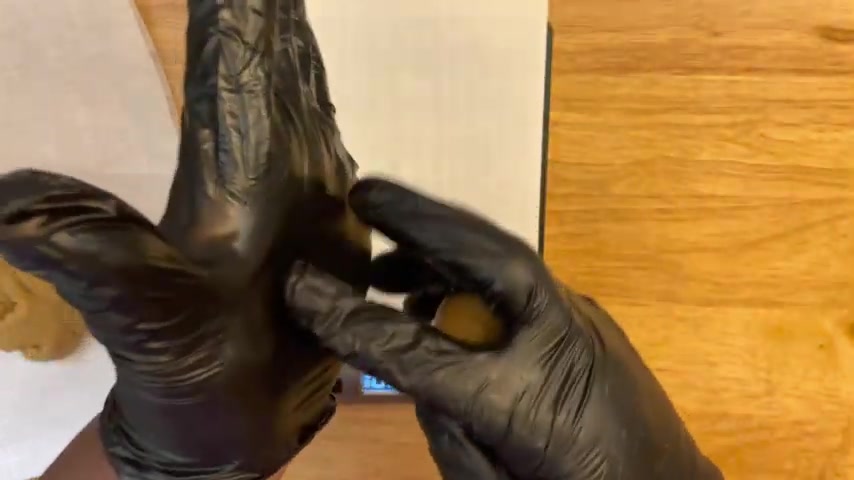
But you want to begin to move in a circular motion and just cuff right in the center of the palm of your hand and roll , rotate your hands in a circular motion , not pressing so hard , but so lightly and just let that cake pop form and begin to develop into the ball shape is going to come out to be .
Now , you're gonna have to like shape it up just a little bit with some um but doing this process helps if it doesn't work for you , then you can use a cake pop mold .
All right , you can me roll it out and then put it into the bowl ball and let it come out like this or just take some cake pop dough , smooth it out to get rid of some of those cracks and then apply it to your mold and just press and squeeze down as tight as you can and then take off that extra dough from the side and keep squeezing until you barely get any cake pop dough to come off off the side and then you can just open it up , removing the cake pop .
You're gonna have a little bit left on the side .
You can gently rub that off or tap it in with your hand , but keeping the ball shaped .
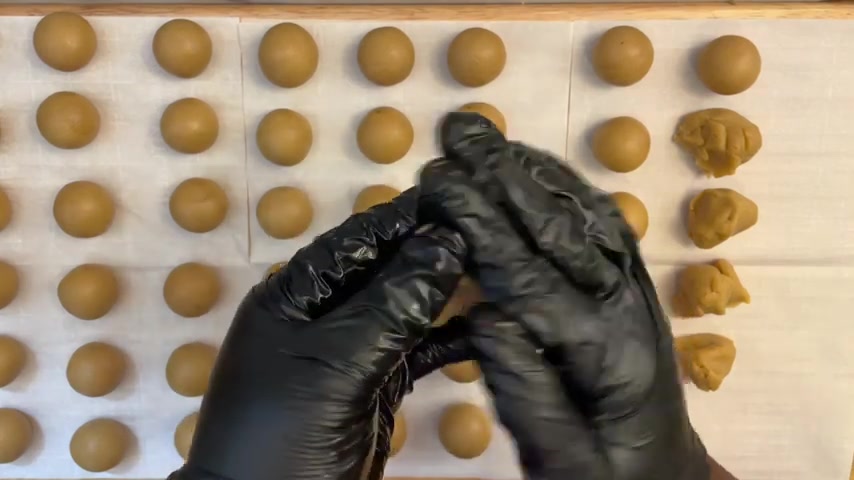
Now , I've been asked , how do I get my cake pops ?
To all look the same size .
Well , this is the process that I do and that is measuring them and lining them up as you see here .
Now , going through the process of creating the cake ball , I prefer to create them with my hand .
Now you want to smooth out your cake pop dough , removing those cracks , placing that dough in the center of your hand and just roll both of your hands in a cuffing or circular motion but gently and you know , you can move a little fast once you get used to this , but you want to gently do this but not force your hands together , like pressing them together .
So you wanna let that ball form its shape into your hand and just go into that circular motion and let that ball shape up and it's going to come out so perfectly round .
Now it do take some practice .
Trust me , it took me some practice .
But this is my way of achieving my cake pops to come out the same size .
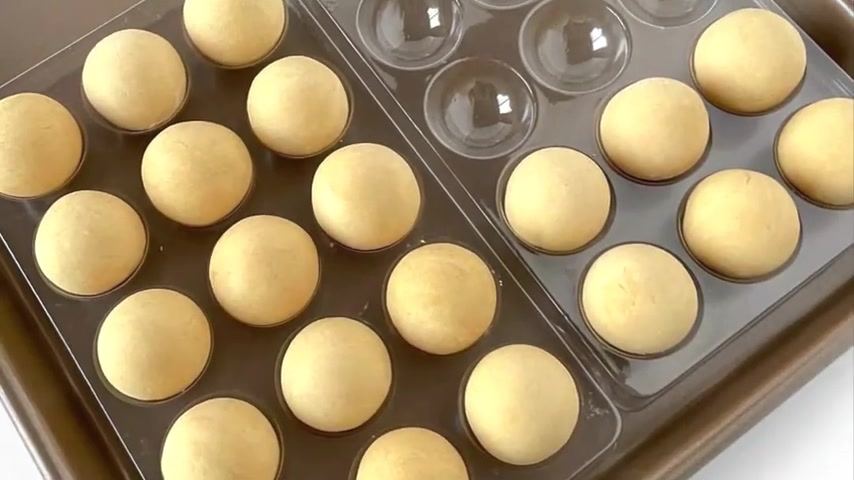
My little K pop has these wonderful trays that is so convenient to hold your cake pops .
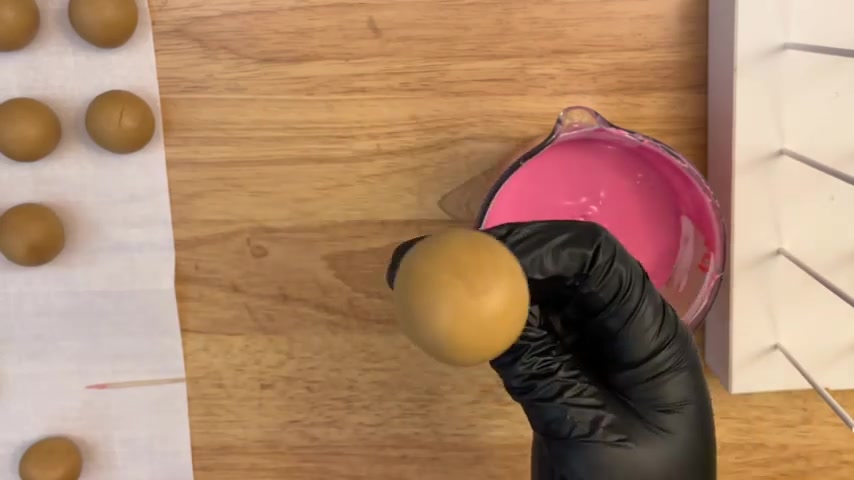
I will leave the link in the description box below , but let's get into the chocolate and the candy coating and how important it is to make sure that it is smooth using chocolate or candy coating you want to melt in 32nd intervals .
I started off with two cups of almond bar and I added in a tablespoon of paramount crystals to help with the thinning .
You want your consistency to be runny smooth .
Here , I'm using the brand coated in color pink lily to achieve my color .
This is an oil based chocolate color and I will leave the link in the description box below .
Having a cake pop stand is important to have when it comes to dipping your cake pops .
Here .
I'm using this as my stand .
Hey guys , welcome back to my channel for those of you here .
I'm Lianna and in today's video , it's I'm a little bit late for this one , but I'm super excited .
It's a comic cake .
It's a hot , hot trend .
Um Well , it's been a hot trend for a few months now .
I'm a little bit late in the game , but I wanted my own twist on it also .
So I'm hopping on the train and I'm doing it too .
So if you guys wanna see how I made this , well , keep on watching .
They will dry out .
All right , you want to dip the tip of one of the lollipop sticks into the melted coating , then push it into a cake ball .
Going about two thirds of the way into the ball .
Wipe any excess candy off the bottom of your cake ball with a toothpick or your finger .
If you get any imprints or dents in your cake bar , just round it back off with your fingers .
As you see me do here place your cake pops onto your tray for them to dry and now you're ready to dip .
Now you want to dip in a full cup of chocolate or candy coating , dip the cake ball straight into the coating , making sure the entire ball is covered , gently , tap the stick on the side of the cup or tap your hand or the stick , turning the stick with your fingers , rotating it .
So the coating is even and the excess falls back into the cup .

And then I went ahead and then did the whole like up and down kind of zigzag effect at the top with a light pink to create that pink .
I didn't want like a baby pink , I didn't want a dark pink .
So I just um mix a little bit of gel pink food color , just a tiny , little bit with a little bit of brown .
And then you get that kind of like a peachy um rose old rose um color .
So yeah , and then you just gently with your scraper go around .
So everything is smooth and then same thing for the bottom .
I did all those weekly lines and then I use teal color for the bottom and then smooth everything out a little trick that I had for the base because it is kind of like a little bit difficult to do .
So you smooth out the best that you can pop it in the freezer .
Are you looking for a way to reach a wider audience and get more views on your videos?
Our innovative video to text transcribing service can help you do just that.
We provide accurate transcriptions of your videos along with visual content that will help you attract new viewers and keep them engaged. Plus, our data analytics and ad campaign tools can help you monetize your content and maximize your revenue.
Let's partner up and take your video content to the next level!
Contact us today to learn more.