https://www.youtube.com/watch?v=AvIyjumca1U
Draw a Face using Light and Shade
Hello .
My name is Paul Priestley and I go into schools and teach Children how to draw paint .
This is my website .
Welcome to part two of my video on teaching Children how to draw the human face .
In this video , I shall show Children how to use light and shade to create a three dimensional human face .
Teachers , these exercises are easy to demonstrate to Children and are suitable for older primary school Children as well as secondary school students .
OK , let's make a start before you start drawing with the Children , Try and get one child sat down and light them very strongly from one side so that we can see the light side of the face and the dark side of the face point out to them that the face is light one side and it gradually gets darker as it goes the other side , because the first face is curved .
Point out also that these areas here the eye area , is curved , so therefore it's light here .
But it's slightly darker in here because the nose sticks out .
We get strong , shadow this side , and then it gets light to the other side .
The cheek stands out , and it is slightly lighter than surrounding areas .
Also point out the fact that underneath the chin is a shadow , and that shadow makes the chin stand out .
So we want to create an edge here , not an outline .
Strong shadow against the light area makes the chin stand out .
And finally make sure that you try to encourage the Children to do work from the dark area to the light area .
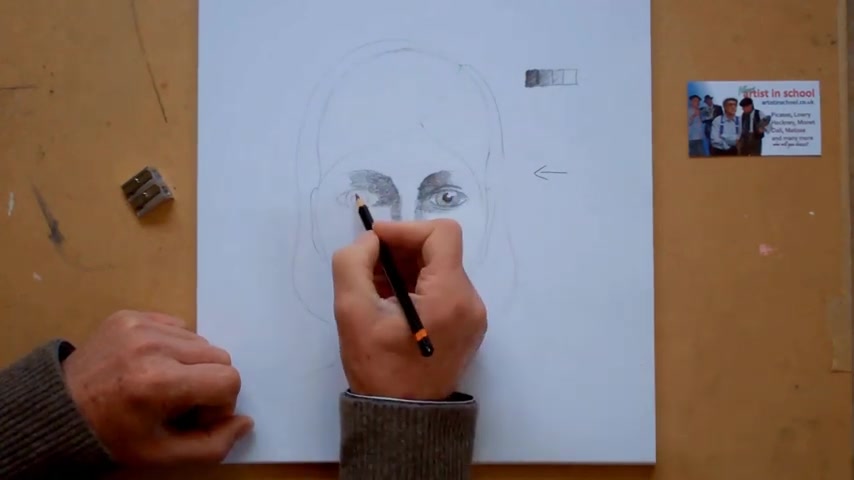
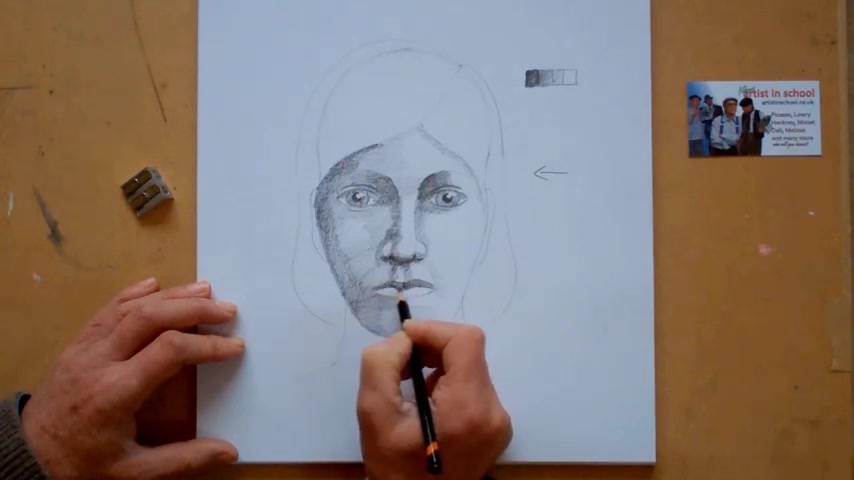
And , as I say to remove outlines this time you can see I have sketched out very , very loose , uh , simply the girl's face .
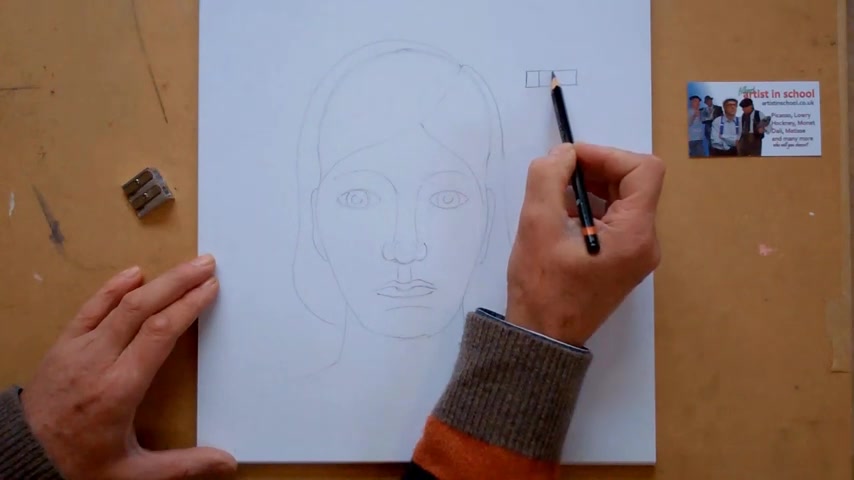
And we're going to use this girl's face now to add the light and shade .
Now when you sketch out the face initially , I would do it very , very lightly in pencil .
You can probably just about see this .
I would suggest , as far as the Children are concerned that if you get them to draw a little rectangle like this and divided up into four sections in the first section , if you get the Children to press on really , really hard with their pencil and produce a dark tone , press on less so for the next one to produce the mid tone and press on very likely in the third one to produce the light tone .
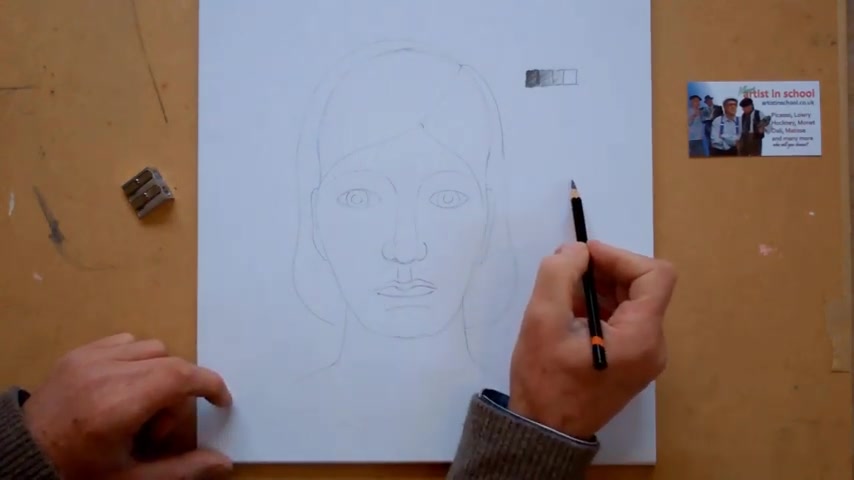
And the fourth one can be highlight .
Now we're going to apply those just those three simple tones to this face .
Now , as we saw previously , we're going to imagine the light is coming in one direction , so it's coming from the right hand side and hitting the face .
So remember , the face is round .
The nose stands out prominently , so we'll cast a shadow this side .
This area is round as well , so we're going to start by drawing in the dark tone .
And I'm going to use my pencil holding it in this way so I can use the side of the pencil rather than the point of the pencil to do the shading .
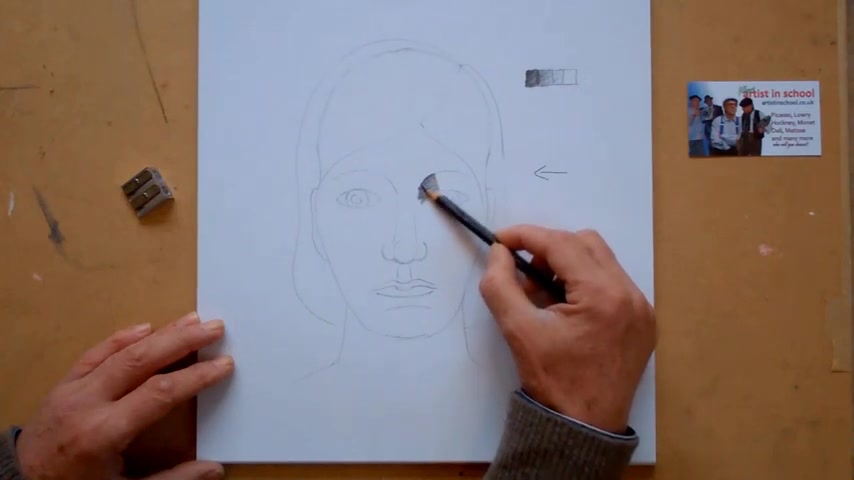
So I'm going to start here , and I'm going to begin to start shading here in quite a dark tone , and I'm going to shade down around here and go into my light tone and gradually fade away almost to nothing underneath there .
And similarly , as I come down the side of my , um , the nose here , I'm going to shade very , very lightly , just down the side of the nose a little bit around there as well .
Ok , so we just soften that down a little bit .
And as I come around here , I'm just going to use the mid tone just to soften that a little bit there like that , OK , and just soften it around there .
You can keep working on there just to soften that down a little bit .
There we go .
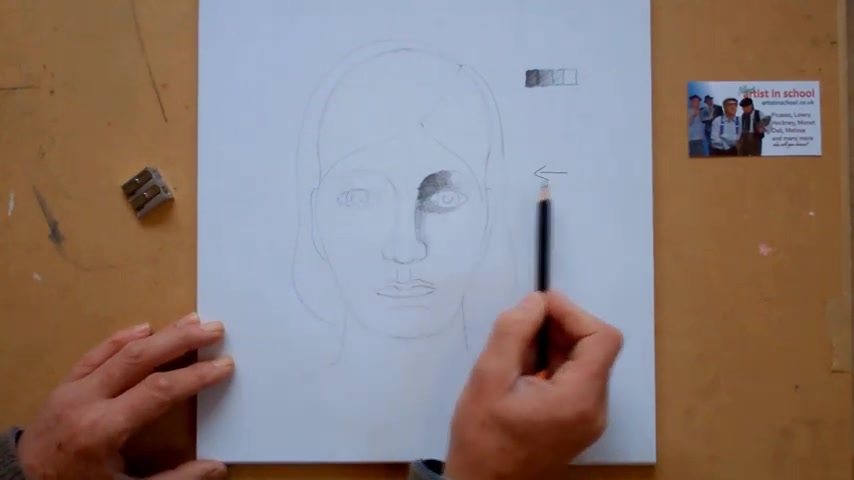
OK , now we're gonna do the same the other side , and then I'm gonna come back to the eyes , this side , because the lights from this side is going to be very , very dark .
So I am gonna come down this here , and I'm going to create a sharper edge .
And I'm going to press on quite hard in this area here , OK , very , very hard .
You're just going round the eye there .
We'll come back to the eye in a moment .
I'm going to come down the side of the face and I'm going to do shading down the line here , OK ?
Down the line here .
And I'm going to shade around the circle that we dream at the bottom of the nose , you see , and just along the bottom of the nose now you'll notice I haven't shaded this bit here .
Don't shade that bit .
Just leave it .
I should put the shading around there like that .
Take the shading just a little bit around that .
No point there .
Ok , so this is quite dark shading .
We've just left that little piece of the nose showing .
OK , well , just do a little bit more shading now on this side .
Just make it slightly lighter in this area here .
OK , there we go .
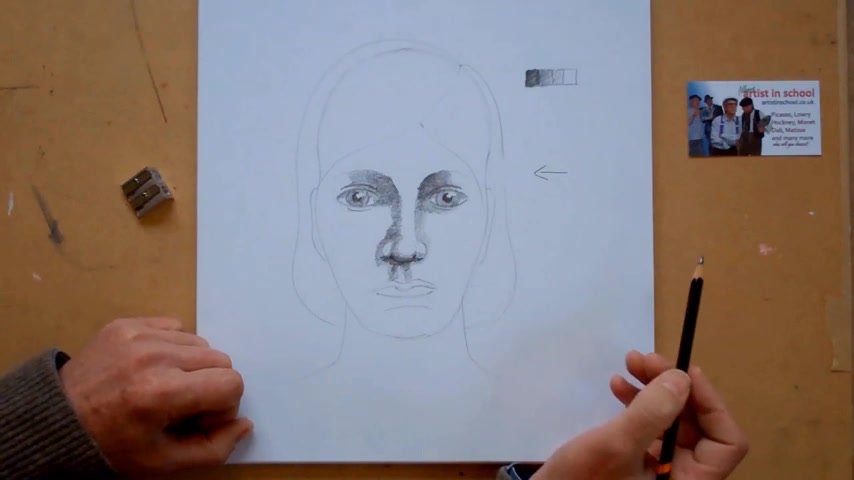
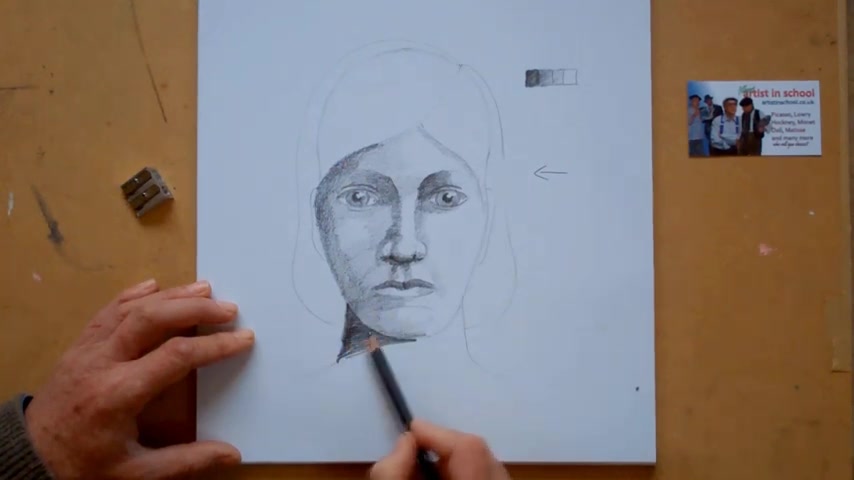
So we're beginning to establish the front of the face now just come down underneath the nose .
I'll just do a little bit of shading just down here and just down that little section there .
OK , so we've just got those little bits and a little bit underneath the nose .
Now , I'm just going to strengthen this area underneath the nose Now with a point of my brush pencil , You see , just her underneath .
Here .
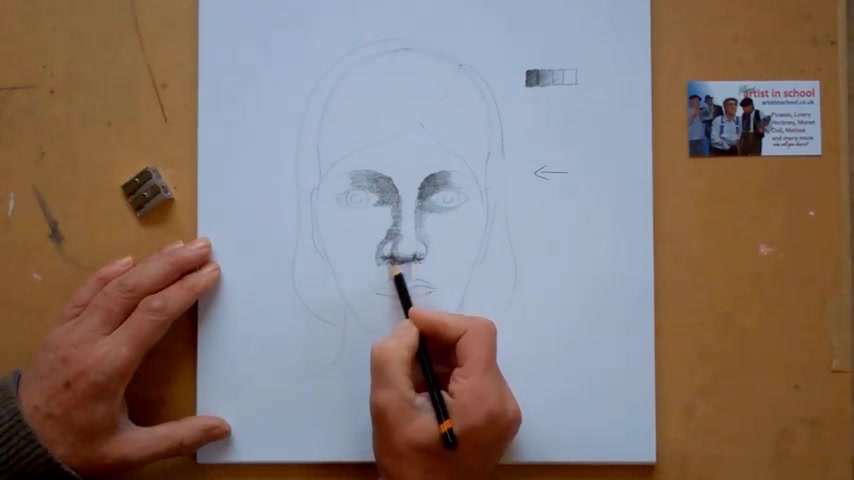
Just strengthen that a little bit around here just so we can see underneath the nose .
There we go .
Having a little bit of shame .
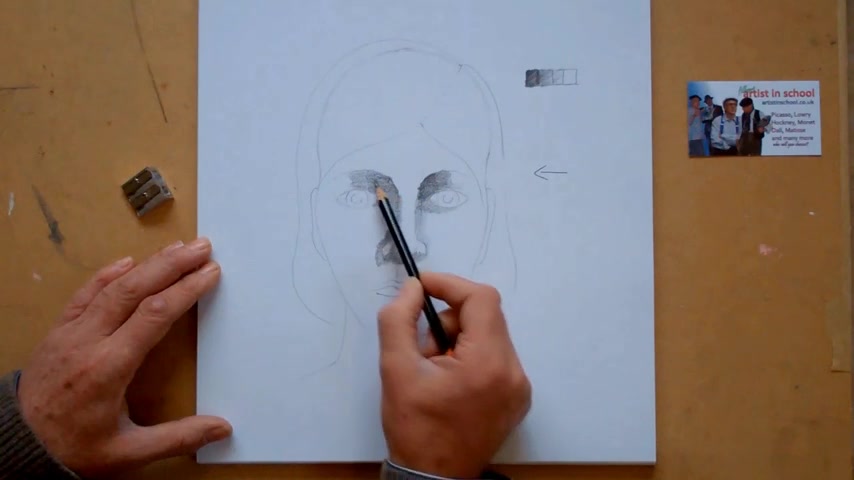
Now I'm going to go back to the eyes .
I'm going to just suggest the line across the top of the eyes just strength that a little bit .
I'm just going to strengthen the outline around these circles here , and I'm going to shade in the centre of the eye .
The pupil .
But I'm not gonna shade the whole section .
Now I'm gonna leave a little bit showing like that because the highlight , the bit I don't shade in makes that eye look much better .
Much more interesting .
Much more alive .
I'll just shade in around the eyelid .
The iris .
Sorry itself .
And I'm going to leave that little bit light , as you can see there .
OK , I'm going to do a little line underneath here to strengthen that up a little bit , A little bit of line there and a less second line just along the top there , like that .
OK , I'm also going to just put a little bit of shading just on the top section there , and I'll leave it at that for the moment .
Do the same the other side .
So take the pupil .
Just shading the pupil around here , uh , shading around the iris .
Just we did with the other one , making sure we leave that little section .
Just strengthen the outline of the eye there .
That's it .
A little strength of the edges .
Little shadow just on the top of the I like that in the centre there .
Strengthen the line for a second line just above and one just below .
And we're beginning to get the shape of our face .
OK , now the light is coming in this direction , so this side of the face is going to be quite dark .
So what I'm going to do is to press on quite hard and I'm going to create an edge .
So I want to get rid of the outline and to create an edge .
So I'm going to come down here and I come down all the way down the side of the face here , OK ?
And I'm going to shade just up to the eye there a little bit of shading just underneath the eye there , and I keep shading with my dark tone all the way down here .
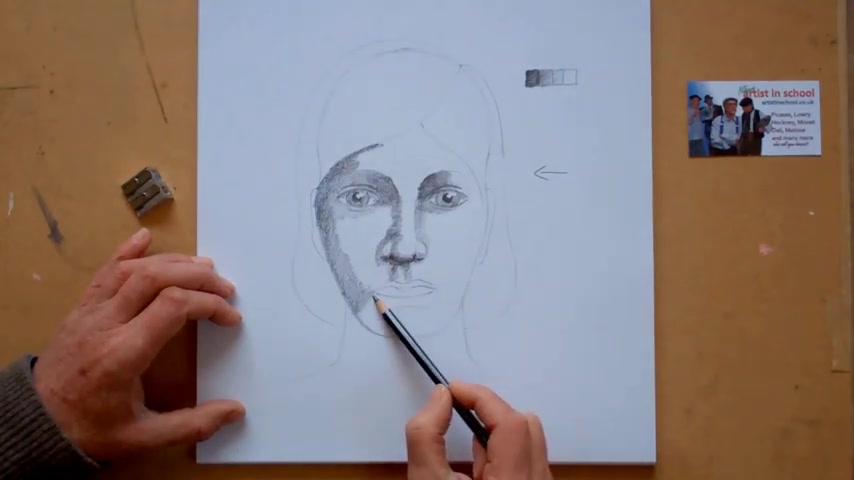
OK , I'm gonna go underneath the mouth , you notice underneath the mouth here to about halfway across Nice , strong , strong shading down here and just a little bit of shading underneath the chin in that sort of format .
Now , as the lights coming across and the cheekbone here is gonna stand out .
That area is going to be light .
So what I'm going to do is now I'm going to use my lighter tone and I'm going to leave a little bit of light just on this area here just to give me Here we go .
Maybe you can do that a little bit darker over there as well .
A little bit of lighter tone on there Also so beginning to get that side of the face .
Now we do the same up here .
Lighter tone now Just very , very light .
Just along here , OK ?
And just a touch of lighter tone just along this edge just here , OK , A little bit of dark tone just around the side of the face there where the hair is going to cast a shadow and just a touch of shadow just along here and just on the to the mouth .
Now , as far as the mouth is concerned .
So it was a good idea to shade the top lip , but not the bottom lip top lip , but not the bottom lip .
So I'm going to shade the top lip .
I'm gonna shade it quite dark because it's gonna be standing out when we'll be in shadow .
So shade in this area here and there we go .
So we're just beginning to suggest the shading of the top of the mouth .
OK , bottom lip .
I'm just going to shade very gently just along the two edges .
But leave the rest of it light so the bottom , as you can see , stands out .
Now , as far as the chin is concerned , one interesting thing to remember is that you should always if you want the chin to stand out , it will stand out through contrast .
So if I make this area around the chin very dark So the shading here is very strong .
I don't want an outline here .
I just want to create an edge .
You see ?
You see how I've created that very , very strong shadow down there .
Very strong shadow down here .
Very , very strong shadow .
And you can see now how it makes the side of my the chin stand out and would probably take that down there , perhaps as well , a little bit of maybe a little touch over there .
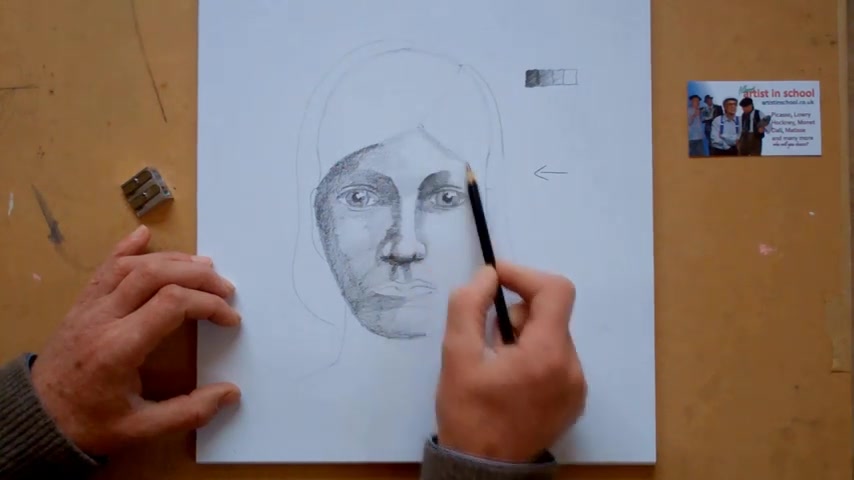
Ok , now , if we will go to sketching the hair if you imagine the hairs coming around here .
We're not actually going to see the ears this time .
But what we're going to do is create another edge here which will make the hair stand out from the cheek .
So I'm going to come down the side here very , very strong , you see , create that very strong tone down here .
There we go and you can see the hair .
So I'm just going to do the dark tones first .
So the dark tone , perhaps , would come right up here , OK ?
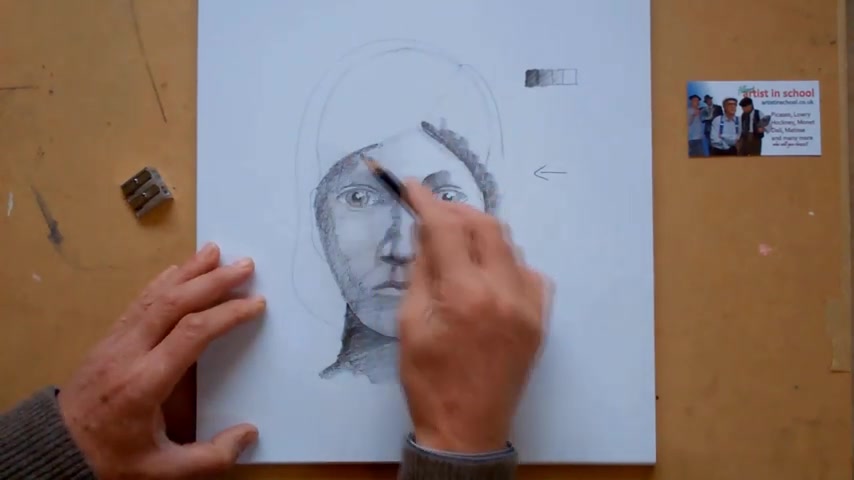
And right here you can see now how this is beginning to sh frame the face similarly on this side again , the darker shadow will come right down here very , very strongly down this side here .
So it's a very , very sharp edge .
Shade the dark tone up to edge along here , and you can see how the face is beginning to stand out .
As soon as we're beginning to create this dark edge here , Dark edge there it throws the face forward .
So we've got the hair .
Now , if you imagine the hair , we're going to draw it , shade it in just using three tones to start with the lights Come in this direction , so it's gonna be a lighter here .
It's going to be sort of mid tone around here .
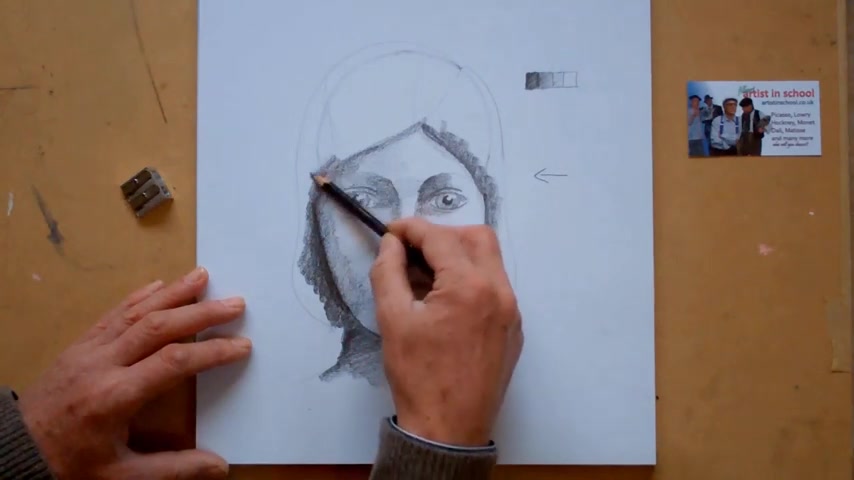
It's going to be darker on this side , so I'm just going to shade this in .
Let me just sharpen my pencil .
First of all , I'm going to shade this area all the way around here .
We just do it in three tones .
There we are , OK , as the hair comes across here , then the tones get lighter , lighter and lighter , and here it's very , very light .
This section , because it's standing upright slightly , will be to create a little dark tone there .
But then this area here will be quite light .
OK , so we can put some lighter tone down here and leave some highlight in this sort of direction .

Now , if you want to , then add a few few wisps , a few lines to to this .
Remember that with this , it's all going to come from this part in .
So we're just going to take a few lines up around , and we might take a few lines down and so on .
You could spend more time working on the lines of the hair .
If you wish to do So I just put a few lines in here just to see so you can see what I'm I'm suggesting , but you could probably work on that more so yourself .
So we should now completed this .
This is something older Children can do and working quite nicely .
It's a good idea if you have the model in front of you , which is lit from one side .
So Children see what it is that they're doing .

Thank you .
I hope you've enjoyed the video .
Are you looking for a way to reach a wider audience and get more views on your videos?
Our innovative video to text transcribing service can help you do just that.
We provide accurate transcriptions of your videos along with visual content that will help you attract new viewers and keep them engaged. Plus, our data analytics and ad campaign tools can help you monetize your content and maximize your revenue.
Let's partner up and take your video content to the next level!
Contact us today to learn more.