https://www.youtube.com/watch?v=BAi100vt76g
Charcoal Portrait Drawing Tutorial
So guys , my name is Josh Hernandez .
You guys might know me as Matt charcoal today .
I'm gonna be showing you how to draw a charcoal portrait .
I'll start off with what I'm using .
You can use other materials as well .
Just um make sure that you know the material that you're working with , you can replace certain materials .
It doesn't have to be exactly what I use , but this just works for me and this is what I prefer to use .
So I'm gonna be working on an 18 by 24 Strathmore drawing paper with a drawing board on a easel on a wooden easel so I can work upright .
It's a little bit easier for me personally to work upright than it is to be flat on the surface .
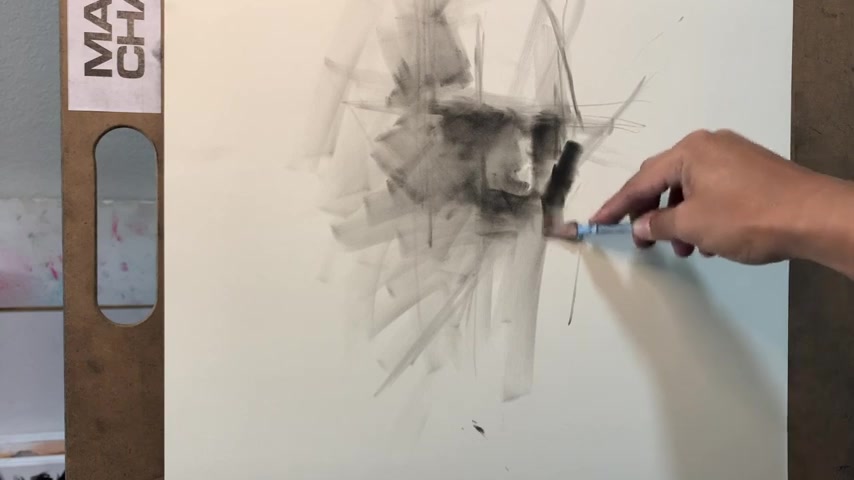
I'm gonna begin the drawing with black pan pastel and this soft tool .
It's an um a palette knife with a foam tip to dip into the panel .
And I'm gonna get most of the basic shapes and values on the page using this tool and this material I'm also going to use this chunk of compressed charcoal by generals .
It's just a really thick piece of soft compressed charcoal get really black , but it's hard to remove .
It's a little less forgiving than willow charcoal for example .
But I don't , I'm not gonna need willow charcoal today .
I'm gonna make sure to be blending with the blending stump .
You can use any size you want .
I like to have the bigger sizes to cover more space , more surface area .
Here , I have this charcoal pencil with soft charcoal , compressed charcoal and on a pencil extender in order to be able to , since I run it down quite a bit , be able to draw with it without it being too small for erasing .

I'm going to use a normal needed eraser for the big areas and it's really useful because you can shape it to whatever shape you need to erase with and they don't leave crumbs .
So they're not gonna be in the way of your drawing .
I'm also going to use this Mono Zero by Tombo .
It's a very small mechanical eraser for details .
It's really good .
Um You can get the way of the page really quickly .
Next thing you'll need is a decent reference .
I like to find black and white photos to draw from that I think have good lighting on them .
So something like some interesting shadows , some strong highlights and an interesting composition as well .
I'm going to start the drawing by marking where I want the top of my drawing to end up and where I want the bottom of my drawing to not go past that way .
I'll be in a good section of the page um with the entirety of the form of what I'm drawing and I'm not gonna worry too much about coming off the page accidentally .
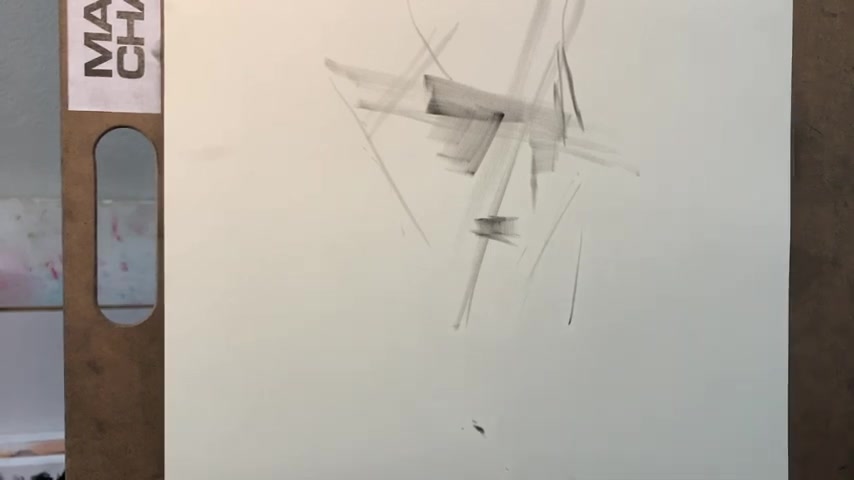
Now it's time for me to start laying out where I'm going to have .
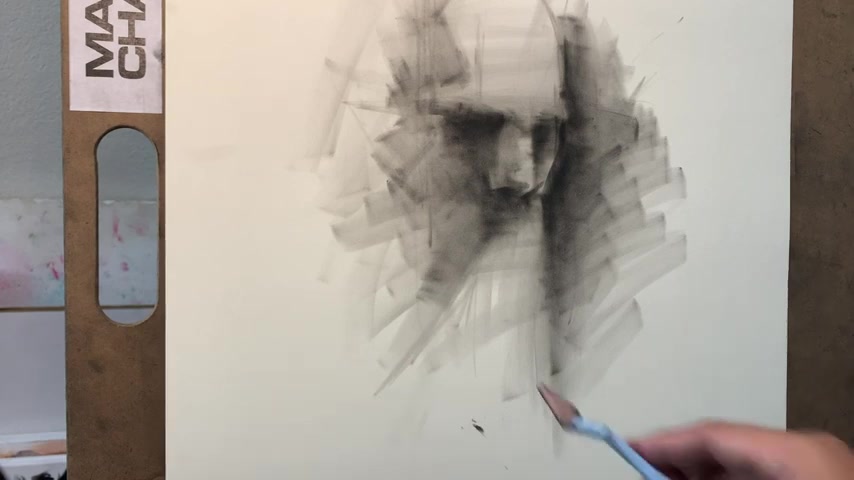
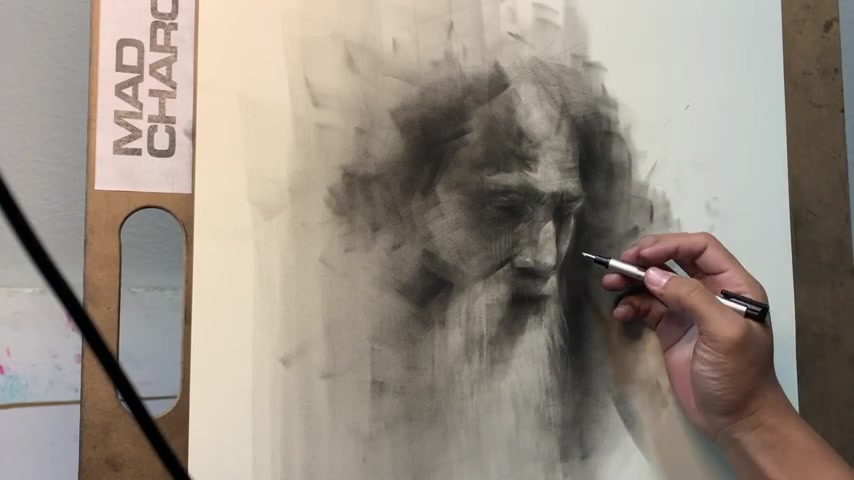
I start off with the eyes , usually kind of like where they'll come across the angle and then I'll come across with the angle of the front of the face , get the edges a little bit , make sure that you're free flowing at this point .
You don't want to get too caught up in details before you have a um a good structure to work on the beginning of the drawing is the most crucial time and the hardest part of the drawing because it decides all of your measurements , it decides all of your proportions and to make sure that you have a solid drawing , no matter how good you render it or how good you make your values .
If it doesn't have a solid foundation , it's gonna lack a lot of prominence when I begin my drawing , especially at the beginning stages , I like to squint at my reference because that removes a lot of the distractions of the details .
And it allows me to see all of the all of the big shapes and the big value sections properly without any distraction of the detail .
For me , this soft tool is very useful with the pan pastel because I don't need to worry about using line to create these sections of value .
I could just push it in kind of like a painting where I use a lot of the surface area of this and to create the shapes and the hard edges .
When I'm measuring proportions on the page , I like to use lines guidelines that I kind of create myself to make sure that everything is where it needs to be in comparison to the rest of the drawing .
This really helps you to not just depend on your own , your eye , but to be able to see a little more than what your eye allows to see when it comes to sizing and when it comes to placement of different objects , this um reference in particular has a nice dark outside background of the face .
And I'm going to use that background to be able to bring out the highlights in the face and the light part of the face .
So I'm going to place some of it , not all of it just some tone on the outside of where the face is going to be to bring out some of those lights .
One thing that I can't stress enough especially to beginner artists and even artists trying to reach the next level is that you need to have a solid foundation of value and structure and including um proportions before you start working on the details .
If a lot of uh what I see the mistakes are at the beginning of um of an artist's career is that they start to tend to work on the details a lot sooner than they should , which tends to make the drawing a lot less accurate .
It is also just as important to work the entire drawing all the way around , not to focus on one part of the drawing too much and leave the rest of the drawing unattended because then you'll develop one part of the drawing and you'll be behind and the rest of the drawing and it's not going to be unified at the end .
But with that in mind , I make sure personally to draw the central part of the face where your eyes are drawn to the most with the most detail leaving the outside parts of the drawing open so that it guides the eye towards the middle , it guides the eye towards the center of the face .
So now that I have a drawing , a drawing at the stage of um a lot of different shadows that are becoming accurate .
I want to lift some of the light back out on the places that I lost the light that I need .
So I'm using the needed eraser to start to lift out sections , large sections of light as a still squint at my reference little by little .
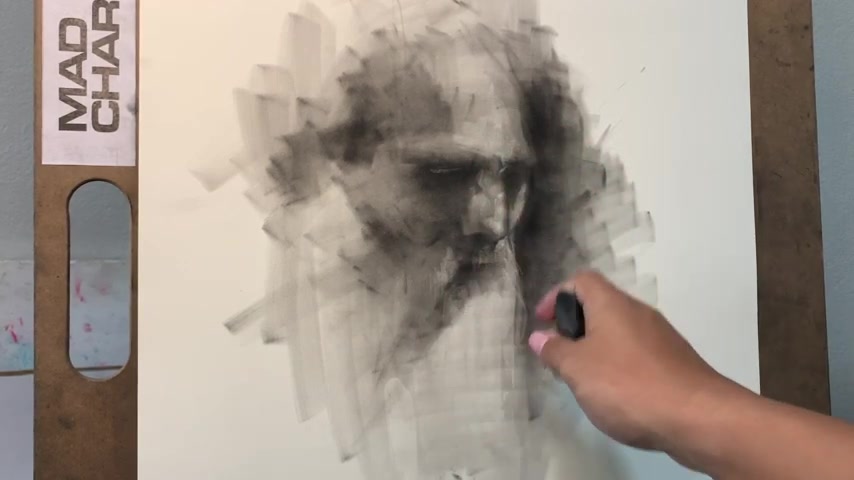
Now , I am blending it all together with a paper towel little by little and bringing those highlights back out to unify the piece after blending the piece out and using the needed eraser to remove some darkness and , and add some highlights .
I'm now coming back in with the same tool I was using earlier and getting some of those shadows that we lost back in there .
So I'm just basically pushing and pulling the piece into darkness and lightness , getting closer and closer to the reference as , as close as I can and trying to add more of three dimensionality .
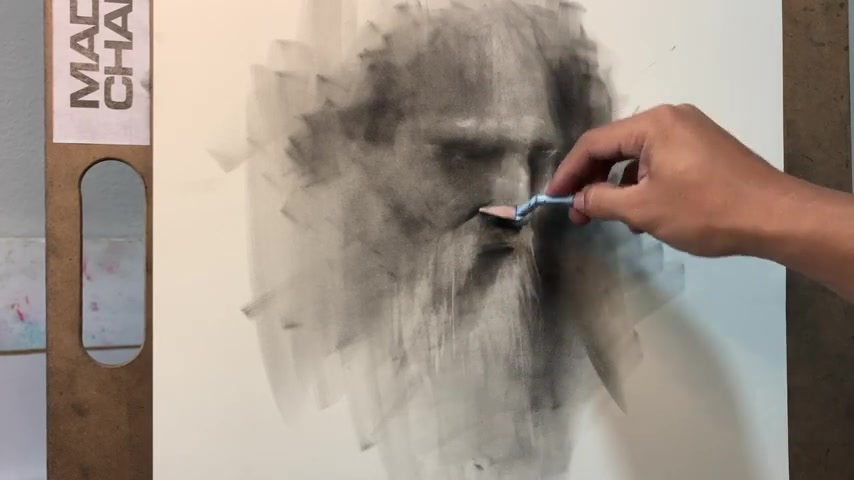
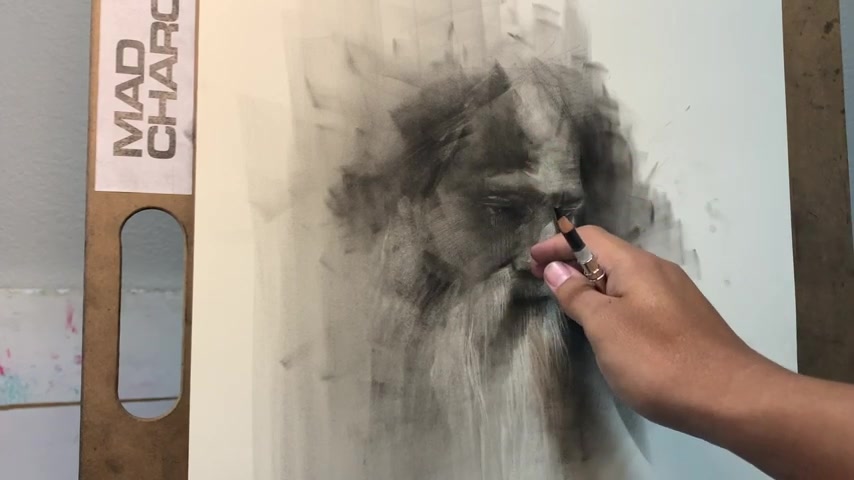
Now with our charcoal pencil , we're gonna add a lot of details and some of the wrinkles and harsher darks , more crisp lines to be able to bring out some more details .
Now that we have a good established value range .
Now that I have more details drawn in with the pencil , I'm gonna do the same thing but with highlights or to remove some tone using the mono zero eraser for smaller areas and stronger highlights .
OK .
Here on top of the nose from this part of the nose here , drawing eyes and working on eyes , especially when they're a shadow .
It's important to not put too much detail into them because if you over detail an eye and you start making the white of the eye , even though it's not very visible and it's completely in shadow , then it's gonna look less realistic than if you were to add only a little bit of detail .
Because when things are in shadow you usually can't see them as good .
So when you leave things in shadow unde and then you start to put more detail and push the form in the light areas , then the form is going to seem more three dimensional and your eye is automatically going to or the viewer's eye is automatically going to fill in those details in the shadow area on its own .
It's one of the cool crazy things that humans can do .
Now , I'm gonna talk to you about composition a little bit .
So what I had in mind for this piece when I was making it is that I made sure that I want the details to be in the middle of the , of the face , to be able to um work , work my way out and have the eye draw in because the eye doesn't really linger all that much in a place where there's not much detail compared to where a place there is a lot of detail .
You see if you look very closely , the details are not very precise , but since the values are in the correct areas and the correct intensity when you come out a bit and look at it from a distance , it looks very detailed .
But thanks for hanging out guys , see you in the next one .
Are you looking for a way to reach a wider audience and get more views on your videos?
Our innovative video to text transcribing service can help you do just that.
We provide accurate transcriptions of your videos along with visual content that will help you attract new viewers and keep them engaged. Plus, our data analytics and ad campaign tools can help you monetize your content and maximize your revenue.
Let's partner up and take your video content to the next level!
Contact us today to learn more.