https://www.youtube.com/watch?v=Z9Px68r5BNU
DRAWING ANIMALS 1 - A GENERAL APPROACH TO QUADRUPEDS
This video is brought to you by my premium tutorials on Gum Road .
If you'd like to watch the slower extended version of these sketches , you can do so by heading over to Gum road dot com slash modern day James .
And it's also brought to you by my subscribers who support on patreon patreon dot com slash modern day James to get my Future Gum Roads at a discounted price group lessons or one on one lessons .
And if you'd like an additional resource for learning , you can use today's sponsor Skillshare .
Skillshare is an online learning community for creators with more than 25,000 classes in design art and more premium membership gives you unlimited access .
So you can join the classes and communities that are just right for you and your goals .
Whether you want to fuel your curiosity , creativity or even career skillshare is the perfect place to keep you learning in 2019 .
I'm personally enjoying Marco bcci's Understanding and painting the head series .
If you enjoy the videos he puts out here on youtube , then you'll love the tutorials he has on skillshare .
Skillshare is also super affordable and an annual subscription is less than $10 a month .
So join the more than 7 million creators learning with skillshare .
The 1st 500 of my subscribers to use the link in the description will get a two month free trial .
So head over to skillshare and get started learning .
Today .
Today's video is going to utilize a lot of the form , rotation and organic forms covered in my perspective .
Part six video .
If any of these topics seem unfamiliar to you , I'd suggest heading to that video first and then delving into this animal anatomy series .
In that video , I demonstrate how we can understand ellipses via their minor axis and degree as well as create forms from organic shapes .
Second part is going to be particularly important today because we can simplify a lot of the anatomy by boiling them down into two dimensional shapes which we place properly in perspective .
That being said today , we're going to take a generalized approach for sketching animals .
And then in the subsequent videos , we'll do a deeper dive into the underlying skeletal and muscular anatomy .
But today we'll get started sketching just by blocking out the major forms of the body .
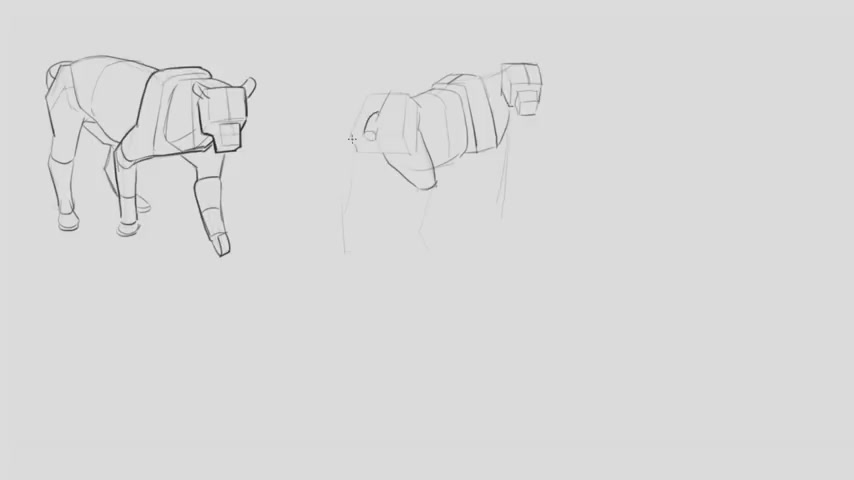
So I begin by establishing a line of action .
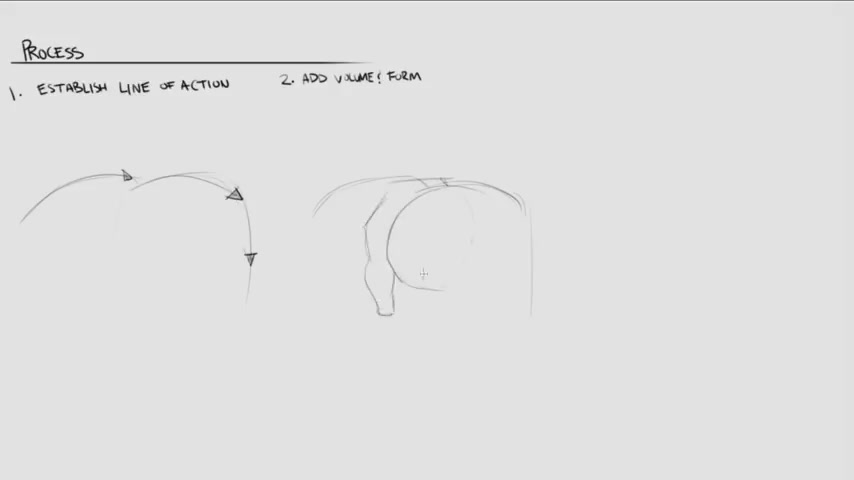
This line just corresponds to the overall movement and pose .
Keep this part very simple and just try to boil down the entirety of the subject into a few lines .
Once that line of action is placed in , I start blocking out the major forms of the body that being the head , shoulder , girdle trunk and pelvis .
You'll notice I distinguish between the blocky bony elements such as the skull and the shoulders from the rounder forms like the neck and the barrel of the body .
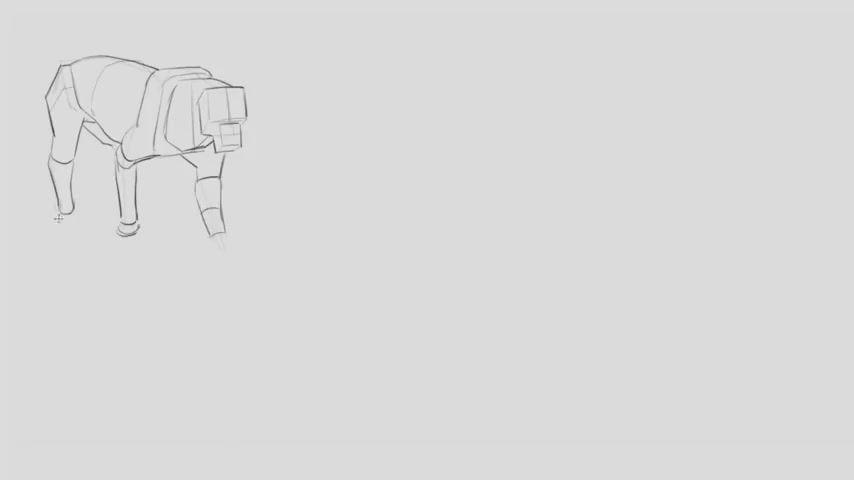
I also just want to be clear that personally , I've been moving away from this very constructive approach to drawing , but I do think it's an incredibly helpful tool for comprehending a subject .

So I'd like for us to see this more as a study tool than as a means to creating a finished piece that being said , once these components are established , I'm going to add lighting and texture .
Whenever I add texture to a drawing , I'm always trying to do so in a way that complements the lighting scheme , I like to imagine my marks as placing in shapes of shadow hatching can be used to block in shapes of shadow or even taper them to create a softer edge .
It's up to you how much you want to render your drawing .
But I find it best when sketching rounded forms to emphasize the core shadow and the cast shadow , I discuss this more in depth in my video on textures .
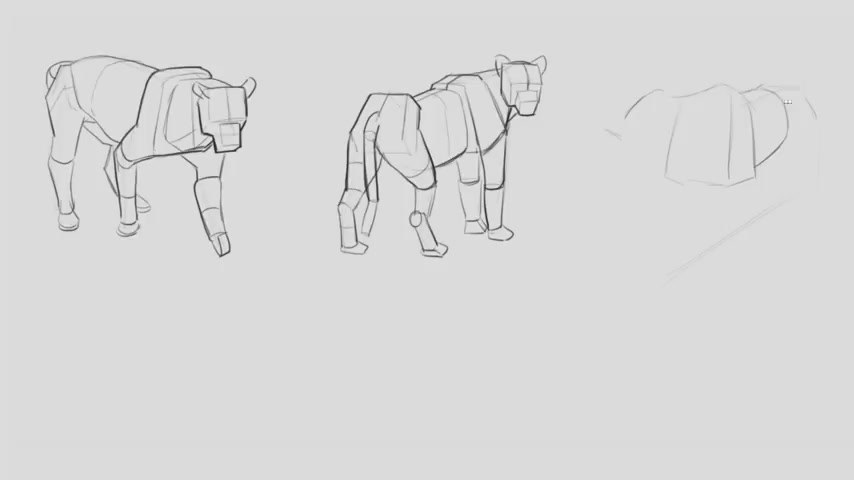
The link is down below in the description , let's do a couple more of these form breakdowns just so you get an idea of how to do them .
Again , the idea is not necessarily to capture likeness just yet .
I'm just looking to comprehend how the major forms are twisting and turning .
And as such , that means you can kind of mix and match what sort of forms you want to use .
And it doesn't particularly matter .
So long as at the end of your sketch , you have a better understanding of how the animal sits in three dimensional space .
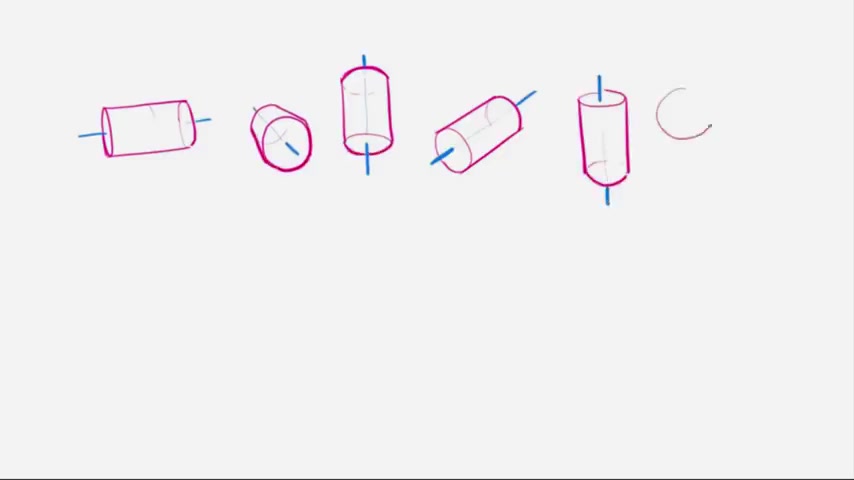
So all of the rounded elements like the arms and the trunk of the body are essentially modified , cylinders , understanding their minor axis and ellipse degree helps you place those in perspective .
The head , shoulder girdle and pelvis are all in alignment .
So their right and left vanishing points are the same with this next one .
I'm starting with a center line and then I'm going to build out towards the left vanishing point in order to create volume .
The form I'm using for the pelvis is a trapezoid that's extruded and then tilted forward .
The form I'm utilizing for the barrel of the body which consists of the rib cage and the abdomen is a modified organic form that's flattened at the top and it's rounder towards the front .
Then for the shoulder girdle , I'm using a similar form to the pelvis , except it's a little bit taller and rounded at the top .
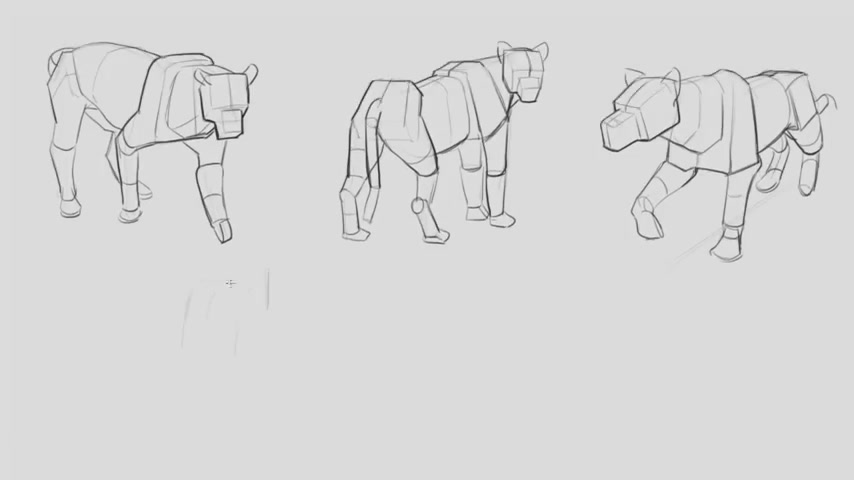
What you'll notice here is that since the head is turned back , this form converges to a new set of vanishing points .
The forms of the leg tilt back and forth to reflect the natural anatomical angles .
Remember every time a cylindrical form changes its orientation .
The minor axis of the ellipses changes as well .
Although the feet will often be staggered depending on the pose , you can use their position as well to establish a sense of space .
This next sketch is done in a wide angle lens which means that the photo was actually taken closer to the subject and the distance between the vanishing points is closer .
This leads to those parallel lines converging much faster than if the photo was taken from a distance with a longer lens .
And once again , I'm utilizing the same exact forms that I did in the previous two examples .
The other effect of the wide angle lens is that the part of the subject matter that's closest to the lens will be dilated in size , which in this case , is making the skull appear larger than the pelvis .
In the following example , we have a situation where the animal is oriented directly towards the camera .
In this situation , we'll get a lot of overlapping of shapes and foreshortening .
And because it's oriented towards the camera , the wrapping lines of the trunk are going to be much wider degree ellipses referring back to that perspective video as ellipses start to orient themselves towards the camera , they become wider and degree until they become perfectly circular .
You can see that because of the foreshortening the shoulder girdle appears much closer to the pelvis than it would in the other situations .
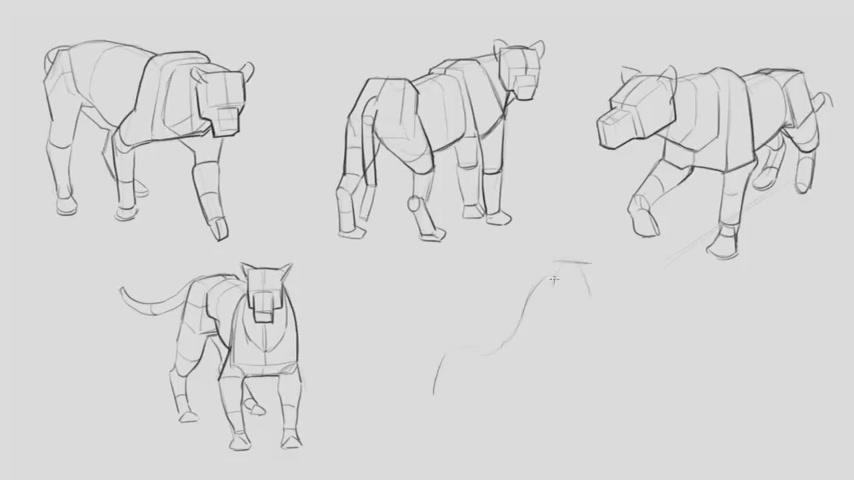
And in this final example , the spine is bending which creates a different angle of the shoulder girdle and the pelvis .
Now that we have some understanding of the three dimensional forms , we can supplement this with some loose gesture drawings .
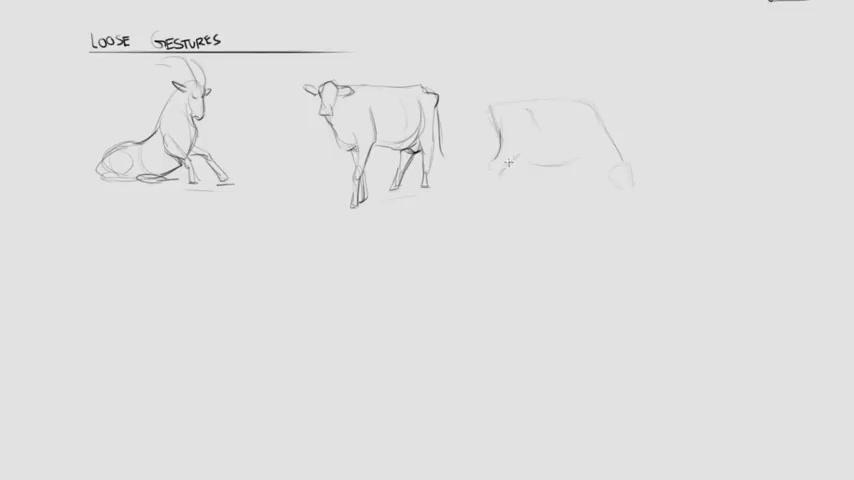
I'm of the mindset that your gesture drawings can actually be as structurally sound as the drawings that we did .
Previously .
Those elements we discussed such as the wrapping lines and the placement of the feet are all going to contribute to the perspective .
But our looseness of draftsmanship energy and attention to shapes is what's going to make this look more lifelike and interesting .
I know so far , I've been drawing a couple of different animals , but there's a lot of similarities between these quadrupedal mammals .
They all share pretty much the same underlying bone and muscular structures .
With the obvious difference being the size and proportion of each of these doing a lot of these loose gestures is really nice because you can kind of quickly familiarize yourself with drawing a specific animal without getting too committed to making a really nice sketch .

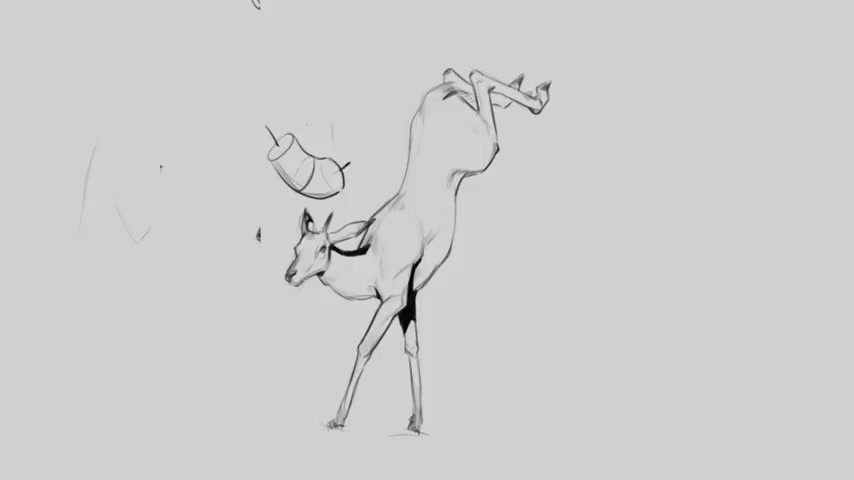
And now finally , I'll try to combine these two approaches together to make a drawing that I think has both structure and looseness of the gesture drawing , but also has some nice clean line work .
At the end of it , my line work is always reflective of the underlying structure .
We'll talk about this more in the next part , but I utilize internal hatching lines to show that the deltoid muscles overlapping the tricep in the arm .
Then the forearm muscles emerge from the elbow and then break out of the silhouette .
773.13 --> 940.83
Everybody .
Thank you so much for watching .
If you enjoyed that video , please click like and subscribe with notifications on and consider supporting the channel on Patreon .
In addition to that , be sure to head over to the Discord server where you can compete in our biweekly challenges with that .
I will see you all in the next video .
Take care .
Are you looking for a way to reach a wider audience and get more views on your videos?
Our innovative video to text transcribing service can help you do just that.
We provide accurate transcriptions of your videos along with visual content that will help you attract new viewers and keep them engaged. Plus, our data analytics and ad campaign tools can help you monetize your content and maximize your revenue.
Let's partner up and take your video content to the next level!
Contact us today to learn more.