https://www.youtube.com/watch?v=vvJrh3vSkGo
HOW to Draw DBZ FACES Easy! Step by Step Tutorial! _ TolgArt
Hey guys , this is your artist to guard and I'm back with a new tutorial .
This time , I will show you how to draw dragon ball faces .
But before we start , subscribe to my channel .
If you haven't already , I will upload two videos every week .
So don't miss them and hit , subscribe right now .
OK .
So today we will learn how to draw faces from four different perspectives .
I will use Gouvea to show you the process .
What we need right now is a good quality paper , a pencil and a ruler .
You can find the materials I am using here in the description box below .
First , we will separate the paper in four equal boxes .
Make a spot on the a four size landscape paper at around 14.5 centimeters on the horizontal and then help the paper right there , then help the paper again at 10.5 centimeters on the vertical .
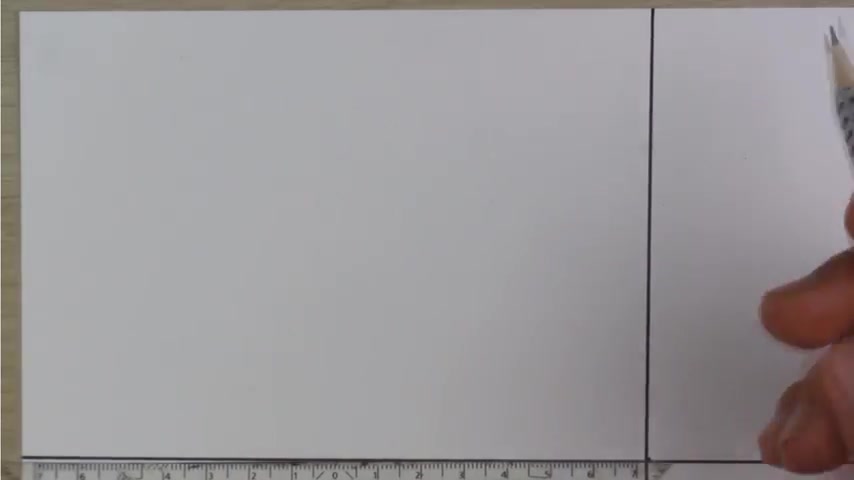
Now , we have four equals to draw regular faces easy .
We will use two simple guidelines .
We will separate the box again like we did earlier .
So we will draw Goku with a happy face , start with the nose at the middle of the bar , it's like we are looking up to Goku .
So his nose will be seen from below .
He will have an edge nose just like that .
Next , we will draw his eyes , the iris of each eye will be very close to each other .
His eyes will be wide open .
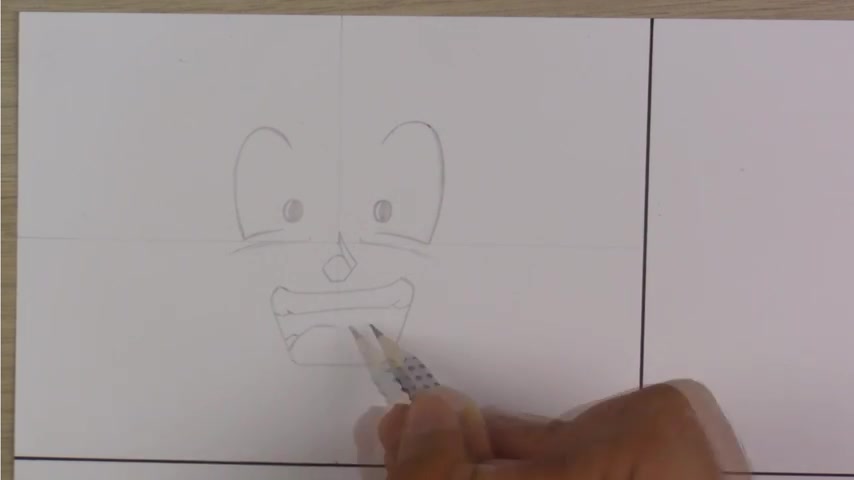
Then we will draw the marks under his eyes , just a few light lines .
We will give Goku a big smile , his mouth will be wide open as well , do teeth and a tongue .
Mhm .
Now we will draw the shade of his face , his chin will be at the same level with his mouth and of course his hair strands falling down on his face .
The hair of Goku is very spiky and very close to his eyes .
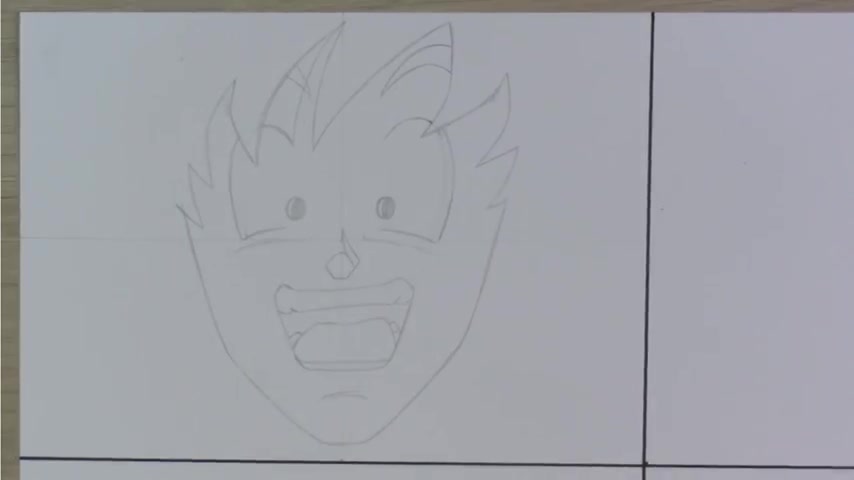
His eyebrows are very high and curvy , but we can see them very little because of his hair .
Ok .
Great .
But I will draw his eyes a little bigger here , ok .
Way better .
Now his ears right under his last hair strength and the neck starts right below his ears .
Let's draw the details on his ear , just a few random lines along in the ear , the neck and we can see a little of a shirt perfect .
Now we will draw his big and spiky hair start right next to his ears with the hair .
Now adding the last details to his hair and that's already it .
This is how you draw Goku when he is happy with a big smile .
Let's move on to the next one .
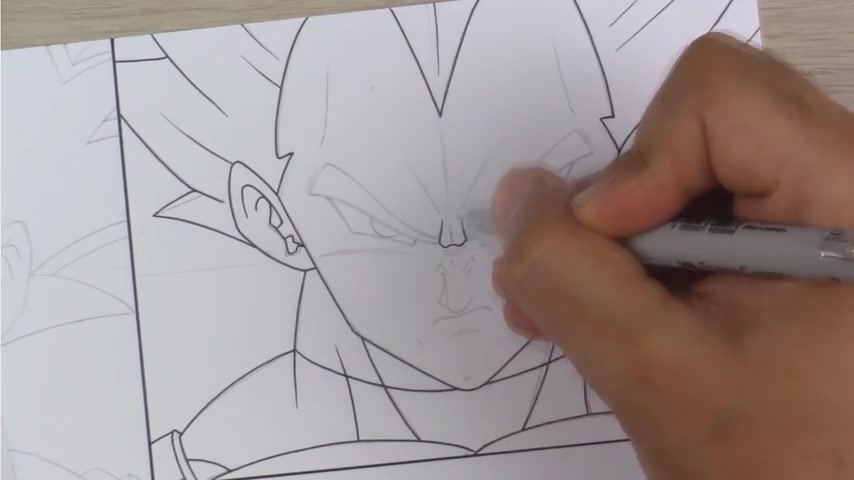
Next , we will draw the princes of all saints via , we will give him an angry and serious look .
We are going to do the guidelines again .
And then we will start with the wrinkles between the eyebrows .
His eyebrows will be long , thick and little curvy and pay attention that the eyebrows are at the same level .
Now add some wrinkles on his forehead because he's looking angry .
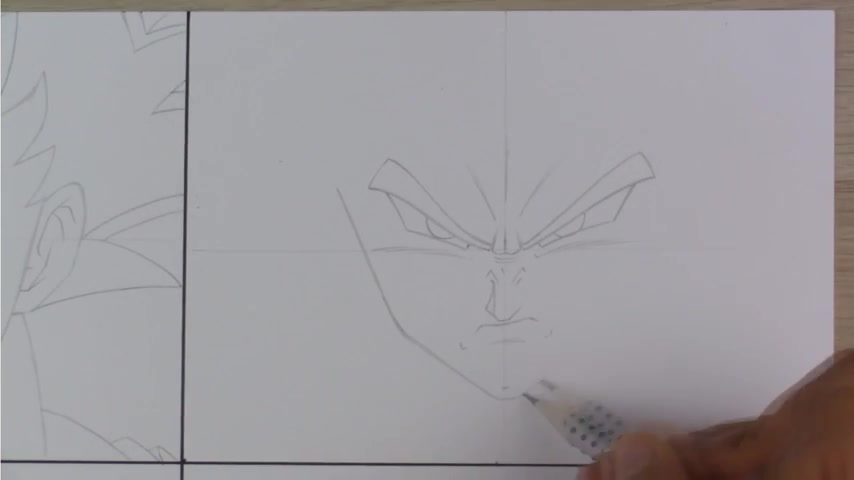
And then we will draw his etched eyes right under his eyebrows , the big eyes in there to complete the eyes .
Then we will draw his edged nose , add some wrinkles around the nose as well .
His mouth will be very close to the nose and as you can see the is looking very serious as he always does .
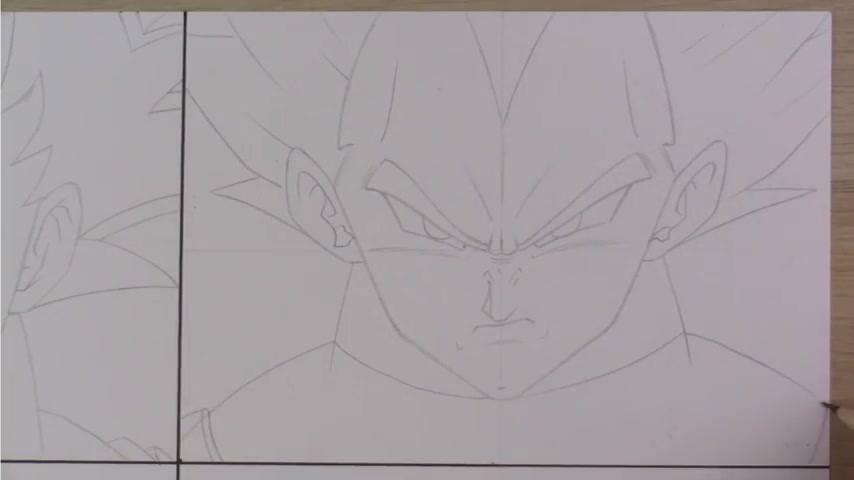
Now , we will draw his face shape and his big forehead , some details here and then we will draw the ears .
Now I draw the details in there and then continue with this massive neck .
The hair starts next to his ears .
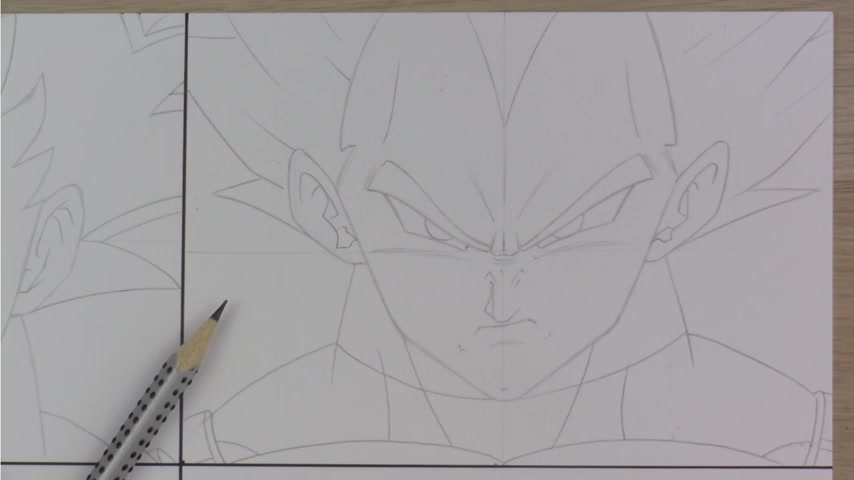
He will have big spiky hair strengths and choose to draw him as a super sa .
We will give him the same armor from the saga , which is my favorite outfit of him .
Then we will draw his upper chest and the muscles on his neck and that's it .
This is how you draw Veja from the front with a serious look , but we are not done with them yet .
We are going to ink this one .
I use the pen from castel 0.1 millimeter .
408.42 --> 468.769
I like to use the 0.05 millimeter pen with this size I Canvey more accurate .
Let's erase the pencil stuff and then we are done .
So I will leave this one with just one layer of ink .
So we can see how it looks like that .
And if you want to ink Goku as well , just do that with the same technique and materials you can find the pens I'm using here in my description box too .
Let's move on to the next one .
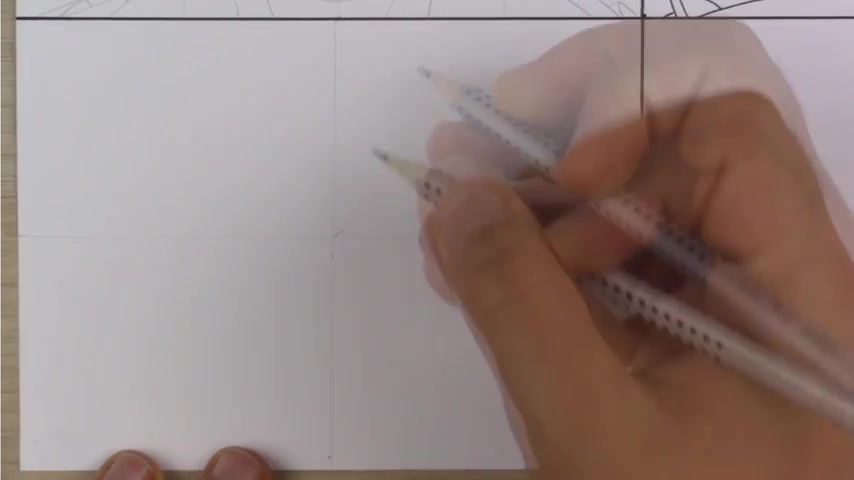
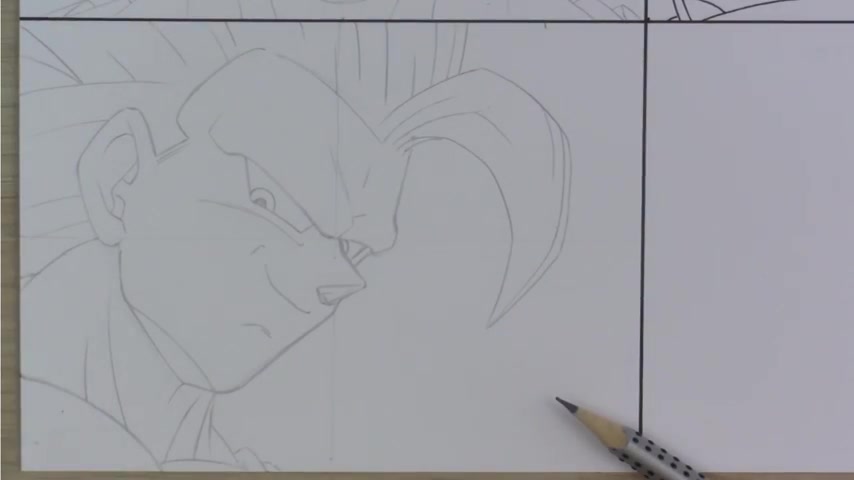
So now we are going to draw a difficult one .
We will draw Goku as a super sa free looking down to us from the side , the eyebrow part will be a little higher than usual .
Same with the eyes .
The IRS will be on the bottom left , the nose will be very spiky and high as well , right behind the nose .
We can see his other eye .
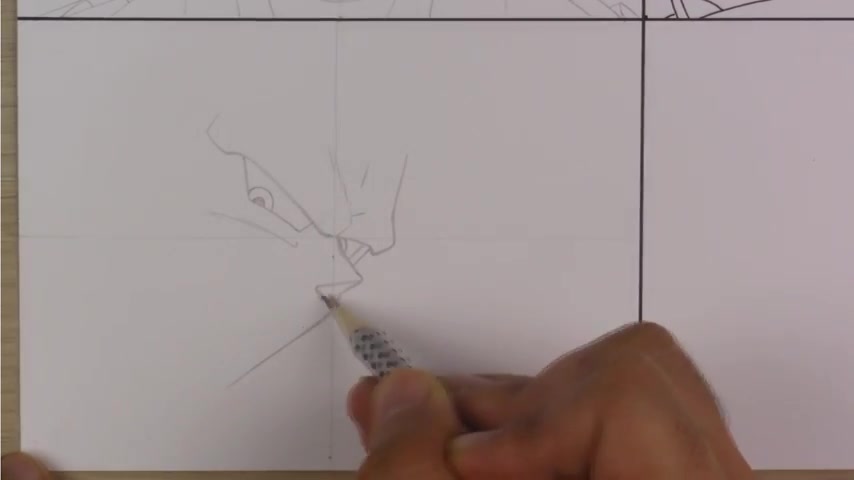
His face will be long because he's looking from above the mouth will be very close to his nose .
We will give him a smile here as well .
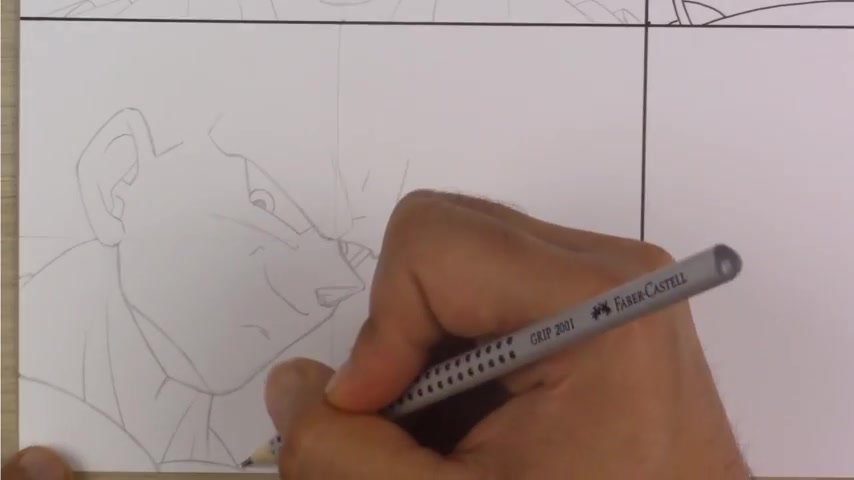
Now the face shape his ear will be visible full size .
So draw it a little bigger than usual .
And because he's looking from the ball we can see the bottom of his chin .
Now we will draw his chest and neck muscles , the one hand strand , the super free transformation hand will be long and a little away from its face , some improvements on his face and then we can draw his hair .
So I will improve the face shape here a little .
And then we are done with sketching the fate .
It's a really difficult perspective .
So for the inking , we are going to use the same pants as we used before , same technique here as well .
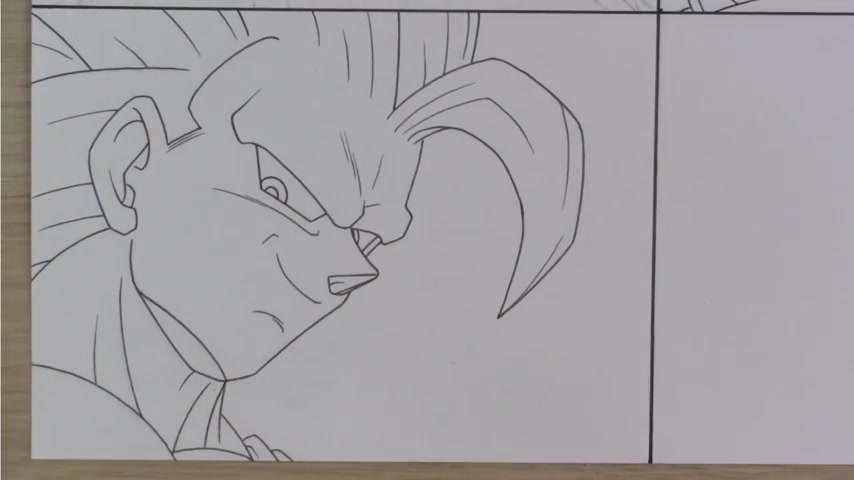
OK .
We are done with the first layer of ink .
This time , we are going through the fixer lines , use the 0.05 millimeter pen to go over all the lines .
Again , if you ink like this , your drawings will look very special .
You can see the huge difference already .
And we are done guys .
This is how you draw Goku from the side looking down to you .
It's a difficult pose .
But with some practice , you will manage to draw that .
Let's move on to the last phase .
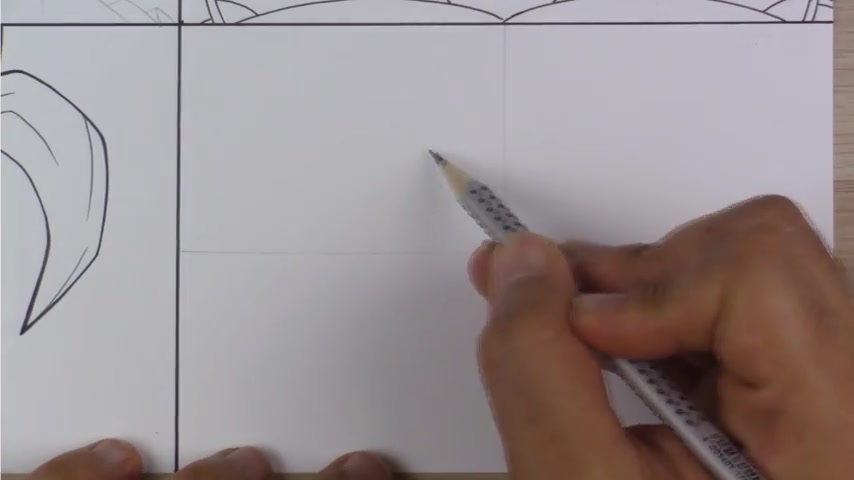
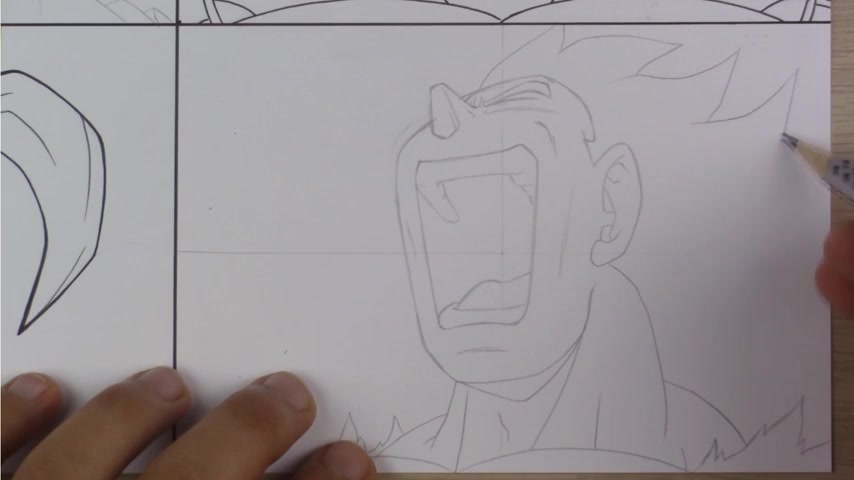
Now we will draw Wichita screaming .
I choose to draw the scene where he sacrificed himself .
It's a very powerful pose and it's not really easy to draw .
So let's draw the big open mouth at the center of the box , the teeth and the tongue will be visible very much .
Let's draw the shape of his face along the mouth and the spiky nose will be very high .
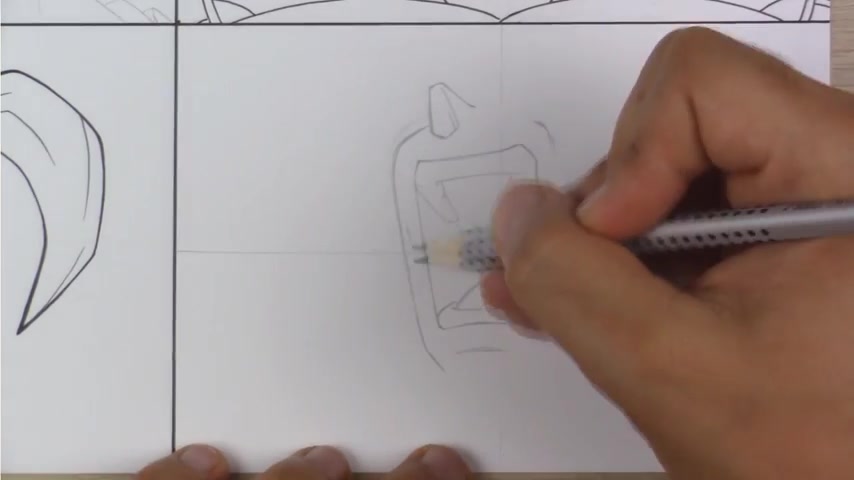
Let's add some wrinkles around his mouth and his nose and then we can continue with his eye .
His eye will be closed like he is in pain .
Now , the rest of his face shaped around the mouth and the massive neck and chest , his shirt will be tethered .
The hair will be a little more curvy than usual .
Add some lines to them to give them more definition .
We will also give him some scratches all around the face and the body and that's already it guys .
This is Sara Veit , then he is screaming very powerfully .
Now we are going to in this .
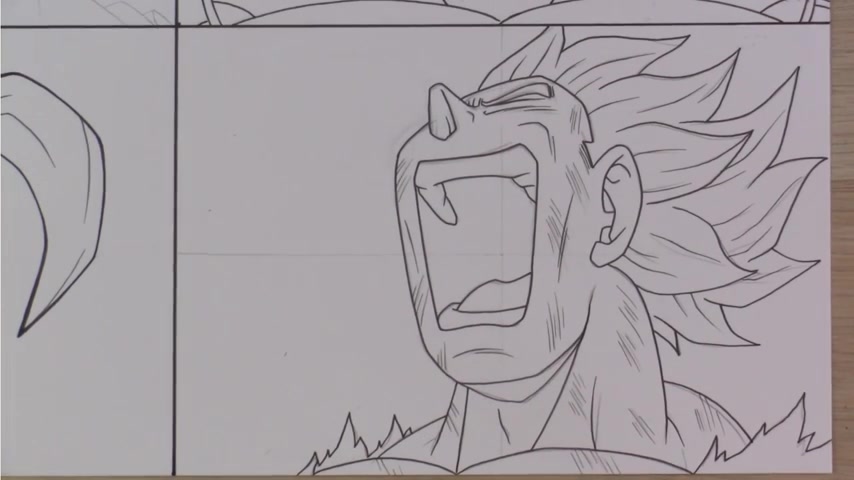
So we are done with the first layer .
If you would like to give in the thicker lines , you can do that .
It goes like this .
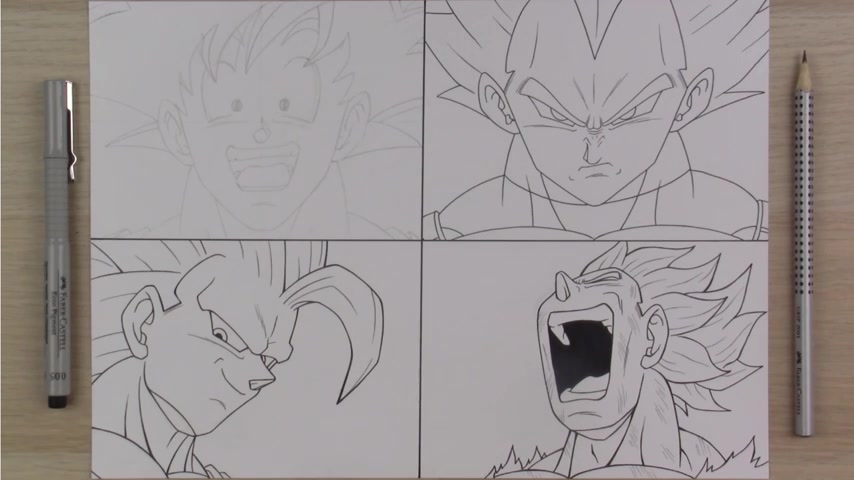
Now we are officially done with the four different perspectives .
We drew one happy and smiling face from the front , one angry and serious face , also from the front and one smiling face looking down from the side and one powerful face when he is screaming also from the side , I hope this tutorial was helpful for you guys .
If so show me if I thumbed up this video right here , support your artist and share this video with your friends .
And also let me know down below in the comments on which areas you want to see more tutorials .
That's it from me .
Thank you for watching and I'll see you very soon until then stay healthy , be fit , be a good person , be you .
And always remember you are the designer of your own life .
Are you looking for a way to reach a wider audience and get more views on your videos?
Our innovative video to text transcribing service can help you do just that.
We provide accurate transcriptions of your videos along with visual content that will help you attract new viewers and keep them engaged. Plus, our data analytics and ad campaign tools can help you monetize your content and maximize your revenue.
Let's partner up and take your video content to the next level!
Contact us today to learn more.