https://www.youtube.com/watch?v=X9tYXpOLd0M
How to Draw an Elephant
Hello , everyone .
In this video , we're going to draw an elephant .
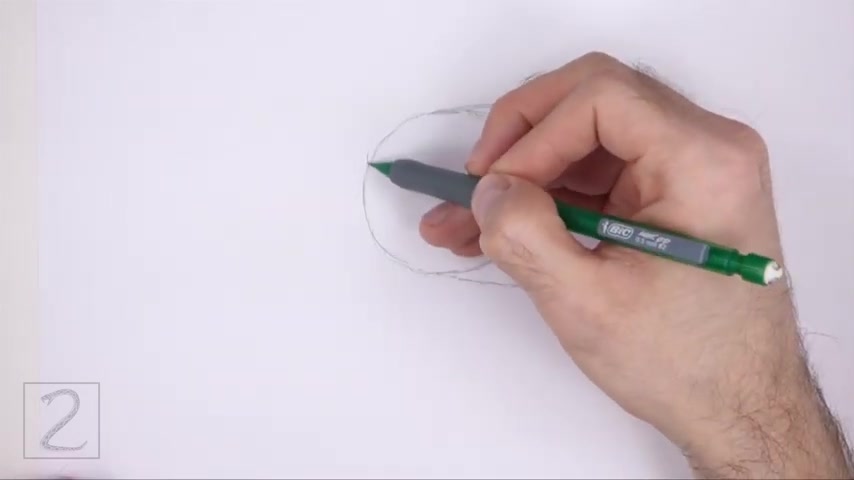
Start by drawing a circle as a guide for the front part of the body to draw the circle .
First make two small marks to indicate the circle's length and then on the sides make two more small marks to indicate the circle's width .
Then just connect the small marks together using curved lines to create the shape of the circle sketch lightly at first so that it's easy to erase .
If you make a mistake , also pause the video to draw at your own pace .
The circle doesn't have to be perfect .
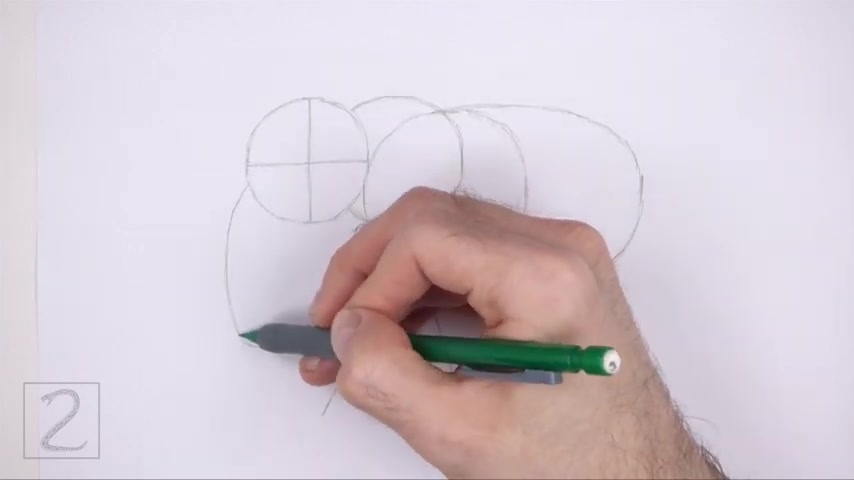
But if you're having a hard time drawing it just trace the outer edge of a coin or a bottle cap or anything else with a circular edge to the right of the circle , make a small mark as a guide for the back portion of the body and then connect a small mark to the circle using curve lines to create a big arc .
Don't draw the mark too far off to the right .
Otherwise the body will be too long .
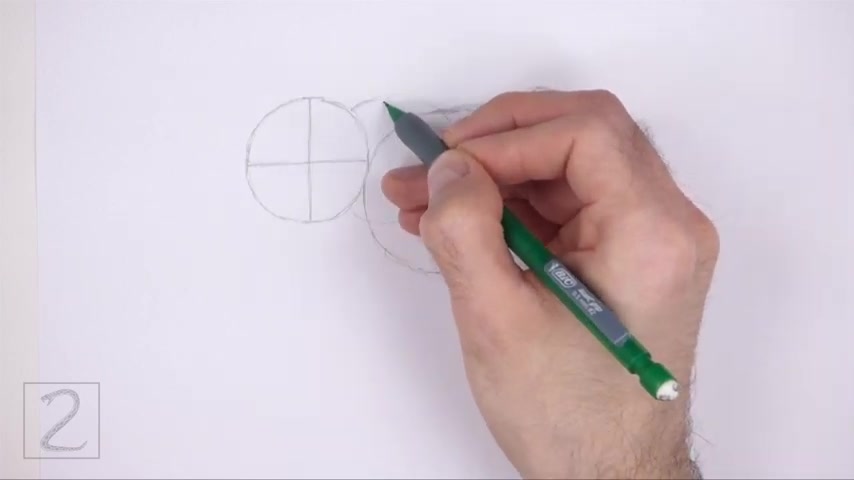
The end result of both shapes should be a big oval on the left side draw another circle as a guide for the head , use the four marks method to draw the circle as well .
This circle should be about half the size of the first circle place this circle slightly higher than the first circle inside the head .
Draw two intersecting lines .
These lines are guides that will help you place the facial features later on the line should create a big plus sign inside the head to the right of the head , make a small mark as a guide for the ear and then connect the mark to the head using curved lines to create a big circular shape .
The shape of the ear should be around the same size as the head .
African elephants have big ears .
So make the shape big .
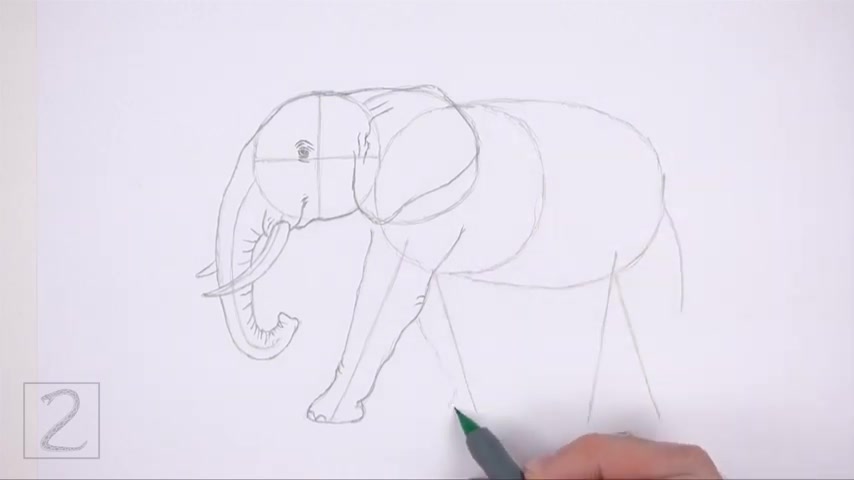
Asian elephants have smaller ears under the body on the left side , draw two long lines as guides for the front legs , the line should be farther apart at the bottom , on the right side , draw two more long lines as guides for the hind legs , elephants have pretty long legs .
So don't make these lines too short , pay attention to their size in relation to the body , draw the hind legs farther apart at the bottom too on the lower left side of the head , draw another long line as a guide for the trunk .
This line should also be very long and it should curve up at the bottom on the right side of the body .
Draw a shorter curve line as a guide for the tail under the head , draw a line that curves to the left as a guide for the tusk .
And that's it for the guidelines .
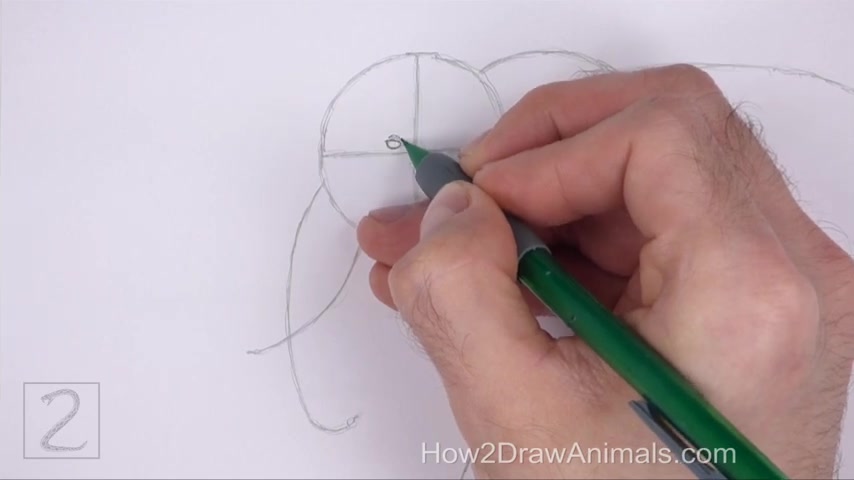
Now , let's start on the final drawing inside the head near the middle , lightly sketch a small circle for the eye .
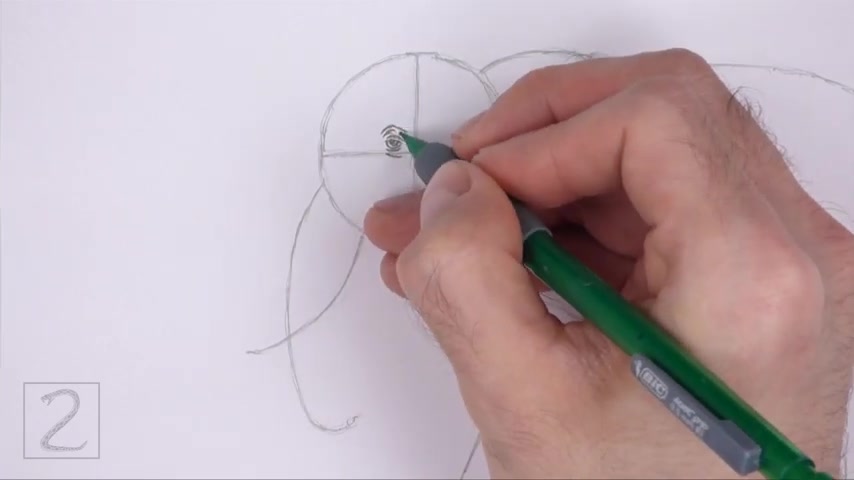
When you get the size and position of the eye right darken the lines make the top edge of the eye flatter , add a curved line above the eye .
For the eyelid inside the eye , draw another curved line for the iris inside the iris , draw a tiny circle to represent a highlight shade the iris , except for the tiny highlight circle , a few more curved lines around the eye for wrinkled elephants are pretty wrinkly .
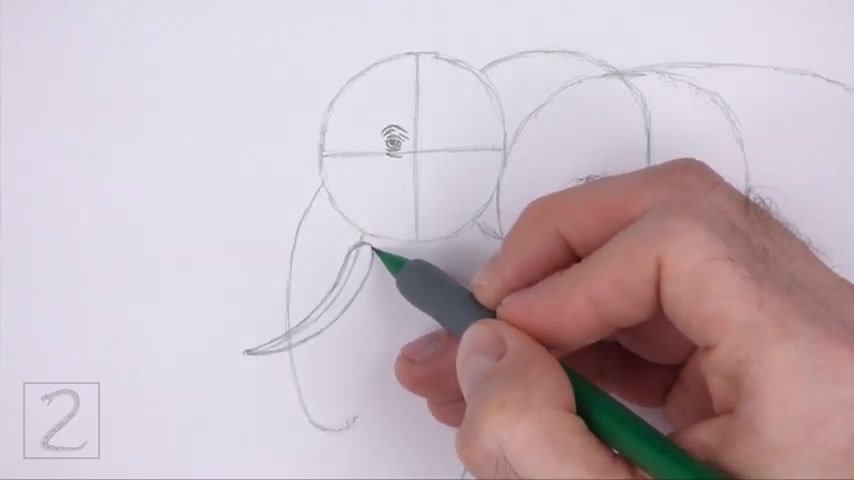
So and draw a few of these curves use the curved line under the head as a guide to draw the tusk , lightly sketch the shape of the tusk around the guideline , the top of the tusk should be wide and then gradually it should be more narrow at the bottom .
The tip of the task should be pointing .
Overall , the tusk should be pretty thin .
When you get the shape right darken the lines on the top part of the tusk , draw a couple of curved lines for the base , make the line on the right longer to create the mouth , add a shorter curve line to the right to create the bottom lip .
Use the longer curved line as a guide to draw the trunk , the same way , lightly sketch the shape of the trunk around the guide .
The overall shape of the trunk should be pretty thick .
The top part should be wider and then gradually the bottom part should be more narrow curve , the tip of the trunk upward .

When you get the shape of the trunk , right darken , the lines don't overlap the shape of the tusk .
As you draw the trunk , the trunk should be behind the tusk .
Use a wavy line to draw the tip of the trunk .
A series of short lines along the right edge of the trunk .
For wrinkles , the lines at the bottom should be shorter at a small pointy shape on the left side of the trunk or the other tusk use the semi circular shape as a guide to draw the ear , follow the path of the guide , but make the top part of the ear more flat .

The bottom part of the ear should also be more narrow than the guide curve .
The line for the ear up into the head , add a few lines at the top for the ear opening , darken the edges of the initial circle to create the rest of the head , make the top part of the head a little bit more flat than the original circle .
Use the line under the body on the left most side as a guide to draw the first front leg , lightly sketch the shape of the leg around the guideline .
The overall shape of the leg should be very thick like a column or a tree trunk .
The top part of the leg should be very white and then gradually it should be a little bit more narrow toward the bottom .
The very bottom of the leg should be white again for the foot .
When you get the shape of the leg right darken the lines use more wavy lines for the right edge .
For a more organic field , had a few short lines along the edges of the leg .
For wrinkles , two small arcs at the bottom of the foot .
For the nails used the line on the right as a guide to draw the other front leg .
The same way , lightly sketch the shape of the leg around the guideline , make the top part of the leg wide and gradually make it a bit more narrow toward the bottom , the very bottom of the leg should be wide for the foot .
When you get the shape right , darken the lines on the front part of the foot draw two small arcs for the nails .
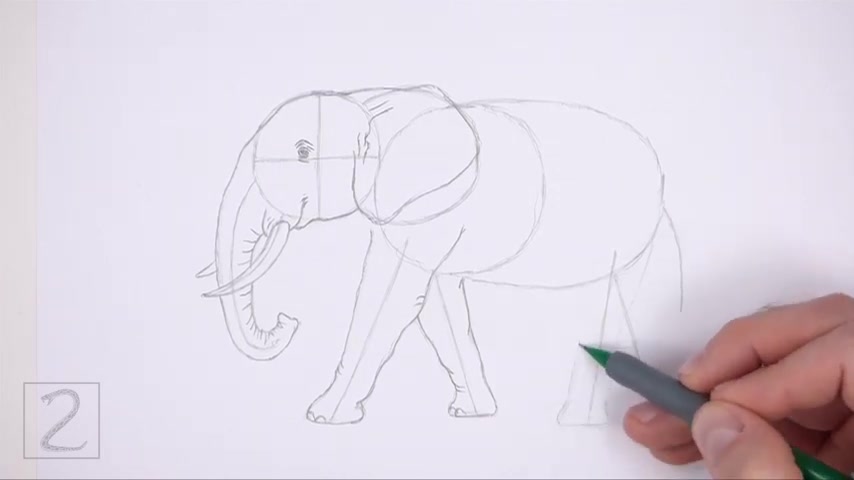
Now use the lines on the right as guides to draw the hind legs the same way just like before , lightly sketch the shape of the leg around the guideline , make sure that the foot is wide and that the middle portion of the leg is more narrow and the top part of the leg is very wide .
When you get the shape right darken , the lines also make sure that the legs that are on this side of the body are the same length , two small arcs at the bottom for the nails and now use the line on the right as a guide to draw the last leg .
The same way , a big portion of this final leg is hidden behind the first hind leg .
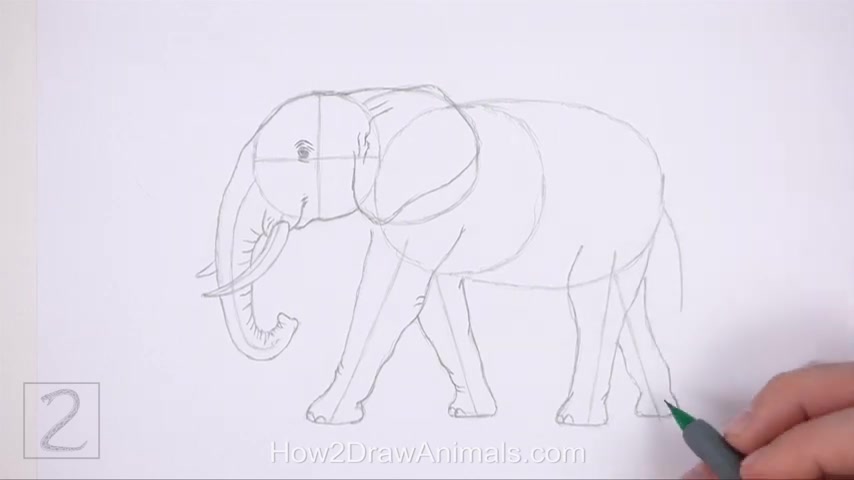
So don't draw the top part , make the foot wide and flat at the bottom .
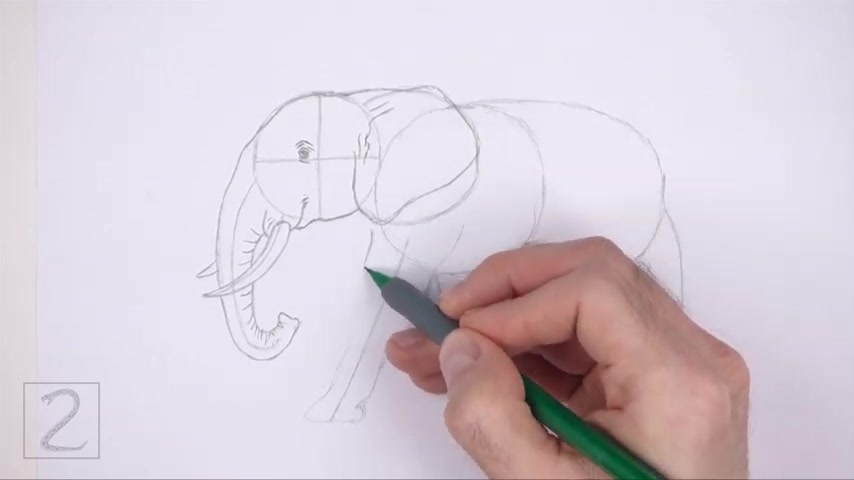
And at the small arcs for the nails darken the outer edges of the initial guides to create the shape of the body , make the right side of the body a bit more narrow than the guides draw the shape of the tail around the guideline on the right at the bottom of the tail .
Use short strokes to create the brush like tip of the tail .
Don't make the tail too thick curve , the line at the bottom or the underside of the body .
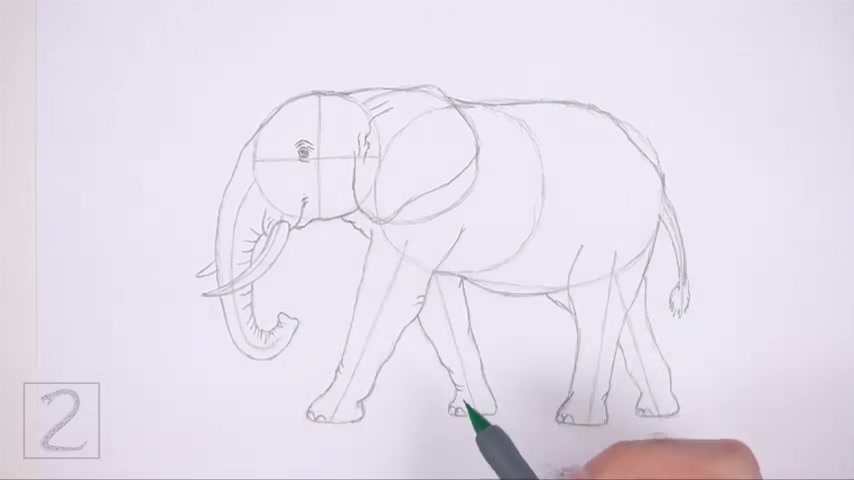
A couple of short curved lines under the head for the neck .
Now just erase the initial guidelines for a cleaner drawing .
This process is sped up so the video won't be too long .
You don't have to erase all the guidelines .
It's OK to leave them behind , redraw any of the final lines that you may have accidentally erased .
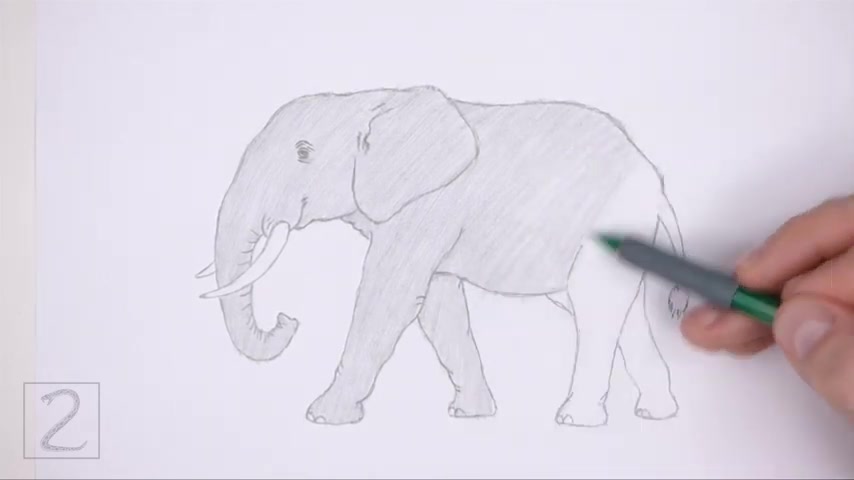
And now just shade your drawing .
Elephants don't have stripes or spots on their body .
So they should be pretty easy to shade , they're just gray .
So just use a medium value all over the body .
It's ok if you don't shade too smoothly , elephants have rough skin .
So if your shading is rough , that gives the skin more texture now add some shadows throughout the body to give the figure more dimension and volume .
This process is also sped up so the video won't be too long , vary the pressure on your pencil to get different degrees of tonal value .
So push a little bit harder to get darker values shade lightly at first and gradually build up to the darker valleys , the direction of the light source when shading so that the shadows are consistent with it , add some shadows between the ear and the eye to give the head more structure .

It's a good idea to use reference as you shave for a more accurate depiction of an elephant shading can be time consuming .
So be patient and take breaks shadow at the bottom using a medium value .
This grounds the elephant .
So it doesn't appear to be floating , keep shading until you're happy with the result and that'll do it for the elephant .
Don't forget to pause the video to draw at your own pace and please visit how to draw animals dot com where every step of this tutorial is broken down into an individual image .
That's how the number two and draw animals dot com .
If you enjoyed the video , please leave a like in the comment and also subscribe for more videos in the future .
Thank you for watching and until next time , keep drawing .
Are you looking for a way to reach a wider audience and get more views on your videos?
Our innovative video to text transcribing service can help you do just that.
We provide accurate transcriptions of your videos along with visual content that will help you attract new viewers and keep them engaged. Plus, our data analytics and ad campaign tools can help you monetize your content and maximize your revenue.
Let's partner up and take your video content to the next level!
Contact us today to learn more.