https://www.youtube.com/watch?v=CiltX0RNED8
How To Draw Character Faces
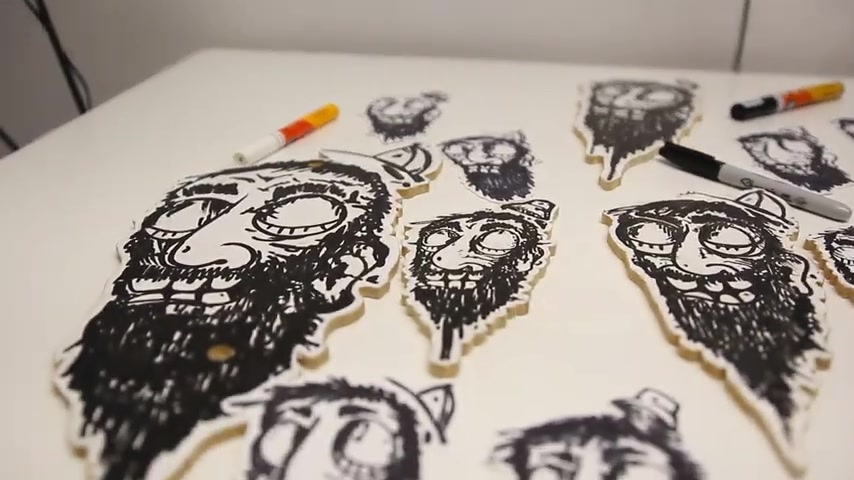
We got a little army going right here .
I've been diving into characters a little bit lately .
Let's walk through the process of how I developed it kind of from the , the ground up .
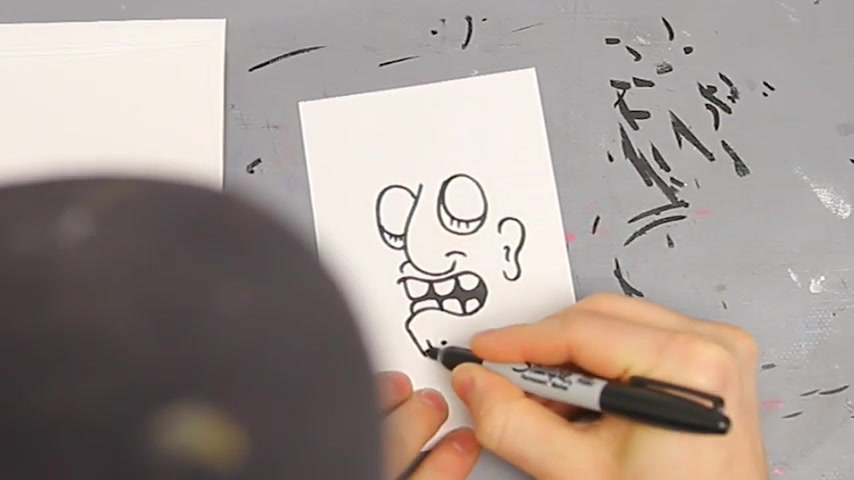
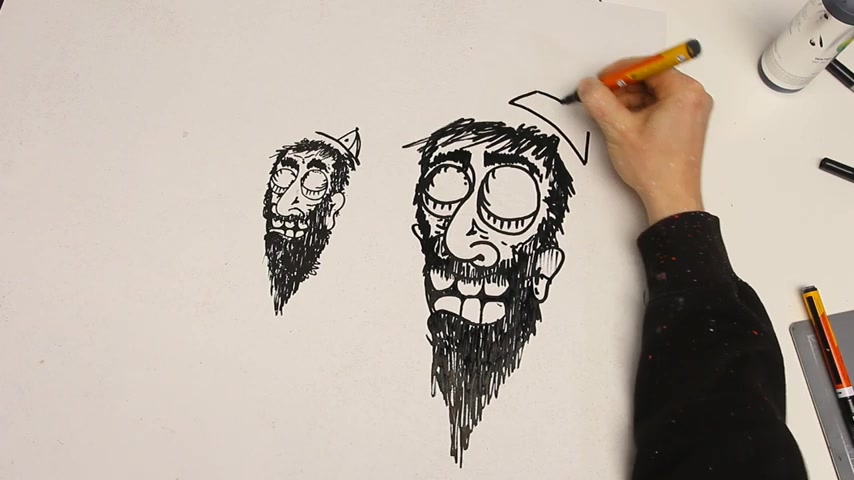
So I picked the most approachable character in the world , the human face .
Come on , you know , kind of given that caricature vibe here , it's a easy way to kind of make something that's approachable and everybody obviously understands what the face looks like .
So it's a good kind of practice ground and trial ground and then here for the eyeballs , you know , I , I definitely went easy on them , picking something like a closed eye here .
Kind of that sleepy look gives a super fast impression to the overall emotion of the character as well as it kind of is a little cheat there .
You don't have to draw the whole eyeball there .
Maybe as I I developed can get better , we can put eyeballs in there .
But for the time being , I'm , I'm liking that little sleepy vibe here , the mouth can follow suit with that with the expression you can do like a grimmest face or , or a happy smile , anything like that .
Plays in a ton to the overall piece and run with that , see what expression kind of suits your character best .
I always like to sketch mine in kind of this bald shape here .
It gives me a really good starting point to kind of mold in the hair .
The lines here on the left side of the face didn't really look so great the first time around .
So they will turn those into some dark shadows and , and just kind of correct them .
And by the end of this , I'm sure he won't even be able to pick out where the mistakes are .
Here's one of those funny things that I feel like when you have a shape to the head and you kind of mold it on there .
It's almost like clay , you can kind of see where it's supposed to land and you can kind of slowly just sketch it in there , really rough it in and you know , there are no mistakes with hair , it can go in any direction and there's probably somebody that's rocked that before .
So it's kind of one of those forgiving stakes that you can kind of get messy with it and , and let the setup of the character kind of tell you where to go with it .
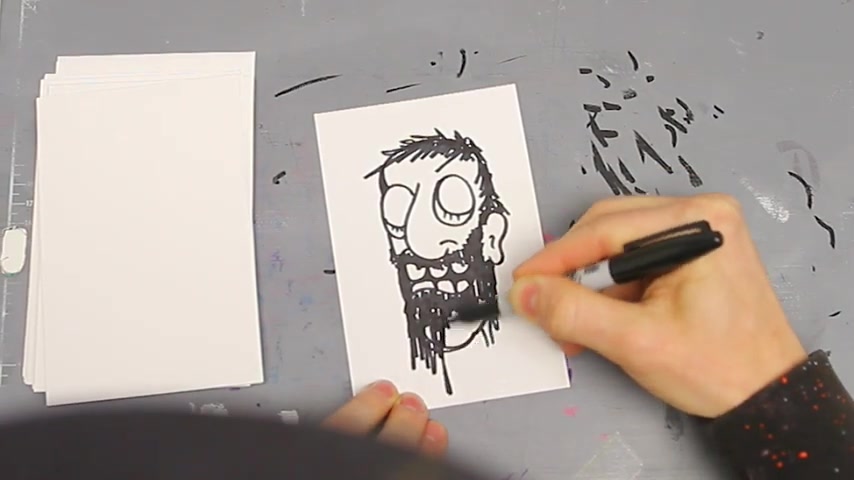
And right now we got this funny , like after shave look so definitely gonna drop like some facial hair on here .
I don't know if that's part of the story of this character or not , but it's definitely a fun ad here where we can go at it again and , and see where kind of some facial hair and a beard would land on this guy having the chin and stuff already in place , gives me kind of a shape to , to mold off of again .
So it gives me , you know , areas where definitely it's gonna be longer , kind of down at the bottom of the chin and then kind of tuck it up maybe a little bit shorter as it comes around the bottom of the jaw .
And then of course , kind of now that I've got the chin in there , I can touch up the top , give him some more sideburns and kind of re inform the rest of the decisions about the hair .
Can't forget those eyebrows either at this stage in the character .
I like to add just some quick embellishments , maybe some wrinkles or some extra add-ons and half tones to give some depth to it , you know , characters that are just black and white are definitely my favorite and it kind of limits you as far as the contrast goes .
So having those extra hash marks in there definitely gives an added detail and brings it up a little bit .
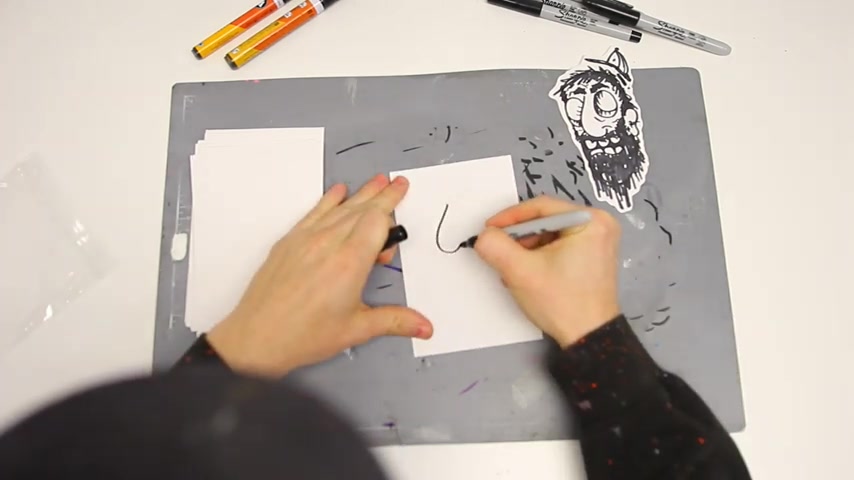
And of course , the accessories on the character are some of the best this five panel here .

It is one of my favorites to draw a little drop shadow under it , a little doubled up on the bill .
Just a fun little add-on and something you can change each time over to give a little bit more emotion or a different direction to the habitat that this character is kind of existing in .
Let me know if you guys are feeling this little sleepy side guy , we'll see where he goes in the future .
Yeah .
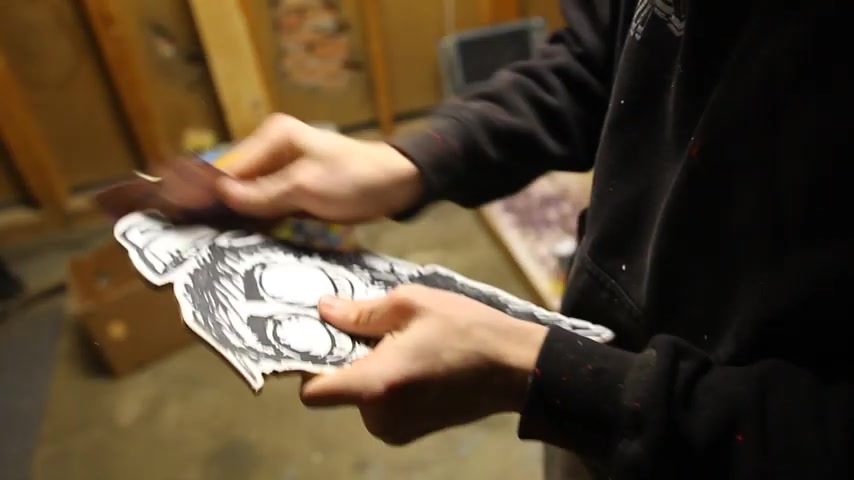
And of course , nothing really exists with a big fat rectangle around it .
So we got a contour cut it .
Something that definitely is well worth the extra time .
You know , even if you're , you're just trading the slab , having that contour cut means that this is gonna be able to get just slapped up right next to anything and have a nice border to it .
It just makes that little extra clean kind of edge to it .
Nothing worse than having like a really sweet design and having to cut it out yourself or just that extra space looking super awkward on the background .
So give this a shot .
Maybe you pick something like your favorite animal to draw or maybe a human face just like this and give it a go see where you kind of land with it and very stuff up you can see here we got like skinnier heads , fatter heads , taller heads with something a little bit different .
You can throw a different hat on there and it definitely changes the vibe up .
I'll be honest here , I was drawing the same exact character each time over here and they all came out way different sometimes , you know , you get a funky line down and the nose looks weird this time around or the eyeballs look weird that time around you .
That variety is kind of your sketching platform to see what your favorite stuff is .
So I got this wood panel here , but I think I definitely want to buff it out white so we can have that same backdrop on there .
Definitely not feeling the brown here to the garage .
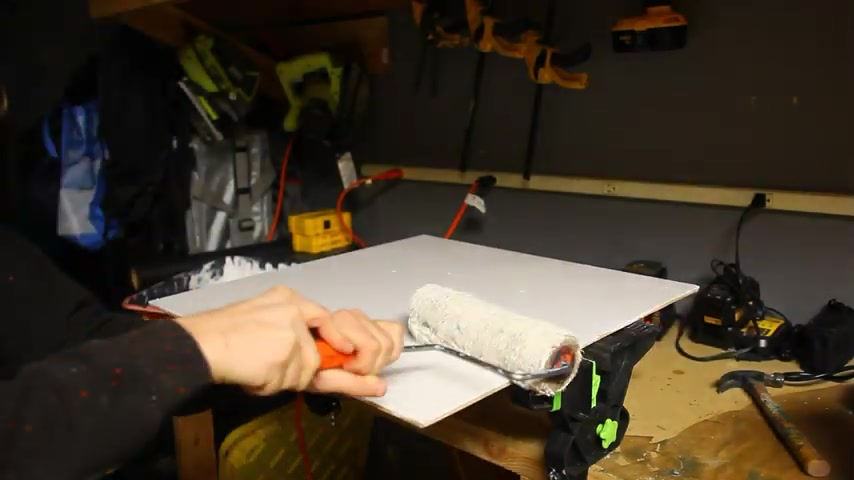
I got some leftover white puff paint here that I think I'll just roll over top of this wood panel to give us a nice background .
Can't use the sharpie on this one .
So let's refill some and , and get working with them .
Oh , it's really kind of interesting to see how the paint's actually laying up on this .
It's much darker , of course , way more opaque .
But I guess with the sharpie where you're getting a little bit of , you know , two tone with it , you know , a little bit darker section on the areas you double up with here , the opacity is so solid .
You're getting that solid lack .
I might have to uh play around here with the character and see how the half toning works a little bit better with maybe a larger size or , or maybe a thinner marker .
I don't know .
I think I might prefer the kind of that softer mid black than the full dark black , maybe next time I'll mix a little bit of white or , or another color into my black to just cut it a little bit .
Definitely hype on these really big ones and I think I might be digging these bucket hats a little bit more than the five panel .
What do you guys think ?
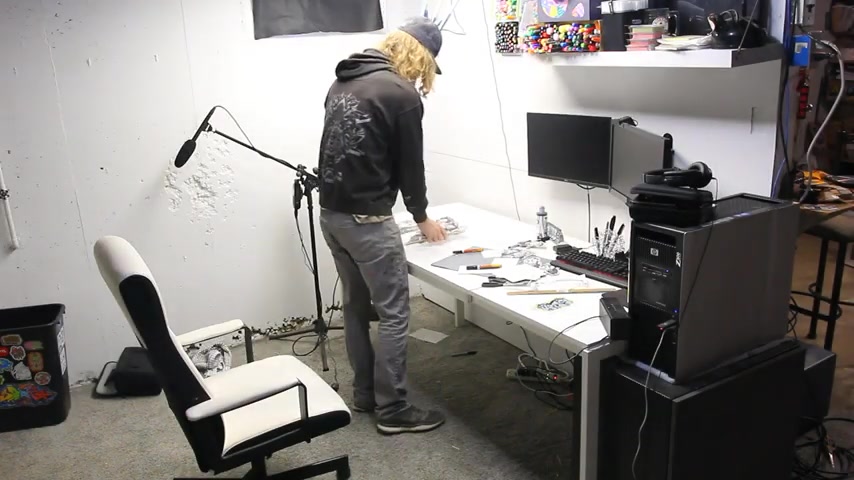
Let's go figure out a way to cut these out .
We got the first one loose .
Check that out looking so sweet .
I was able to like cut back in and get a little tighter profile on the left side there because it was still attached .
Maybe I'll bolt this back down and come in and clean up some of these edges .
Yeah .
So when I was cutting this one out , I chipped both the hat and the little end of the beard there .
So I think I'll just touch that up with a little bit of spray paint and draw right over it .
The under surface isn't quite as smooth .
Whoa , spraying out his brains .
So we'll see if it soaks in a little bit .
Probably end up doing the backside of these as well .
Tried a little test on painting this edge , but it kind of just set in too much .
So I think I'll just do a quick pass on the backs here .
I wanna make a couple of these into installs .
So what I'm gonna do with that drill , a couple of three ace holes and then be able to bolt through them .
Now , the most common spacing is one inch apart .
So I'm just gonna pick what lands kind of naturally on the design .
Hide it in the top of the head here as well as the beard .
If I have some clear coat , I'll throw some over top of this for sure .
The paint marker got pretty scratched up pretty easily , you know , was using power tools and all , but definitely want these to have a nice life span to them .
Some of the scratches look nice though , falls in line with the griminess .
Now that we're done touching them up , the silver bolts are definitely gonna stand out .
Let's hit them with black .
Look at that .
It's already camouflaged in there and I'll do some big washers on the backside and just tighten those down to set the front of the bolt in there .
The bulls could use a little bit half toning to disguise them just to touch more right on .
We got a little army going right here .
Definitely drop a like if you enjoyed the process and , and dig a little sleepy side character .
Subscribe if you enjoyed the content , that's gonna do it for me guys .
Peace .
Are you looking for a way to reach a wider audience and get more views on your videos?
Our innovative video to text transcribing service can help you do just that.
We provide accurate transcriptions of your videos along with visual content that will help you attract new viewers and keep them engaged. Plus, our data analytics and ad campaign tools can help you monetize your content and maximize your revenue.
Let's partner up and take your video content to the next level!
Contact us today to learn more.