https://www.youtube.com/watch?v=r7HnmnrJ6Jw
How To Make Cake Lace _ Global Sugar Art
Hi , I'm Alan Tatro with Global Sugar Art .
And today I'd like to talk to you about our brand new product called Sugar Dress .
And this is made , uh , made by Marco Lotto from Italy .
We import this product and I feel this is one of the nicest lace making products on the market right now .
This is a two step mix .
It has a dry powder in here as well as a little vial of , of a liquid that you add in the mixing process just to go over quickly how this is , uh , put together or how it's made .
You're gonna have a little bag of the dry mix inside your bucket and just follow the directions on the card .
You're gonna mix 11 teaspoons of cool water with four tablespoons of the dry powder .
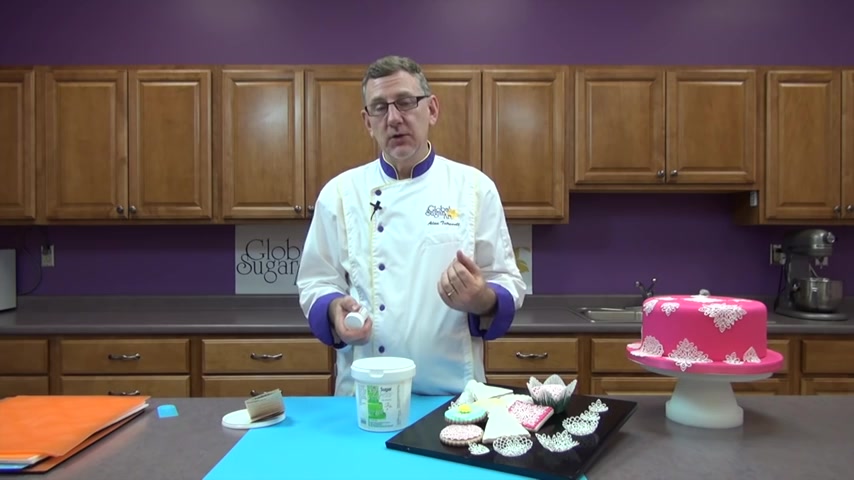
And you can use a regular Kitchenaid mixer or just a bowl .
You can mix it by hand with a whip or you can put it on the uh , on an electric mixer using a paddle mix that for about 3 to 4 minutes .
And then you're gonna add one teaspoon of the liquid and then you're gonna mix that for another two or three minutes and the product can be used immediately .
It does not have to sit overnight to have success .
If you do let it sit overnight , you will notice that the air bubbles will all disappear and you'll have a very , very smooth product that can be piped beautifully .
So if you're going to pipe it , I would recommend that you let it sit several hours or overnight .
But if you're just gonna lay it into a mat or , or , um , use the scraper and put it into one of the lace mats , you can use it immediately .
So that's the , the easy part of mixing the sugar dress before I show you how to apply the sugar dress .
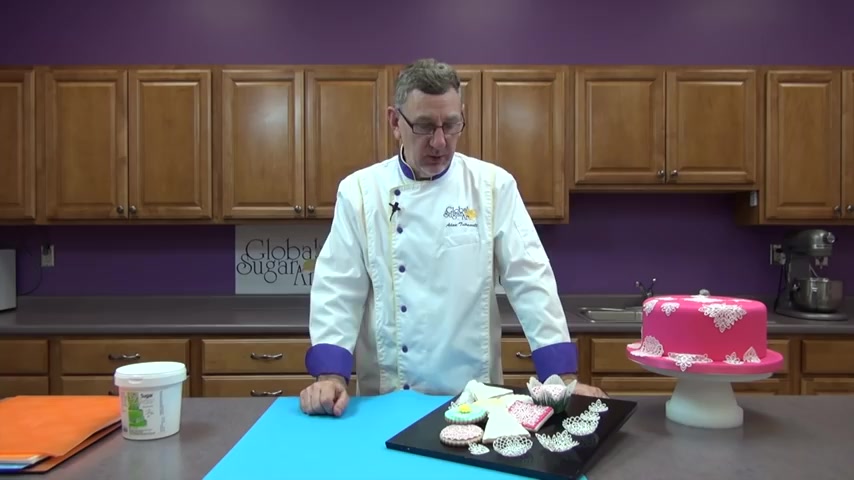
I just wanted to show you some of the pieces that you can , you can do with it in order to get them to dry in a shape .
I just used a little tart cup and I took one of the lace pieces and I just set it in there and I put it in the oven at 100 and 70 degrees for about a half an hour .
And then I shut the heat off and I left the oven light on and that will just leave it around 95 to 100 degrees .
And I left them overnight and they'll hold their shape .
Now , if you want the lace pieces to hold their shape indefinitely like this , you need to cut the water down to nine teaspoons instead of 11 and use about 1/8 of a teaspoon of the liquid , not a full teaspoon .
And if you really want them to dry to the point where they're brittle , uh , and they hold their shape permanently .
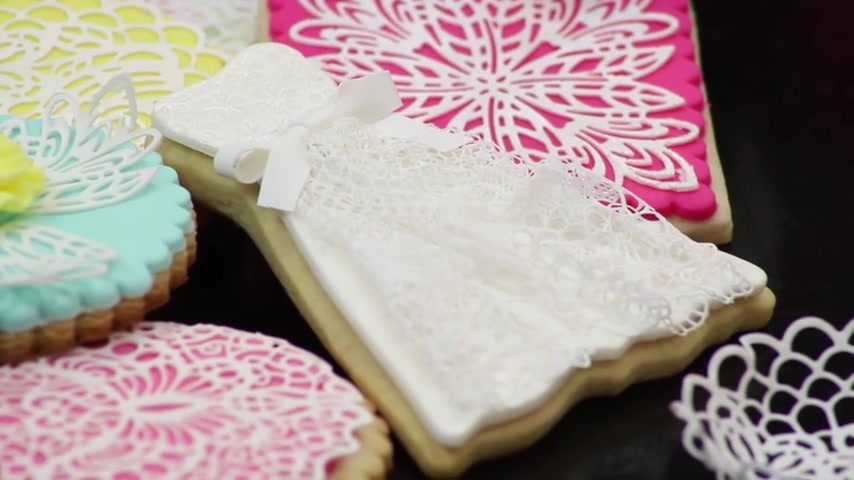
Omit the , the liquid part at , um , the second stage , the , the little vial of liquid just use the water and not the , uh , the other part , I've made a couple of cookies , uh , attaching the lace pieces on top .
This is like a wedding dress .
I used a piece of um uh lace and I made a , a dress out of or you can do a veil and I just showed you how you can dry some of these pieces and use them for different uh decorating ideas .
Obviously , we'd want to use these on cakes a lot and over on the side , put this over here , I've just , I really just tossed a couple of these on the cake just so that you can see the impact that this would have .
It's al it's almost like a stencil design when you put them on a cake and you can adhere them to your fond or your butter cream uh with a little bit of gum glue or a little bit of royal icing .
The gum glue works the best .
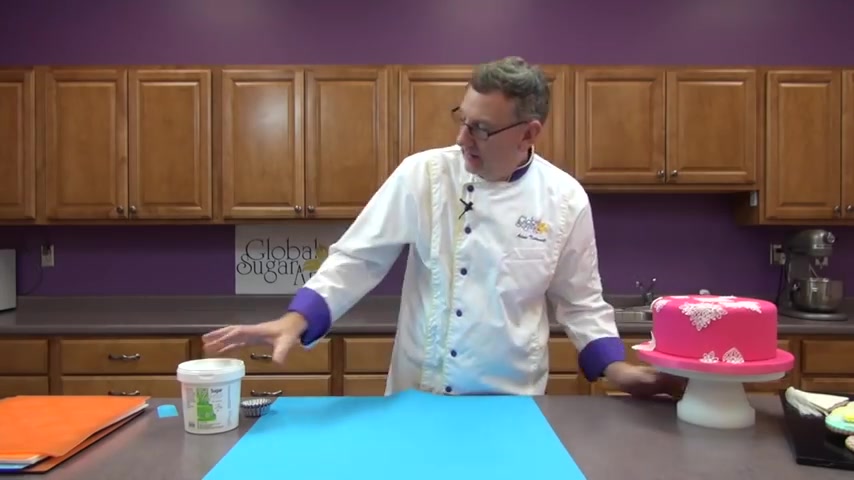
So now I'm gonna show you how to actually make the lace pieces and then I'll show you a few more things on the cake .
There are several mats that Marte Lotto makes they're a very thin silicon mat and it's hard to see with camera what the design is .
So I've gone ahead and I've applied the lace in a couple of them .
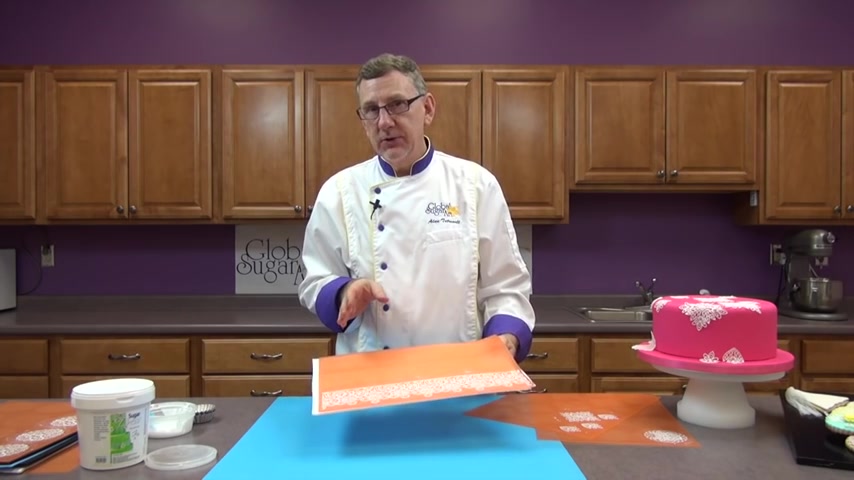
You can see that this is a band that would go around the cake and this has a butterfly pattern in it .
This is one made by Dori out of England .
And when I remove this in a few minutes , you'll really get to see what this lace piece is like .
It's difficult to see on the white background .
This is a map put out by Sugar Vale .
This makes a beautiful , very , very thin lace .
That's what I used on the wedding cake .
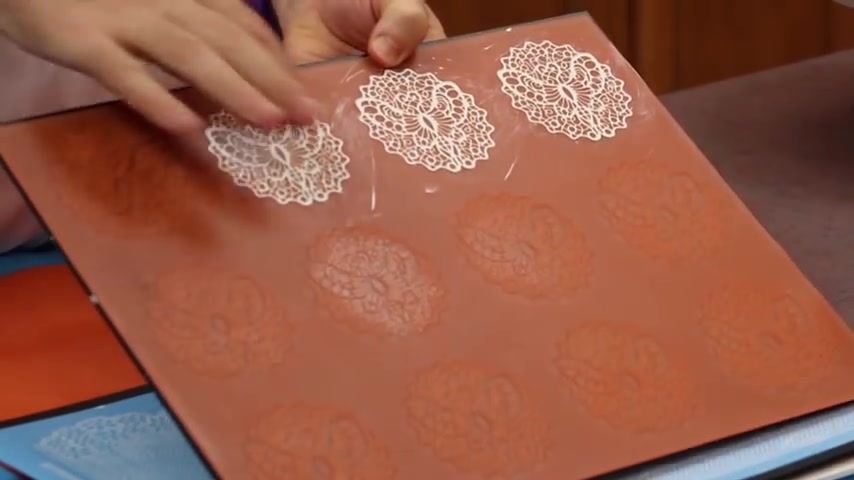
Um The , the wedding dress cookies and here are some little small uh pieces that you could use on a cake or a cupcake or a cookie that have the butterfly pattern in them as well .
So in order to do this , we're gonna take one of these .
This is just a cardboard mac and I'm gonna choose one of the lace pieces and lay it down .
I have my lace , my , my suit , my sugar dress all made , ready to go .
And that's what it looks like .
That's the consistency that it is after .
It's , this is sat for , for maybe two or three hours .
Again , it can be used right away .
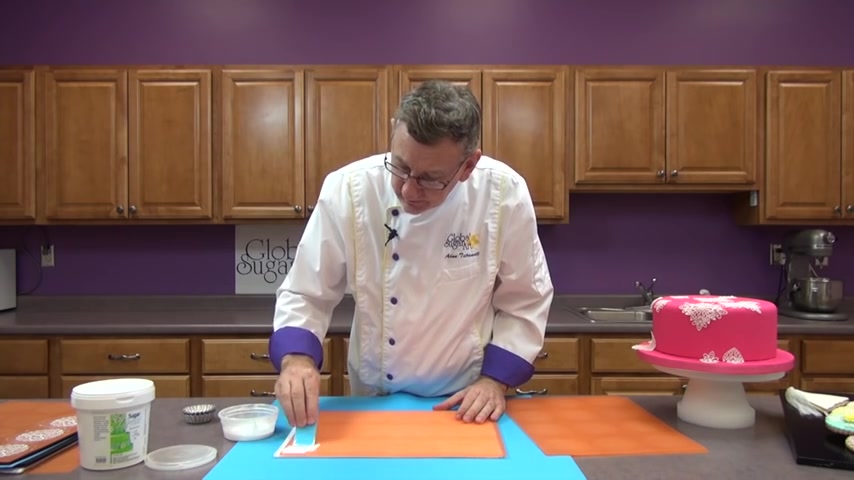
So I'm just gonna use a thin scraper and you can see that it'll go right down into the silicone mat and it'll outline that pattern and just so that you don't get all these little cross pieces of lace in between the design , make sure you go over it a couple times that all the cavities are filled and that you don't have any extra of the uh of the um sugar dress paste sitting on top .
Now , we're going to be doing this twice for the best success uh to make this the , the best lace and the easiest to get out of the mold and the easiest to use on a cake .
We're going to bake this at 100 and 70 degrees , which is a very low temperature for 10 minutes .
And then we're gonna take it out of the oven .
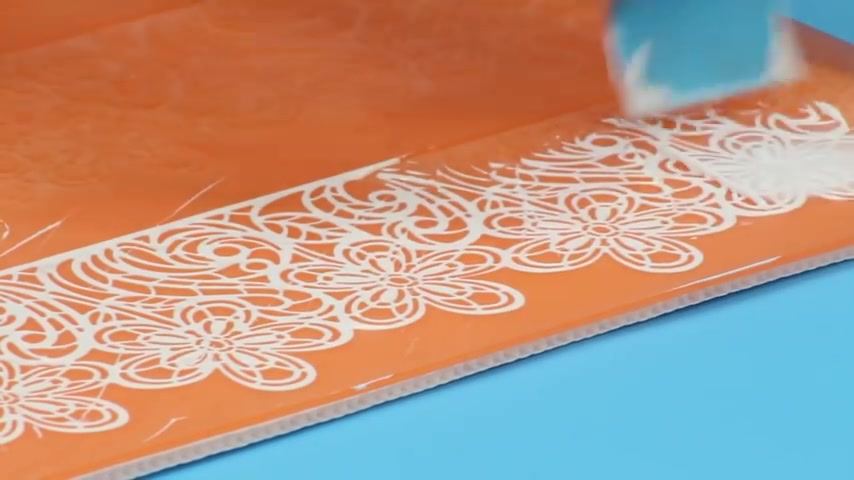
We're gonna let it cool for maybe two or three minutes and then we're gonna apply a second code .
What happens in that baking process is there's a little bit of shrinkage that occurs as it dries and that will happen whether you let it dry overnight or whether you use the oven and then there are little air bubbles that will sort of pop as it sits in the oven .
And when you go back and do the second coat , you're filling all those spots in and you get a much better product out of it .
It's much more um conducive to taking out of the mold .
It just , it just comes out of the mold so much easier .
So I think I've just about got this one done .
This is a nice flower design .
Looks great on the side of the cake .
Ok .
I think I've got all the little stray pieces picked up that I want .
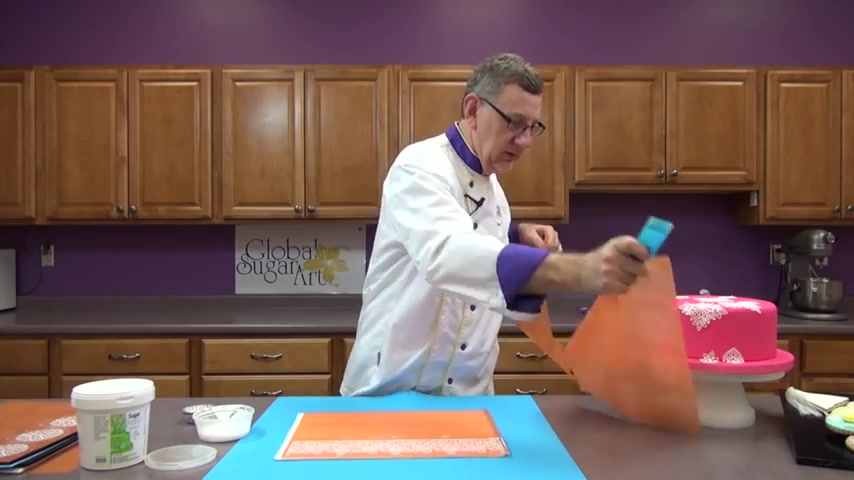
And let's do this one kind of hard to see the pieces .
These are nice little points , sort of like lace points that you would make out of .
Uh royal icing .
A little bit larger .
I just wanted to , you to see the different designs that are available and we'll do one more .
This is one of the round ones .
This little scraper is a stenciling scraper that I had designed uh , a Tico designed it for me and we use it in stenciling and it works great for the , for the stripper dress .
Ok .
So I have three different patterns all done .
I'm going to take this one right here and I'm gonna put this in the oven for 10 minutes at 100 and 70 degrees .
I'm gonna take it out of the oven .
I'm gonna allow it to cool for a few minutes and then I'm gonna re coat it and then I can put it back in the oven for 10 minutes or I can just leave it on the counter overnight .
And tomorrow I'll be able to pull the lace right out .
If you put it back in the oven for 10 minutes after your second coat , you should be able to pull the lace out within an hour or two .
So , if you don't have a lot of time , that's a way of , of , uh , having this drive much quicker .
Don't go any hotter than 100 and 70 to 100 and 75 degrees though .
So , we'll be right back .
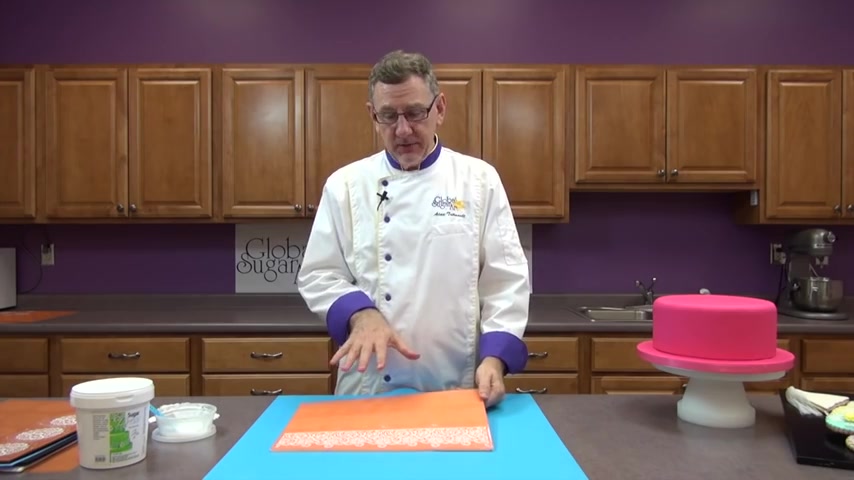
Ok , we're back .
We've had 10 minutes in the oven at 100 and 75 degrees with the first coating of the , uh , of the sugar dress product .
And now we're gonna do a , just a skim coat on the top .
It'll take very little to fill in the little pores and the , the little spots that didn't fill in the first time and you'll , you'll see them immediately .
Um , the , the spots that , that didn't fill in the first time , it seems no matter how many , how hard you try covering it the very first time , there's always a few spots that you miss .
You can see .
It takes very little product the second time there's very little going in , but it is filling in the , the few spots that I missed .
Yeah .
All right .
And that is done .
Go back and forth to clean up any little threads .
So to reiterate , I can leave this on the counter overnight and tomorrow I can pull this right out of the silicone mold or I can put it back in the oven right on the cardboard for about 10 minutes at 100 and 70 degrees .
And then within an hour or two , it'll be dry enough to pull right out of here .
So I'm gonna set this aside .
I have some that I made earlier today and I wanna show you how easy it is to get these out of the molds .
So I have several of them .
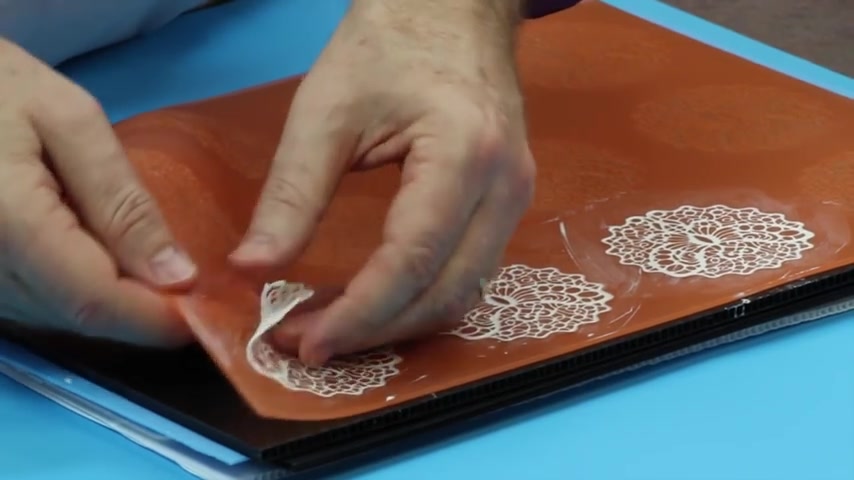
This is the little round one with the butterflies and all I have to do is start in a corner .
I don't need a pin or a needle or anything and you can see that that pops right out of the mold .
There you have a butterfly lace piece .
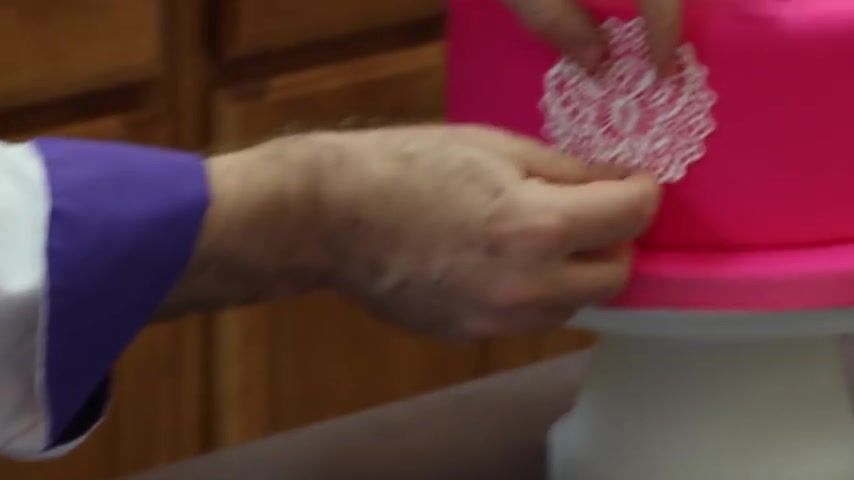
I could put that right on the cake and use it any way I wanted a little bit of sugar blue and it would stay right there .
So that's one design .
This is a beautiful design as well .
This is the , this is the lace that I use to make the um the wedding dress and the wedding veil .
Now , when you have a very , very thin lace matt like this , you want to go very gently and very gradually and just pull that off .
You can see how easily that comes off .
The nice part about the sugar dress product is it stays very flexible like this for a very , very long time .
I've got a little Ziploc bag here with pieces that I made probably about five months ago , four or five months ago and they're still very flexible and easy to use .
You can see how easy this comes out .
Yeah , you have a beautiful piece of edible lace , you can fold it up , put it in the little Ziploc bag and you could use that in a couple of months from now .
Let's find another one here just so you can see the different designs .
This one is from a company in England called Dori .
I think this is a really neat piece .
Sort of reminds me of a , of a garden fence .
The nice part about it is if you see there's a line so it's sort of drawn in the center here .
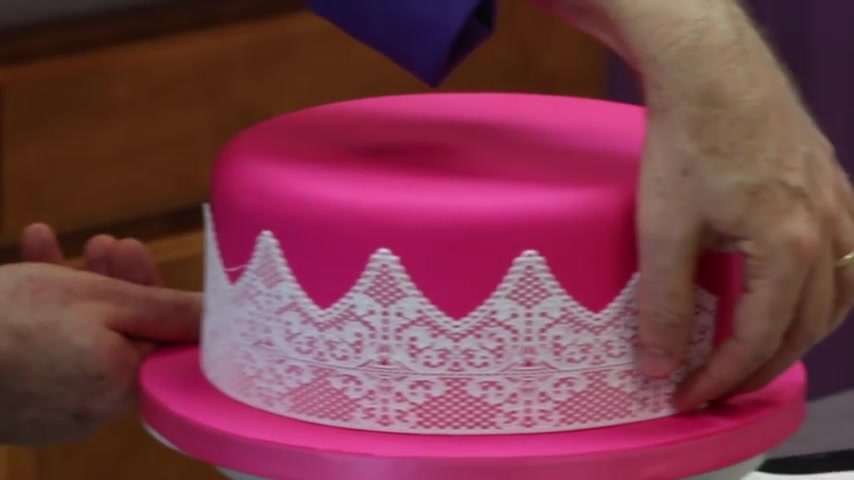
You actually could just use half of this or you could cut the bottom part off and just make a border around the top .
It's a beautiful piece of lace and let's see what else we have .
Oh we did the butterfly .
Oh Here we go .
And this is a butterfly border .
You can see how easy this product comes out of the mold .
And there we have a beautiful butterfly board .
I chose the hot pink cake .
So you can really see the designs .
It gives you some idea of what you could do with these .
And let's see , this is um this is a bag of pieces that I made a while back .
These are some of the uh other designs .
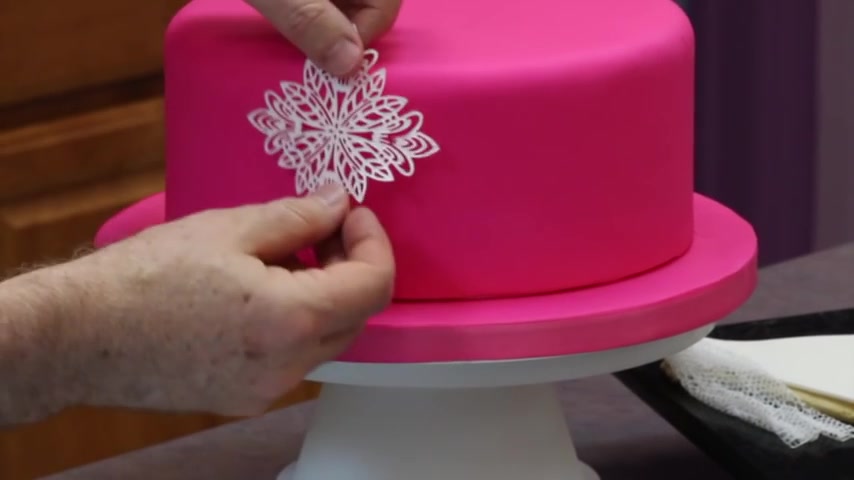
This is just a little round floral design .
I showed you the butterfly .
Um We have these nice square designs which you can lay across the top , you could lay them across and make a border all the way around the bottom like that where you could put them on the top and lay them down .
Let's see , this is a piece of the , of the , uh , lace that I made .
I made this at least probably three months ago .
You can see how easily it come it opens up .
It doesn't stick to itself .
It's just a fabulous , fabulous product .
Um , I showed you the butterfly border and this is the one that we just made a few minutes ago that I'm letting dry .
This is the floral border .
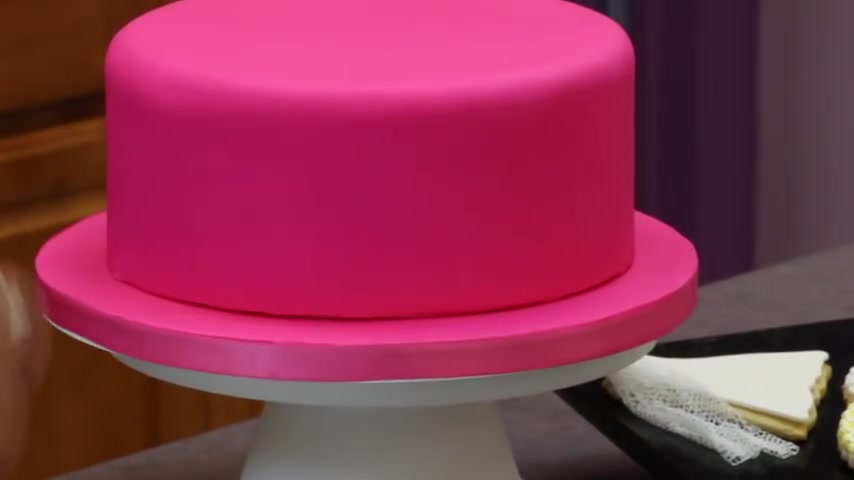
And then the last order that I haven't shown you is this one if you like doing stenciling on a cake , this is a great option to rather than uh doing Royal I stenciling .
You can just glue this right on the side of the Fonda with a little bit of gum glue .
Just sit here the points down and it gives you a beautiful stencil look and you can paralyze this ahead of time if you like , just put it on a paper towel and brush it with some pearl dust and you'll get a nice glimmer on , on the uh on the lace , on the cake .
So one last thing I wanted to show you on this one cookie .
There's a little bow on here and I actually made that out of sugar dress as well .
And the way I did that , I took one of the mats and I used the back side and I used a regular plastic scraper or you can use a pallet knife .
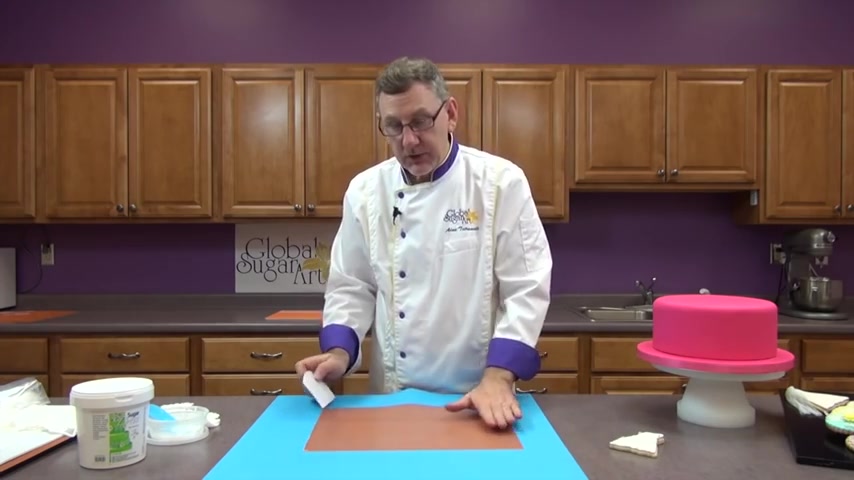
I poured some of the sugar dress on there and I just went back and forth with the pallet night for the scraper until I had a smooth finish and I let that dry overnight .
And this is what I got .
It's just a piece of the sugar dress and I cut a very thin strip out of there and I tied it into a little bowl and you can color the sugar dress , you can add food coloring in the mixing process .
So if you wanted pink bows in a white dress , um , anything you wanted to do your , your imagination is , is the only limitation .
I hope you've enjoyed this short tutorial .
Again , it's sugar dressed by Marco Lotto .
It's very easy to use and I think you'll get about one recipe in here is four tablespoon .
Um , and I think you're gonna get a about eight or 10 batches out of this out of this uh bucket .
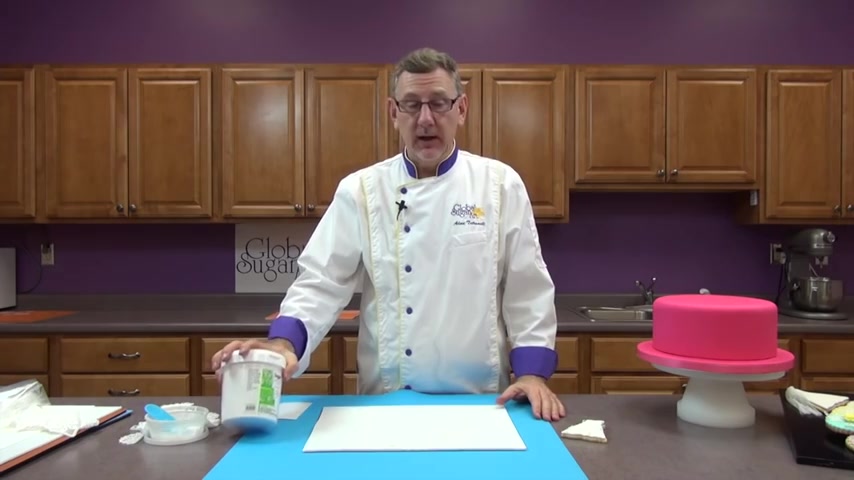
You really get a lot of product and one little batch of four tablespoons will make several , several uh of these silicon mats of , of product uh , of the lace .
So it's a great product .
I hope you enjoy it .
Thanks for watching and you can find all these products at global sugar up dot com .
Thank you .
Are you looking for a way to reach a wider audience and get more views on your videos?
Our innovative video to text transcribing service can help you do just that.
We provide accurate transcriptions of your videos along with visual content that will help you attract new viewers and keep them engaged. Plus, our data analytics and ad campaign tools can help you monetize your content and maximize your revenue.
Let's partner up and take your video content to the next level!
Contact us today to learn more.