https://www.youtube.com/watch?v=aPflB7_XXaY
How to draw ANY POSE in 10 minutes _ DrawlikeaSir
Hi guys , my name is Marcel .
And today you are going to learn how to draw poses like us , sir .
Again , I've already made a video on how to draw poses which you might have already seen .
But it's a pretty old video and I thought it might be helpful to make another one in which you can see how I draw poses .
Yes , of course , there's going to be a step by step part , some tips and tricks for you to use and so on and so on .
But for now you're going to learn how to draw poses like a set .
Again , of course , you might have already taken a look at the thumbnail and said , yeah , I want to draw a pose like that .
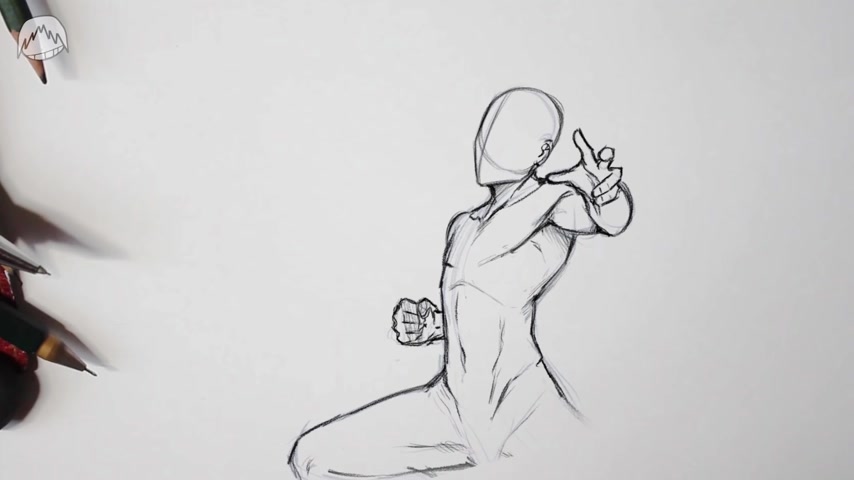
But in order to draw poses , you have to understand how to construct them first .
And that's how I'm doing things as always try breaking your subject apart into its most simple components .
So in easier terms , you need to simplify a body first .
The worst mistakes beginners make is that they try drawing detailed poses right from the start .
That's not how you should do it at the beginning because even pros use basic shapes first .
That's the best way to get your pose down reliably and anatomically correct .
Anyways , there are many different ways and shapes to simplify a body with in this video , I'll show you my approach .
So this is the way I started drawing a human body in case you wonder , some people like to draw the rib cage around other people like to draw them like a square .
It honestly doesn't matter for starters just draw it the way you are more comfortable with .
Meanwhile , I'm trying to draw the rib cage as an oval shape since that's anatomically more correct .
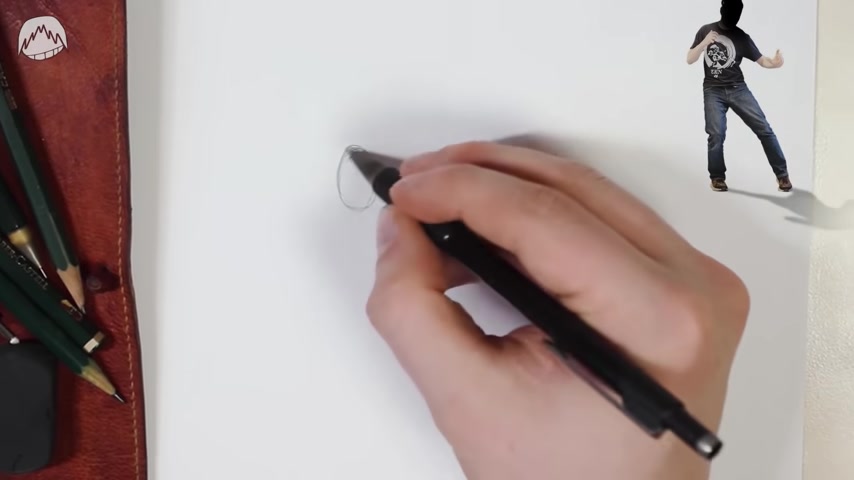
Anyways , let's start out with drawing an easy pose for starters .
Let's say I want to draw something simple like this pose .
Now , I'm not just drawing in every single lego brick and color of the day .
My approach is to determine the direction of this body first .
So let's say I'm starting with that right .
I'm drawing in an oval shape and from the very get go , I determine which way it's facing .
Yeah , that's kind of a no brainer .
You've seen this dozens of times .
I know .
But the same thing also goes for the rib cage as well because the rip cage is kind of the main part of your body .
If it's facing the wrong direction , all of the limbs attached to it will be off as well .
You determine the direction of your rib cage with two lights first with the way your shoulders are facing for that , you draw a horizontal line and then you draw in the way your rip cage is angled with the vertical line .
The most surprising thing might be this was the hardest part .
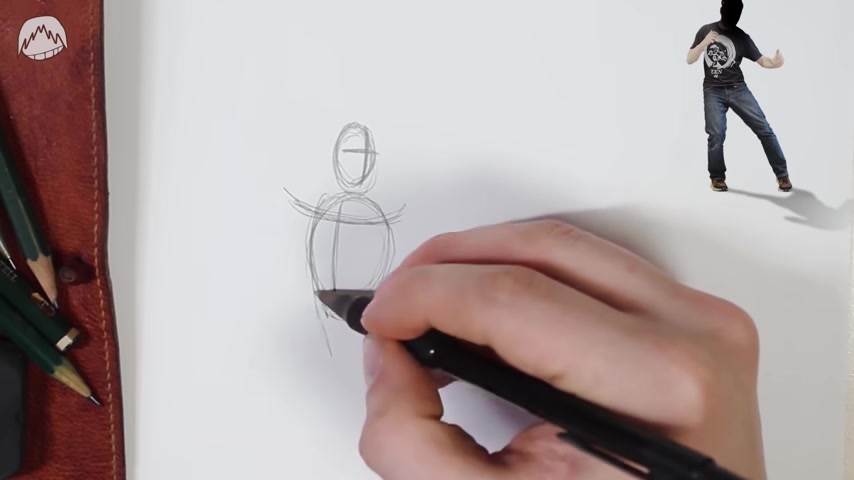
No , really , everything that's still missing are the limbs you can continue any way you like .
For the sake of this tutorial , let's just complete the torso underneath your rip cage .
There is a middle part containing your stomach and also there's this triangular shape that's connecting both of your legs .
And the thing is there's barely anything left .
I have to say about this drawing .
The rest of this stigma like figure is kind of self explanatory .
You draw circles for shoulders , tubes for limbs and then again circles for joints .
There's nothing more that I could explain to you with this easy pose .
And yes , the very same thing goes for your other limbs as well .
And if you're unsure about how long the arm is supposed to be , how big you have to draw the head , you can just refer to your reference .
Now , of course , this isn't a finished drawing .
This is just basically a stigma or maybe a glorified lego statue .
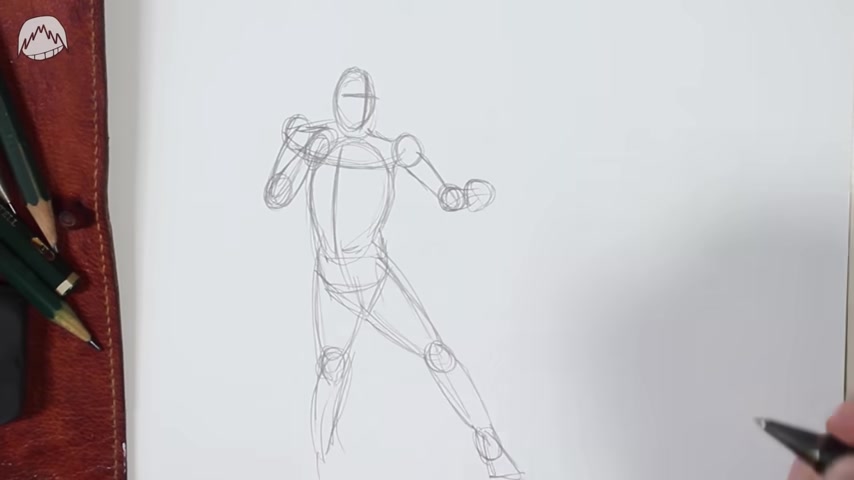
But since you now have the template drawn out , you can just apply your atomical knowledge to this blank figure .
So if you know how to draw muscles and human anatomy , you can just apply your knowledge as usual .
And if you don't know how to draw muscles or human bodies .
You can just check out my video where I showed you how to draw a relatively detailed human body with almost every muscle for beginners because I'm not going to explain muscles in this video again .
Instead I'll help you tackle harder poses .
This post from before was kind of simple , right ?
That's because it's very two D and flat .
It's not a bad pose .
It's just very simple .
I think you'll be struggling when you want to draw something more like let's say this since this video is about drawing every pose , I'm trying to help you drawing harder poses as well .
Many people still approached these poses the way I just did , which is drawing them with simple building blocks , et cetera .
And there's nothing wrong with that approach .
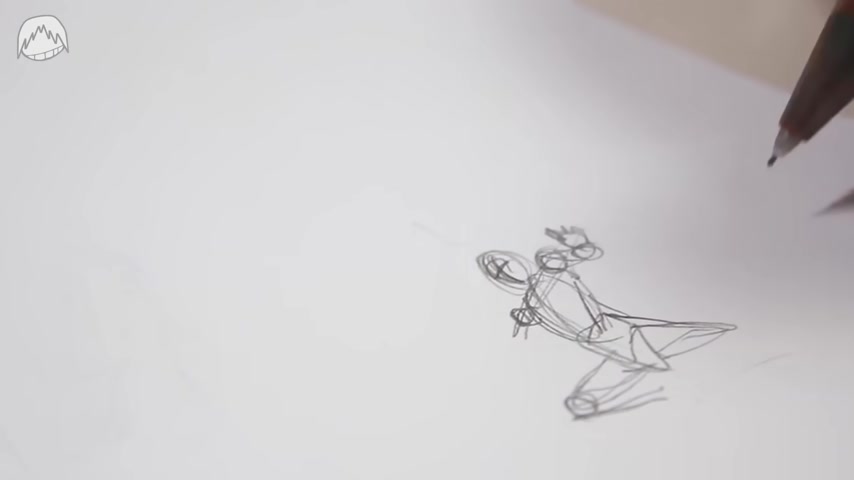
But actually , when I'm drawing complicated poses , I'm applying a very certain trick in beforehand .
Maybe you can even recall my old posing video where I said that drawing smaller poses is much more useful since it helps you with keeping an overview .
And that's why I'm always drawing thumbnail sketches first .
That's basically a small version of your drawing or artwork before you start working on the real deal .
And in case you don't believe this is actually helpful .
Yes , I drew thumbnail sketches for every single artwork I drew last year , without exception , every single one in case you're asking why it's because you don't hesitate to correct stuff .
And that's very important with harder poses .
Now , let's compare this chat thumbnail sketch method to the Virgin novice method from the beginning .
Imagine you're drawing a detailed pose right from the get go and then you're noticing , oh man , something's wrong with the arm .
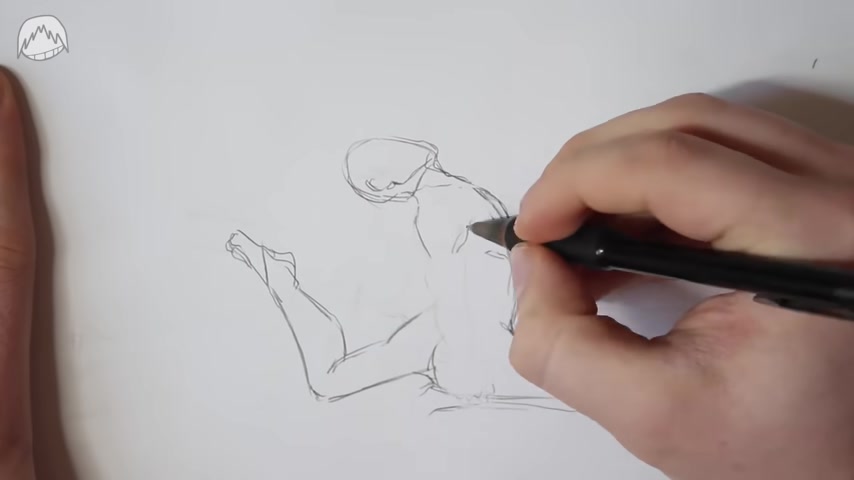
So you have to erase and redraw the entire arm , including all of its details and then you're noticing .
Oh , maybe it was just the shoulder , I guess , rinse and repeat and so on .
You know what this amounts to .
Don't even bother with this method .
If you're just having a tiny thumbnail sketch , you can endlessly adjust and erase things in the seconds .
Also , that's very helpful when you're drawing artworks with multiple people in it , it just helps you not to lose track of what's important .
So you can basically break down any complicated pose as an easy download sketch first , maybe even just as a stick man .
If you're really struggling , you're basically drawing yourself a blueprint of the pose you want to draw .
This also gives you more confidence since , well , you already drew the pose once now , you just need to do the same thing just a bit bigger and while doing so you can just reference your own previous sketch of it .
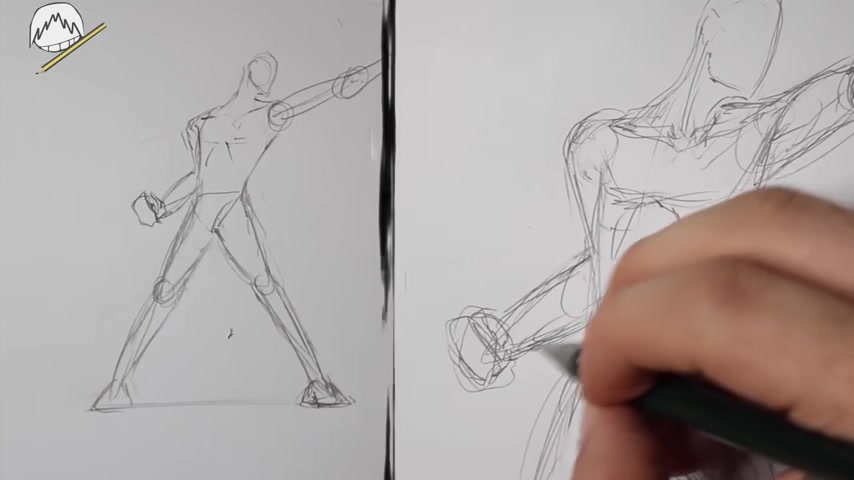
And by the way , if you want to see more drawings and thumbnail sketches , I did , I released two art books last year and in my smaller art book , like a sketch , you can see almost every single drawing I made last year .
Yes .
Also including their thumbnail sketches .
If you're interested in that , go ahead and check out my online shop .
Anyway , I know the struggles when you're endlessly redrawing something and getting more and more frustrated in the process , just try making a thumbnail sketch to avoid that .
Also , looking at this comparison , I think you can see that drawing a smaller version first helps you a lot with keeping an overview of the post .
I mean , you can't even see the whole thing without zooming out .
That's what she said .
Sorry .
By the way , don't hesitate to render your thumbnail sketch out a bit on this done sketch .
I spent over an hour just because I always changed or rearranged something .
By the way , I'd love to show you the finished artwork of this as a comparison , but I'm still working on it .
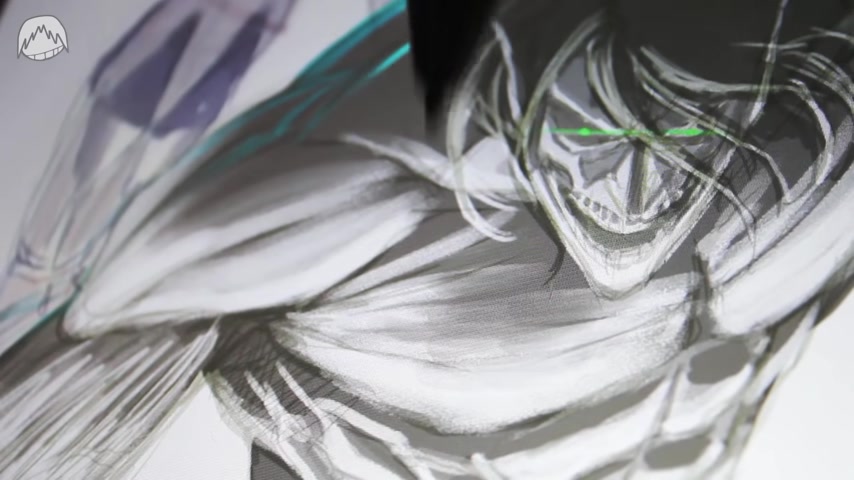
I'll just post it on my social media once I'm done with it .
Of course , when making my thumbnail sketches , I still sometimes use references as well .
I still think photo references go a long way kind of make sense .
Having a human reference is the best thing to learn when drawing , you know humans .
That's why you should definitely check out life drawing .
There are so many challenge videos here on youtube which will help you get down poses faster .
This is honestly the certified best way to learn drawing poses since that's the way they learn drawing poses in basically every art school .
But yeah , combining all of these tricks will help you drawing pretty much every pose there is .
And of course , this won't work overnight .
You'll still need to practice with all of these methods first .
But when you do this is the very first step in drawing poses from imagination .
And also I do have more tricks up my sleeve .
But this video is long enough as this .
What do you say ?
Do you want the full video about how to draw poses from imagination ?
If there's enough support for this ?
I'm happy to make another one .
But don't ever forget .
Drawing from imagination is nice though .
You should still always use references .
Shut up .
I know what you want to say .
You want to say that drawing with references is cheating and that pros don't use references , but that's total bull crap because even pros like post for their own drawing .
So that's not a reason at all not to use references yourself .
I just wanted to ask if I could use the bathroom .
Oh yeah .
Yeah , it's OK .
I don't need to anymore .
No .
Well done .
If you're interested in more tutorials for me , check them out .
I've made some on basically everything from drawing perspective to drawing air or how to shape .
They're all on my channel and of course they're all free well done .
My name's been Marcel and I'll see you guys in the next lesson .
Are you looking for a way to reach a wider audience and get more views on your videos?
Our innovative video to text transcribing service can help you do just that.
We provide accurate transcriptions of your videos along with visual content that will help you attract new viewers and keep them engaged. Plus, our data analytics and ad campaign tools can help you monetize your content and maximize your revenue.
Let's partner up and take your video content to the next level!
Contact us today to learn more.