https://www.youtube.com/watch?v=SFFVolDsssA
How to make Bread Dough
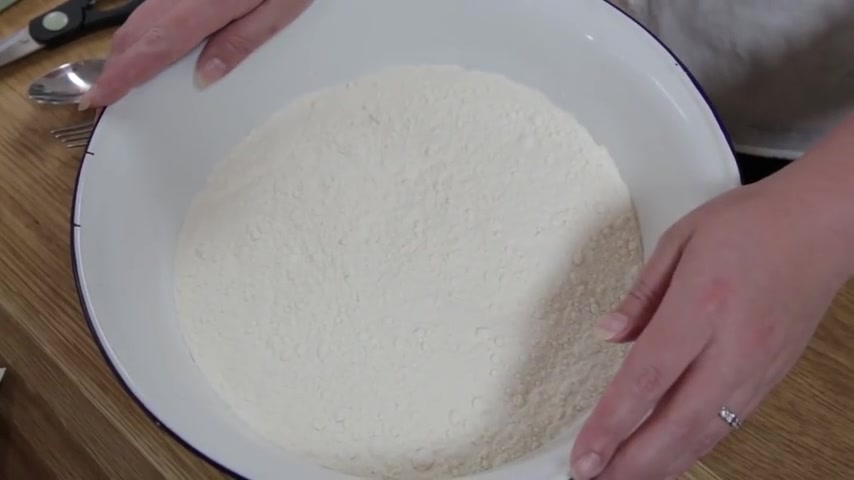
hi food tube carryanne here .
I'm going to show you my basic bread dough recipe .
It's fantastic .
It's easy , it's simple .
And you can do so many other different things with it .
So let me show you how so we're gonna start with 1 kg of strong white red flour .
I'm gonna use a fork , and I'm gonna make a well in the middle .
Now , I know you might be thinking I'm crazy , but there is a very good reason for this .
Usually , I would do this on the work surface , but because this is such a beautiful work surface , I don't want to mess it up with dough , So I'm doing it in a very big mixing bowl .
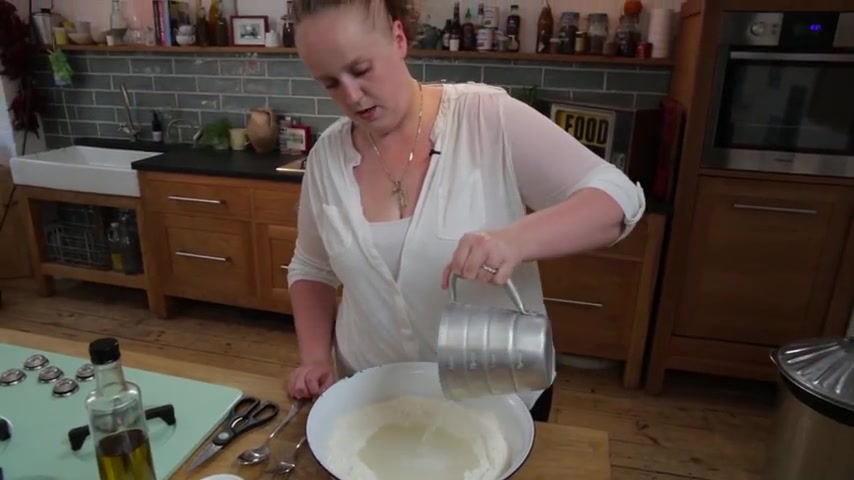
So if you come and have a look , my friends , we've now got a nice big well in the middle of the flour and into there on one side I'm gonna add a tablespoon of caster sugar on that side and then over this side , I'm gonna add a very large pinch of salt , and then we're gonna pour in a pint of warm water .
Well , I say warm room temperature water straight into the middle , and then I'm gonna add my yeast .
The reason why we add the yeast on top of the water and the sugar and the salt is because sugar makes the yeast come alive .
Salt will kill it .
We need the yeast to be alive because that's what's gonna make our bread grow in the oven grow before we put it in the oven and make it taste really , really good .
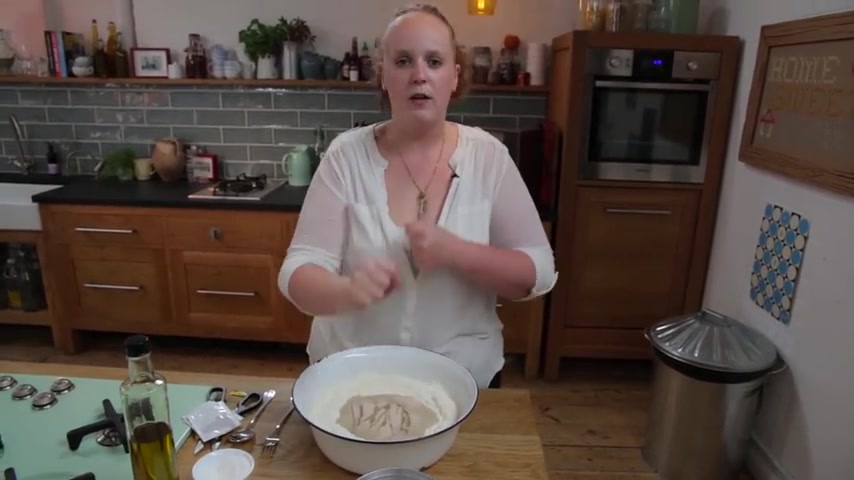
And then a nice glug of olive oil .
Not too much , not too little .
The olive oil is not for flavour , really .
It's just I always find that when I put the olive oil in it , it it's easier to need .
It makes the dough a little bit more stretchy , a little bit more elastic .
Um , but you can leave it out if you want to .
Now we're gonna get our fork , and we're gonna go into the middle , and we're gonna mix mix , mix , mix , mix .
And what we're gonna do is we're gonna slowly go round the edges and bring in the flour .
If we were doing this on the work surface , the water wouldn't be everywhere .
It would stay in the centre because we've built the wall around the outside .
So we want to do this until it gets quite thick .
And once it starts to get thicker , as you can see , a more doughy , you can stop using the fork and get your hands in for this stage .
I like to use one hand and keep one hand clean .
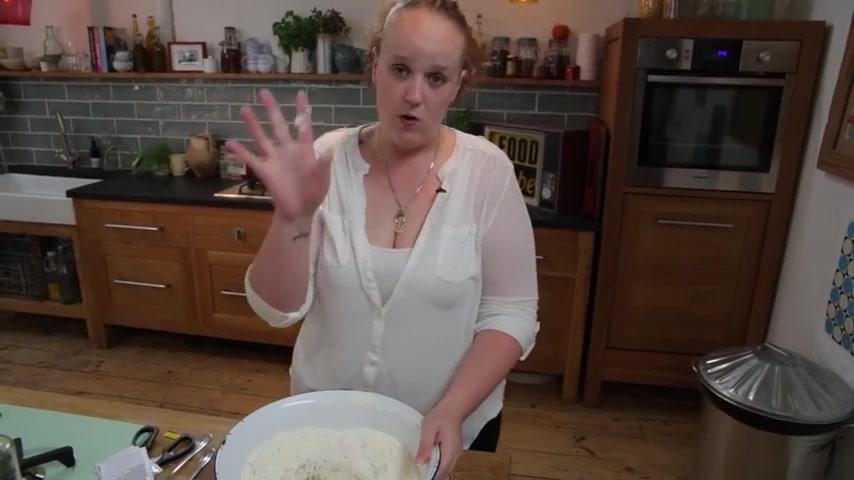
So I'm gonna keep my clean hand on the side of the bowl and I'm gonna go in with my hand .
That's gonna get dirty .
And we're just bringing it all together until it's one big ball of dough and then we're gonna bring it out onto the counter , and we're gonna need it until all those strands of glue and are stretchy and the dough is lovely and elastic , and then we're gonna leave it to rest and to grow .
It's a great workout for your upper arms or if you can't be bothered .
The kids love doing this , because if you think about it , it's like play doh , really , innit it .
But you can eat it when you're finished , so this looks like it's come together nicely into a nice big lump .
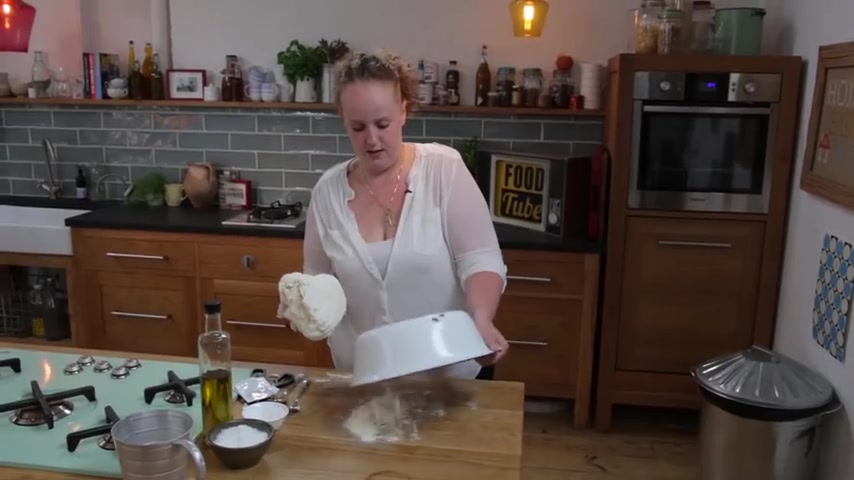
So all the flour that's left in the bottom of the bottle , I'm gonna tip out onto the surface , spread it out a little bit , and then we wanna start stretching and needing and stretch in some more .
This dough .
I'm not gonna talk much while I'm doing this because I'll probably get a bit breathless because , like I said , it does take a bit of elbow grease , but it's so worth it in the end .
And as you can see , the more we're needing it , the more it's time to look like a really smooth ball of dough .
And you'll know when your dough is ready because it will just it will just feel right .
I know that sounds like such a stupid thing to say , but it starts to get tighter , but also softer .
OK , so there you have your dough .
We've got some flour in the bottom of this bowl .
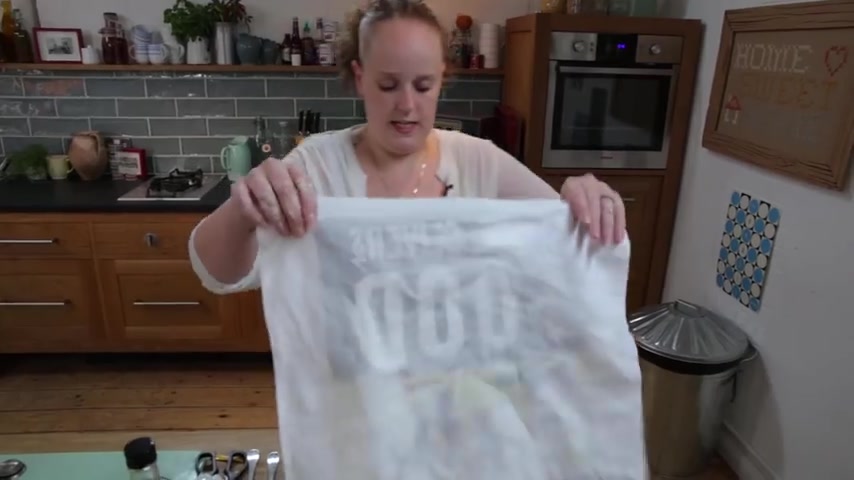
I'm gonna put that in , and then we're gonna cover this with a very slightly damp tea towel , and we're gonna put it in a warm place , and it's gonna need to prove which means grow , um , until it's doubled in size , which usually takes about 30 to 40 minutes , and it does double in size .
If you don't believe me , here's one I made earlier .
Ready ?
Are you ready ?
Look at that .
Is that not just incredible ?
So we're gonna get rid of this one and leave that one to grow .
What we now have to do is we have to now knock most of the air that we've generated in this dough back out again .
And it's called .
This process is called the knocking back process .
Because that's what we're doing .
We're knocking it back to how it was .
Look at that .
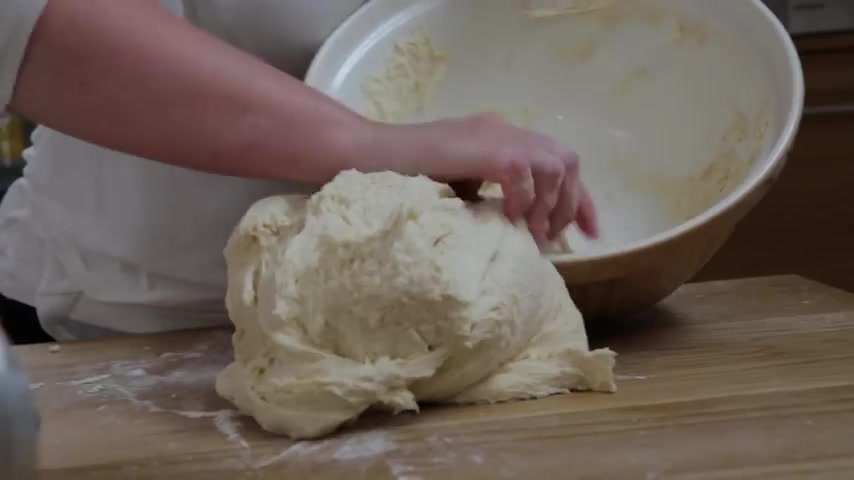
Look at all those air bubbles and it smells so yeasty .
Look at that .
It smells like a really nice beer .
What we're gonna do with this beauty is we're gonna just give it a quick not as much as we did before .
We just wanna take out quite a bit of the air that we put in just nicely .
And as you can see , it's so much more bouncier , so much more glutenous as they would call it .
And it's just it's just lovely .
It's such a joy to to need .
So there you have it , my friends , My simple basic dough recipe .
You can use it for a multitude of recipes .
Pizza , garlic bread , sweet breads , breadsticks , er for catchers rolls all sorts of things .
It's so easy .
It a go .
Let me know what you made in the comments box below .
Or what you'd like to see me make with this .
I'm quite happy to take on some suggestions .
Don't forget to like it .
If you like it .
Subscribe if you want to .
It is free after all .
But most importantly , my friends have fun .
Enjoy yourselves .
And I'll see you next time .
Happy cooking .
Hi , guys .
Kerry Ann here .
I'm gonna show you how to make a really , really good flavoured butter .
Now , this is something you can do with just ordinary plain butter .
And you can use it to jazz up your normal everyday meals , like your steaks or your pastas or your fish .
Are you looking for a way to reach a wider audience and get more views on your videos?
Our innovative video to text transcribing service can help you do just that.
We provide accurate transcriptions of your videos along with visual content that will help you attract new viewers and keep them engaged. Plus, our data analytics and ad campaign tools can help you monetize your content and maximize your revenue.
Let's partner up and take your video content to the next level!
Contact us today to learn more.