https://www.youtube.com/watch?v=Uf6mtrcUj_U
How to DRAW FACES (From ALL angles) _ Drawlikeasir
Hi guys , my name is Marcell .
And today you're gonna learn how to draw faces from every angle like so I pulled out all the stops for this video .
So there's gonna be a step by step part .
I made animations as always .
And this time I even made 3d models .
I prepared everything I could like some crazy doomsday prepper because this video topic ain't easy and I wanted to make it as simple as humanly possible because I struggled a lot with drawing faces back in the day .
So I know how it is .
The only catch is you need to know how to draw your typical basic face .
If you cannot , then I would suggest you watch my tutorial on it first because you need to learn how to walk before you can run , right ?
So this video is more or less part two and maybe they will even be part three or part four .
But I'll show you guys how to shade or color faces .
You guys are supporting me like crazy right now .
You are sending me so much love and I'm super motivated to return the favor .
So if you're new , you can subscribe because I'll upload more videos about drawing face and also my 100,000 subscriber special soon .
So join my crew become a and we're gonna start with the tutorial .
I suggest you're only watching the tutorial first and then start drawing yourself .
You can use any kind of paper or pencil that you want .
But if you're curious what I'm using , you can check out my website .
There's a whole list of all of my pencils and art supplies there .
Well done .
Let's start with part two of drawing faces .
Let's go .
So since we learned how faces work in part one , we can now arrange those parts in every perspective .
Let's start with a popular perspective .
First , people ask how to draw faces from a three quarter view all the time and that's why this will be first , if you guys recall how we drew faces from the side , this will be almost the same thing with just a few extra steps .
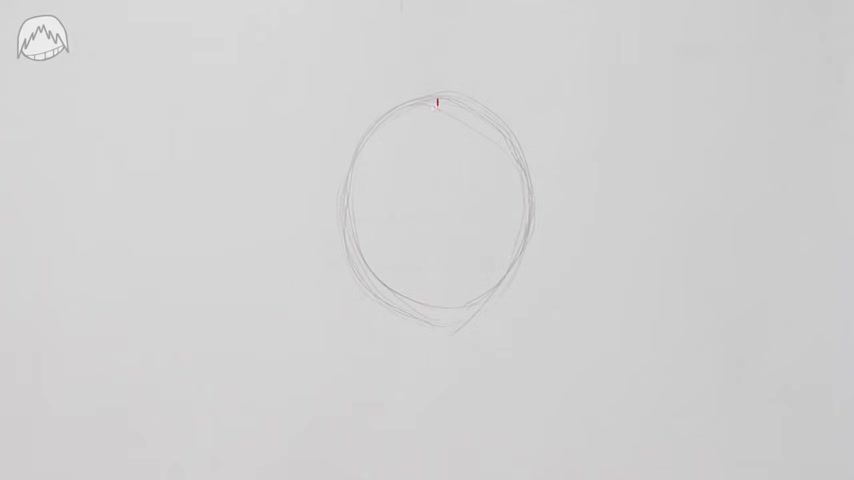
Let's start with the circle as always .
Now , if the middle line is in the middle , your face will be drawn from the front .
And if your middle line goes to the side , your face will be drawn sideways .
And for a three quarter of you , you have to draw it halfway between those .
All the other guidelines will be the same as before .
For example , the next guidelines will also be in the middle and at the end of the circle and don't forget on the device when it comes to proportions to 11 .
And maybe you also noticed how my lines are slightly curved .
It's not that obvious from this perspective , but try getting used to it because other perspectives will require curved lines as well .
You need to start thinking 3d from here on out .
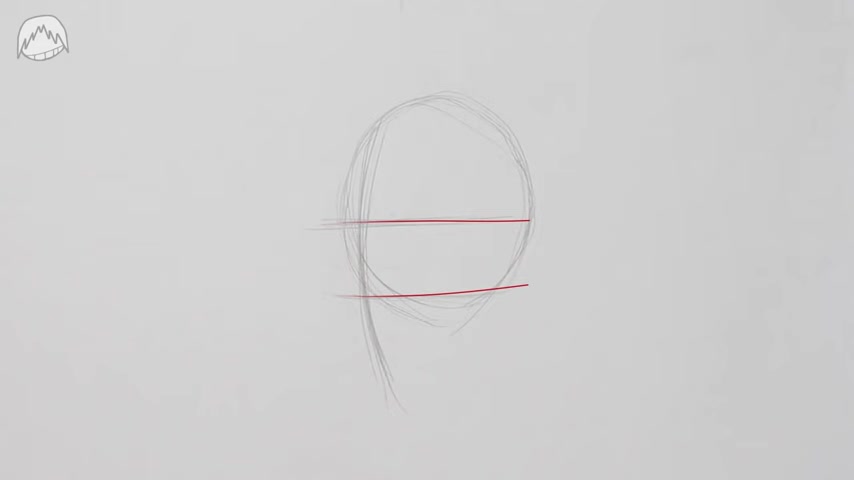
As always , we're placing the ear between our guidelines doing that from the sideways perspective is pretty easy because you can just place it right in the middle of the circle .
But where is the middle of the circle in a three quarter view ?
And like I said , in order to draw this , we need to think more 3d .
So the middle line would be over here if you're not as good with thinking 3D .
That's OK .
That's just a matter of practice .
As always connect the ear and the chin with a jaw and you have one half of the face as a beginner .
I always had problems with the second half , but don't worry , the second half is pretty easy if you know how to draw it .
And that's what I'm here .
For .
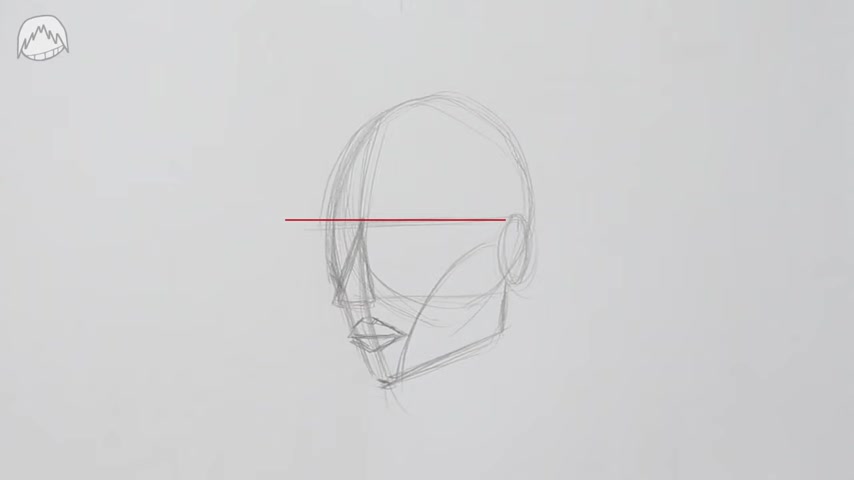
First of all , you need another guideline and this guideline will end right here at this horizontal guideline .
And now here comes this guideline into play the cheekbone and of course , that's not a perfect shortcut .
You kind of need to know what you're doing .
But knowing that the cheeks a bit dent in due to the cheekbone is knowledge that can help you a lot when it comes to drawing the face shape .
And speaking of the face shape , we're pretty much done with that .
Everything we still need would be our building blocks from last time .
I now want to face the elephant in the room because most of you probably have problems with placing eyes in this perspective .
As a beginner , you'd naturally think that both eyes are drawn on the same line .
But if you listen carefully , you'd know that this line is actually slightly curved .
So yeah , no ruler in this world is gonna save you here .
I know it's probably not gonna work out perfect right from the start .
But drawing ice like this will get you a lot further .
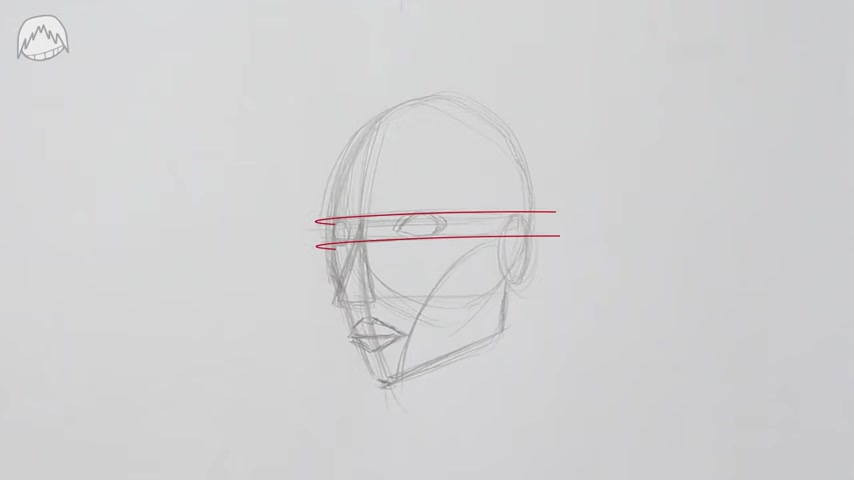
The most important thing is you get the guidelines and thus the building blocks correctly and then everything else should be relatively easy in comparison .
But if you're still having trouble , art is not only knowledge about how to draw something , but also a lot of practice and actual muscle memory , I've asked people on Instagram if practice , our knowledge was more important and the outcome was kind of what I anticipated .
So you can guess where I'm getting at after this video , you have the knowledge how faces work , but you still need to put in all the practice to actually get it down .
So yeah , it's probably not gonna work out the first time and that's OK .
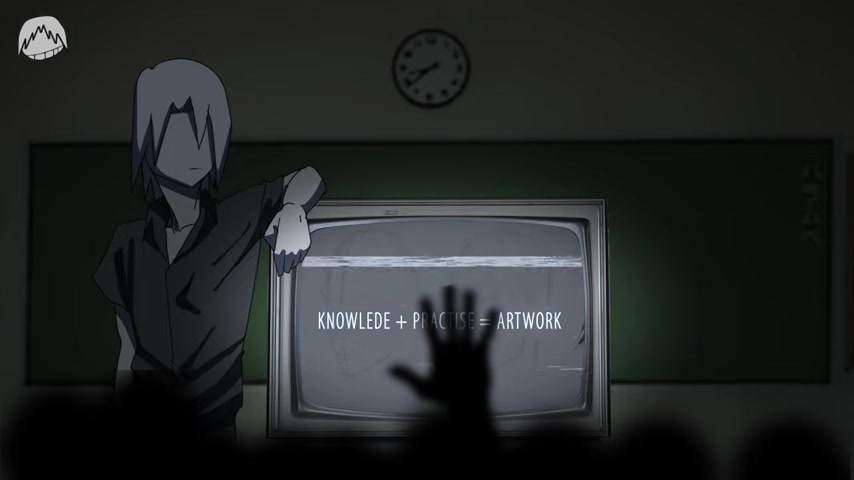
So when adult always remember knowledge , plus practice equals your artwork .
This is very simple mathematics .
Believe me , I know what I'm talking about .
Really ?
So you were a good student back in math class .
Let's continue with the video .
Of course , there are many more angles from where we could draw a face .
Let's stick to the obvious ones like drawing a face from above or below .
And you guessed it , we're always using the same guidelines as before .
So what we're doing now is to shorten our faces .
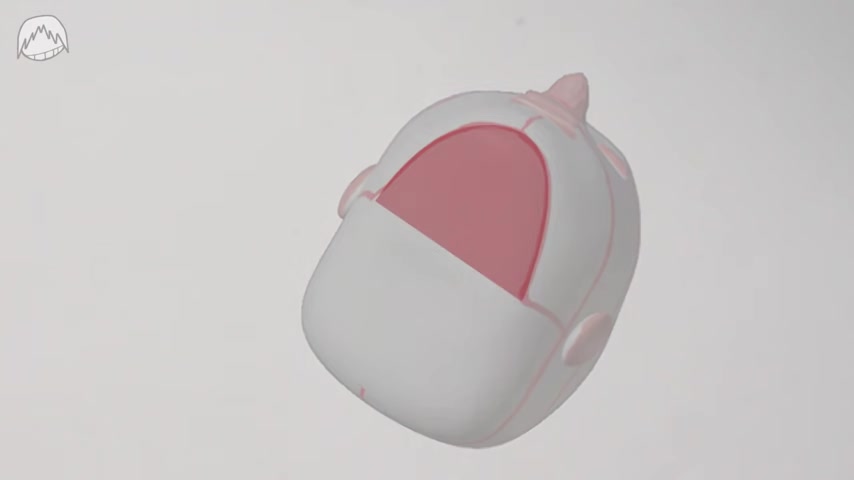
I made a whole video about for shortening , but in case you didn't see it , it basically means the parts that are further away , get smaller while the parts that are facing towards us are getting bigger or in layman's terms , 311 and this may look complicated , but the rules are still the very same as before .
The years are still between those two guidelines like I showed in part one and also the nose is still between those two guidelines and the same goes for the eyes .
They are right on the same guideline as they were before .
So yeah , the most crucial part is getting those damn guidelines right ?
If you can do that , you basically have your framework and then you just need to apply the rest on top of the framework .
And yes , I bet there's people out there who don't need guidelines , but they are practically priceless when it comes to learning .
Placing the building blocks is something you should have seen coming .
And now I'm drawing a very basic face out of this .
OK .
Before we draw a face from the bottom angle , there's something you need to know first because we now truly need to think in 3D .
That's the only way we can spot the final part of our puzzle .
And that's this kind of plate right here .
That's a big problem for a lot of artists .
They don't think 3D and miss out on this part right here .
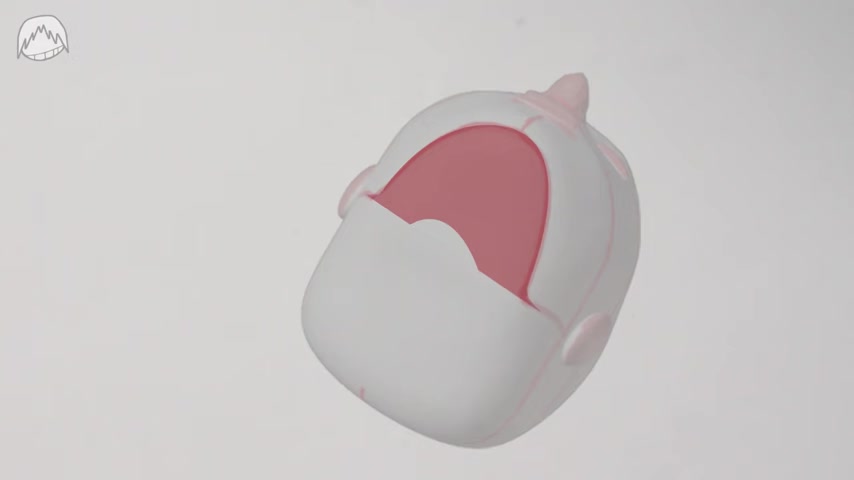
And yeah , I'm aware that this shape isn't exactly anatomically correct because you have your Adam's apple right here when you're a guy and also the shape at the end of the jaw is a bit different .
But you guys know how I roll in order to learn something , we need to keep it simple .
So let's keep this part a triangle for now .
So now we know everything in order to draw a face from the bottom angle .
We're starting out like always with a circle and our basic guidelines .
And now we have to push those guidelines up .
But always keep in mind that those guidelines are always fixated at the ears , maybe imagine it like a visor of a helmet or something .
As always , we now split the face in three parts .
So let's add the new part .
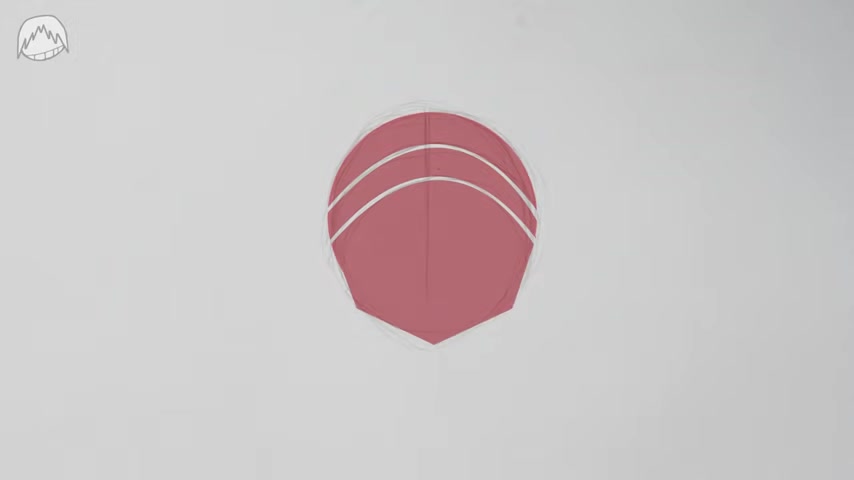
We just learned about the triangle , just be sure to keep the proportions just like before the part that faces towards us is bigger when we draw it in perspective .
If you want to learn more about perspective and want to draw more for shortened objects , you can just watch my video on it .
I think it's one of the best videos on this channel yet and you should definitely give it a watch if you are interested .
You guys know what's next .
That's right .
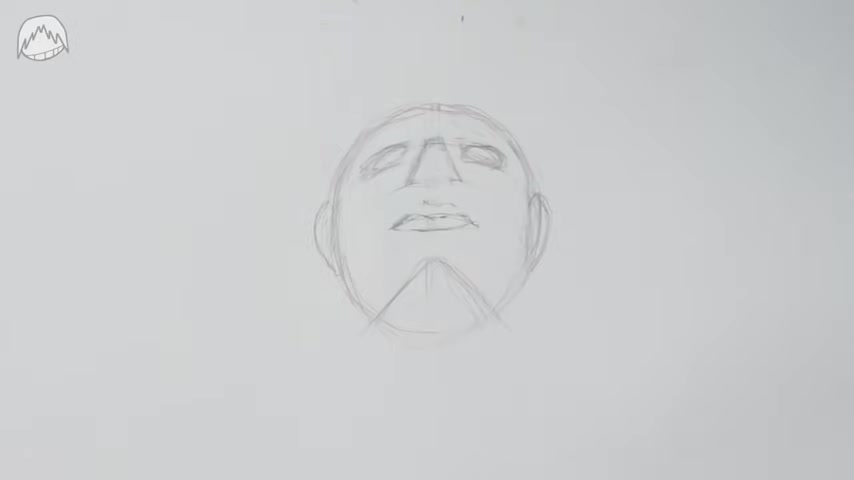
We add our building blocks , place them like you did before .
You know , the eyes are at the upper guideline , the nose is between both lines and so on .
Something very important I need to mention , since we're drawing everything very curved , you also need to draw your building blocks more curved .
So drawing an eye in this perspective looks kind of like this .
All of this could seem a bit much .
But believe me , once you have the basics down , those things are just details .
So you probably noticed how I've been repeating myself over and over how you're starting with this circle and then you add your guidelines on building blocks , blah , blah , blah .
And that's because it's always the same procedure .
I don't have anything new to teach you guys .
So this is goodbye for now .
But before that , I want to give you guys a little tool that could help you out in the future .
As you guys know , I always give you guys a cheat sheet at the end of my videos .
This time , I have something a bit more versatile .
I've made this 3D model for you .
And yeah , I know it's not pretty or anything .
I have no idea about 3D modeling .
I just made this to be practical .
It's not supposed to win a beauty award or something .
So yeah , it's not gonna be Miss America soon .
But if I make another video about trading , my models will look a bit better .
I promise .
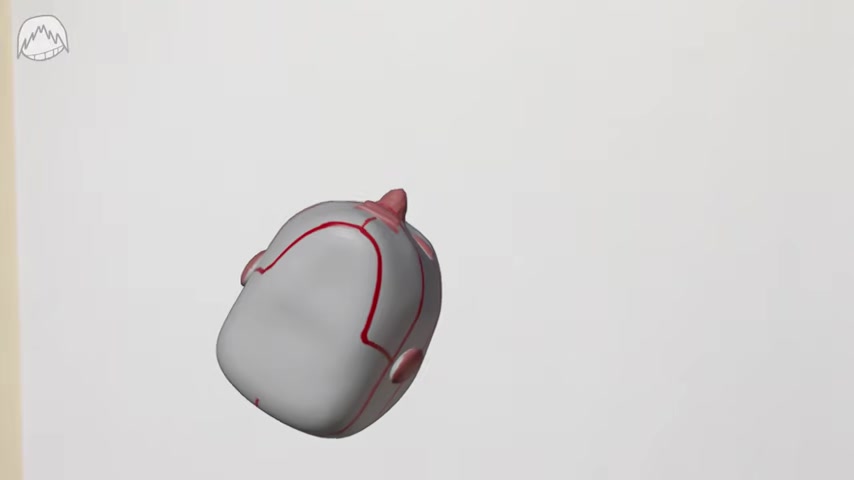
Anyway , on this model , you can see all of the relevant guidelines and building blocks .
So if you ever have problems with throwing faces , just skip to this part of this video and pause the video and then you have your reference for pretty much every angle .
Pretty cool .
Huh .
That was the best visual aid I could think of .
If you guys appreciate the effort I put in all of this , then you know how you guys can return the favor if you haven't already using 3D models is cheating .
No , using 3D models is not cheating .
It's the same as using an anatomy doll or a drawing from a book .
All of those are references , there's only one difference and that's that you are paying actual money for a book or an anatomy doll .
But videos like mine are completely free .
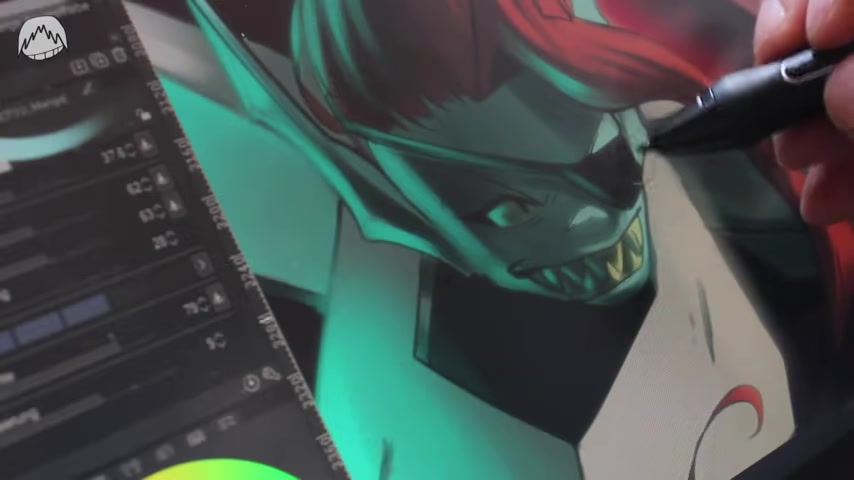
Sorry , I'm a bit worn out from working on my art book for about seven or eight months .
Now , I'm also working on a tutorial part for this art book right now about how I sketch and draw my artworks .
But sadly , it's only gonna be available in German when it comes out .
But don't worry , you don't need to buy it because you still have all of my tutorials here on youtube and they don't cost anything .
They are completely free .
Anyway , here , some lovely people that picked up on my car thing .
And if you're still interested , you can watch more of my videos right here .
Also , if you're interested in my art book , you can check out my website right here .
I've linked all the infos there and my name is Marcel and I'll see you guys next time .
Goodbye .
Are you looking for a way to reach a wider audience and get more views on your videos?
Our innovative video to text transcribing service can help you do just that.
We provide accurate transcriptions of your videos along with visual content that will help you attract new viewers and keep them engaged. Plus, our data analytics and ad campaign tools can help you monetize your content and maximize your revenue.
Let's partner up and take your video content to the next level!
Contact us today to learn more.