https://www.youtube.com/watch?v=AKsHl7zoHsI
How to Create Mega Menu in Your WordPress Website
Now , the reason why I'm doing this like this is because I just want to help you all visualize what we're actually trying to achieve and um just trying to give you some ideas .
Now , the reason why I'm not going to duplicate .
This is because uh we haven't edited first yet .
So I want to edit it first and then I want to go ahead and change it .
I didn't forget the divider model , didn't I under this plus icon ?
I'll add in the divider module like that first .
Things first .
Under this icon , I can go ahead and align this to the center like that .
And remember earlier how we use the actual paragraph in the H two tag , we can do the same thing here because remember uh this text is different from this one .
Now , I'm kind of lazy guys .
I'll be honest .
So I'm lazy .
So what I'm gonna do is I'm going to just duplicate this section here , right ?
I mean , why , why work hard twice guys ?
Why , why , you know , I'm lazy .
We're all lazy here and I'll just drag that below that .
And for this section , I'll just align this to the center .
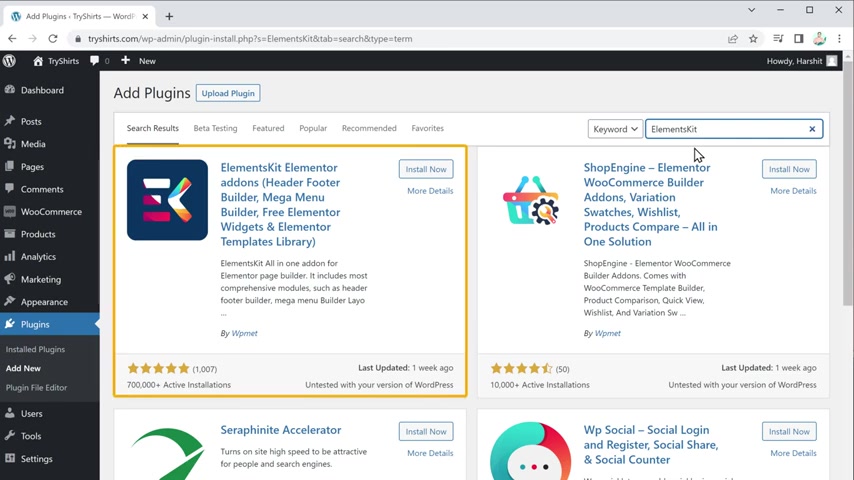
So to install the plug-in , let's go to our press dashboard .
Now , go to plugins and click add new .
Now here search for SK and you'll get this plug in .
Now , this is a plug in which will help us to create mega menu on our word press site .
So to install the plug-in , let's click , install and then click activate .
We have successfully installed the plug-in .
Once you have installed the plug-in in order to make the element skip plug in , work properly , you need to install the elemental plug in .
So let's click , install and click , activate , plug in .
So now we have installed the element of plug-in on our site .
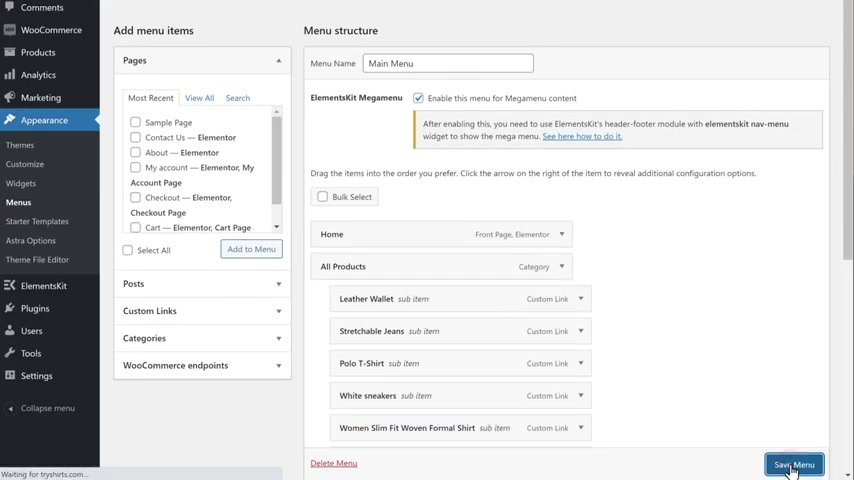
Once you've installed both the plugins now to make the mega menu appear on our site , first , we need to create a separate header section on our site .
So next , let's go to step two , which is to create a header section to create it .
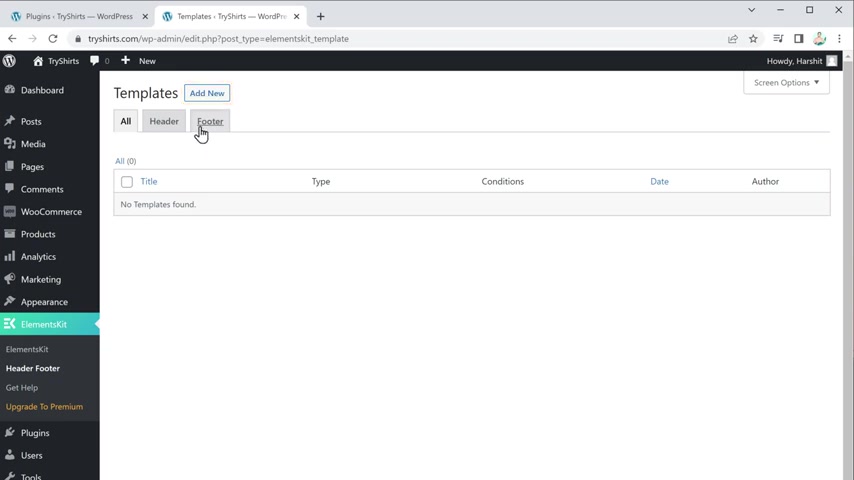
Let's go to elements kit and click , had a photo and then click add new .
Now here give a name for your section .
I'm going to enter and activate it and then click , edit and it will take you to this page where you can design your header section .
Ok .
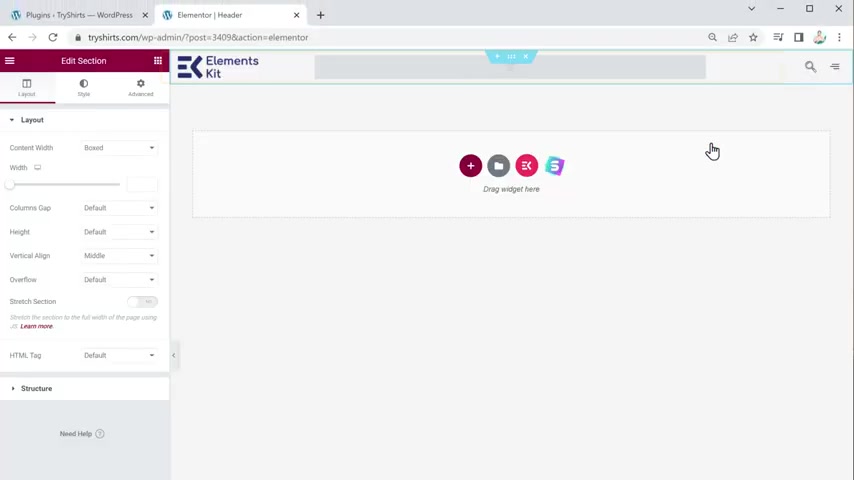
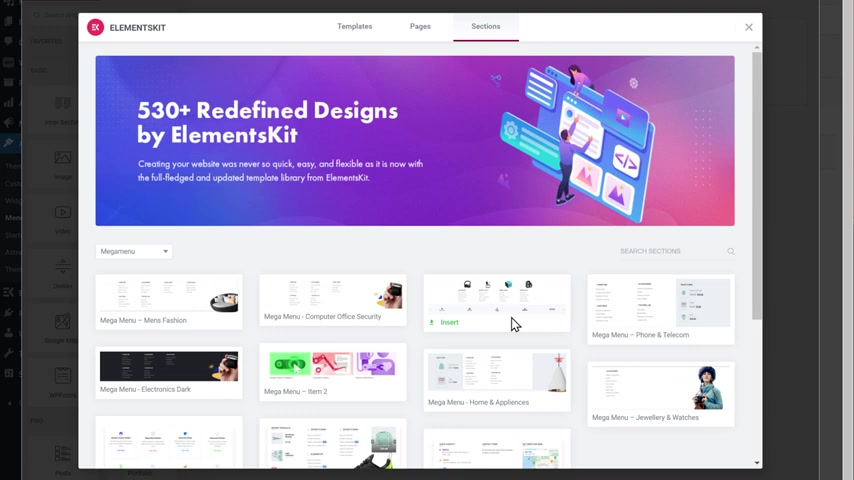
Now you need to select a layout for our header section to select the layout .
Click here and click sections , then go to category and click here .
You will get different types of layouts which you can use to design your header section .
Now to see the preview of how your layout looks , click on it and you can see how the layout looks .
And also for this one , I'll double click on all of this and I'll line this to the center as well .
So I'll delete that April fools .
Yeah , we're not using that no more .
And for this one , why should we do that again ?
We can just , you know , duplicate this , right ?
And then I'll just drag this to the bottom here and I want to align this to the center .
Oops wrong one .
So sometimes you might have problems clicking on a module .
Now , if that ever happens .
There's a few things you can do .
I'll click on this purple icon at the bottom and right here we have this little brick or I don't know what those are .
We can click on that and this kind of displays everything about what we're doing .
We have this section row and we have two dividers here .
So I'll just go ahead and delete one .
You know , I don't need two , but this is how you can kind of visually see your website uh from like a block standpoint .
You know , it's funny uh about a year and a half ago , two years .
This was the only way to build pages with Dibby if they didn't have a front and builder .

So that was version before 3.0 And that was a long time ago .
I'll just uh align this to the center .
I believe this is under the uh let's see under the sizing .
Is it the module ?
I , there you go , the center like that .
And also , you know , we don't need to really , you know , I don't really want to do this all over again .
So what I'll do as well is I'll duplicate this module and I'll just drag it to the bottom and just drop it in there .
Now , I have this background image .
So let's go ahead and add in the background image here .
I'll go over here and add a background image .
There we go .
And then I'll click on that now , we might need to change these two whites .
Now , instead of having to do that all over again or even duplicating it , I can copy this module style and I can paste it on other modules .
So what I'll do is I'll right click and when I right click over a module , you'll see certain things .
You'll see uh split test , save a library , all of this stuff .
However , I can click on copy module styles and I can paste it right over there like that and paste it and then paste it again like that .
Now , the reason why I didn't change the read more is because the read more , I actually use it through the text editor .
So I'd have to go ahead and change that uh manually .
But uh that's just an example of how you can go ahead and copy module styles from other places and bring them to somewhere else .
Now , what I did here is I just added a drop shadow or I can even add in a black background and I just made it transparent .
So there's a few ways of how you can achieve that .
So for example , for the first column here , I'll go to the design tab and under the backgrounds , I just want to add in a black background , right ?
And I can just make it very transparent .
What I'll do is just make this very transparent like that .
You see how I did that .
Now , also you might notice how we have no space .
Remember how we talked about padding before , how we want space above and below .
Now is a good time to exhibit that .
So for the sizing here , let's see where it is .
Where is it the spacing here ?
Let's add some padding of 10 pixels to the top , right ?
And then we also have 10 pixels to the bottom .
So now you can see how we have the , the padding and now you can visually see where it should be applied .
It's just a really , you know , a good way on how to , you know , add padding and everything to your website .
I can even add more here , maybe 20 pixels is good .
Now , what I also could have done is I could have added a box shadow around that specific column as well .
So let's just say I wanted to add in something like that or like this , you know , I can always add in some sort of design and the core to it .
It's really up to you , you know , I , I like box shadows but just be careful .
Don't add too much of them because it's a quick way to make your website like really tacky .
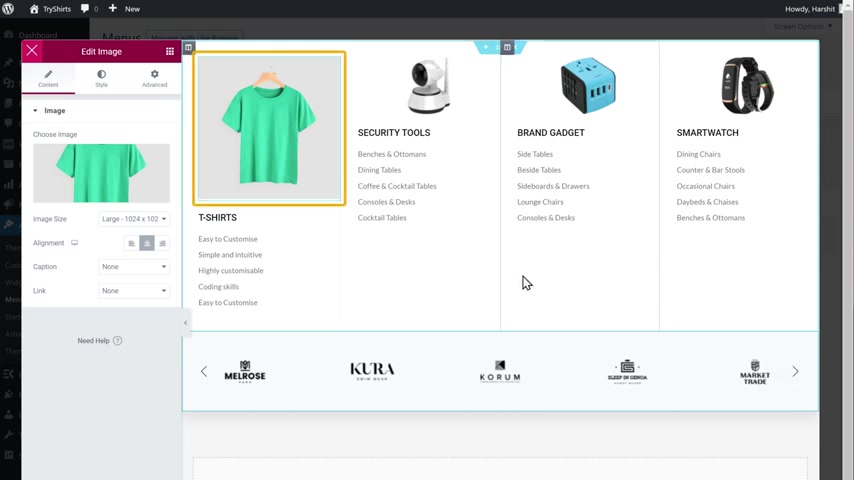
So now that I've added that little background over it , um I can go ahead and maybe uh change this specific column to the left side , you'll see here how I have this column to the left and I'll show you how I did that what I did to achieve that is I actually changed the actual size of the column .
I'm sorry , the icon for the image icon placement , I left it at top , I put it to the left side .
Now we have this option right here to use the icon , font size and I just made it a lot more smaller , something like that .
And for this text , I actually put it to the left side here .
So I put it to the left side and also I put this as well to the left side .
So there's really no right or wrong way to do things .
That's just how I achieve that .
Now , instead of doing this all over again , I can delete these and I can just duplicate that module .
So that's essentially how I achieved this section right here .
So you can kind of go through a ahead and mess around with it .
It's the same thing , you know , just some small adjustments I need to make .
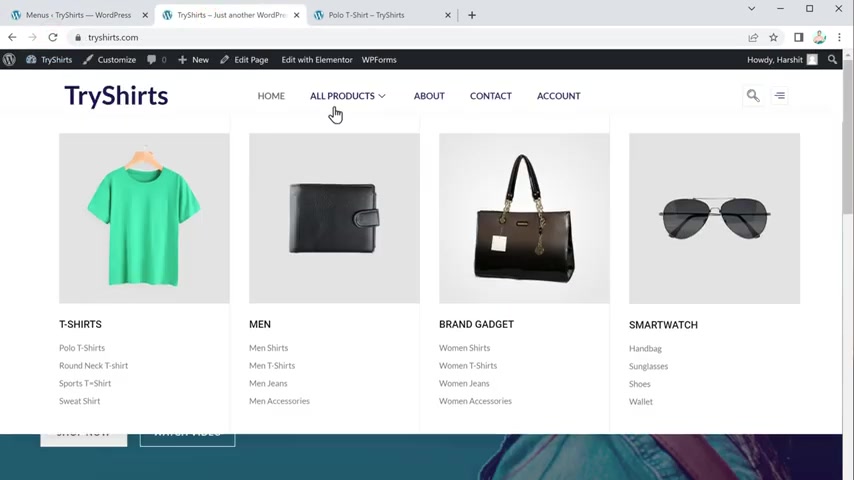
Now here select full width and default and then click save .
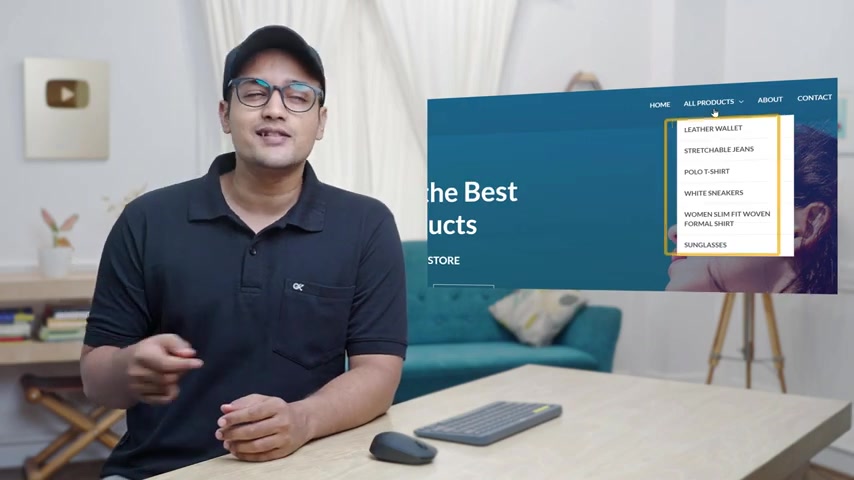
Now if we go back to our site and click refresh , you can see that we have got the mega menu in full size .
This is how you can create a mega menu and add it to your Wordpress website .
Now , if you want to add different and unique menu templates to your website like this , you need to get the pro version of the skip plug in .
So to get it , just click the link below this video and you can purchase the pro version of the plug in from here .
So that's it guys .
Now , you know how to create a mega men .
And if you want to know more about wordpress , you can check out our wordpress course here .
OK .
Also make sure you click the subscribe button to see more videos from us .
So thanks for watching .
I'll see you in the next video .
Till then .
Take care .
Bye bye .
Are you looking for a way to reach a wider audience and get more views on your videos?
Our innovative video to text transcribing service can help you do just that.
We provide accurate transcriptions of your videos along with visual content that will help you attract new viewers and keep them engaged. Plus, our data analytics and ad campaign tools can help you monetize your content and maximize your revenue.
Let's partner up and take your video content to the next level!
Contact us today to learn more.