https://www.youtube.com/watch?v=drFmBXukb08
Create a full website in 14 minutes with Webador
How's it going ?
Everyone .
I'm Ken and I do videography and photography in Boston , Massachusetts .
And today I'm gonna walk you through how to build a website using wead do dot com .
You can do this effectively and easily through , we do and you can do it in just a matter of minutes .
You don't need prior coding experience , prior experience building out websites or anything wild like that , you can just jump on and start building it right away and I'm going to show you exactly how to do that .
For the example site .
Today , we're going to do it through the lens of a photographer , a freelance photographer in the Boston area .
And the website we make is going to have a web shop function where you could sell various products .
So we'll go over all of that right now .
So let's jump to the computer .
We'll go to web door and we'll start walking through building out this website .
So if you head to the web a door home page , this is what you're gonna see and getting started is as easy as clicking , getting started and we'll just type in the name of our website .

I'll say Ken's photo site type in my email and password and get started and here I can go in and choose a template to get started with .
So let's see what we've got here that we like the look of seems like there's already a temple here called photography .
So we're gonna go with this and start building it out .
Now , when you go to choose your plan , we're gonna go with the pro plan .
The reason we want this is that we get a domain name with it so that we can type exactly what we want in the URL to take us to our website .
We're also going to get a web shop where we can host up to 10 products and start selling right away .
So we'll go with the pro plan here .
So now that our pro plan is activated , our website is ready to get started on it .
So you could either choose your domain name now , which I'll walk you through very quickly .
You would just type in the domain name , you want photography website and you'll see if it's available .
If it is , you can go ahead and register if it's not , you can choose a different one and you can also choose a domain name at a different time .
So we're gonna click choose domain later for now and we'll jump back a bit later on .
Great .
So now we can go in and we can start using the editor to really build out what our website is gonna look like .
So if I jump in here's our template , this is what we start with .
Now .
The first thing I want to do is I want to change out this banner image in the background .
Really start to make this look like my website .
This is just a stock photo .
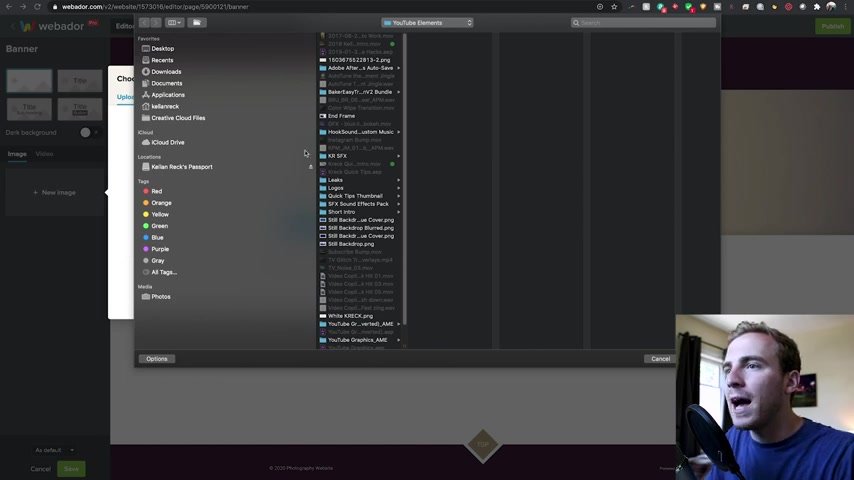
So if I click on edit , I can go to new image and you can see I have a lot of stock images to choose from , but I can also upload my own photo .
So I'm gonna use something , an image that I took back in the day and add it so that it's my own photography on the website .
And I'm from Boston , Massachusetts .
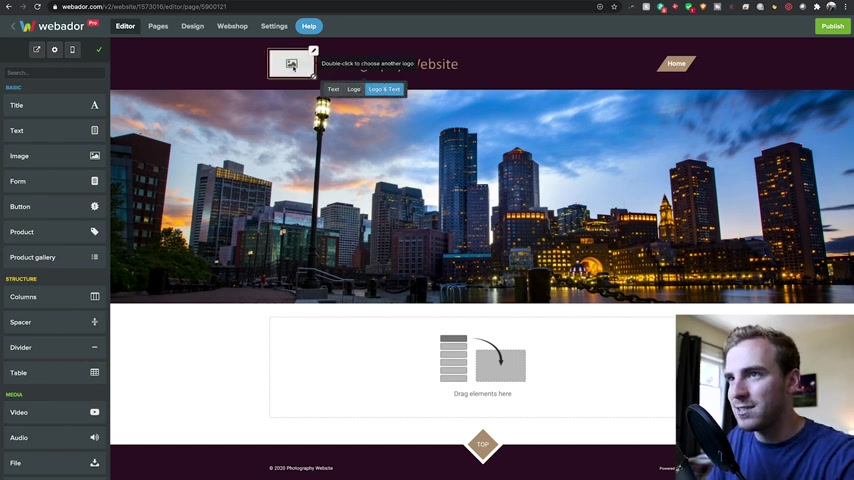
So I'm gonna use a photo that I took of the city and really give it some flair .
When you go to the website , you see the image and you say , wow , that looks awesome .
Let's get it started .
Great .
So once the banner is uploaded , I can scale where exactly it is .
I can make the banner just a little bit bigger .
So we see exactly what we want in this photo and then I'm just gonna hit save .
Now , the next thing I do is I don't really want this to be called photography website on the website .
That was just my name and convention .
So I know what my website was here .
So I am actually gonna click on this at the top and what you can do is you can change it from a text to a logo .
So I'm gonna go with actually logo and text .
Now , if I double tap on this , I can go in and upload my own logo , which I do have already built .
So I'm just gonna go in and add my Kreck logo and I'm gonna change this website name to Kellen re Photography .
Great .
So that's all built out and we can get into some coloring and changes of that a little bit later on , but that's ready to go .
Now we can start to add some additional elements to the website .
So the first thing that I want to do is add some text .
I want to talk about who I am a little bio of myself .
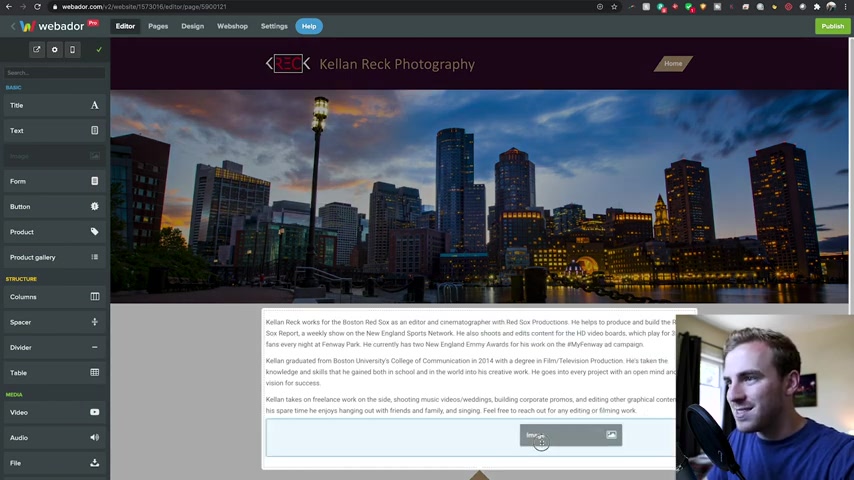
So all I have to go is to this left panel here and drag the text onto the website and I already have a bio .
So I'm just gonna copy and paste that in and that's looking great right there .
Now , next to this , I think it would be nice to show a photo of myself , show what I look like .
So people who come to this website can see .
Oh , that's keen .
That's what he looks like .
This is the guy that we're going to be dealing with .
This is the person who's taking the photos .
So in order to do that , I can grab an image and drag this where I want , it could be above .
It could be to the side , it could be below .
I'm gonna put it just to the side here and I am going to add a photo of myself and we've got that .
So it's already starting to look really nice .
We've got our text .
We've got this .
I almost want there to be a little bit of a title between my banner and myself .
So I'm gonna drag a banner or a title in here .
Add it above um about me and that's what I'll add .
Great .
So now we have an About Me page .
We've got our banner .
Things are starting to come together and really make this website look nice .
Next , I wanna show some examples of my photography .
So if we look over here , there's a bunch of options of what we can add , we can add a product gallery where we'll get into different products that we can sell .
We could add video , we could add audio , a whole bunch of different things .
I will add a photo album beneath so that people can see what it is .
I'm doing what it is .
I'm working on .
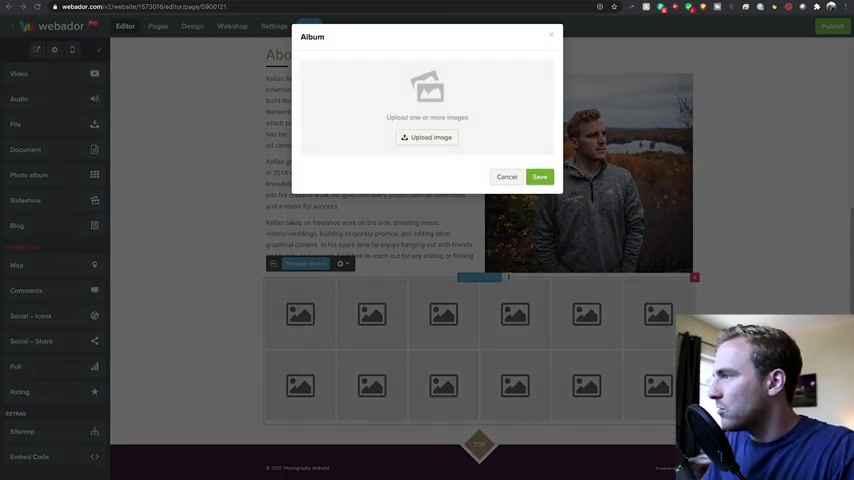
And if we go to manage photos , we can add a whole bunch of different images that I've taken .
So I'm gonna find some images and I'm just gonna add a bunch of different photos that I've taken over the years so that I can start to build at a gallery .
So anyone coming into the website and say there's Kellen , that's a little info about him .
And hey , there's some of the photos you take he's taken that's giving me some credibility .
It's making the website look nice and it's giving some visuals to look at .
So really easy to go in here and add these different elements .
So as these upload , I'm gonna give them just a moment of time , I'm gonna call this album , Ken's photography .
So I'm gonna save this and I'm just adding a few photos here , for example , but you can see how they look looks great underneath here and a few other things we can add , we can even add some social icons on the left side .
So at the bottom , I want to have different connections to my Facebook , my Instagram , everything like that .
So now that I'm starting to get my website looking the way I want with the information and links that I want and everything like that .
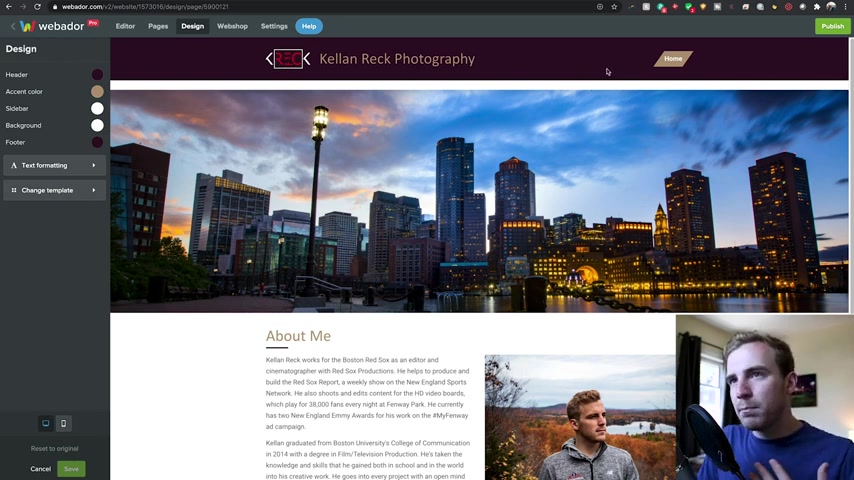
I want to go over to my design tab up at the top and I want to change some of these colors .
These colors don't really go with my brand .
I like to use the red and white and more of a navy blue .
This maroon was just from the template .
So we want to change that .
So that's really easy to do in the design tab , I can change my header and I'm gonna go with more of a darker blue color that fits my brand .
I want to change the accent color on this to be a white .
I'm gonna change the footer to match the blue .
And I'm slowly starting to get this to look the way that I want it to look .
We can change our text formatting .
We can change the actual type of font that we're using .
We wanted to make this look a certain way .
So we're making fun changes here , things are looking good and the website is coming together .
So I'm gonna hit save .
Remember that while you're doing any of this design , you can pop over and see the mobile view , make sure it looks OK , looking good to me .
Great .
We're just gonna make sure we're saved all the time .
So that's how you go in .
Remember you're using the editor to build out the look , you're using the design to change your coloring , your fonts , everything like that .
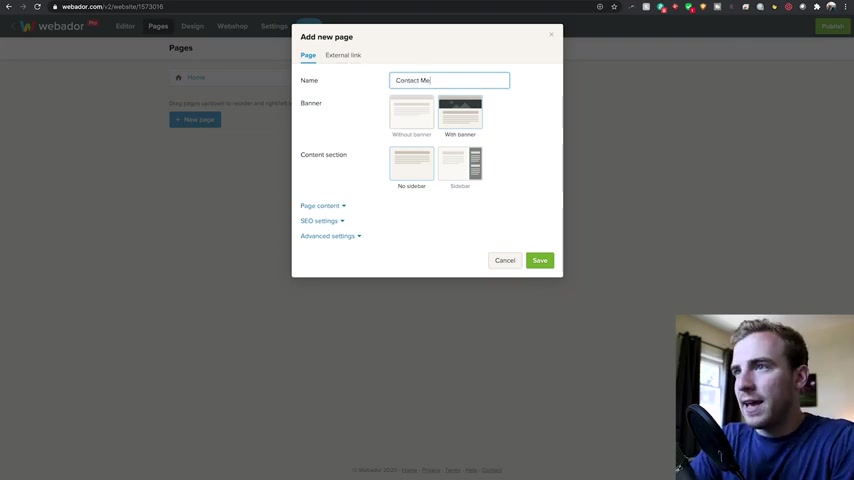
Then there's something called pages at the top here and this is where we can add additional pages to the look of our website .
So I want to add a contact page so somebody could reach out and find me .
So I'm gonna say contact me , we'll go without banner .
And if you go to page content , there's actually a contact build out .
So we can do all that .
It should be nice and easy .
We hit save .
So if you go to your contact me page , you can add a bunch of different things .
You can add a photo change your address details .
You could even bring over a Google Maps uh interactive feature here to drag over the map and you can have that here .
Oops , I add in a second one and then you have your name , email address and messages you can what this form looks like and it all looks great there at different forms .
So somebody can send you their name , their email , get on an email list , send you a message , reach out to you about business or anything like that .
And then if they want , they can go back to the home page here at the top .
And obviously you have your contact page there to go back and edit you , go to your pages .
So we'll head back to the home page .
Now , there is one great option that you can do with your banner image here .
I want to have a button there , something that's drawing people in .
So if I click on edit , I can actually choose to add a title , a title with a subheading or a title with a button .
Now , in my title , I'm just gonna write a little bit of a catchphrase that I use telling your story through images .
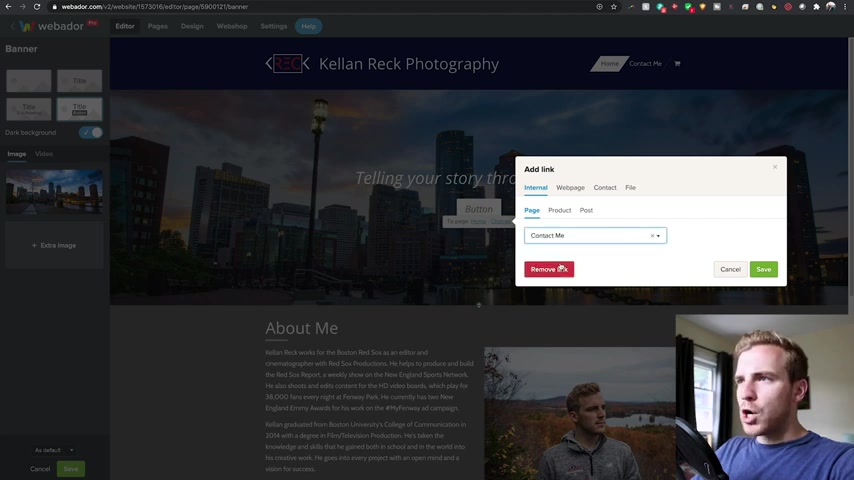
And I'm gonna change my button to direct people to the contact me page .
So if I hit save and I can actually click on the button and write , contact me and I'll just save that .
And now we have a catch phrase over my image in the banner and a contact me button .
Now , if we test to make sure this works by click on contact me , brings me right to the contact me page .
So really , really nice set up there , a nice easy button layout .
And of course at any point , you could go back and change any of this where the button takes you .
What the button says , what the phrase says , anything like that always customizable .
So after this is all built out , we want to add some products to the website .
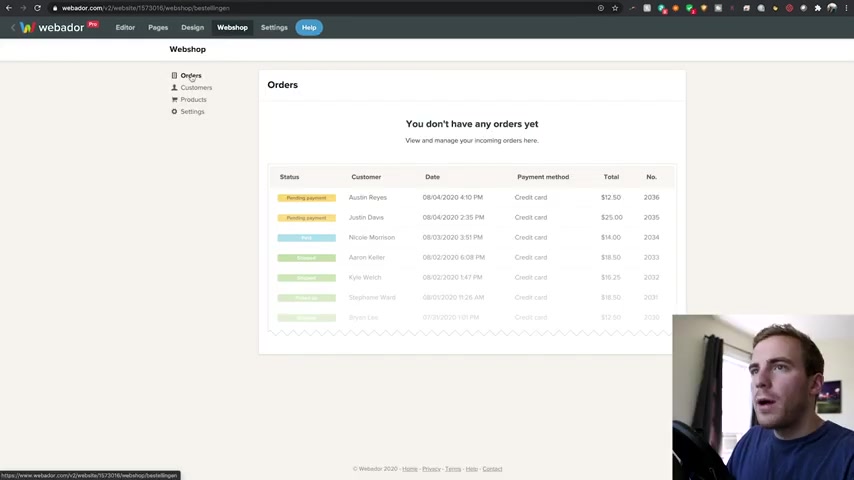
We're gonna use the web shop tool to do so .
So within the web shop , you can see you've got a lot of information on your incoming orders , get all the information on your customers and what exactly your products are .
And then if you go into settings , you can see a lot more , you can see you can choose which currency you're using , you can fill out the order form that would be going to the people who are purchasing your products .
There's also some payment methods you can use .
So newly implemented stripe is part of the payment methods for the web shop .
Very easy for credit card purchases and things of that nature .
Sure .
You can have a whole bunch of different options for payment methods here by choosing these selections , you can use things like paypal as well to submit orders and deal with that .
And a bunch of other options here for emails order confirmations , shipping confirmations , coupon settings , everything of the like and that's all within the settings option here on your web shop .
So really , really good details .
A lot that you can use to customize the way your customers are coming in and purchasing products through your website .
So let's build out some products .
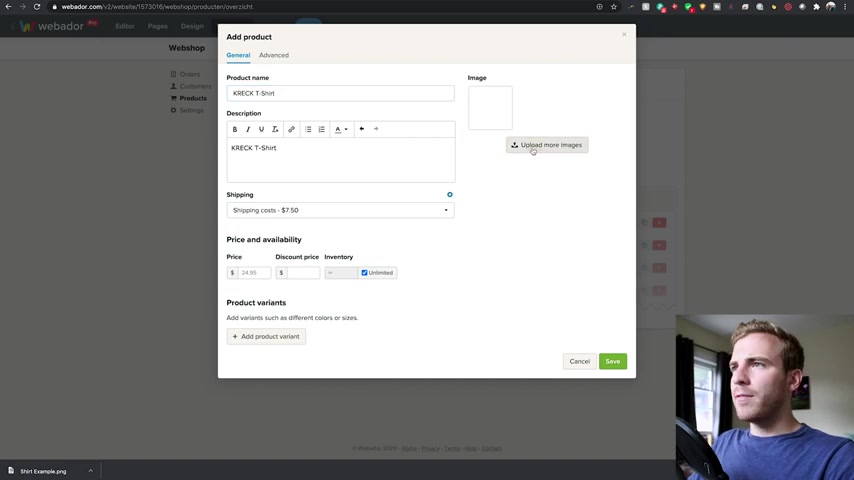
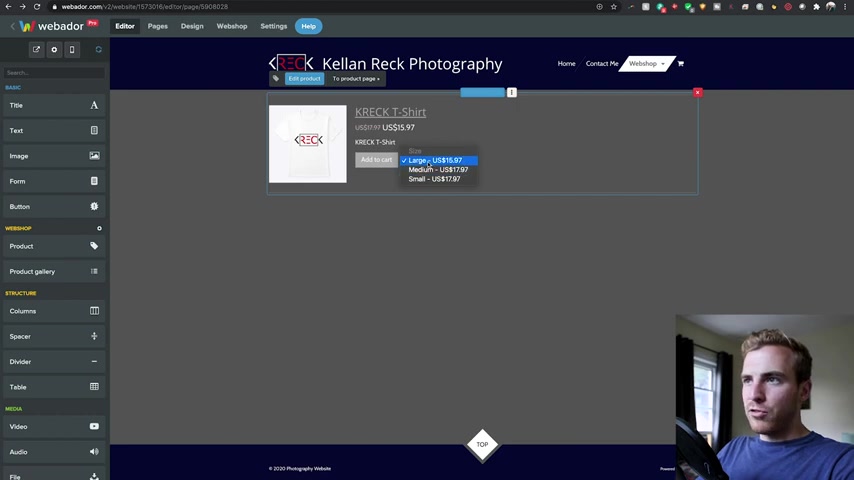
The first thing we wanna do is a Kreck t-shirt .
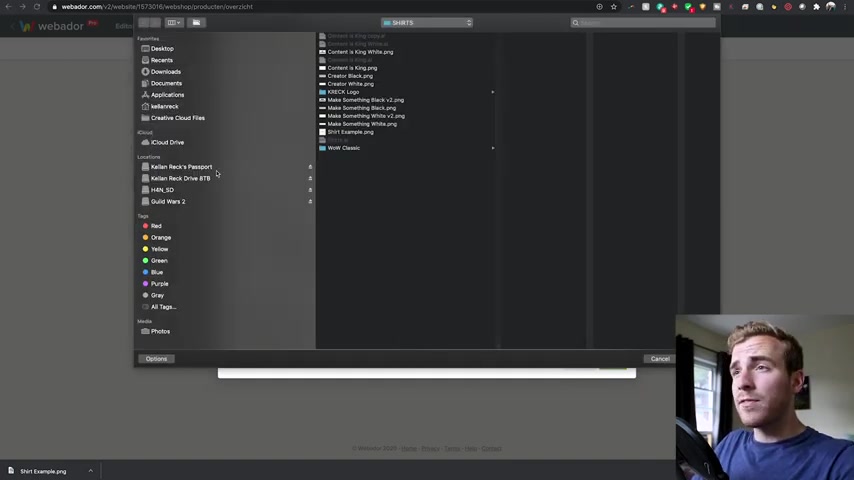
So we'll call it Kreck t-shirt and I'm gonna upload an image so we could have a shipping cost or no shipping cost .
We're gonna price this at 17 97 .
Our inventory is going to be 10 .
You can just add various information about this and we'll add some variants .
So we'll go with size and we will have , we will have large , medium and small sizes .
So that way people can choose which size they want .
You can see it makes a nice drop down here .
So we'll save that .
Um We'll actually do , let's say there's a discount price on the large right now .
So we'll say that's 15 97 .
Great .
And if we want to add another product , we could add photo prints and we'll just copy that description for now and we'll upload an image of one of my photos , a nice print of that photo .
So you can get this photo printed and we will say that's at a price of 24 97 unlimited .
Uh We'll have this be at 25 for inventory .
Great .
So now we have a number of different products .
We have photo prints and we have t-shirts .
So once we have our products built , the next move you want to do is add a web shop page .
So if we go to the pages tab up here , you'll see that we can add a new page .
And one of these is going to be our web shop and we will do it without a banner for , for this .
Great .
We're just gonna leave it like so save , we have our web shop now below the web shop , we wanna have two different options because we wanna have sub pages off of this .
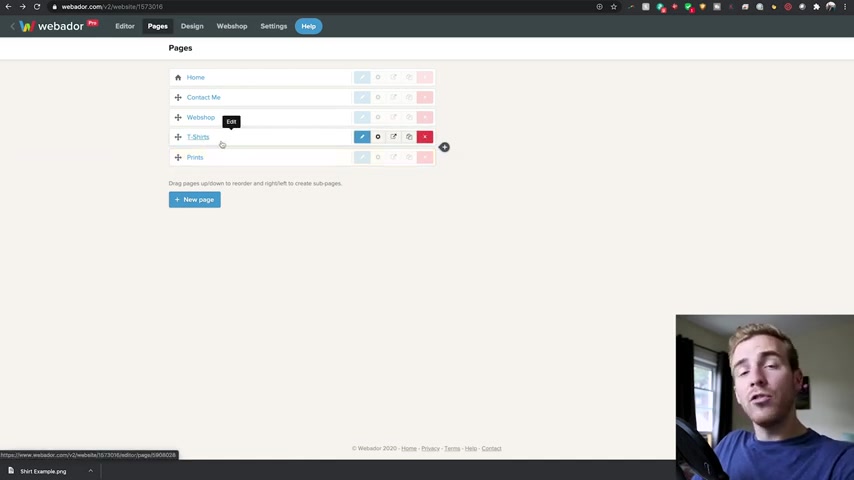
So we wanna have our t-shirts and we also want to have our prints .
That way you can go from the web shop to choose your options .
All you have to do to make these sub pages is drag them to the right underneath whichever category they're under .
So t-shirts and prints are now sub pages of web shop .
So if we head to our web shop page , we can start working on the edit .
So what we want to do here is we want to add some images and add some buttons .
So I'm going to create a column and I will add two images to this column .
We'll have one image that is of merch and one image that is of stock photos and we're gonna make them circular in shape .
So we just go to the settings and change it from square to circle .
And then we'll add an image and we're just gonna scale them up a little bit .
And then all we have to do is add a little bit of a button underneath them .
So the first one will have a button that goes to t-shirts .
And if we click on to change our link , we can select the page it goes to and that will go to the t-shirt page .
And the next one will have a button that goes to Prince and we will direct that to the prints page .
Great .
And now we have our web shop all built and ready to go .
So if we head back to the pages tab , we can actually add our products to these pages .
So it's a matter of going to t-shirts dragging the product over from the web shop item over here and we just choose our product .
It's the product we set up before K here on our t-shirt page .
You can see we have our different options to choose from the large ones .
Got that discount price being on sale and we can go to our other page .
We'll head over to the prints page and we can add a product here .
And when we add our product to this page , you can see we have a lovely looking image here .
You can make your purchase , you can add it to cart , you can do all of that one final thing .
I like to do before concluding all of this is if you go to the mobile view , you can actually add a mobile bar to the bottom of your website .
Now , this is a nice quick , easy tool and you can see you can choose from accent light .
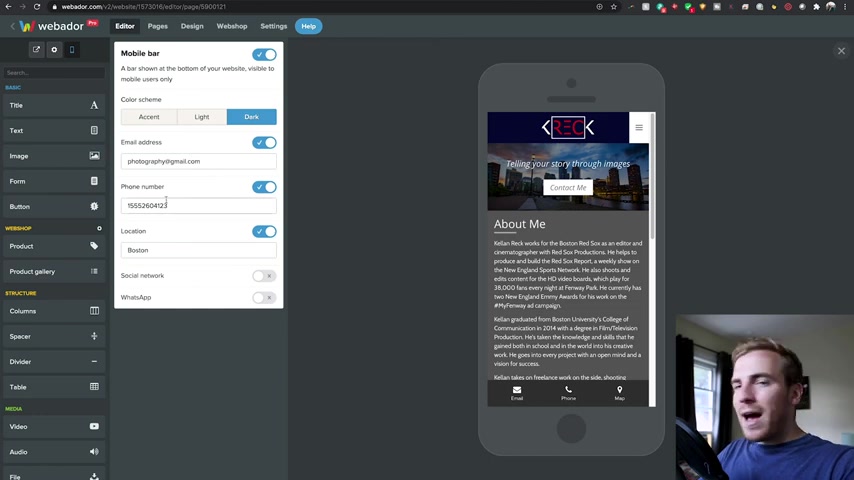
You can have a dark bar at the bottom and it's gonna let you have easy access to you .
So that's either your phone number , your email address , your location , find it on the map .
You can choose various things , various social networks to add to the bottom and it's quick , easy access for mobile users .
And then once you're finished , all you have to do is go to the top and click publish .
And you can actually choose again .
This is where we were before the domain name you want .
So I'll just call it Kreck photography dot com .
You can change your back end here and you'd register that domain and just like that .
If we go to kr photography dot com , we have our website all built out .
We've got the various photos in our gallery .
We've got our shop , it's all ready to go and it looks great .
So I hope this made things clear on how we do works and how it can be so easy to build a website in 12 to 15 minutes .
If you have any questions , please let us know over here at Wead do and enjoy your time building your website .
Are you looking for a way to reach a wider audience and get more views on your videos?
Our innovative video to text transcribing service can help you do just that.
We provide accurate transcriptions of your videos along with visual content that will help you attract new viewers and keep them engaged. Plus, our data analytics and ad campaign tools can help you monetize your content and maximize your revenue.
Let's partner up and take your video content to the next level!
Contact us today to learn more.