https://www.youtube.com/watch?v=r-tA_YzzWYs
How To Draw A Female Face - Narrated
Hello , Tom here .
And welcome to this week's Circle and Art School video .
How to draw a female Face narrated step by step .
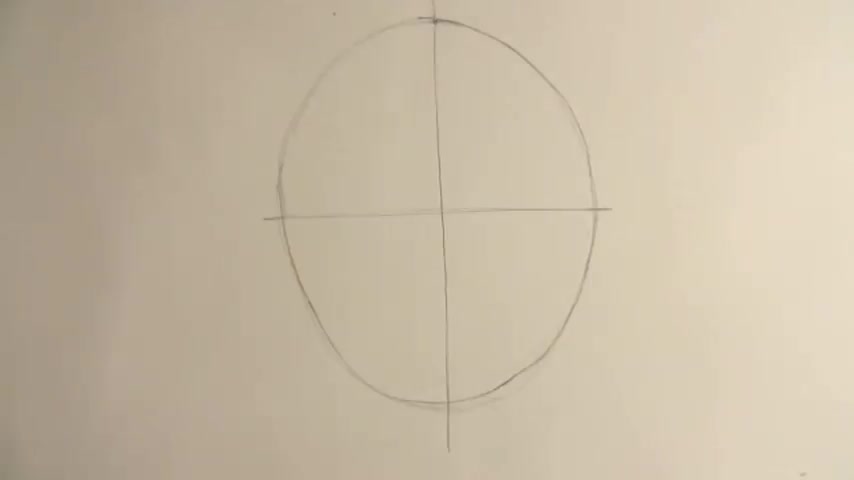
The first step in this drawing is to sketch an oval .
Now , the Oval doesn't need to be precise or accurate .
It just needs to be a shape that we can work on .
So I start by drawing the right hand side of the oval so that it's a sort of smooth , egg like shape .
And then I try and copy the right hand side on the left hand side , so it's more symmetrical , so you just need a basic oval on which to build the face structure on .
And so the next step is to draw a vertical line down the centre of the oval and then a horizontal line across the centre of the oval .
Now these two guidelines are going to help us place the various features of a face onto the overhead that we have .
The next step is to draw a simple eye either side of the vertical line and on the horizontal line .
Next , I need to draw a line representing the bottom of where the nose is going to be and then the line for the middle of the mouth .
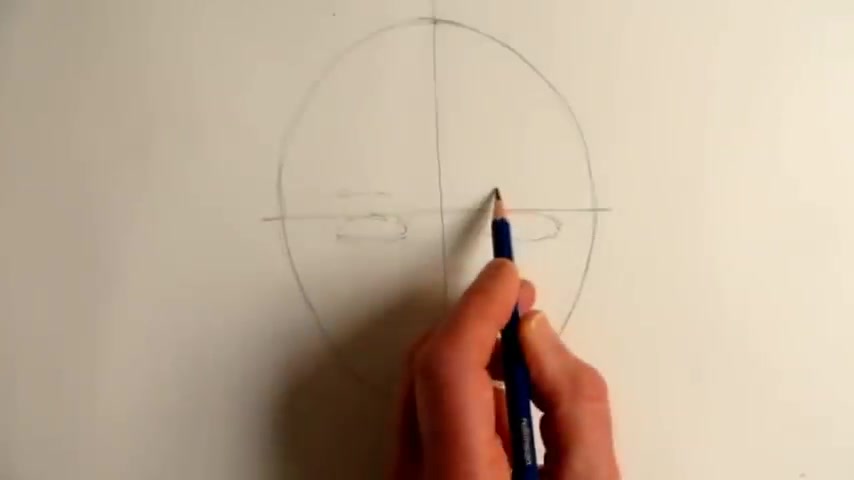
And then I'll just place in some eyebrows , too .
And now I can block in the position of the ears .
Ears tend to start at the top of the eyes and go down to the bottom of the nose .
So at this stage we've placed the basic features of the face on the two guidelines in our oval .
I think I'll need to change the position of the chin .
But before I do that , I'll work into the eyes a little bit .
So I'll start by darkening the top line of the eyelids as they're normally darker because of the way the light falls on the face from above .
And then I'll draw the iris of both eyes trying to get them so that they start even at this early stage , to look like they're looking straight out at us .
So they are a pair of eyes rather than individual eyes .
And next I'll just darken the lower part of the eyelid and I put in the pupil on the right hand side and then the left hand side .
So at this stage we can see perhaps what's working and what's not working .
So what needs to change and what needs to just develop .
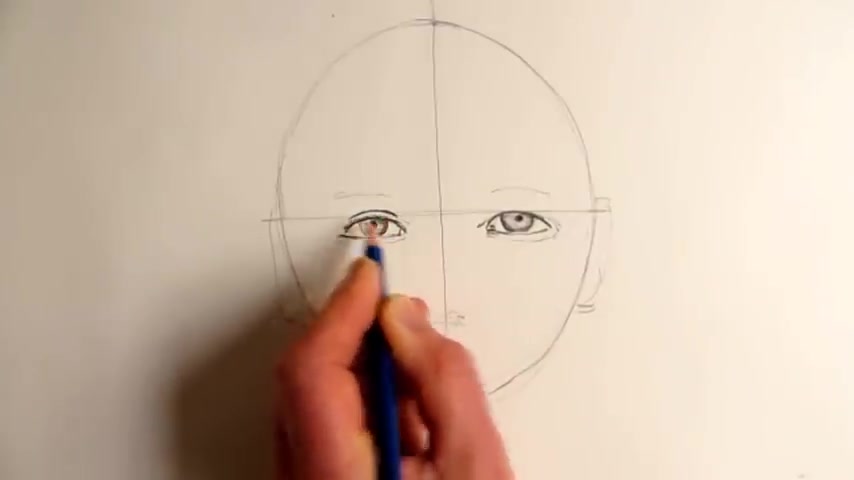
So I would suggest , at this stage to work on the eyes to make them look a little bit more realistic , darkening the pupil and putting a mid to within the eyes and creating a small highlight within the eye , an area which has not got any shady in it , and therefore because everything's sort of darker around it , that little area will seem brighter .
So throughout this drawing I'm using a four B pencil .
I just find that four B pencils are very useful because of the tonal range that you can create with them .
You don't need to use a four B pencil , but it would be very useful if you had a pencil , which can create a very dark tone If you're going to do a drawing like this .
It's always good when drawing eyes to add the little tear duct , which is the nearest part to the nose of the eye , which will make it more realistic .
So at this stage , it's really a matter of trying to draw both eyes .
Obviously , you can't draw both eyes at the same time , but I'm trying to move from one eye across to the other eye , so I'm trying to match them up so that they both work together and then checking to see how it works .
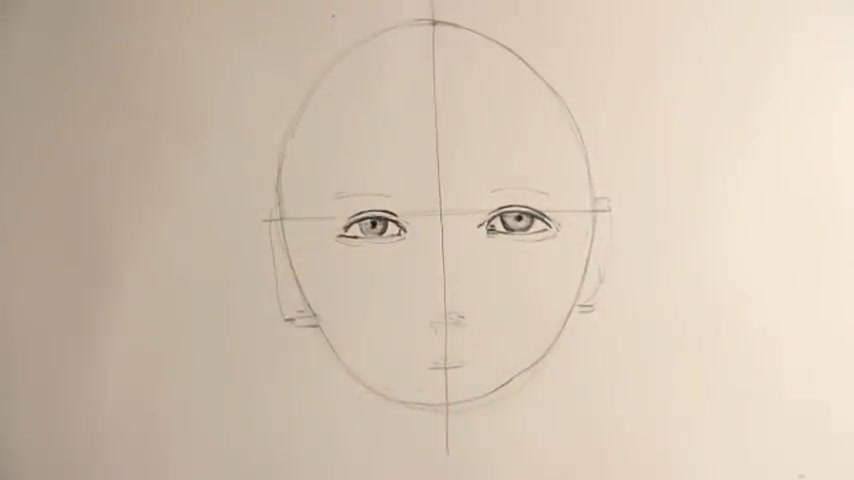
So at the moment , we've got some semi realistic eyes in a very simplified oval , so I need to go back into the oval quite soon .
Let's do a little bit more to the eyes here and maybe add a little bit of direction to the eyebrows so that we've got them placed .
So they're not just a line that they got a thickness to them .
And now I'm just checking to see how that relates to where the nose and the nostrils will be at the lower part of the nose .
So I think they'll be about here , Uh , just to like a semi circle to represent nostrils and then a sort of C shape and a reflected C shape either side of the vertical line just to have a simplified nose without too many lines in it .
And then I'll just work out where the lips go .
And as I work that out , I can see clearly that , um , the chin is gonna have to be lowered quite a lot , and now I need to draw the line of the mouth , which varies enormously depending on what you do with it .
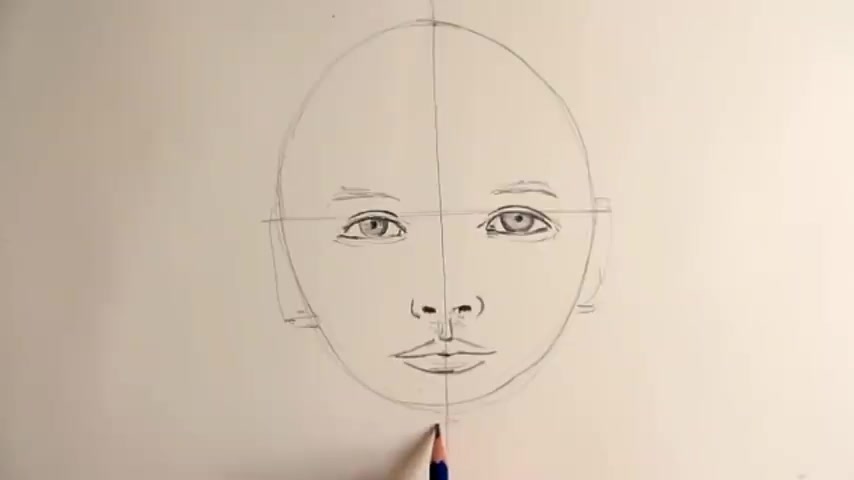
Just the subtly smaller , subtle change will create a different expression within the face .
But for now , I'll just leave that and try and work out where the chin goes .
So I'm gonna move the oval down , and at the same time I could recreate a better line for the actual jawbone of the jaw and work out exactly where the chin goes .
So I'll make a smaller chin , which is lower down , which makes it a moralistic shape of face .
So we've got the basic elements here , but it's a matter of trying to put them together .
I think in a drawing , often times it's very useful to be able to change lines around .
But also it's good to have maybe one or two places which you try and fit with the part that you want to keep , so the hair clearly doesn't start at the top of the head .
It needs to start lower down and then as it's a female face , I'm going to draw long hair because it's more fun to draw , and that can be flowing now .
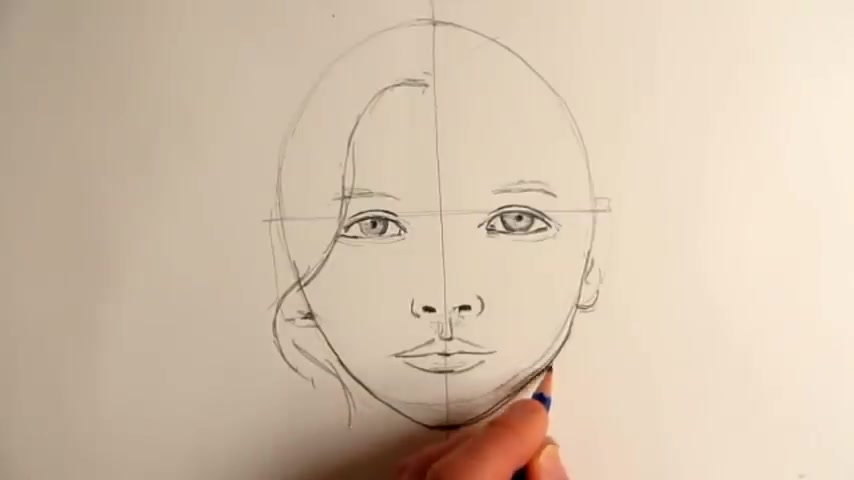
The neck tends to be starting either side of the eyes of the furthest part of the eye from the centre of the face .
Oftentimes , people draw necks really narrow and small , but really necks are pretty wide , even on female faces .
If you think about how heavy anybody's head is , it's always gonna need a strong neck to hold it up .
And then the hair is gonna be a flowing element to this and and trying to draw the shapes of the hair , the general direction of the clumps of hair .
And so in this drawing , I want the hair to have a natural flowing form , almost like a river or a stream , as that will create a sense of movement in an image of a woman who's staring straight out at us .
So it's quite a still image in many ways , but the hair will create this sense of free flowing form around it .
Looking at this , I think I'll probably change the side of the face a little bit , so it's probably time now to clear up the drawing so that I can see which bits I need to keep .
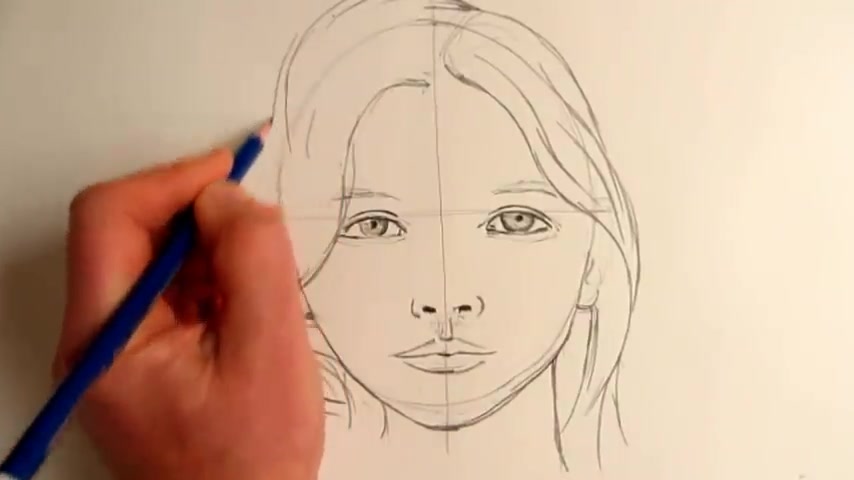
I think it is often better to erase the line and redraw it rather than keep drawing over an earlier line again and again because maybe the earlier line wasn't quite right .
So if you give yourself the option to redraw it a little bit , it means that you're rethinking what you're doing as well , which is always a good thing to do .
And so now I can erase the guidelines and any other lines that we don't need .
And again looking at the face carefully to the lines , which perhaps are too strong , you can just break them down a little bit and redraw them .
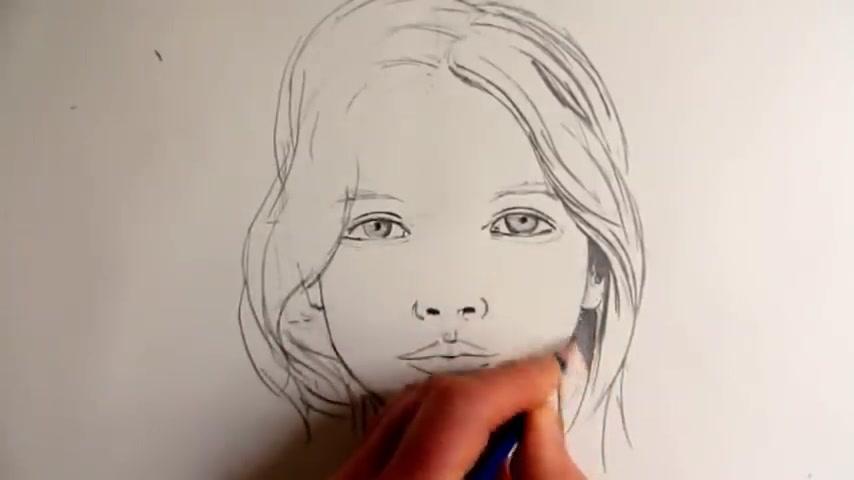
So for this stage , a general drawing of the hair .
I'm trying to change the tone of the pencil as well .
So some areas where it's a higher contrast area of hair .
I'll press down harder with the four pencil to create a darker tone and then around where the ear is .
Hey there everybody .
It's Mark Curley .
I'm back with another how to draw video today , we're gonna be learning about how to add shading to a drawing of a face .
Now , I've already made a drawing of a face here .
So this video is not really taking you through that process , step by step .
I have other videos related to drawing uh the face , the eyes , the nose , the mouth , I will link to a playlist uh and other videos in the description of this video .
But uh what I'm gonna do now is zoom in on the eyes .
I'm gonna add some details to the eyebrows and to the eyes themselves and then we're going to , you know , I'll do that all in time lapse and then I'm gonna slow down and do some real time uh shading as I show where I would add shading in these sort of blank spaces uh between the eyes and the eyebrows .
All right .
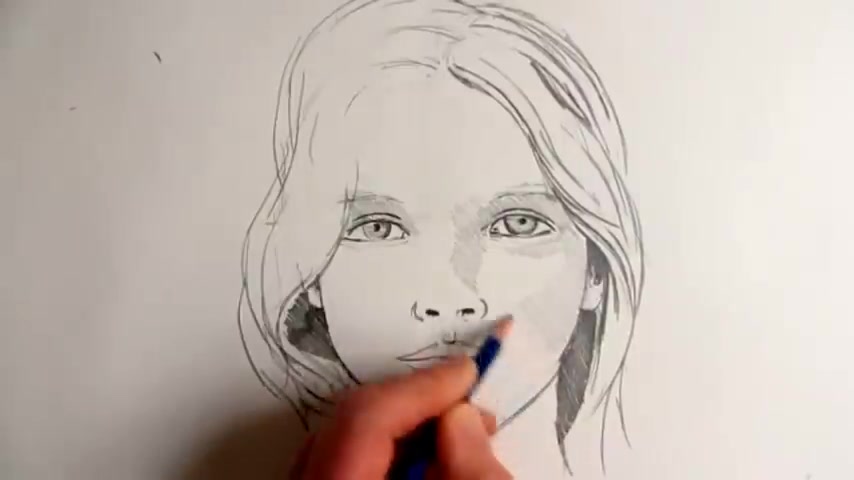
And then , with the lips generally , the top lip will be darker .
And then underneath the bottom lip , there might be a little bit of shadow , and then on the left hand side again , there's gonna be more shadow going over to the left , and then the hair will create some form of shadow .
I imagine as well , so just blocking in a few areas of mid to at this stage .
So next I'll put in a little bit of mid tone on the neck , particularly on the right hand side , and then start to darken up the eyebrows , starting with this one on the left hand side and just getting it to one of the strongest , um , darkest tones within the pictures so far .
And then that makes me think that I need to just darken the top of the eyelid and maybe work into this eyelid a bit more so , making it slightly more dramatic , with a darker top to the eye .
And then that just leads naturally across to working on the hair on this side .
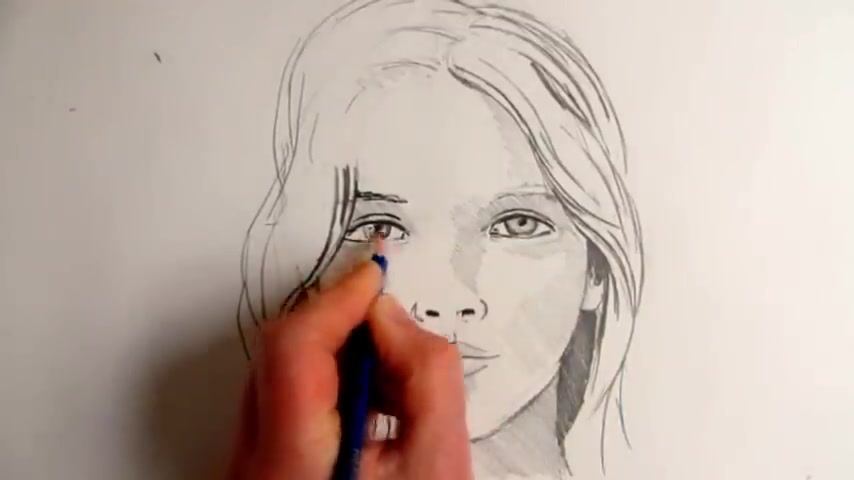
So I'm probably gonna be adding more uh detail , finalizing these uh eyes later on .
But for now , I really want to get on to the main part of this video which is to talk about adding shading now note that I am keeping my pencil very low to the page at a very low angle which exposes more of the graphite um than when you hold it at a high angle , then you get more like a of a linear style .
When you hold it real low to the page like this , you end up getting more of a shading style .
And um I'm adding quite a lot of shading right here uh near the bridge of the nose .
I'd say we're this sort of area beneath the eyebrows , um reaches uh toward the bridge of the nose .
We tend to get a lot of shadow here .
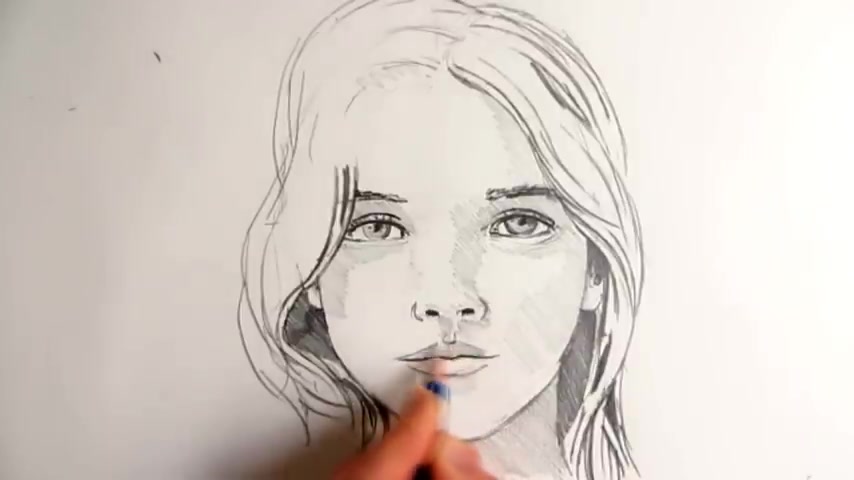
Now , I gotta say , um this is based on a sort of conventional lighting scheme , the light coming a little bit from above uh the face , uh when you change the lighting scheme , of course , the location of the shading also changes .
So uh you can't really regard this as , you know , you should always shade every face like this , you know .
Uh this is just one sort of typical uh shading scheme um that , that you see under what I would say , sort of average lighting conditions .
But what's interesting is that the most of the darkness tends to sort of pull up right in this area over here .
Uh In this case to the left , uh the upper left area of the eye and then this region where um the um the the flesh between the eyelid and the eyebrow sort of folds up .
I think it kind of tends to curve a little in most people , uh , in the structure of most faces so that we get some shading here , uh , below .
Are you looking for a way to reach a wider audience and get more views on your videos?
Our innovative video to text transcribing service can help you do just that.
We provide accurate transcriptions of your videos along with visual content that will help you attract new viewers and keep them engaged. Plus, our data analytics and ad campaign tools can help you monetize your content and maximize your revenue.
Let's partner up and take your video content to the next level!
Contact us today to learn more.