https://www.youtube.com/watch?v=y9NPZ3_-5Gw
how to shade faces for beginners _ tutorial
Hi , everyone .
Welcome back to another video where I will walk you through a step by step process of how to shade and more specifically how to shade faces .
So let's get started .
This video is sponsored by Skillshare and I've gathered some awesome shading classes just for you linked in the description box .
Since my video only focuses on shading faces , I highly highly recommend that you check out other resources on how to shade a variety of objects and skillshare .
Definitely has that for you along with thousands of other classes on a range of creative topics .
And because this is sponsored , I have a special link in the description box that gives the 1st 1000 people to sign up using that link two months free of their premium membership and giving you unlimited access to all of their classes .
After the two month period .
It's less than $10 every month if you pay annually .
So that's a pretty good deal to help improve your creative skills .
Once again , that is two months free to the 1st 1000 people to sign up using the link in the description box .
So please check them out if you've watched my video on how to draw the face , you should already know how to draw a basic or generic face .
So hopefully , this tutorial can help you enhance that drawing by adding some shading .
And in order to understand shading , we must first understand some very basic ideas of light .
And I'm not very science or whatever , but I'm trying to make this as simple as I possibly can .
Number one where there is light , it is bright where there is no light , it is dark .
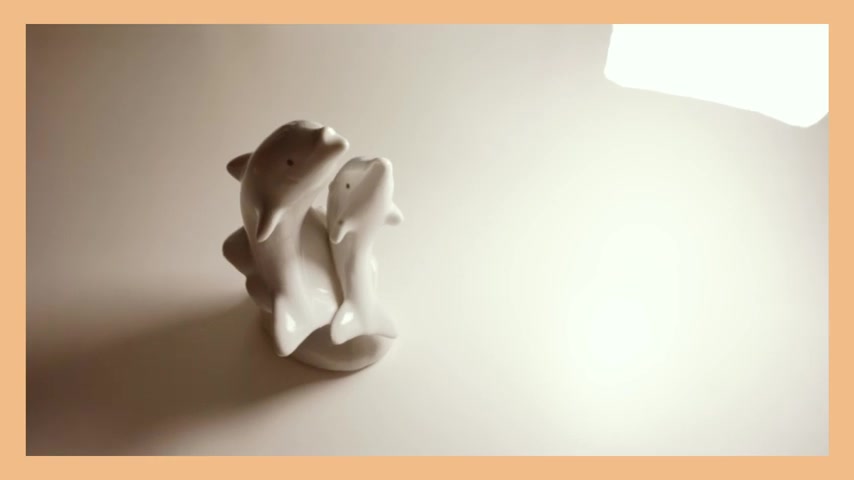
And then of course , there is that wide spectrum between light and dark , which is your tonal of variation .
Number two , the location of the bright areas is related to the location of the light source as well as its distance to the light source .
So for example , if the light source is on the right , that means the bright areas are also on the right .
If the light source is on the left , the bright areas are on the left .
Furthermore , the closer an object is to the light source , the brighter it is , the farther an object is to the light source , the darker it is number three light bounces off bright or shiny objects or surfaces creating reflected light which becomes a second light source .
And if we treat it as another light source , then number one and number two apply to this as well .
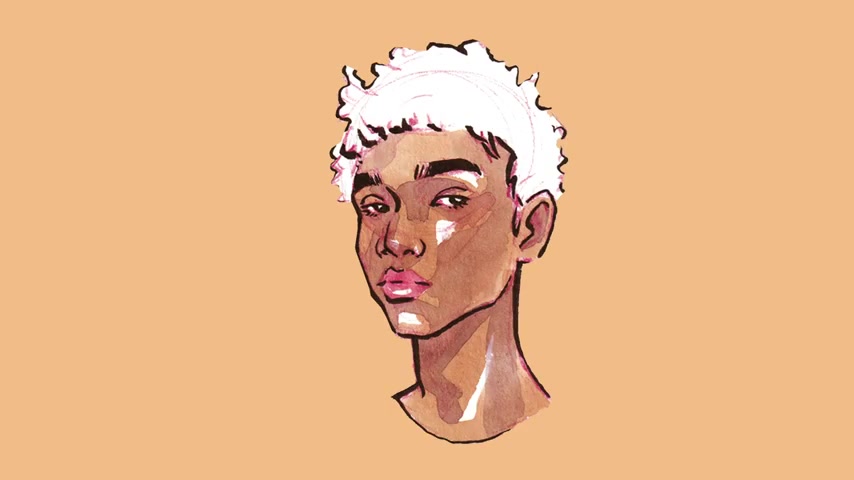
Now how can we apply these principles to the face ?
It is important to know the form of the face as well as any object that you want to add shading to um with faces , they are very diverse and the way we shade different faces can vary .
But there are some similarities that you can use as a general guide to help you shade the face .
For example , number one , the nose always has height to it , especially the tip of the nose , which is commonly the highest point of the face .
Therefore , when it is higher , it is often closer to the light source .
Therefore , commonly making it a bright area .
Number two , the lips also have some volume to it .
Lips can vary in thickness .
Therefore , the volume and the height also varies .
But nonetheless , lips tend to have height .
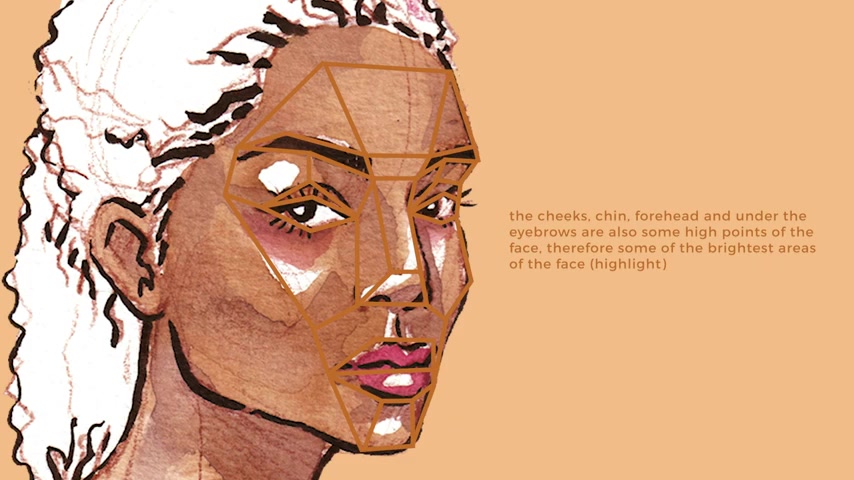
Number three , the cheeks , the forehead , the chin and under the eyebrow are also some of the high points of the face .
And number four , the eyes are commonly sunken in compared to the other facial features .
However , the degree of this can vary based on different eye shapes .
Nonetheless , the fact that the inner corner of the eyes recess means that it is farther from the light source .
Therefore , making it a commonly dark area .
Now , how can we actually start shading shading using a pencil is a pretty easy concept , but it actually takes practice and time to master .
It requires controlling the pressure you put on the pencil .
And basically the more pressure you use , the darker the pencil marks and the less pressure you use , the lighter the pencil marks .
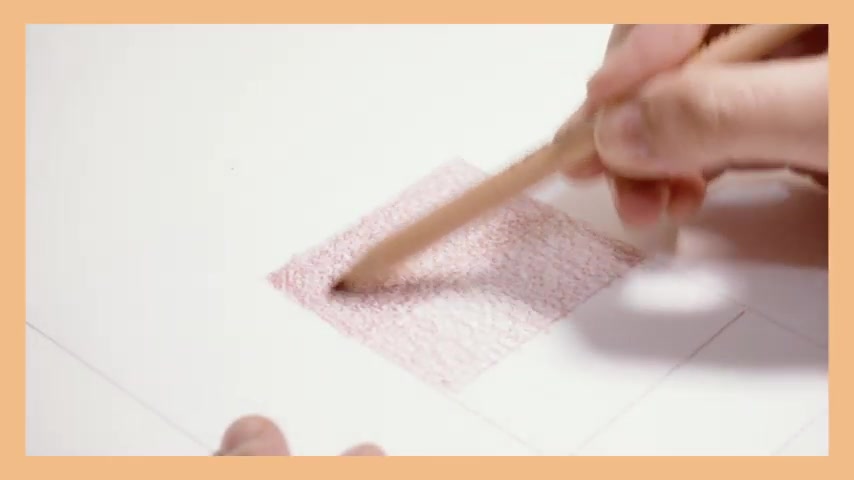
And there are actually two tricks I personally like to use , which I found to be very beginner friendly .
Number one is to layer , this allows you to build up your pencil marks to achieve darker shadows .
But also if you're a beginner and you're unsure about shading and where to add shading layering means you haven't actually committed to any dark pencil marks which can be very hard to erase .
So this method is a lot more forgiving .
And like I said , beginner friendly number two shade from dark to light to get better pressure control .
At least this works for me , it could work for you as well .
However , I do recommend finding what works for you , whether it's from dark to light or from light to dark , it doesn't really matter .
Now , let's actually shade the face .
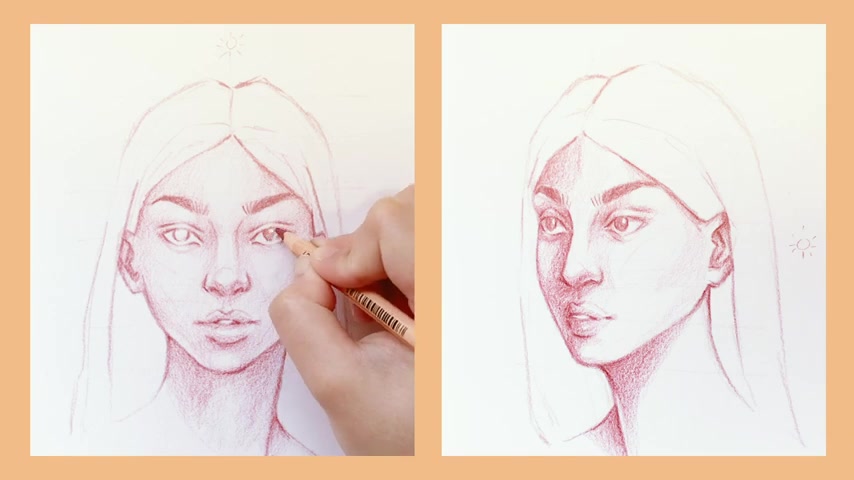
I have two demonstrations on screen .
So you're able to see how I use all the information I just mentioned .
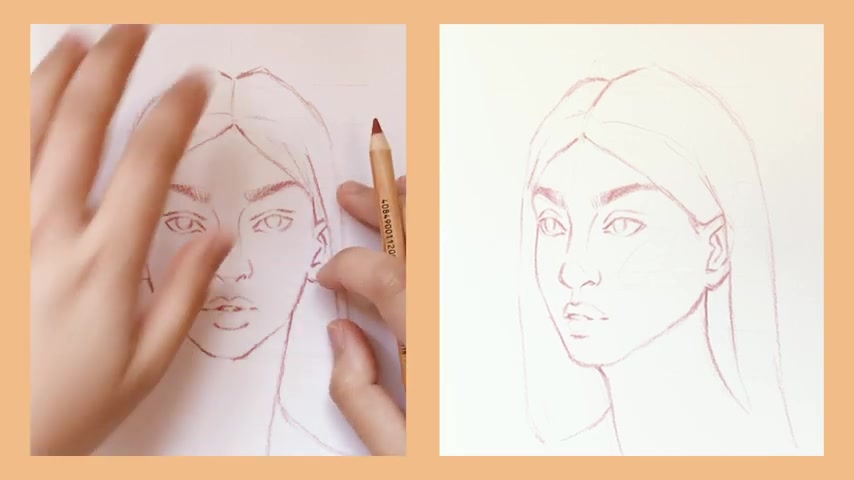
I also start with the drawing of a face .
Um And then I add a light source , wherever I want it located , you can draw an arrow or a sun .
It doesn't matter as long as you remember the location of the light source .
So for this demonstration , I have decided to add the light source to the top left corner for both the faces .
And the first thing I do is look at the image as a whole , following the rule of location of light source equals bright area .
I know that the top left side of the face will be the bright area and the bottom right side is the dark area .
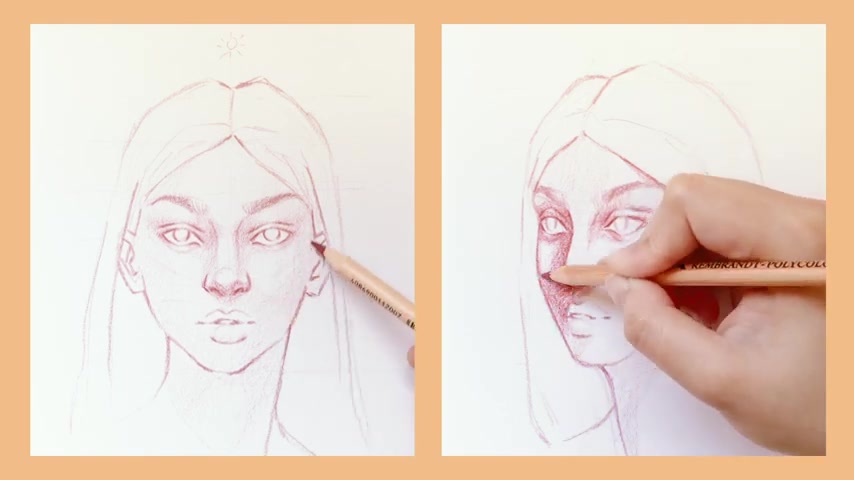
The next thing I do is look at the details which areas have height and are closer to the light source and which areas recess , for example , on the left side of the face , the inner corner of the eyes recess .
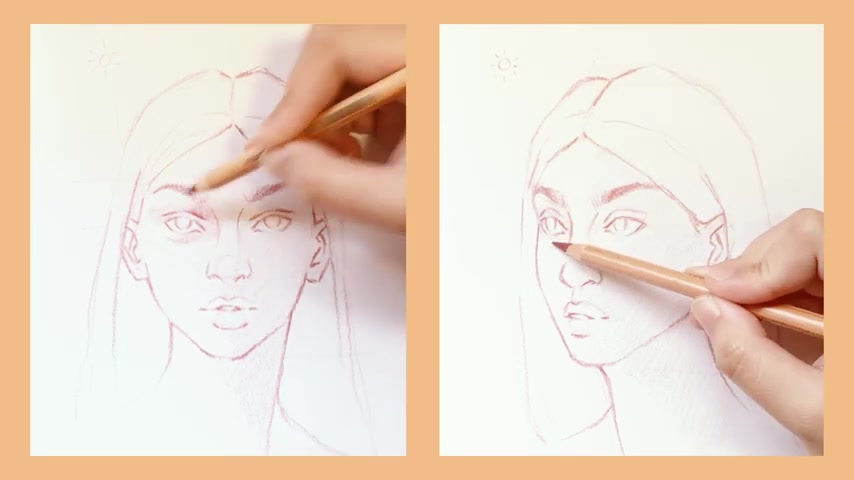
Therefore , even if it's located on the left side , it will be a dark area .
But because it's in the left side , it won't be as dark as the right side .
Other examples of dark areas are under the cheekbones and the jaw which actually tucks away under the chin .
Therefore , it is far from the light source .
Therefore , it is a dark area , however , consider reflected light as well .
So light often bounces off from the neck onto the bottom of the jaw .
Therefore , it kind of makes that edge a small bright area and it just adds a little bit of interest to your shading as well .
More dark areas include under the nose , the nostrils under the lips as well as inside the ears .
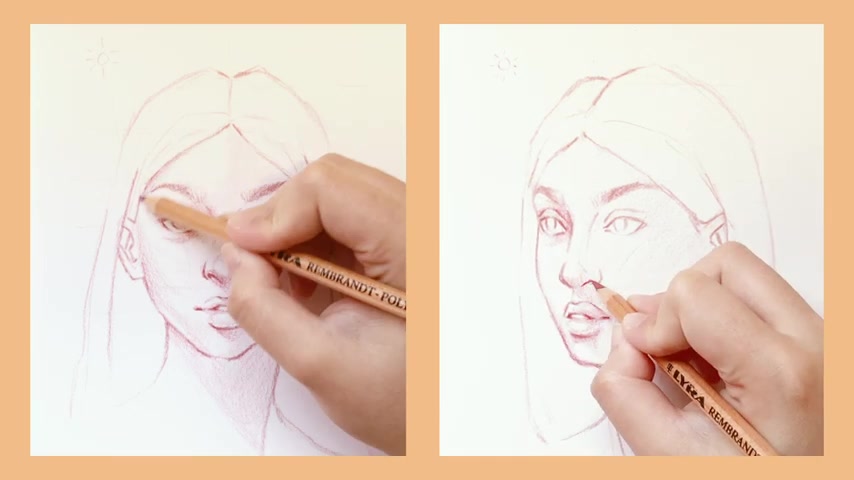
Also , um think of where there is an object blocking light because this creates a shadow , for example , the hair on the left side creates a small shadow onto the forehead .
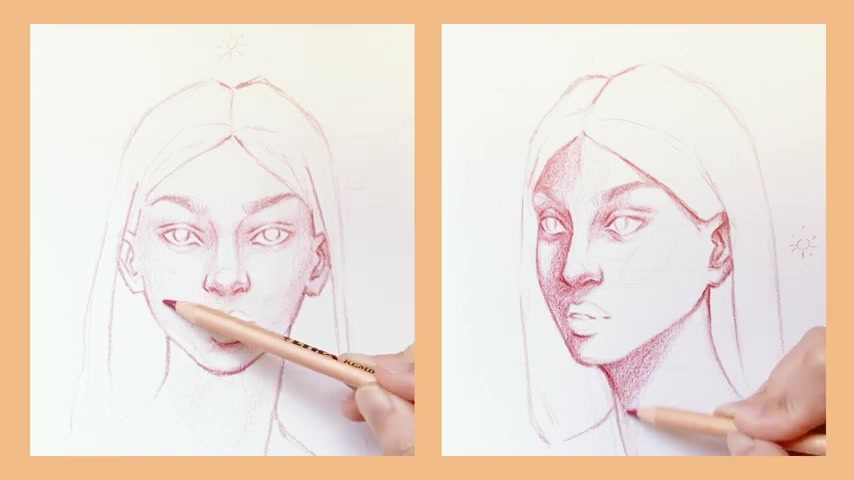
So consider these areas that I just mentioned because the next thing I do is use this knowledge to add another layer on the right side to add variety and depth in the shading .
Once again , also consider which areas on the right side have height and therefore closer to the light source .
For example , the cheeks and under the brow have some height to them .
Therefore , even if they are located on the right side , they will be brighter than the rest of the right side .
But once again , they won't be as bright as the areas on the left side .
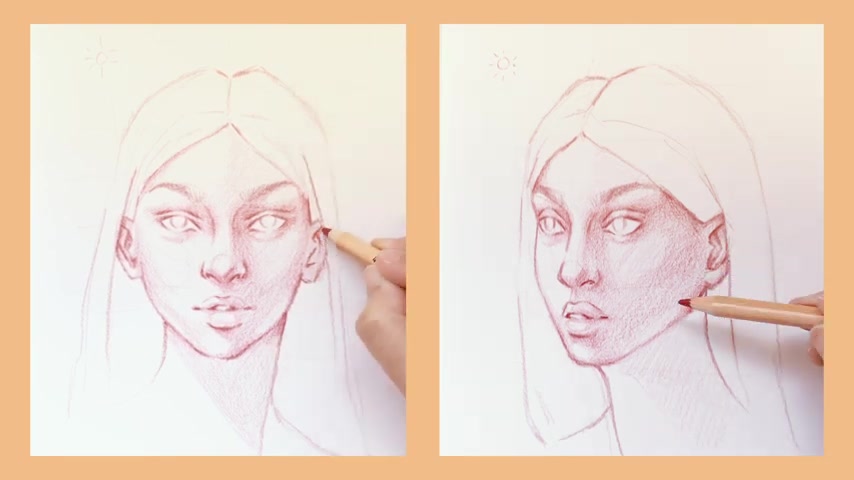
And once again , take note of objects that block out light such as the nose , which will cast a shadow onto the cheek , take note of surfaces that reflect light as well similar to what we just considered um on the left side of the face .
And this is how layering becomes really helpful because you're building things up and being cautious with how and where you add shading .
So as I shade these dark areas , I am putting more pressure onto the pencil and I start off dark , then I fade off by lessening the pressure gradually .
After that , I then let my instincts take control .
I normally don't let myself get glued to these rules .
Instead , they are guides and you can always add some leeway to them .
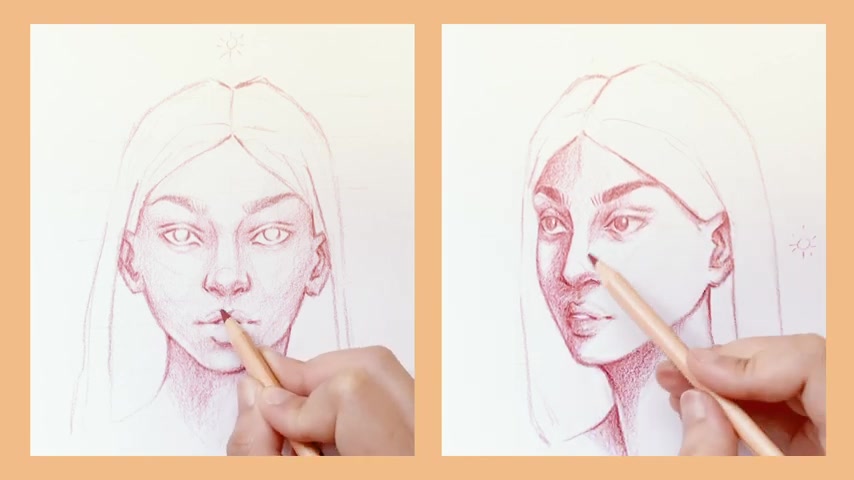
The next demonstrations take into consideration harsh light and diffused light .
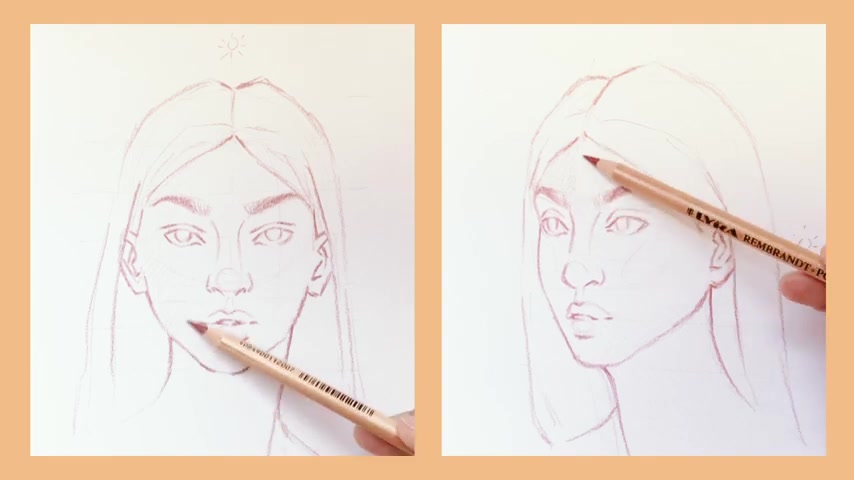
And once again , I have decided on a location for my light source , which will be in two different locations one is at the top front of the phase and this is diffused light .
This type of light source is actually very common , especially when it comes to drawing pretty people .
The other light source is on the right center of the face and it will be harsh light kind of like being under the sun or having a lamp very close to the object .
This um type of light source is quite unflattering , but it can be very dramatic .
And again , I start with the whole face , make sure to determine which side is the bright area and which side is the dark area .
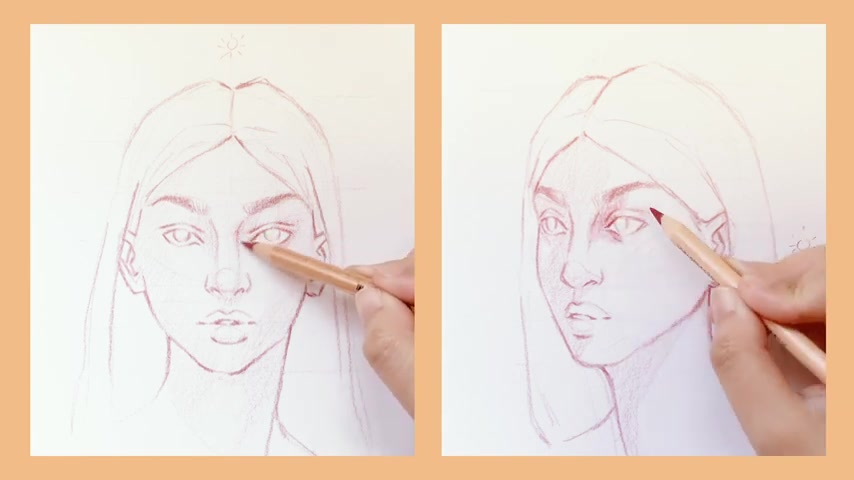
And then once that's done , I consider all of the details such as which areas have height , which areas recess , which areas are closer to the light source farther from the light source and which objects block out the light and which surfaces reflect the light .
Basically , I am applying the same knowledge from my previous demonstration into this one as well .
Just taking note once again the location of the light source and anything that applies to that .
Now , when thinking of diffused light versus harsh light and how that affects shading is pretty simple , diffused light is soft .
Therefore , the edges of the shadows are also soft , they gradually fade out .
And there's a very subtle distinction on where the bright areas end and where the dark areas begin .
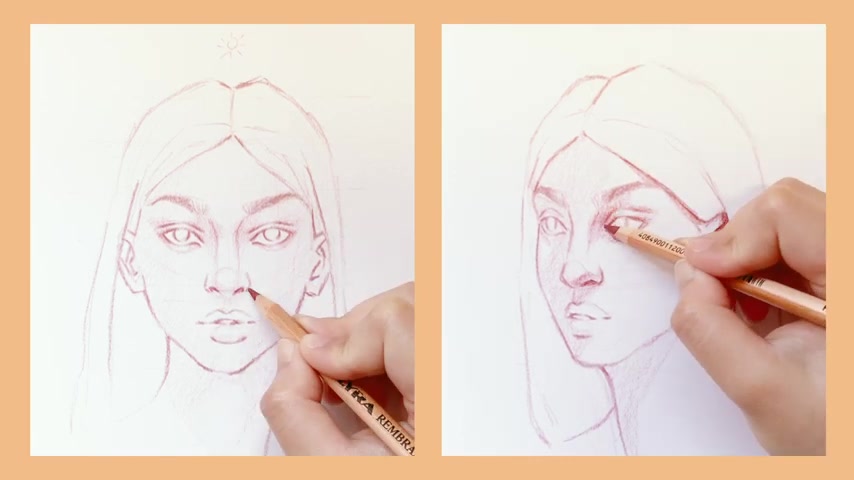
So it is a smooth blend opposite to that is harsh light , harsh light is hard .
Therefore , the edges of shadows are also hard and this style can make your portraits look really dramatic , but it can run the risk of looking flat .
However , you can avoid this by adding tonal variation especially on the dark areas .
And it's just like my previous demonstration , you have to look at which details recess and then add layers accordingly .
And you can actually apply this technique for shading other objects such as clothing , hair and other body parts .
Um The key is to know the basic principles of light and the form of what you are drawing .
And in order to help with that , I highly highly recommend making observations if you notice a cool lighting situation , take a photo and identify which are the bright areas and the dark areas and why and you can do this exercise with reference images as well .
But I do recommend looking at things all around you .
Light affects pretty much everything around us .
So it'll be very easy to find something that can um inspire you to learn about lighting and shading .
So with observations , I do recommend to do studies of them draw what you see , use different media , definitely definitely practice a lot and experiment and of course have fun .
You can also apply this to coloring techniques .
Like I said , use any media of your choice .
You don't have to use just pencils .
And I actually challenge you to try this technique with water colors or markers or whatever media of your choice .
Once again , the key is to understand the basic principles of light and knowing the form of your object .
And I hope this tutorial helped and it wasn't too complicated .
I made sure to keep this as beginner friendly as possible and as simple as possible .
So if you do try this technique out , feel free to send me a photo of your drawing , I would love to see it .
And if you have any questions or if there's anything that confused you , which I do believe there might be some things that are confusing .
Please don't hesitate to ask me in the comment section below or send me ad M on Instagram .
I really love receiving um your messages of when you tried out my tutorial on how to draw the face or um how to draw hair , how to draw hands is just really nice to receive such lovely feedback from you guys .
So I would love to see if you try this method out as well .
I also have worksheets and additional resources in the description box to hopefully help you grasp this concept .
So feel free to use that to your advantage as well .
And that is it .
I hope that you liked this video .
If you found it helpful , please give this video a thumbs up and share it as well .
If you have any tutorial requests , comment them down below .
I am running calls on my channel all the time for what tutorial I should make next .
And I really need your feedback with that said , stay tuned for more tutorials .
Don't forget to subscribe and push the notification button to know when I upload new videos .
My next tutorial will definitely be decided by you guys .
So keep a lookout for those calls as well .
And thank you so much for watching and I will see you in my next one .
Are you looking for a way to reach a wider audience and get more views on your videos?
Our innovative video to text transcribing service can help you do just that.
We provide accurate transcriptions of your videos along with visual content that will help you attract new viewers and keep them engaged. Plus, our data analytics and ad campaign tools can help you monetize your content and maximize your revenue.
Let's partner up and take your video content to the next level!
Contact us today to learn more.