https://www.youtube.com/watch?v=EzBYlHFXQzI
EASIEST Way To Draw Anime Face (Front & Side)
Honda .
This is and welcome to my channel today .
I'll be teaching you Koha how to draw an anime face .
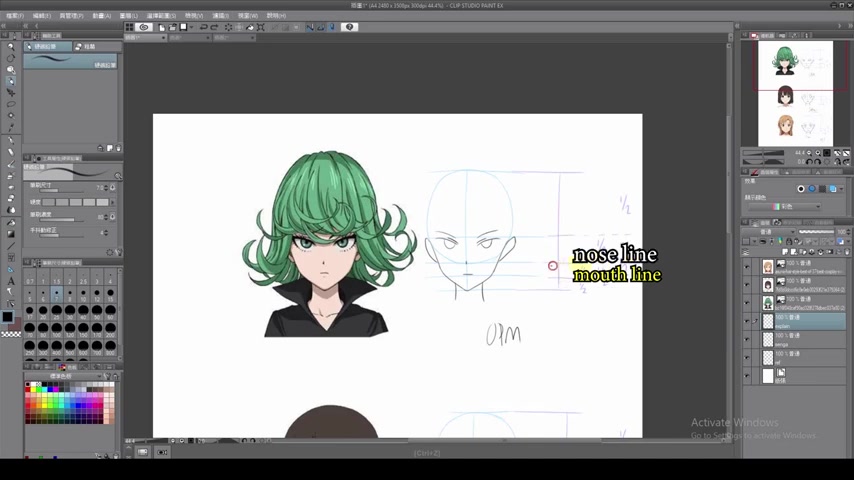
If you want to draw a good anime face , you have to know where the eyes , nose and mouth are located .
At first I prepared grits here for you guys to take a look at .
So the eyes is located at the middle point between the top of the head and the bottom of the chin .
The nose is at the middle point between the eyes and the chin .
The mouth is at the middle point between the nose and the chin .
Basically , the main concept is drawing on the middle points between two parts of the face .
This concept can be seen in this picture and this picture .
Now let's start from zero by drawing an oval , you can draw a perfect oval if you don't have a drawing board .
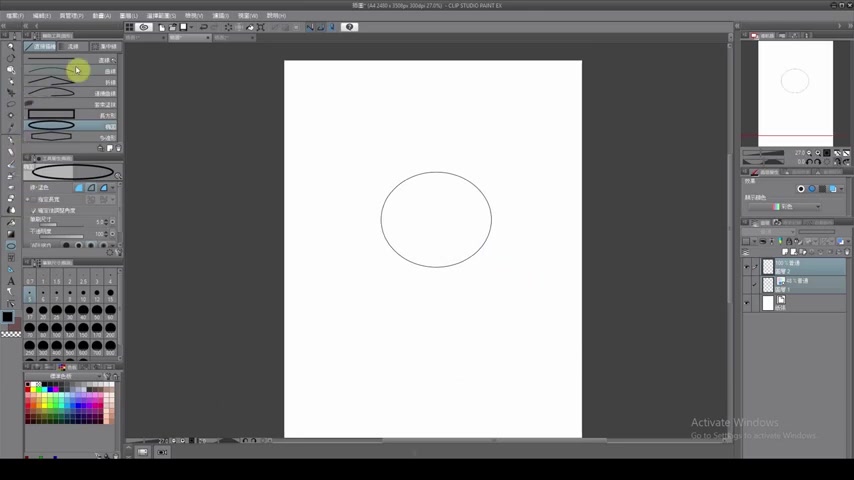
Ha Ha , then draw a straight line through the oval .
Here is it and draw it again and erase it and draw it again .
Alright .
This is the headline and this is the chin line .
Now draw the eyes line at the middle point then between the eyes line and the chin line , draw the nose line .
Next , draw the mouth line between the nose line and the chin line .
So before we draw the outlines of the face , we have to know where to draw the cheeks .
First .
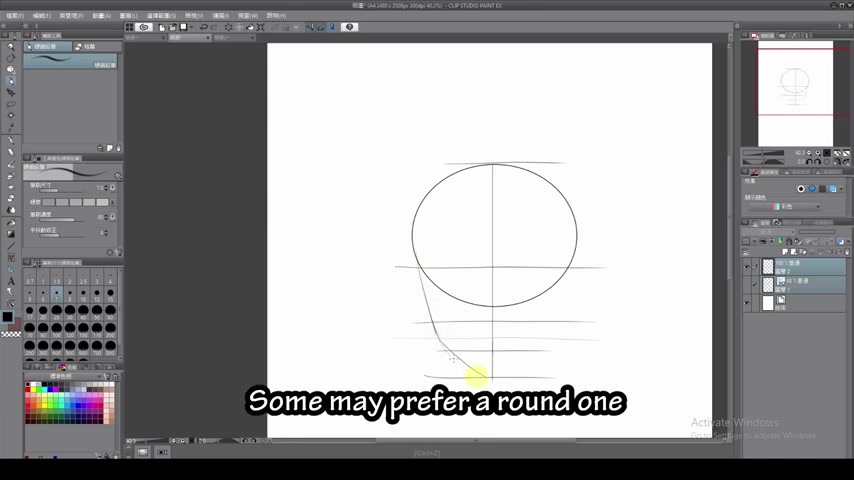
The cheek is located somewhere between the nose line and the mouth line .
Some of you may prefer to draw a sharp jaw .
Some may prefer around one .
I usually prefer the round one .
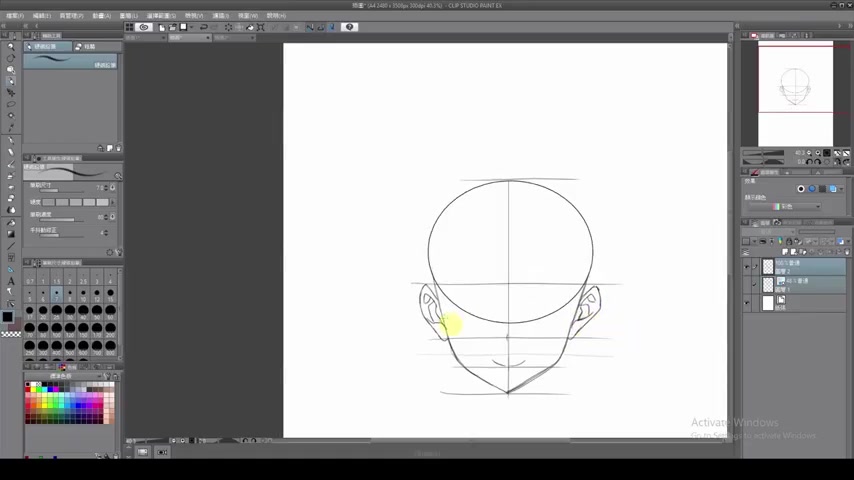
So the tip of the ears touches the eyes line while the ear lobe touches the nose line .
And that's how you draw the ear at the correct position , proceed to draw the nose and the mouth as well .
Just one simple line , you don't need to draw Angelina Jolie's lips for the inside of the ears .
Maybe I will teach you how to draw that in another video .
Maybe not after drawing the ears , let's draw the eyes .
The ratio for the eyes is as follows 1 to 1 to 1 .
Well , let's put this concept into the face for you guys to understand better .
I will draw one eye here first .
And as you can see , the distance is the same 1 to 1 to 1 based on the ratio , draw the second eye .
Now draw the eyeballs along the curvature of the oval , draw one simple line above the eye .
If you want a double eyelid , then draw the eyebrow above the eyes and there you go , the outline for your anime face So what I will do is put this outline at the back and draw on it .
Your final product should look something like this .
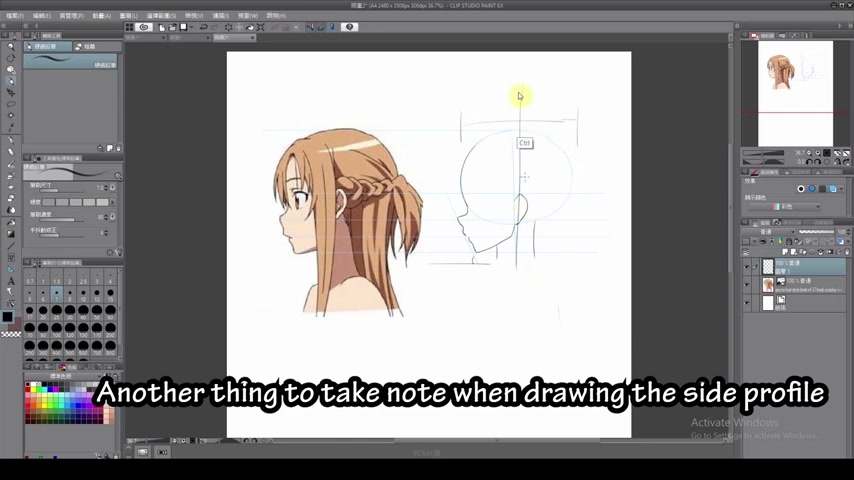
If you are drawing a bald character , the same middle point concept applies to the side profile as well , the eyes , the nose and the mouth .
Another thing to take note when drawing the side profile is the ear is drawn at the middle of the head .
For this area .
You will notice that there is a slanted line connecting the nose to the chin .
The slung is approximately 75 degree to achieve this angle with draw a 90 degree axis .
Half of it is the 45 degree excess between the 45 degree line and the 90 degree line .
Draw a line which is the middle point , boys and girls .
This is why you have to pay attention during Matt's class or you won't be able to draw anime characters .
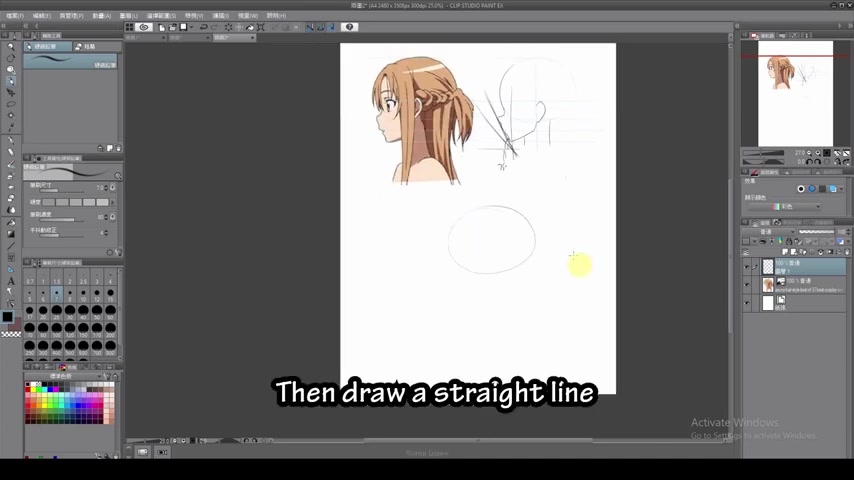
Alright , let's try drawing the side profile from scratch first , draw an oval shape , then draw a straight line .
Next , draw the 90 degrees axis somewhere around here , make it a little closer .
All right , perfect .
Using the same techniques draw the headline first chin line , the ice line , the nose line and the mouth line .
After that , we will start drawing the face outline under the forehead , draw a slight curve inward until it touches the 75 degree slant .
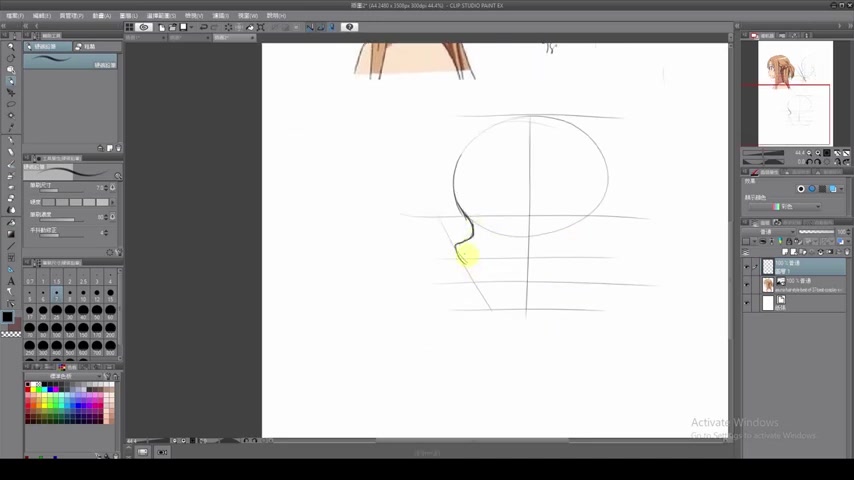
This will form the nose bridge , then proceed to draw the lips on the mouth line and the chin on the chin line , draw your ears on the right side of the middle line of the head , draw the neck , starting from the nose line to the chin line , draw the ice on the ice line .
That is all for the site profile .
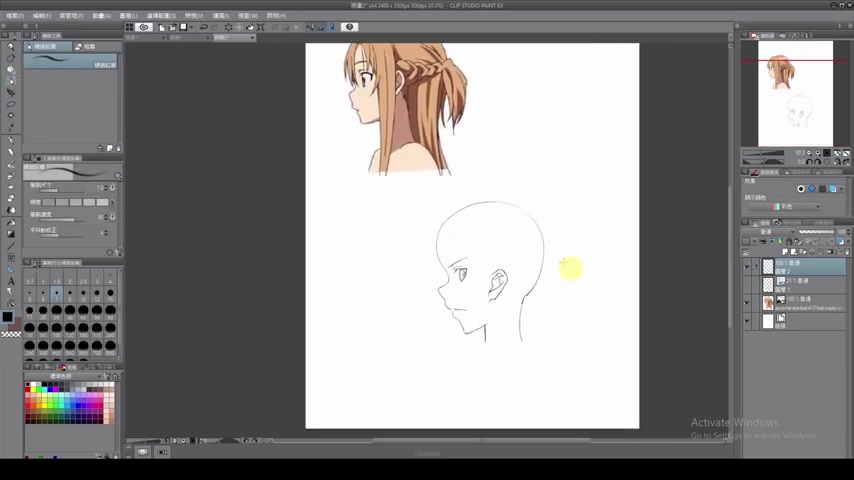
I will now put this outline at the back and draw on it .
The front and side face are not commonly used in illustration but the angle ones are so don't focus too much on drawing a perfect front or side face .
The front and side profile is just to help us better understand the position of the facial features .
Tell me in the comments section below which body part tutorial you would like to see in the next video , subscribe to my channel .
Let's give this video a like and I hope you guys enjoy it .
Are you looking for a way to reach a wider audience and get more views on your videos?
Our innovative video to text transcribing service can help you do just that.
We provide accurate transcriptions of your videos along with visual content that will help you attract new viewers and keep them engaged. Plus, our data analytics and ad campaign tools can help you monetize your content and maximize your revenue.
Let's partner up and take your video content to the next level!
Contact us today to learn more.