https://www.youtube.com/watch?v=IUFs6Z0WVAQ
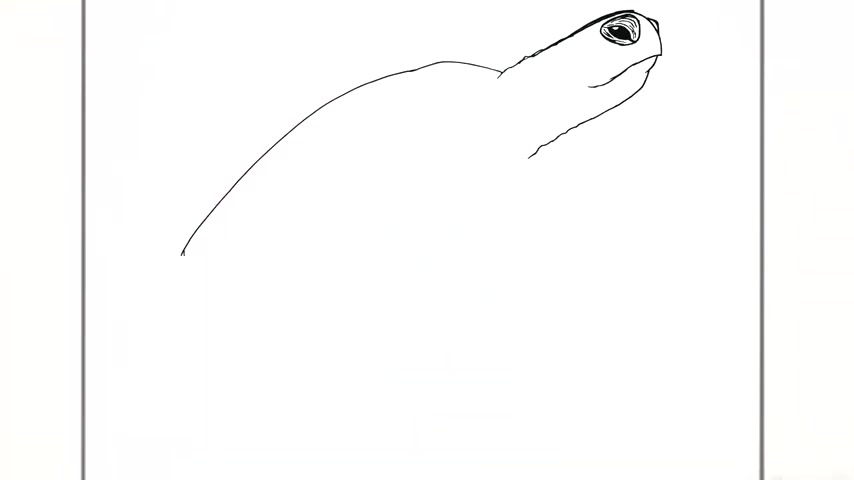
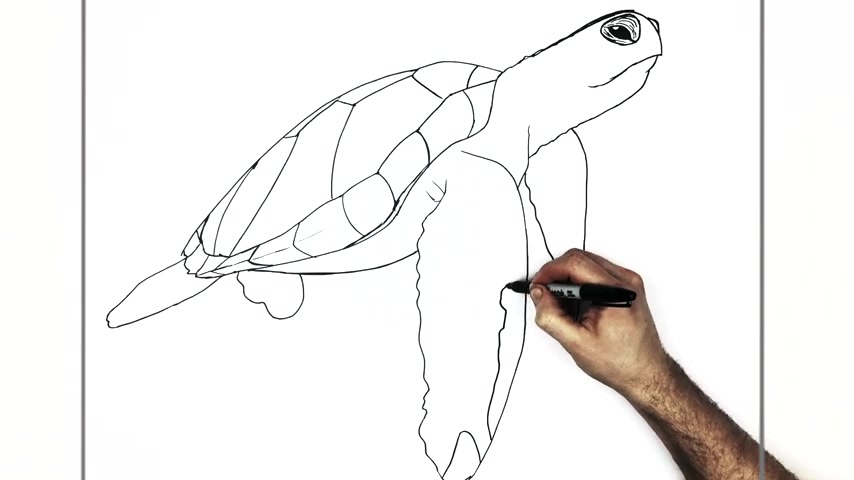
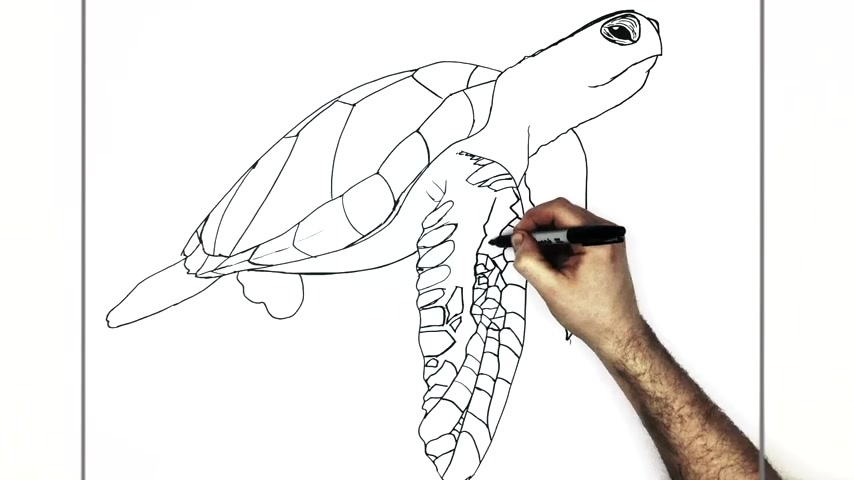
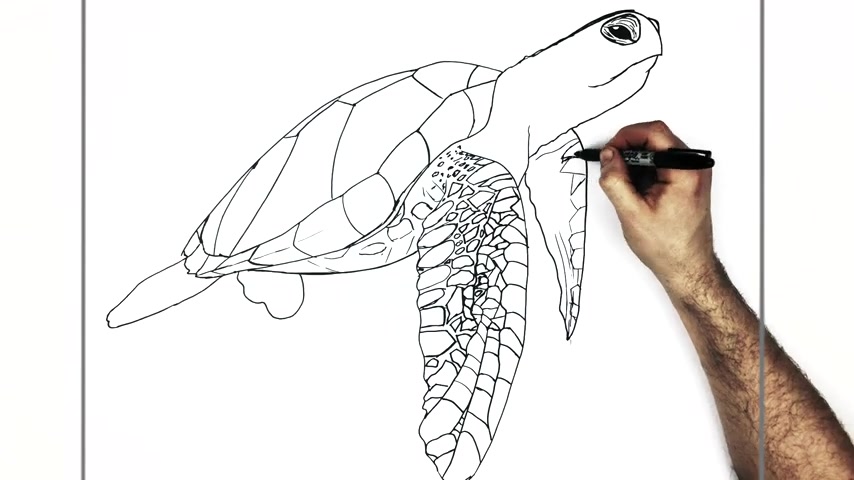
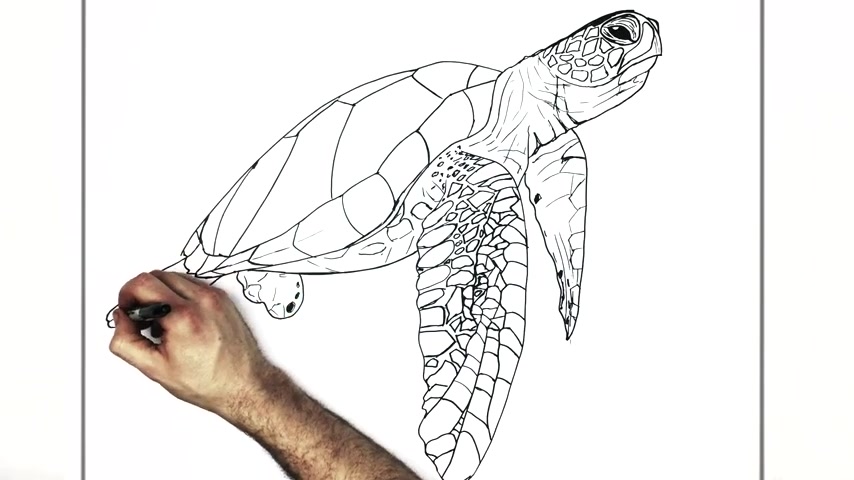
How To Draw A Sea Turtle _ Step By Step
This is a website that allows you to crop a picture and it says upload an image show how easy it is .
Here's my images .
Here's the one we're interested in .
Click open uploads the picture noticed that it cropped the girl out .
No problem .
You can take this and go like that .
Obviously , I made a mirror image of this but it gives you generally the idea of what you're trying to do and then you can choose download , download load resolution .
The low resolution is fine for what you want to do and you can go back to your mentor and we scroll down .
So now that we've successfully made our umbrella Girl have a transparent background , we're ready to start on our inspirational section and then add her to it .
The first thing I'm going to do is gonna change this background .

So we're going to click on this and it's called an intersection .
This one right here , see how there's an intersection is there .
And then the main section is there .
We wanna be on the intersection , we wanna be on that section there specifically and then we'll go to style and then we'll click on the picture and now we need to upload a picture and we want to get our inspirational pictures .
So here's our content and scroll until we get there where they are our inspirational pictures and there's the background .
I want drag that over hit insert .
Now we want this to be center , center for the position it already is .
But check that to make sure instead of size cover , let's change it to contained .
And now in this intersection , there's two columns , a left and the right .
If you grab the edge in between , you can slide it left and right and make it change its size and get it roughly to 40% on the left and 50 or 60% on the right .
You can also choose the column and then specifically put it to 40 .
That's a little easier .
And the other one by default will be the difference .
Now , let's add the girl .
We'll go up here to where we can pick from our widgets .
We drag over an image and then we'll add our image .
So we'll go back to our content folder and there's our transparent girl that we created drag that over .
We hit insert .
Now her image has been added .
So from here , we're gonna choose advanced and I wanna put some padding at the top .
So let's say 200 that moves her down a little bit and then we're gonna go into the motion effects .

Default , let's fade her in from the left and let's give it 1000 milliseconds or a one second delay for bringing her in like that .
And let's let it come in a little more slowly just because we can , there we go .
Now we can just hit update .
Just out of curiosity .
It's nice to see our work sometimes come over here .
We'll hit reload .
Yeah .
And there she is , we're making progress back to Element or we're gonna choose our section tab right here to edit the section itself and then we're gonna go to style and see that background's white .
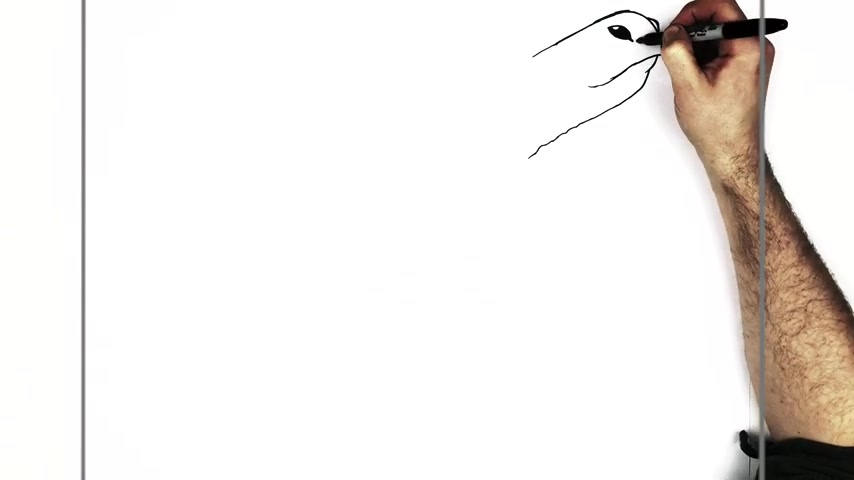
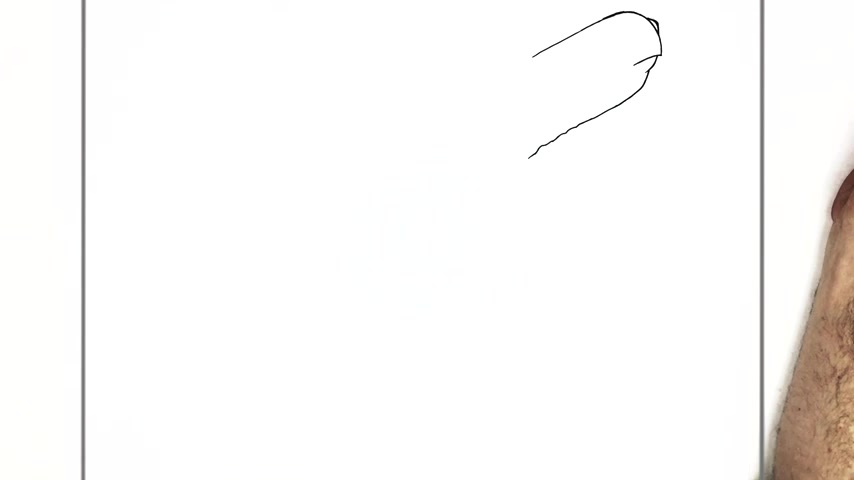
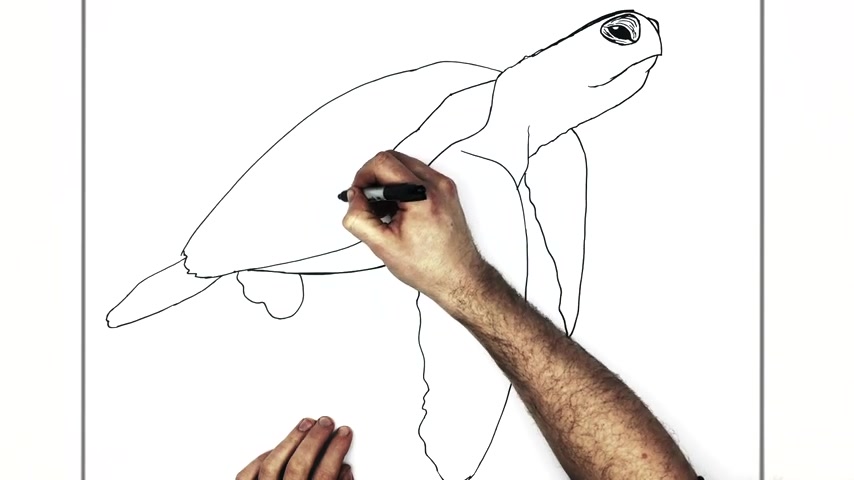
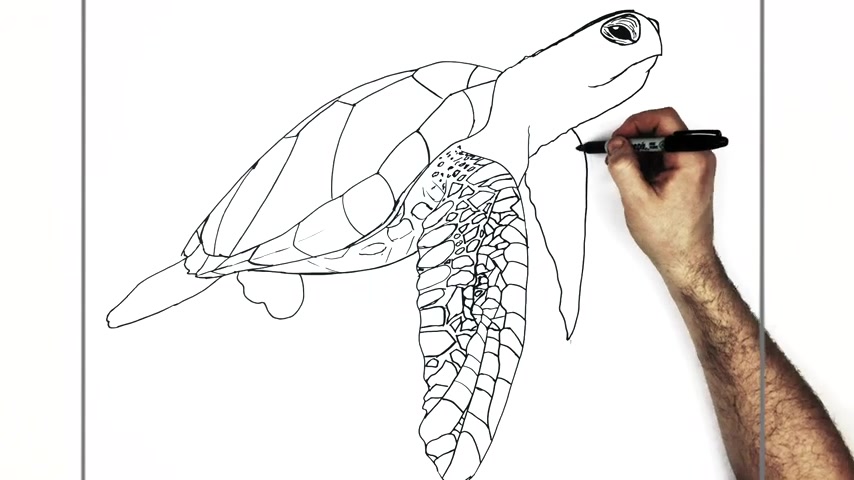
So then his eye , so there's like a an area around his eyes the best way it's like an eyelid coming out around .
So it's going to come out around like so come around this back down the other side and then we're gonna bring it back underneath around like so back up to there and then we might have some texture lines just on this .
So just coming under his eye following the general shape of it coming around like .
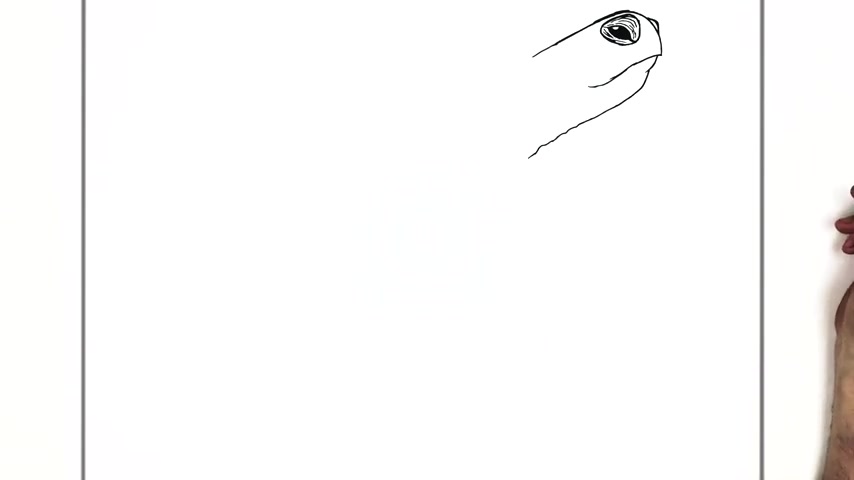
We're gonna change it to one of the darker Cheyenne looking colors and now we're going to go to advanced and change this from 0 to 35 and change that 100 the zero .
And Bethany's , you see this little wave brush thing going on right here .
We wanna add that .
So let's go ahead it and it turns out being at the bottom of the section above , but we got to scroll up , choose that section , then go to style and then we're looking for shape divider .
We're gonna add the shape divider at the bottom and the type of shape divider we're gonna use is waves brush .
So we scroll down and you see that's what it looks like .
And there's lots of different ones you can choose from .
It's worth checking them all out to try different stuff .
So I'm gonna take this button and I'm gonna bring it down here and I'm gonna put it right there because we can just use it there and make it work for us and it saves us the trouble of making one .
We'll come back up .
Now , let's work on this first header here , the bigger one .
And let's make that say be inspired and we'll go to style , we'll set the color to be white and we'll close the color out .
We'll go in typography .
I wanna choose a font of Monette .
We'll make it 80 and make the thickness be 700 .
Now the margin for our header , we go up here , we'll click on margin and we disconnected those right there is going to be 29 .
And basically that just allows that to sit a little bit lower .
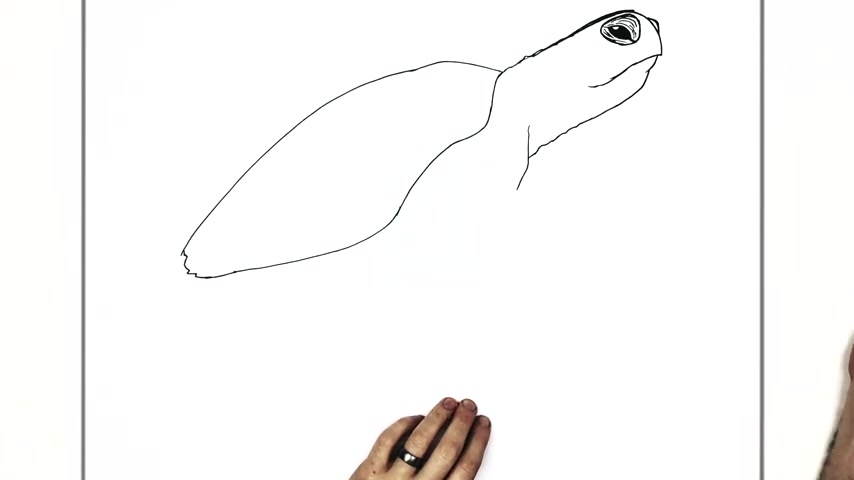
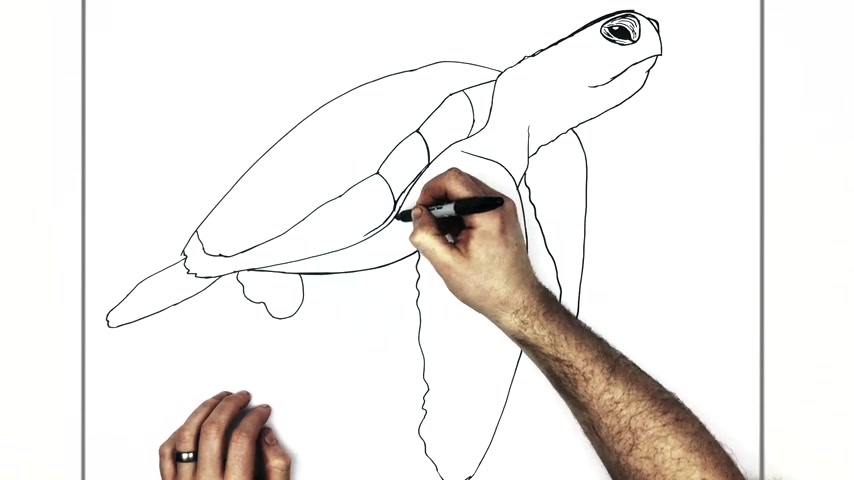
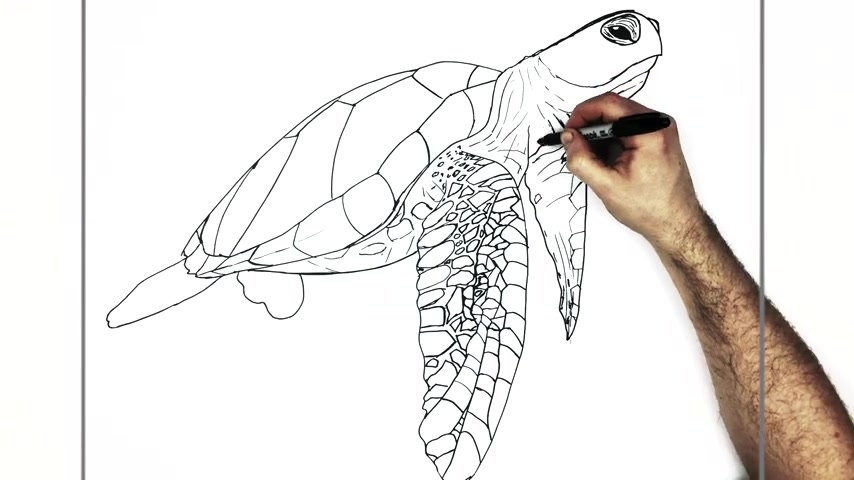
So we'll do this big front flipper here first .
So let's see .
So we kind of have a wrinkle line just here for like the start of his body and then this will go around , it goes underneath his flipper comes out the other side .
So his flipper is just here .
So and this is gonna come real big all the way damn like So , so when we get to about here , we can curve back up and this side is gonna bump .
So it's gonna be a bumpy edge , right like this .
And so for this text if we choose that widget , I change the text to live your best life .
Good advice .
Click on style color is white color .
Is that go into typography bot Laura , we'll make this 1 40 and we'll make the weight 500 .
And now below this , we want to do an image carousel .
And so we need to go up here and choose this icon that displays all of our widgets .
Now , the one we want is called an image carousel .
But instead of scrolling down looking for it , we type the word image , it'll bring up all the ones that have that in common .
There's the image carousel , we could drag that over that puts it above the words that puts it below the words where we want it .
I can choose that .
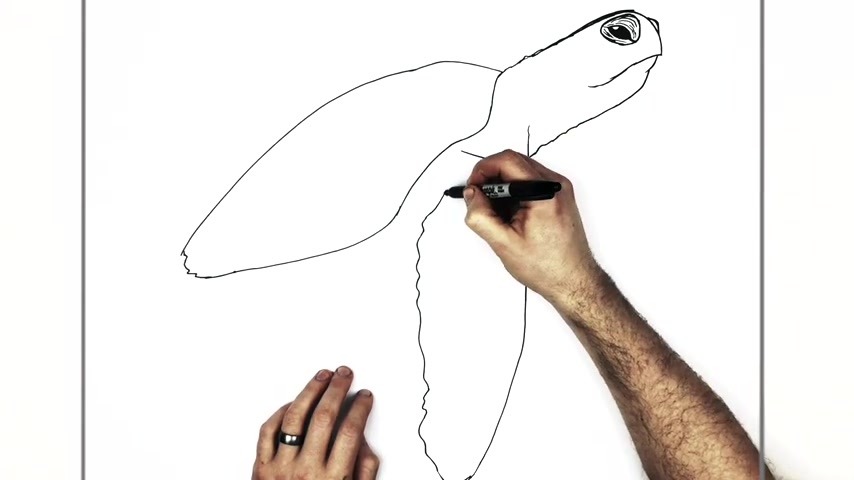
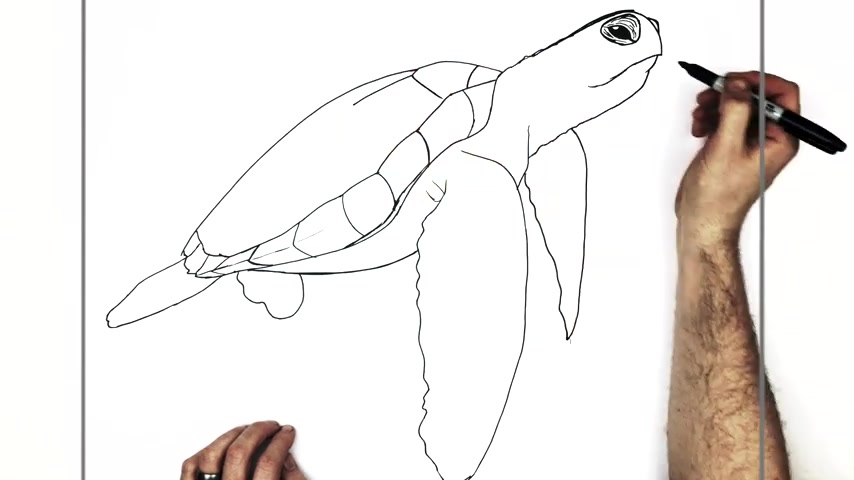
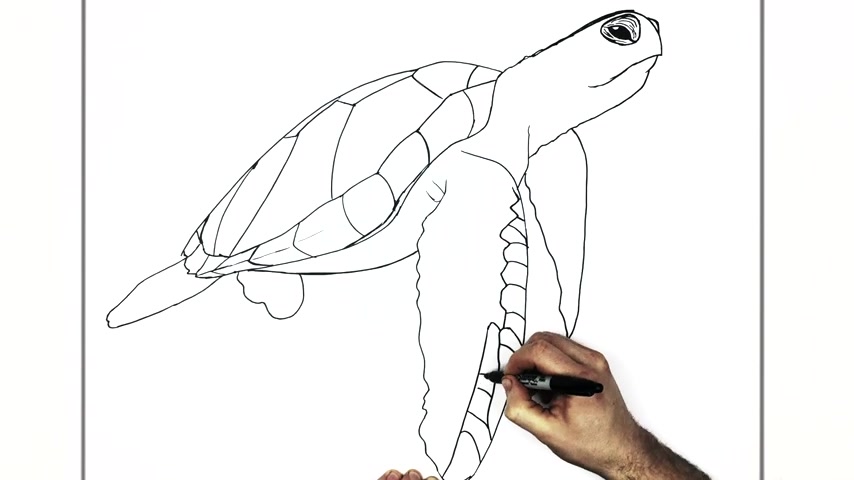
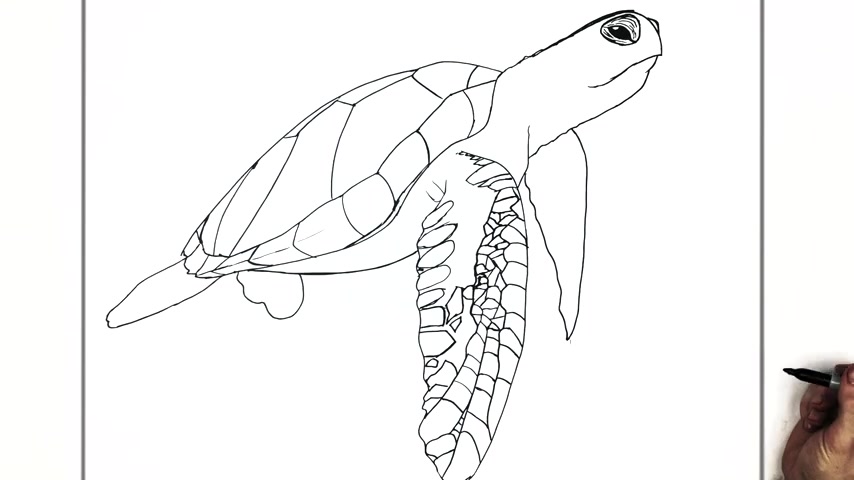
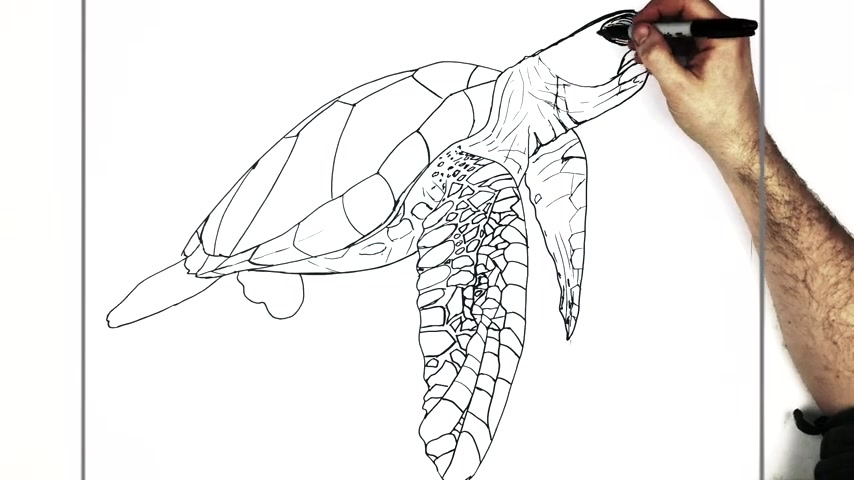
So just here coming out this way , brown and then back up in underneath the shell to be then on the other side , we can see the other flipper on the other side of his body coming around this way , bumping on this side , I think so .
OK .
Now , so patterns and details .
So we'll start with the shell first .
So we have another sort of set of lines that come down this way , this kind of comes around here and each of these is going to be like a section of shell .
Now , we need our inspirational pictures so we'll bring up our content .
These are our six inspirational images drag this over .
Now they're loaded .
We can just click , create a new gallery and insert gallery .
Now , it's got three of them there for now .
We're gonna tell this to be large and we're gonna sell it to put one per slide and we're gonna say image stretch each course .
Yes .
And that looks about right .
Now , notice that it has these dots here and it has these left right arrows .
So you can have navigation built into the carousel .
I don't want that for this particular carousel .
So in a navigation , I'm gonna tell it none and that gets rid of the arrows and the dots .
And then down here under additional options , pause on hover .
That means if I put the mouse over it , it stops showing new pictures .
Well , that might be nice in some situations , but I want it to continue to show new pictures whether the mouse is on it or not .
So we're gonna turn that off our animation speed .
Let's set that to 4000 and we'll change this from being a slider to fading and now it'll fade in between the different pictures like that .
And now you see when we added this stuff in there , this wave sits exactly where we needed it to sit , which is really nice .
So let's go ahead and hit update .
OK ?
Back to our page , hit reload and look at that .
Our inspired section is really working well .
So now we want to work on our call to action section .
These little sections that have like an icon , some text in a button , they're called call to action .
Let's go back over here .
The first thing I wanna do , this is an inner widget .
So we got to drag it .
I'm gonna just change it to 0 20 0 20 just a little less space on that .
Not waste so much space .
They're gonna choose this icon widget and we're gonna go to style and I'm gonna set the color a little bit darker and then for the header , we'll also go in , set the color to the same color , close that out .
And then typography , we will pick Monserrat , we'll make it 32 tall and a weight of 300 .
And then for the tech section , we choose that widget and I want to go into style and I'm gonna use a special kind of alignment normally .
If you got left center right , I'm gonna use justified and I'll square things off .
It looks a little weird with this sample text .
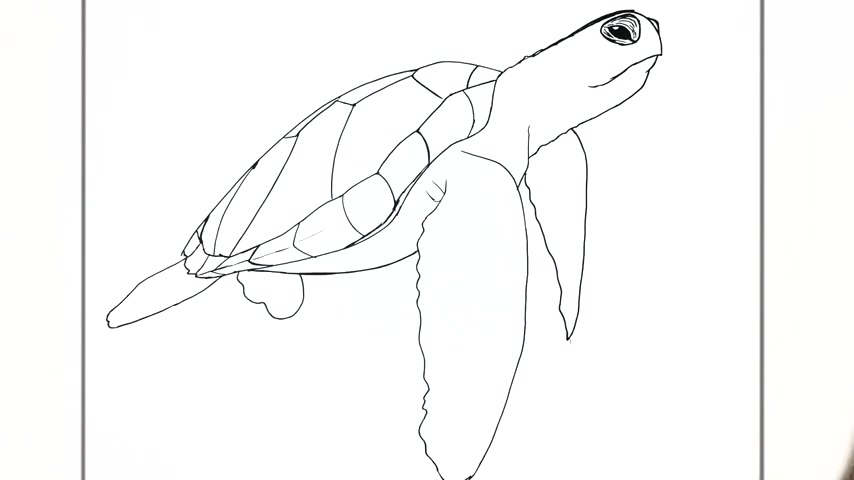
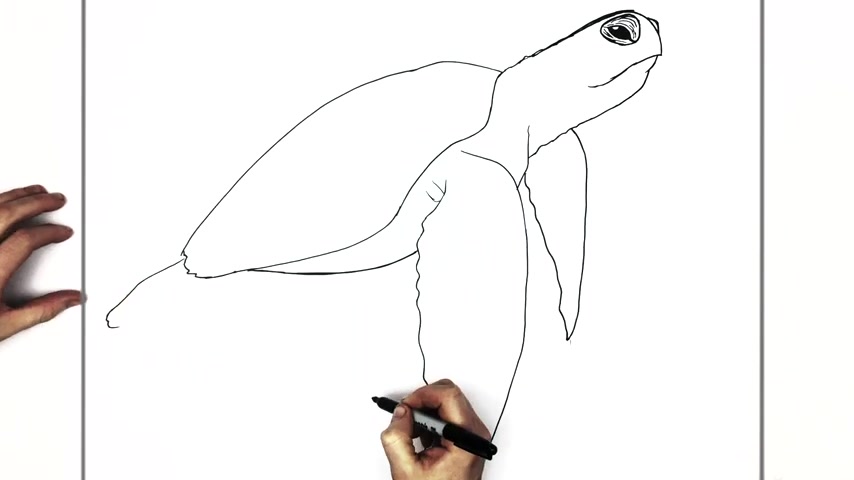
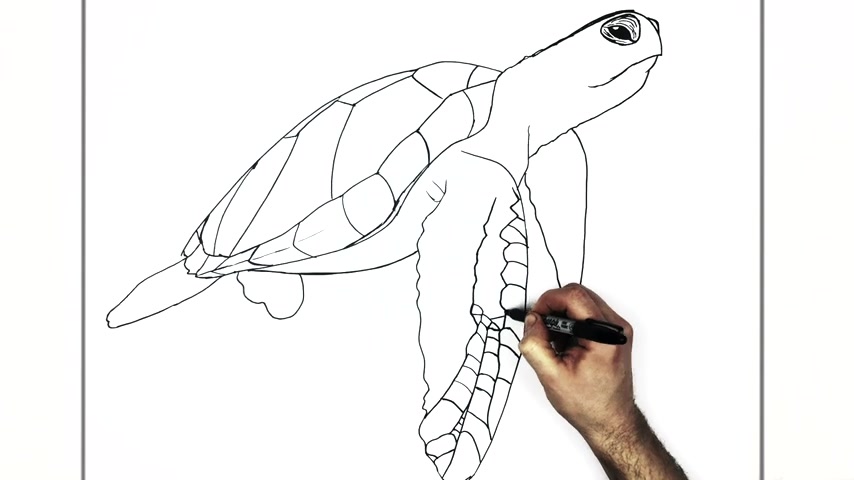
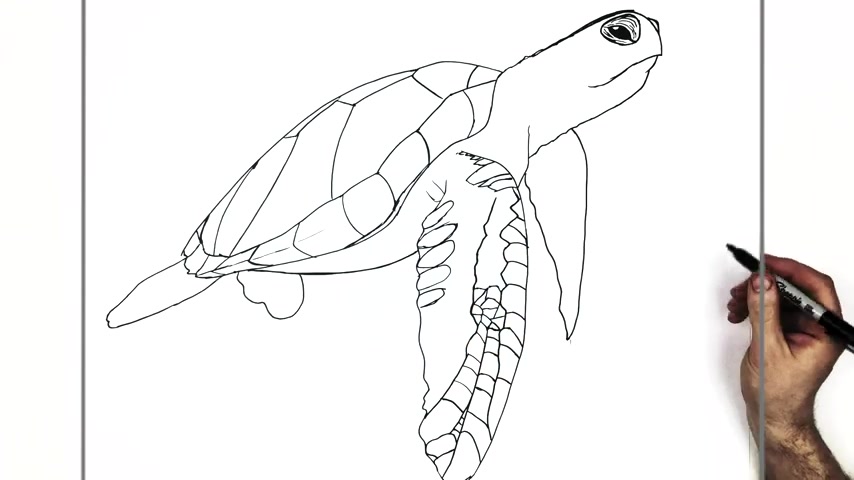
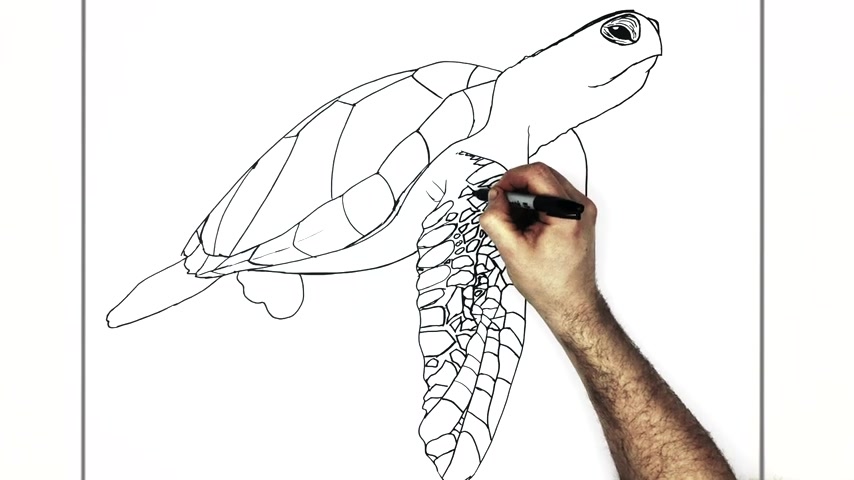
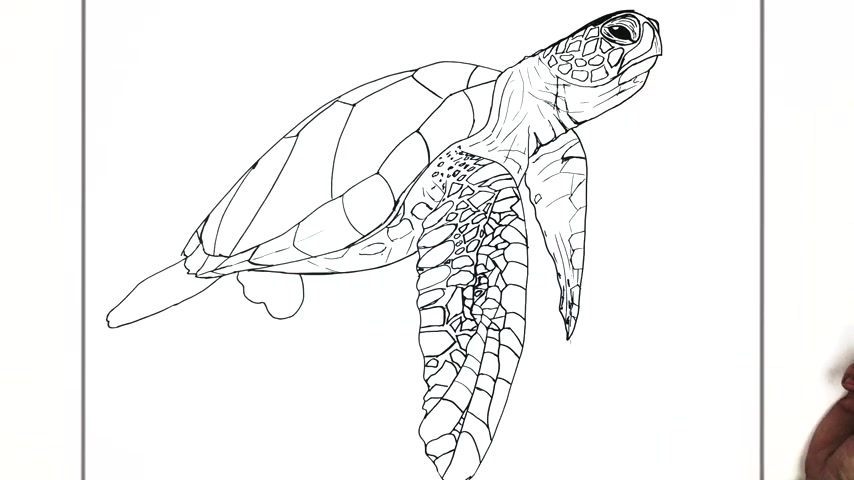
So then on his flippers , we've got some lots of sort of criss cross lines and max like patterns on his flippers and stuff like that .
So let's begin .
So we have a big one down here .
We're just gonna add these lines .
So it's kind of loads of these .
So just uh take it step by step , certainly not up this way , kind of random .
They're probably not random , but they look kind of random .
When we put real text in there , it'll look a little bit better and then we'll go into typography .
He had a different font railway .
We'll make this 21 and away to 200 then the color for this will be the same color we used for the icon in the header .
So everything kind of matches and I'm going to choose right , click on that icon and choose copy , right ?
Hey style , right ?
Pay style and on this header , right , copy , right ?
Click pay style , right ?
Click pay style .
And for the text box , right , click copy , right , click pay style , right ?
Click a style .
Now for a button , I'm gonna choose the button and go into style and we're gonna change the button color to that , not much different .
And then when you move over the mouse , we want it to grow a little bit .
So what we're going to do is we're going to choose the hover option .
And then on hover the animation , we just want it to grow .
Look at that .
How now , right , click copy , right , click paste , right , click paste , bring it over , bring it over many ways .
You could have done that just showing you a different way .
Now we see that there's content in these , but it needs to be changed obviously .
So let's go ahead and change the icons first .
So I'll click on that icon .
Go to content , choose here and I can search , I wanna do a heart icon .
They will choose that one .
And now for this one , we'll choose that icon .
You don't always have to click the little box .
I try to inhabit it because I know that works better .
Come back over here .
Come up over here .
We'll look at comments .
We'll pick that one insert and then we'll choose the last one .
Come back over here .
Question , I'll choose the first one insert .
And now since you know how to change the text on these , I'll just use a little magic to make those happen .
Ok .
That updated the text .
But I wanted to do the buttons together because we hadn't had as much practice with that .
So we'll choose the first button come over here on the left and this one will be learned more and we'll point that to our about page .
The second one will say contact me and we'll send them to our contact page .
And the last one , we'll say tips here and we'll send it to our paypal page .
Let's hit update , go back over , let's reload the page , scroll down and it's looking a lot better , but let's add some animation to this .
So we'll come back in here .
Choose column one , go to advanced motion effects paid from the left .
Take this one , advanced motion effects from the right .
Choose this one advanced motion and we'll zoom that one in just like that .
We'll hit update and we'll reload .
Looks pretty good .
All right .
So on Bethany's site , the next one we're gonna do is just Words of wisdom section and ours does not look anything like that .
Right now .
We come back over here and to do the words of wisdom section , we're gonna do a carousel and we're gonna go ahead and insert a new section above this just so you can see how to insert sections in between .
So I'll click right there .
Now , we have a new section and I'll click on the plus sign .
I just need this to be one column and I will choose that section .
I'll go to style and we're gonna set the section color to white .
Now , I'm gonna scroll to the top and I'm going to right , click on that header and copy it .
Just another way of showing you how to recycle stuff come back down here , right ?
Click and paste it .
And now for the text , we'll change it to say words of wisdom .
And now we're gonna go to our collection of widgets and we'll type the word image again to find the carousel .
Are we using the carousel differently ?
This time ?
We'll click on here to add pictures to our carousel .
We'll bring up our content and we're looking for words of wisdom and there they are .
So we'll select all those , drag them over all at once .
We'll click on , create a new gallery .
We'll click insert gallery for the image size , we'll choose full so we can see the whole word slides to show let's say five .
We wanna scroll one at a time .
I don't want any navigation now .
We'll look in the advanced section again .
I don't want to stop the animation .
If I hover over it , I only want about 500 milliseconds in between .
That's half a second .
And I want to slow that down .
So it's gonna do it slower .
That's nice .
Just like that .
We'll hit update , go back to our page , hit reload and we're making progress .
So we're gonna go back over to mentor and I don't really like the spacing here .
Let's come back into advance for that .
Widget , put zeros in there , disconnect them .
I want 70 from the top because we're gonna put a brush wave thing here .
But I want these closer .
Now .
What's interesting is is that if I do a margin , I can do a negative margin on that and look how it brings it up .
So we'll take that negative margin of 25 for all practical purposes .
That's the main difference between padding and margin .
In most cases , we , we'll see some other examples as well .
But with margin , you can bring things closer together by using a negative number instead of a positive number .
So we want to put our brush divider right here .
We got to choose the section first and then we'll click on the shape divider and it's going to go at the top and it's going to be our waves and our color is going to be that same color .
We closed the color we didn't pick the right waves , did we waves brush ?
We'll change it to 60 and that's looking pretty good .
We can hit update .
Now , since I know we're gonna want to reuse the words of wisdom section , I want to go ahead and save it as a template now so we can use it later .
So I'll go ahead and go up here , we can right click to save his template .
We'll give it a name to save now that we've saved our word of wisdom section as a template .
We'll be able to reuse that in any other page on our website .
So let's go ahead and close this window .
Come back over here , reload and that's looking pretty good .
Now , we'll look at Bethany's website again , our next section we're going to do is this practical advice section ?
Again , we'll utilize a transparent image slider .
So let's go ahead and go back to our page .
Now , the next section of the website is a testimonial section .
Bethany's website does not need a testimonial section , but you might need one for your website .
So one of the things you might consider is to leave this the way it is or you potentially could come up here , copy this button , come down here , paste the button and then change this to say more testimonials and you could have a page of testimonials .
And in fact , the default site also has a testimonials page .
So you could point to that and repurpose it and have a testimonials page for yourself .
So , since Bethany's website doesn't need testimonials , I'm gonna delete this section .
We're also not going to use the latest product section here .
So I'm gonna delete that section and then I'm gonna click the plus sign so I can make a new section in between and then we'll click the plus .
We want this to have two columns under layout instead of content with boxed , we're gonna say full width and then the left column , we're going to make it 55 which makes the one over there .
45 .
I'm gonna choose that section .
It's already chosen but choose style and we're gonna add a background .
So we'll click on the background .
Classic click there .
Now we need to get our correct image for this .
So we'll go back to our content and there's the practical advice , beach .
We'll drag that in insert media and now we have our beach scene in there .
The positioning we're gonna use is gonna be top center and the size is going to be cover .
I know you can't see anything yet , but it will reveal itself .
Now , in the left box , we're gonna put an image , let's drag an image in there like that .
And then we're gonna put the image into the image widget , go to our content and then we want the Q and A image this time drag that over insert media .
And now for this left column , I'm gonna go in advance and we're gonna set some padding and we'll turn that to 90 on the top and 40 on the bottom .
And then we're going to copy the words of wisdom heading and then we'll come back down here and right click and paste it .
That'll save us from some of the set up for that .
And we'll go to style , we'll set the color to black and we're gonna change the height of that to 50 .
And then below that , we're going to add a widget .
If we type the word test brings up testimonial , we'll put that under it .
And it's kind of like an all in one which it , it has some text and a picture and stuff like that in it .
And for the image , we're gonna put a profile picture for Bethany and there is the practical advice , profile picture .
We'll track that over insert and for the content , we're just going to put questions and answers from Cora .
We'll put her pin , name of pepper and positioning .
We'll choose top and then we'll go back to the top and look in style under image .
We'll set a size of 1 15 or the image size for the content style .

We're going to go into typography and we'll choose Droid Arabic 24 and we'll set the color to that .
And for the name we'll go into typography and we'll pick open sands condensed and we'll make it 30 and we'll set the color to that , make it a little easier to see on the sand .
I'm gonna go back where it has title designer .
We're not gonna put that at all .
We'll just take that out .
Now , on the right hand side , we're gonna choose that column and we're gonna tell the vertical alignment to be at the bottom .
That way when the picture slides in , it'll be sliding in at the bottom and then we're going into advanced and even though these look like they have no value at all , I'm gonna open those up and make sure they all say zero .
Are you looking for a way to reach a wider audience and get more views on your videos?
Our innovative video to text transcribing service can help you do just that.
We provide accurate transcriptions of your videos along with visual content that will help you attract new viewers and keep them engaged. Plus, our data analytics and ad campaign tools can help you monetize your content and maximize your revenue.
Let's partner up and take your video content to the next level!
Contact us today to learn more.