https://www.youtube.com/watch?v=Lrizzhw6R0I
How to make a Diaper Cake _ Diaper Cake Tutorial _ Baby Shower Ideas

I'm Rose and today I'm gonna be making a diaper cake .
I thought I would go ahead and videotape a tutorial so that you too can make a diaper cake at your next baby shower .
This was my first diaper cake that I made .
So I did play around a lot with the decorations .
Feel free to decorate however you want and don't forget to wash your hands since we are handling baby diapers .
Ok ?
So I'm gonna show you real quick some of my supplies I may add or subtract some of my supplies as I go .
But for your basics , you will definitely need a 14 inch cake circle or you can use any size you like .
I'm also using size one diapers in the Pampers brand .
You can use any brand you like .
And I've got a 1.5 inch ribbon .
I bought a baby blue white ribbon .
That's my whitest ribbon .
I also have this 78 inch ribbon in polka dots and I found this cute baby uh footprints ribbon and this one is 5/8 of an inch .
I am also using some curly ribbon .
I've got some glue dots make sure to buy the one , the large glue dots , not the real small ones .
And you will need some rubber bands .
I've got these really small rubber bands that I find really useful .
I also picked up there is a really pretty garland that I found by the cake cake section and I thought it would be great in between each tier .
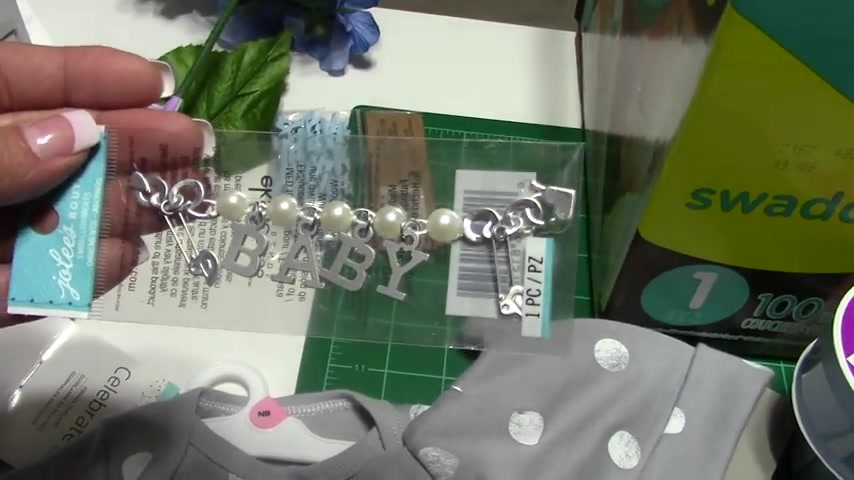
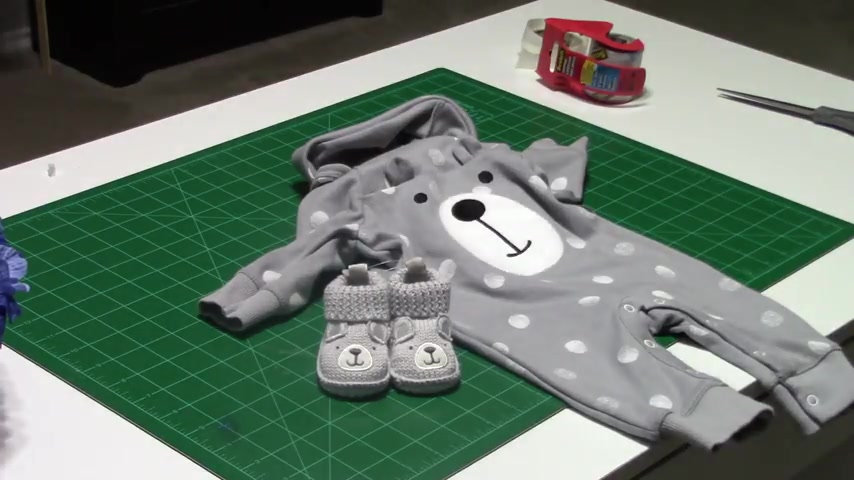
I found these embellishments um in the scrap booking section and I have this really cute outfit that I bought as a gift , but I wanted to incorporate it with my cake somehow .
So we'll see what we can come up with .
Ok .
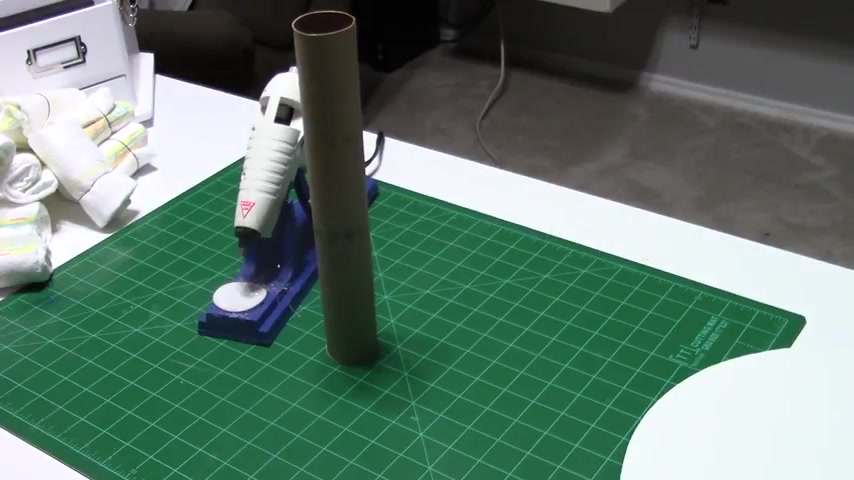
And very important , you're also going to need a paper towel row or a cylinder that you may have laying around the house .
That's about this tall and you'll also need your glu gun .
Ok ?
So the first thing we wanna do is we want to start with our base .
You're gonna take your cake circle and your paper towel roll and we're going to be gluing this in the center if you notice your circle does have a tiny circle in the center .
So this will actually help guide you .
All right .
So we're just gonna take our glue gun , make sure to keep a stick handy just in case you were to run out .
I know that's happened to me with many different projects and then I'm rushing to get one .
OK ?
So I've gone ahead and put some glue around my paper towel and I'm just gonna firmly push it down .
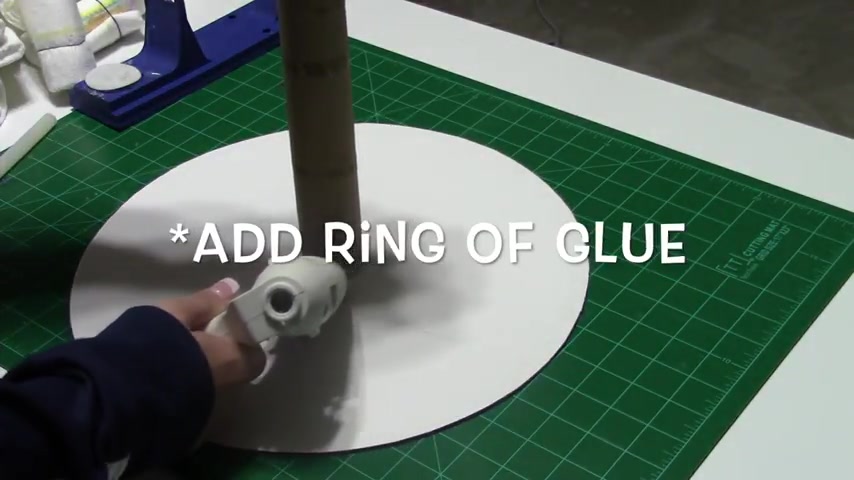
And I'm also going to add a ring of glue around here for reinforcement and don't worry about how that's going to look on the bottom because all that is going to be covered up .
But while this is drying , we're gonna be working on rolling our diapers .
This is a size one diaper .
I'm gonna turn this over and start folding this in .
First , you're gonna fold it like this and then just start rolling .
You wanna grab one of your small rubber bands like this and we're just gonna hold this in place when you place your rubber bands , make sure to place them up high because we will be removing these later .
So also the color of the rubber band really doesn't matter , wanna roll up quite a few because we are going to be putting these on our cake circle .
Ok ?

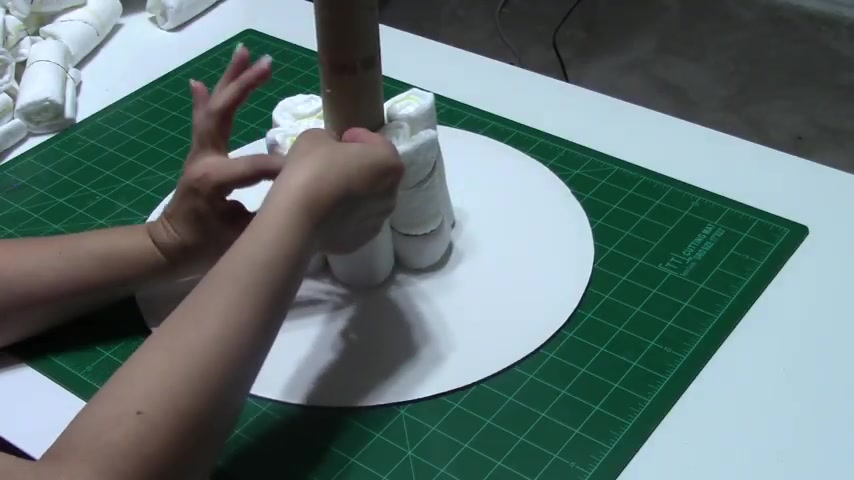
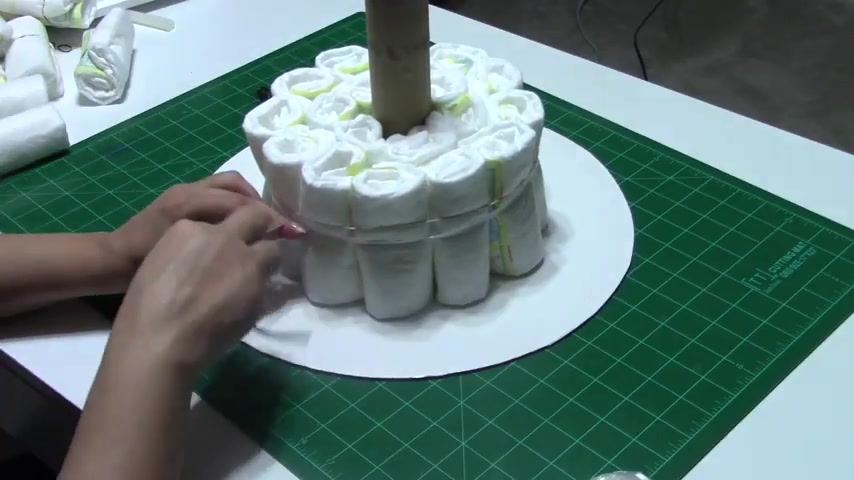
So now we're ready to place our diapers around our paper towel roll .
And if you have diapers that show up a lot of color on one side , just be sure to place that on the bottom side and also the open seam right here , just make sure that that goes in the inside and we're gonna place some uh diapers all around this uh paper towel row again , make sure that your rubber band is up high because we will be removing these uh rubber bands .
Ok ?
So my first uh row of diapers is going to be a total of six diapers .
We're gonna be putting around our paper towel cylinder .
Now you want to grab a large rubber band and we're gonna go ahead and wrap this around our first row of diapers and this will just help uh keep them in place while we also remove our small rubber bands from each one of our diapers that we just rolled .
If you don't have a large rubber band , you can also use your curly ribbon , just tie a knot around it .
Alright .
So now we're gonna begin by adding our second layer and I'm just gonna insert this inside my big rubber band that I have here and just keep going around 2468 , 10 , 12 .
So we have 12 diapers in our second row .
We had six in our first row and now we have 12 on our second row , ok .
So I removed all of my small rubber bands and I am just bringing my rubber band that I have around all my diapers a little bit higher so that it'll be easier to remove once I need to remove it .
Now we're gonna be using curly ribbon in place of our rubber band .
So I'm gonna wrap it around my diapers and we're gonna tie uh or tie a knot here making sure it's nice and snug you want to go ahead and just trim the long piece and remove your rubber band , ok ?
Now let's get started with our third row .
You wanna go ahead and keep adding diapers all around after your third row is in place .
You wanna go ahead and wrap your ripping around again , tie a knot and then start removing all of the small rubber bands again .
Ok ?
So now we're beginning our second tier .
We're gonna place a total of six diapers again .
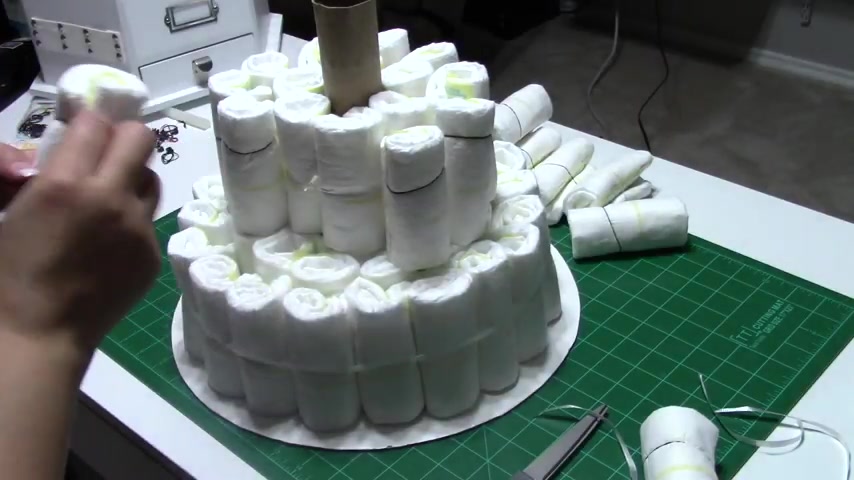
We're gonna wrap this up with our ribbon cut it and remove our rubber bands .
OK ?
So I've already started my second row of diapers on the second tier and this is going to be a total of 12 diapers , same as the bottom .
And we're just gonna do the same thing , tie a ribbon around it and remove the rubber band .
See you in a bit on your third tier .
You wanna use a total of six diapers and only one row you'll do the same thing , tie your knot and remove your small rubber bands .
Now , you just wanna look at your entire cake making sure that none of the seams are sticking out and that they're all in the inside and just make sure everything's OK .
I have one diaper .
I'm gonna insert in this hole making it 1/4 tier .
OK ?
So now we're gonna start decorating and I am using my whitest ribbon first , which is 1.5 inches wide and we're gonna be using our large uh glue dots .
I don't like using the small ones because they don't seem to have very much adhesive .
So I like using these .
We're just gonna wrap our ribbon around making sure that you glue it on the back side .
If you notice I have the white ribbon with knots on the back , that is where we're going to be gluing these .
OK ?
So I've already done all three tiers .
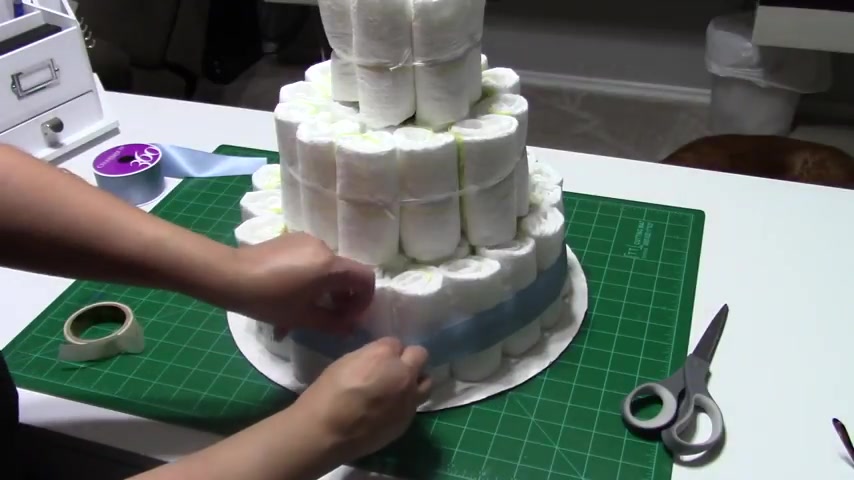
Next , I'm gonna go in with my decorative polka dot ribbon and we're gonna be centering this as well .
And I think I'm gonna be doing this to all four tiers .
OK .
So I also bought this pretty ribbon with these baby footprints and I wasn't gonna use it , but I think I'm just gonna try and put it on there and since this ribbon is translucent , you can still see the polka dots .
OK ?
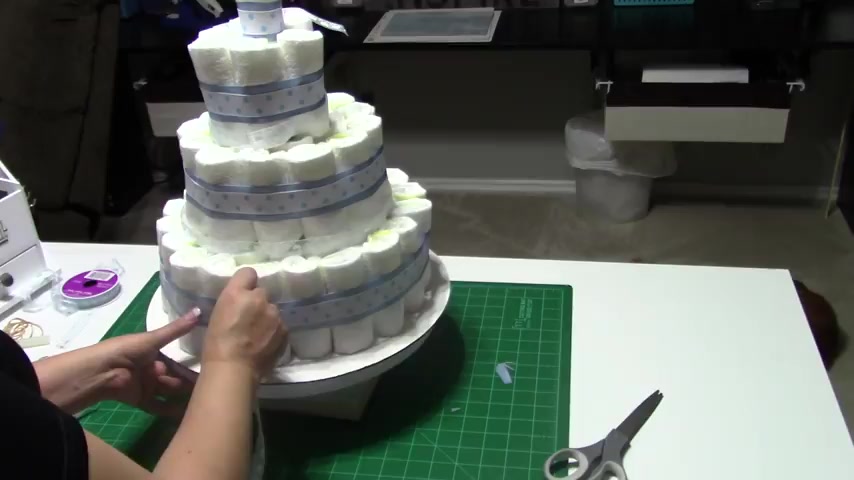
So now I'm grabbing my garland that I found at Make Michael's by the cake section and I wanna kind of um put it in between my tiers to kind of cover that up and also uh on the bottom just to make it look a little more decorative .
So we're gonna be using some glue dots as well that I , I have this flower that I bought at Michael's and I'm thinking that I'm just gonna take each stem and I'm gonna go ahead and cut these and then I'm gonna add them to my cake .
Yeah .
Look at that .
What do you all think ?
You really just have to keep playing with different flowers and decorations to see what you like best at the end .
In the meantime , I'm going to work on this cute outfit I bought , I'm going to stuff it with some tissue paper or in this case some bulletin board paper .
Ok .
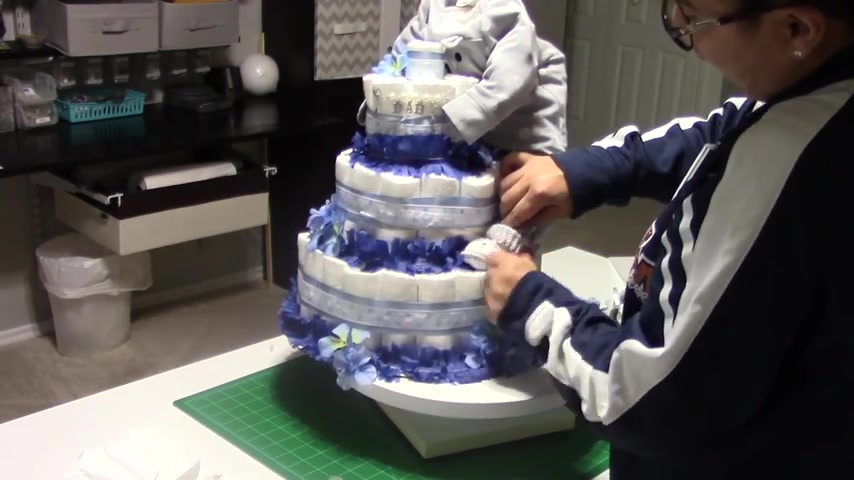
I have stuffed my baby now .
I , I wanna try and make it sit on top of the cake .
So I'm gonna stick some ribbon in one leg and then out the other so that I could wrap it around the second tier and tie it like I have done here .
I also want to thread my ribbon into one arm and then out the other .
It probably would have been best to do it right before I stuffed it .
So you might wanna just keep that in mind .
I have already stuffed my shoe and now I'm gonna be inserting it into our pretend baby's foot and I'm gonna use a glue dot on the garland just for reinforcement .
I went ahead and added some glue dots on the back of the outfit right through the inside and uh held the outfit and the hat together just so that it does the head doesn't fall apart .
Ok .
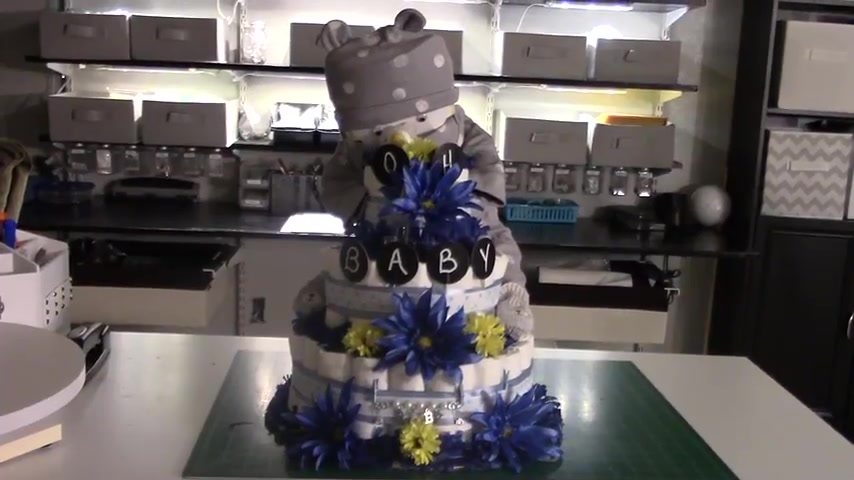
So I went ahead and added a pacifier on top and I've got the little holder hanging down and now I'm just gonna play with some different flowers .
So I'm just kind of messing around with the cake trying to see what looks best .
Ok .
So I found again these cupcake toppers and with Chopin , I went ahead and roll baby on here .
I'm gonna try and sit them on here .
So everything is kind of centered .
OK ?
So here's one way , but I like this a lot better .
I hope this will at least give you the basics on how to start building your own cake .
If you have any questions or comments , please feel free to leave those below .
Are you looking for a way to reach a wider audience and get more views on your videos?
Our innovative video to text transcribing service can help you do just that.
We provide accurate transcriptions of your videos along with visual content that will help you attract new viewers and keep them engaged. Plus, our data analytics and ad campaign tools can help you monetize your content and maximize your revenue.
Let's partner up and take your video content to the next level!
Contact us today to learn more.