https://www.youtube.com/watch?v=8hcZDNH3_Wc
How to SKETCH Like a PRO! - Tools, Tips and Tricks!
in today's video , we're gonna get a little bit sketchy , if you know what I mean .
But of course , by sketchy , I mean , we're gonna draw lots of pictures because that's what we do here on draw with Jazz .
Good day , ladies and gentlemen , welcome to draw with jazz .
I'm jazz and this video is a little bit different .
Today we're gonna talk about sketching , which is a really important part of the whole idea development process .
But it's also a part of how we develop our artistic skills and train our brain to have a speed at which we can produce ideas on paper while developing them in our head .
Knowing how to effectively sketch is as much about technique as it is mentality .
We need to be open and relaxed about it because a lot of the time the stuff you sketch and draw is gonna feel pretty crummy , especially when you're starting off .
So today I'm gonna take you through my top five tips on how to get the most out of your sketching .
So let's start off with one materials .
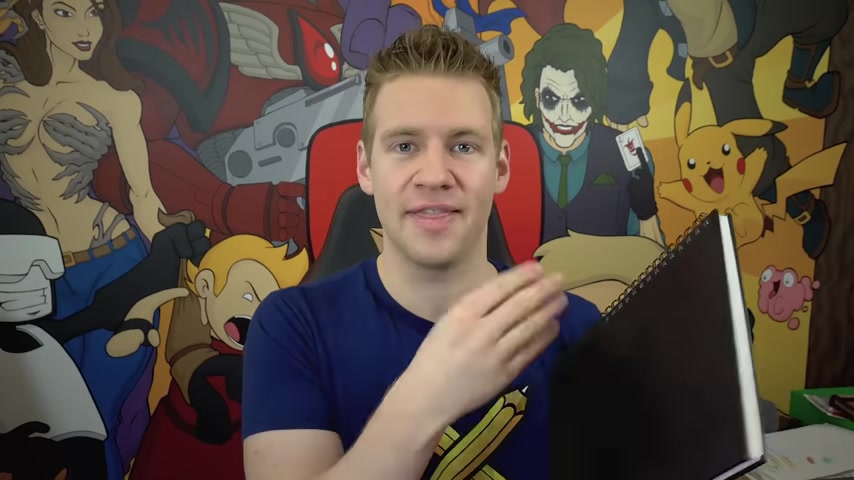
The first thing you're gonna need when sketching is a sketchbook .
Go figure .
I'm gonna start off by talking about a few of the Stillman and Ben sketch books in the Epsilon series .
They do a bunch of different kinds of sketch books , uh , with cold press printing , different colours like white and ivory , and then also different textures and smoothness and blah , blah , blah , blah .
The Epsilon series is my personal favourite because it's thick without being too thick .
It's smooth and it's white .
The reason I like them is cos they're good for pencil and ink , but also , if you feel like dabbling with markers or coloured pencils , they also work really well with them as well .
They hold the colour fine .
They don't bleed too much as far as having a sketchbook goes without it being dedicated marker paper .
So these are my personal favourite .
They come in different forms .
So this is the wire bound version , which is useful when you want to just work on one page at a time , but you're limited on space .
Otherwise , I really do enjoy these hard bound versions .
But again , then you have that limitation of needing to work with the whole spine and the whole book opens .
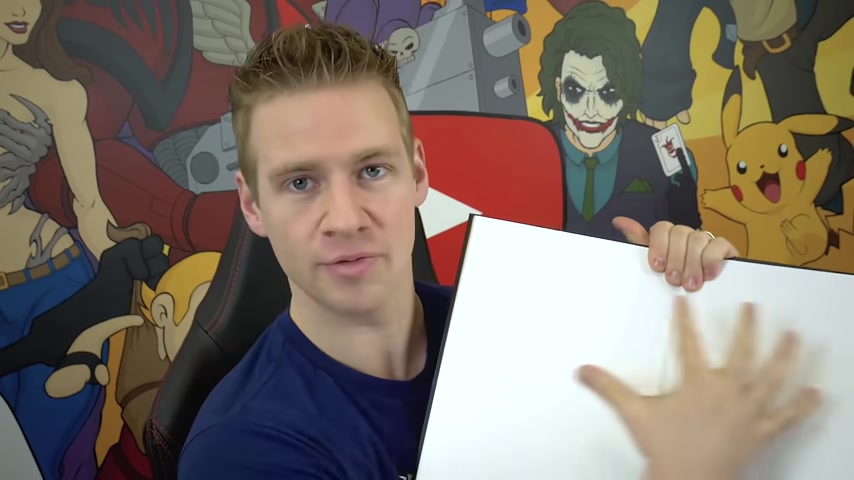
That can be really cool , of course , if you want to do a whole page spread where you go across two pages because these can fold quite flat and you can get a really nice full image across the two pages .
Stillman and Burn also have soft cover versions of the Epsilon series sketchbook , so you can check that out .
If you prefer the soft cover version , I tend to find that hardcover sketchbooks feel more substantial .
So if you want to do some really refined sketching or create a portfolio , they're really cool .
Soft cover sketchbooks are the ones that I take on an aeroplane or when I'm travelling that I can fold over and treat a little bit rough and , uh , just came into it and and get some sketches on paper without worrying about being too neat .
Another kind of sketch book .
A lot of people swear by is this thing .
This is a MLS mo mo mo mo mo .
I don't know how to pronounce this thing .
People like that .
It has this elastic on it , so you can keep it closed .
It's good for travelling because it's not too big and much like the hard bound Epsilon series , you can do this whole flat page thing , Uh , but because they're smaller in general , they don't take up too much room , and they do have a really nice folding flat capabilities .
None of these are sponsored in this video .
This is just like my preferences and the things that I've explored , because in many of the sketchbooks I've used from various shops , a lot of them seem to fall short , and these are the ones that I feel are really cool .
And speaking of really cool , the last thing I'll mention when it comes to sketchbooks are these things .
This is a half to paper , or some call a mid to paper sketchbook called such because the tone of the paper is a mid to or half tone .
What's the point of these ?
Why do people use these ?
I didn't know a long time ago , but ever since I've seen people use them , they can pack a lot of punch and be really cool .
The reason being is you can make white appear on them where you can't on white paper , and working from a mid to you can bring out deeper and shadow colours as well as lighter and white colours that can be a really powerful thing , which we'll get to later in this video as to how you can use that .
But the reason that's useful is if you're illustrating characters , you can colour in clothes and use colours on the mid tone sketchbook .
But for the skin colours , you really don't have to use that much , except for a few shadows and occasional highlights with a white pencil or something to make it pop a bit .
So aside from being able to emphasise different styles and pack a little more punch with some highlights , the mid to sketch book can also save you a little bit of ink along the way , too sometimes .
So now let's move on to sketching materials , the stuff that you put on the paper or use to take your terrible sketches off the paper .
Let's talk about the most important things in this equation .
The first and foremost the pencil .
And second , of course , the eraser .
This goes without explanation .
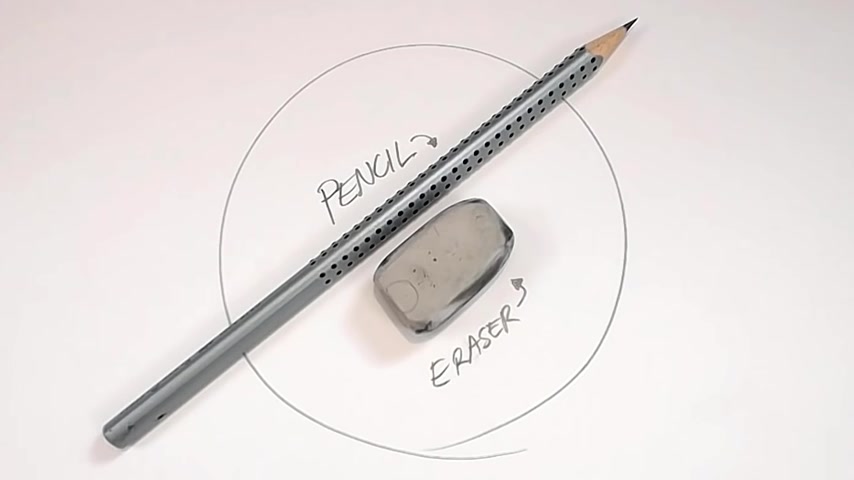
The hardness or brightness or darkness of the lead is up to personal preference , and the form of the eraser is also up to personal preference .
Now I'm gonna incrementally expand on the things you can use when sketching .
But keep in mind that the further I get along this list , the less necessary they are .
Next on the list is a mechanical pencil .
This is something I personally , really love and much prefer to wear traditional lead pencil for the simple fact that , of course you can refill it .
It's more comfortable to hold if you can find the right one for you .
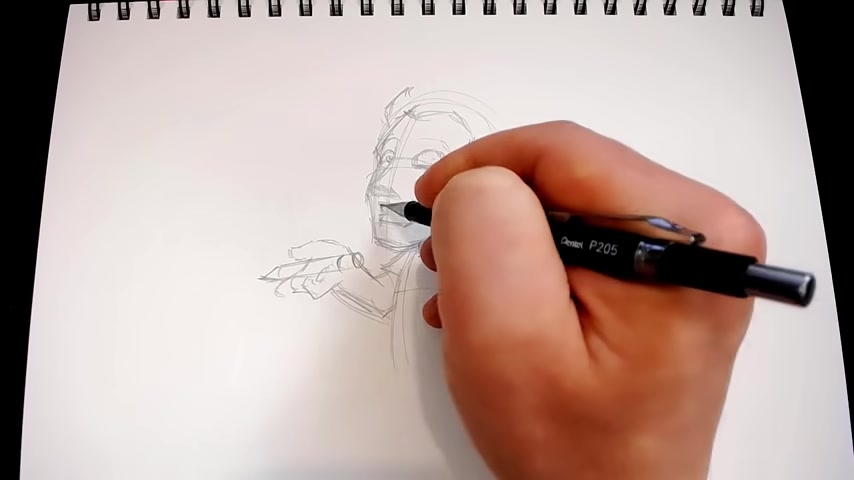
There are endless varieties of them , of course , but I will say that I use the pent P 205 and have for about a decade .
I love this thing , and I have a few backups in case it ever fails me , which it has never done , so I can definitely highly recommend this mechanical pencil .
Next , we have the electric erase , much like the mechanical version of the pencil .
The electric form of the eraser can come in different sizes .
Erasers tend to be for broader strokes or entire images or portions of images .
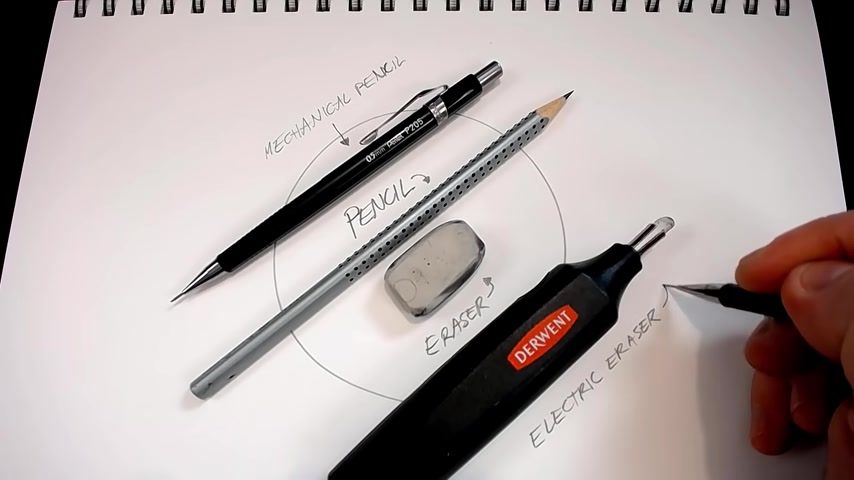
The electric eraser isn't good for large portions of the image , but it is very good for controlling certain areas .
If you , for example , want to erase a pupil , the electric eraser makes things a lot more accurate now , as I'm going through this list in a hierarchy of what I would personally prefer to include in my pencil case , I'm going to jump back to the mechanical pencil and just mention that you can get very thick lead in mechanical pencil form , which can be really cool for very loose and very rough sketching or sketching on larger pieces of paper , especially for something like life drawing or creating landscapes .
A 0.5 mechanical pencil is great for things overall but tends to be quite weak when working with shading or large , loose imagery .
Next , we have colour pencils once again .
Of course , this is optional , but I tend to find that sketch roughly in a colour pencil or usually a light blue is quite nice , is a fun way to keep loose and have a little bit of visual difference in your piece .
As you develop the characters or creations you're making .
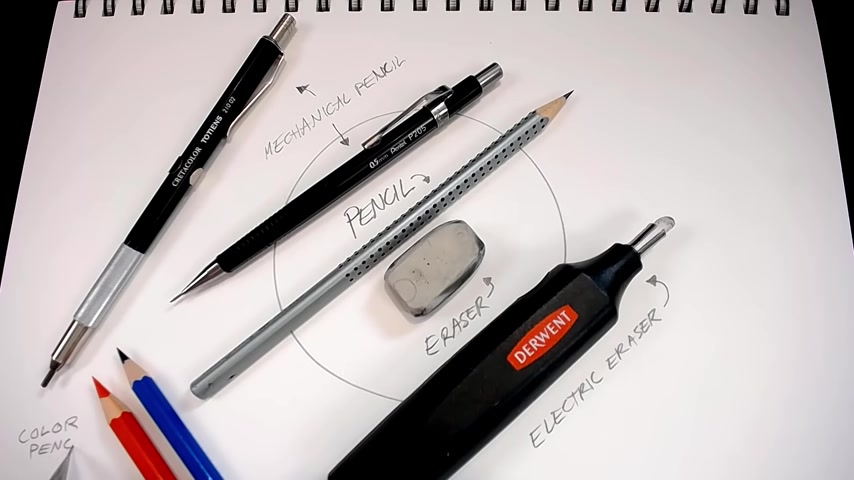
I also find colour pencils are really useful to highlight or add silhouettes behind your images , which I'll talk about later in this video .
But essentially , the colour pencils don't provide anything necessary or vital to your sketches , but they do add a little bit of a layer of depth or interest .
Visually .
Next , we have liners again .
This is only really for the more polished end of sketching .
If you find a sketch you love and you want to clean up a bit , this is what I'm showing here is a unipen fine liner .
They're pretty hard wearing .
I've had a set of unipen fine liners for again about 10 years , and I don't think I've ever even had to replace them .
I wouldn't use a fine liner to sketch , but I do use a fine liner to polish up a sketch or design that I think is kind of nice , and I want to emphasise a little more .
You can get a whole bunch of different fine liners , but I would recommend when it comes to refining a sketch to work with something like a 0.2 to a 0.5 something a little thicker but not too thick .
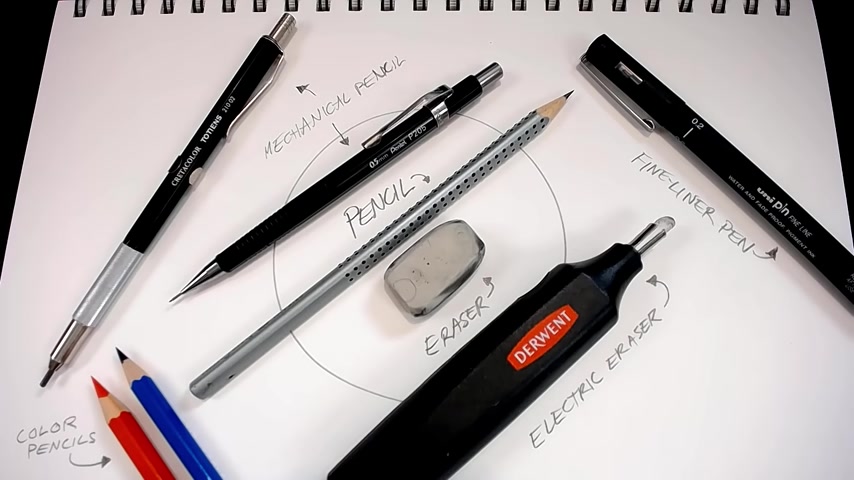
If you want , you can emphasise a polished sketch by adding a thick outline with a Sharpie to the outside of your sketch , but to the silhouette only so worth having around if you feel like getting to them but again , not necessary When it comes to sketching further out from the spectrum of necessary sketching materials , we have some copy markers now .
I will mention , of course , that there are hundreds and hundreds of colours and types of cop markers or even different brands of markers .
I tend to prefer cos everyone has a different preference , but when it comes to sketching , you don't need a huge variety .
In fact , 2 to 3 grey colours is really all you need .
We'll talk about this later in this video , but you really can use something like markers to bring out and make quite punchy , uh , an image that you're proud of or a design that you want to work with in future .
Last but not least , we have the white pencil , and this is kind of irrelevant when it comes to white paper , but quite useful when you're sketching on mid tone or half tone sketch paper .
So definitely have one of these bad boys nearby .
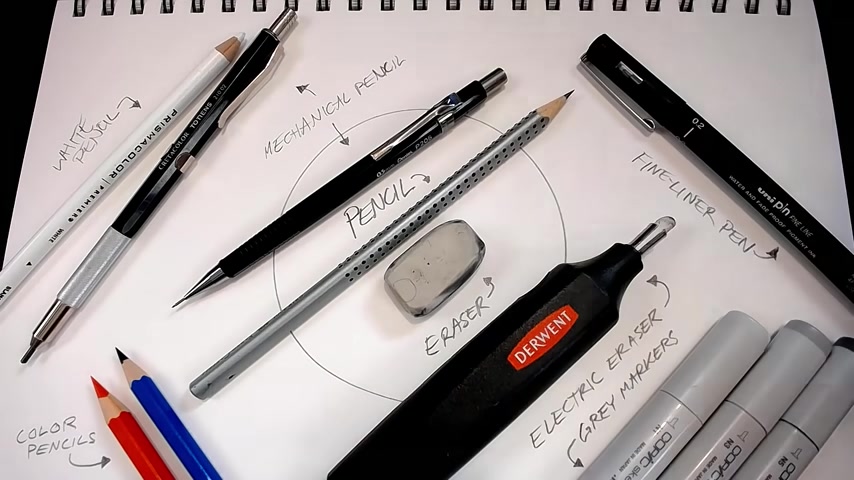
If you're sketching on that sort of paper because they really do again , as we'll show later in this video , add a huge kick when used in certain ways .
But most of this stuff is kind of irrelevant because at the end of the day , the only thing that you really need to start sketching and playing is your sketchbook , a pencil .
And if you really want an eraser with those at hand , we are ready to jump in to the wonderful world of sketching and before we move on .
For those of you who are curious , this is my pencil case .
The stuff on the right is really what I use when I'm sketching that being my mechanical pencil , my eraser having some refill leads just in case I get really into it and run out of lead .
And , of course , a few colour pencils if I ever want to highlight or sketch in a different way .
When it comes to sketching , everything on the left is sort of just gravy , but is useful if I find something I love and want to work with or want to turn something into a more refinement piece .
Specifically , I have a Sharpie and brush pens for more bold , darker areas .
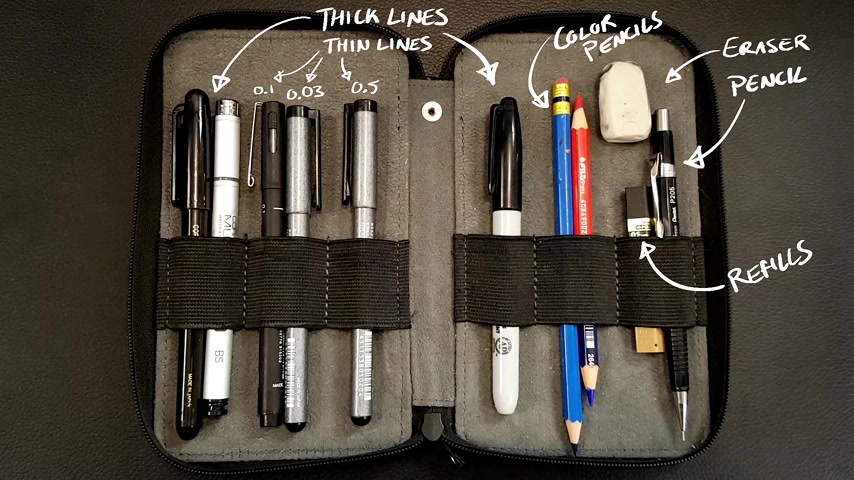
These can also be really useful for silhouettes and outlines , and then I have usually three or four fine liners I can use at the moment I'm keeping a 0.03 extremely fine fine liner , which I only use from time to time .
A 0.1 and a 0.5 .
This is the pencil case I have on me pretty much at all times and has never failed me .
I've never felt the need for much more than this when I want to get creative ideas down or develop something or even refine and polish up something a bit moving on to tip number two .
Relax .
Let's talk about actually sketching beyond not knowing where to start .
Sometimes it can be daunting to start , especially when you open up a new sketchbook , staring at that bright , beautiful , clean white page as a representative of potential and hope .
Maybe this could be the thing that you open up and show people and they admire and love and praise you , and you really want it to be that thing .
But you know what ?
Thinking like that never gets you anywhere and only makes you scared to create .
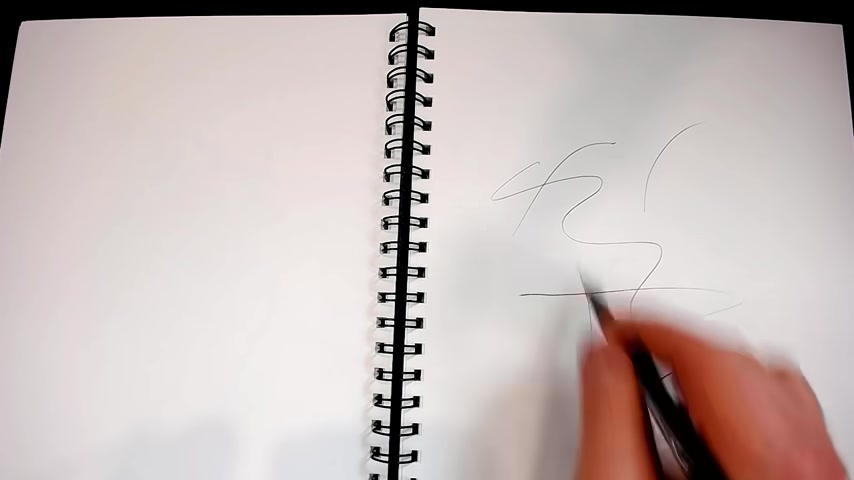
So the cure to that is to open up your sketchbook and on the first page , just draw a scribble in the middle of it .
Just in the middle of the page , and all of a sudden you'll feel a little sense of relief .
In fact , go beyond that .
Just go nuts .
Just do scribbles and doodles and make it ugly .
In fact , if it's looking too symmetrical , make it more ugly .
This may sound stupid , but this has helped me from time to time to relieve that tension that artists genuinely feel staring at a blank canvas or a brand new sketchbook .
It's better to get that out of your system so you can start creating and just relax or else you won't accomplish anything and No-one will ever admire your work .
You will be a failure .
I'm just kidding .
You really should just chill out about it .
It's not a big deal .
I guess the thing to keep in mind with sketching is it's really a journey and not a destination .
You're travelling along a road and there are gonna be bumps along the way , so it's better to just realise that and embrace them when they happen .
If you draw something that looks crap , that's OK .
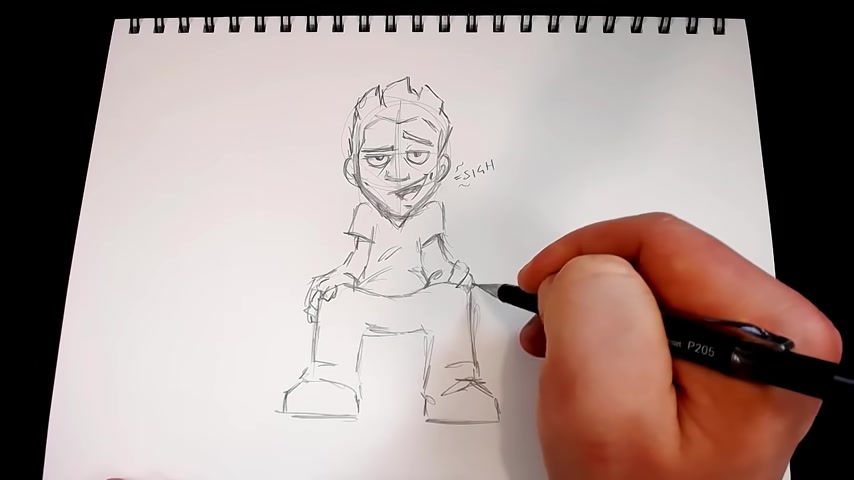
Just keep drawing until you surprise yourself with something that kind of looks cooler than you expected .
You'd draw challenge yourself to not rely on the eraser or to remove anything you think doesn't look that nice .
At the end of the day , Sketching is kind of training your habits .
And if you're building the habit of being a perfectionist and self critical , then that's gonna be the skill set that you're gonna be leaning on in the future .
And you're really not to enjoy the process .
So it's much better to relax .
Let mistakes happen .
In fact , enjoy them if you can , and rest easy , knowing that every artist you admire and want to be like has a million horrible , ugly sketches you haven't seen .
For every finished and polished artwork that you have seen , mistakes are going to happen .
So let them let them be ugly , frayed , cracked and dirty .
But as long as you're creating and experimenting and constantly moving , every sketchbook you fill is gonna be better than the last one you filled .
And that's a guarantee .
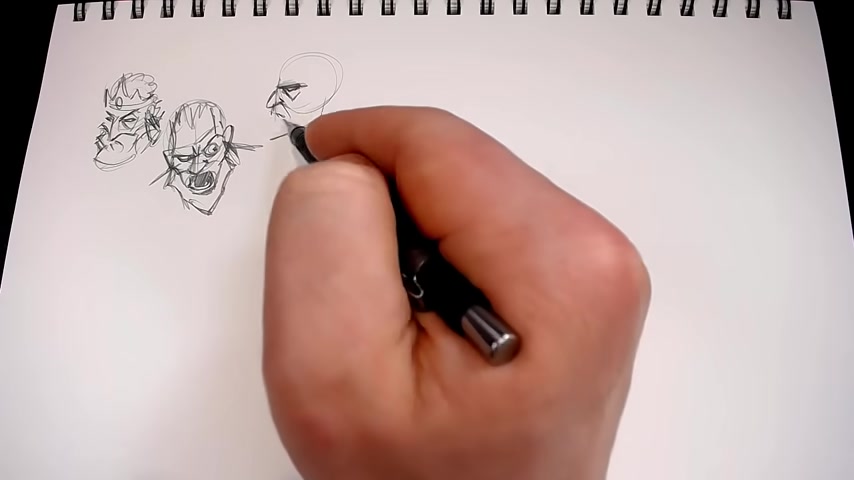
Tip Number three is learn to brainstorm sketch to demonstrate this .
I'm gonna try and come up with a character that I like giving myself the assignment of creating a Mad King character .
It's a very loose and open thing to interpret and could take on many forms .
So I'm just gonna brainstorm , sketch my way through it .
Brainstorm .
Sketching is kind of like thinking while you're drawing .
If someone tells me to do draw a mad king on a piece of paper , I'll most often draw the first thing that comes to mind .
The problem is , the first thing that comes to mind is most often the most cliche thing or the most easy thing or predictable and often the least interesting thing .
Brainstorm Sketching allows you to get the first thing on your mind out of the way and then move on to playing a little bit , stepping outside the edges of your comfort zone and even trying things you wouldn't think would work because sometimes they do .
And in a way that might surprise you .
I recommend playing with Brainstorm sketching where perhaps you don't even let yourself touch the eraser .
Just scribble and play with ideas and see what comes up .
If you try something and you think it works , that's great .
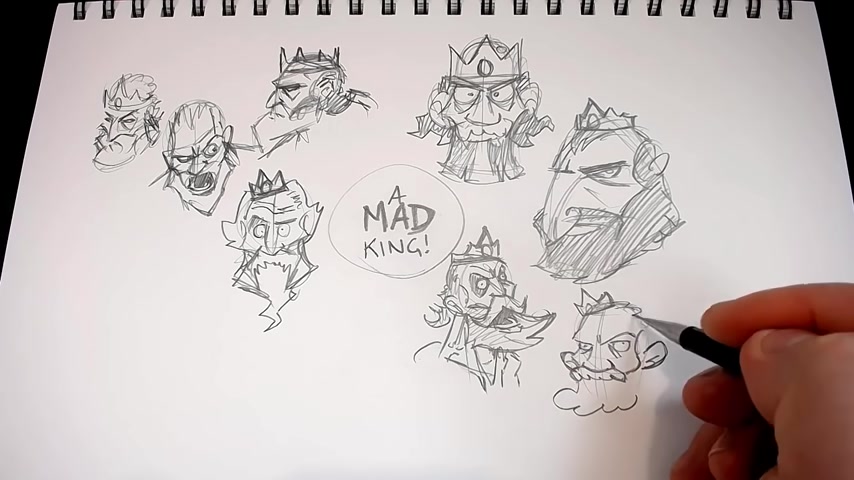
Move on and try something completely different .
But if you don't move on and try different things , you'll never discover that golden idea or design beyond helping you come up with different and more unique and memorable ideas .
Brainstorm .
Sketching is really great to help develop your sense of visual aesthetics and training your brain and eye to be really good at knowing what works and what doesn't .
If you spend hours on one sketch to make it as perfect as possible , you've only learned the amount that that one image will teach you .
And often , if you're spending that long on one sketch , you're restricting yourself , so you're actually going to restrict how much you learn and develop .
But if you scribble and smoosh it all up and splat it all on the wall at once , you're going to learn a lot more a lot faster , and you're going to find those great ideas , and sometimes they'll really surprise you .
Tip number four is to develop your refined sketching .
As you can imagine , this often follows the rough sketching phase .
Let's say , after a session of messy sketching , you come up with a character design and pose that you really like .
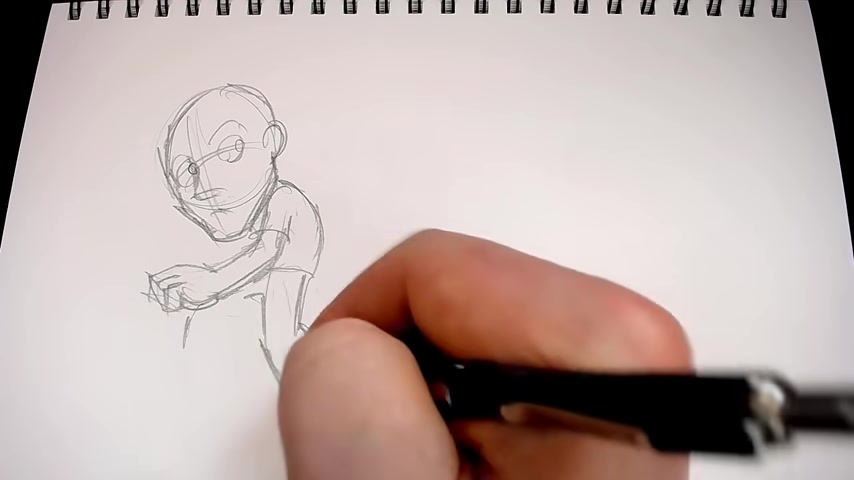
But obviously it's a bit rough around the edges and not going to convey very well from that form into a refined piece .
Well , not all sketching is created equal .
And if you're sketching for something that you want to turn into a refined piece , the manner in which you work tends to be quite different .
In rough sketching .
I very rarely erase , in fact , often if I need to move the proportions of something or just redraw it in a heavier line , whereas with refined sketching , I draw even though it's with the same pencil with a much lighter weight on my hand .
In fact , my hand kind of glides lightly and brushes in a feather like motion across the page as I slowly build up the broader areas with rough sketching .
I tend to create the details as I'm drawing them , whereas with refined sketching , I tend to very lightly outline proportions and forms and overall silhouettes before moving on to adding some of the refined details .
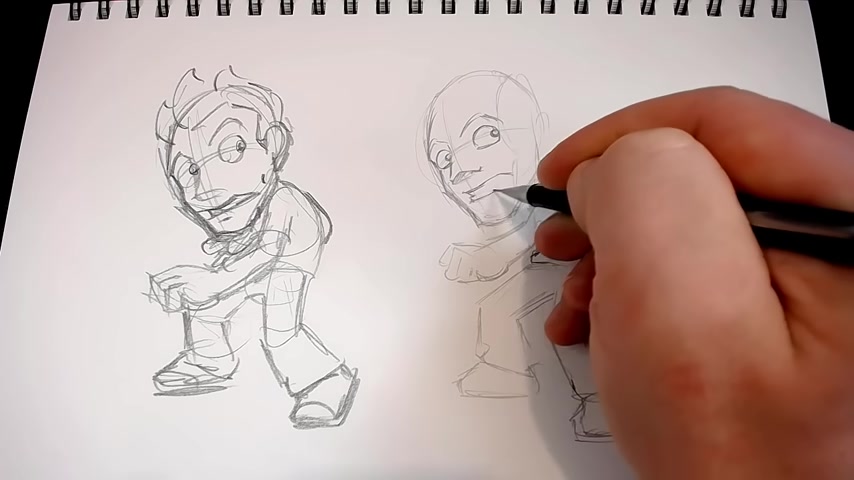
I also work with erasers much more often when refined , sketching , trying not to rely on them , of course , because the point of starting off sketching so light is that I can come back later and add some heaviness to the lines where I'm more certain of them .
But the point of refined sketching is to slow the pace down and to create something that you can recreate or polish and turn into your final piece .
I thought it was worth having the two modes of sketching that I most rely on as two separate tips in this video , because to me , they really are entirely different .
Mindsets and ways of working , brainstorm , sketching and rough sketching is really about freedom and expression , and playing refined sketching is really about when you have the idea or the design you like and taking the time to be more accurate , careful and light handed as you slowly refine and define it and its features , I'm gonna call Tip number five , make it pop .
Let's say they've designed a little character named Jim .
Hi , Jim .
After a whole bunch of brainstorm sketching , you've come up with this design .
You really enjoy how he looks .
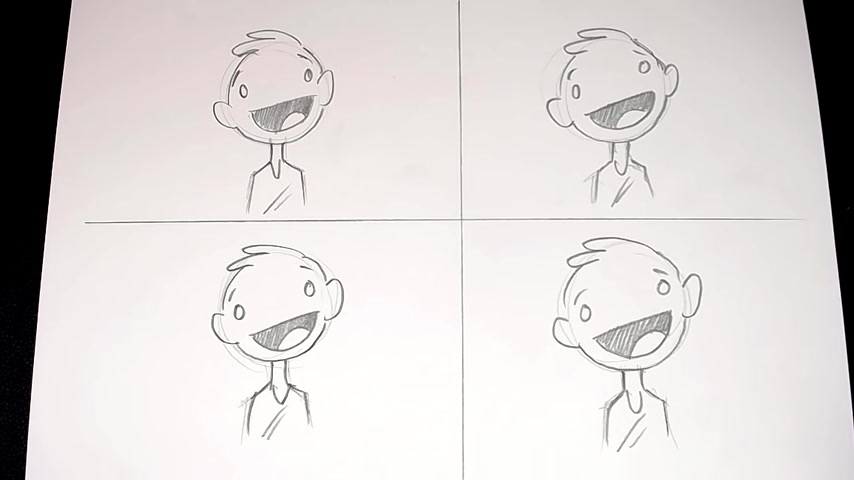
But on a page filled with scribbles and sketches and ideas , he doesn't stand out in a way that is meaningful or that someone else might recognise as more notable to you than your other ideas .
I'm going to share with you a few tips and tricks that I use to make those characters or designs that I'm proud of , stand out from the crowd and catch the eye of people that I'm sharing my sketchbook with the first is to add a silhouette .
I'll pick a random shape , sometimes a rhombus or a hexagon or a circle or square .
I usually make it sort of asymmetrical or funky looking , and I whack it behind the character and fill it in .
This enables them to stand out from the page and gives more definition to their silhouette .
Further to that , you can do the same thing with a coloured pencil .
This is where it starts to add a bit more texture and life to the page , especially if it's a page filled with grey .
And then , all of a sudden you have a punchy blue or red lifting a character or an expression out from the crowd .
Next , of course , you can work with lines .
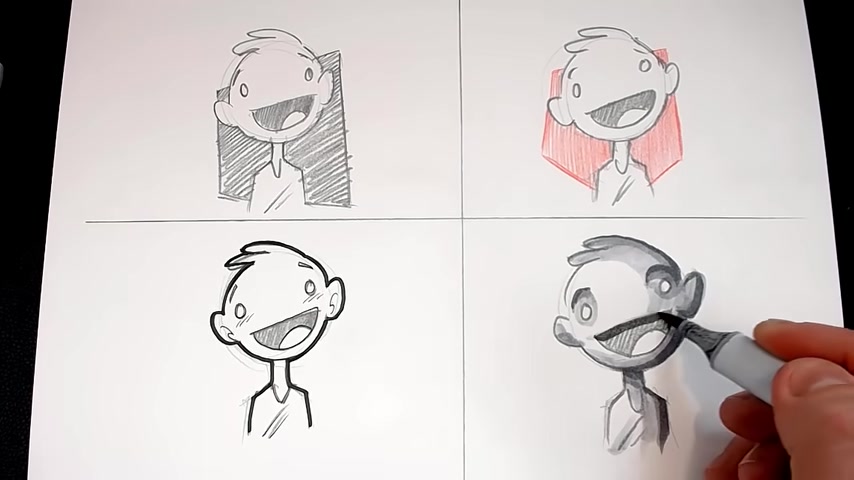
It helps to work with a fine liner , either with a 0.2 or a 0.5 to have some level of thickness or depth to it .
And if you really want to add a lot of punch and emphasise the silhouette , you can even take a Sharpie and go around the very outside edge .
Now , I wouldn't ever really go into the details of a character with this thick pen , but I do find that much like adding a silhouette shape behind them .
Drawing in a thick line on the very outside edge of a character or a design can really make it stand out .
And last but not least , you can grab a few cop markers or even just shade with your pencil , though I would recommend being a little wary of that because shading with your pencil can make it look a little more lost in the page .
Whereas if you use something different , like some grey cop markers , you can add depth and dimension to your piece again and make it pop out of the page .
And all of these in isolation are effective methods of making your piece or your character stand out .
But using them to or in different combinations can be an even more dramatic way of really refining and making your character or design pop Now .
Earlier in this video , I mentioned how cool half toned paper can be when it comes to adding punch to your images .
Let me show you what I mean .
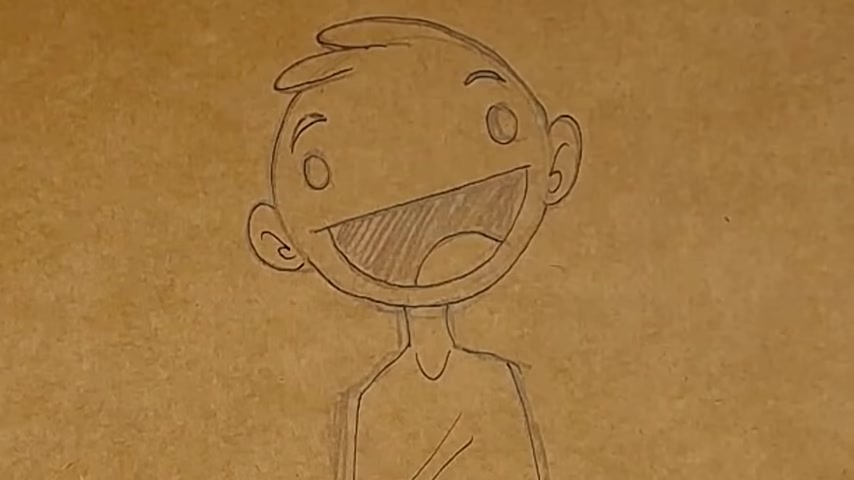
This is Jim again .
Say hi , Jim .
We can go ahead and make him pop like I did in the other image by adding some copy markers .
I'm just working with three neutral greys , which tend to work best on half tone paper because they have a slightly warm hue to them .
That alone does make him look more refined and stand out a bit , but it makes a huge difference if I can grab that white pencil I mentioned earlier and just go around the outside or the silhouette of the character .
This adds a lot of impact and makes it look really cool , just like the Sharpie did when we thicken the silhouette or the outside of a character .
But it has more punch or impact because it's on half tone paper and everything is that mid tone in colour or value .
The white really stands out and really helps frame and emphasise the silhouette of the design we've created .
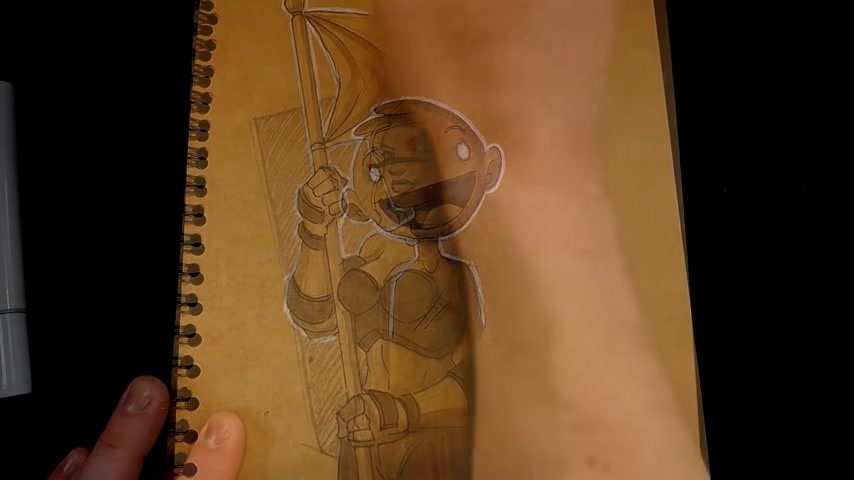
I tend to find looking through people's half tone sketchbooks , really immersive and impressive to look at when they use white pencils .
They just look so vibrant and exciting so I really do think playing around with half tone and white pencils can be something that can add a lot of fun to your sketching if you feel like you need a little something to spark up your sketch line , if you know what I mean .
It's also worth using that white pencil to bring out areas of the character that are actually white , be it eyes or teeth or shine in an area that's glossy so on and so forth .
But I wouldn't go over the top .
I'd use it more as a garnish than the main meal .
But as I was saying before adding the white pencil to your sketches in a mid tone , sketchbook can be the difference between a piece being cool and a piece being really outstanding .
And at the end of the day , this tip about making your pieces pop is about taking those things that you're happy with or proud of and showing them off in a really cool way .
And this is a way that I think works really well .
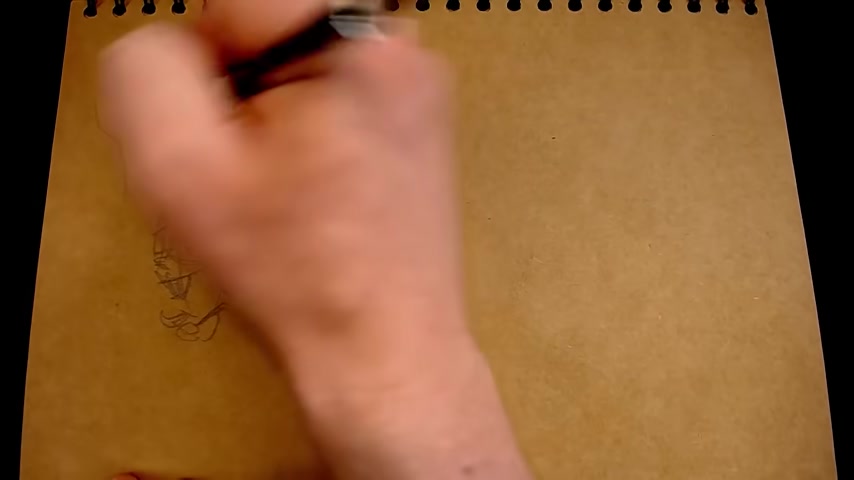
The other cool thing about using these tricks to make a piece pop out is that it can be used to refine an otherwise quite rough sketch that doesn't really stand out from the page .
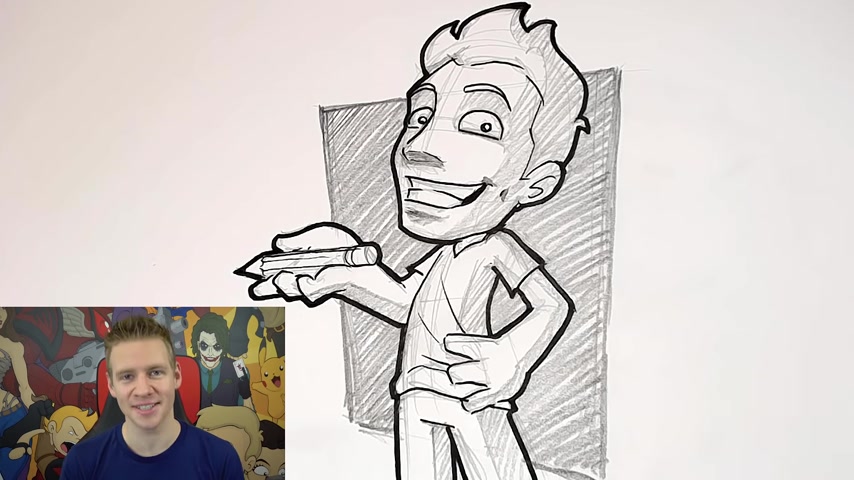
So let's say , for example , in this context , I wanted to create a nerdy , arrogant character .
I brainstorm , sketch a few ideas , and you can see being quite loose and scribbly not caring about erasing or perfecting anything but just playing with things until I find something I think works when I have something I quite like but still want to try out a little bit .
I create a more full body sketch still in that rough sketching form .
And then I have something I'm quite happy with and want to maybe play with a little more .
The problem is , even though he takes up more of the page , is still drawn in quite a rough way and doesn't really stand out .
Using those tricks I mentioned to make it pop , the difference is huge .
Even in the first step of adding line work , you can see that already the character is popping out from the page quite a bit .
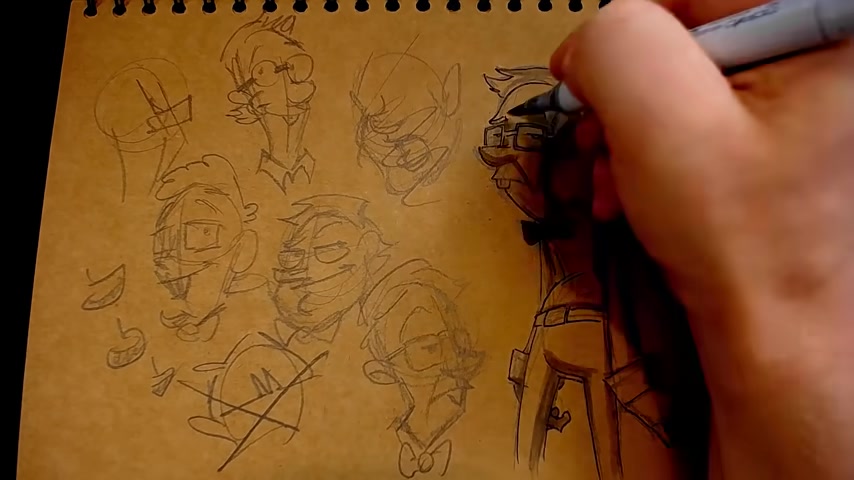
Then , even just using two copy grey markers to make the character jump out from the page , a bit more adds , and another level of depth still whacking a shaped silhouette behind the character further still frames him and brings our attention to him on the page and then last , but not least to bringing in that white pencil to outline the character really polishes it and finishes it off .
Now , if someone turned to this page on a sketchbook and looked at the hole , they wouldn't see the rough and the mess , even the mess that this piece originated from , they would see a well presented representation of where your brainstorming took you and still be able to see the playing that you did without the Polish and punch of the piece that takes centre stage , being undermined by the mess that created it .
So they , ladies and gentlemen , are five things that encompass my personal preferences and habits when it comes to sketching .
Everyone has a different mode and method , of course , but these are things I find really helpful , and I'm hoping that they've helped you , or at least it may be giving you some ideas or things to play with .
At the end of the day again , sketching is about exploration and the journey rather than the destination .
It's not about producing perfection But it's about playing around until you find something worth polishing and then taking a few steps or those tips and tricks that I mentioned , like adding an outline and then framing the silhouette effectively so that at the end you've turned a sketch or an idea that you like into something that you can show to people and say , This is what my idea developed into you have it , Ladies and gentlemen , those are my top five tips on sketching .
I hope you've enjoyed this video .
It's a different sort of video , but sketching is something that I do a lot of on this channel , in character design sessions and various tutorials and speed paintings and whatever it is actually something I realised I haven't really talked about .
And it's a really important part of playing and coming up with ideas and having fun .
And if you don't have fun when you're sketching or know how to bring the most out of them , then it can be discouraging .
And that's not the point .
So I hope you enjoyed this video and got something out of it .
Make sure to like if you enjoy this video and , of course , subscribe if you want to join me and my community as we have loads of fun with art .
Otherwise , thanks for watching ladies and gentlemen and until next time I'll see you later .
Make sure to subscribe to my channel to see more of my videos .
And while you're at it , check out my shop where I sell ebooks , brushes , photo references , video courses and more .
There's another video you might enjoy from my channel over there , and you can also check out my behind the scenes daily vlog channel daily Jazz .
That's it for now .
And until next time I'll see you later .
Are you looking for a way to reach a wider audience and get more views on your videos?
Our innovative video to text transcribing service can help you do just that.
We provide accurate transcriptions of your videos along with visual content that will help you attract new viewers and keep them engaged. Plus, our data analytics and ad campaign tools can help you monetize your content and maximize your revenue.
Let's partner up and take your video content to the next level!
Contact us today to learn more.