https://www.youtube.com/watch?v=t2f9qS_jEYE
How To Make A Real Estate Website With WordPress (in just 20 min)
Hi guys .
Today , we are going to see how you can create a real estate website using wordpress .
Let's say you own a real estate business and you want to create a website where you can add your properties and your visitors can buy or rent the properties right from your website .
You can do that by watching this video .
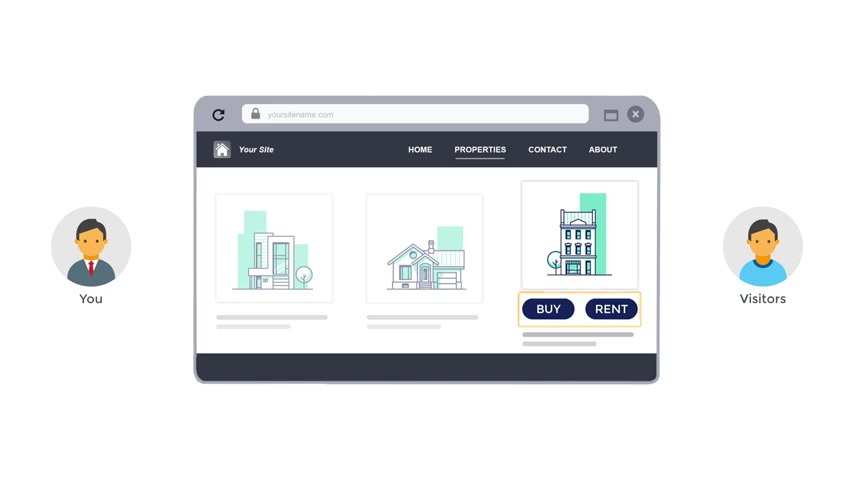
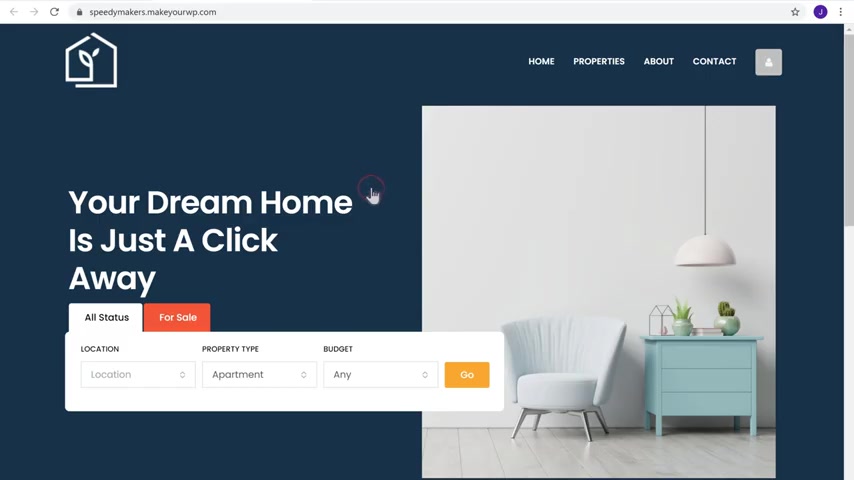
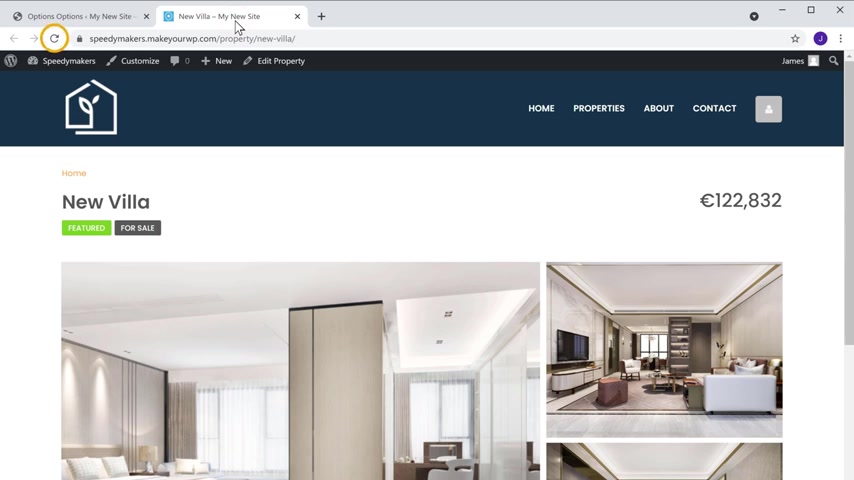
So after watching this video , you will be able to create a real estate website like this .
And when a visit visits your site , they can select the location and the type of property they want and you can display your properties like this .
Now , if the visitor selects any property , they can see the images and all the details about the property .
Now , if a vista is interested to buy or rent this property , they can send you a message by filling up this form .
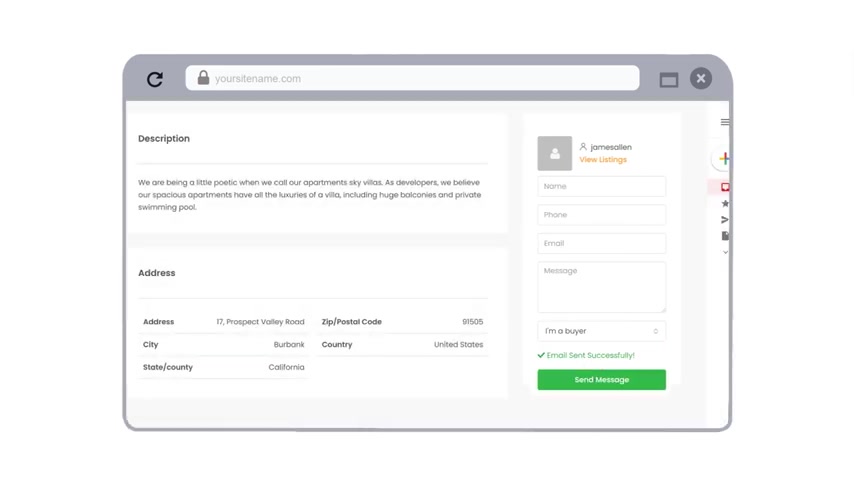
Once they click send , you'll receive the message in your inbox like this and you will have their contact details here .
So you can directly connect with them and provide the details about the property .
Finally , we will also see how you can easily customize your site to any style you want just by using dragon draw .
Ok .
So having a real estate website will make your business look more professional and you can make the buying process quick and easy for your customers .
So let's get started .
I'm brand for website learners and let's start creating a real estate website .
So to create a real estate website , we are going to do three parts .
The first part is to launch a website .
Now , this is where you get a new website live on the internet .
So to launch a website , just click the link below this video and it will take you to make a WP dot com .
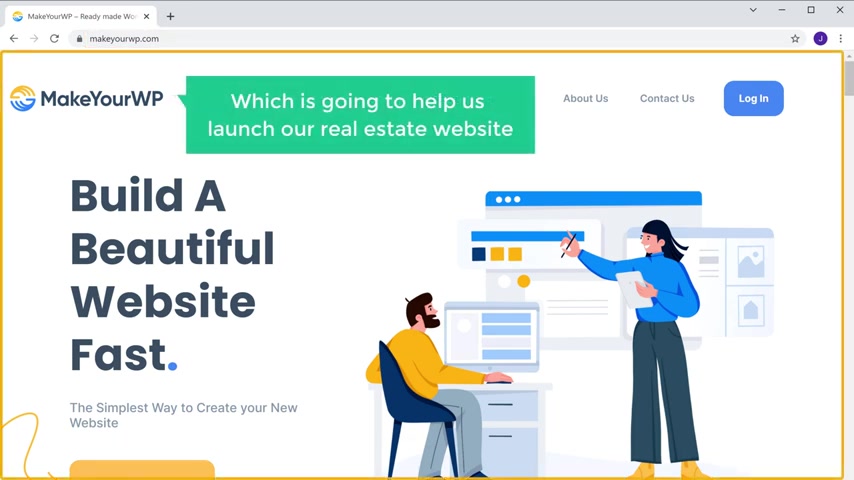
Now , this is the website which is going to help us launch our real estate website .
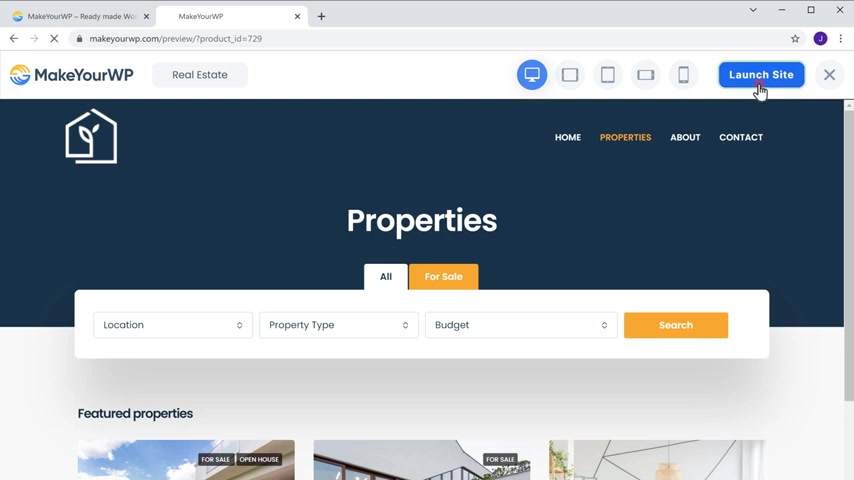
So to launch your website , just scroll down and here you will find the real estate website .
Now to see how the site looks , just click demo and here you can see the complete real estate website that we are going to launch .
Now , if you go to properties , you can see all the default properties that are listed in this demo site .
Now to get this real estate website , just click on site and then enter your details and click next step .
Now enter your payment details and click sign up now .
And now we have successfully purchased the website now to launch your site .
Let scroll down , click launch new site and now it will take you to this page .
Now here enter the website address that you want , I'm going to enter speedy makers .
And as you can see , our real estate website has been selected .
Now , once you've entered your URL , let's click launch new site .
And as you can see a brand new website has been launched .
So now if you click visit , you can see that we have got the exact same side that we saw on the link we selected .
Now , this is just a temporary link for your site .
You can easily change this to your own dot com domain .
We'll see how you can do that later in this video .
OK .
So once you've launched your site , next , let's go to the part two of this video where we see how you can add your own properties to the site .
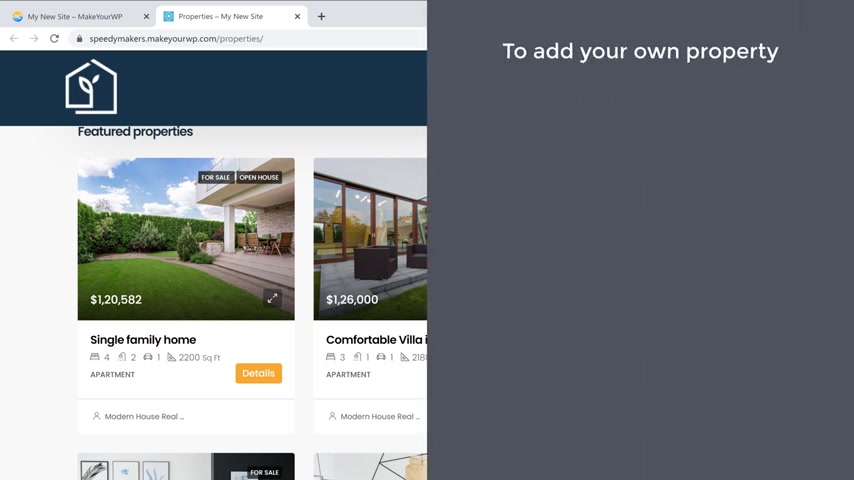
Now , if we go to our site and click properties , you can see that we have these sample properties here .
Now , how do you add your own property ?
So to add your own property , we are going to do three steps .
The first step is to log into the admin area of our website .
So to log into the admin area , all you have to do is just go back to make a WP and then click admin .
And as you can see , we are now logged into wordpress .
This is the wordpress dashboard where you can control your site .
Now , once you've logged in next , let's go to step two , which is to delete these sample properties .
So to do that .
Let's go to our Wordpress dashboard .
Now go here and click properties .
Now , here you can see all the sample properties which we have on our site .
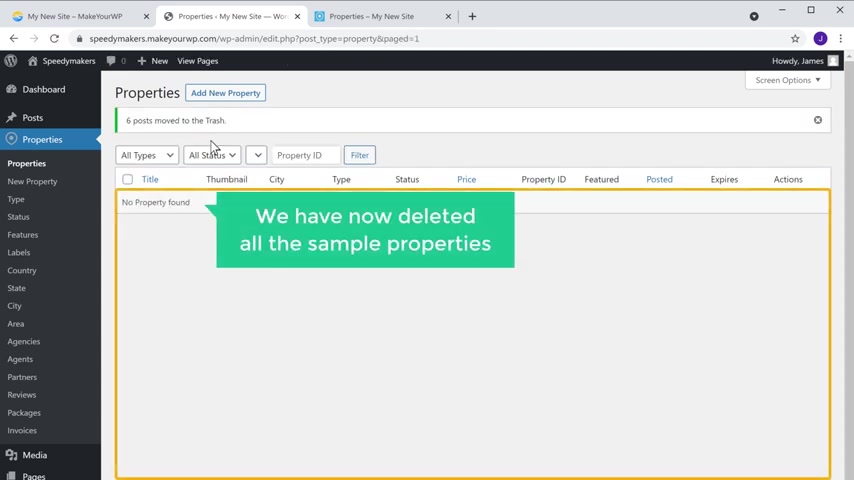
So to delete it , just click here to select all , then click here and select , move to trash .
Now , if you click apply , you can see that we have not deleted all the sample properties .
Now , if you go back to your site and click a first , you can see that we have a blank page , which means you can add your property once you have deleted all the sample properties .
Next , let's go to the final step , which is to add your property .
So to add your property , let's go back to our property space and click , add new property .
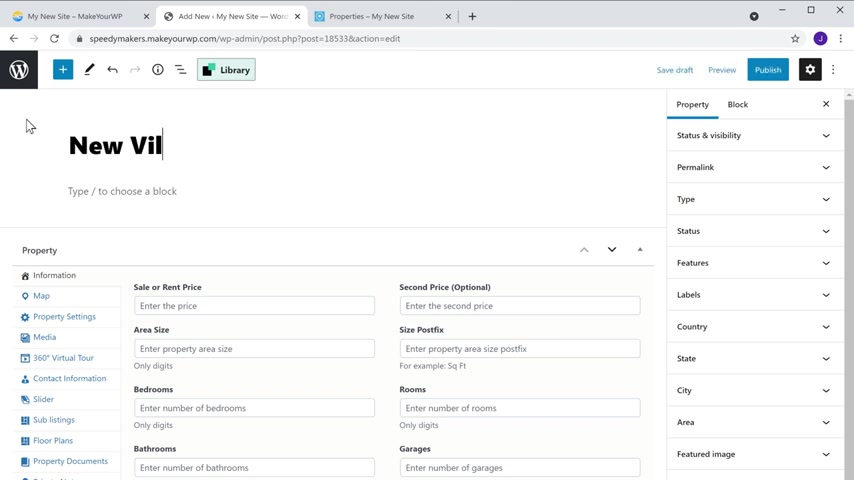
Now to add a new property , all you have to do is just enter your property name and here you can add a description about your property .
Now let's fill up the details about our property .
Once you've entered all the details .
Next , let's add the property address .
So to do that , click property settings .
Now here enter the address of your property .
I'm going to enter that once you've done that .
Select yes here .
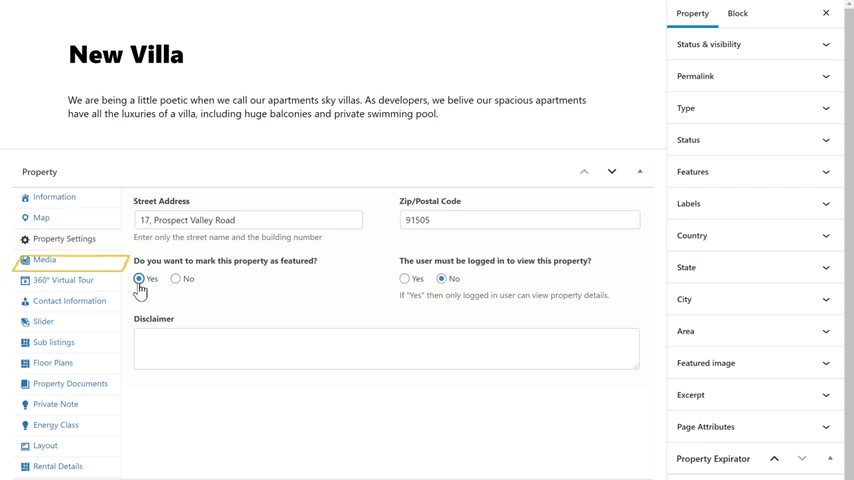
Now to add the images of your property , click media and then click add media .
Now drag and drop the images you want here and the images will be added .
Next , let's add more details to our property .
First , let's add the type of property So just click here and click , add new type .
Now enter your house type here .
I'm going to enter duplex , then click add new and then select your property status here .
I'm going to select this .
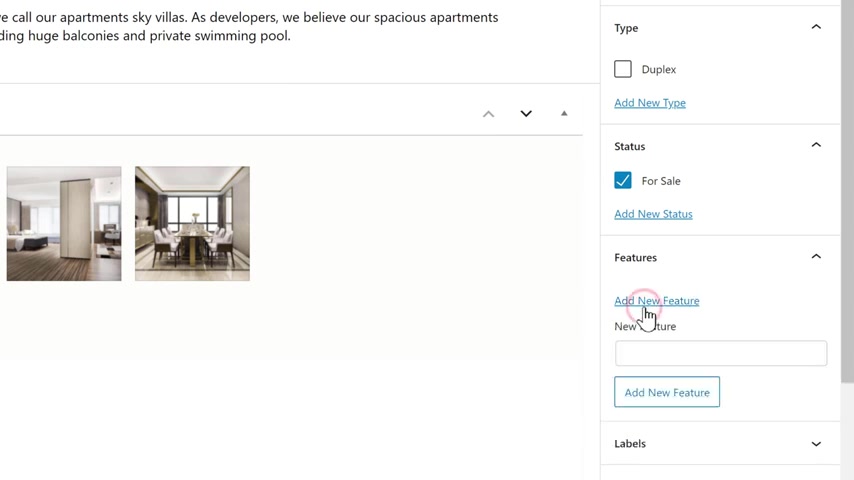
Now , if you want to add more features to your property , just click here , click , add new feature and enter the feature you have on your property .
I'm going to enter garden , then click add new .
Now in the same way you can add other details like the state city and the area of your property .
OK .
Next , let's see how you can add a feature image for your property .
This is the main image which will appear on your site like this .
So to add the image , just click feature image , then click here , not drag and drop an image from your computer .
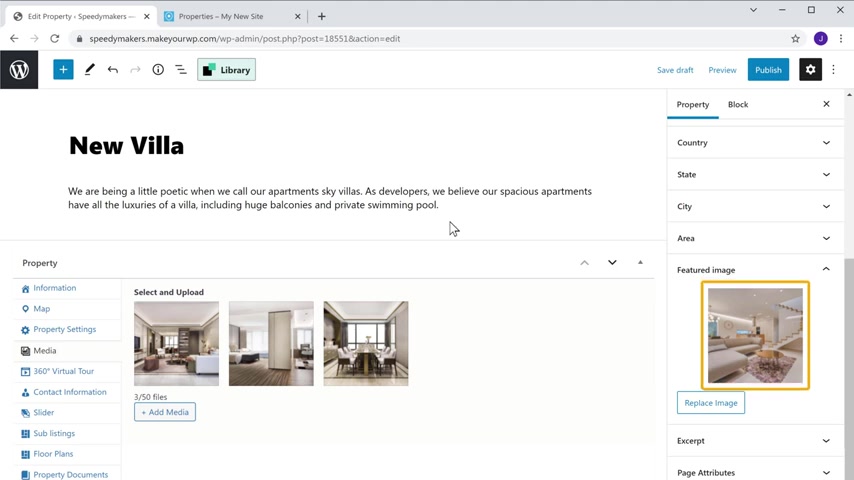
As you can see the image has been added .
Once you have added all the details , click publish , then I again click publish .
Now if we go back to our site and click the first , you can see that we have got the property which we just added .
And now if you click on it , you can see all the details which we have entered .
So now we have successfully added the property to our site .
Now , in the same way you can add multiple properties you want .
OK .
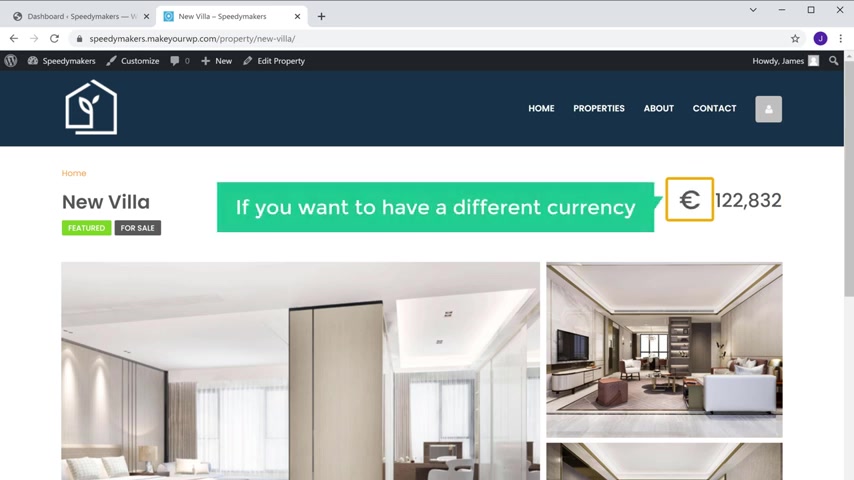
Now here you can see that we have the property price in euros instead of having this currency if you want to have a different currency , you can change the currency from your wordpress dashboard .
So next , let's see how you can change this currency to change the currency .
Let's go back to our dashboard .
Then go to the options and click price and currency .
Now , here you need to enter the currency in which you want to sell your properties .
As I want to change this currency to dollars .
I'm going to enter that once you're done , click save .
Now , if we go back to our site and click a fresh , you can see that the currency has been changed .
Now , if you want to add a different currency , all you need to do is just open a new tab and search for the currency symbol you want .
I'm going to search for the Indian rupee symbol not to change the currency , just copy the symbol and base it here .
Now , in the same way you can change any currency you want .
Ok .
So now please explicated the real estate website .
Next , let's see how our customer can book this property on your side .
So to book this property , all you have to do is just fill up these details .

No , click here and select the user type .
They can select the option they want .
I'm going to select buyer once you have entered the details , click send message and as you can see the email has been sent successfully .
Now , an email will be sent to the site admin Now , if you go to Iron Works , you can see that we have received an email .
So let's open it here .
You can see the details of the booking .
Now , using these details , you can directly contact your customer via online .
So this is how a customer can book a property on your side .
Ok .
Next , let's go to part three of creating a real estate website which is to edit the contents of your website .
So to edit any page of your site , you just have to go into that page and click edit to the mentor .
So let's say you want to edit the home page , just simply click home , then click edit to the elemental .
And now you will go into this editing section .
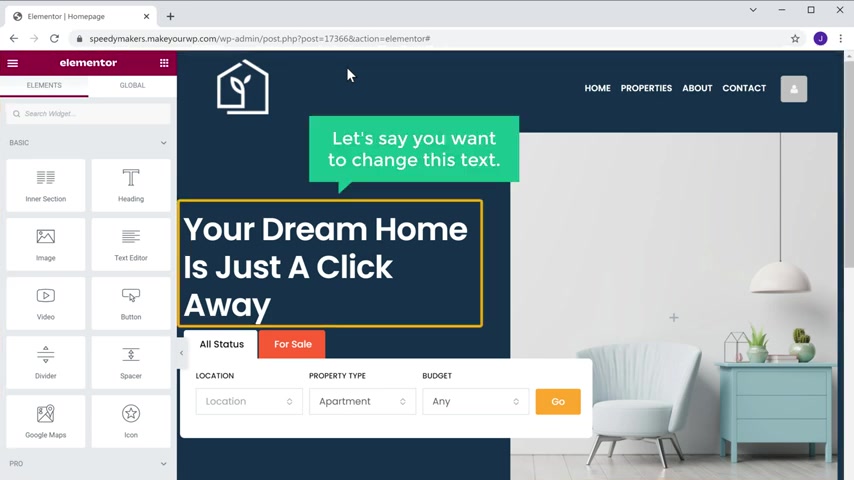
Now let's say you want to change this text .
All you have to do is just select the text and enter the text you want .
Now in the same way you can edit any text you want on this page , just select the text and then start typing .
So let's say you want to change this image to change the image .
All you have to do is just click here and click here .
Now drag and drop an image from your computer .
As you can see the image has been changed .
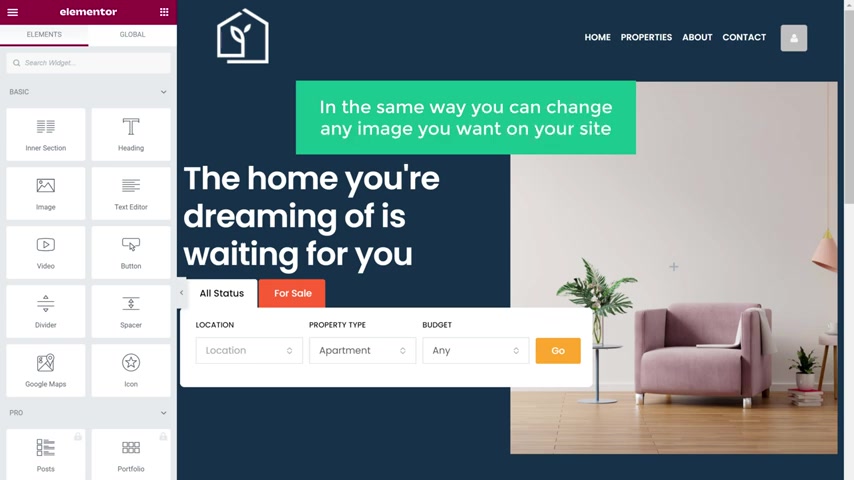
Now , in the same way you can change any image you want on your site .
Once you've done that , just click update and all the changes will be saved .
So now if we go back to our site and click the verse .
You can see that all the changes have been applied .
Ok .
Now what if you want to add a logo to your site ?
So to add a logo , let's go back to our dashboard .
Go to the options , then click logos and facon .
And here you will see the logo option .
Now to add your logo , just click upload , then drag and drop your logo here and it will be added .

Now , if we click save , then go back to our website and click refresh .
You can see that we have now got a logo .
So this is how you can edit the contents of your website .
Ok .
Now , here you can see that our website ends with make a WP dot com .
Now , instead of this , what if you want a website to have a simple address like your site name dot com , which looks more professional .
You can do that by getting your own domain name for your site .
So next , let's see how you can get your own domain name for your real estate website to get your own domain name .
Just go to the video you're watching right now , then click this link in the description and this will take you to webspace kit where you can buy your domain .
Not here .
Enter any name that you want for your website .
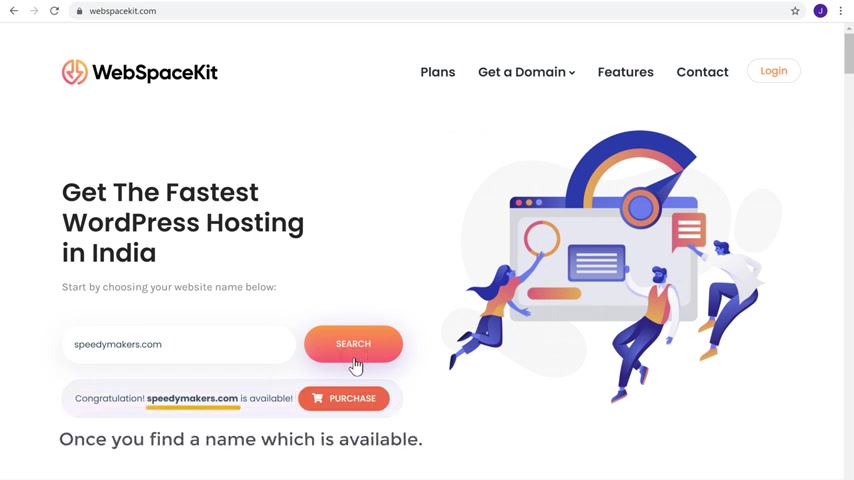
I'm going to enter speedy makers dot com .
Now , if you click search , you can see that this domain name is available .
So once you find a name , which is a little bit to get this name for your website , click purchase , then click add to cut .
And now it'll ask you to select the hosting plan as we already have a hosting for our site .
On Make a WP let's click step .
And now it will take you to this card page .
Now , here you can see that we're getting our domain for one year and after one year , you can renew your domain to keep using it .
So to get this domain , let's fill up these details .
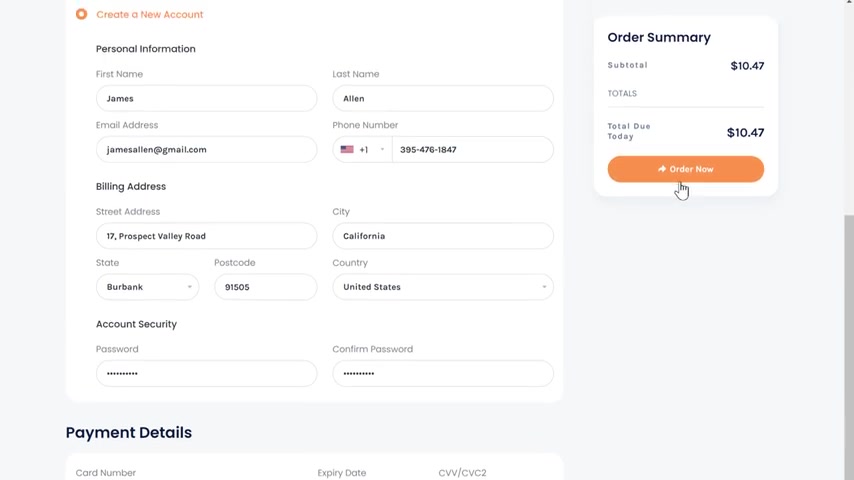
Now , enter your payment details and click order .
Now you can see that we have successfully made a payment .
Now , if we click here up , you can see that we have got a domain .
OK ?
So once you've got your domain , now , how do you count this domain with your website ?
So next , let's see how you can guide this domain with our website , which we just built .
So to create the domain , we are going to do two steps .
The first step is to add this domain to your website .
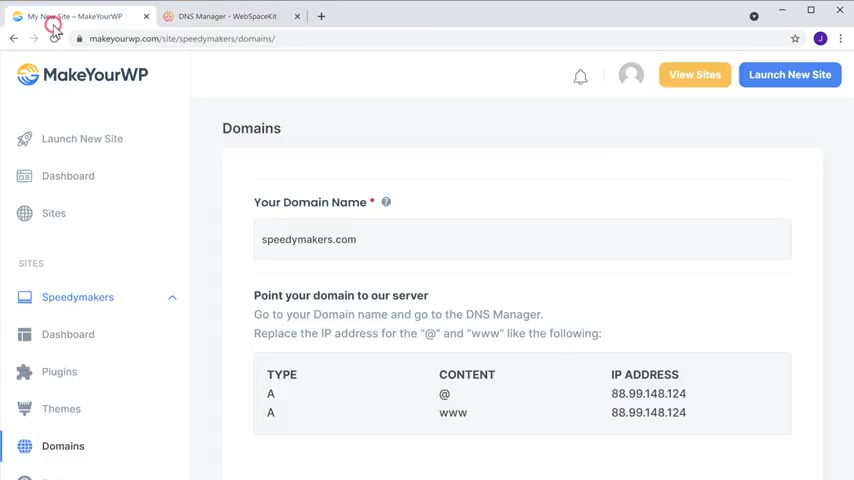
So to add the domain , let's go to make KWP dot com and then go to domains and here you need to enter the domain name which you just purchased .
So I'm going to enter speedy makers dot com .
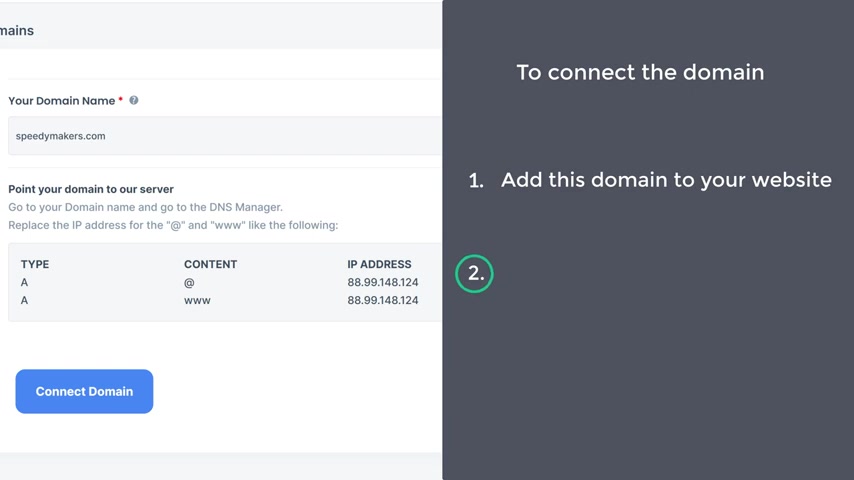
Once you've entered your domain name , let's go to the final step , which is to add this IP address to your domain .
So to add it , let's go to this tab and then click domains .
Now select the domain which you just purchased , then click manage DNS .
Now , next to the air code here , we need to add the IP address which is shown here .
So let's go back to this page and then copy this IP address , then come back to our domain and pay the IP address here and we are done .
So let's click save changes .
Now , let's go back to make a WP and click on a domain and now we've successfully granted a new domain name to our website .
So let's take it .
Now , if you open a new tab and type a new domain name , which is speedy makers dot com and press enter , you can see that we've got a real estate website which we just created .
Now , if we go to properties , you can see the properties which we added .
So now you just can just go to your domain name and that's as you cite and view the properties .
So this is how you can get your own domain name for your website .
Now , we have a complete real estate website .
Now in the future , let's say you've got an update to your team .
How will you know that ?
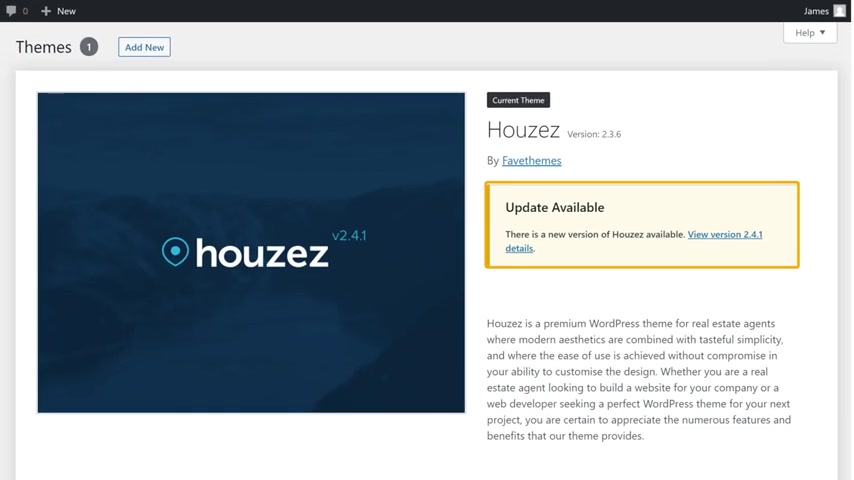
Let's go to our Wordpress dashboard .
Now , go to appearance and click themes here .
You can see that a new version of your team is available in the updated version , we will be getting new features on our theme .
If you want to get the new feature , just click here and a new tab will be opened .
Now , if we go to this tab here , you can purchase a new version of your team to get the latest updates .
Now , if you don't want to update your team , you can be in the current version , your website will remain the same and all your content will be safe .
So that's it guys .
Now , you know how you can create a real estate website .
Now , if you're ready to start making a real estate website , just click the link below this video and it will take you to the Make A WP page where you can launch a site and start building your real estate website .
Ok .
Also make sure you click the subscribe button to see more videos from us .
So thanks for watching .
I'll see you in the next video .
Take care .
Bye-bye .
Are you looking for a way to reach a wider audience and get more views on your videos?
Our innovative video to text transcribing service can help you do just that.
We provide accurate transcriptions of your videos along with visual content that will help you attract new viewers and keep them engaged. Plus, our data analytics and ad campaign tools can help you monetize your content and maximize your revenue.
Let's partner up and take your video content to the next level!
Contact us today to learn more.