https://www.youtube.com/watch?v=lUN0rSv2cgE
How to Draw a Face _ Getting Proportions Right _ Basic Face Proportions _ Easy Drawing Tutorial
Hey guys , welcome back to my channel .
Since so many of you guys requested this video , I will show you how to draw a face for beginners step by step .
Today , I will take you along and show you how to get the proportions right step by step and then use those techniques to create an actual portrait .
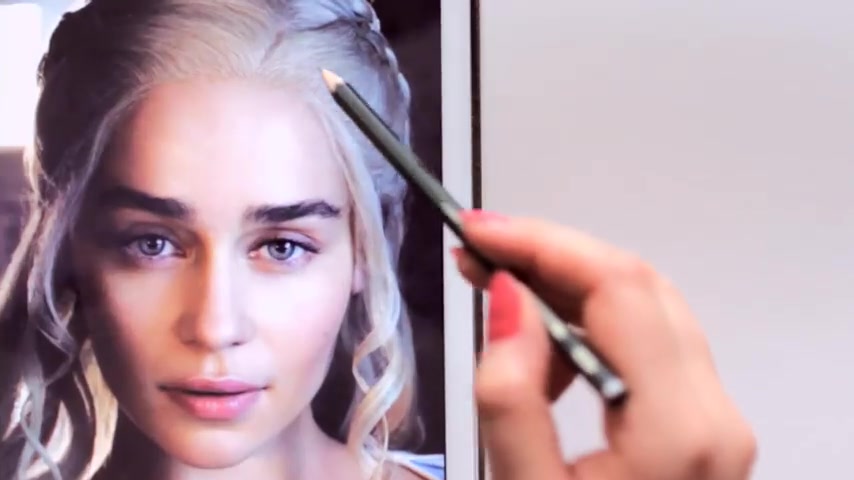
First , let's look at an actual picture of a person's face .
As you can see , the head consists of an upper part and a lower part that can be divided into two equal sides left and right .
And it can also be divided into three equal sections horizontally , the forehead , eye and the lips area .
Now let's use this information for our drawing .
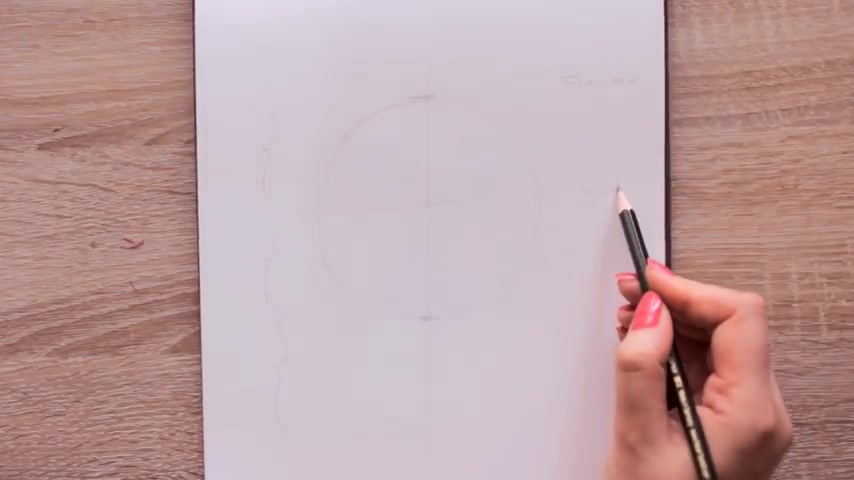
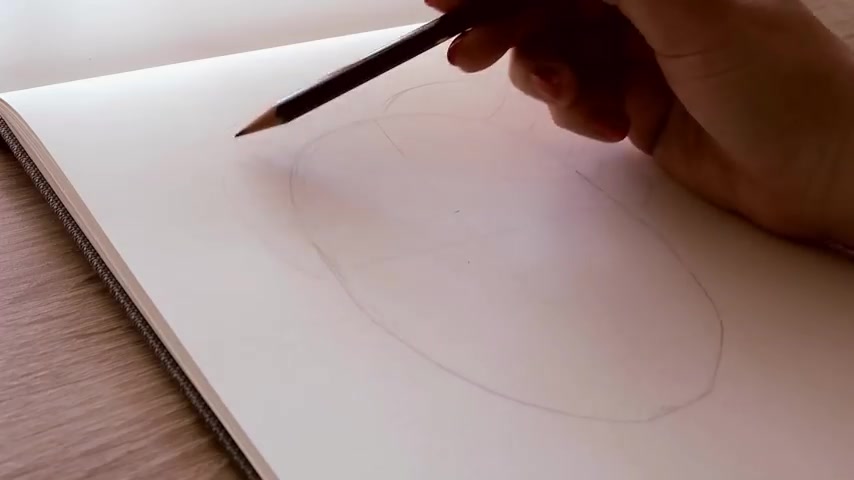
Start off by drawing a circle .
It doesn't have to be a perfect circle .
Don't worry .
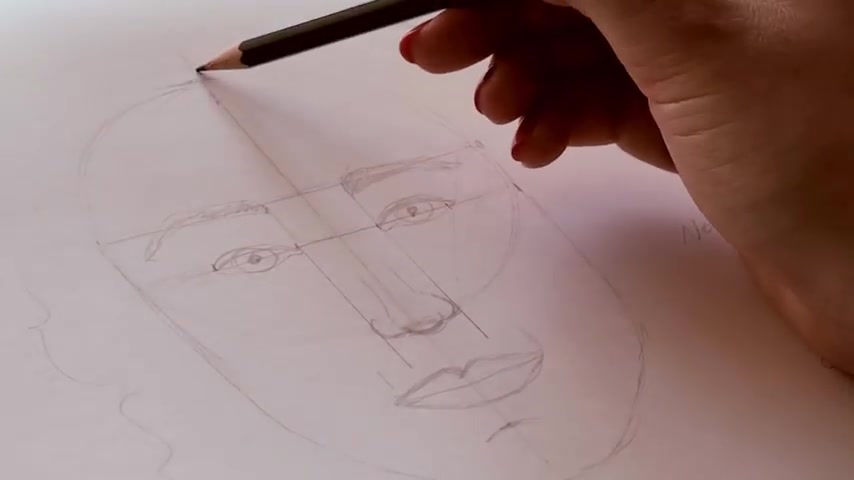
Next , you want to divide the circle in half by drawing a line downwards through the middle to create the left and right side of the face .
And now divide the circle with a horizontal line in the center as well to create the forehead and the eye area .
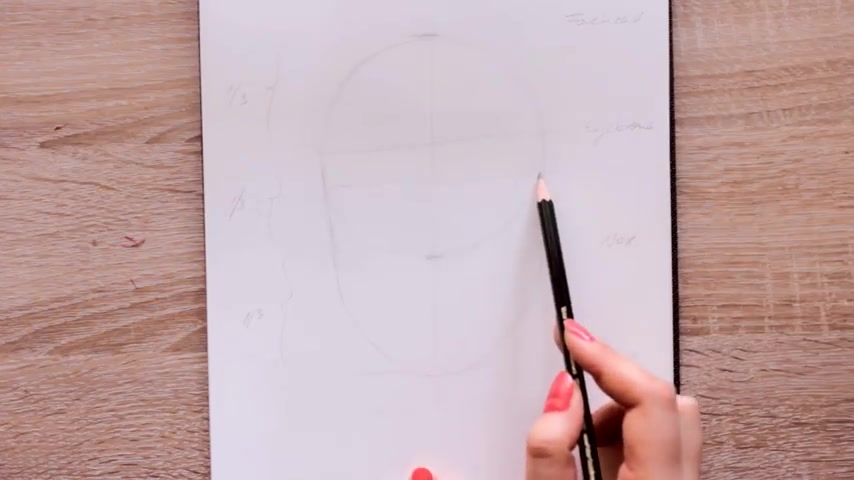
And then use half of the length to create the third part of the face below the circle , you can also use a ruler to measure it out .
If you are unsure , you basically want to create three equal parts by drawing a circle first dividing it in half vertically .
And then by using the length you get by dividing the circle into half to create the third part below the upper line is the top of the forehead .
The second line is the eyebrow area .
The third line is the nose area and the fourth line is the chin area .
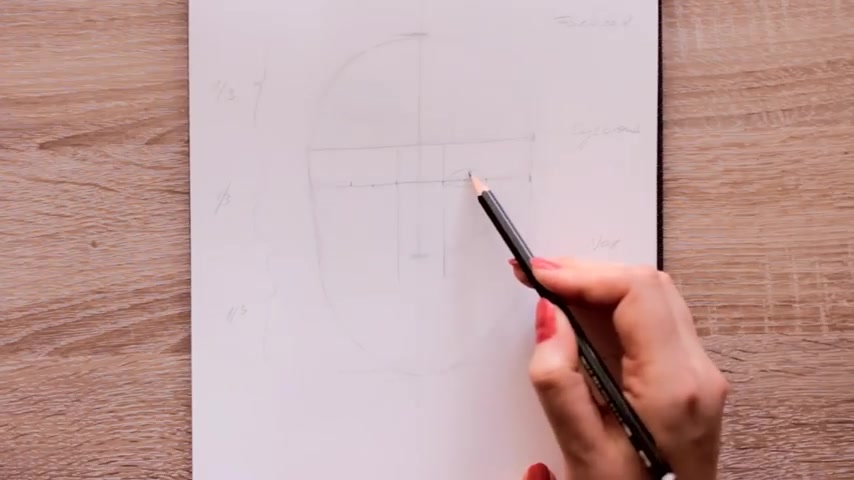
Now , you want to connect the eyebrow line with the fourth line by drawing the lower part of the face shape of the person you want to draw .
Usually it gets downwards and then slide the inwards below the nose area and connects with the chin .
But of course , it depends on your style , how the person looks and how you want to draw it .
If it's easier for you , you can also draw the nose line as well .
So it's easier for you to see where you should draw .
Ok .
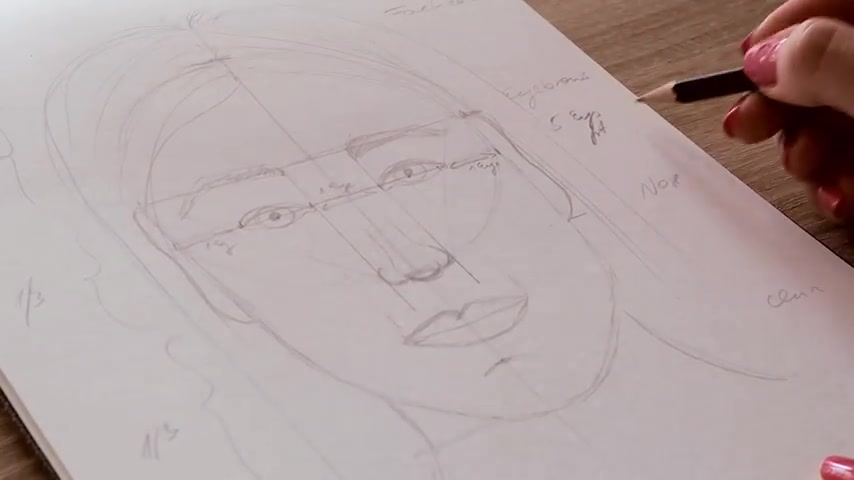
Now let's create more guidelines since we already have the eyebrow area , we need an eye guideline that is slightly below it .
It's around one third of the second section of the circle .
I've seen different ways how to create guidelines .
So you might have seen other versions , but I find this is a lot easier and yes , my lines are a little crooked here because it's just a rough sketch .
But I would recommend to use a ruler to create horizontal and vertical lines perfectly if you haven't noticed it yet .
But usually you can fit about five eyes into the line between your left and the right side of your head , measure out the width and then just divide it by five and then you get the width you need for one eye .
And the nose also has around the same width as the width of one eye .
So usually another eye will fit between your both eyes .
This way , you know how wide the nose should be roughly .
And you also know where to draw the ice as well .
They usually start around the area next to the nose .
So in this case , you can draw the ice next to the guidelines , you just created for the nose .
This means inside the sections next to the nose .
And you also already know where to draw the eyebrows .
Since we created the guidelines earlier , they usually end at the area diagonally to the eye and the nose .
Let's move on to the math area .
If you divide the third section of the mouth area into three equal parts , starting from the nose to the chin .
The lips are usually inside the second part , the top of the third line is the chin .
So you can draw the lips slightly above .
Also interesting to note is that the width of the lips is around the same width as the line between the left and the right iris of the person .
So you can draw a guideline for that as well by drawing a line from the iris downwards and the lips will stay within these two lines .
Now , let's go ahead and draw some hair as we only created the forehead area .
Keep in mind that if you draw the hair , the top of the hair is above the forehead at around the half of the forehead itself .
But again , it depends on the hairstyle .
You are going for , just remember to draw it slightly above it .
If you want to draw straight hair , it's around this height .
And if it's curly , it's even higher than that .
Also , if you want to draw ears , they start from the eyebrow area and end at the nose area .
And now this person only needs a neck that starts below the area where the eyes are .
I hope this all didn't sound too confusing so far and I hope that the video will help you to understand these steps as well .
If you want , you can also take a screenshot of these guidelines .
So next time you draw a face , you can just look it up and you will know what to draw and where and how to start .
This face looks more scary than pretty .
But now we know where we need to draw the eyes , eyebrows , nose , the lips , the ears and the hair .
But keep in mind that this is a very general face shape .
We don't have eyes that are equally big , our faces are not symmetrical .
These are just general guidelines for the proportions of a face .
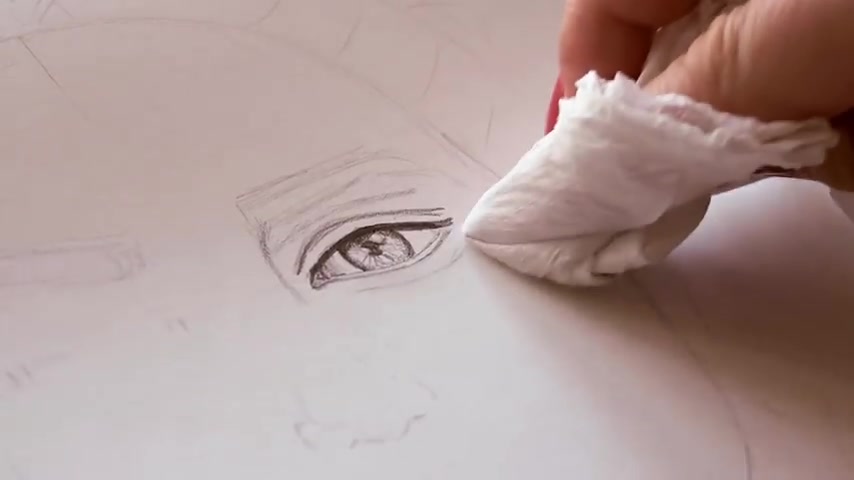
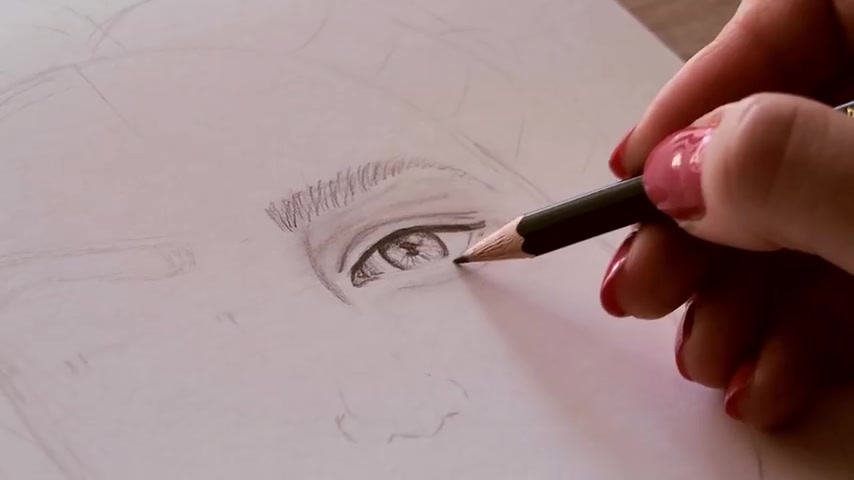
And now let's use this knowledge to create a proper face drawing .
If you've seen my videos about how to draw eyes , the nose and the lips , you can just use this knowledge and start practicing combining all these parts to create the full face .
But keep in mind that if you want to draw a specific person , I would recommend using a reference photo because our eyes , nose and lips , they all have different shapes .
So you don't have to draw exactly the way I showed you how to draw a certain part of the face .
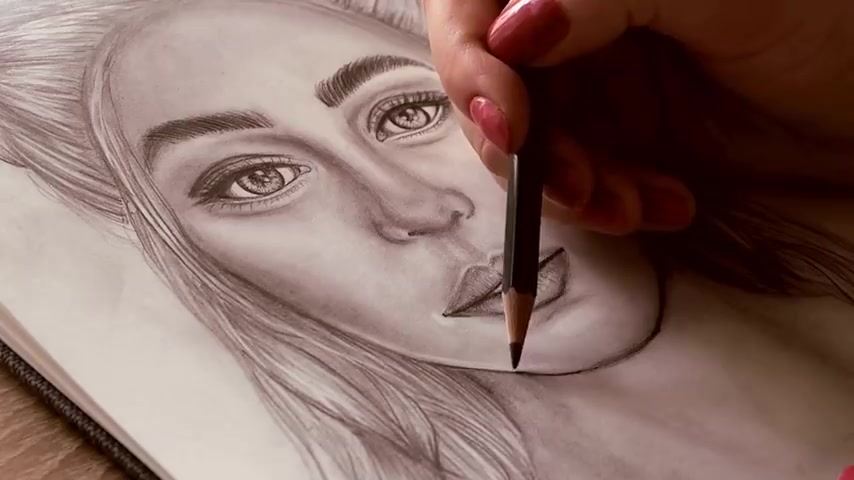
But a reference photo can also help you practicing with shading .
You will be able to see where the light comes from which areas of the face are darker , which are lighter .
So you know , which add your shadows in this video , you will see how I did it .
I'm not a master in shading faces yet because I haven't practiced it in ages , but I hope it will give you some ideas .
By the way , if you're interested in what kind of supplies I'm using on this video , I have everything linked in the description box down below and I also added more info that I might have not covered in the video .
So be sure to check it out what I also wanted to mention is that some people think that these types of videos and tutorials tell you that this is the way you should draw .
But the only thing we want is to show you guys some guidance that you can use to improve your skills .
So you can come up with your own style and your own way , how to draw certain things .
We are absolutely not trying to tell you that you are bad or that you have to draw a certain way .
And in a certain style , maybe your style consists of big eyes , but a small nose and small lips and you wanted to have a huge forehead .
So go for it .
You don't absolutely have to follow the guidelines for the face I showed you in the beginning here .
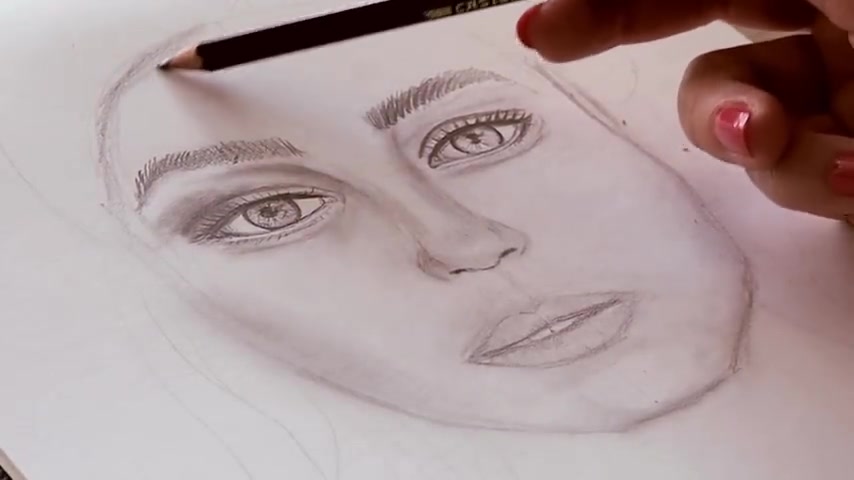
I wanted to draw the nearest Targaryen .
As you will see , I made the eyes slightly bigger and the face a little fuller than in reality .
I still use the general guidelines I showed you , but I changed a little bit and that's ok .
If you really want to draw photo realistically , you need to be very patient and take time to draw every single centimeter to make sure it's exactly on your reference photo .
And there are other techniques how to draw photo realistically .
So it's really up to you , how you want to create your art .
I find it's even more fun to take the reference photo and draw it to your style or just use the knowledge of the basic steps , how to draw something and make it your own .
Even if five people follow exactly the same tutorial on youtube , how to draw a super realistic face of a certain person .
In the end , everyone's drawing will look different .
The overall end result might be similar .
But since everyone has his or her own style , even if you don't think you have one , all the drawings will look different .
We all have different experiences .
We are all different and we move our hands differently .
We are not machines .
So even if you want it or not , we can produce the same end result .
And that's OK .
It shouldn't be the goal to draw exactly as someone else .
You are , you and you have your own personality that you automatically put onto the paper or you canvass through your hands .
So just a fun experimenting .
I'm really happy to see that you guys like my drawing tutorials and that you improve your skills , how to draw certain things .
And it makes me even happier to know that a lot of you guys even discovered that you can actually draw because before my tutorials , you thought you are not able to do that and that's what tutorials are all about .
I try to make them as simple as possible to show you guys a few techniques in ways how to create something .
So you can try it out and get in contact with it and from here , you can practice and develop your own way of doing something , but most importantly , just try it out .
I have a feeling that there are so many things you would like to do and we think that we are not capable of doing that , but in reality , we haven't really tried it .
We just think that it looks difficult .
So it must be difficult and you're not talented anyway .
So why even trying , But usually it's easier than it looks and it doesn't have anything to do with talent .
Yes , for some people , certain things come a little easier , but just because you need more time and effort to learn something , it doesn't mean you are bad .
If you really want to learn something and get better at it , you can do it .
We just need to remember that we need to invest time in things we want to get better at and don't expect miracles overnight .
We shouldn't be too hard on ourselves and just have fun and enjoy the process .
Nowadays , we are so impatient .
You want results now as fast as possible .
But what we tend to forget is that we learn so much more throughout this time than just what the goal was .
For example , we learn to push ourselves to be patient , to be curious about trying out new things .
And we realize over time that we are capable of so many things .
So how can we be proud of our progress and how can we realize that we are capable of so many more things than we thought we were without spending some time to improve .
If you have any other requests for this drawing series .
Let me know in the comments below .
So I can share some more tips and tricks on certain things .
Unfortunately , I can talk about everything in one video or it will be too long .
So if you want me to focus on something specific next time , please let me know .
I really hope you enjoyed this video and found it helpful .
Please be sure to give this video a thumbs up .
If you enjoyed it to support this channel , it will mean a lot to me and make sure to click on the bell next to my name to turn your notifications on .
So you don't miss any of my new videos .
And if you want to learn more about the basics of drawing , check out my playlist right here .
Thank you so much for watching guys .
Have a wonderful day and then we'll see you next week .
Bye .
Are you looking for a way to reach a wider audience and get more views on your videos?
Our innovative video to text transcribing service can help you do just that.
We provide accurate transcriptions of your videos along with visual content that will help you attract new viewers and keep them engaged. Plus, our data analytics and ad campaign tools can help you monetize your content and maximize your revenue.
Let's partner up and take your video content to the next level!
Contact us today to learn more.