https://www.youtube.com/watch?v=PMzxlV59mSE
How To Draw a Bumble Bee _ Sketch Sunday (Step by Step)
What's up everyone and welcome to sketch Sunday here at the club in today's video .
I'll be showing you how to sketch a realistic bumblebee for this lesson .
You're gonna need a piece of paper and a pencil .
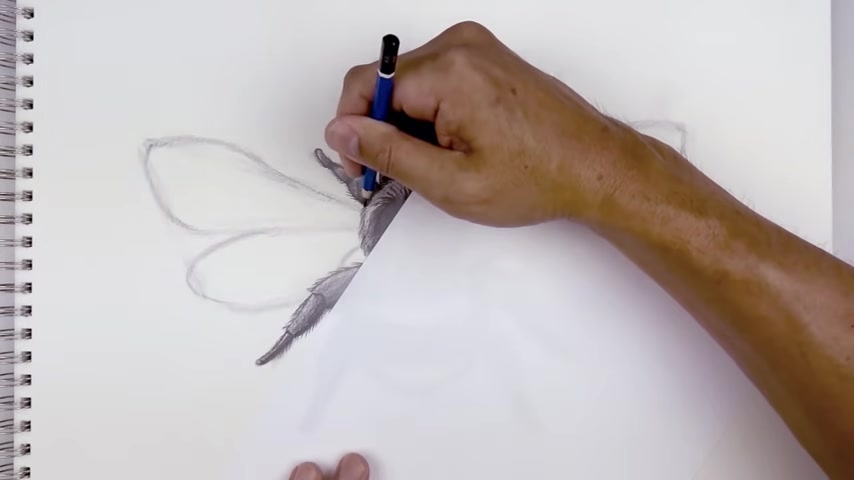
I'm using a six B pencil .
I can use a side grip using the flat edge of my pencil .
I'm gonna add a guideline down the center of my page .
So starting at the very top , it's gonna lightly sketch a line coming down the middle all the way down towards the bottom of the page .
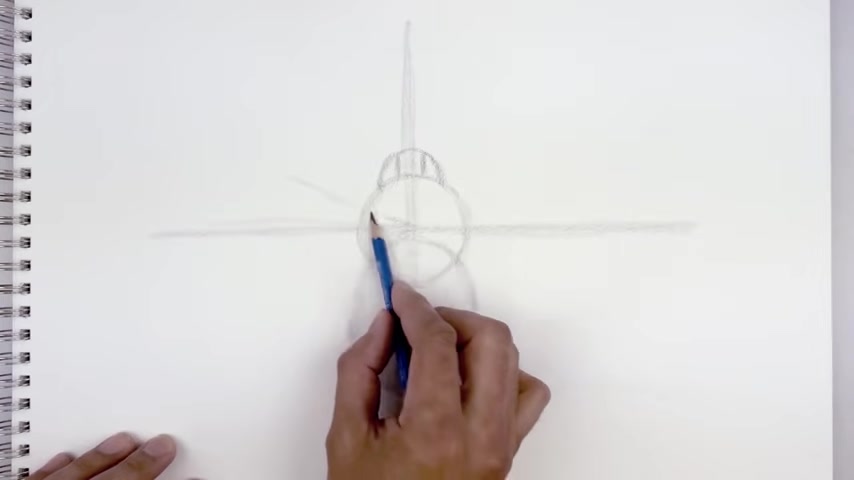
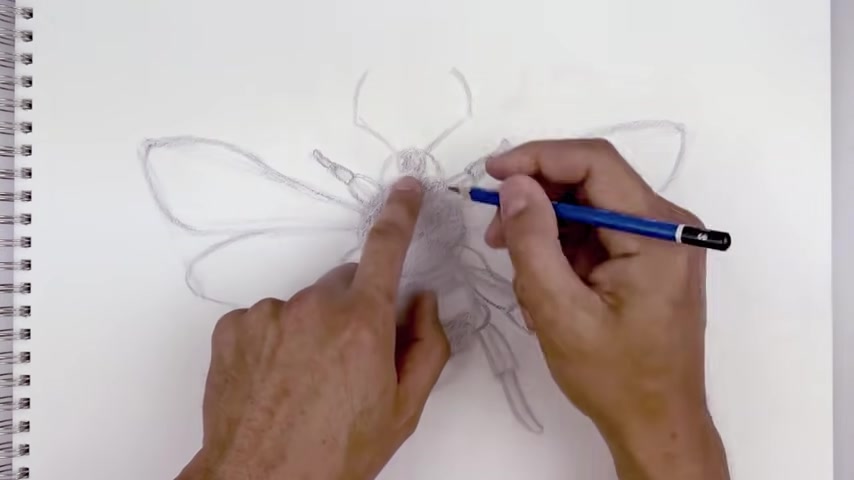
Now let's go in and start blocking out the body .
We start in the center of a pit and sketch out a small circle starting in the middle .
It's gonna work our way around the left side just using these short choppy lines going around and then back in and we'll take that and flip it over on the right .
So going back to the top , we'll sketch in the right side .
Now , the back end of the body , which is called the thorax is gonna get tucked in behind the body .

So let's start in the center and I'm gonna sketch out a large oval it's gonna go out to the side and then come back into the middle and it will sketch in the right side .
We're gonna go about the same width as the body and then we tuck the head in behind the body .
We'll start on the , the side and draw a small half circle and then back down and it will separate the eyes from the center of the head leaving a gap in the middle .
And we've got two lines , one on the left and then one on the right .
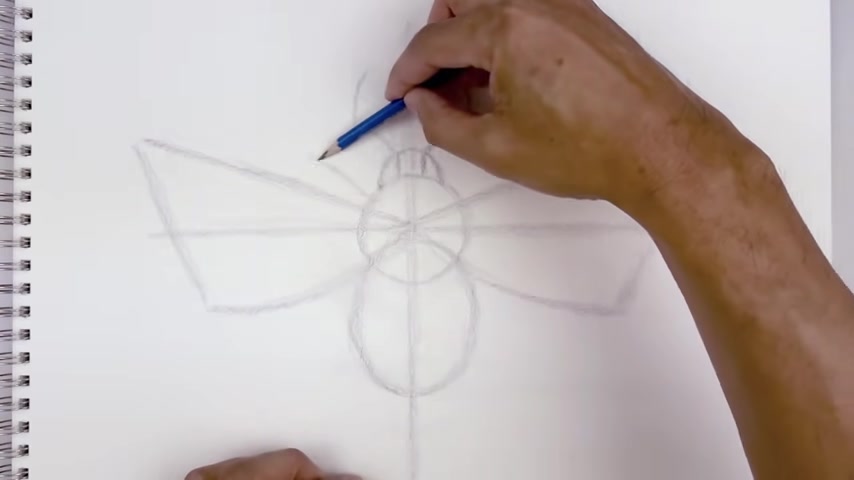
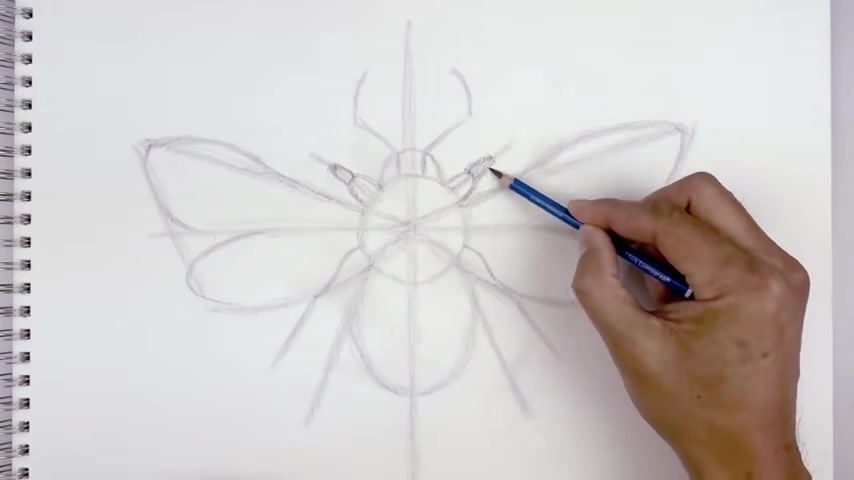
Now , we wanna add a guideline going across the center of our circle for the wings .
So we're gonna start out here , go straight out towards the left different about there and then it'll do the same thing on the right going out towards the same length .
And now we're gonna block in the outside of the wing , starting from the center .
We draw an angle line going up and out towards the left .
A straight line up and out .
We're gonna line up with the center line , do the same thing on the right point up and out .
And then from the end , we're gonna angle down and in just cross in that center line and to you right about there , just do the same thing on the right side .
And then we're going to curve the bottom of the wing .
Let's start on the left side .
We're gonna come in , we're just gonna bend that up toward the center of the circle .
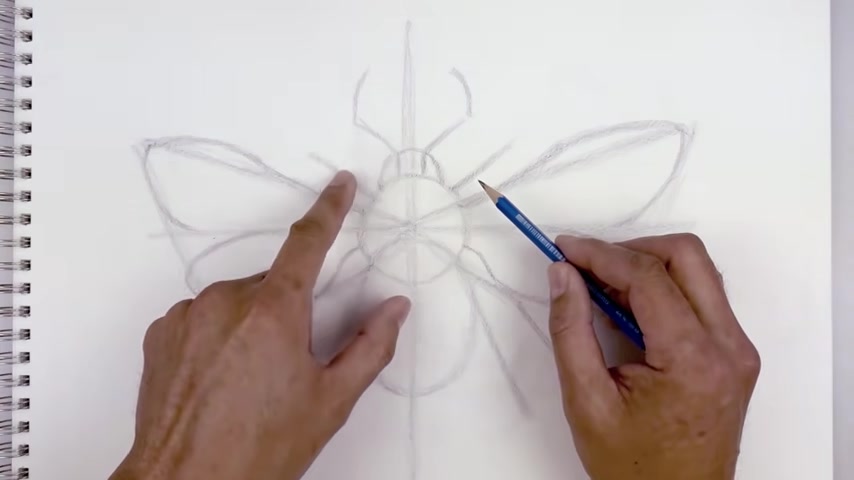
Now let's move up and block out the antennas .
We start on the inside edge of the left eye .
We draw a straight angle line going up and out , do the same thing on the right .
And then from here we're gonna curve up and then bend that in .
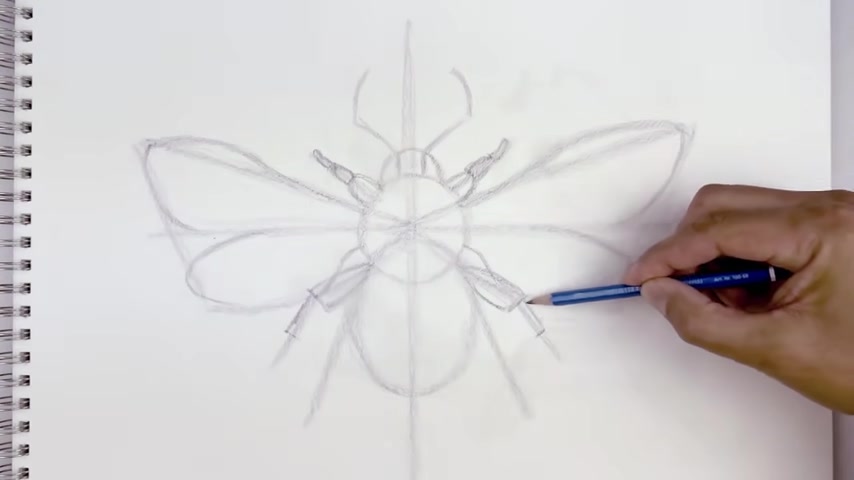
Now there's three legs on either side .
Let's start with the ones along the top in between the side of the eye and the wing .
We'll start out here , start with a straight angle line going up and out .
Let's line this up on the right and do the same thing .
Now , we're gonna move down and blocking two sets of legs on either side .
So let's start right where the circle meets the oval , start with a straight angle line coming down and out , go to the right side .
We do the same thing and then from here , we're gonna angled down and out towards the bottom of the leg .
Then going back to the inside would draw a straight angle line coming down and out towards the bottom of the bottom leg .
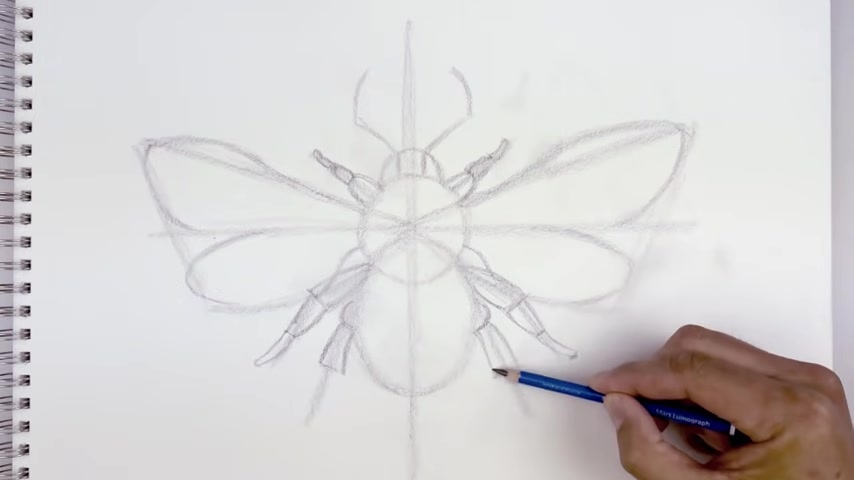
Now that we have the basic proportions of our bubble bee , we'll go in and start shaping out the wings .

Let's start on the inside edge of the wing right beside the body , start by curving out , just gonna pull that up , the same thing on the right side , just going up past that guideline on the top .
And then from here I'm just gonna bend this out towards the tip and then they're gonna run out the tip of the wing come around , come down the side .
I'm just gonna pull that in toward that center guideline .
Now , halfway between the body and the outside of the wing , we start right here .
We're gonna curve out and then down for the lower edge of the wing , let's round out the end coming round , just gonna pull that down towards the bottom line on both sides .
I'm gonna follow this curve coming in towards the inside and pull this up and in and we'll curve that back towards the side of the body , almost like creating an s shape going to the right and do the same thing , curb it out and down and then blending down towards the bottom of the wing .
Now I'm gonna move back up and separate the top leg into three equal sections .
So we draw two guidelines along the middle and the same thing on the right .
So I have three equal parts .
Now , the arms start off thick along the inside and gradually gets smaller as we go out .
So let's start on this line .
It's gonna round out the side along the bottom of the arm coming back in towards the body , go back up , curve in the opposite direction .
Let's do the same thing on the right coming in towards the body , do the same thing along the bottom and then that second section of the arm is gonna get a little bit thinner .
So we go up to that line and then pull that back .
It's almost like drawing a half over the same thing on the right side and it will bend the last section going up .
So start on the tip just gonna bend this up toward the top , round this out and then come back in .
Let's add a line going across the bend of the leg , just an angle line coming across on both sides .
Now going up to the top , we're gonna bend the leg going up and pull that in towards the side of the body .
Do the same thing on the right .
Then from the inside , we're gonna go up and in , it's a little bit thicker along the bottom edge .
Now we're gonna separate this section of the leg in half with a short angled line on both sides .
And then from the outside , we draw a straight angle line going up toward the top section of the leg .
And then from the inside , we're just gonna taper this coming down and then bending that out .
And then the bottom section of the leg is gonna bend outward .
So the Stal left coming down and then bending that out , we round up the end and then pull that back up .
Now with the bottom legs , we wanna add a hinge on the top of the leg .
So starting on the side of the thorax we're gonna go out and then in almost like drawing a half circle to do the same thing on the rack .
And it will separate the lower section of leg in half with a straight angle line from the side of the hinge .
You gonna curve out and then down toward the outside of that guideline .
And then from the inside , we curve up and then in towards the bottom of the half circle and then we'll bend the bottle of light coming down and then out and start on this side and then out , let's round up the ends .
Now , I'm just gonna pull that back up underneath the top section of the leg .
You can see that it left a little bit of an overlap on the inside and outside .
Now that we added some shape to our drawing , I'm gonna go back in and raise some of the initial guidelines .
Now , from here , we're gonna go in and separate the light and dark areas of the drawing .
So starting with the center of the head , we're just gonna lightly shade that in , in the side edge of our pencil and would do the same thing to the body .
And then I'm gonna add some thick strips across the thorax .
We're gonna start on that side .
I'm gonna lightly sketch a curb coming down then back up and it'll add a thick stripe along the middle , starting back on left while that same curve coming down and then up , move down and do the same thing and it will let me shade the top and bottom stripe .
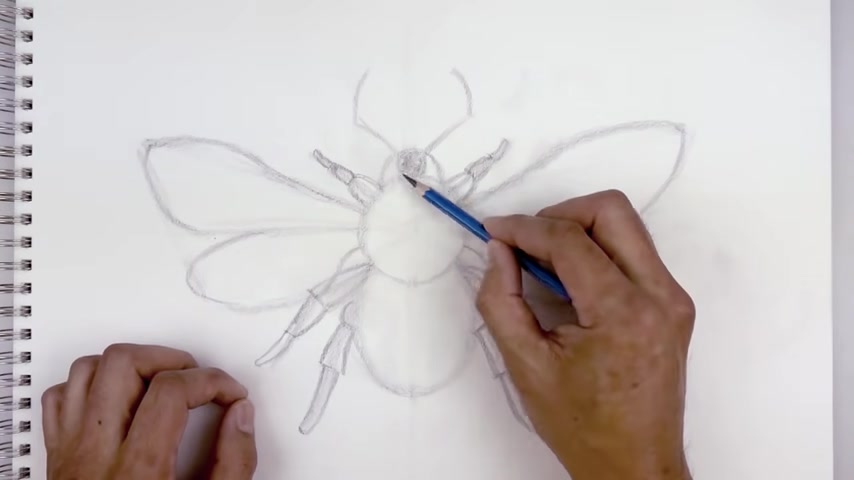
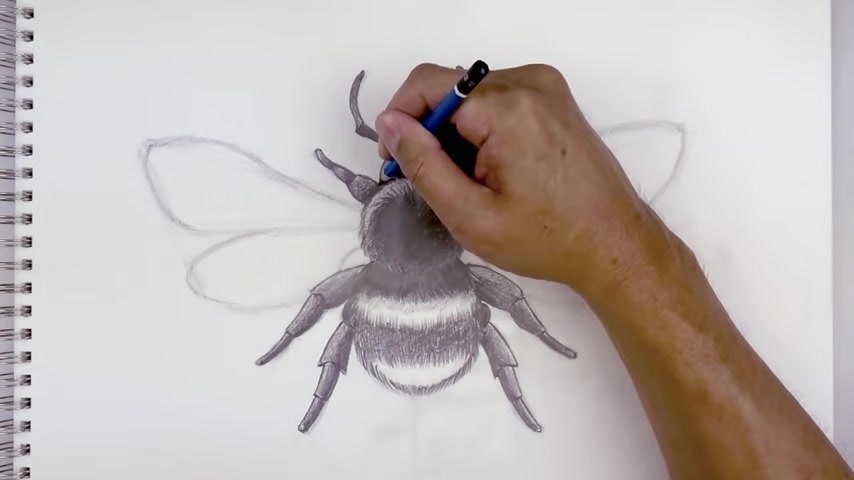
Now I'm gonna go and start adding some detail .
We start with the center of the body .
We wanna add a fur texture around the outside .
Starting at the very top , we're gonna draw a series of short lines going up and just bending them out as we go out to the side of the body , just curving them outwards and just following the curve of the circle , go back to the center and work on the right side , going back and forth .
So we're balancing out our drawing and I'll likely sketch out another circle in the center of the bottom .
We're gonna push it down towards the bottom .
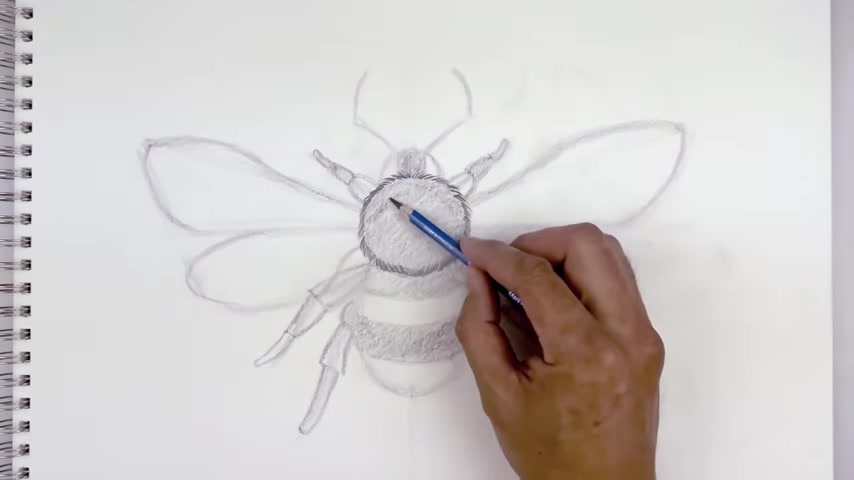
So we're start in the center at the very top and lightly sketch out that circle come almost all the way down towards the bottom and then back up towards the top .
And then we go back in and darken up the center circle and then we'll add a further texture on the outside , that center circle starting in the middle .
We're just gonna pull the line going up to the top and I'm just gonna bend these out as you go out to the side , going from that dark circle going out , you see , I'm starting to curve that across and then down on the side , I just blend that in towards the bottom fur .
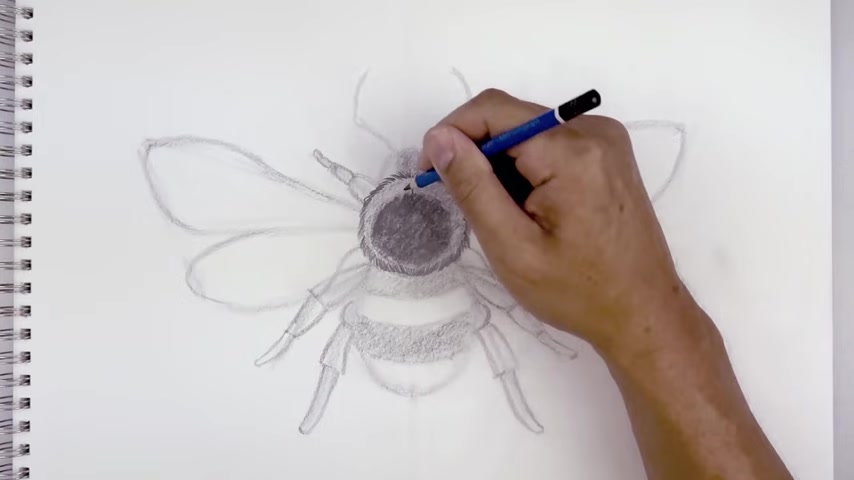
Now go back and darken up that circle a bit further .
Now to give the impression that the body is curved , I wanna add a shadow across the bottom .
So we start on the left side using the side edge of a pencil .
I'm gonna shade this in along the bottom , just blending that fur out .
And as you come up the side , it's just gonna blend this up .
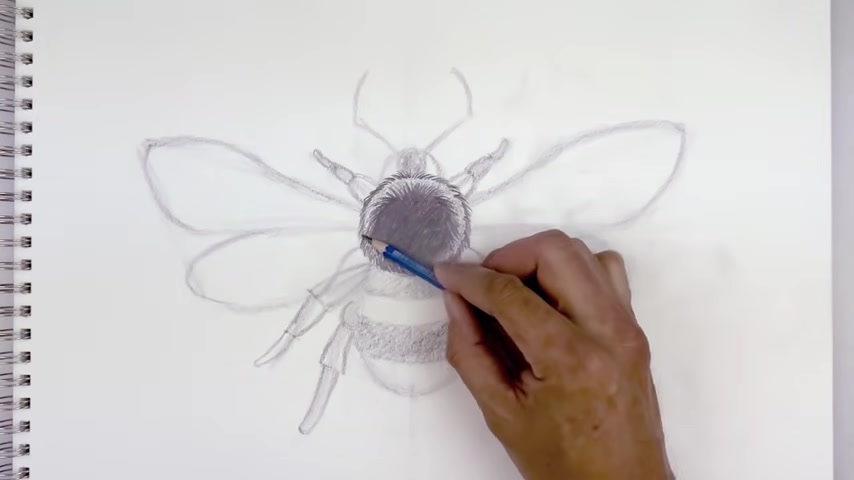
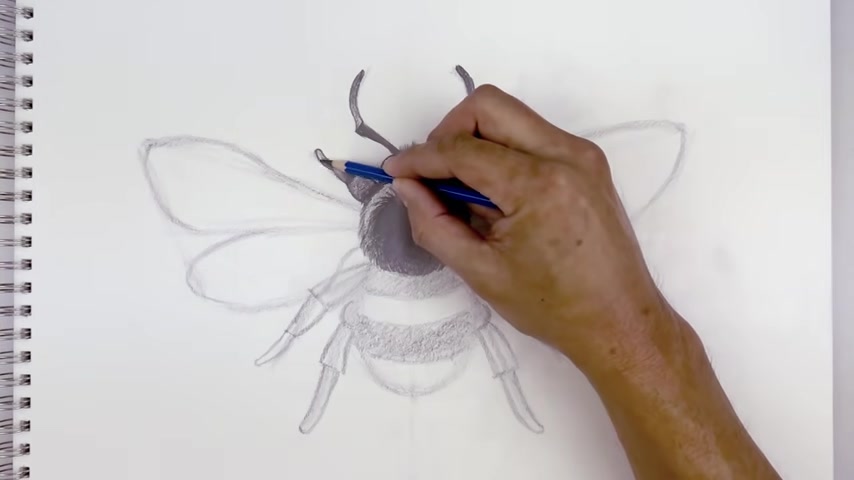
Now let's move up and add fur on the center of the head .
We start on that side , we curve out and up .
Just a series of lines going up along the side , do the same thing on the right and I'll connect the two sides with some more fur just going up the middle and it will shade the bottom of the head to the side edge of a pencil , just blend that out as we go up and we'll add a little fur texture along the bottom .
So just pull these lines going up towards the top of the head .
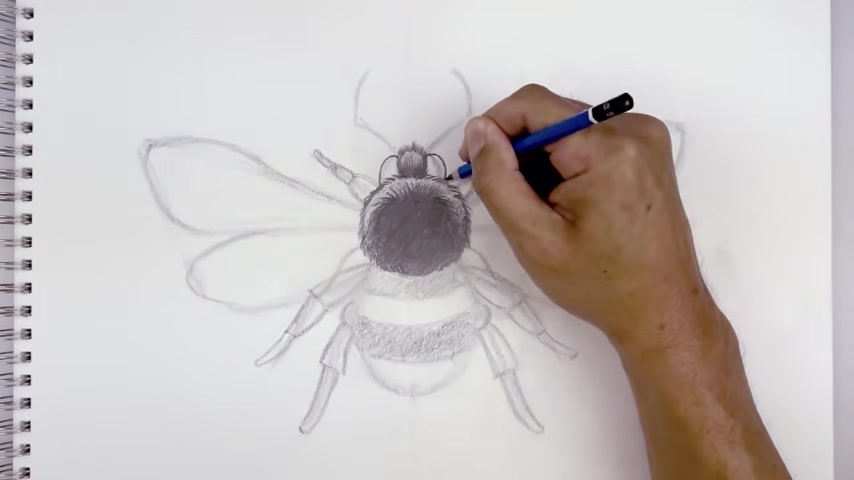
Now that's going to shape out the eyes starting at the top of the eye and left .
We're just gonna bend this up , round up the eye and then come down towards the body and do the same thing on the right .
Let's go ahead and shade in the eyes absolutely shading that in .
And then we're gonna darken up the shadow along the bottom and the inside of the eye .
So again , using the flat edge of our pencil , just blending that up and then along the inside .
Now I'm going to add some detail to the antennas .
Now to protect my drive from any smudges .
I use a separate piece of paper just underneath my hand .
Let's start with the left side , starting from the side of the head and draw a straight line going up , sleep on the right side .
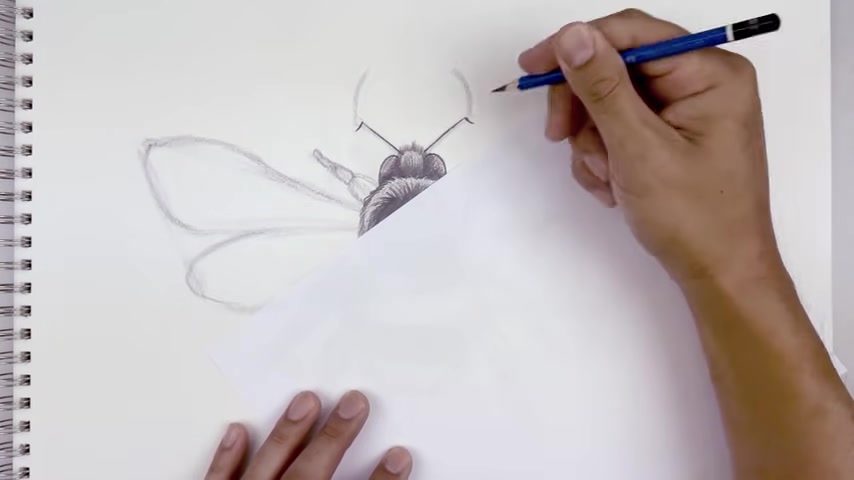
Now , from the top , we're just gonna curve down and out just to separate out the tip of the antenna .
And then from the end , I'm gonna curb down and in , just pinching it in towards the inside and it'll blend this into a curve coming in and then down in behind the head , let's go in and darken up the antennas using the tip of our pencil .
Now the tip of the antenna curs up and out and then back in , let's start on the left side of the bottom , go up and out .
I just gonna round this out and just blend it into a curve coming back in .
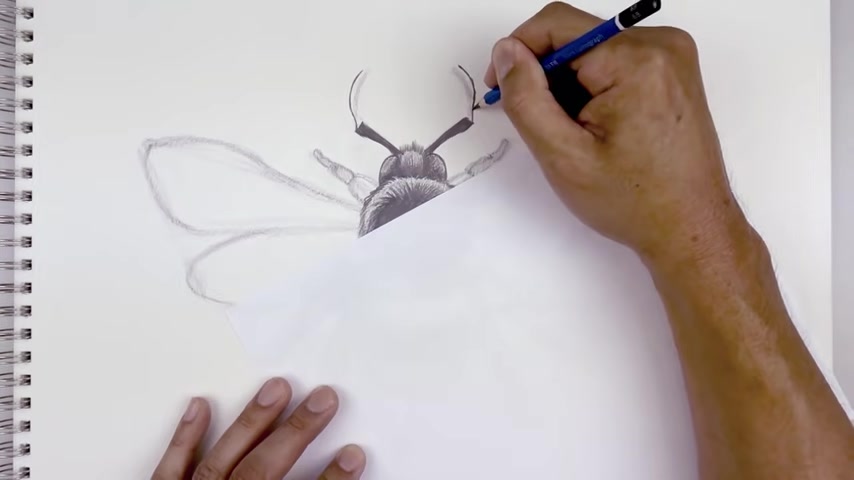
Let's do the same thing on the right , starting on the outside , go up , bend that out and then we'll bend that back in towards the top .
Let's round up the tip of the antenna .
It's pulling that back in you for that same curve coming around , coming back in towards the top of that section .
And it'll go in and lightly shade the tip of the antenna just gonna blend this out as it come down .
So we start off dark on the tip and then blend that out .
Let's move to the side and add some shape to the legs .
We're starting at the very top .
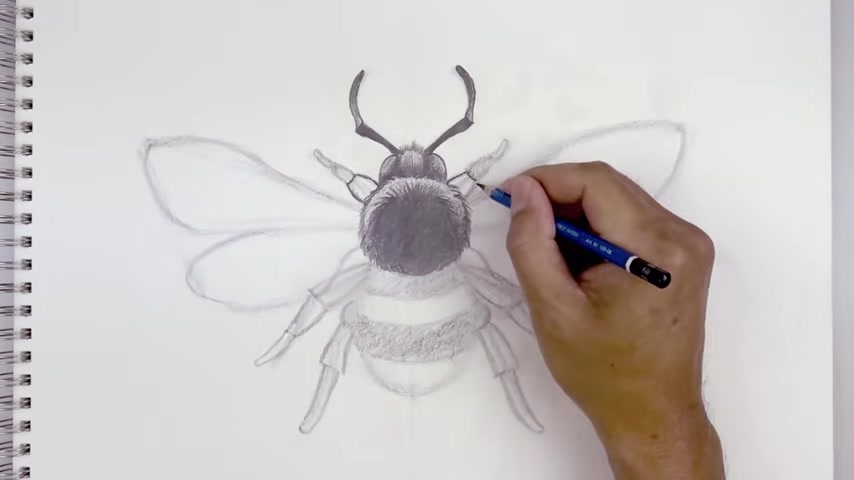
We saw that same curve going up and out little sign and then from the end , it's gonna curve this coming down and out just rounding up that joint , then from the outside will curve down and back in to the body and then we'll trace the second section going up , rounding up the top and then coming back in and in the end , we're just gonna follow that curve going up right at the tip and then come back down and in .
Now we want to shade in the legs , but we start a little darker along the inside and then blend that out as you go up .
Let's do the same with the other two sections starting off dark and then blending that out .
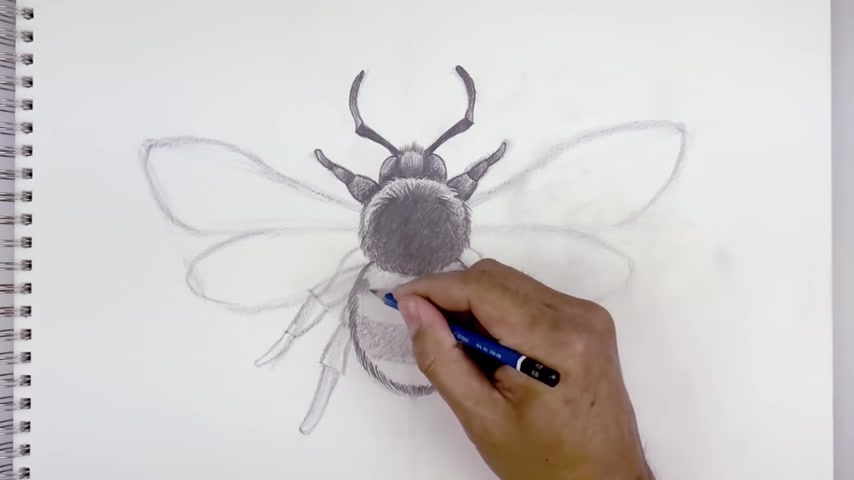
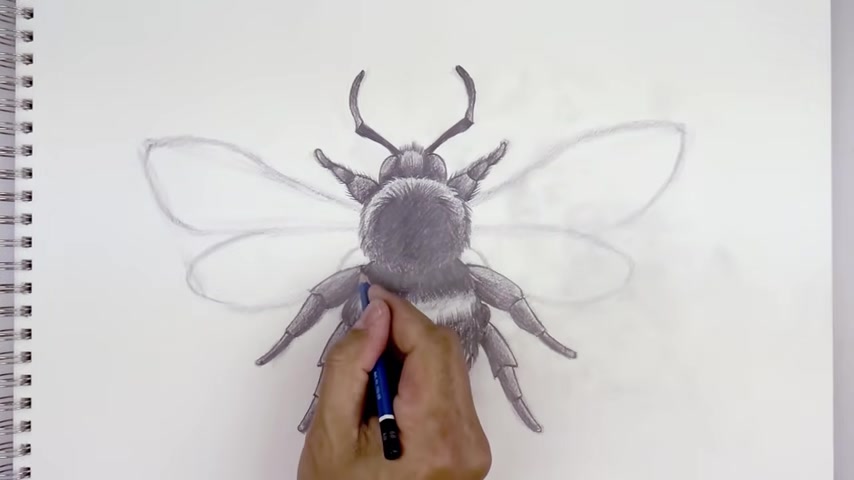
We're gonna move down and add some fur along the outside edge of the thorax .
Let's start on , on that side again , we're just gonna pull these lines going out around that oval , just gonna pull this out a little bit further and then again , just bending them down as you come down towards the bottom along the bottom .
We're just gonna start to straighten these out and worked in the right side .
You see that I'm working with the curve of the body , it's coming down , start to pull that in and once you get to the bottom of it .
I'm just gonna flatten these out .
Is that a fur texture along this curve ?
Starting back up the whole line going out and then down and then straighten it out as we get towards the middle .
Now we're gonna bend them out and down on the right side all the way out towards the side of the body , you know , go in and darken up that upper area and we want to soften up this fur line .
So we're gonna start with the side of our pencil and just lightly shade that in .

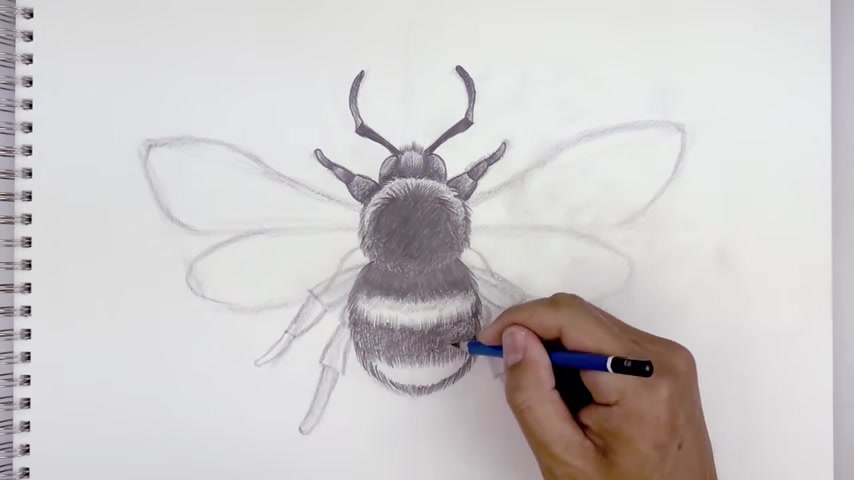
And I'll add that same fur texture along the top and bottom of the center strip .
Start at the very top .
Just let me pull these lines going up and then we'll do the same thing along the bottom , just pull our pencil down towards us .
I'm gonna go back in and darken this center area a little bit further using the side of a over a pencil .
It's going all the way across towards the right and I'll add a little bit more fur texture along the inside , just using the short choppy lines and just filling that center area in .
You can also blend the firm on the top and bottom edge .
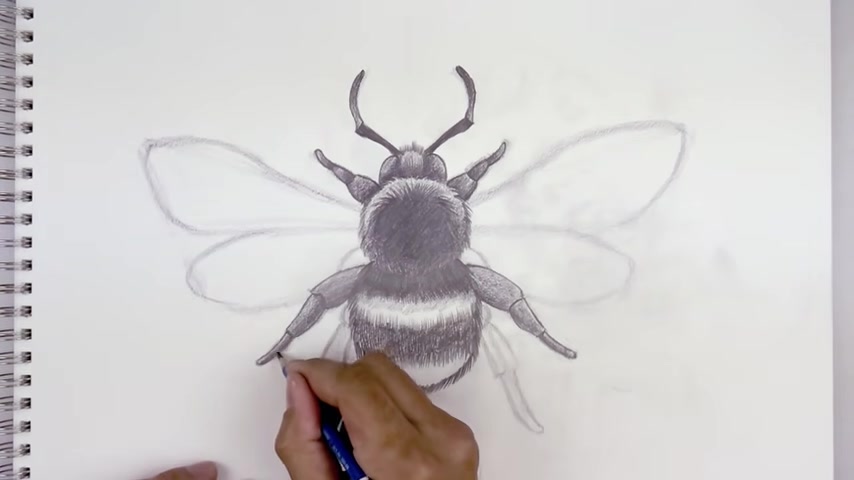
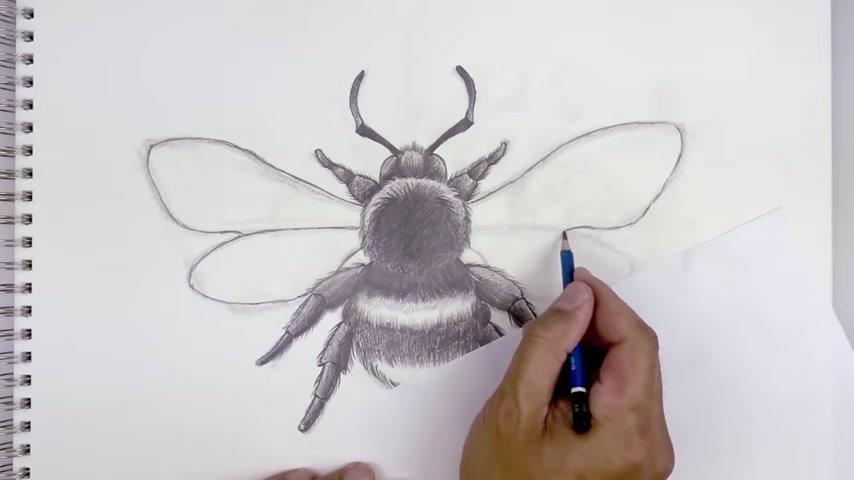
Now we move out and trace the contours of the leg .
Let's start on the top and the left can trace this out towards the bottom again , we're gonna add a socket , so we're just gonna curve this in and then back out , round off the inside and go back up .
Let's trace out that center section read down and out .
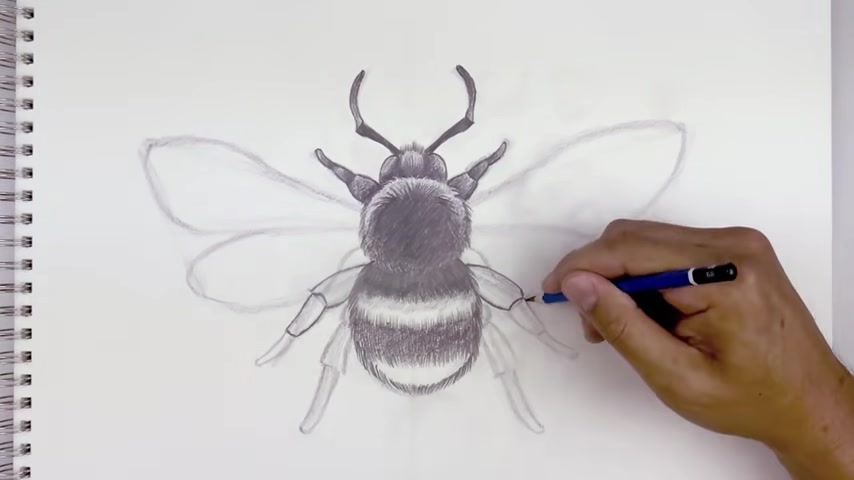
Round this out , come up in him and then finally the tip coming out round at the end and then go back up .
Now with these legs , we're gonna darken up the bottom edge , the leg and just blend this out as we go up .
So let's start along the bottom .
It's gonna really dark along the bottom edge and then just blend it out as we go up , we're giving the impression that there's some light hitting the top edge of the legs .
I'm gonna go back with the tip of my pencil and just darken up that bottom edge and it will do the same thing along the bottom , just tracing the outer contour .
Now on the bottom here , it's gonna come up and in towards the center point with a straight line to do the same thing on the right .
Mhm .
And then from the bottom , you go up and in towards the middle and then back down , we're also gonna separate the bottom section in half , just cutting that in half on both sides and I'll chase out the bottom contour .
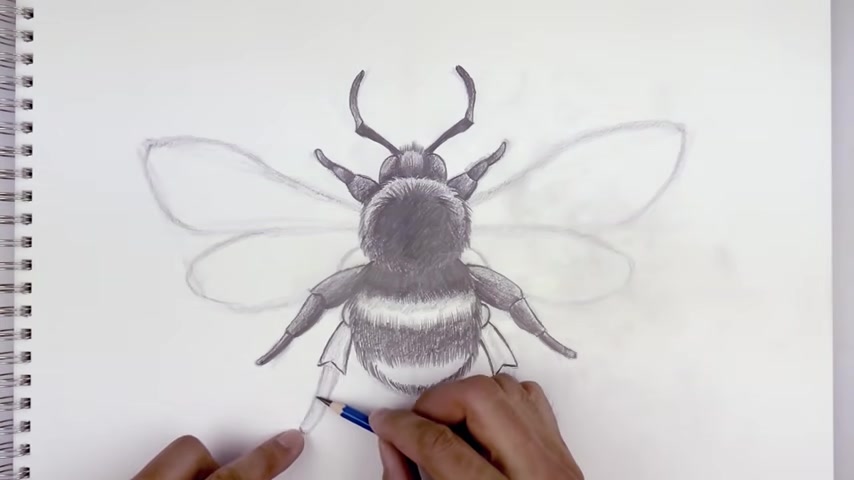
Let's sha in the hinges .
We're all fully dark on the inside and we'll start off dark on the inside leg and just blend this out , start off dark and as we get halfway , we're just gonna blend that out .
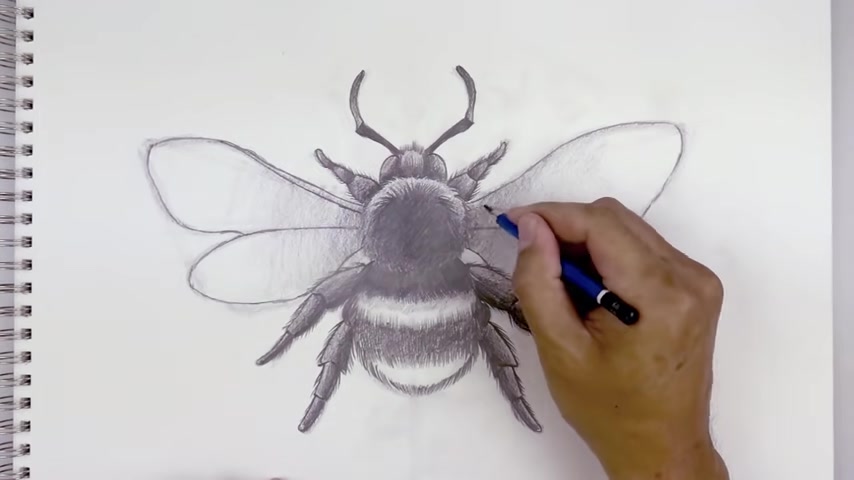
Now we're gonna add some fur along the outside of the leg .
Let's start at the very top .
Just draw on these short lines coming out from the legs .
Then along the bottom , we work our way up towards the tip of the legs .
It's going a little bit shorter along the top .
We'll do the same thing along the bottom and then the blond ones , now let's go and trace the outside contour other ways .
And again , I'm gonna use a piece of paper just underneath my hand .
I'm gonna start from the side of the body just traces out , going out towards the left .
It's gonna come down and in .
Now at the end , we're just gonna pull this down to the bottom wing and follow that same curve coming back in towards the body and will trace out the bottom of the wing .
You go in behind the leg up on the inside .
OK ?
Just pulling that down towards the bottom line , you find that same curve coming back in towards the body .
Yeah .
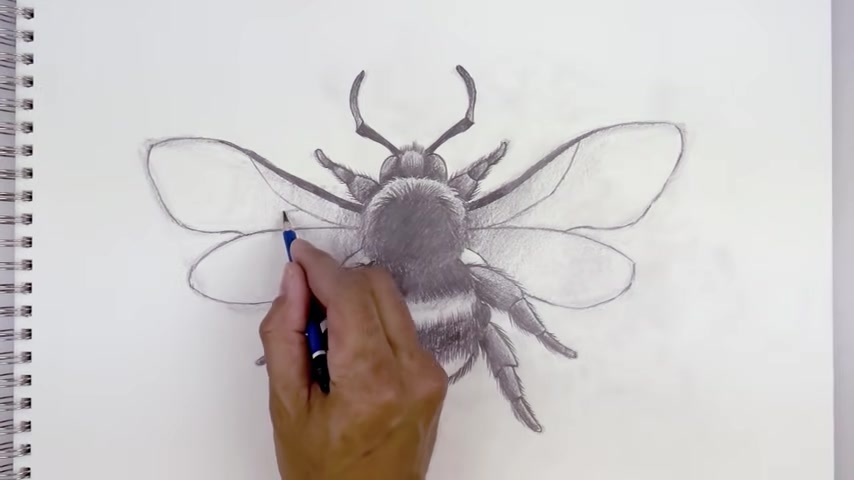
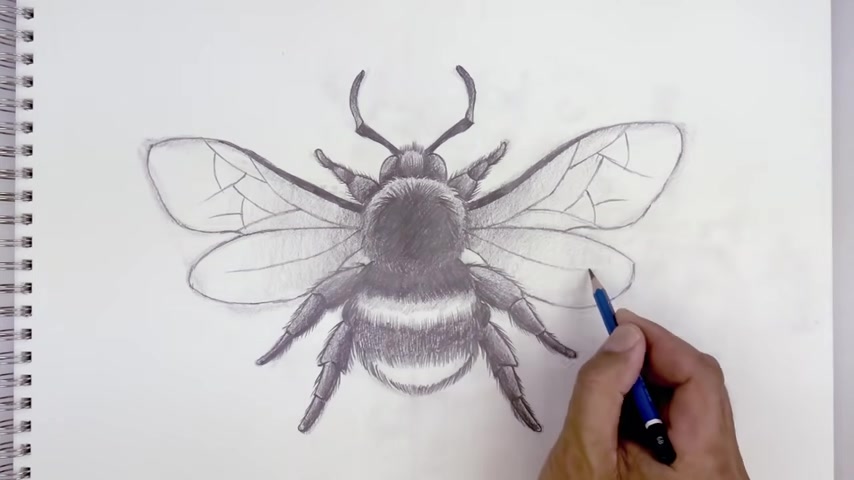
And now we're gonna add a little bit of shadow on the inside of the wing and just blend this as we go out and start on the left , using the side of a pencil go a little bit darker on the inside and then just blend that out .
Let's add that thick rid on the top of the wing .
We'll start up here just gonna tap it so it gets a little bit thicker the spacing gets thicker as you come in towards the body and do the same thing on the right and then just blending that out as you get towards the top of the wing and then we'll go in and darken up that ridge , let's go in and add some veins across our way .
And we're gonna start at the very top .
We're just gonna lightly sketch curve coming down and then just bending that in towards the inside , we're gonna take that and flip it over on the right , starting from the inside out and up and bend that up towards the top .
And then we're gonna branch the veins coming out from this line .
Let's start on the bottom , go out and down .
It's gonna mirror what we do on the left to the right side .
Let's go back up to the top and step down , go out and then up and then from the bottom curve down , it just gonna blend that out towards the side .
He had a few more veins starting along this line , curve down and in then from here and out and down , it's gonna randomly replace these veins is at a branch over here .
Now add some veins across the bottom wing .
So I at the very top on the inside go down and then fade that out and it branches out , going up towards the top .
Let's go down to the bottom out and blending that out to come down .
Let's add a few more from the top will step down , short line going out and then from the bottom go out and then down .
Now I'm gonna add an effect that makes us be stand out from our page .
So we're gonna add a drop shadow along the bottom starting on left , using the edge of our pencil to shade the bottom of the thorax , pull down and then back up on the right .
It's gonna go a little bit darker along the bottom edge of the thorax and then we'll blend that out .

And then from the tip of the feet , we're gonna sketch a straight line going in towards the thorax .
We're gonna start a little bit darker on the base of the foot and then just blend that out .
Let's do the same thing on the right , starting off dark , you know , fade that out as they come in .
Let's do the same to the outside feet , starting out dark , sketch a straight line coming back in , just blending that out and we'll do the same thing to the tall feet starting off dark , just angling down in behind the wings , just blending that out as it come down .
And that's pretty much it .
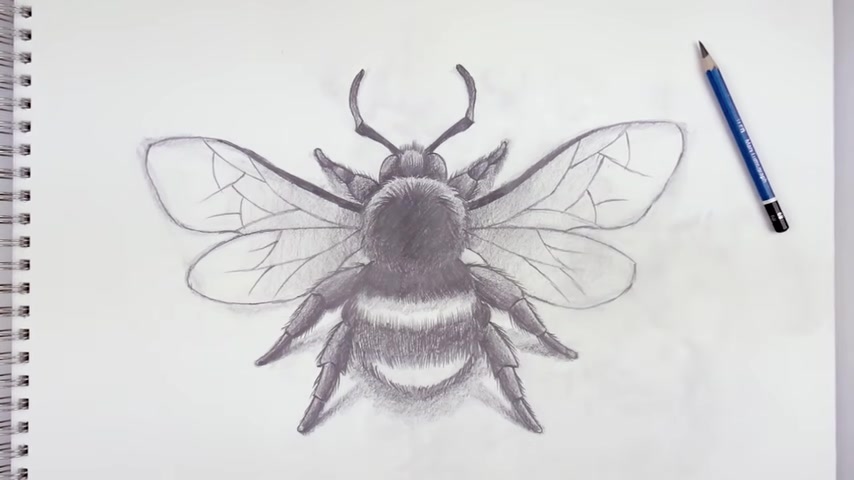
There's a sketch illustration of a bumblebee .
I hope you enjoyed today's lesson .
Make sure you subscribe and join me for more sketch tutorials every Saturday and Sunday .
I want to thank you for watching and we'll see you again soon .
Are you looking for a way to reach a wider audience and get more views on your videos?
Our innovative video to text transcribing service can help you do just that.
We provide accurate transcriptions of your videos along with visual content that will help you attract new viewers and keep them engaged. Plus, our data analytics and ad campaign tools can help you monetize your content and maximize your revenue.
Let's partner up and take your video content to the next level!
Contact us today to learn more.