https://www.youtube.com/watch?v=z5XTrGtl1_g
How to Draw FACES with Different Expressions and Angles
Yo guys , this is your artist to and today I will show you how to draw faces with different facial expressions and from different angles .
I'm sure this video will help a lot of you .
And as you can see , I already separated the a four size paper sheet into 12 equal squares .
This is a long video as you can see .
And as you can imagine making all of this was a lot of work .
So make sure to like the video and subscribe to my channel to show me your support .
All right , let's get right into it .
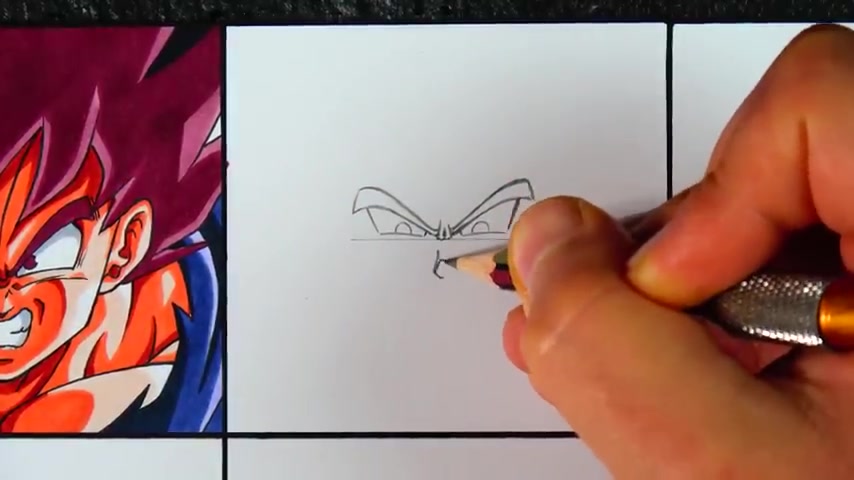
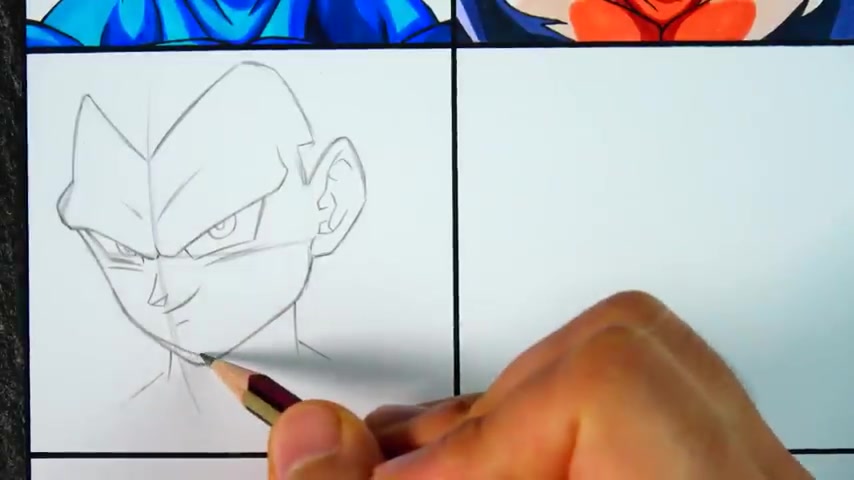
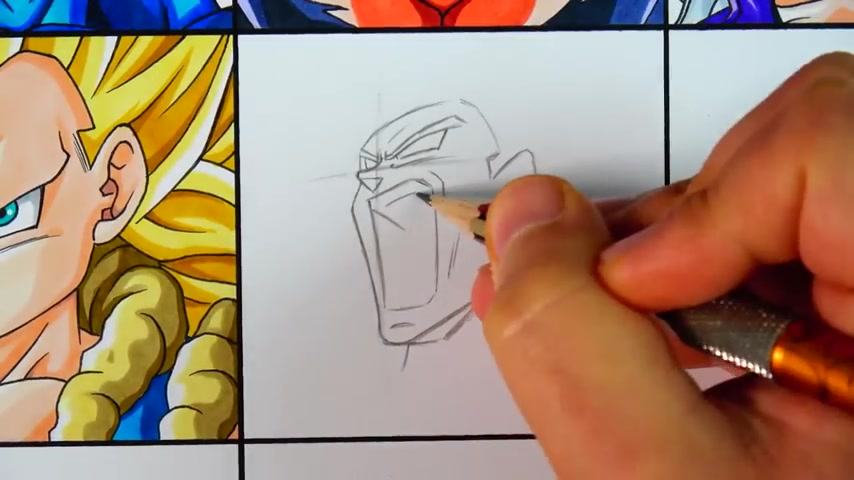
We will start with a simple face from the front and therefore we will add efficient community guideline for the face .
Make sure to place this line in the center of the square so we can place the head fully in it .
And this guideline is very important and will help us a lot by placing the eyes on the same level .
And it will also help us with the face shape .
But we will come to that .
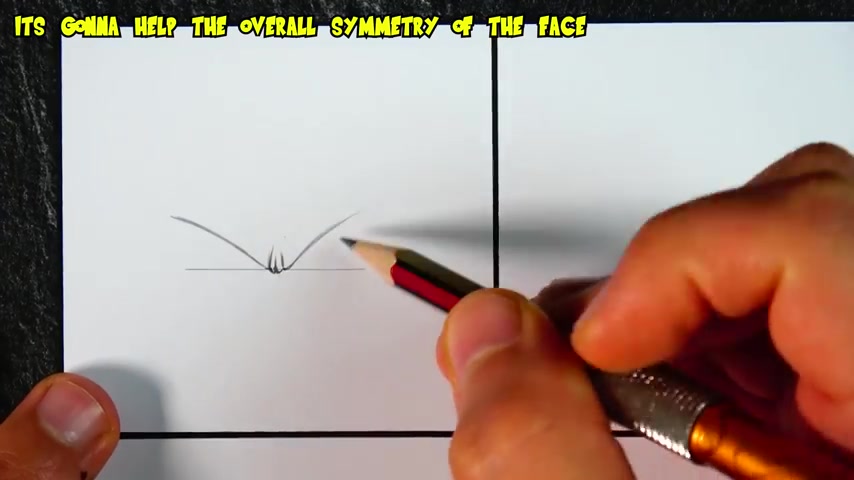
We are using the guideline also for the length of the eyebrows for this face I will draw via and for the following faces .

I will try to draw as many different characters as possible .
And I will also use all the forms to change things up .
We also place the eyes on the guideline , which I said is helping us to draw the eyes equally for the nose and the mouth .
We can add a to the line very lightly so it can help us to draw these face features also centered and in the right position .
Great .
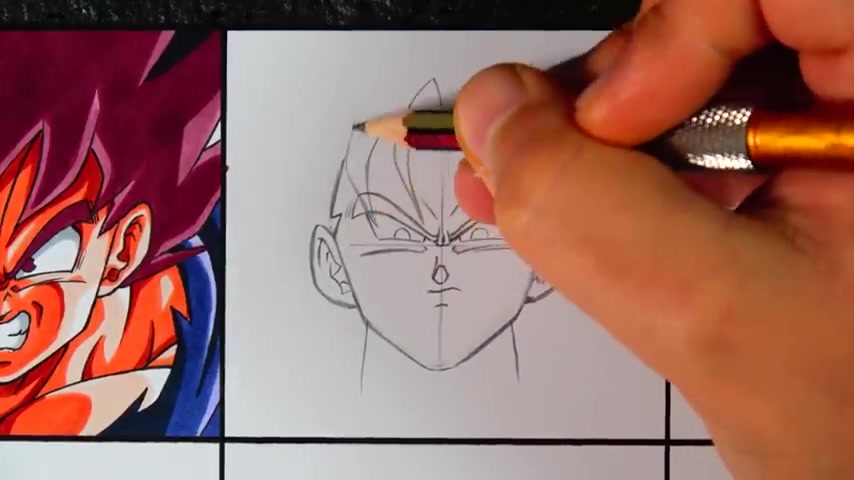
Now to draw the face shape , we will orientate ourselves on the guidelines .
We drew the horizontal line for the width of the face and the vertical line for the length .
I like to shape the face very lightly .
Before I draw detailed , it's like a pre sketching and it prevents you from doing mistakes .
And then we can draw the hairline and the big forehead of veit .
You can use these instructions on any character you want .
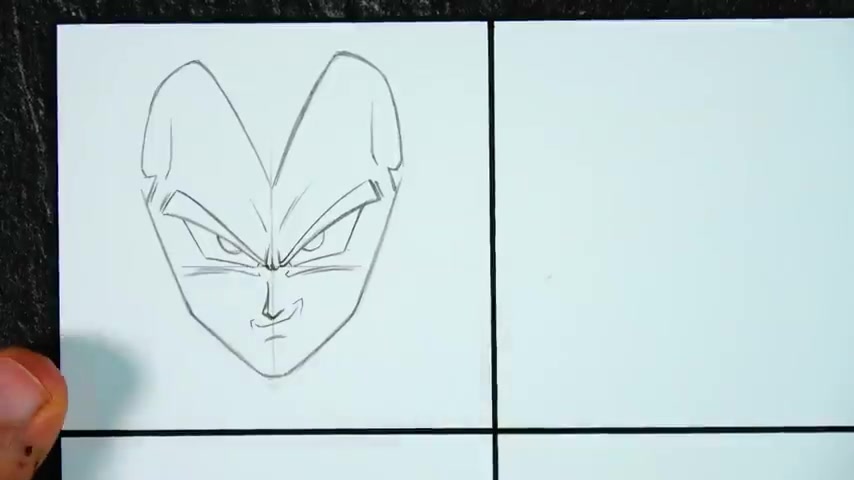
Even if you draw characters from other shows , this works pretty much on every character , male or female , the ears , I like to place next to the eyes and make sure to draw the ears a bit edgy and not all like an egg .
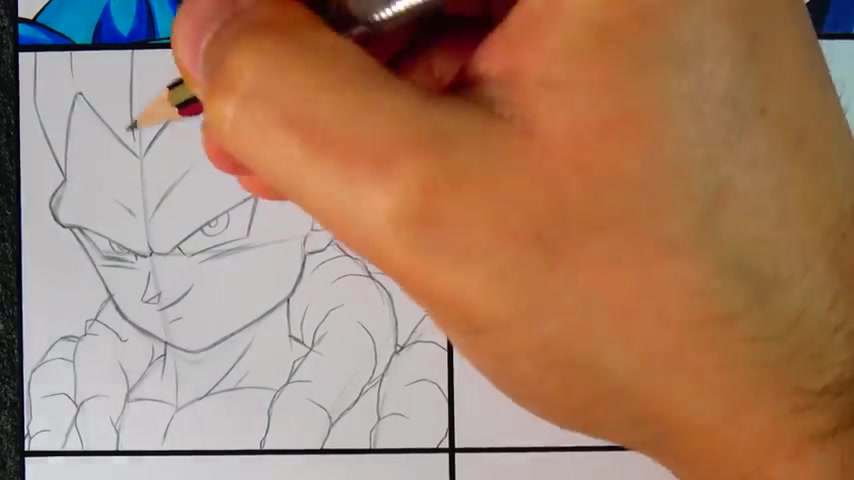
And then you can draw the neck and traps .
If the character is more mature and more muscular , the neck will be thicker .
And for young or female characters , people draw the neck and traps quite thin .
All right , that's all I can say for the simple face from the front now you will in it and then we can color vegeta with alcohol markers .
And if the sketch still went too fast for you to follow , take a look at my retail drawing channel , I will upload this entire drawing with all the different faces in real time on that channel .
So check that out .
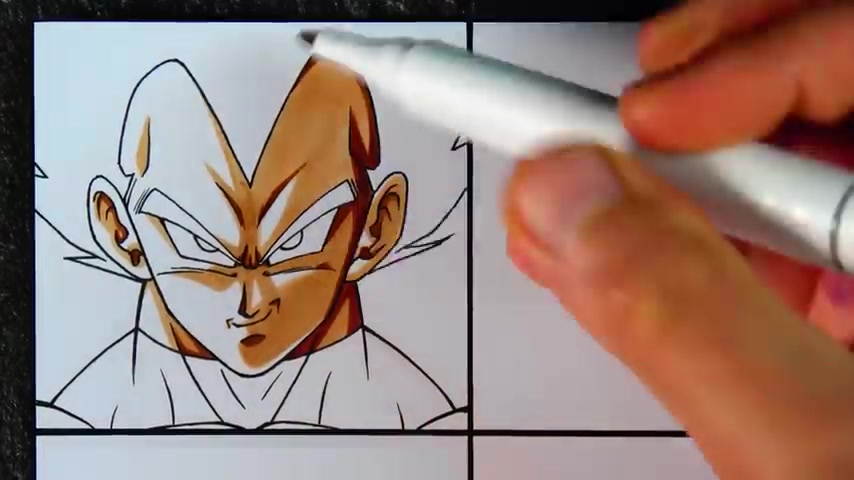
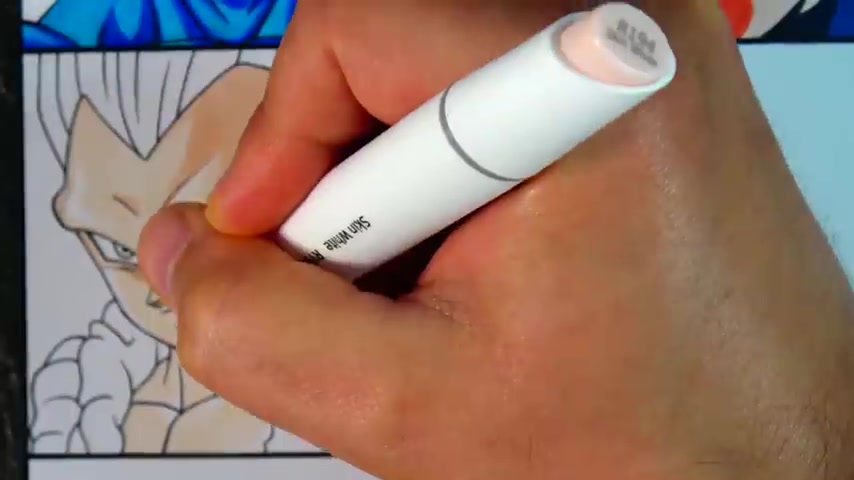
So the coloring I'm using alcohol markers , as I said , and you can find the links to the materials I'm using in the info box below .
I will add the shades on the right side .
So the left side will be brighter and one tip I can give you for the shading is that I like to use the face features , wrinkles and the muscles to place the shades .
This way , the shading will always look very natural .
Perfect veit has done and I think it looks great .
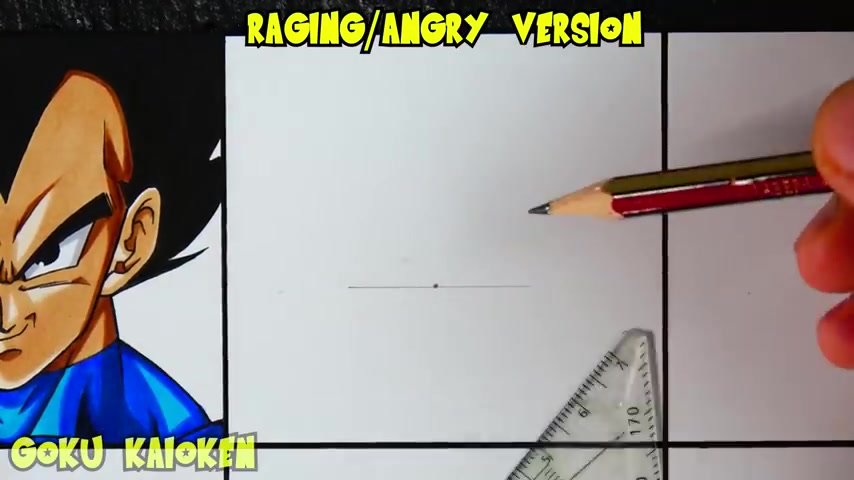
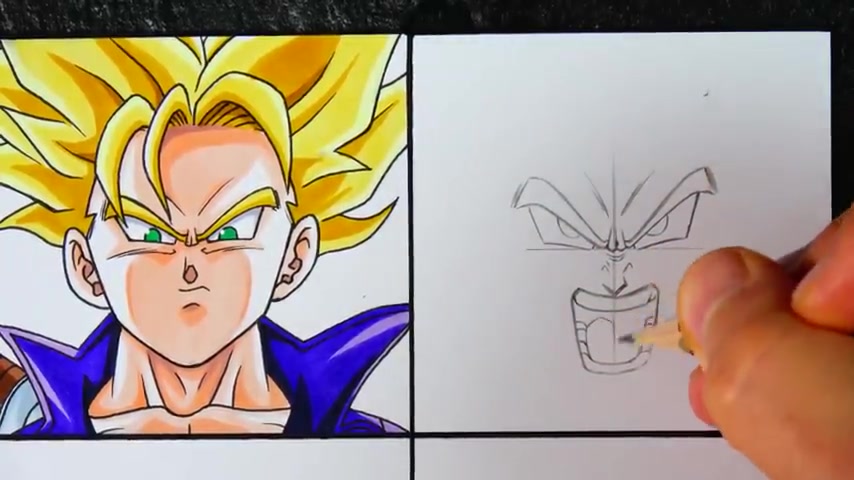
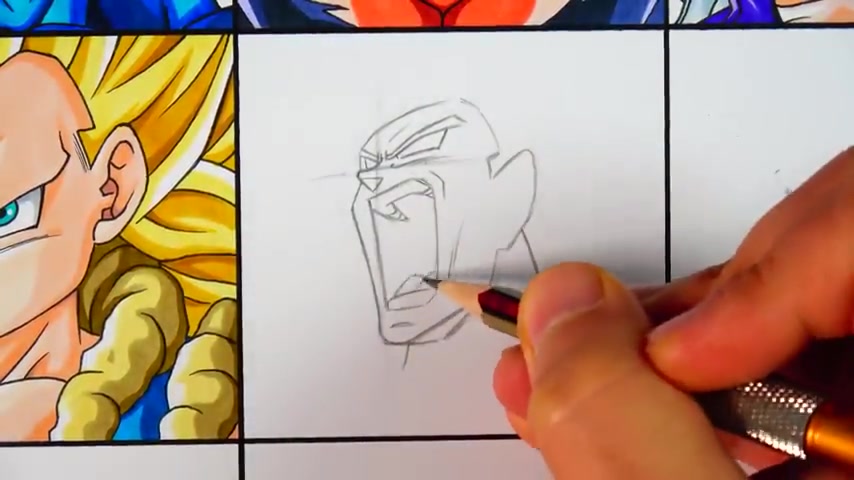
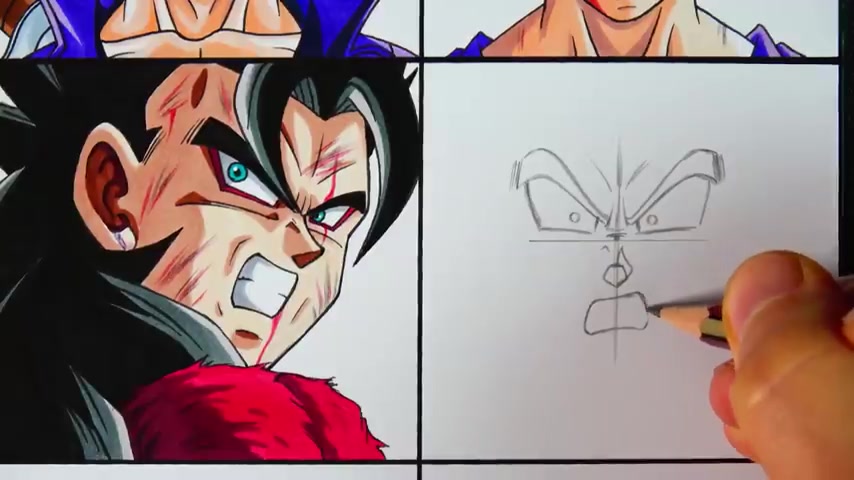
Now we can get to the next one which is a raging or a version of the face from the front .
And for this , I will go to same process as before with the free the guideline in the center of the square .
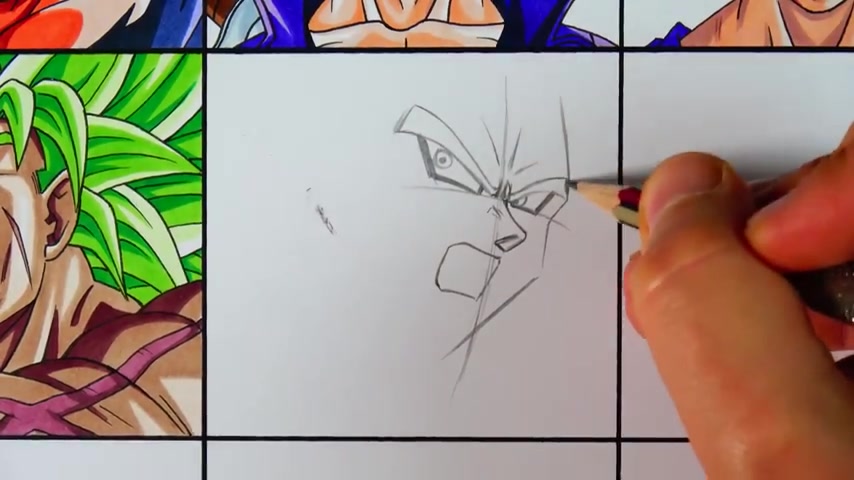
And then we can start again with the eyebrows when the face isn't reached like that or is powering up , it's looking very angry .
Therefore , we have to draw the eyebrows more curved and the end of the eyebrows are a little higher and the eyes will be bigger and open wider but still placed on the guideline .
The Pope will be a bit smaller and closer to each other .
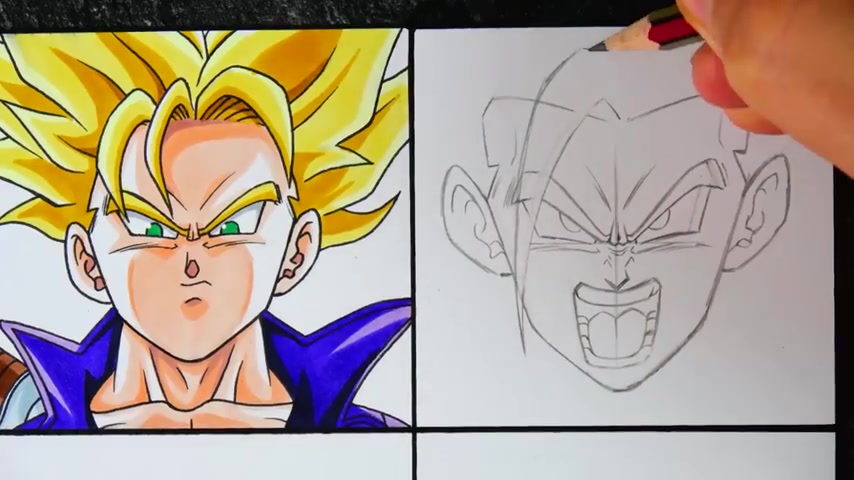
And now we can draw the nose and the mouth , the nose will let the wrinkles on top , which will show you the anger and the mouth will be open with the teeth pressed together .
And we will also add some wrinkles around the mouth .
You can of course , use a vertical line like before to make things easier for you .
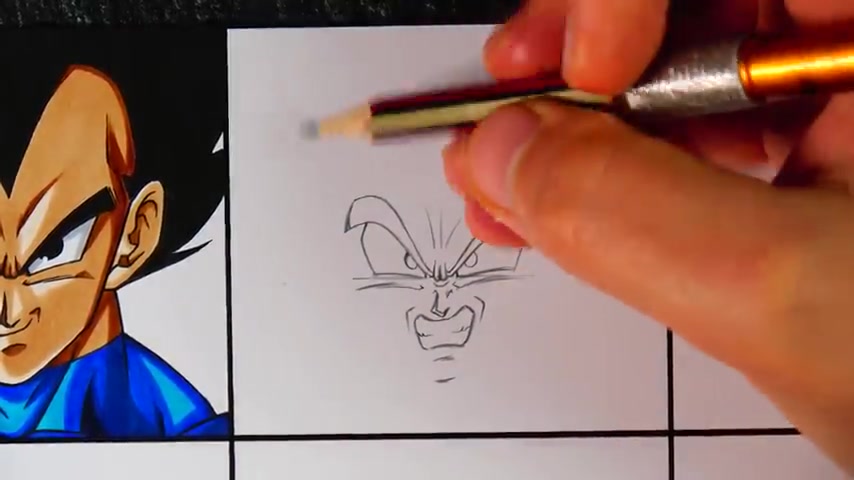
And then we can draw the face shape again , shaping the edgy face roughly and then drawing it more detailed .
Perfect .
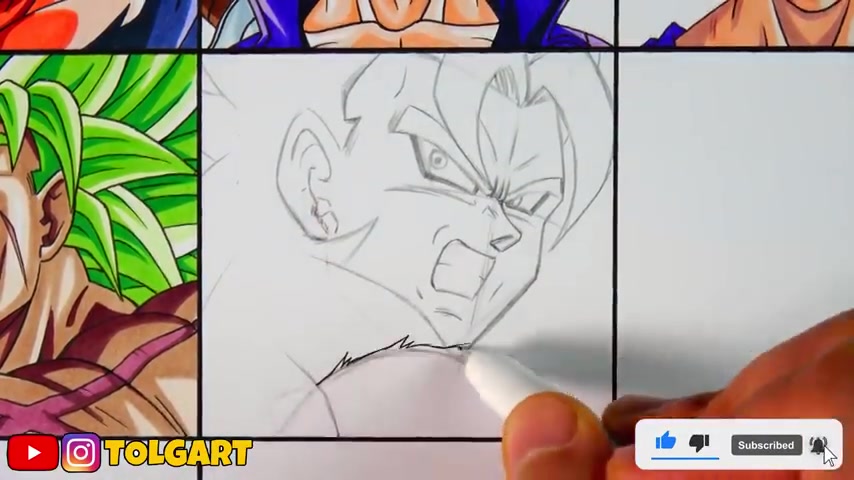
Now you can draw the big hair strands of Goku in front of the face .
You can of course draw any characters you want with those instructions .
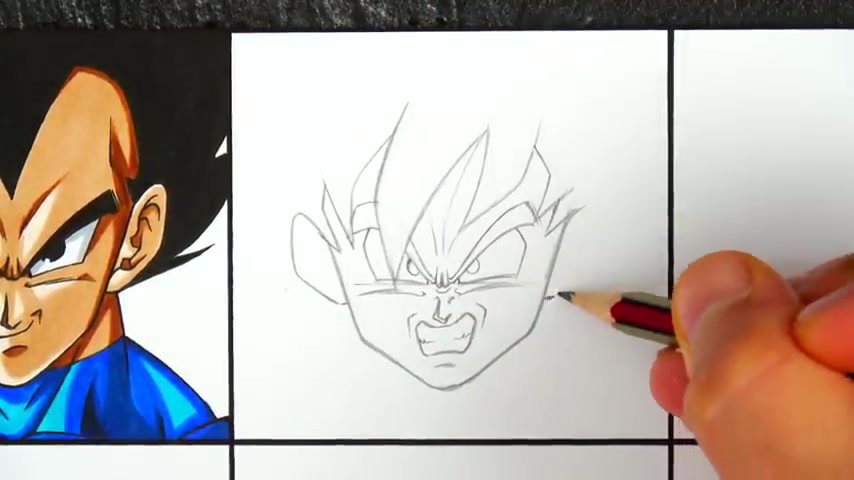
And as you can see , I always erase the unnecessary pencil lines to keep the sketch clean and then we can draw the ears next to the eyes and again a bit edgy and to draw the ears equally , you can use a ruler if you need to , then we can draw the hair which we can see and then we can draw the neck area .
Usually when characters are raging like that , they are kind of leaning forward that way the shoulders are on the same level with the eyes , if not higher , but that's not the point of this video today .
We will still draw that little bit of chest and neck which we can see .
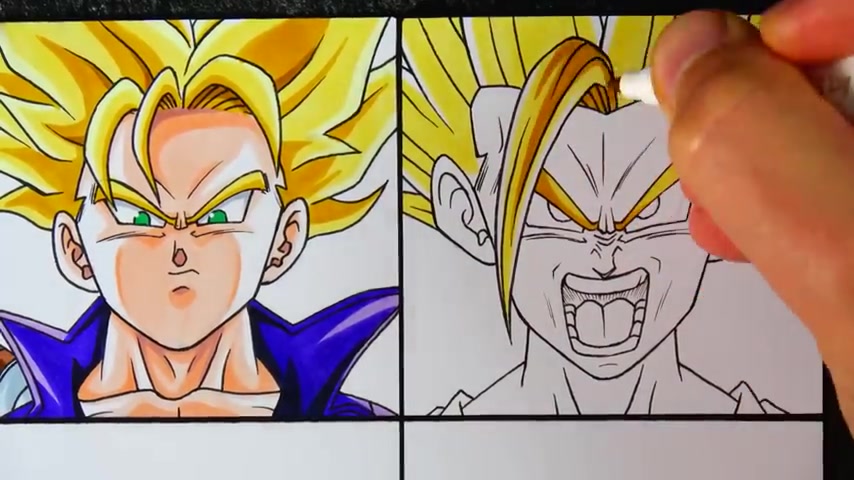
All right , raging go is done .
And I think it looks great .
We can really see the anger in his face , which is exactly what you want it .
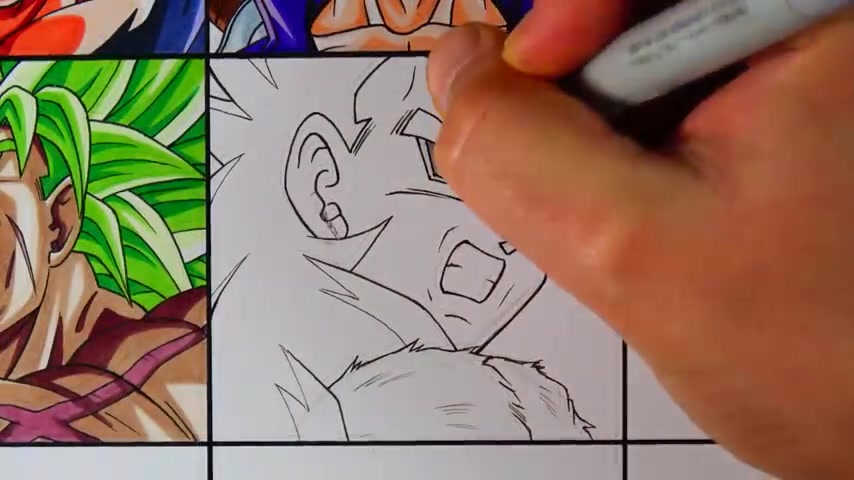
Now the inking and then the coloring the shades we will place in the center of the face .
When drin ball character are raging , they usually are surrounded by an aura .
And when the aura appears , the shades usually move to the inner part of the character .
Yeah .
Yeah .
Yeah .
And for the deeper shades , we will again use the wrinkles , face features and muscle definition perfect looking really good .
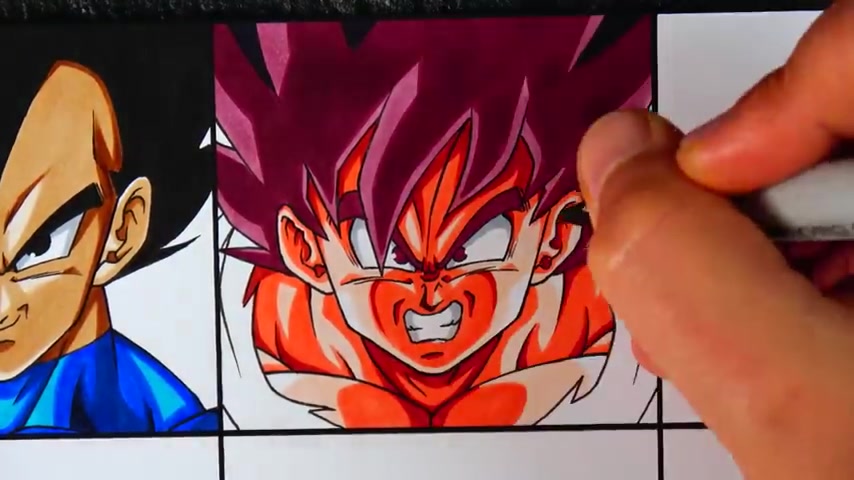
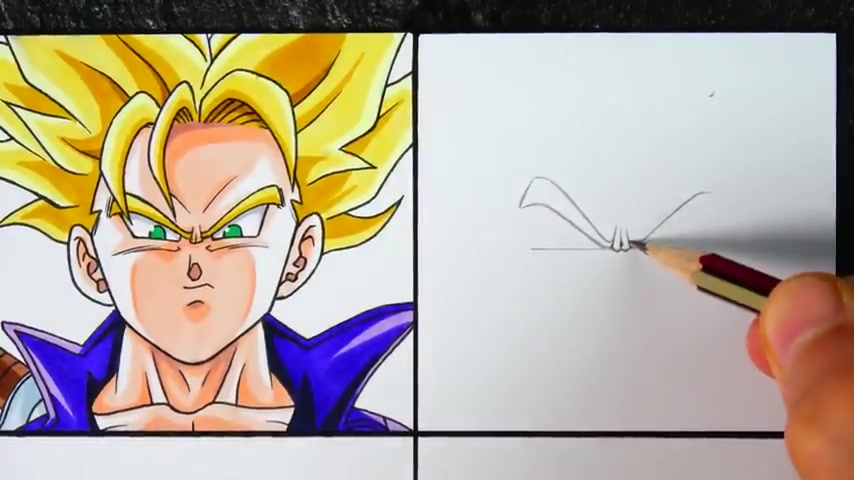
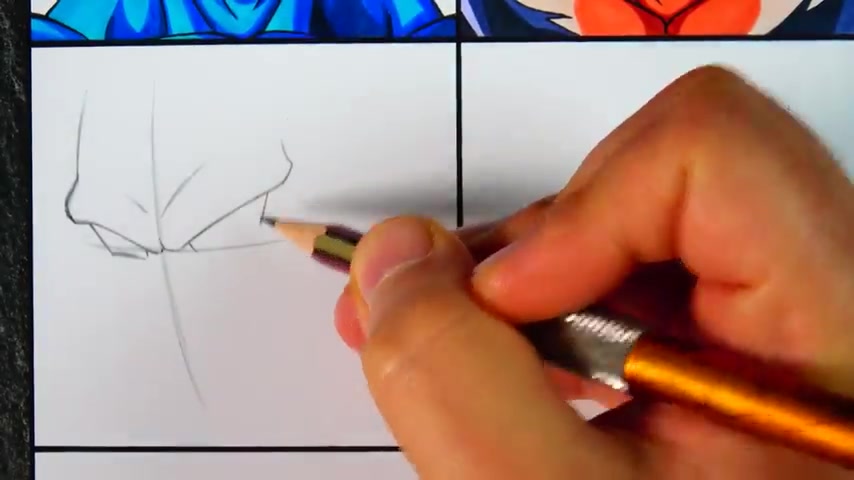
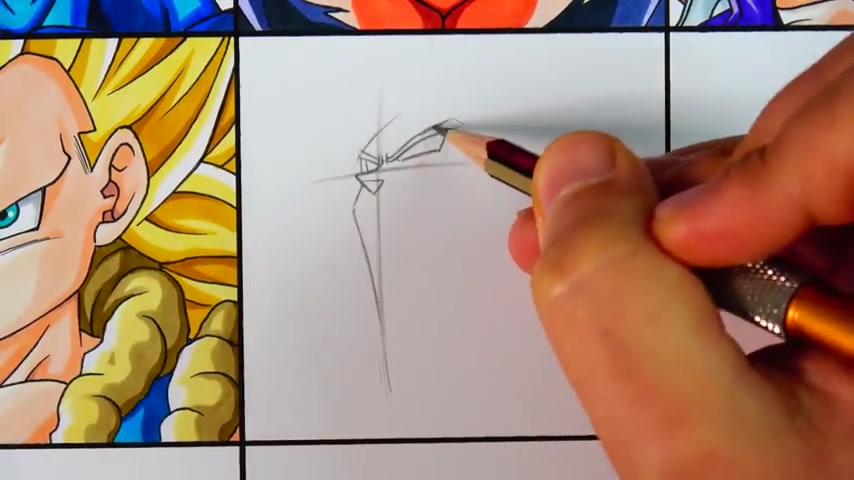
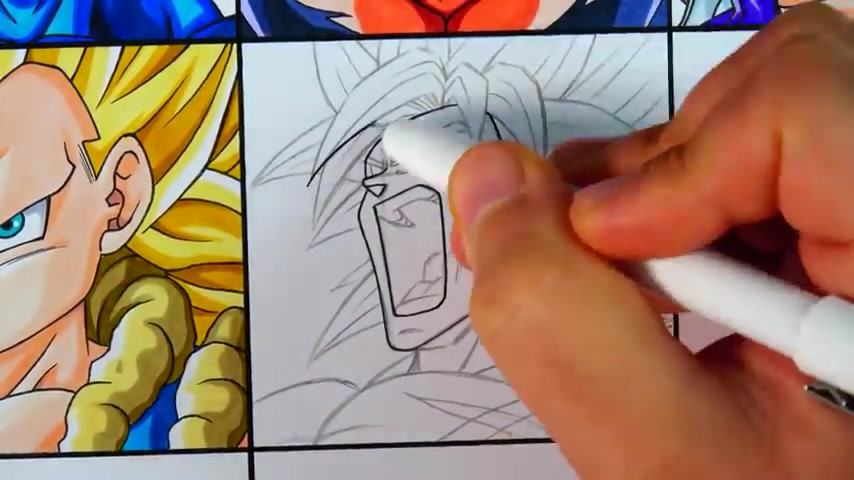
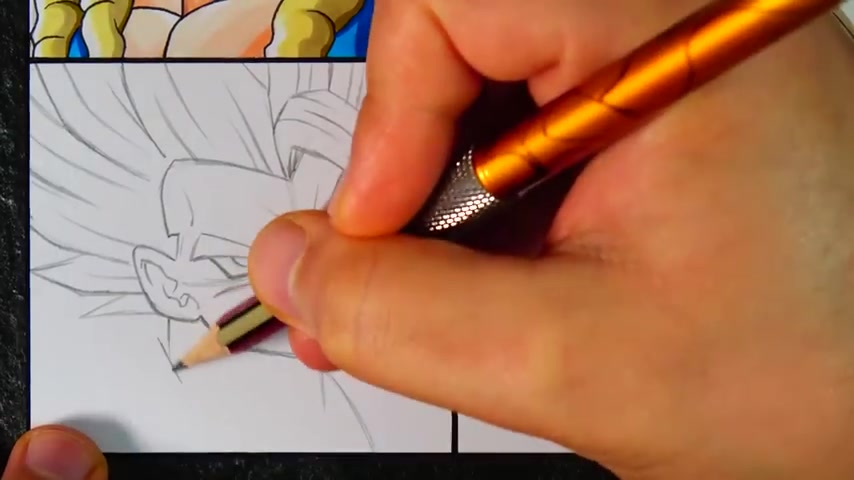
Now to the next phase , we should be in another front post .
But with the chin slightly up this way , the character is looking down to us a bit and to show you this , I will draw a few super sane .
This one is almost exactly like the normal front post .
Just the angle is a bit different as Stranz lifts up his head just a little bit for this .
We will draw the free cen guideline a bit higher as we did previously as the chin will be a little longer from this angle .
And then we will draw the eyebrows and the eyes the same way as before , but you will place the pills lower as trunks is looking down .
Now we will draw the nose and the mouth and therefore you can use the the line again as trunks is looking up , we can see the bottom part of the nose .
It will be shaped like a triangle , kind great .
Now we will shape the face again , by using the guidelines for the width and the length .
Now we will shape the forehead and we will roll the ears , the ears will also be placed a little lower than we did before .
Looks great .
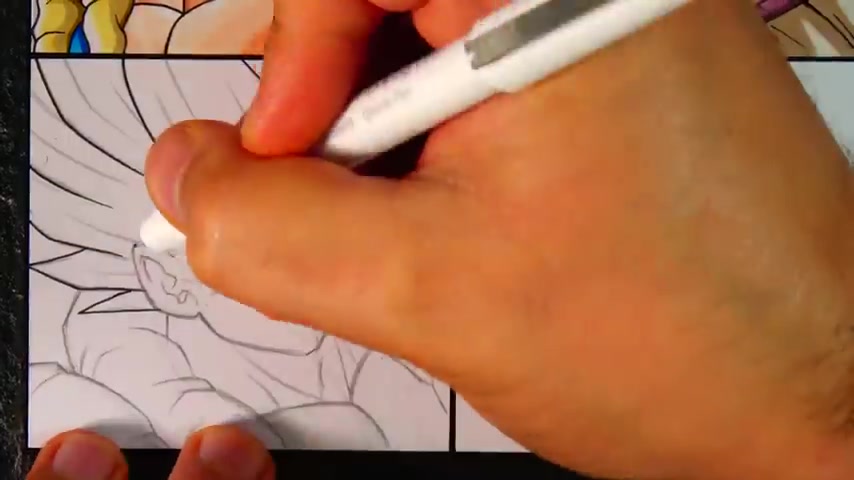
Now , we can draw the thin hair strands in front of the face of future trunks .
And once again , you can use these instructions on any character you want to draw .
Yeah .
And now we will draw the main hair .
As you may notice I did the neck of trunks thinner than I did for vegeta .
That's because trunks is less muscular .
OK .
Right .
That's done .
And I think it looks great .
Now the inking and then we can color trunks .
This video is not about the coloring , but I will also give you some input for the coloring part .
Here , you will also place the shades in the center of trunks which makes the older part of them brighter .
Other than that , the process of the coloring is the same as before guys .
Another angle is done and I'm sure you can use this one on some drawings of yours .
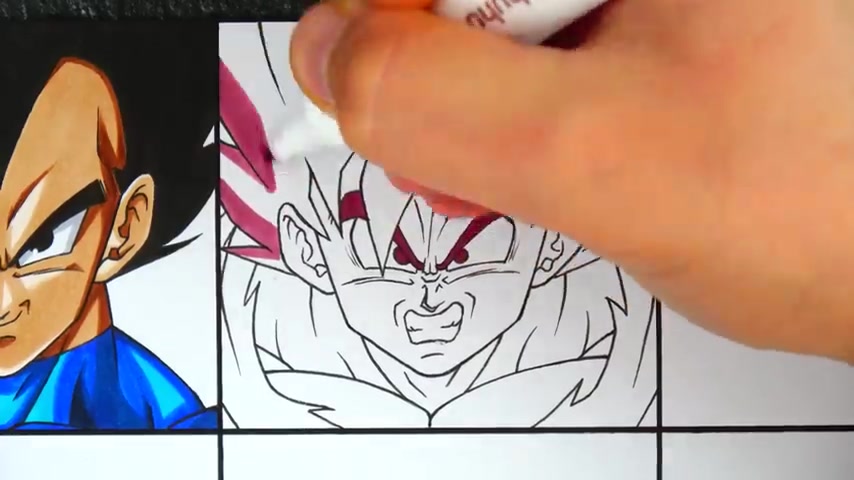
Now we will draw another front post this time screaming one .
Therefore , I will draw single and super too .
First , we will draw the free in the guideline on the center of the square .
And from there , we will draw the eyes same as before .
Now , we will use the vertical line again for the nose and the mouth .
We will draw some wrinkles on top of the nose to increase the rage and the mouth will be wide open .
First , I shape the mouth as you can see .
And now I'm drawing it more detailed Gohan is standing straight and looking to us , which means we can still see his front teeth fully and the lower jaw is completely open , which means we can see all of his lower teeth and the tongue .
Now drawing the edgy face shape and then I will improve the eyes as I find them a bit too small .
And now we will draw the forehead and the hairline .
And after that , we will draw the ears the same way as before .
OK , the face looks great and now we can draw the hair , one big hair strand in front of one eye , the hair of goanna is very spiky and as for the neck area , we will draw that thinner as well .
And then we can draw the main hair to finish up the sketch .
And as you can see guys , it's pretty simple , especially by using these two simple guidelines .
It's crazy how these two lines can help you so much by forming the face .
As for the coloring , I want to add the shades on the left side this time .
But first , it will color the hair .
I like to use the hairline to place the shades on the hair right on the hairline .
I place the darkest layer of shade and on the other part , we will leave it white for the skin .
Same process , I'm using the face features series as well to place the shades correctly looks great .
And to give this one a bit more variation , I will add some scratches and blood all over the face of Gohan with colored pencils .
Perfect guys looks great and one bar is finished next .
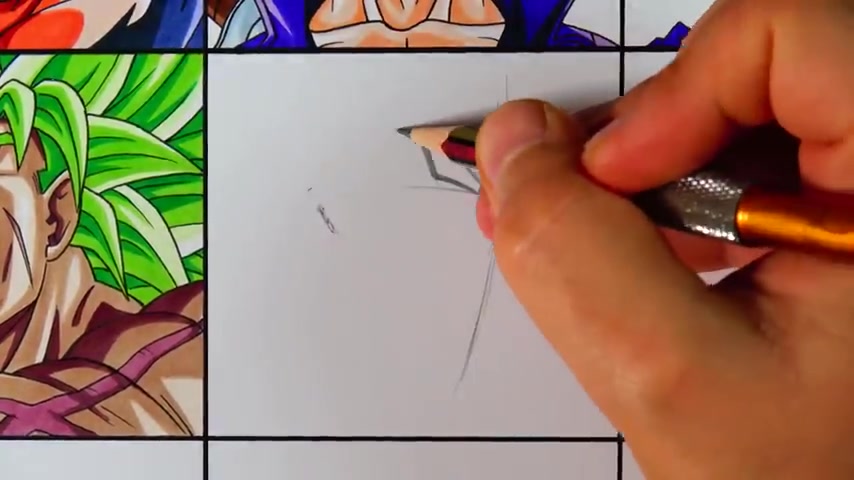
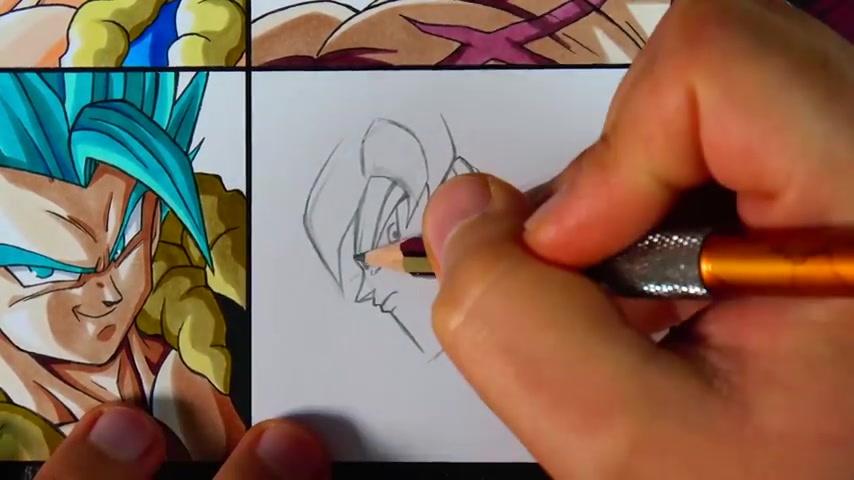
I want to show you a different angle .
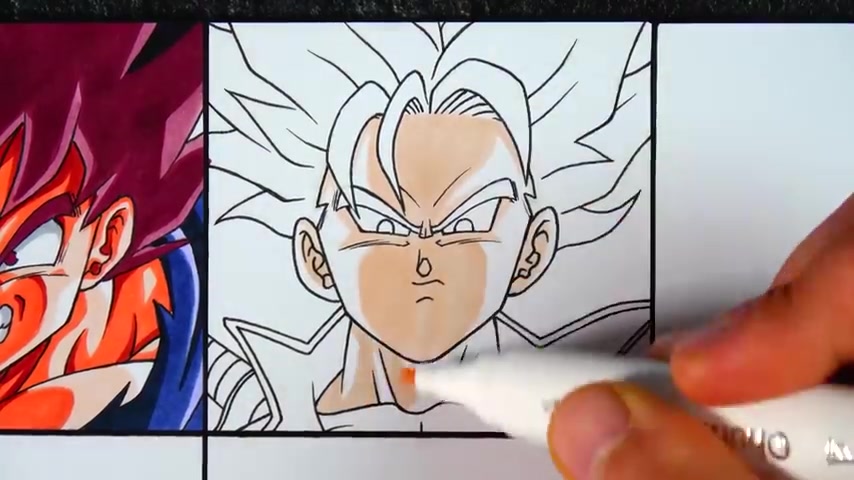
And for this , I'm drawing both super free and he will be turned slightly to the side with a relaxed look .
Therefore , we will draw a slightly curved line which he will place more on the left side of the square and around in the middle of that , we will draw a slightly curved horizontal line for the eyes .
And from there , we can start drawing the ice as you know , super sa free has no eyebrows .
So if you want to draw another character from this angle , just draw your character with eyebrows .
And instead we will use the horizontal line for the eyes as usual and then we can draw the face shape .
And therefore , we will use the guidelines as well , same as for the nose and the mouth .
And even though this is a different angle , the process of using the guidelines is still the same .
I'm also adjusting some areas until I'm happy with how it looks and that's what you have to do on the sketching .
I'm also adjusting the jaw area and then we can draw the thin neck and chest part and the fusion jacket , well , the color of it , which we can see it .
And now drawing the long super sane hair and then the sketch is done after the inking , we will again use alcohol markers for the coloring .
And this time , we will place the shades on the right side .
Like most of the time , I also like to leave some white parts on the skin to give it a shiny effect .
And on the very right side , we will give the skin the darkest shades , but still the skin overall is pretty light .
This time , the shading of the hair is the same process as for Gohan , we will have the shades on the hairlines and leaving white parts on the older parts of the hair .
And for the jacket , you will also add the shades on the right side .
I think the slightly to the character is also pretty simple to draw and you can use these instructions on any character you want to draw .
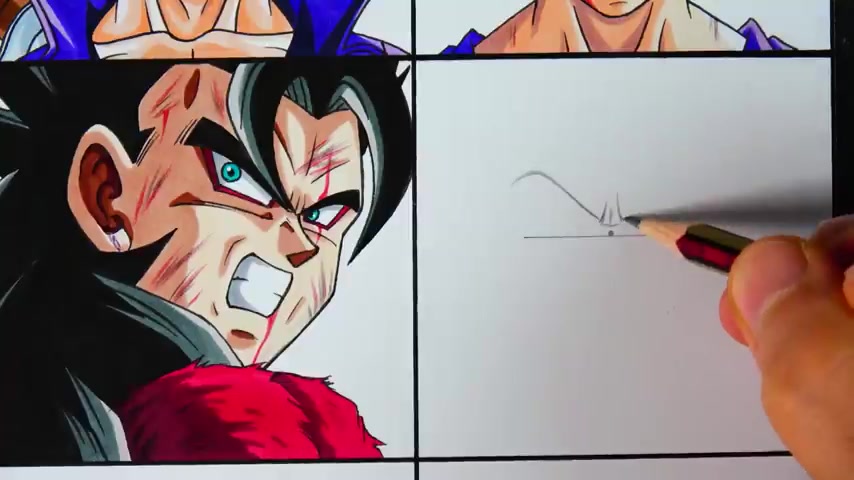
All right guys , another angle is done and now we will draw another one from this angle but screaming and raging .
Therefore , I will draw blow full power .
We will draw another slightly curved vertical line also more on the left side .
And on top of a smaller horizontal line , this will help us to draw the node very easy and above the horizontal line , we will place the eyes a bit higher than previously as they use the horizontal line mainly for the nose this time .
And then we will shape the mouth which will be very wide open .
And this also makes the lower part of the face .
So the chin and jaw area very long , we will also shape the face and the ear very roughly until we have an overall idea of how the head should look like .
And then we can draw the mouth part more detailed as Roy is screaming , he is lifting up his head a bit so we can see all of the upper teeth .
1246.619 --> 1334.459
And then we can collaborate with heavy shades , heavy and dark shades , make the characters look way more powerful and bad ass than they already are .
So keep that in mind , I'm also not using a too detailed inking and coloring style today as I want to focus to be more on shaping these faces .
Otherwise , the video would be way too long and in my opinion , too difficult to follow all of that .
And I got to say the simple drag ball Z coloring still looks the best .
All right guys .
Next , we got another tricky angle .
We are driving a turn back character which is turning his head around to look back .
I hope that sentence makes sense for this .
We are driving the Super Saint four , we are driving the guidelines exactly the same as soli and tanks but mirrored there , we are drawing the nose and the eyes as usual .
I think it's very cool to see how these two guidelines are so helpful .
I know that in some tutorials , the creators uses many , many guidelines for only the face , for example , which for me is way too complicated .
I like to keep things simple .
So we will make veo look quite shocked and angry like he is really struggling in a fight , the teeth will be pressed together and he will have a strained look .
It too , the shoulder will be in front of the face as the jitters turn back and looking behind to see his opponent .
Yeah .
Yeah .
All right .
That looks great .
Now we can in it and start the coloring .
We will add the shades on the left side from our point of view and please ignore the little spots on the ear .
I spilled a bit there and we will cover their hair very evenly .
And as veto is looking so angry , I think some scratches would fit perfectly .
All right guys , let's square on the bar and I want to do something special here .
People draw a shock and scared facial expression and therefore I will use as they had this expression very often .
I'm drawing the guideline again .
And then people will draw their eyebrows a little higher than usual and curved .
The eyes will also be wider open than usual .
Anti pills will be very small and very centered .
He will also lift up the chin a little bit , which means we will see the bottom part of the nose , which is shaped like a triangle like we did previously , the mouth will be open but not too much .
And the corners of the mouth are pretty relaxed as he is just in shock and not angry or anything .
1665.65 --> 1990.51
And I'm still drawing the rough shape of everything before I start drawing detail .
That's very important to me .
I want to perfect .
This is a very cool pose and you can use this angle very often for your drawings , especially if you want your character to look bad ass for the coloring .
I want to add big shades to go also on the right side .
Other than that , the process for the coloring will be the same as usual .

No , I like it .
OK , goa has done and he looks amazing .
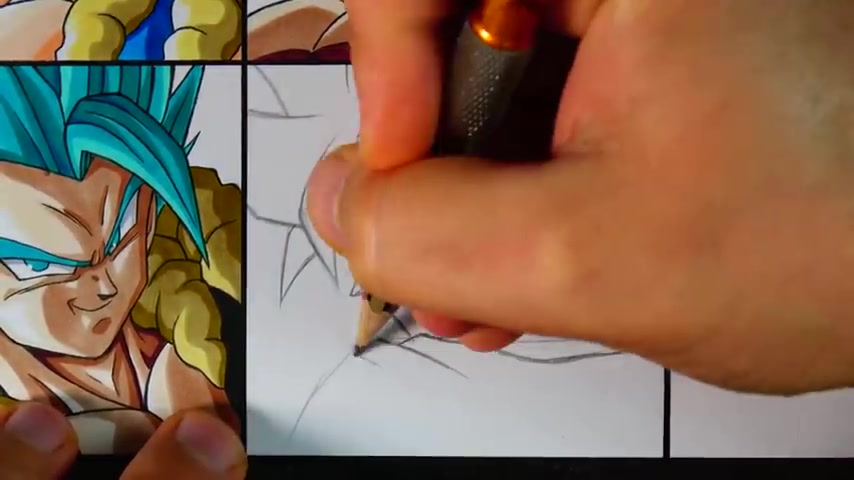
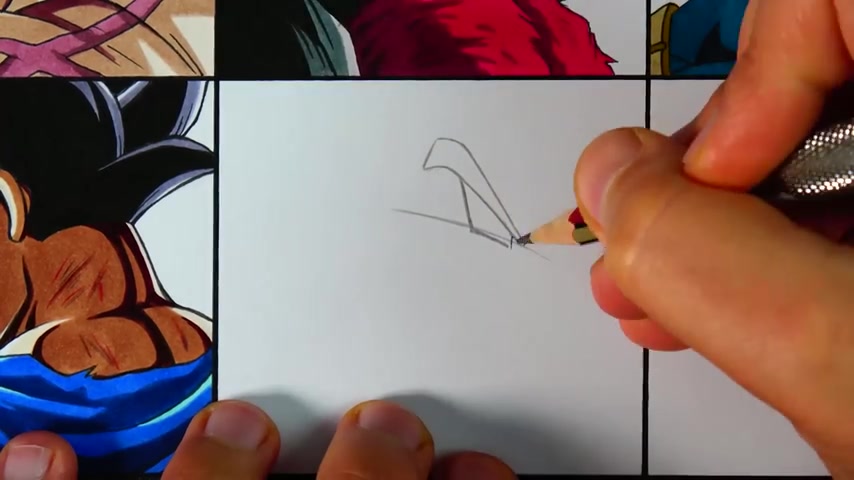
Next , we got another difficult post go to ultra instinct turn back and he's also looking behind , but only with one eye , if that makes sense , it will be a very serious look .
And therefore I'm drawing just a guideline for the eyes from there .

I'm starting with the eyebrow and the eye and now I'm using another light guideline .
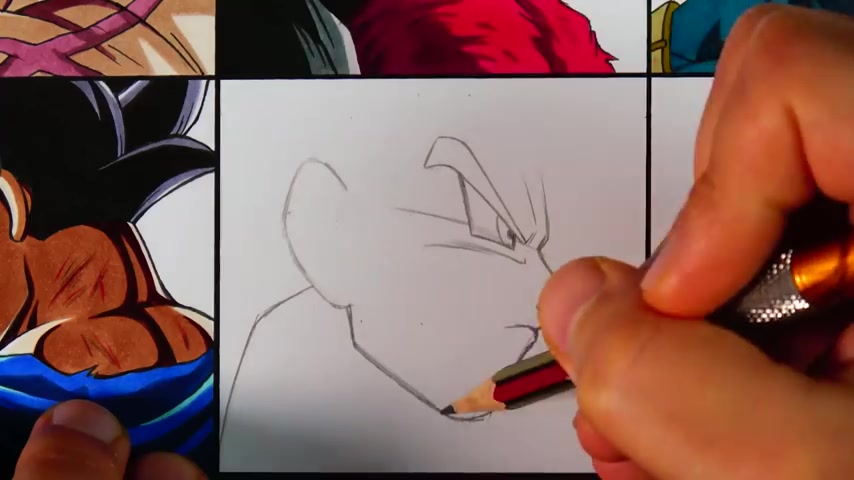
So the face is straight , we can see the face from the profile view , but slightly from below if that makes sense , and then we can shape the face roughly and the ear we can see it from behind , which results in a very weird look .
We also shape the neck and traps which we can see from behind .
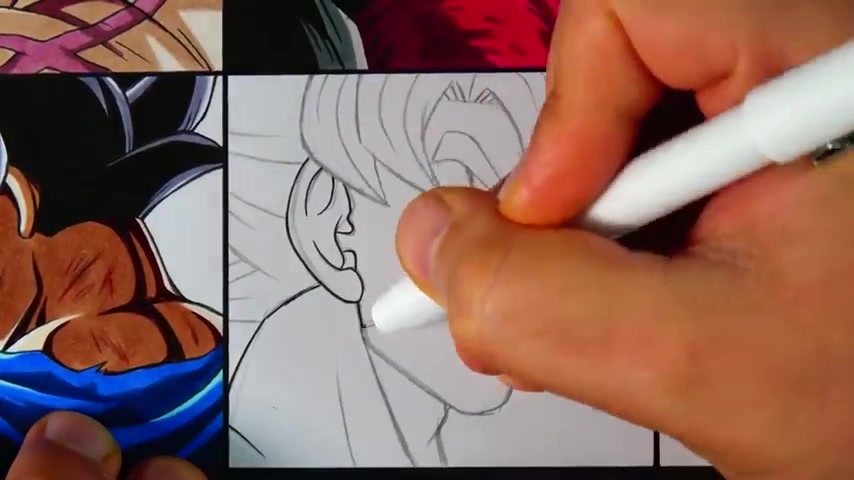
And then we can start drawing the hair .
Yeah , looking good .
And now I'm adjusting the back part of Goku .
OK .
Great .
Now we can draw the torn shirt with lots of wrinkles and a small shoulder part which we can see .
All right , after ranking , it looks way better .
And now we can color Goku with big heavy shades .
I have to admit this was also not that easy for me as it's a very difficult angle .
So don't worry if you can get it right the first time .
So most of the skin of Goku is covered in these dark shades .
And we will also use a very dark brown tone to increase the deepness of the skin .
And the rest we can color the same way as we did for the previous characters .
And to finish this up , we will add some scratches and blood to Goku skin .
Amazing , still turned out great .
And now we will move on to the next one .
A profile view of Goku master ultra instinct with an motionless face expression .
I'm also starting with just one guideline for the eye .
And then I'm drawing the nose and the mouth and for help , I'm using another small guideline and then I'm shaping the edgy face of Goku and also drawing the ear .
And now we are drawing to a fight neck and then we can move on to the hair strands in front of Goku face , adding the details to the ear .
And after that , we can draw the main hair which we can see , OK , that looks very good .
And now I'm making the neck a bit thicker and then we can get to the inking and the coloring , we will again have very dark shade .
So on the center of the skin , the rest , we will color with a bright skin tone and leaving some white parts on the cheek and neck for the shiny effect .
And then we will use a dark brown tone again to give the skin more deepness and details .
I like that .
And now we will color the silver eye and hair to finish this up .
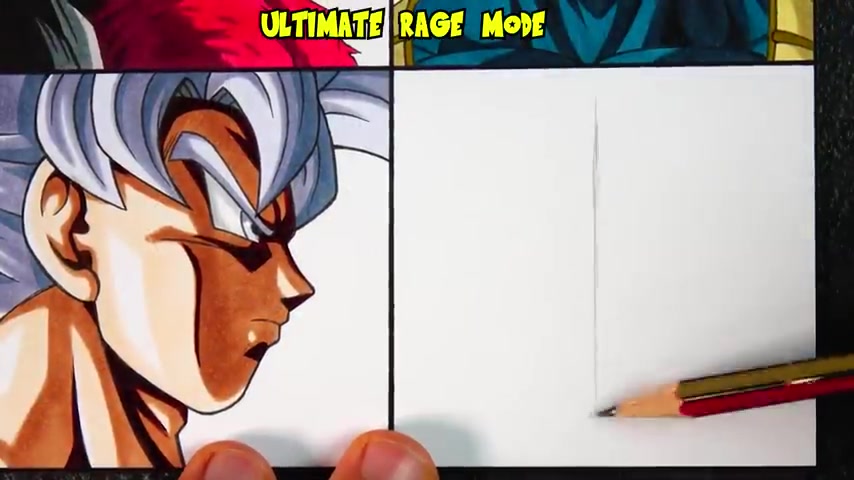
This one looks really good and now we are at the last one and this will be the ultimate mode .
Therefore , I will draw Veja ego and we will draw him from the front and lose him completely control .
We can only see the mouth here .
That's how much he is screaming .
I started with a vertical line .
So both sides are drawn equally .
And then I'm shaping the entire head .
As you can see , the mouth is so wide open and the head is laid back so much that the nose is on top .
And we can't even see the eyes .
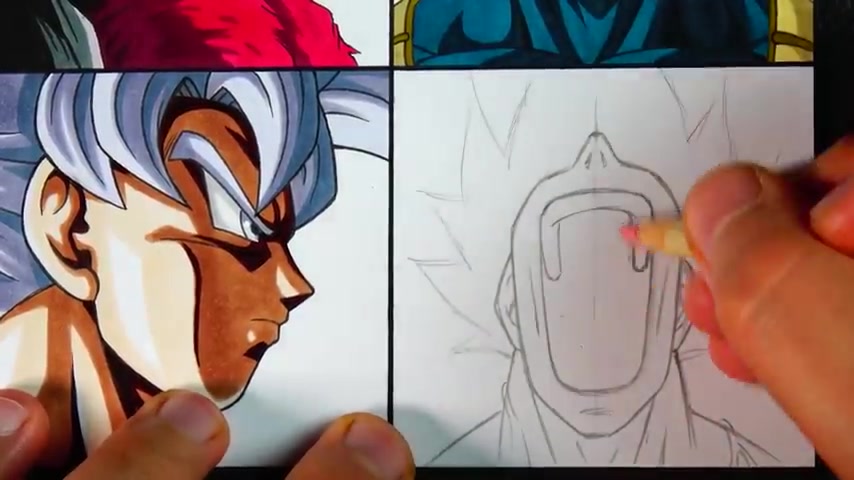
We will draw wanes around the neck and traps and we can see all the teeth of the I really like this pose as you can kind of feel the rage and now I'm rubbing the hair more detailed and then we have it .
Yeah .
Come on now they're inking and here I'm adding a bit more details to it .
The coloring will be very simple as the mouth is the main focus on this face .
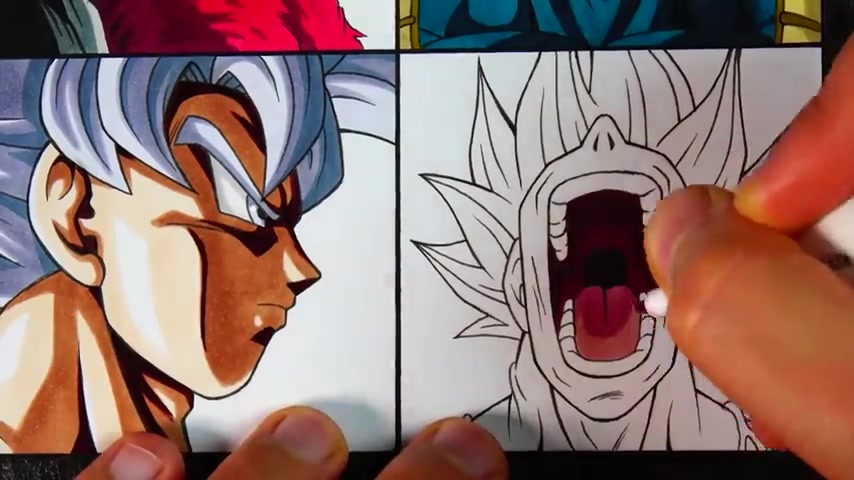
Of course , if you want , you can draw the teeth more detailed .
But as I said , I wanted to keep things kind of simple today , but I think it still looks good , right ?
Come on .
All right guys last touch and then this long video is over .
We got all the 12 different faces already and of the tutorial was helpful for you .
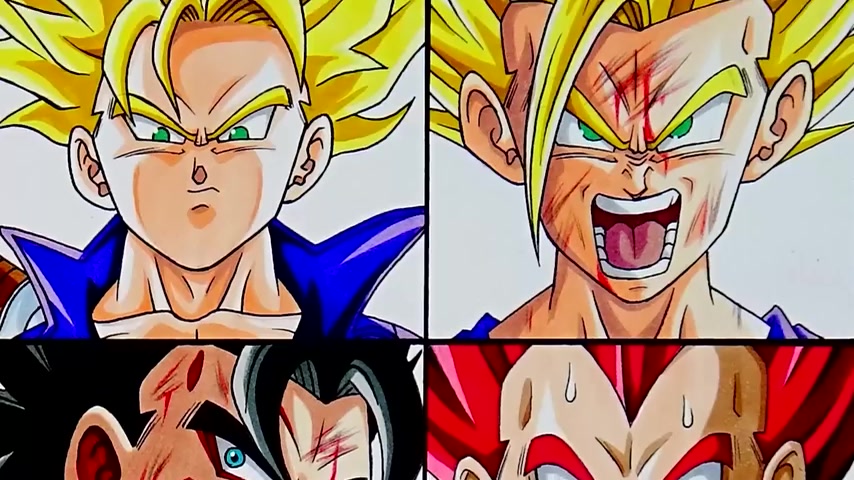
As I mentioned a couple of times during the video , you can use these instructions on any character you want .
With these guidelines , you can also draw characters from other shows .
Some faces expressions and angles are definitely harder to draw than others .
But overall , I think with these simple steps , you will have an easier time to draw them .
You can use this tutorial also long term .
So watch it over and over again and try these instructions yourself until you get it right .
So let me know in the comments if you try this and let me know how to turn for you .
Make sure to like the video to show me your support and subscribe to my channel if you are new for comments , message me on Instagram and check the info box for the materials I'm using and for everything else .
That's it guys .
Thank you all for watching .
And right here you can see some of my other tutorials and I see you on the next video .
Are you looking for a way to reach a wider audience and get more views on your videos?
Our innovative video to text transcribing service can help you do just that.
We provide accurate transcriptions of your videos along with visual content that will help you attract new viewers and keep them engaged. Plus, our data analytics and ad campaign tools can help you monetize your content and maximize your revenue.
Let's partner up and take your video content to the next level!
Contact us today to learn more.