https://www.youtube.com/watch?v=FRtTySVpuGM
How To Make Website _ How To Make Free Website for YouTube Channel
Hello guys .
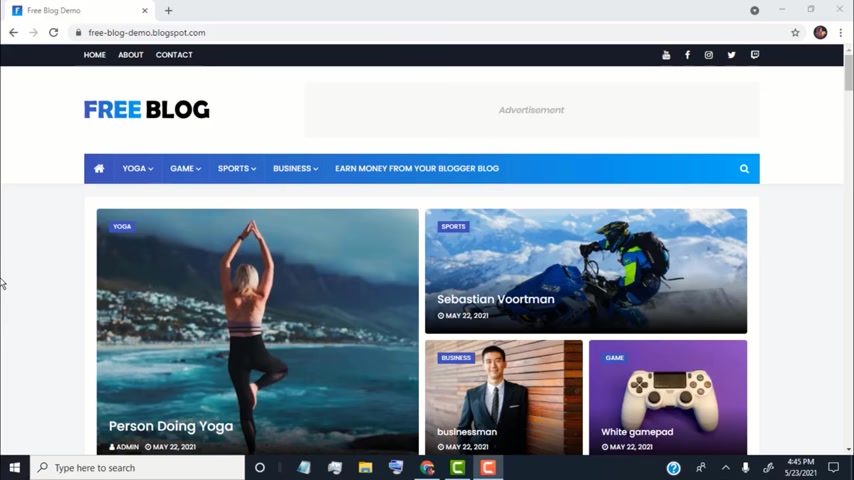
In this video , I will show you how to create this type of free website for your youtube channel .
This website perfect for youtube channel , personal blog and many more , we can also earn money from it .
This is very easy to make and don't need any coding experience within a few minutes .
You can create this type of blog website for your youtube channel .
We can create this type of website on desktop mobile and tablet without wasting time .
Let's get started .
First of all , search for blogger , open blogger dot com , blogger dot com is the platform where anyone can create free blog website , blogger dot com is a well-known blog platform and it's run by Google .
Click on create your blog .
Now log in with your Google account .
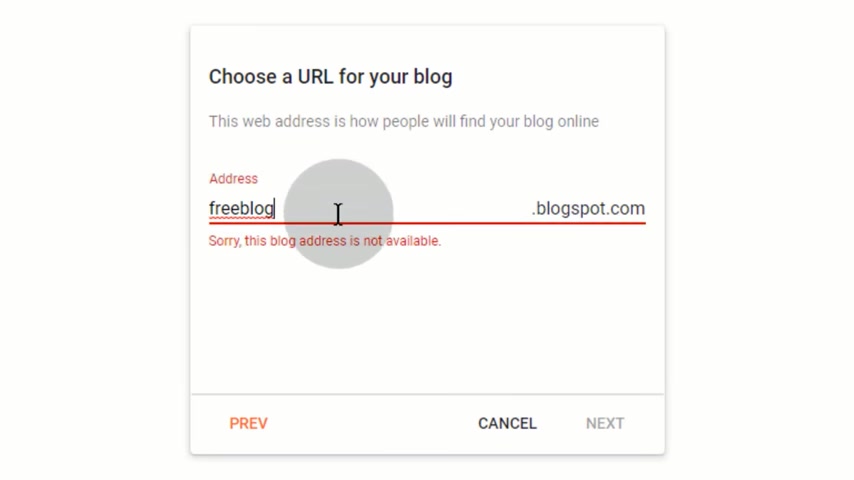
Choose a name for your blog , click on next now , choose URL for your blog URL is like your blog web address .
So choose more related to your youtube channel .
If the blog address not available , then choose another one .
Once you get this blog address is available , then click on next type your display name .
This name will show on your blog as author of the blog post .
Click on finish .
Now we successfully created blog for our youtube channel .
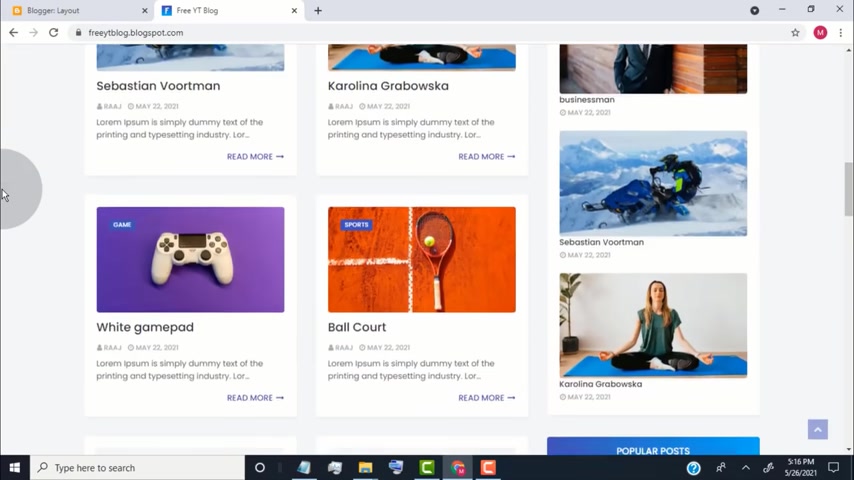
Now let's check how our default blog looks to check our blog .
Simply click on view blog here .
You can see how our default block design .
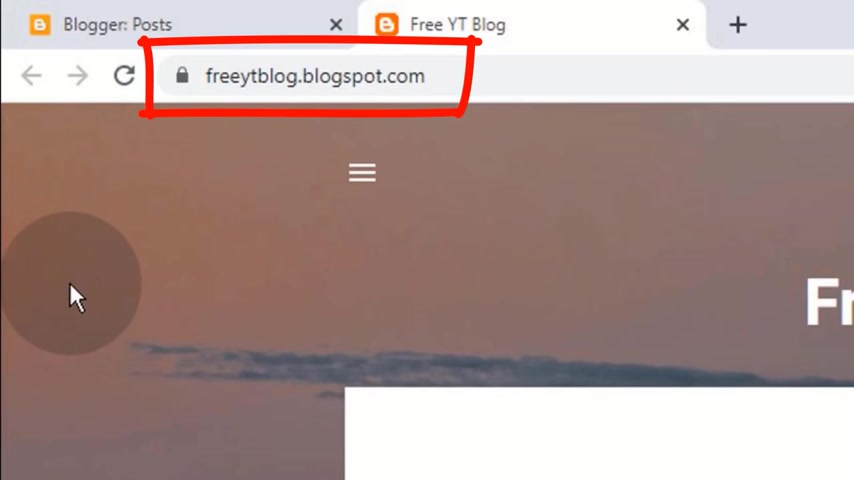
This is our website web address , share this link RL to bring people on our website .
First of all , we need to change our website design team for that .
Go back to blogger , dashboard .
Click on theme .
Now from here you can change your blog design .
These are the themes from blogger and you can use if you want to use blogger team , simply click on the theme which you want to use .
Click on preview .
If you want to check how the theme looks , click on , apply to use the theme for your blog .
Now I will show you how to upload advanced blogger theme which I showed you before for that .
Simply search on Google Macs essay or blogger template .
Open this link , click on download .
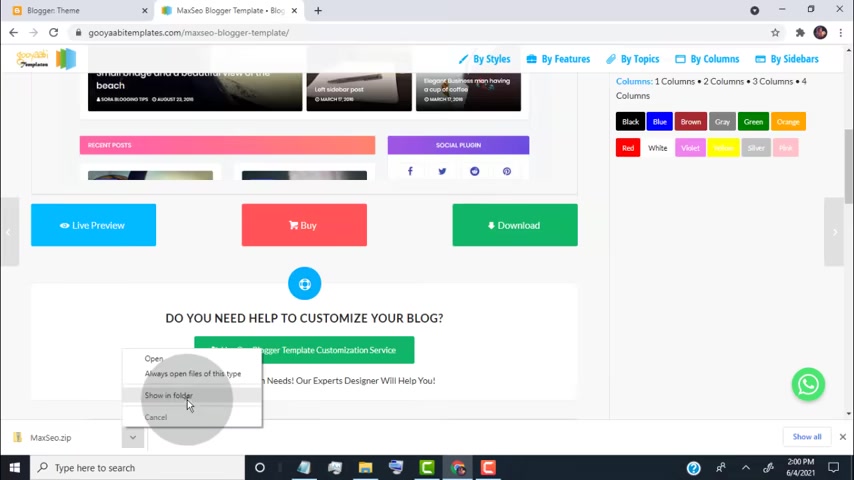
Now go to the download location where the theme downloaded , select the theme folder and extract all .
Now go back to blogger dashboard .
Click on the click on customize , click on resto , click on upload .
Now , open the maxs AO folder , select maxs AO dot XML file , click on open .
Now the team uploaded successfully , click on view blog .
Now this is default theme .
Now we need to upload custom the files so we can easily customize this theme on any device first of all , click on the link which I provided in this video description .
Now you are redirect to our website .
Simply click on free blogger team .
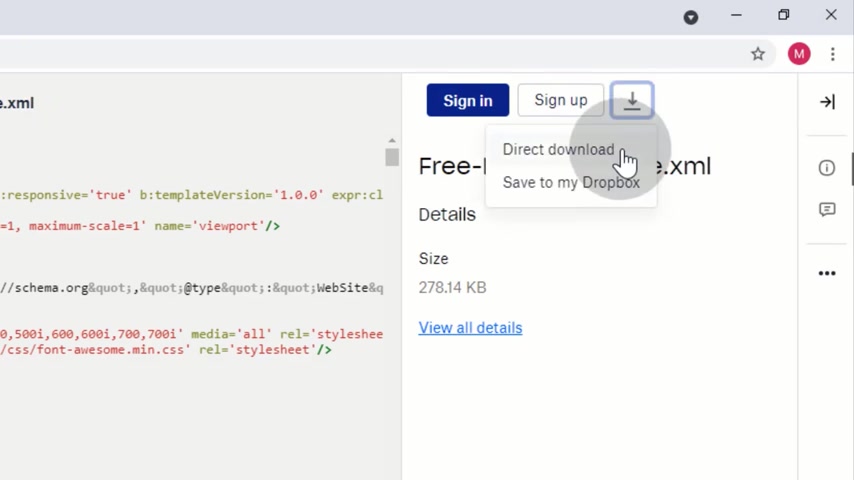
Now click on download , icon , click on direct download .
Now we need to upload this XML file to our blog .
So now go back to our blogger dashboard , go to the tap , click on customized tab , click on restore , click on upload .
Now choose the custom block theme file which we just downloaded .
Now we successfully upload custom team .
Now again , click on customized tab , click on mobile settings , select desktop and then click on save .
Click on view blog to check how the custom blog theme looks .
This as default theme looks .
Now we need to customize the theme as we want .
First of all , I will show you how to change the color .
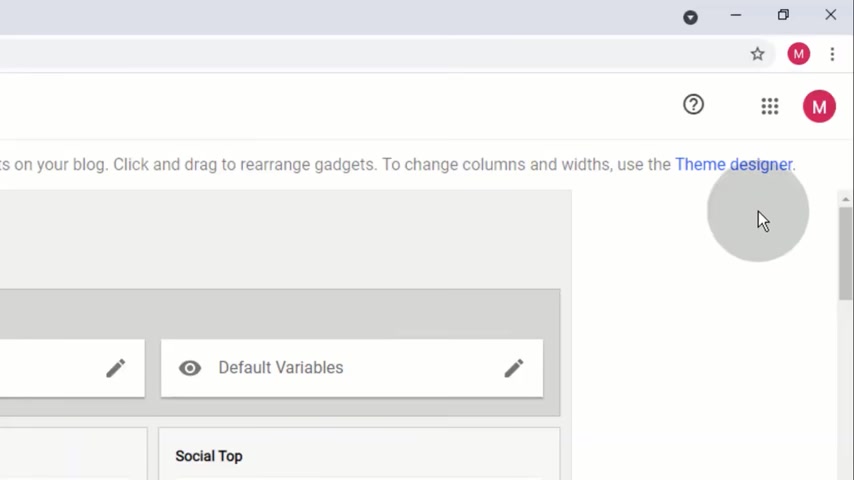
So now go back to blogger dashboard , click on layout , click on the designer , click on main color theme .
Now choose main color for your website .
Click on save now minimize background option , click on advance option .
Make sure it's selected theme colors .
Go to theme color , click on color palette icon .
Now choose main color of your website .
Click on save , scroll down head over to title color on hover , click on color palette icon .
Now choose main color of your website .
Click on save , scroll down head over to second color , click on color palette icon .
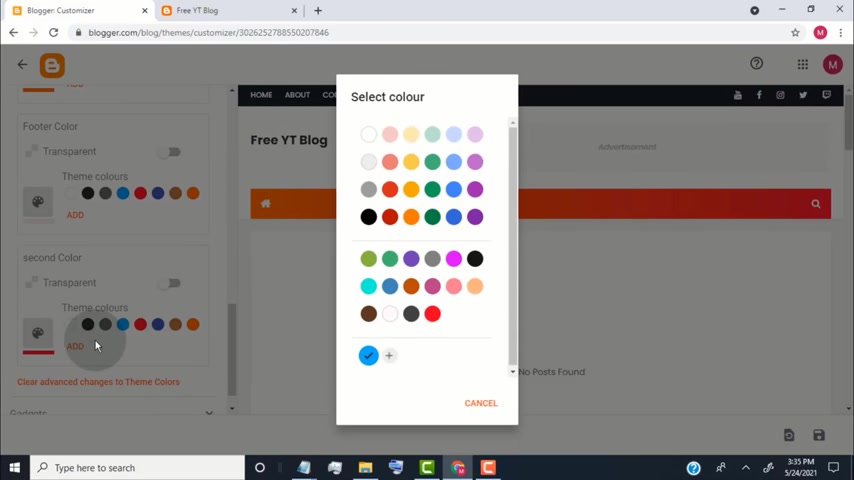
Now if you want to make gradient look for your website , then choose here a different color than main color of your website .
Or if you want to make your website looks without gradient like single color , then choose here your website main color .
Now click here and select the body , scroll down head over to link color , click on color palette icon .
Now choose main color of your website .
Click on save , click on save , go back to our blog and reload the page .
Now we changed our theme color .
Now we need to change our blog Facon .
Facon is like a blog site icon to change Facon .
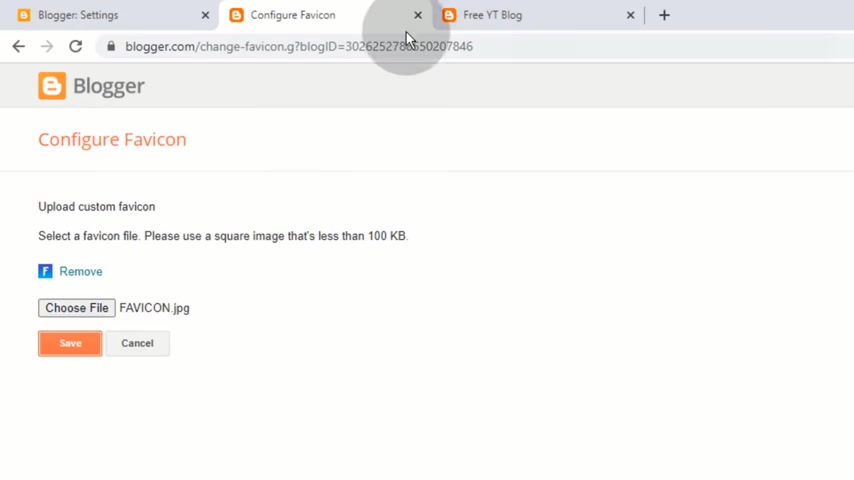
Simply go back to blogger dashboard and then click on settings tab , click on Facon .
Now , click on choose file .
Please make sure fabric on must be squared in less than 100 KB .
Now select the facon from your device .
Click on save .
Now close this tab , go back to our blog and reload the page .
Now you can see our blog Facon changed to edit top navigation .
We already posted video on it .
Simply click on a button to watch the video on it or you can find the link in the video description to edit top social media link .
We already posted video on it , simply click on a button to watch the video on it or you can find the link in the video description .
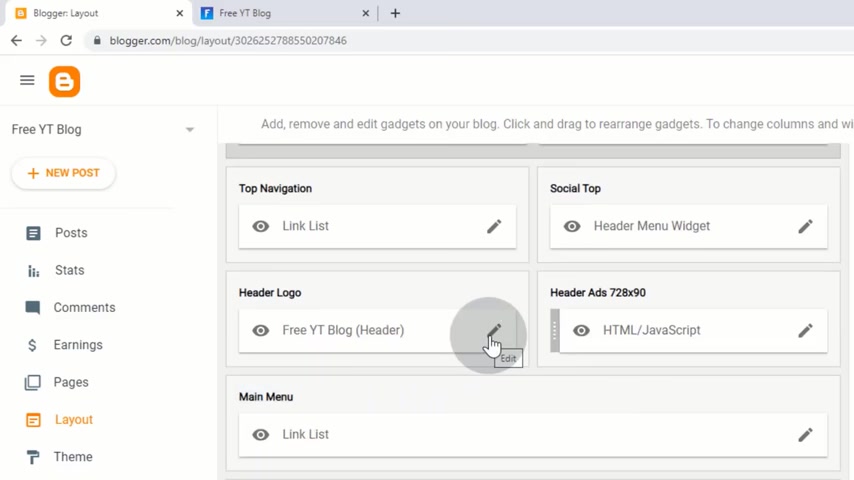
Now , I will show you how to upload logo .
Go back to blogger dashboard , click on layout , go to head a logo click on edit icon , click on choose file , select your logo , tick mark on instead of title and description .
Click on save .
Now our blog logo changed to edit header ads , widget .
We already posted video on it .
Simply click on a button to watch the video on it or you can find the link in the video description .
Now , I will show you how to post a blog to post a blog .
Simply go back to dashboard .
Click on new post .
Now type your video title .
Click here , click on html view .
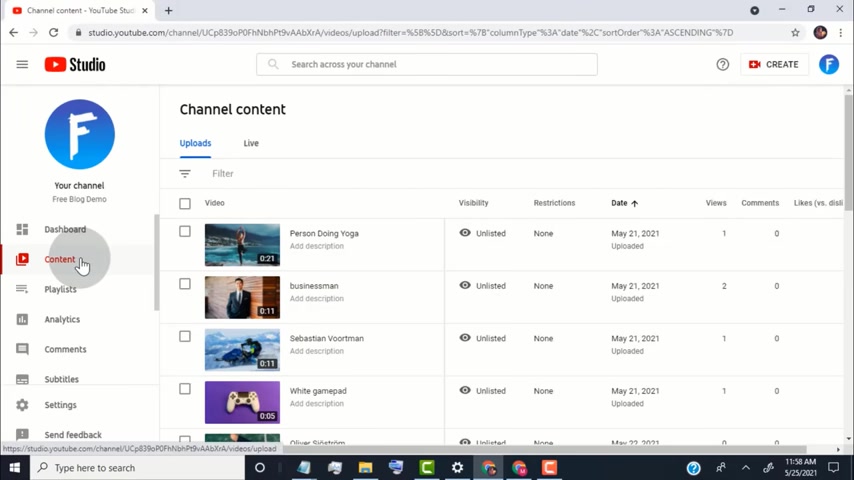
Now , first we need to add our video thumbnail .
So first log into your youtube studio dashboard , click on content .
Now click on edit icon of the video , go to thumbnail option and click on it .
Click on download now , right ?
Click on the image , click on save image as now save the image on your device .
Now go back to blogger dashboard , click on insert image icon , click on upload from computer , click on choose files , choose the image from your device , select the image and then click on select , click on original size , click on OK .
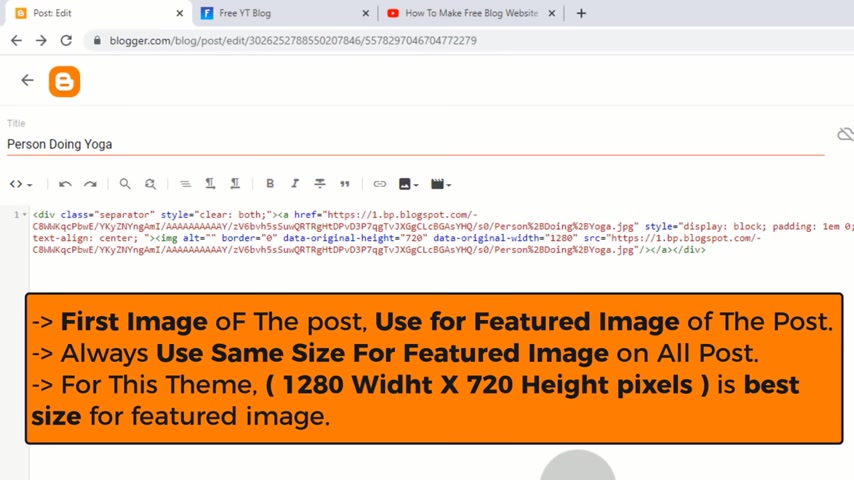
Now in blogger , the first image of the post also known as featured image .
So whenever you upload first image on the post , it will use for featured image of the post .
Please note always use same size featured image for all posts .
For this .
The 12 80 by 720 is best size for feature damage .
So use this size for feature image .
Now press enter on your keyboard to go on next line .
Now we need to paste youtube embed code here .
We already added some custom code for youtube video .
So that video size get responsive on any device to use responsive embed code .
Simply go to this video description and click on get responsive youtube embed code .
Now you will redirect to our website , scroll down and go to youtube video responsive embed code , click to copy embed code .
Now go back to blogger .

Paste the code here .
Now , in this code , you can find V ID , simply replace this V ID by your video ID to get your video ID .
Go back to youtube studio , simply copy this or you can get it from here .
Now go back to blogger , paste the video ID here .
Now press enter on your keyboard to go on next line .
Now type less than BR slash greater than and press enter , click here , click on compose view .
Now add your video description .
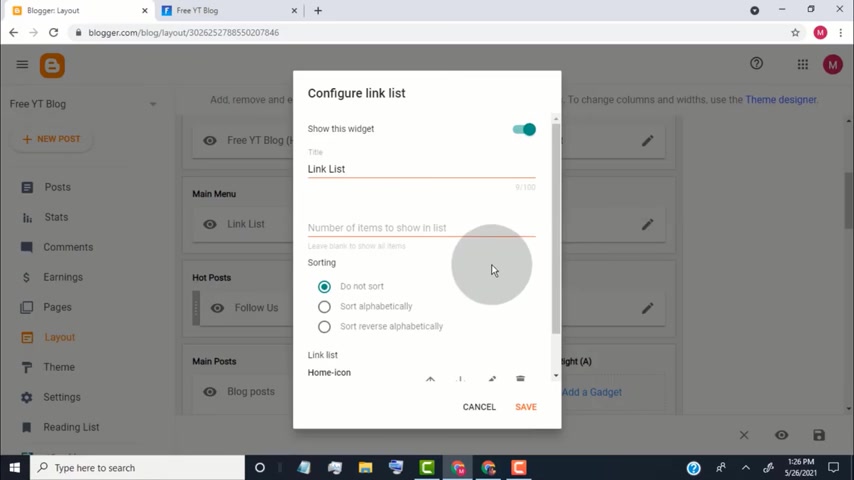
Once you're done , go to labels section in blogger .
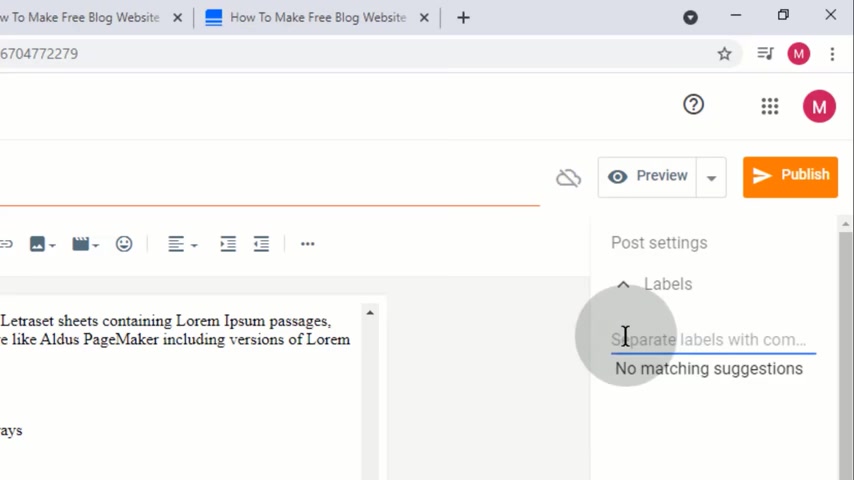
Labels works as category or tag of the post .
So if you want to add category or tag for the post , then simply add tag here with comma once you're done , click on publish .
Now our post published , we can see how our post looks .
Now we can see our video thumbnail and it's looked not good .
So we need to hide this video thumbnail from the post .
So for that , go back to post editor head over to first image code here .
You can find block after display tag , simply replace block by none .
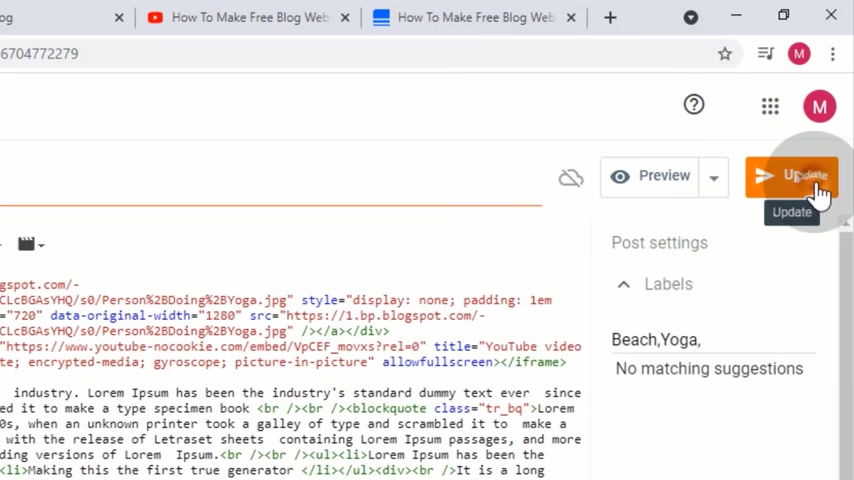
Now update the post .
Now you can see it's only show video , not thumbnail .
Now we need to post more blog .
We quickly added some posts on our blog .
Let's check how does it look .
Now , our blog looks amazing .
Now , I will show you how to edit header , main menu .
First of all , I will show you how to create this type of mega menu .
We can make these types of mega menu for our blog labels and categories .
So now go back to blogger dashboard , click on layout , scroll down , go to main menu , widget and click on edit icon , click on , add a new item .
Now , first type text for the label .
Now first type label slash mega dash menu , click on save .
Now follow same steps to add more labels on main menu .
Once you're done , click on save , go back to our blog , reload the page .
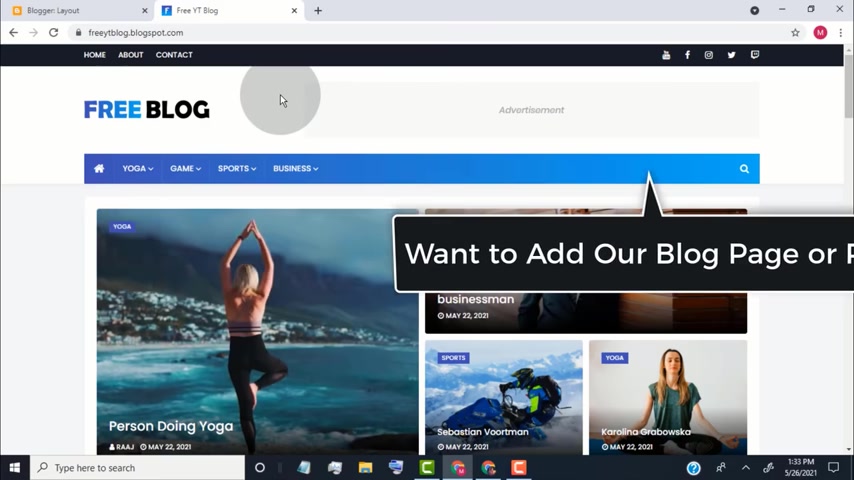
Now you can see we added labels with featured image .
Now let's say we want to add page or post link on main menu .
So for that first copy the link of the page or post , go back to blogger dashboard , click on layout , scroll down , go to main menu widget and click on edit icon , click on , add a new item .
Now , first type text for the page or post .
Now paste here link URL of the page or post .
Click on save .
Now if you want to add external link , then simply type text for external page , paste , external link URL , click on save .
Once you're done , click on save , go back to our blog reload the page .
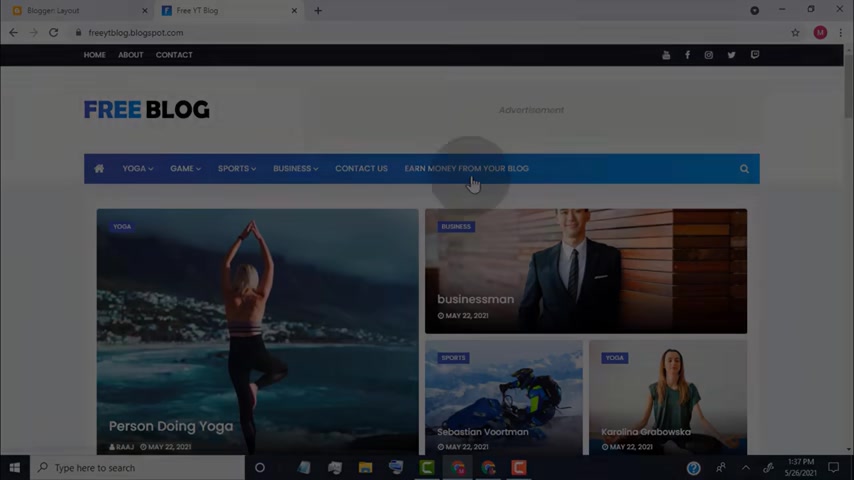
Now you can see we updated our main menu .
Now , I will show you how to edit this hotpot widget .
So now go back to blogger dashboard , click on layout , scroll down , go to hotpot widget and click on edit icon .
Now if you don't want to show this widget on your blog , then simply turn off this and click on save .
Now , this hotpot widget works with recent post , random post and post labels as default its show recent posts .
If you want to show random post , then simply type here random .
If you want to show recent post , then simply type here recent .

If you want to show specific label post , then simply type here the post label , click on save .
Now you can see it's show only yoga post on hotpot widget .
Now I will show you how to edit sidebar .
So now go back to blogger dashboard , click on layout , scroll down .
This is our theme side bar .
First of all , we need to remove unwanted widget from our sidebar .
Simply click on edit icon , click on remove , click on save .
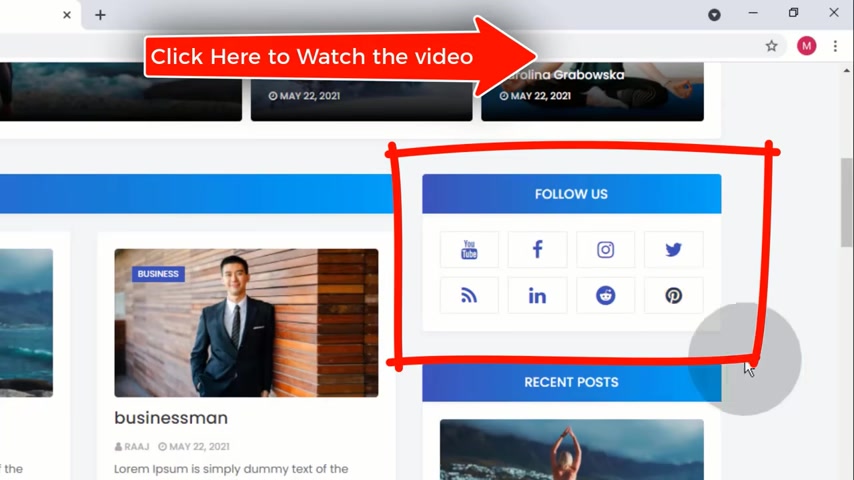
Now we already posted video on how to edit sidebar , social widget .
Click on a button to watch the video or you can find the link in video description .
Now , open recent post widget .
Now , if you don't want to show this recent post widget on your blog , then simply turn off this and click on save , simply change this number to display more or less recent post .
Now , open popular post widget , you can short the post by time range , you can show or hide thumbnail or snippets , You can show minimum one post and maximum 10 posts in popular post widget .
Now open random post widget .
Now if you don't want to show this random post widget on your blog , then simply turn off this and click on save .
Simply change this number to display more or less random post .
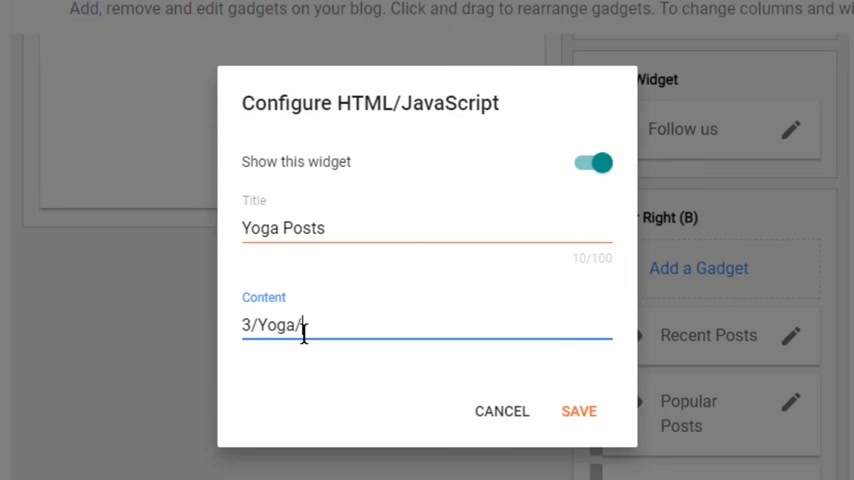
If you want to show post by category , then simply click on add a gadget , click on html javascript .
Now type the title for the category post .
Now type the number , this number shows how many posts you want to show in the sidebar slash type label of the posts slash post dash list .
Click on save .
Now select the widget and drag it to change the position .
Click on save .
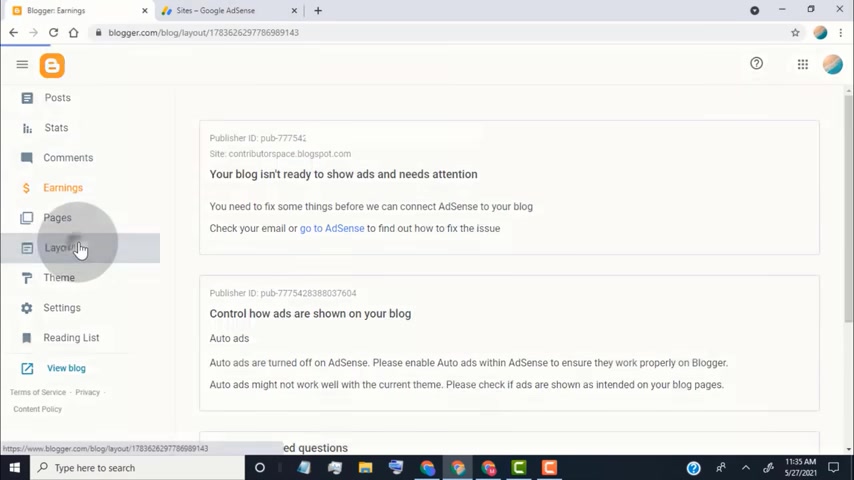
Now , if you want to earn money from this blog , then simply go to earnings tab and click on it .
We can earn money by placing Google ads on our blog .
So first of all , we need Google Adsense account .
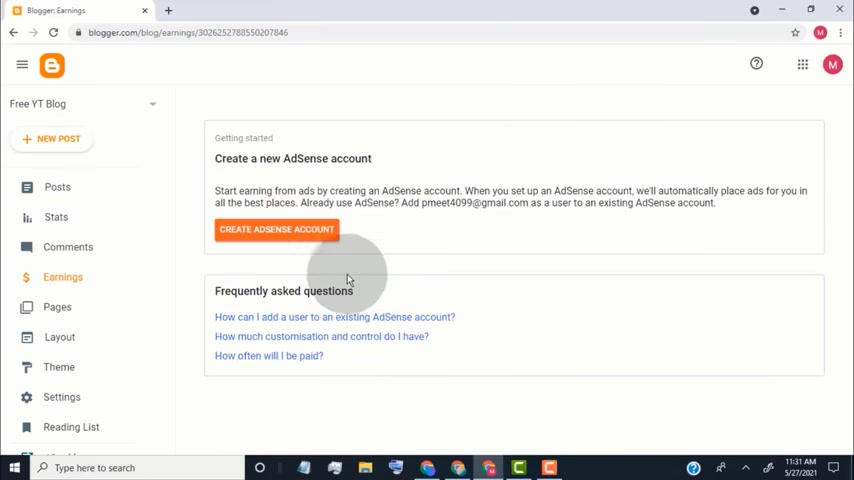
If you don't have adsense account , then here it will show you create Adsense account .
Simply click here and create new Adsense account .
If you already have Adsense account , then here it will show you connect adsense option , simply click on it and connect your Google Adsense .
Now we need to add this blog in our Adsense account for review .
Here , you can see our blog address , simply copy this blog address and then click on go to Adsense .
Now you will redirect to your Google adsense account .
Now click on sites , click on add site .
Now type your blog address .
Click on save and continue .
Click on request review .
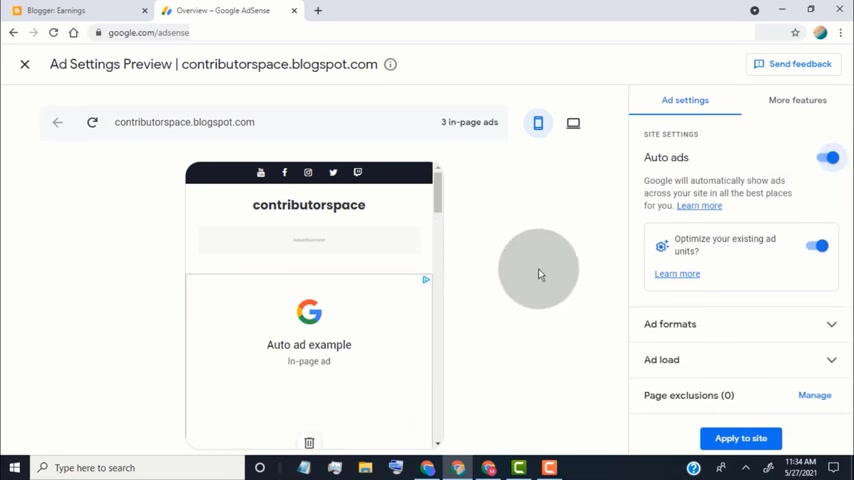
Now , click on setup ads , click on , turn on auto ads .
Once you turn on auto ads and our blog approved for ads , then add and place ads on our blog here .
You can see how the ads place on our blog .
Click on , apply to site if you want to show auto ads on your blog .
Now , once our blog approved for ads , then adsense show ads on our blog .
If you want to check if your blog approved for ads or not , simply go to sites page and then click on the blog here .
You can see if our blog is approved or not .
It takes up to two weeks to review our blog .
If you want to place ads manually , then go back to blogger , click on layout , scroll down , go to sidebar , click on add a gadget , click on add senses , choose , add size if you want or leave as responsive click on save .
Now , you can see our ads blog right now .
It's show blank .
Once a blog approved , it will show ads here .
Now , I will show you one of our website hosted on blogger and earn from adsense ads here .
You can see adsense ads on sidebar , one more add here .
You can see how is our website look on mobile and its also show ads .
Now we successfully created free website for youtube channel .
Thank you for watching .
If you think this video is helpful , then please like and share this video .
If you have any questions regarding this tutorial , please comment below .
If you don't subscribe to our channel , then please subscribe to our channel .
Are you looking for a way to reach a wider audience and get more views on your videos?
Our innovative video to text transcribing service can help you do just that.
We provide accurate transcriptions of your videos along with visual content that will help you attract new viewers and keep them engaged. Plus, our data analytics and ad campaign tools can help you monetize your content and maximize your revenue.
Let's partner up and take your video content to the next level!
Contact us today to learn more.