https://www.youtube.com/watch?v=kwHTHsGKilI
How to Draw Animals _ Doodle with me!
Hi , everyone .
I'm so excited to get this tutorial out to you .
So many of you have mentioned that you wanted tutorials .
So I noted them all down and have a list of different video ideas for things to help you draw in this tutorial .
I show you how to draw animals in my style and a little bit of decorative florals so that you can add these into your journal setups or anything you're working on .
Next on my list are mountains landscapes and more plant based subjects .
So keep the suggestions coming and I'll keep adding them onto the list for you .
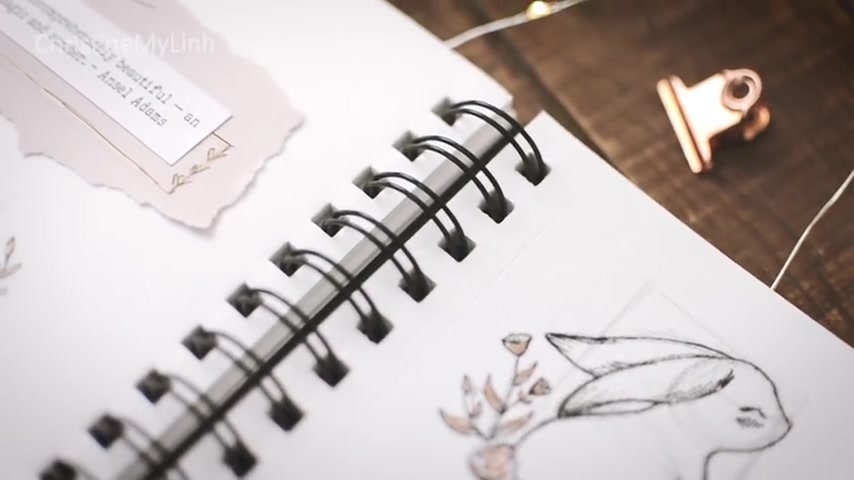
We're going to start with this bunny who is taking a break from life to simply smell the roses .
Start off by determining the overall shape of the image .
Is it more of an oval square rectangle or another basic shape ?
This bunny is more like a rectangle .
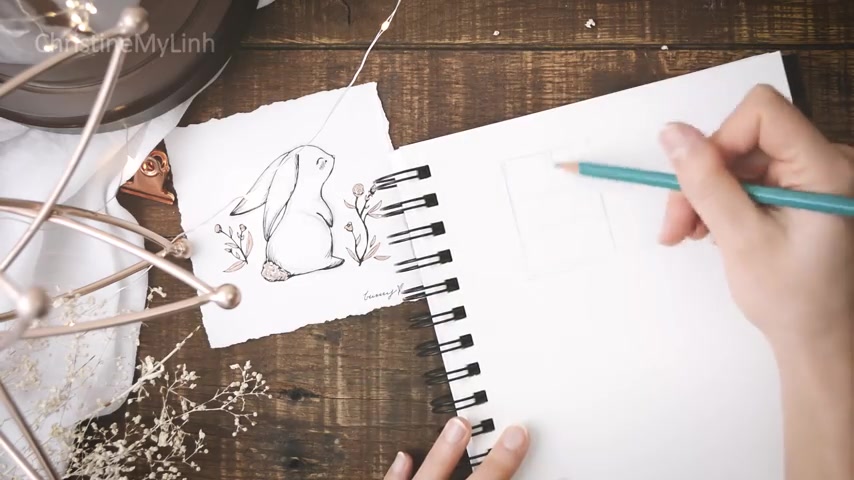
So I'll start by drawing out my box .
This is the best way to place your drawing where you want it on the page and to figure out the size of the drawing .
Next , I'm cutting the box into thirds horizontally and then drawing in a circle for the bunny's head , add another circle for the bunny's body .
Now add a little point for the nose and then connect the circles with the curve , draw a guideline from the nose , cutting the circle kind of in half and then just gauge where the eye and cheek will go onto the ears .
Just follow along with me as I keep referencing the original image for the roses , start off with the stem and then draw a small spiral for the flower top and connect the spiral to the stem .
The second stem is more like a bud and that is a shape similar to a rounded triangle , add in the leaves and repeat that for the other set of roses .
And now it's time to ink .
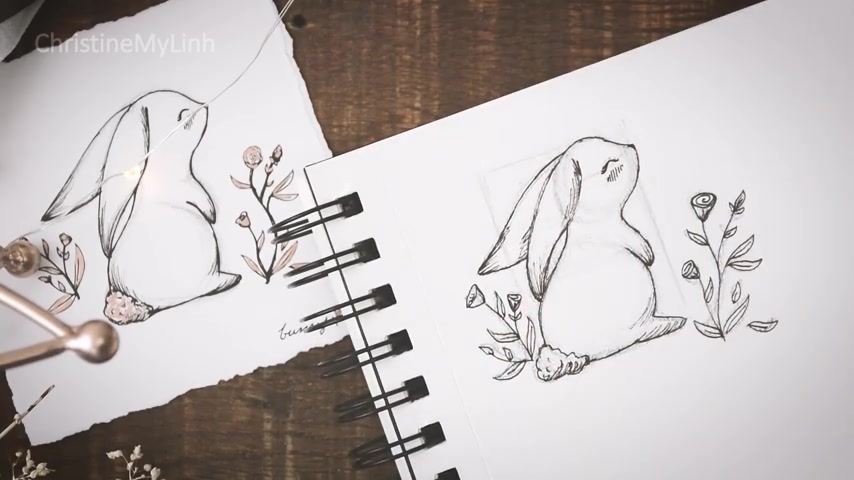
One very effective way to add more details into your ink drawings is to add shadows using lines , basically filling in a few areas that would normally create a shadow with your micron or to simply add emphasis in those areas .
So very lightly , just pile on the lines until it gets darker and darker .
This is called cross hatching .
I'll get into ink drawings more in another video .
If you guys are interested to help you shade and create contrasts just by using your fine liners .
Once the inking is done , I'm going back in with my copper jelly roll and filling in some areas to create a nice balance in my drawing .
The jelly roll also covers up the ink .
So if you made any mistakes , you can hide it here .
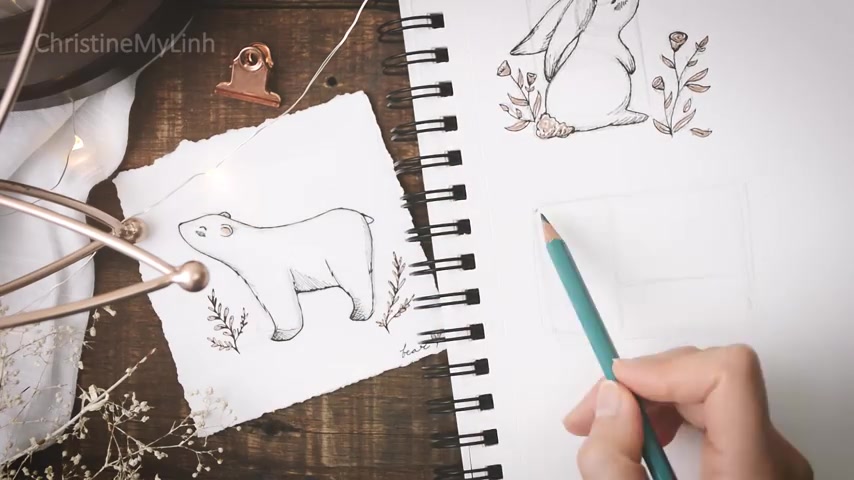
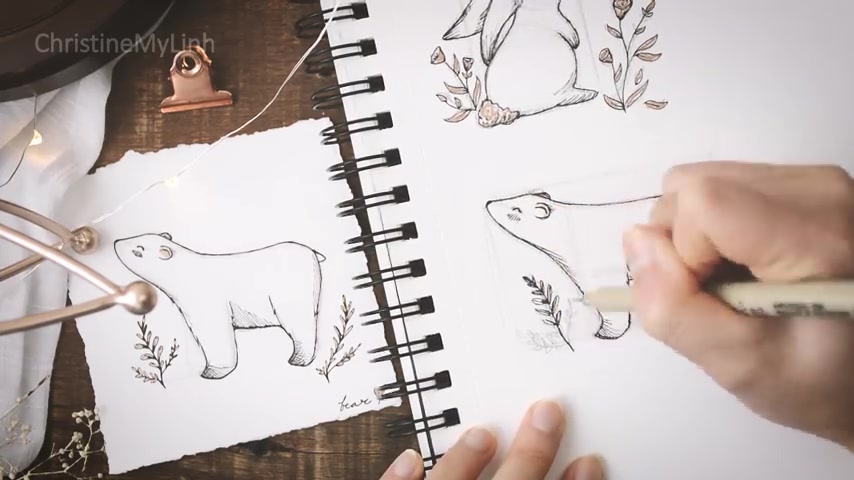
The second animal is this bear looking up towards the sky .
Grateful for all that he has again , start by drawing out your guidelines and boxes and then filling in the shape of the bear .
You can use as many guidelines as you need .
So don't be afraid to put in a ton of lines to help you find the right shape .
The bear's nose will be perfectly at the corner of the rectangle .
And then from there , draw a curved line down as the bear's back round it for its bottom and then a little bit inward for its hind leg .
Then from the nose , draw a very slight s curve for the neck to his front paw and then finish off with the rest of his legs and then details like his eyes , ears and tail using guidelines to figure out the placement of his eye .
Notice that I didn't follow all of my guidelines and that's ok .
My goal is to just get his shape down and proportions looking ok .
For the leaves surrounding him , start off with a line for the stem , add an oval to the top of the stem and then draw narrow hearts down the stem .
For the leaves , they start off smaller , get slightly larger and then smaller again towards the bottom of the stem .
Now for the inking process , this is the best time to add in those little details of the shadows like we did for the bunny and zig zagging lines now to mimic fur on his legs and belly .
Keep the zigzags very small and subtle so that they don't look like spikes .
Once that is done , I'm going back in to finish off with a copper to the inside of his ears and the leaves .
The third animal is this sweet fox just lounging in the warmth of nature .
This is a little more difficult because a head sticks up from the body .
But overall , it still kind of fits in a rectangle .
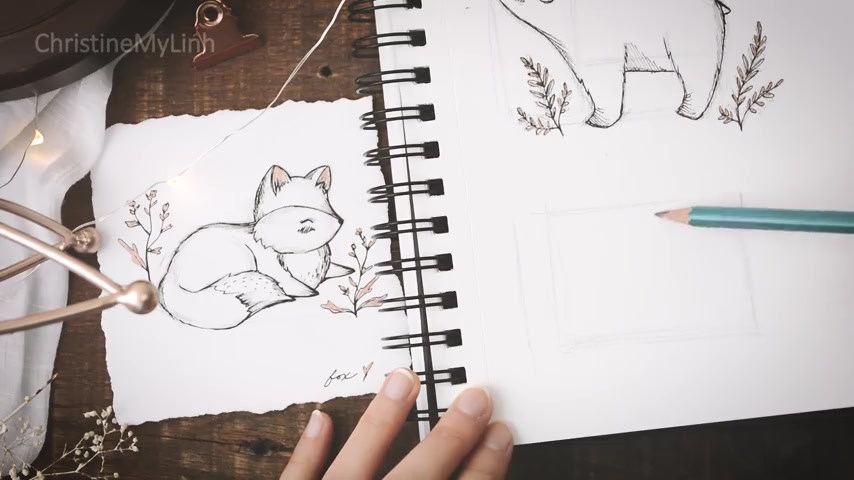
So we can start off with that , add in some guidelines to figure out where his head goes and then draw a circle .
Now draw a curve line in the middle of the circle and that will be your guides for his eyes where the curve line hits the edge of the circle , we can move out a little bit and make that point in his nose following the curve of his forehead .
Now curve the line to form the shape of a football as the fox's face and then just follow along with me as I place his ears and draw the rest of his body for the flowers surrounding the fox .
They are very similar to those of the bunny , but with different leaves .
So you can use the same methods to draw them and add in the details again with the microns .
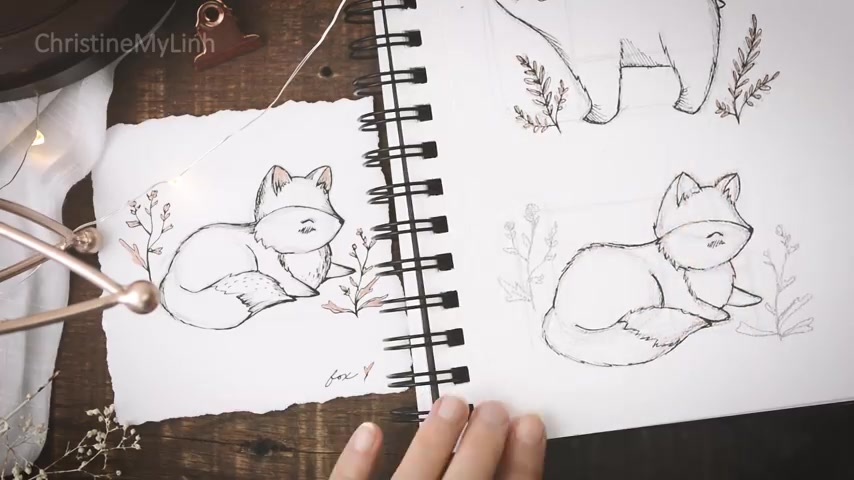
And then for the areas where he is really furry , add in little alternating dashes to depict thicker fur .
Another tip about inking or drawing in general is to stay loose .
Be aware of how tight you're gripping your pencil because it may sound weird .
But I realized that the looser I hold my tool , the more forgiving I am with my lines .
So my focus is more about the fluid motion of drawing rather than creating perfect shapes .
I remember when I was still learning , I would hold my pencil so tight that my hand would cramp and I was pressing so hard on the paper that it left an indentation even after I erased the line .
So take it easy and let it flow .
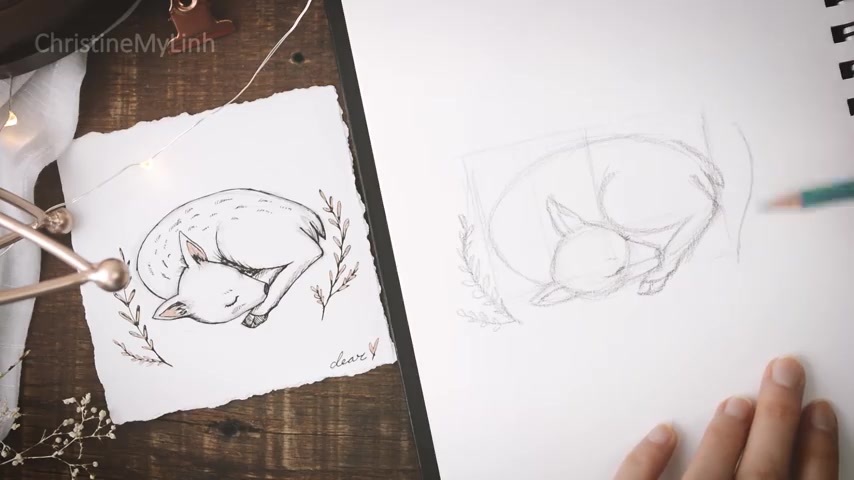
The fourth animal is the sleeping deer eyes closed and just baking in serenity .
It is the same deer in my print that I have in my shop in case you were wondering , I love it so much .
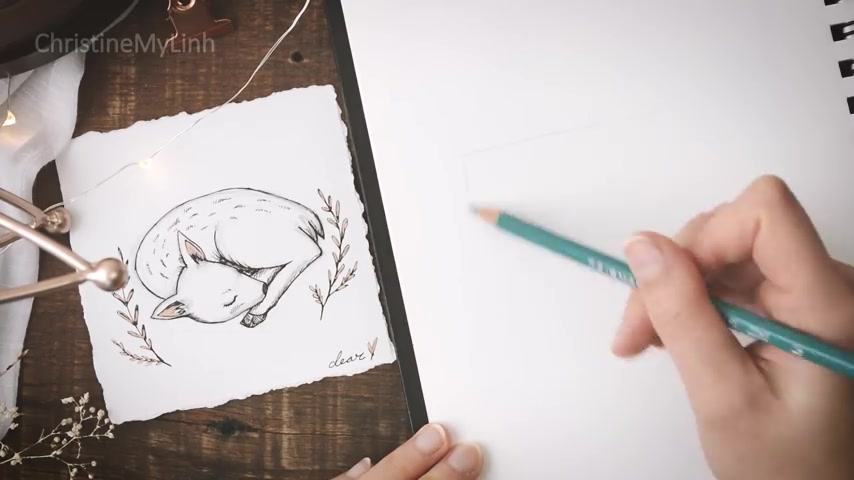
And I wanted to teach you how to draw it too , start by figuring out where her head sits within the overall shape of the rectangle and then draw a circle for the main part of the head and then something like a trapezoid for the snout , add in the ears , using the guides for a reference and then the nose and eyes now for the body drawn over all the way around and gauge where the tail and legs go .
The leaves are again similar to that of the bear , but they are spaced a little further apart for the spots on the back of the deer instead of doing dashes like we did on the fox , I'm adding in areas of lines to mimic larger furry spots .
So they kind of look like a series of slashes finish off with copper accents on the ears and then on the leaves .
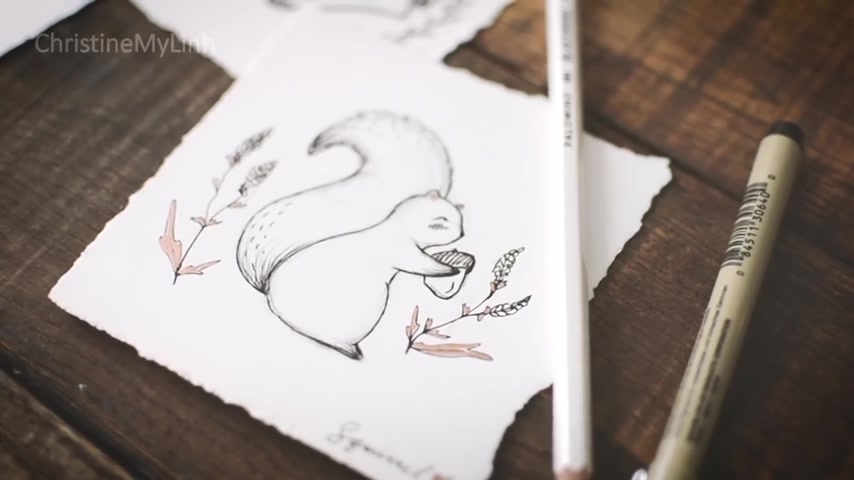
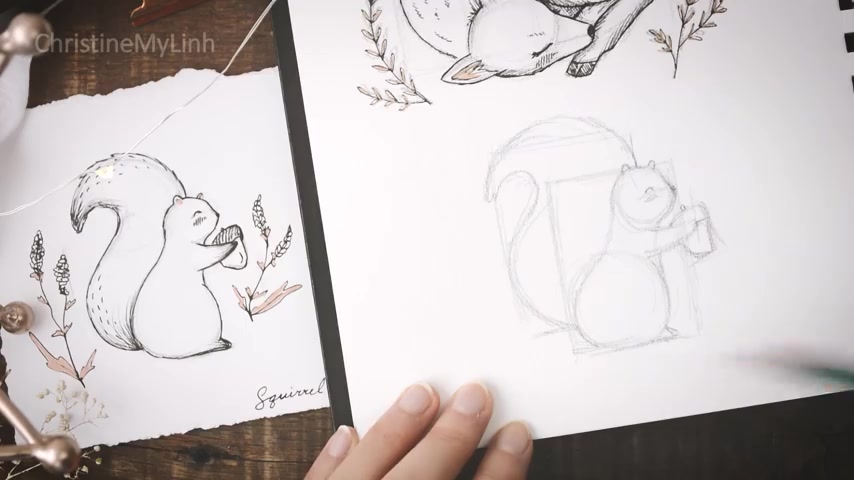
The fifth and final animal is a happy squirrel holding an acorn simply enjoying life .
We're going to start off by drawing the scroll's body fitting in an overall shape of a rectangle .
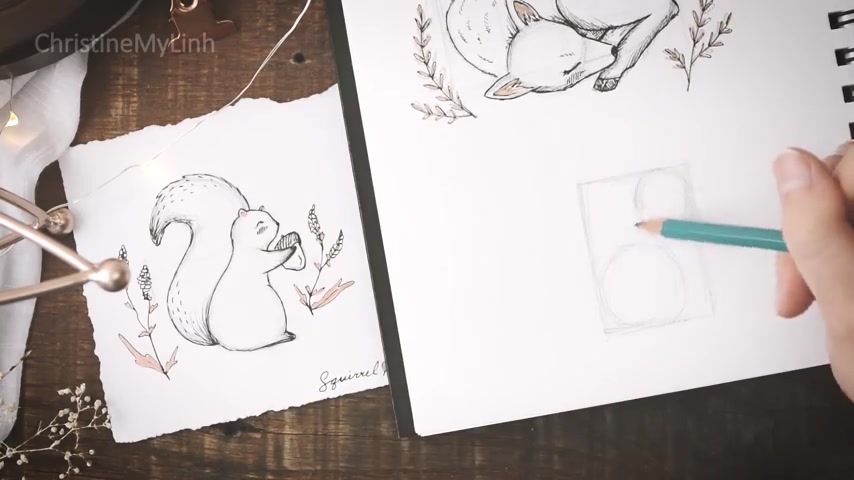
Add in a small circle with a curved guideline in the center of the circle for his eyes and nose to the upper right corner of the rectangle and then a larger circle for the squirrel's bottom on the bottom left , connect the two circles following my lines and add in his feet and then his arms now draw in the acorn starting off with another rectangle to determine the size after the ears , eyes and cheeks are added in , draw another rectangle for its tail and then create s curves to mimic the curve of the tail .
Again , it's OK .
If you don't stay in the rectangle , it's only there to help you with proportion and layout .
Remember to trust your creative intuition , especially when you're sketching .
So if you think that you need to stay in the guides or if you need to draw out of the box , it's completely up to you for these flowers , start off with a line for the stem and then add a little circle on the tippy top , then add little ws underneath , changing the amount of dips it has and then finish off with some leaves .
Complete the drawing by adding in dashes to the squirrel's tail like we did on the fox and then add in the copper accents to his ears and only the leaves of the flowers .
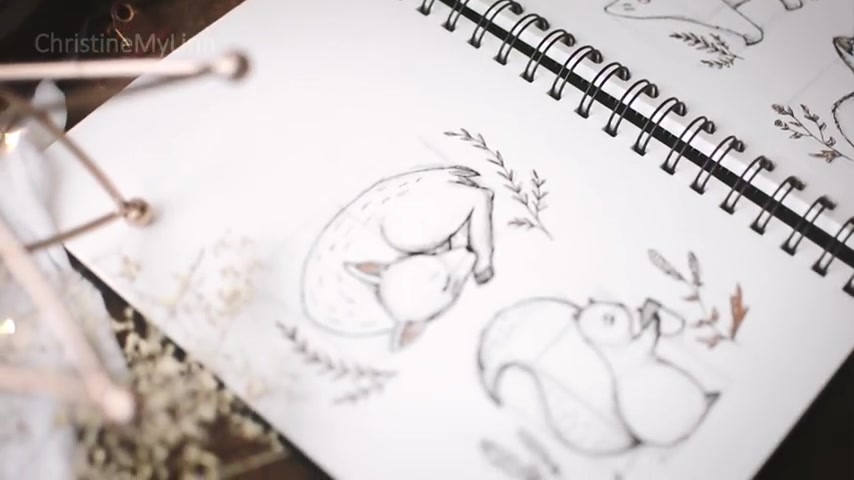
I started this tutorial hoping to fit all the animals on one page but decided to separate them into two .
And that's why the deer and squirrel are on the left page which was supposed to be blank .
Overall , the spread looks pretty good .
But I do want to add in this quote by Ansel Adams that fits so true with what I believe about nature and my spread isn't complete without a quote .
He says , I believe the world is incomprehensibly beautiful , an endless prospect of magic and wonder .
There is always a sense of peace to everything .
So with my drawings and artwork , I love to try to depict that quality and nature to create a similar feeling when you look at each piece or even a little part of it .
I want it to be like a nice break from the endless expectations of our day to day .
I then added in the date and title the spread up top and then the name of each animal next to each drawing .
And I'm done .
I hope that this tutorial helps you to simplify the process of drawing even just the slightest or gave you a little insight to how I draw my animals .
Remember to leave me suggestions or just a little love in the comment section .
And if you recreate any of these , tag me in your photos on Instagram , I would love to see your work .
Make sure to actually tag me in the photo instead of adding me to the caption .
This way I can go back to your photos if I miss the notifications , I am wishing you the best of days full of wonderful feelings and a balance to life .
I'll see you next time .
Bye .
Are you looking for a way to reach a wider audience and get more views on your videos?
Our innovative video to text transcribing service can help you do just that.
We provide accurate transcriptions of your videos along with visual content that will help you attract new viewers and keep them engaged. Plus, our data analytics and ad campaign tools can help you monetize your content and maximize your revenue.
Let's partner up and take your video content to the next level!
Contact us today to learn more.