https://www.youtube.com/watch?v=J9te8gL30Dw
What is the best way to draw a portrait
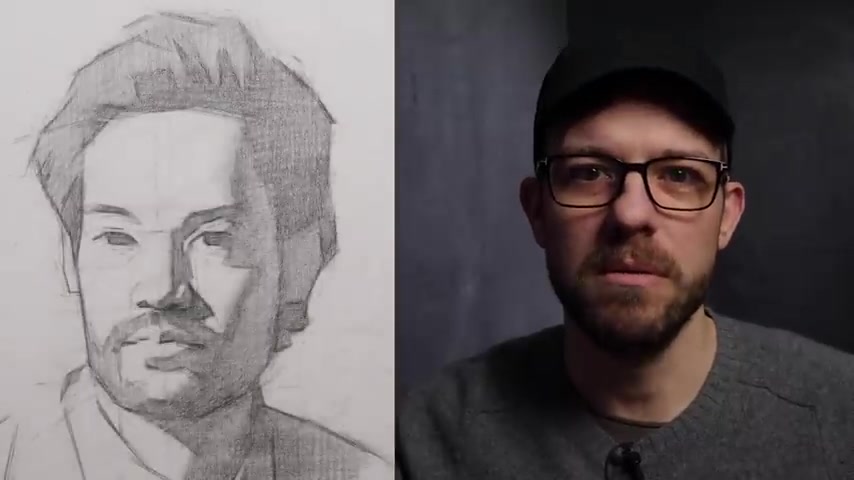
In this video , I'm going to talk to you about two different styles of lock in that I think are really , really important if you're eventually going to become a really great portrait artist .
The first one is a visual style .
It focuses on the organization of shadow and light in using those flat two D shapes to help you design your portrait .
The second one is a structural style .
It emphasizes everything that the first one doesn't .
We're talking here about how to create a three dimensional wire frame of your portrait that will help you get proportions and the structure of the head as accurate as possible as quickly as possible .
All the clips that you're going to see in this video are taken from a course that I've developed called the block end course .
Right now on my personal website , there's a pre sale going on and you can get the block end course for 20% off the course itself comes out on January 1st .
If you want to be the first one to get it , this course is designed to give you everything that you need to know and to practice about the first and most important stage in a drawing the block in .
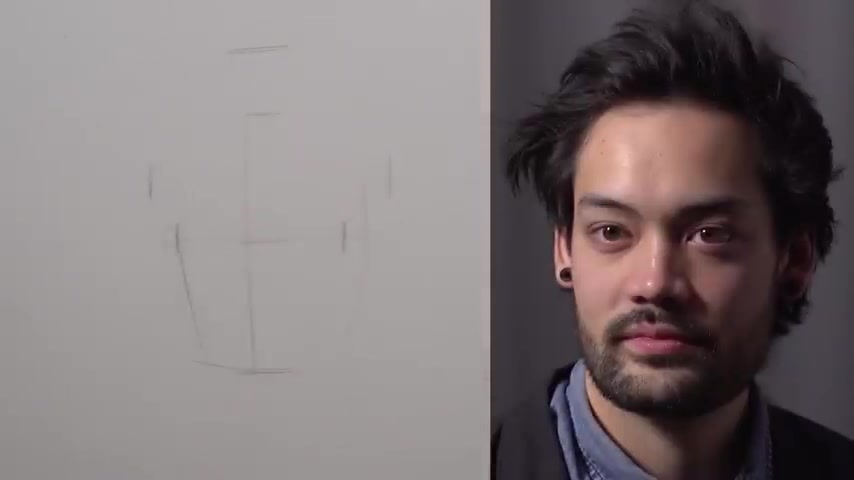
So , what I'm gonna do now is I'm just gonna start to take my first stab at the overall kind of shape of his head .
And I'm gonna do that by looking at the contours of his face and his head overall rather than , than maybe looking at some of the structural conceptual landmarks that are taking place there .
Right .
So let's bring out initially the light shape of his face versus the darkness of his hair .
This will be the first like big sort of shaped dichotomy that we'll express here .
Let's take the overall width of the face and let's compare that to the height .
So it goes a little bit over , well , quite a bit over one sort of uh central length and we have kind of an overage out here .
Let's take a measurement also on our source image and try and see what we find in terms of that height .
Now , I'm finding that , I think mine is too wide .

Next thing I wanna know is what is the height of the nose ?
A lot of different ways I can go about doing that .
Let's see what is an interesting way to take a measurement for that .
Let's go from the chin to the bottom edge of the nose where the the bottom plane of the nose meets the front plane of the face , right ?
Let's see how many of those fit into the height of the face overall .
So if I'm looking on my source image , I have on my source image a little bit under three times .
So this is my theory of where the nose is .
And I find that I've made the nose probably a little bit low .
I need to raise that up slightly .
One of the first things I wanna do and start to indicate the shadow and light pattern within the face .
One of the first things that that becomes interesting there is this major shadow edge that defines essentially the front plane of the cheek versus the side plane of the cheek , right ?
And that's going from Zygomatic bone down across the mandible from essentially the Zygomatic bone at the edge of the face here just about to the widest point of the chin where we have another angle break .
After that , uh we can see that the edge of the frontal bone , the edge of the forehead um is taken care of in a way defining that shadow shape at the uh at the edge of the forehead for us , right ?
We have the height of the brow ridge here at its highest point .
Remember that shadow shape , it's tilting downward and inward as we go towards the uh the vertical center line of the face .
And I'm gonna go ahead and just take a shot in the dark at what the edge of the shadow of the nose is .
But what we're gonna do is we are going to push forward .

Uh I'm gonna give myself just a little bit of value inside of this enough so that I can say the light shape will be apparent , we can go through now and make all sorts of changes .
Um And that is what I'm intent upon doing .
Now , I'm gonna go through and actually just start to take measurements for all of these .
Let's see , you know , for instance , you know , how does this edge of the forehead here ?
How does that relate to the the edge of the light shape of the cheek ?
You know , as I kind of take that measurement , I find that probably this one , this edge of the cheek needs to be further in a little bit to the left .
Let's move on to the shape up here , try and make some sense of it right now .
It's a kind of a large shape full of kind of like broken angles and things what I try to do is kind of separate it into groups .
So if we look at this side on the left here , you see like coming down from the light shape , it's a kind of angle that that kind of comes out here uh that I can use to , to create one distinct shape on the side of the head .
So at least gets me to a place where I have like a semi accountable shape .
I also noticed that that like through here , probably we have another kind of movement of hair that kind of comes down to 123 and then maybe four .
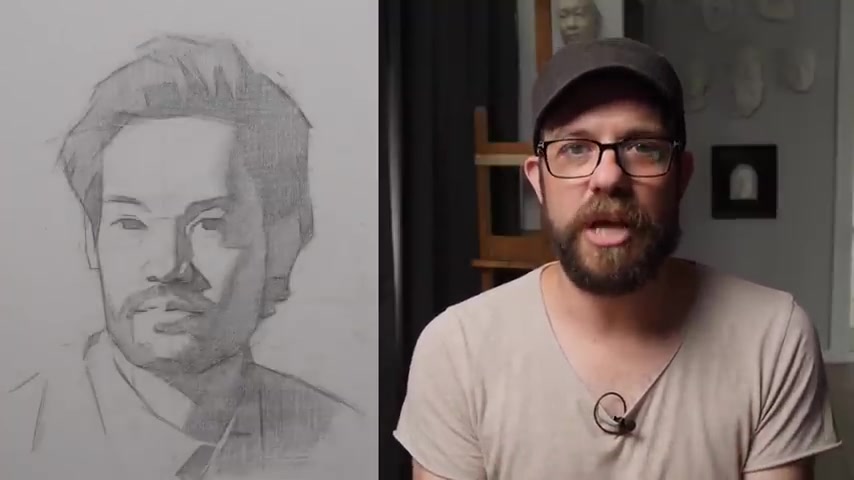
By this point in the drawing , I have made some massive changes to the placement of the features , the character of the shapes , the designs of the gesture of the con tours of the hair and the face .
Everything at this moment of the drawing should still be up for grabs in terms of improving and changing .
This stage represents the fundamental building blocks from a design perspective and even a composition perspective for everything that will come after this is why of course , the blocking stage is so incredibly important .
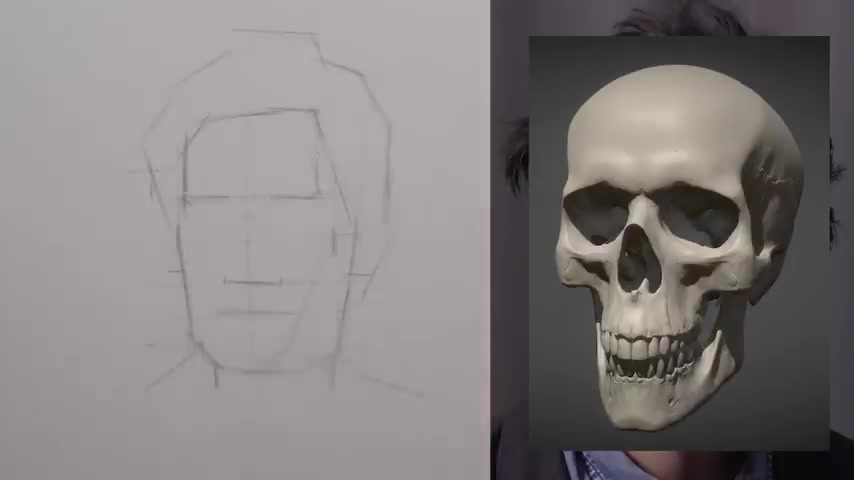
Now that we've wrapped up the second section of the visual approach to portrait drawing , we're going to shift gears and move into the structural section , meaning that we're going to be changing our focus from how the model looks to actually what three dimensional forms make up the model that we're drawing .
It's at this point .
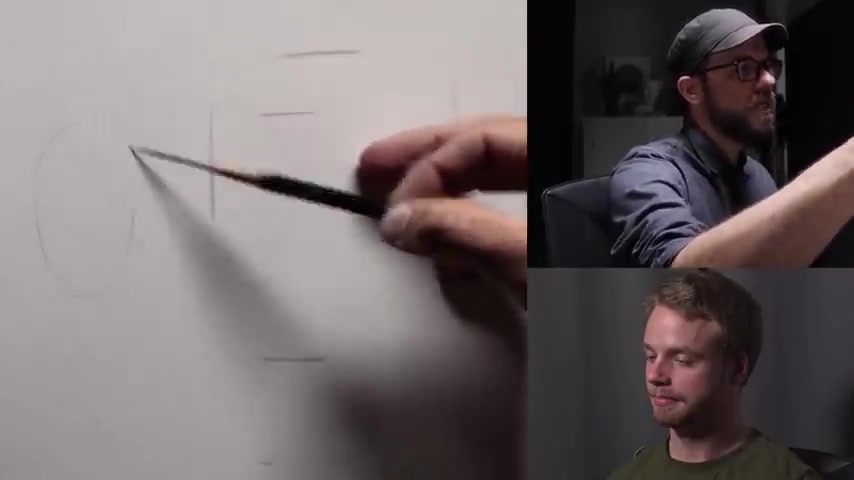
I want to quite immediately get out of my , my flat two D world , right ?
When we want to talk about structure , we talk about how to get into that 3d world .
Um And one of the easiest ways that we can do that , you know , all of you have seen at some point , you know , you've seen a a me or some other , you know , drawing teacher has drawn a kind of an oval shape like this and put uh a center line into it as soon as you put in that center line , right ?
It kind of gives you the idea that there's kind of volume to this uh sphere that it's not a flat oval , that's actually a volumetric form .
Let's talk about that center line and finding out kind of exactly where that is .
Uh because it is the first of two kind of major uh pieces that I want to uh that I want to solve .
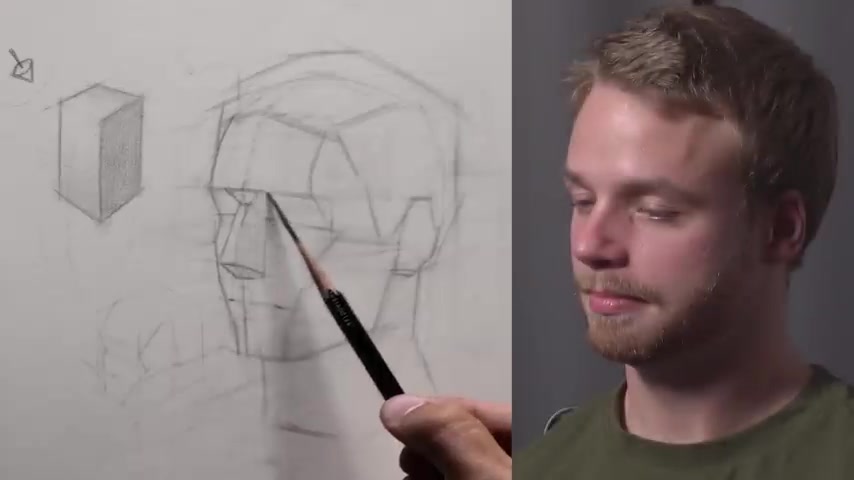
What I'm gonna do is I'm gonna look for this area on Nick's head , right ?
So just at the outer edge of the orbital cavity , right , if you all touch your , your orbital cavity , you have this little bony protrusion right here at the outer edge of your eye socket , right ?
That's essentially the bottom edge of the frontal bone .
And that kind of comes down and just touches also the Zygomatic bone , which is forming also another part of the , the edge or the side of the eye socket .
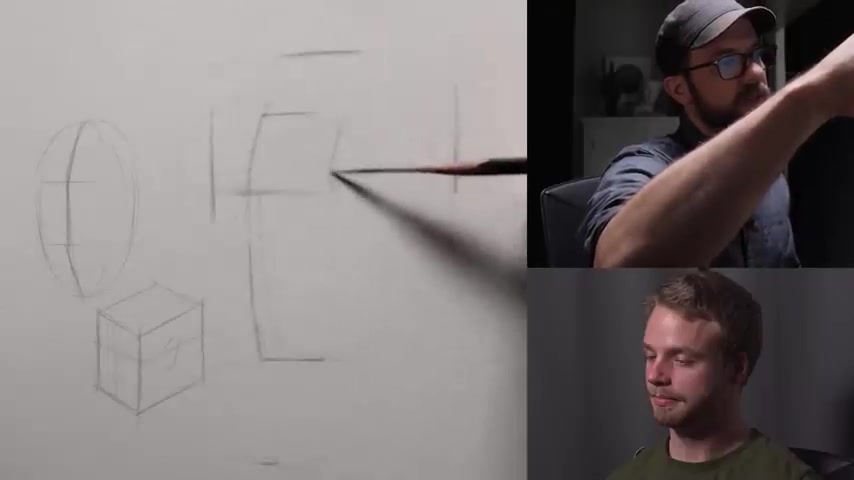
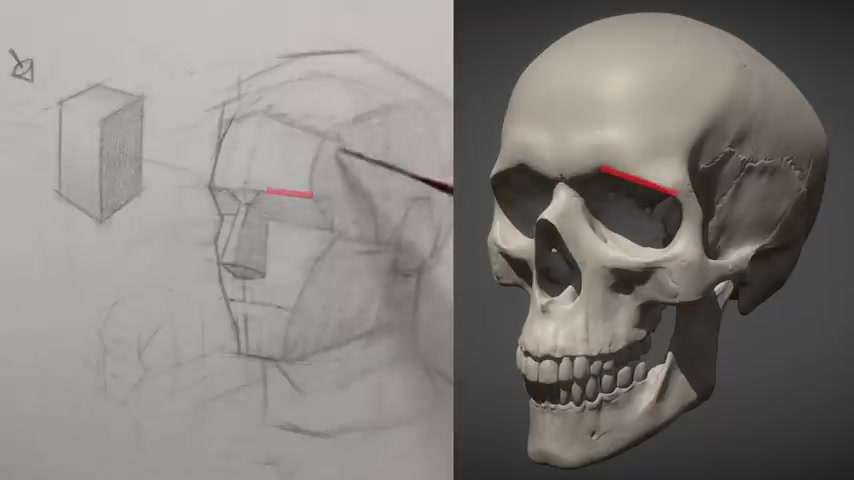
Eventually , what's gonna happen is this vertical axis here is going to be turned like this .
So we're gonna have the edge of the frontal bone and the temporal line .
We're gonna have the Zygomatic bone and we're gonna come down here essentially to the the edge of the chin .
So we're gonna have this kind of zigzag shape and that is going to be reflected also across the cube .
So what I've done at this point is pretty much defined the front plane versus the beginning of the side plane .
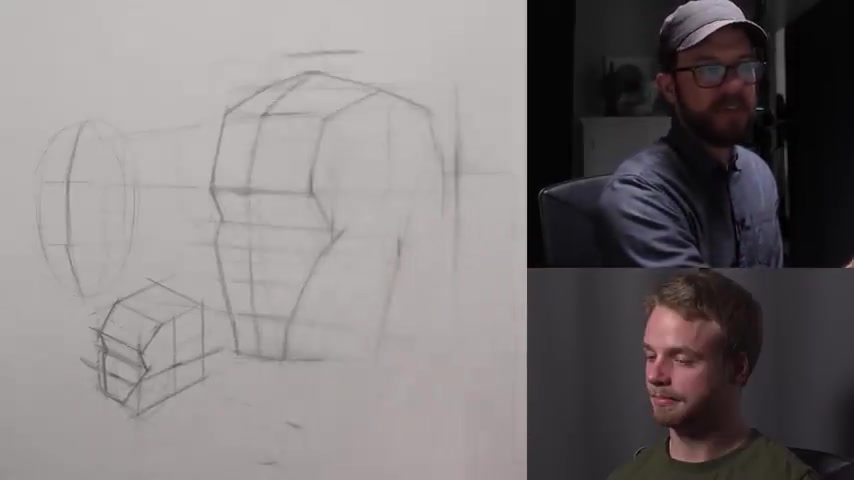
Let's talk about that Zygomatic bone and this angle break in particular , right ?
Because the Zygomatic bone leads to uh a , a kind of a meet up with the temporal bone , which is the uh section of the skull that's at the side of the head .
Um together they form the zygomatic arch .
Now , the zygomatic arch goes essentially from the zygomatic bone here to your ear hole , which is called the external auditory meatus , right ?
The Zygomatic arch lands on the occipital bone just above that ear hole , right ?
As you can kind of take a look at Nick here and you kind of get an idea if we go from the back of the eye socket to the location of the external auditory meatus .
Now , why is this interesting ?
Because this is not actually a flat plane .
If we look at the head from the front , you'll find that the Zygomatic arch here is in a way the widest part of the face right ?
Now , the widest part of the skull is back here , the parietal laminates uh but the widest part of the face is here .
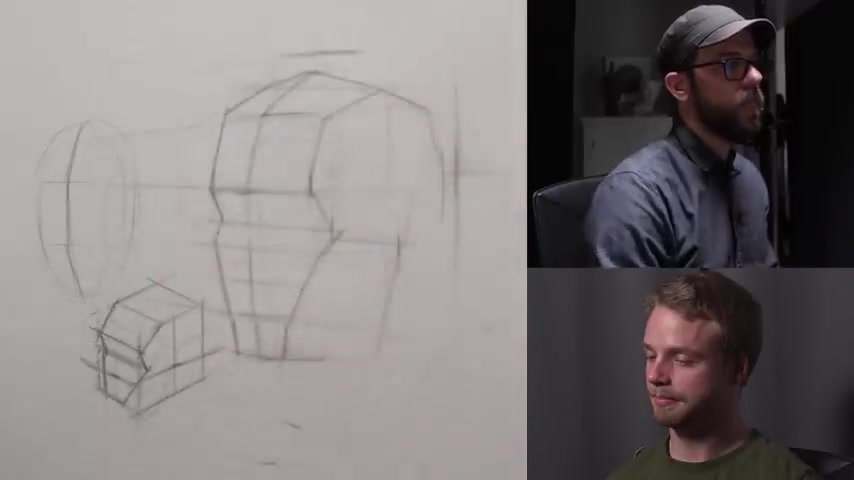
So above that , above the Zygomatic arch , there's a tilt inward below the Zygomatic arch , there's also a tilt inward .
So this plane at the side here is not flat .
It has uh in a way an arc to it , an outward facing arc .
And I wanna start to indicate things like the shape of the glabella right now , the globe through here is this keystone shape that I mentioned in between the eye sockets .
It is a steep downturn plane , perhaps not quite as steep as the eye sockets .
Uh but it turns down before we get to the top plane of the nose , it tapers inward right to a shorter plane break at its base .
Let's go to this moment and kind of map out a value based concept of what this head looks like in space .
Keeping in mind this idea of the uh the block here , what we do find is a pretty reliable lighting truth or , or or concept at play , right ?
If the light is coming from the left hand side , those planes which are facing right as the right side of the nose is , will tend to be darker , that light source is coming from above .
We're also gonna find that those planes which are facing downward are gonna tend to be a little bit darker .
And if you know a little bit about the underlying bony structure , then you can combine together the clues that you see on the surface with some of the relationships that you know about .
I happen to know that the top edge of the Zygomatic arch essentially points pretty much to a space just above that ear hole .
So if I know where the ear hole is , and I know nominally where the angle break between the front plane and the zygomatic bone and the side plane is I can discover that through value , I can discover that through what I can see of the ear .
And I can create a version of that arch that kind of fits into this head , not just any head , but , but specifically the the head that I'm drawing here .
All these other things are the same .
If we can find the eye socket , right , we can look at the upper outer edge of that eye socket .
Usually somewhere in that neighborhood , we can find a a distinct value shift that is gonna show us where not only the the the edge of the frontal bone is um but where that temporal line is uh kind of beginning now that you've learned a little bit about each of these styles .
Let's talk about the pros and cons of each approach .
The visual style of blocking is great because it emphasizes what you can literally see on your subject , how the light hits your eye .
In this way , it allows you to mimic a very simple version of what your subject actually looks like , which makes it very easy to compare in terms of accuracy or inaccuracy .
Now , there are also some drawbacks to the visual approach .

First of all , it's a relatively flat way to represent your subject , which is three dimensional .
Now , as representational artists , we understand that the flatness of the paper is the first thing that we need to escape And if we only use two dimensional shapes of dark and light to represent our subject , we're gonna have a hard time escaping that flat surface .
This is why the next stage of your study in the blocking course is a structural approach .
Everything about this second approach emphasizes the three dimensional qualities of your subject and of reality in general , using simple wire frames to establish the volume of your portrait , applying value to it then becomes a much easier problem .
One other drawback visual style is that it requires that you always have a solid reference to work from .
If you're somebody who wants to eventually learn how to work from your imagination , it's gonna be absolutely necessary to you to study some structural style of approach to drawing .
Eventually , you might find yourself asking which one of these block in styles is the best approach for me to take .
This is why the third and final section in the block in course , is what I call the hybrid style of block in .
We take everything good from the visual style and everything good from the structural style and combine them together to create a block in that is both visually satisfying and structurally sound .
If you want to learn about this stuff in incredibly great depth , the block in course will be available on my personal website come January 1st , you can follow the link in the description of this video to get there .
And of course there is a 20% off pre sale going on right now that you can take advantage of before January 1st .
Are you looking for a way to reach a wider audience and get more views on your videos?
Our innovative video to text transcribing service can help you do just that.
We provide accurate transcriptions of your videos along with visual content that will help you attract new viewers and keep them engaged. Plus, our data analytics and ad campaign tools can help you monetize your content and maximize your revenue.
Let's partner up and take your video content to the next level!
Contact us today to learn more.