https://www.youtube.com/watch?v=GS8f4120nx4
How to Draw Realistic Cat for BEGINNERS _ Fur Drawing Technique
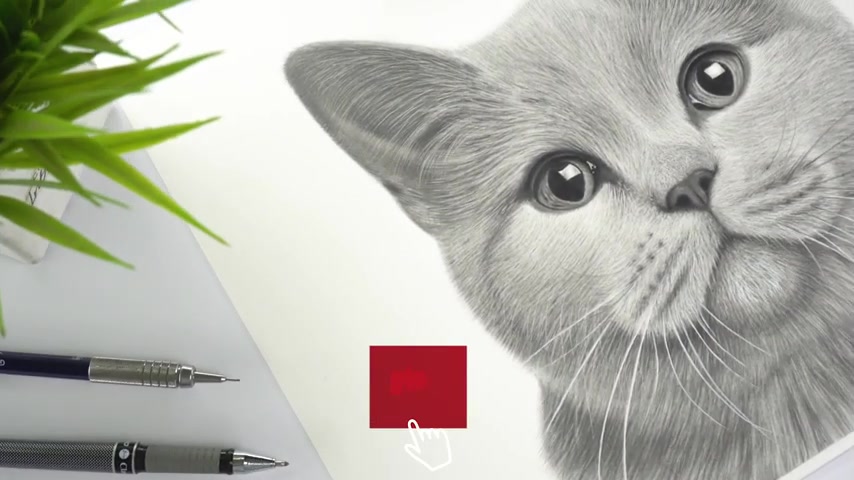
Hi , welcome back in this video .
I'm gonna show you how to draw this cute pretty short hair cat using graphite pencils .
So grab your tools and let's get started .
So these are the flies I'm going to use for this drawing and you can pause it with your right hair to note them down .
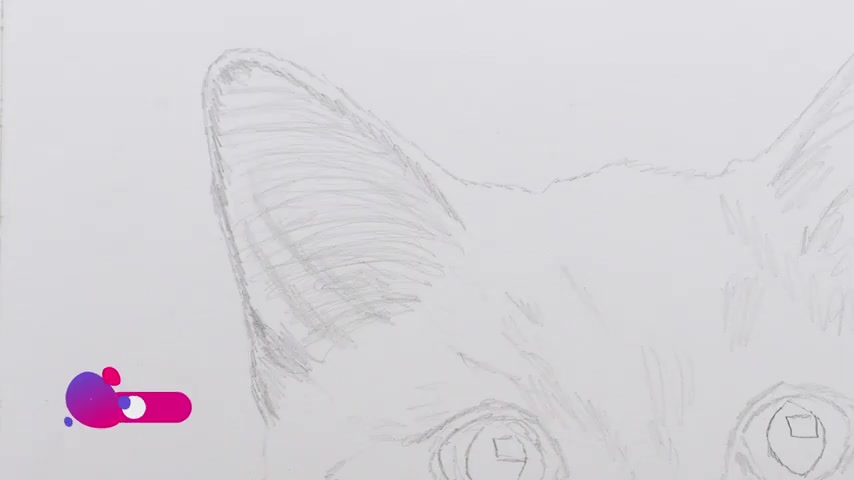
I'm already done with this rough outline and you can find all the references including this outline .
Credit reference on my Patreon profile link is in the description , I'm using this a three size paper from my ordinary drawing pad and the drawing portion area is 11 cross 14 inches .
So first of all , I'm gonna darken the outline of the air and also add these directional lines for the indentation .
I used the indentation technique first .
But after shading the air , I realized I could have achieved the same result using mono zeroes .
So indentation technique is just an extra step which you can avoid in your drawings if you want to .
I'm not going to use it again for the rest of this drawing .
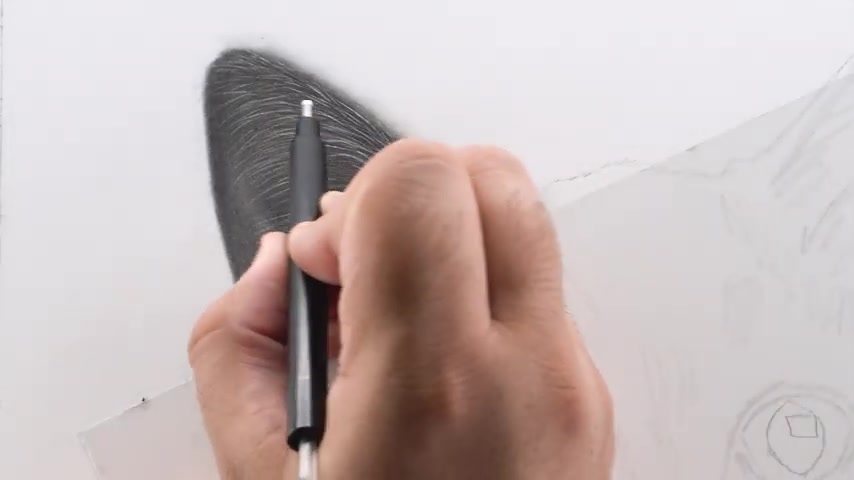
No , use your P pencil and fill the air with the base shade and blend it using a dry brush later on , you can also use a tissue paper for this purpose .
No , use your pencil and further darken these shadowed portions by adding these type of faded lines and shades and lightly blend this layer using a dry brush later on .
And by the way , the real time version of this trail is available on my Patreon profile .
So if you want to see all these details up close and in real time , you can visit my Patreon profile link is in the description .
Now for this third darker layer , I'm going to use this five P pencil and add these dark faded lines along the indentation lines , chairs like this and like blend this layer using ultra brush afterwards .
Now use your sharp tap mono eraser and fill the air with these thin white lines like this .
If you use the indenting stylus like I did , you can erase the extra shades from the indentation lines to make this furry texture more visible .
You can also use a knitted eraser to lighten these plain areas like this .
Now use your mono eraser and erase the shade around the outlines using these faded line strokes or is it in a way that it makes the remaining shade look like thin hair around the outline chairs like this ?
Now moving on to the second air and I'm going to repeat the same process as I did for the left ear .
I did not use the indenting stylus in this one and only used the sharp tape mono zeroes and it turned out really good even better than the left one .
In my opinion , you can try and see whether the indentation technique works better for you or the mono zeroes no on to the forehead portion .
And first of all , I'm going to darken the outlines and fill it with a base layer using a B pencil and thoroughly blend it using a dry brush later on .

Now use your sharp tap b pencil and fill these shadowed portions with these thin dark lines like this .
Notice that both the ends of each single lines are faded and also notice that each single line is slightly curved depending on the direction of the hair .
So don't add these type of thick , straight and blurt lines , add these type of faded , thin and curved lines .
Now very lightly blend these lines using a dry brush and then use a sharp tape fip pencil and further darken some of these hairs in the shadowed portions where required .
Now use your sharp tape mono zero and add these thin white hair in between the dark hair or lines you just added , make sure you keep the tip of the mono zero sharp at all times .
Or else you will get thick white hairs which will make your drawings look messy and unrealistic .
You can sharp or click in your mono zero by rubbing it on a sandpaper or any rough texture surface like this .
And in the end , you can use your sharp tip tin pencil again and add these thin black lines if required .
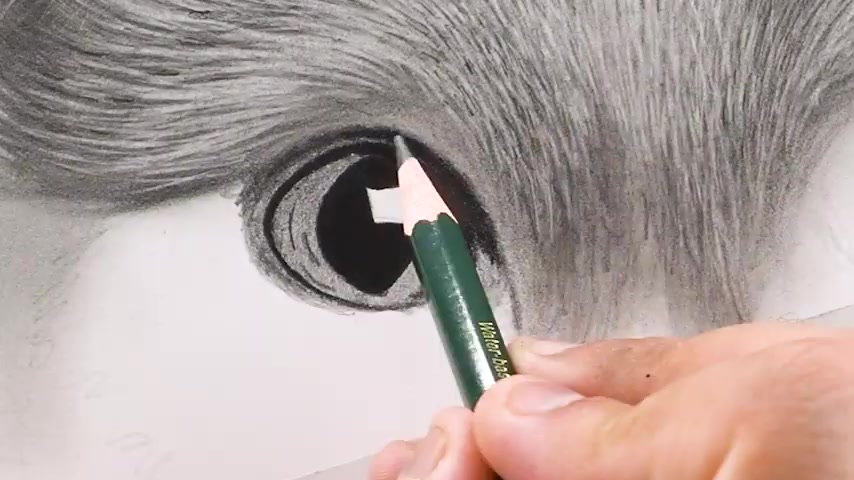
Now for the eyes , I'm going to darken the outlines first and then fill this Clara or white portion of the eyeball with a base layer of three B and then use your A three pencil and fill the eyes with a plain black shade like this .
Also darken the eyelids with the A three pencil and lightly shared the corners of this Clara with the same A P pencil chairs like this and lightly blended using a small dr brush later on .
Now use your mono zero and add these highlights or white lines around the I and use your electric er or G road pen for these sharp white highlights .
I'm going to repeat the exact same shading process for the right eye .
And by the way , if you want to learn the basics of drawing first , you can join my course on Udemy .
I put my course on sale for five days of every month .
You can check the link in the description to see if the sale is going on right now and get enrolled as soon as possible .
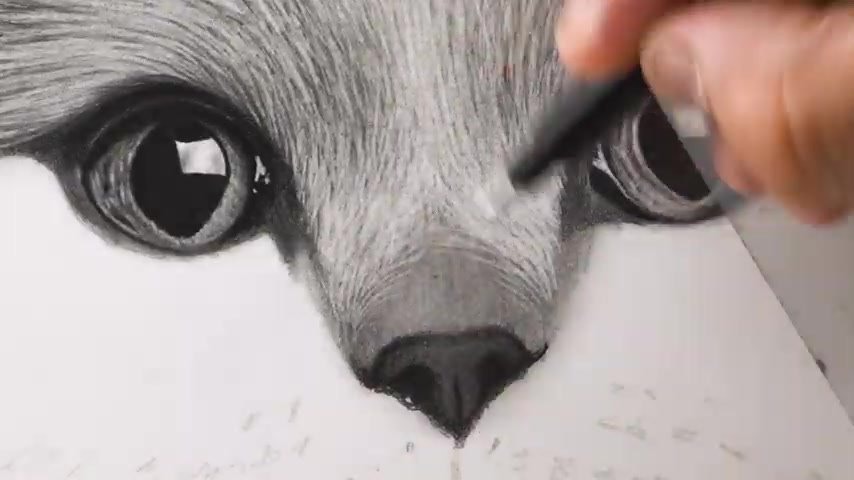
Now , for the nose version , I'm going to darken the outline , choosing an eight P pencil first and then fill the front or tip of the nose with a five P pencil and lightly blend it using a mini draw brush later on and for defer on the nose .
I'm going to use a sharp tap mono zero first and fill the area with these tiny white hair and then use a sharp tippy pencil and add these tiny black hair or dots in between the white ones .
You can use your mono zero again for the final touches .
OK .
Now , moving on to the cheeks and again , first of all , I'm going to darken the outline first and fill the area with a base layer and then use your TV pencil to further darken the shadowed portions and then use your sharp tape mono zeros to fill the whole area with these thin white hair or fur chairs like this .
For these dark starting portion of the whiskers , I'm going to use an A P pencil to shade them lightly and then use your sharp tape mono zeroes to add these tiny white hair in between .
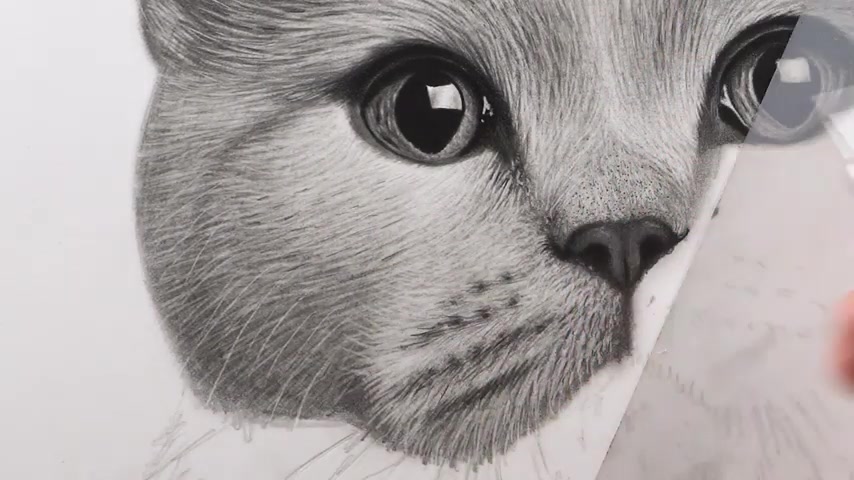
And in the end , I'm going to use a sharp tap pencil like this and add these tiny black hair in between the white ones , especially in the portions where the contrast is high .
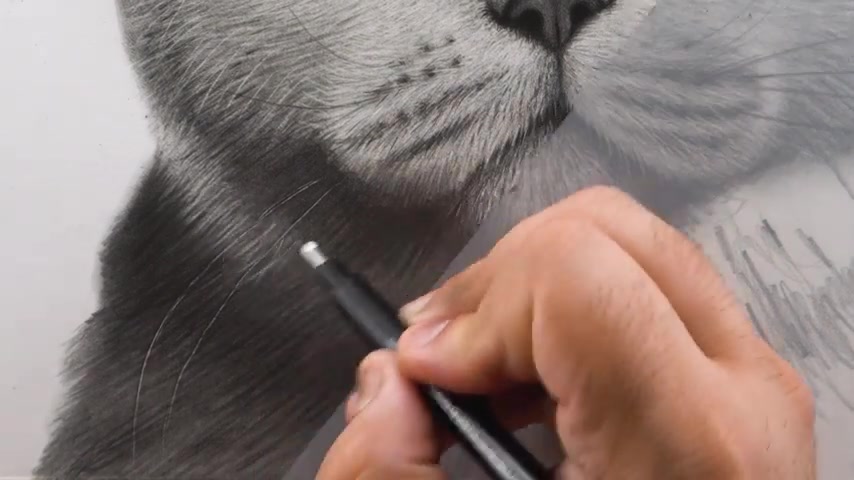
I'm using this mechanical pencil for this purpose because you don't have to sharp the lead again and again , but you can use your ordinary P pencil if you don't have a mechanical pencil , I'm going to repeat the exact shading process on the right cheek .
The only difference is these black whiskers , which I added using a sharp tape , three B pencil notice the starting portion of the whisker are thick and the ending portions are thinner and lighter .
Now move on to the chin and neck portion .
And again , I'm going to fill it with a base layer first and then use a three B pencil for the second dark layer of the fur .
You can share this whole neck portion at once if you want , I just shared it the half portion to get a cool thumbnail shot .
Now , for the chin , I'm going to fill it with these thin white hairs using a sharp tape mono zeroes and then use an A three pencil to darken the lips or these junction lines between the cheeks and chin .
So you can use this faded line technique to shade this area .
Now , the neck portion is a little bit blurry and out of focus .
So I'm going to add these white hairs using a thicker tape mono zeroes like this and also use a dry brush in between to lightly SMU or blend some of these white hair .
If required , you can use a three B or five B pencil to darken the shadowed portions if they get lighter in the erasing process .
And in the end , you can use your mono zero to add these light outlines of the whiskers and then use your electric rasor or general pen to further brighten the whiskers and then repeat the same process for the right whiskers as well .
Now for the final touches .
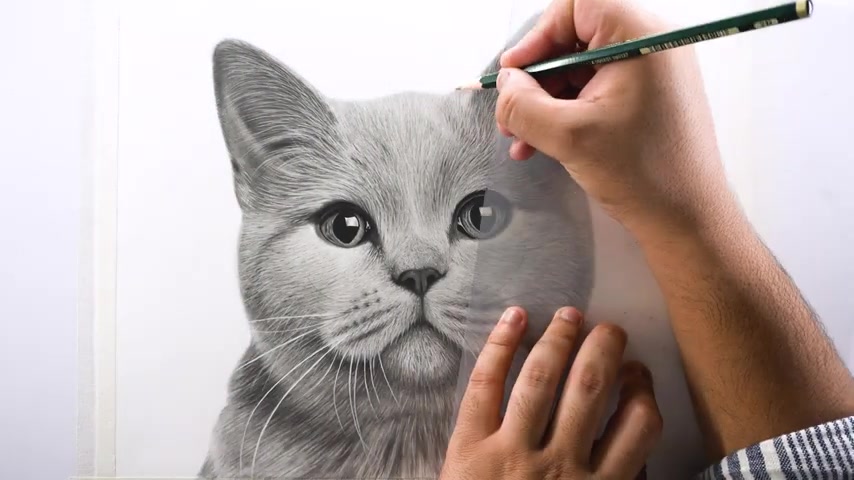
I'm going to erase the X ray shades along the outlines and then use a two edge pencil to add these small and light black hair along the outline .
And with this last time we are done with this hyper realistic cat drawing , it takes so much time and effort to create these trails .
So please leave a like if you enjoyed this one , it helps me a lot as an artist .
So if you want to get the real time trail of this drawing , you can visit my Patreon profile .
And if you want to learn the basics of drawing , first , you can join my course on Udemy .
All the links are in the description down below .
So thank you so much for watching and I'll see you on the next one .
Are you looking for a way to reach a wider audience and get more views on your videos?
Our innovative video to text transcribing service can help you do just that.
We provide accurate transcriptions of your videos along with visual content that will help you attract new viewers and keep them engaged. Plus, our data analytics and ad campaign tools can help you monetize your content and maximize your revenue.
Let's partner up and take your video content to the next level!
Contact us today to learn more.