https://www.youtube.com/watch?v=4wAhko4LEvA
How to Draw Realistic Fur for Beginners
Hi guys , welcome to another video and I got a question for you .
Do you know how to draw realistic fur ?
If you're going to draw an animal ?
For example , can you make a realistic fur to the point of looking like a photo ?
I'm almost sure your answer was no but no problem because I started this week to gather the best guide on how to draw realistic fur for beginners .
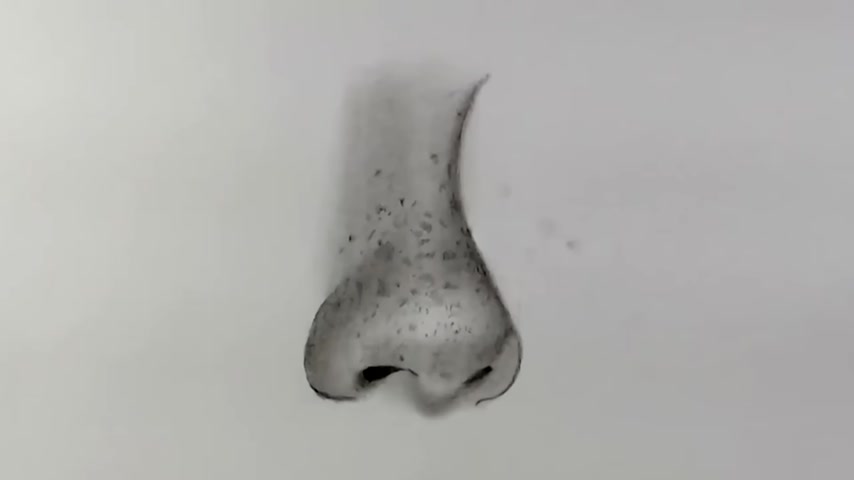
So grab your materials and come to draw with me in the last video I showed you how to draw a nose with franco effect .
I'll leave the link in the description below .
And if you don't know me , I'm Lino .
I'm a graphite and colored pencil drawing specialist .
And I have helped so many people to learn realism from my online course in Brazil , which is the Realism Club and I'm bringing in an English version of this website soon .
And if you want more information , I'll leave the link in the description .
And before we start , don't forget to give this video a like and subscribe to the channel if you like this kind of video .
And if you enjoy this type of art , I will bring so much more other videos about realistic joints and I don't think you want to miss any new video , right ?
So that's it .
Let's get straight to the video to start .
I'm going to make a circle on this left side and a circle on the other side doing this .
I will have two examples to show you and you don't need to repeat the circles here .
Let's go to the dons version first And if you want to learn how to create perfect circle , I can go through in a bit more detail in another video , talking about tapes techniques and everything needed to create this type of circle for hand .
So let me know in the comments if you want it .
The first important thing to mention about fur is that beginners think we just need to create lines because if we do that , then we're going to have fur effect .
But no , it doesn't work .
Just create lines would not be enough .
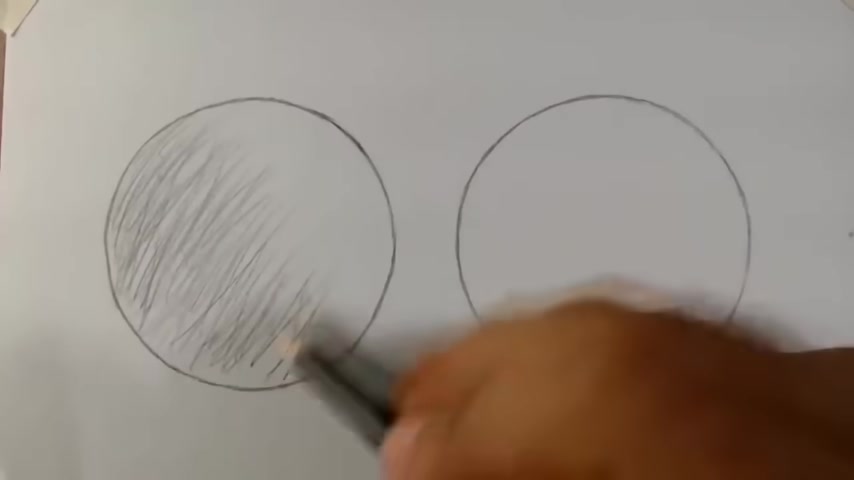
Another important thing is that they usually draw each of those lines the same size that doesn't work either .
Each part has its own exposure because some are above orders and so on .
Another thing doesn't work as well that I see a lot on the internet is drawing lines connected simply back and forth .
And also another thing that I see that works , but it's not done that way across the lines where some go in one direction and others go in another direction crossing these lines .
This works .
But we need to plan first .
And actually planning is one of the main reasons why beginners can't create more beautiful and more elaborate drawings .
So let's get ready for me to show you how to do it the right way .
And the first thing we are going to do is to start working with a plan .
So I'll start to sketch parts that will be darker within the circle .
You just have to watch the video and repeat it on your paper .
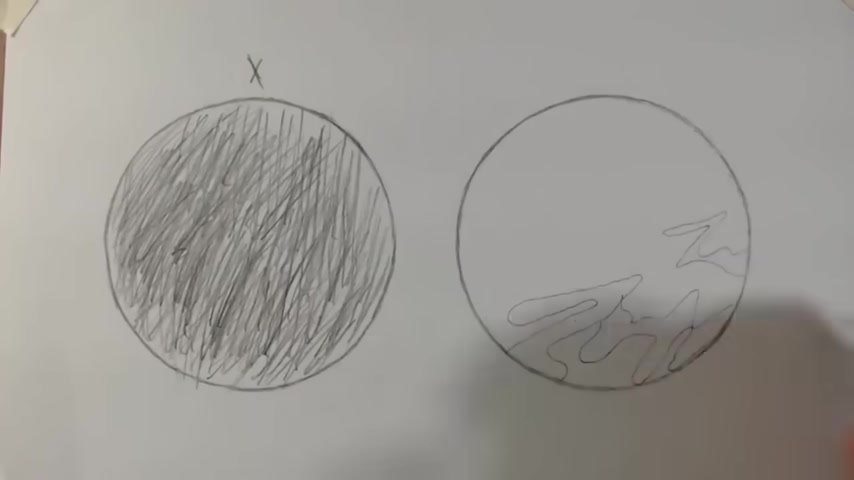
And I'm going to do this because the darker parts of the fur are not all in the same depth , they are underneath layer .
There are layers above and exactly because of that , there are lighter and darker layers , the fur that are receiving more light and the ones that are receiving less light outlining darker parts , we know exactly where to shade and what's outside of the area .
We know it must be the light details and this is what we're going to get .
It's looking like a planet .
But remember that when you be doing an animal fur that will not have any circle around .
All you have done , I'll show you a thing .
All of these fur have some movement , we can already see that but its catch .
So they are not in a random way .
They have a path and we have to follow this path when drawing the fur and that's what we are going to do now , we will draw the flow until it looks like this .
But before if you struggle with creating graphite drawings or colored pencil drawings , and you are looking to improve your drawing skills .
I can teach you everything you need to know over on my online course called Realism Club there .
I will show all my techniques for shading painting with colored pencils , how to draw face , mouth , eyes , nose hair and fur drawings , some other effects and much more .
That's your opportunity to have art guidance to reach your full potential .
So why not give it a try ?
I'll leave the link to the Curse web page below in the description .
So let's get back to our drawing and now we will draw exactly within those areas that you have sketched .
Those are the top parts you just have to do lines inside .
You want to use a black pencil to shade and give contrast .
I'm using this one , which is the four B grade pencil .
Another important thing that can't be missed .
The toe is how sharp the pencil is .
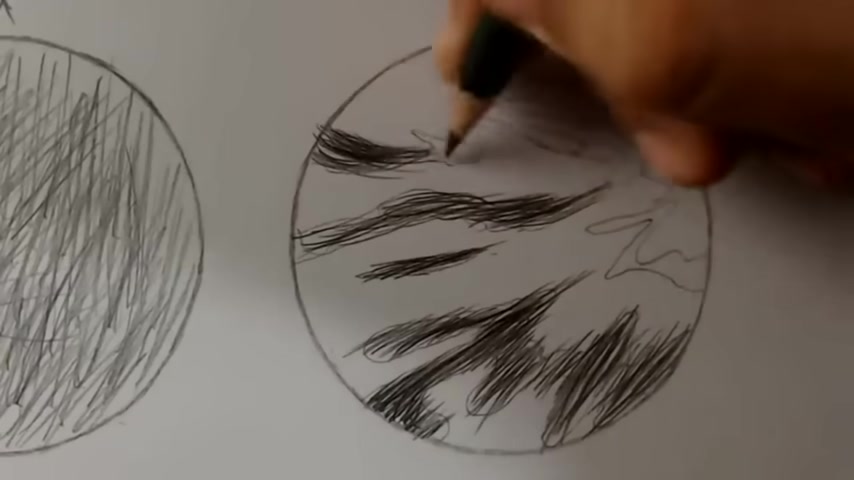
It needs to be very , very sharp because you want to simulate firm .
So if you really want to get this effect , you need the line to be very precise and thin .
And at the point , the line needs to be very fine at the beginning .
And also at the end of the line , then you move the pencil by touching the tip of the pencil to the paper and moving up again in a single movement .
I'm going to do a little detail here which I didn't perceive at the beginning of catch and I'll fill it in as well .
The other tip to talk about is how you should follow the movement , the direction the fur is going in .
If you are looking at reference e made some lines are curved up or up to the right corner or up to the left corner , do it exactly as you say , because the third direction is essential to get the right effect .
And another important thing to say is that you do not need to draw exactly within the area that you've scattered in , you can do some fur lines going out of the outline shape .
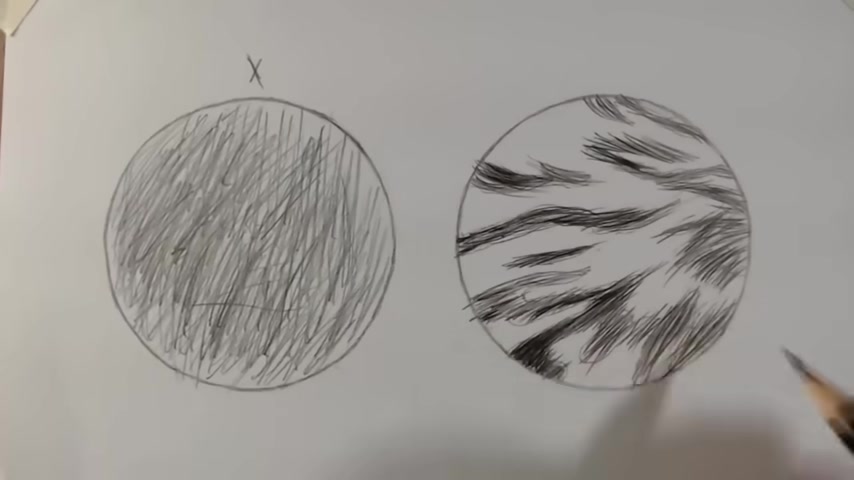
Now that we have exactly the movement and the exact place where the darkest fur will be , we're going to make another layer over them to make it dark and give more contrast cool .
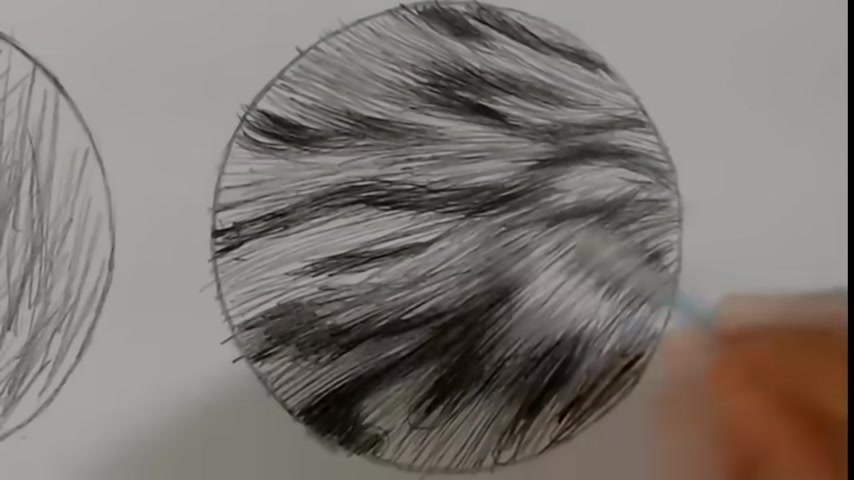
Once you have created the layer we needed , let's move on to creating the lightest fur between each of those dark sections , you just have to create the fur movement that matches the dark areas .
For example , if you connect two dark points where the first section is going to the left and the next clump of fur curves upwards , then you do the same between them .
So they connect .
Well , another thing is that I'm using a light pencil here .
If you're using the same dark pencil , press it slightly to keep his area brighter .
Nice .
Now I'm going to get the cut and , but to continue , let's move on to get the darker parts move .
Now look , the dark parts are smooth and on to have done that .
We're going to do the same thing with the light parts .
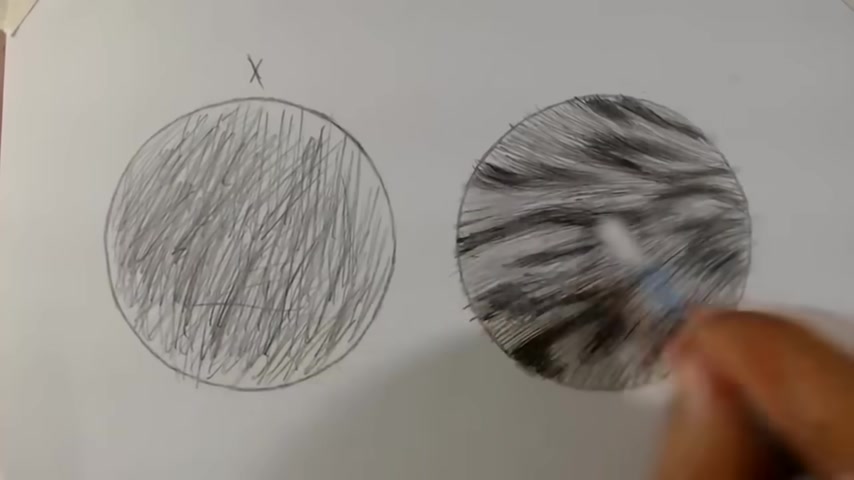
Oh , and one thing is he off the pressure of the cotton swab now good .
And one thing that usually happens when we use blending stamp or else the cut and swab is that the lines fade a litter .
So what we are going to do now we avail that we have to darken the dark areas even more and we will create the fur again from above .
So it will be more realistic and even more contrasted .
So let's create another layer over the dark areas and don't forget to keep the tip of your pencil very sharp .
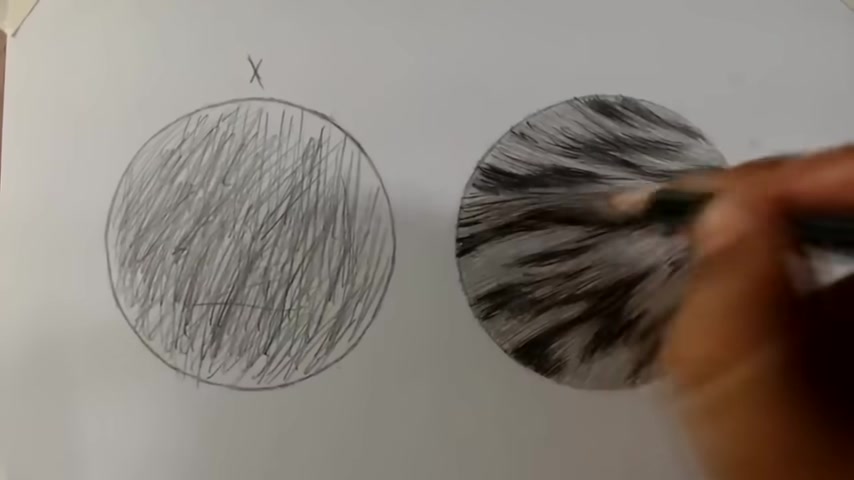
I've applied the second layer on this dark area .
Now we'll move on to the light area , create a new layer as well .
But this time try to use a light pencil or an A to B pencil , for example .
All right , after doing that , now we'll apply the last layer using the cut and swap over the light details .
Remember to press lightly , we are only doing it to bring a layer and this f texture should not fade much .
Now we go to the main part which is to create the lightest fall on top of its own .
For this , I will use a tumble mono eraser .
So for that , we are going to move the tumble mono eraser exactly over the lighter part , just like we were using the pencil before .
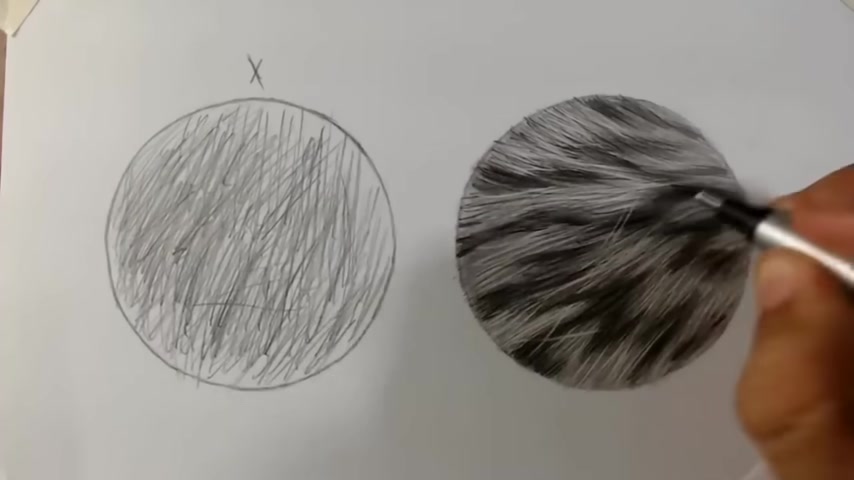
Now , let's repeat the same process over the dark parts just like we did the lighter fur .
It's going to be more natural by the end to finish .
We are going to draw some more lines over the light of fur .
It will look more natural last details and it's finished .
And like I said over on my online curse , you can learn all of my techniques for realistic drawings with graphite and colored pencils .
So don't forget to take a look .
The link will be in the description .
So that's it guys .
I really hope you enjoyed .
And if you did , don't forget to give the thumbs up and subscribe to the channel if you're new around here for you not to miss any new video here .
So that's it and I'll see you in the next video .
Bye .
Are you looking for a way to reach a wider audience and get more views on your videos?
Our innovative video to text transcribing service can help you do just that.
We provide accurate transcriptions of your videos along with visual content that will help you attract new viewers and keep them engaged. Plus, our data analytics and ad campaign tools can help you monetize your content and maximize your revenue.
Let's partner up and take your video content to the next level!
Contact us today to learn more.