https://www.youtube.com/watch?v=DeFv3pg_Fxk
How to Draw a Nose - EASY
Hey , this is Darlene and you're watching a rapid fire art tutorial on how to draw a nose .
Here are some general steps to draw an average looking nose start with the circle .
This is the tip of the nose on both sides , draw two lines for the bridge curvy lines outward at the top .
As the bridge turns into the brow bone through the middle of the circle , draw a horizontal line , extend it to the right and left slanting your strokes down just a bit at the ends , draw two short vertical lines , connect them together at the bottom by drawing a line stretching from one side to the other at the top , draw two strokes that point towards the bridge .
I'm gonna do a few more examples of this later .
So don't worry if you don't get it right away .
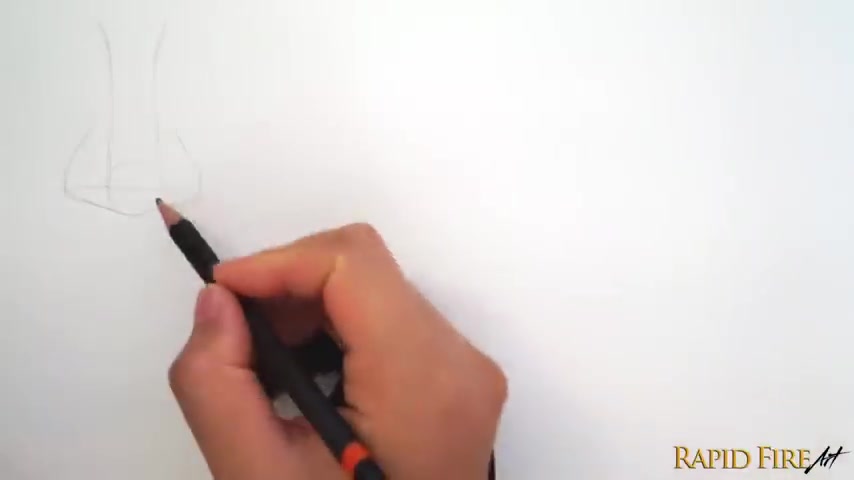
Now that we have a set of general guidelines , we can start to draw the actual nose , define the tip of the nose by working your way around the circle , draw the nostrils and sides by following the rest of the guidelines .
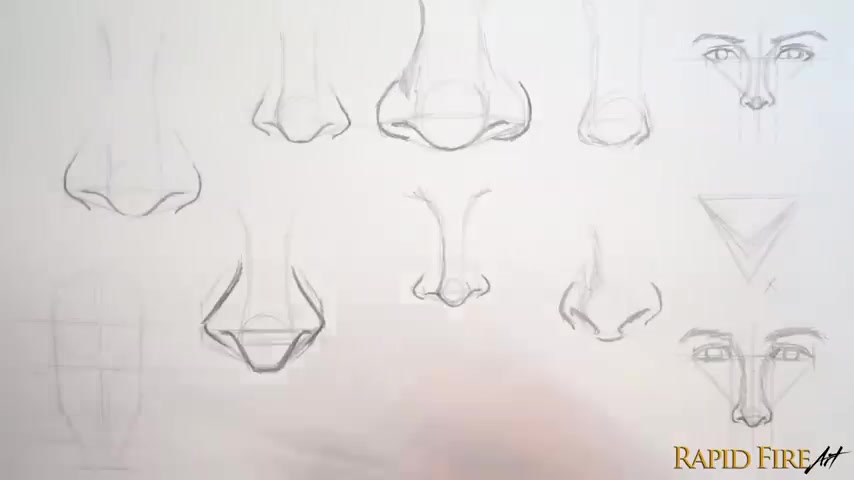
I'm gonna show you some unique examples so you can create a variety of nose shapes , watch how a few small changes will give me a completely different looking nose .
This one's more angular , a really big circle for a big bulbous nose .
Here's one with narrow nostrils .
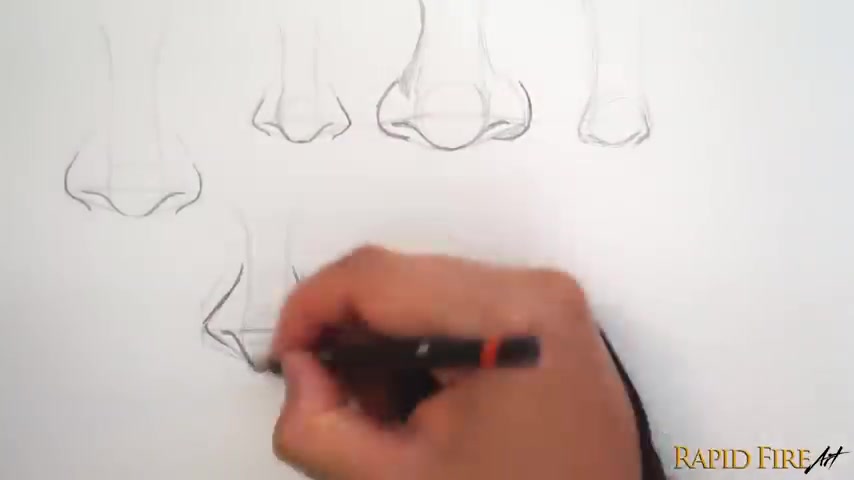
This one has higher nostrils .
The biggest difference here is that the horizontal line is not going through the center of the circle .
It's going through the top .
Continue to stretch your imagination to get some pretty cartoonish noses .
Once you get comfortable , slowly eliminate some of the guidelines here , I'm down to using just the circle .
OK ?
This is good and all .
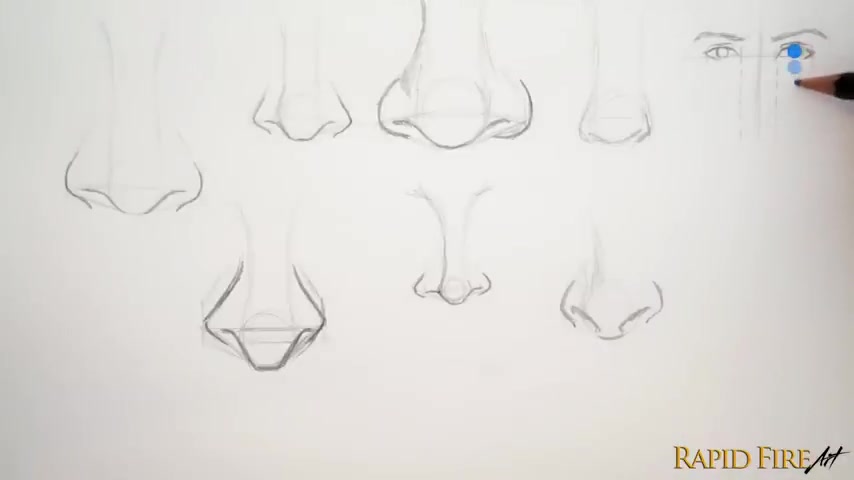
But what happens when you want to add eyes ?
Let me quickly draw a pair of eyes .
For this example , draw a line down the center of the face .
So when you draw the nose , it's nice and straight , draw a vertical line coming down from the inner corner of each eye as well .
These will mark the boundaries for the nose .
OK .
Now , we know how wide to draw .
But what about length here are two methods to do this method .
One , you can measure the full iris and add about three irises to the bottom of the eye .
To find the nose length .
You can do this with your pencil and finger to get a rough measurement or your ruler method two , draw a triangle where the top two corners touch the outer corners of the eyes .
This method requires a bit of trial and error .
A good triangle shape is where all the sides are similar in length .
Once you pinpoint the length , draw your circle and the rest will follow .
Let's do this again with a longer triangle .
You can do quick sketches like this to find the triangle shape that works for you , but make sure you keep your line super light .
So they're easy to erase just in case you need to reposition anything just for Fonzie , I'm gonna quickly draw a cartoon in the narrow space I have on the left .
This way you can see me draw a more complete face .
The rest of this video is gonna be focused on shading .
But first , I'm gonna quickly build the guidelines and nose .
We've got the circle , a bridge and to check the nose for a crookedness , place a transparent ruler down the middle vertically and any crookedness should become apparent .
Draw a horizontal line through the middle of the circle , extend the ends out and down , measure them to make sure they're the same size or else one nostril could be bigger than the other .
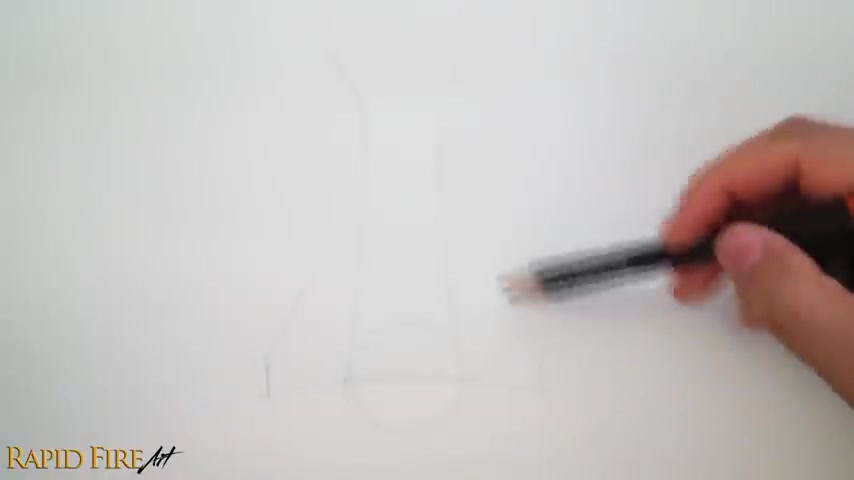
This is easy to fix now instead of later .
So take your time with the guidelines , add lines going up towards the bridge and another one at the bottom going around the circle , check that your nostrils are level by using a ruler aligned to the edge of your sketchbook .
The nostril is a little higher on the right .
So let me fix that before we move on .
All right , guidelines are done .
Remember , you don't have to follow your guidelines exactly to the T I'm gonna draw the bottom of the nose a little further down than the circle .
This will make the nose a lot less round .
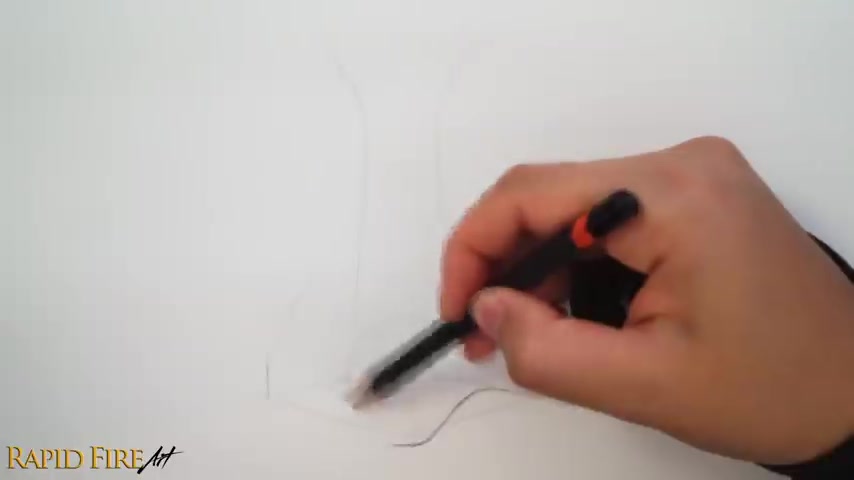
Still using an HB here to add some definition and bring out the tip of the nose .
I'm adding a few curves around the circle before shading , make sure the outlines are super light , they should be barely visible this way , they won't show through in the end , I'm darkening some areas .
So you can see just how effective this is roll a soft needed eraser until it's wider than your drawing and is completely smooth .
So you can lift the graphite evenly , roll it over your drawing swiftly to lift the graphite away until it's a light gray .
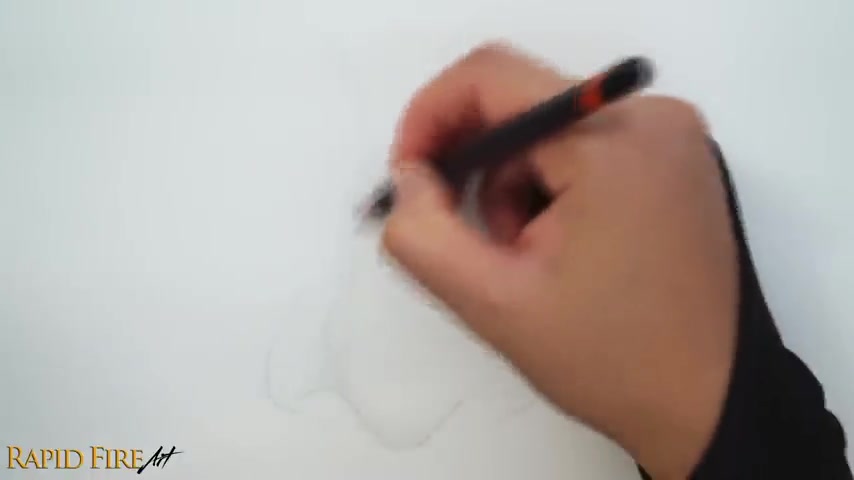
Now it's ready for shading with a blunt hb pencil shade , a light even layer along the bridge in circle .
I'm using the circulation technique which is comprised of many overlapping circular shapes , avoid harsh lines like this along the nose bridge and instead outline it by shading .
I'm just drawing a bunch of tightly woven circles shading around the sides of the nose as well .
If your original outlines start disappearing , darken them ever so slightly , I'm gonna give this nose overhead lighting .
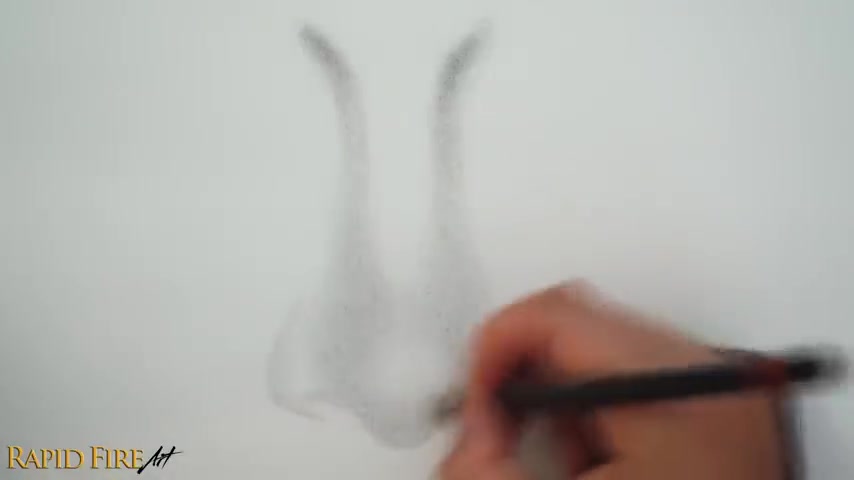
So any areas facing away from direct light will be shaded darker .
I'm still using an HB just slowly building and layering these values while you can shade it really dark to begin with .
Layering slowly will save you from making permanent mistakes or ones that are just hard to erase , shading around the circle .
I'm leaving the center of the circle white because I want to highlight it later .
So I wanted to use a two B pencil to slowly build this up , but I couldn't find it anywhere .
So I'm using a four B with very little pressure .
Earlier , I made a few outlines to define the tip of the nose , but they disappeared .
So I'm going back over these areas to give the nose a more unique form to make the bridge look more interesting to the eye .
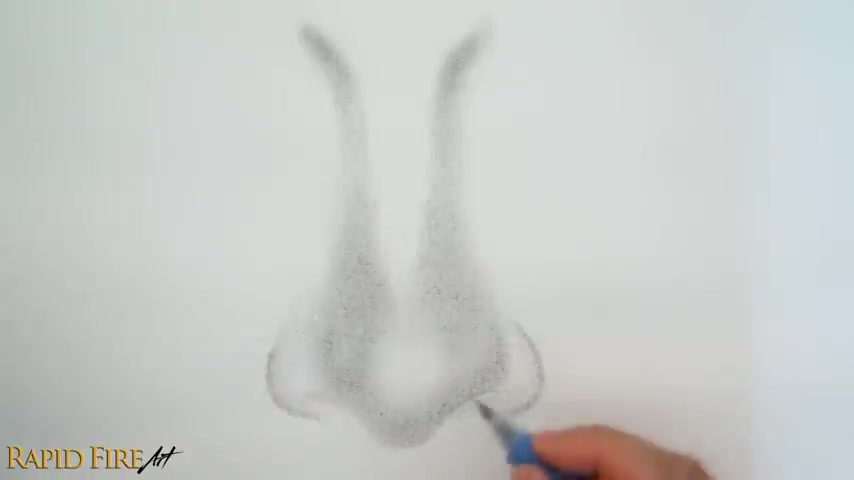
I'm making it more narrow at the bottom right before the nostrils disappear completely .
I'm gonna shade them using a four B .
The top part of the nostril has an abrupt change between light and dark values .
So it's OK to use dark strokes .
I want the edge to be really defined , just make sure the shading is softer and more gradual at the bottom of the nostril .
I'm doing the same thing with the bottom of the nose , but the lines are much lighter .
I'm trying to avoid what looks like thick or obvious outlines .
Now , I'm using an HB to shade a super light layer of graphite over everything just so it's a different shade of color from my sketch paper to cover more ground .
Use an overhand grip on the pencil .
This will give you thicker strokes and they're also easier to blend along the bridge .
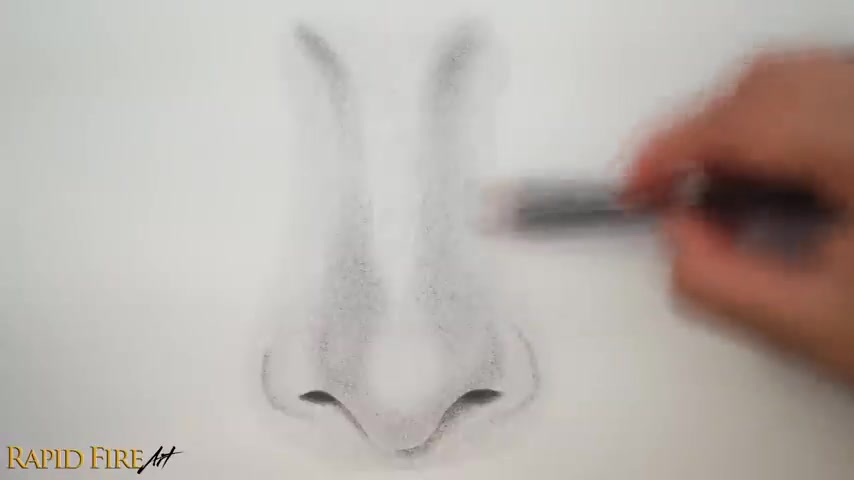
Make the shading look more gradual by slowly layering small amounts of graphite all the way down , do the same thing across the whole drying , making sure there aren't any harsh edges where the skin should be soft or smooth .
The form is really coming together .
Now , if you feel comfortable with the way it looks , continue adding more layers on top of the dark areas you defined earlier , working in layers allows you to change your mind before truly committing to the final design .
I'm using a four B mechanical pencil for higher precision .
For a beginner .
I recommend shading smooth areas of skin using a regular four B pencil just in case you catch a sharp edge , it'll also be easier to blend .
I like the shape of the nose so far .
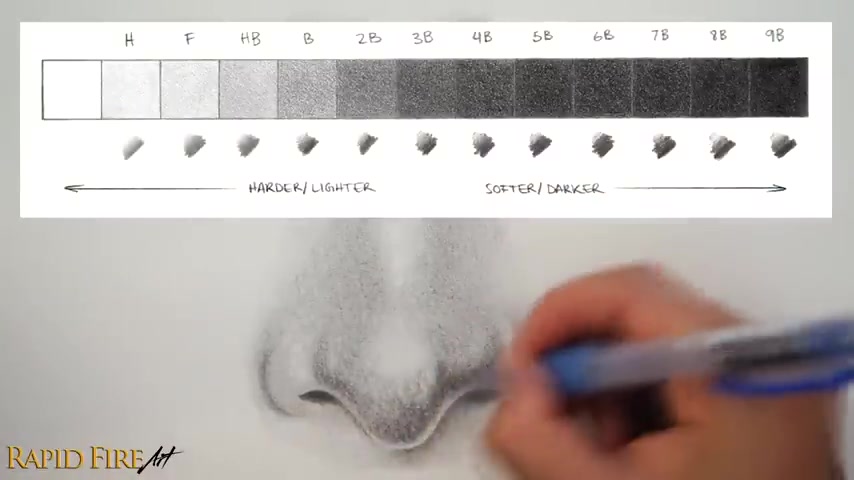
So I'm going over the darkest areas and amplifying them bit by bit .
You can do this with a two B pencil as well using a four B just means that you'll need to be extra careful with the amount of pressure applied since softer pencils produce darker values with little effort .
In case you're wondering the thin highlight around the bottom of the nose is coming from reflected light .
As I mentioned earlier , the light source for this drawing is coming from the top , but the light bounces and reflects off of many surfaces such as other parts of the face dust particles in the air walls and even flooring , these reflections can brighten areas facing away from the direct light source .
Hence the highlight around the bottom of the nose and the sides of the nose .
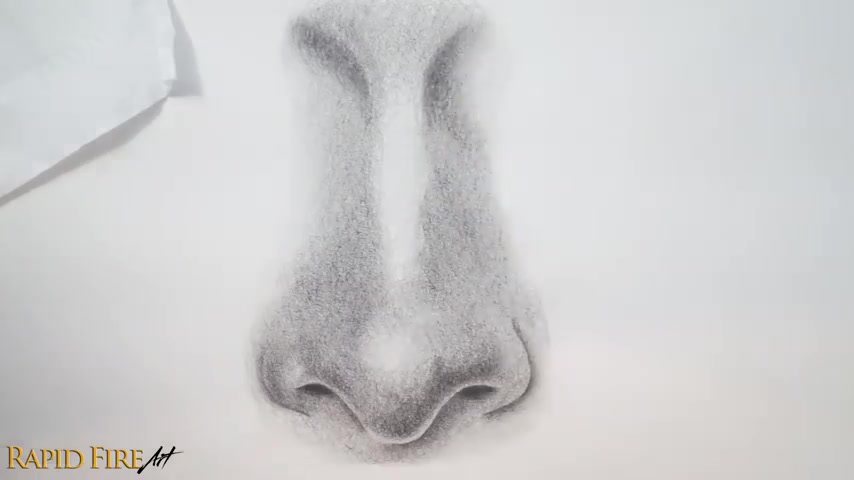
I'm going to shade this area a little darker because it's angled downward , which means there's less light reaching the surface .
The example that I'm drawing here is a profile view of the nose .
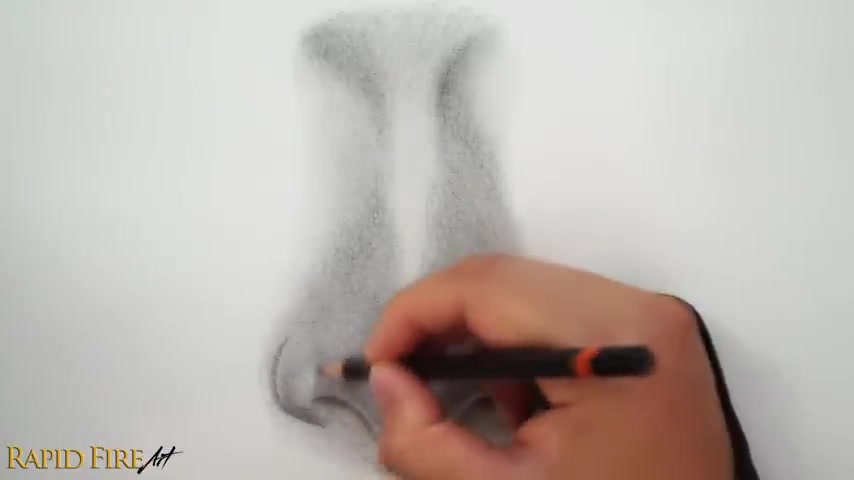
Alright , let's blend this , you can use many tools for blending .
This is a blending stump .
I like to rough up the side so I can use the fuzzy part to blend instead of full contact blending , it feels kind of like shading and does a great job .
If you have the time to save time , I'm gonna use a soft tissue .
The tissue is wrapped around my finger to cover a large surface area .
After every swipe remember to move your finger to a clean spot , prevent unwanted smudges by blending in sections and avoid blending from a dark area into a lighter one .
OK ?
I found my tube pencil hidden under the desk .
I can shade a lot faster with the tube because I can use it without thinking too much about pressure .
I'm using an HB to shade along the bridge and tip of the nose .
These are areas I want to highlight later .
So it helps to make them darker than the color of the paper .
I'm darkening the nostrils again and here's what I'm doing .
I'm outlining the top and gradually shading the bottom instead of outlining the entire shape of the nostril and then shading it in .
Ok .
Let's blend this one more time .
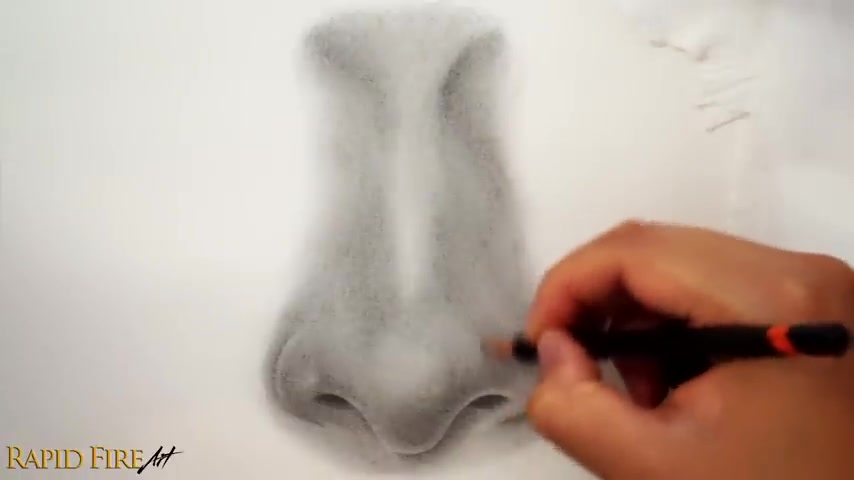
The skin looks a little bit grainy because the sketch paper is textured .
If you need to use a sharp HB pencil to fill in white dots or valleys on the paper's surface .
I'm just filling in the really obvious ones .
All right , there are a few blotches and black dots all around the nose .
Um To get rid of these , you can roll a needed eraser to a fine tip and lightly dab them away .
Repeat the process of filling white space or removing blotches until your shading is as smooth as possible .
OK .
Let's lift this drawing off the paper by adding some bright highlights , pinch or roll your needed eraser into your desired shape .
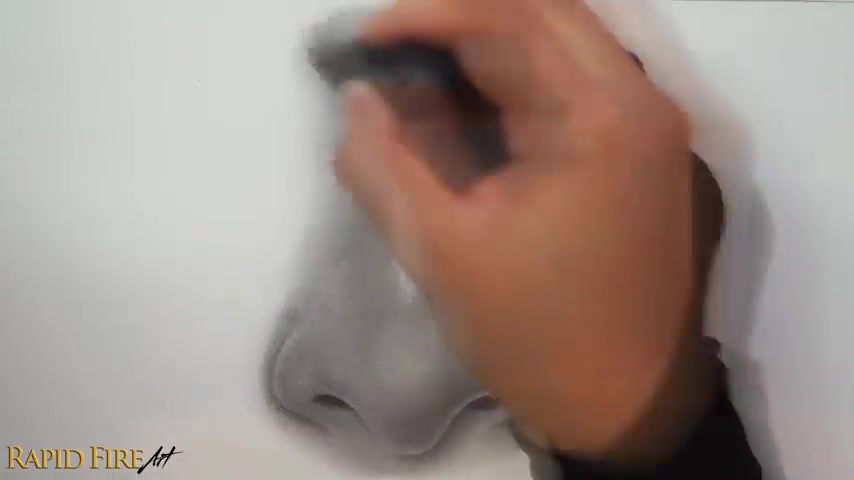
Then dab rub or swipe graphite from the lightest areas of your drawing .
If you want to lift away less graphite , use very light pressure .
This is a great way to get soft edges .
I'm just lifting blotches and softening the edges around each highlight to make the lighting look less harsh .
If you make any mistakes , use an HB pencil to fill in the spaces to give the dry , more depth , make your shadows even darker .
But remember to darken some of the mid tones as well .
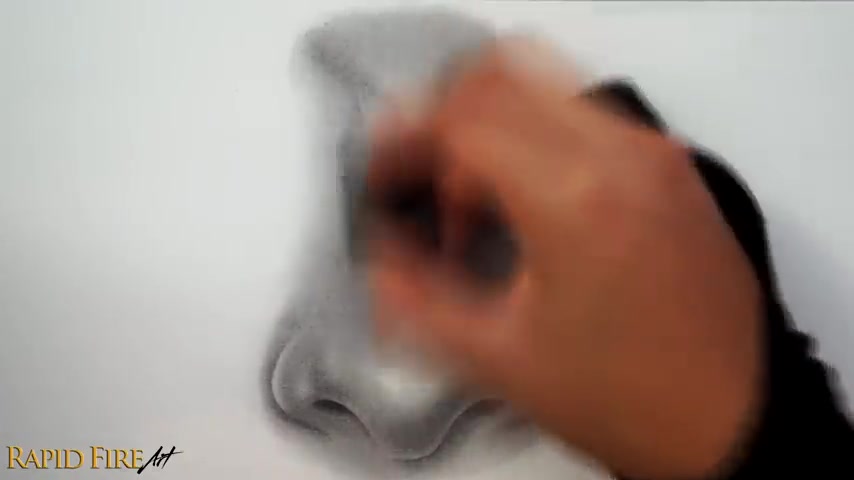
So that's pretty much it guys .
If you enjoyed this tutorial , don't forget to hit that like button and subscribe to my channel for more drawing tutorials to be notified when I post a new video .
Click the bell icon beside the subscribe button as well .
And if you tried this tutorial , send me a drawing and I'll feature it in the next video .
Are you looking for a way to reach a wider audience and get more views on your videos?
Our innovative video to text transcribing service can help you do just that.
We provide accurate transcriptions of your videos along with visual content that will help you attract new viewers and keep them engaged. Plus, our data analytics and ad campaign tools can help you monetize your content and maximize your revenue.
Let's partner up and take your video content to the next level!
Contact us today to learn more.