https://www.youtube.com/watch?v=mwYj97beiAA
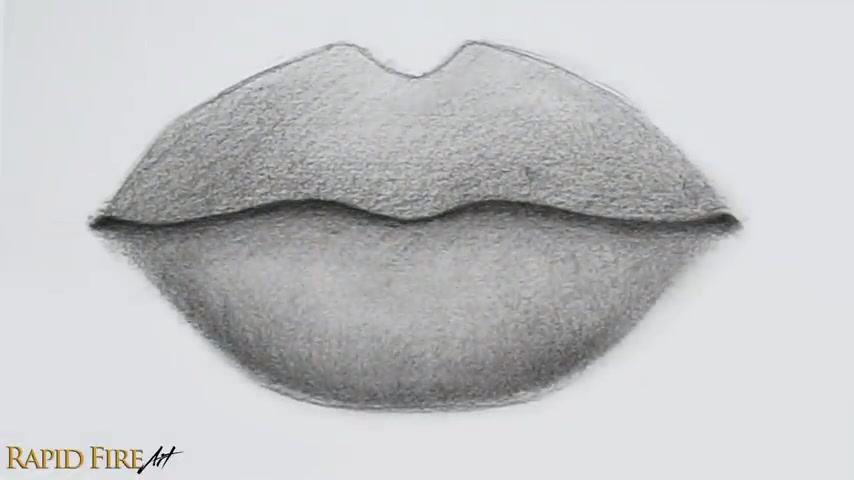
How to Draw Lips Using an HB Pencil
Hey , I'm Darlene .
And you're watching a rapid fire art tutorial in this video .
I'm gonna show you how you can use a cheap school pencil to draw realistic lips .
All you'll need for this tutorial is a cheap HBAK .
A number two pencil , the eraser , it comes with a piece of toilet paper or facial tissue and any decent piece of paper like printer paper , nothing expensive or fancy .
Let's get started for all the construction lines .
Try to keep your strokes very light so that later when you eventually shade , they'll blend right in .
I'm gonna use dark lines so you can clearly see what I'm doing .
Just start by drawing a line .
It can go straight across , curve up or down .
If you like , this will change the overall shape of the mouth .
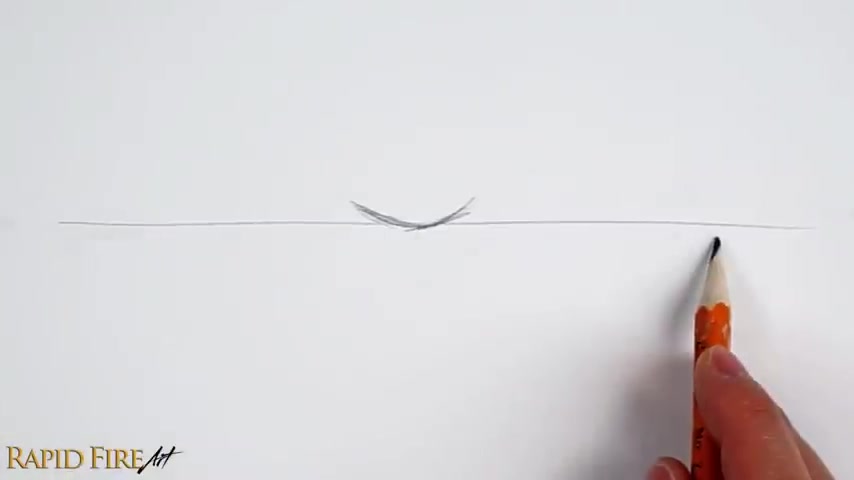
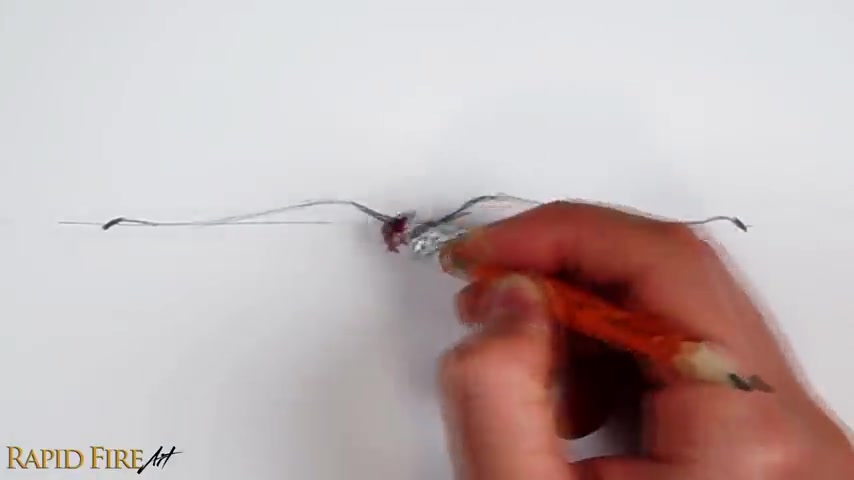
The next step is to locate the very center and draw a shallow bowl shape on both sides , draw a tick that slants in any direction that you want .
These are the corners of the mouth .
You wanna make sure that they're spaced evenly apart .
I'm just using my pencil as a measuring tool , but you can use a ruler instead after that disconnect everything together using a wavy line of your choice .
This is the opening of the mouth .
Now , I'm trying to make the two sides of the mouth symmetrical .
You can use the line we drew in step one as a reference .
Once you're done , we won't need this line anymore .
So let's erase that .
The next step is to draw the upper lip .
We want to draw from the middle and work our way out .
So locate the middle of the mouth , I'm drawing a deep smooth curve , but you can draw something closer to a flat line or a deep V shape .
It's up to you draw this lower for a thinner lip .
I'm gonna go for a thick upper lip regarding the width .
I wouldn't make it any wider than a third of the overall mouth .
Make sure these peaks are level and then connect it to the corners of the mouth .
You can draw a variety of different curves to get the look that you're going for .
I'm gonna go for a full upper lip .
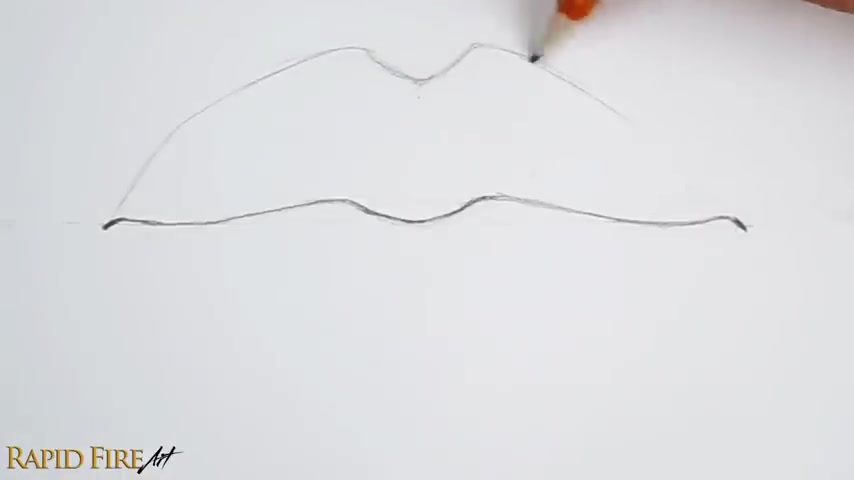
I'm just trying to mirror the left side so that the lip appears symmetrical , stand back , have a look , check your drawing in the bathroom mirror to reveal errors and it looks like I need to fix mine a little bit for the lower lip .
We're also gonna start drawing from the middle and work our way out .
The distance from the mouth's opening will determine the thickness if you want to draw a mouth that has dark lipstick or full lips , that curve or curl out to a great extent .
Continue drawing this outline to the very corners of the mouth .
If not , you can stop part way , make sure to feather your strokes out at the ends .
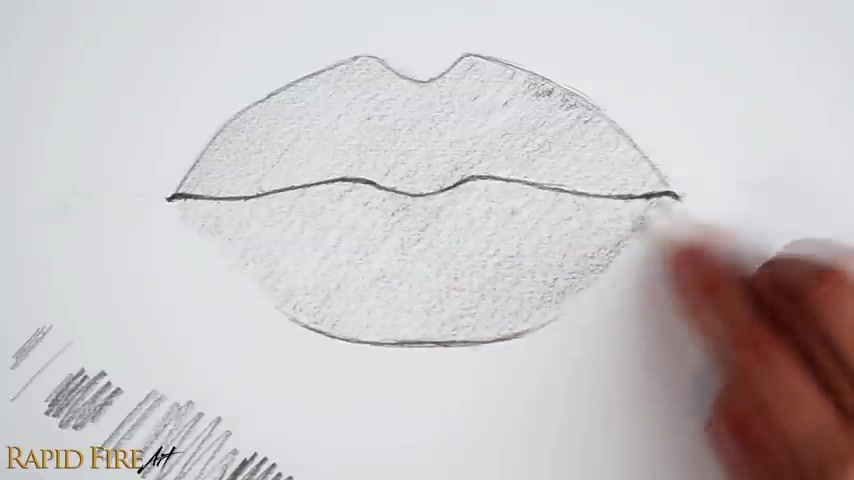
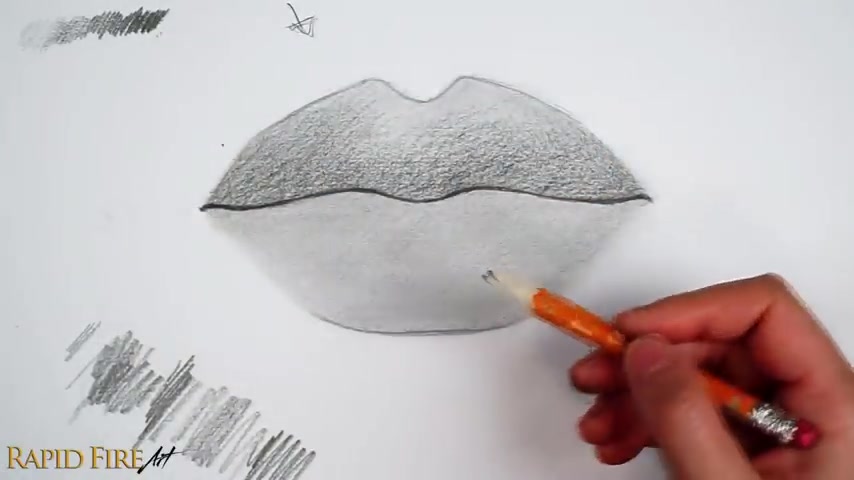
The next step is to shade .
But before we do make sure your construction lines are very light , I'm keeping them dark so you can clearly see what's going on .
Let's shade a light even layer of graphite over the entire area .

So it's clearly a different shade than the rest of the paper to make the shading process quick and easy .
Rotate your pencil to the side with the most exposed graphite using an overhand grip on your pencil like so test your stroke somewhere else until you get a thick line , thick lines are great for shading quickly and smoothly .
A regular writing grip will make it difficult to shade smoothly because the lines come out thinner which can make your shading look scratchy for even thicker lines .
You might want to consider stripping off some of the wood to expose even more graphite .
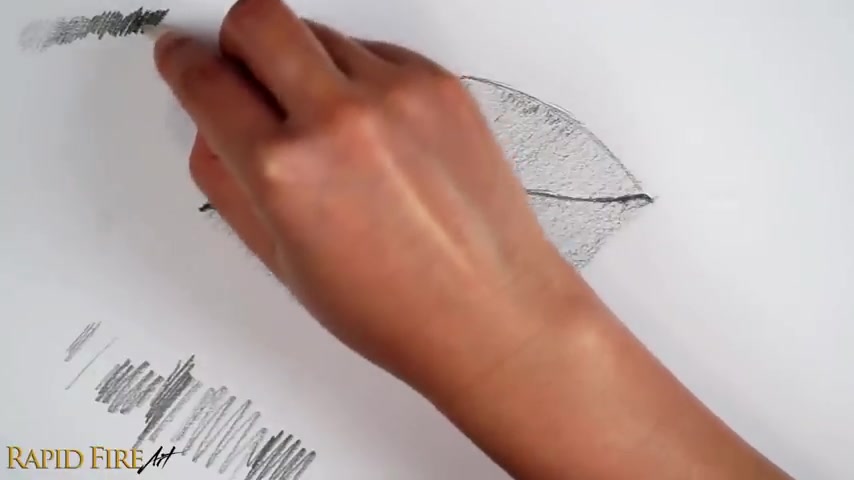
My pencil is very scratchy right now .
If yours is too , you can scribble off to the side until it feels smooth again or rotate your pencil to a smoother side .
I got this pencil from the dollar store a long time ago and it doesn't seem to want to cooperate with me the closer your strokes are to each other the better .
I'm just shading in one direction to draw long consistent strokes , limit the movement in your fingers and wrist and instead use your elbow and shoulder to move any time you lose your grip or put your pencil down .
Remember to do a test scribble to make sure your lines are just as thick and smooth before shading again .
There are some areas of minor inconsistency , but let's not worry about those .
Now , here's the tip .
If you're not sure how light to shade this first layer somewhere off to the side shade from as light as you can to as dark as you possibly can gradually .
Now you can see what shades your specific pencil is capable of making your result may look different from mine .
We want to use a light value for this layer and save our darker values for later .
Your drawing will lack contrast if you go too dark too early because we only have an HB pencil to work with giving us a small range of values .
You might find that with your HB pencil , you need to press down very hard to get a dark value .
This can warp your paper , rip it or make the surface look extremely reflective .
If you encounter this , you might want to consider using a thicker , more durable paper or avoid using such dark values .
Keep this value chart within sight .
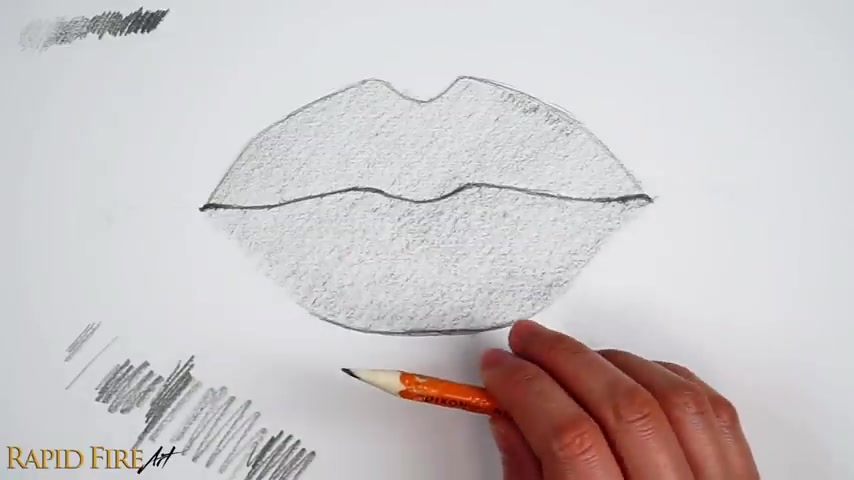
So you can refer back to it constantly , especially if you're like me and tend to get carried away , check that your shading is even and there are no gaps .
Now , let's blend all of our shading .
So it's nice and smooth .
Use any tool of your choice .
I advise against using your finger to blend because the oils from your skin can smear the graphite and make your drawing look blotchy .
But if you have no other alternatives , just make sure you wipe your fingers with a clean cloth before you blend .
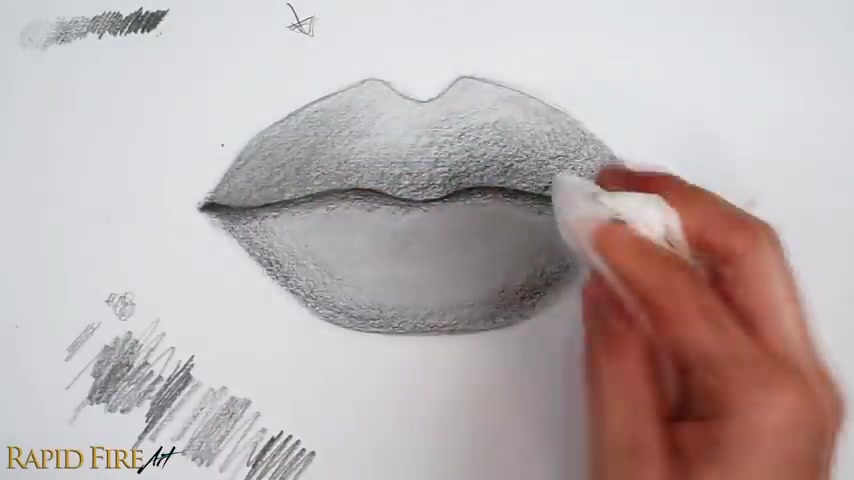
A cheap blending tool is any soft facial tissue or toilet paper wrapped around your finger , lightly blend the graphite out since we shaded flatly , I'm just blending in random directions .
Frequently switch to a clean spot on your tissue to continue blending .
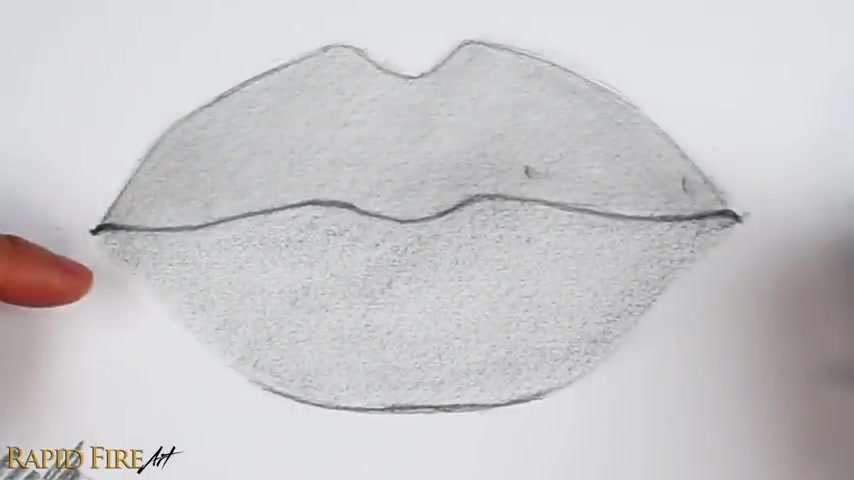
You can see how effective the tissue is compared to the finger blending I did on the lower lip .
If you see any blemishes , dab it away with a clean eraser and blend the area again , I'm just gonna blend the lower lip again using the tissue .
Our goal here is to just push that graphite into all the little valleys of the paper to reduce how grainy it looks .
You can see how my finger oils have created slight blemishes on the lower lip .
If for any reason , your shading looks inconsistent after blending , just add more graphite in the lighter areas and then blend it again .
If your tools aren't really cooperating with you , like mine are just do the best that you can and move on .
We're gonna be layering on a lot more graphite .
So this layer doesn't have to look perfect .
Before we continue , I want to introduce you to the awesome sponsor for this video Skillshare , an online learning community for creative and curious people , offering classes on topics like fine art , illustration , graphic design , photography , and so much more , pretty much all the topics that I'm interested in .
And that's just one reason that entice me to join skillshare with high quality content created by experts .
I don't lose time searching .
I can start learning right away without any hurdles or distracting ads with a vast variety of topics and teachers to choose from .
It makes it so easy to find things I want to learn and discover brand new topics that excite and inspire me .
A class that I'm seriously in love with right now is Chris Hong's class called steps to creating vivid portraits with colored pencils .
She broke down a topic I was previously scared of and made it so easy to understand .
And I also love her colorful style .
A key takeaway I learned was that I can use any color that I want .
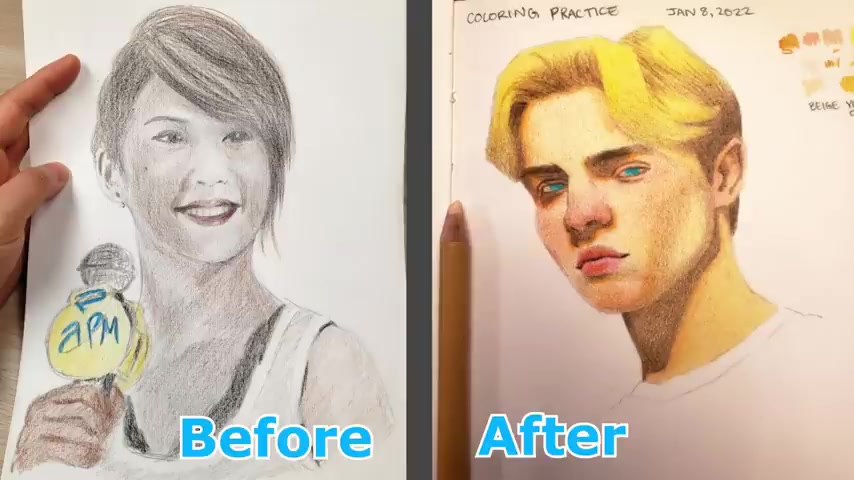
As long as the portrait still reads well in gray scale , I need to practice way more to get to that stage , but I already see a huge improvement from my previous work .
I'm just super stoked skillshare classes are well structured , broken down into smaller lessons .
So I know exactly what I'm getting into and I can quickly jump back and forth between lessons to reference material .
As I draw .
Skillshare is offering the 1st 1000 of my subscribers who click the link in the description , a one month free trial so you can start exploring your creativity today .
Thanks , skillshare .
Now , let's get back to the tutorial .
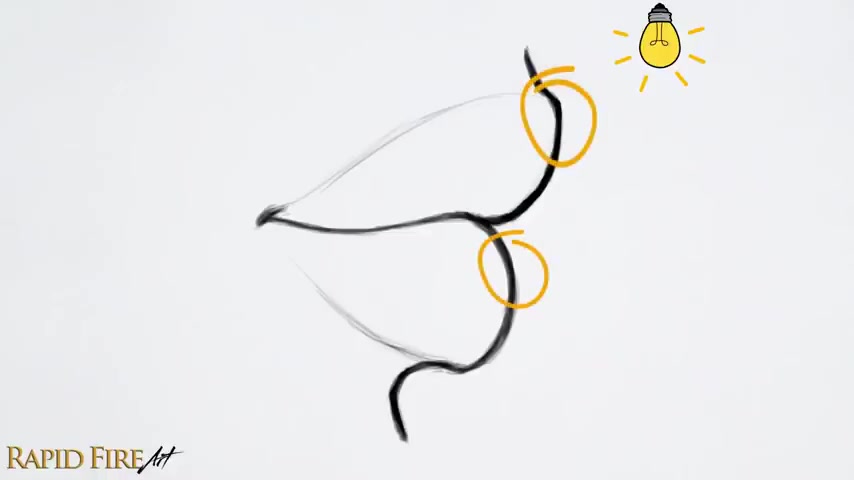
The next step is to plan your lighting .
How many light sources do you want and where will they come from ?
I'm gonna have a single light source shining down from the top left in general areas that are facing , the light directly will be the lightest and areas facing away will be the darkest .
In this case , with the light shining down on the mouth , the top of each lip will appear lighter than the bottom .
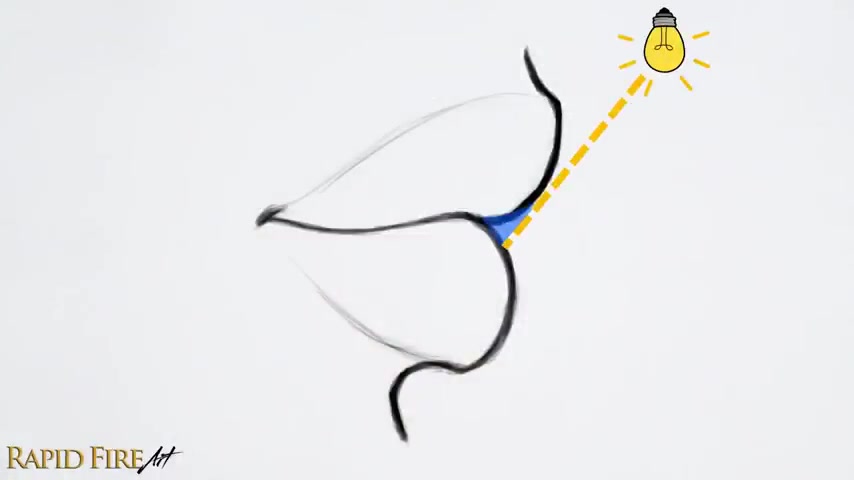
It might help to think of the mouth from the profile view with the light shining down at this angle .
The brightest zones might appear right here where the surface of the lip faces the light directly and then as each lip curves away from the light source , it'll become darker and darker .
I'm gonna use this information to shade my drawing .
We also need to account for our reflections and cast shadows , but I'll get into those a little bit later to learn more about light .
Click on the tutorial in the top corner of this video or in the description .
Ok .
Now that we've decided on the lighting , let's introduce a slightly darker value along the upper lip to reflect roughly how the light would affect it .
Shade the shadow side of your lip , the one facing away from your light source as you work your way up into the area where the lip faces , the light feather , your strokes for a gradual transition in value .
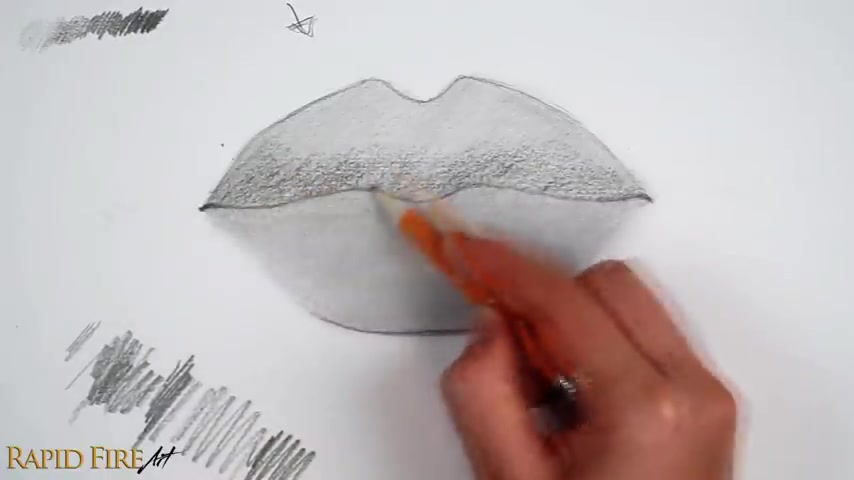
Don't worry too much about making this part look pretty right now .
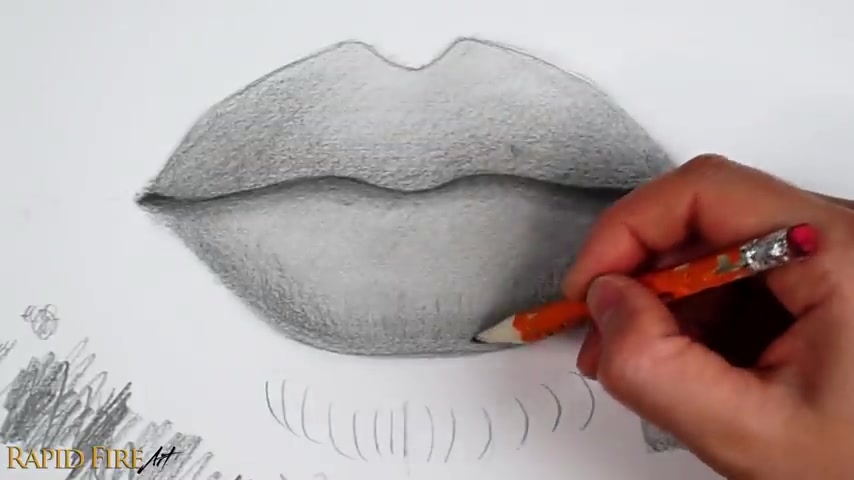
We're just laying down another base layer to set up for some detailed work later on , if the opening of the mouth becomes difficult to make out darken it a little more moving on to the lower lip .
I'm gonna shade around the bottom and side edges to show where the lip curves away from the light giving it form .
If you want your lower lip to look less plump , don't emphasize this shadow too much because the intensity of this shadow indicates how much the lip curves away from the light source shade in whatever direction feels comfortable to you as long as your strokes blend together .
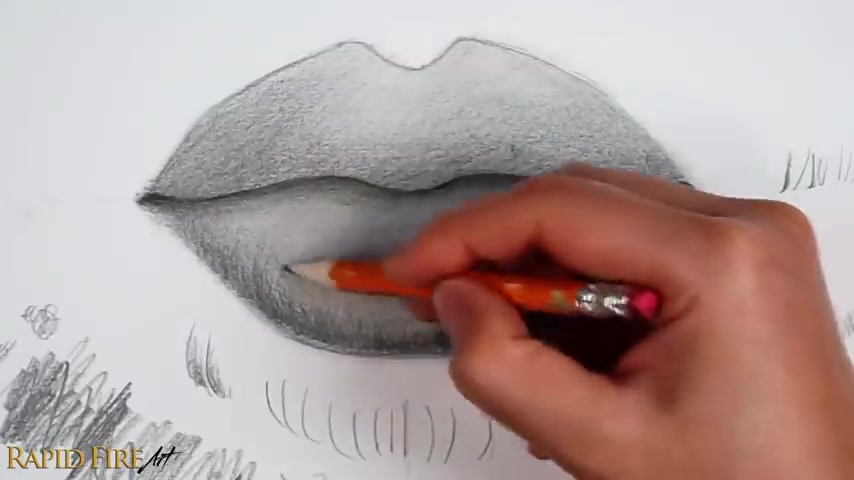
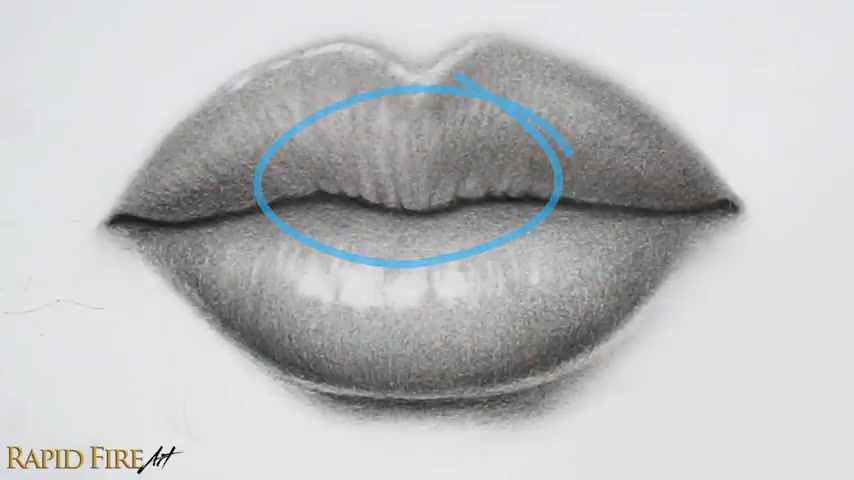
Well , before we blend this out with the tissue , let's also shade the cast shadow below the upper lip .
A cast shadow forms when an object blocks light from reaching another shade , the cast shadow lighter gradually as you work your way down .
I don't want to make the cast shadow that thick because the thicker it is , the more the upper lip will stick out .
Here's a clear example of what I mean from the side view , the more the upper lip sticks out , the more light is being blocked from reaching the lower lip , which could translate to a larger cast shadow , avoid making your cast shadow the same thickness all the way along .
It will look more natural if the shadow thins out here and or here , let's blend our drawing again .
This time , since we've introduced a darker value , we need to be careful not to smear it so carefully blend from a light zone into a darker zone and use a clean spot on the tissue with every swipe , avoid going from dark to light because you can smear your work if you need to blend this area and don't want to soften out that clean edge along the upper lip .
Try using a different blending technique , fold your tissue over several times to build up thickness .
Use one hand to clamp the top edge and then fold the tissue in on itself to get a sharp corner .
You should now have a hard pointy tip to do some precision blending with clamp the tissue tightly .

So it doesn't become loose , then use the very tip to blend along the top edge of your shadow , rotate to a cleaner spot on the tissue as you work your way down into the lighter zones with some graphite stuck to the tissue .
We can also use it similarly to how we'd use a pencil .
Just be careful when working in lighter areas .
If you're using light strokes , it'll be much easier to control .
Your shading .
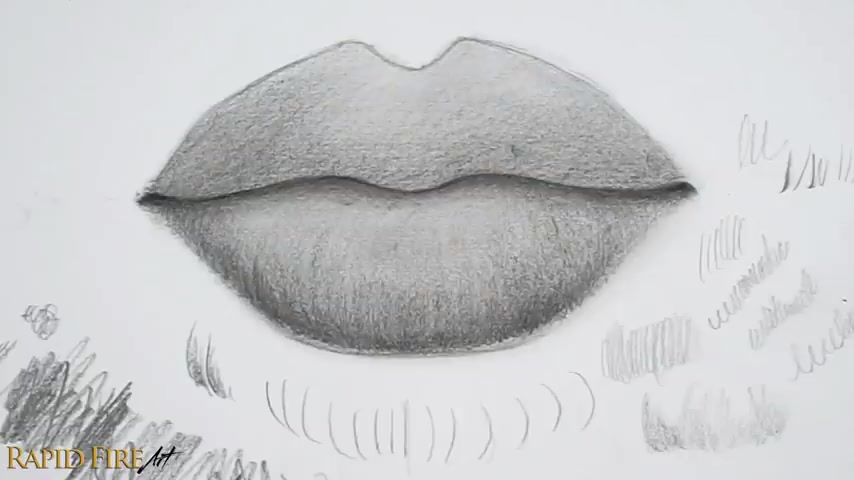
Should now look much smoother .
If you're happy with how your drawing is starting to shape up , we'll go right ahead and add a few layers of detail while darkening the shadows more to further bring out the plump shape of the lip .
Now , let's add some thin wrinkles along the bottom of the lower lip .
I'm going to build upon the shadow areas making it darker and darker with each pass .
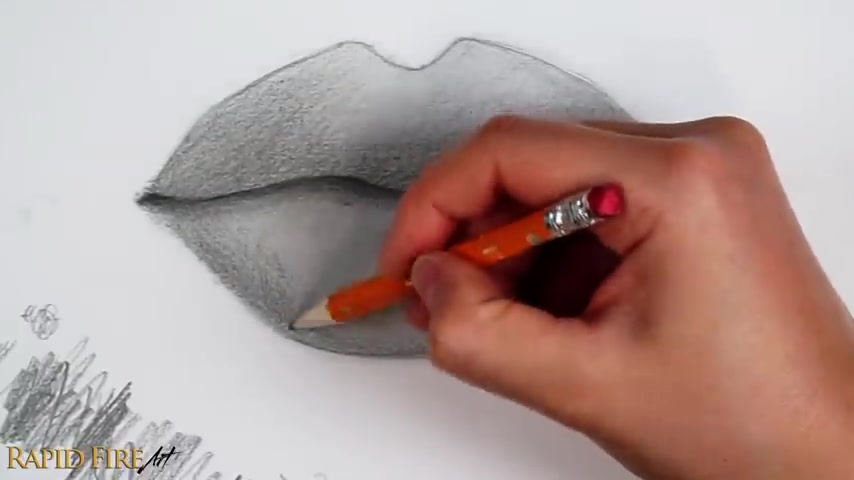
Refer to your value scale , see how much darker you can shade and where you want to save those darkest values for .
I'm using the tip of my pencil this time with a writing grip , creating subtle wrinkle lines that follow the plump contour of the lip .
Here are some contour lines to help you better understand the direction I'm shading in .
I'm shading like this where I introduce random peaks .
If you like to show a lot of wrinkle texture , you can space your strokes further apart for a smoother texture , draw them closer together .
I'm leaving a small sliver of space along the very bottom of the lip to account for reflected light light that bounces off the chin and brightens up the very bottom of the lip in very narrow spotss .
Sometimes I shade in a loopy pattern like this for speed for more apparent wrinkles , press a little harder and draw individual strokes that feather out as you flick your pencil upward .
So the end of the stroke doesn't look too blunt .
If there is a very clear difference between your shadow area and light area introduce a middle tone , a value that's somewhere in between to make the transition appear gradual .
As you can probably see , I'm being a little bit sloppy here , but you want to try to shape your stroke .
So they follow the contour of the lip .
Here's what it looked like before and after introducing the middle tone , the lip looks properly curved .
Now , if you like seeing these wrinkle textures , keep it as is if you want to emphasize some wrinkles , choose a few random ones and darken them slightly .
I'm gonna blend mine a little so they're more subtle .
I'm very carefully blending the darkest areas separately from the light areas to avoid smudging my work .
Now that that's done , I feel like the cast shadow under the upper lip could be darker .
I think it's good to go back and forth building your values up layer by layer like this and taking your time instead of shading as dark as you can right away because it's easier to add graphite than to take it away , especially if you're working with limited tools like we are .

Now let me just quickly blend this .
Once you're done , the lips should go from dark medium , light , medium to dark .
The intensity of each value is up to you and your personal preference .
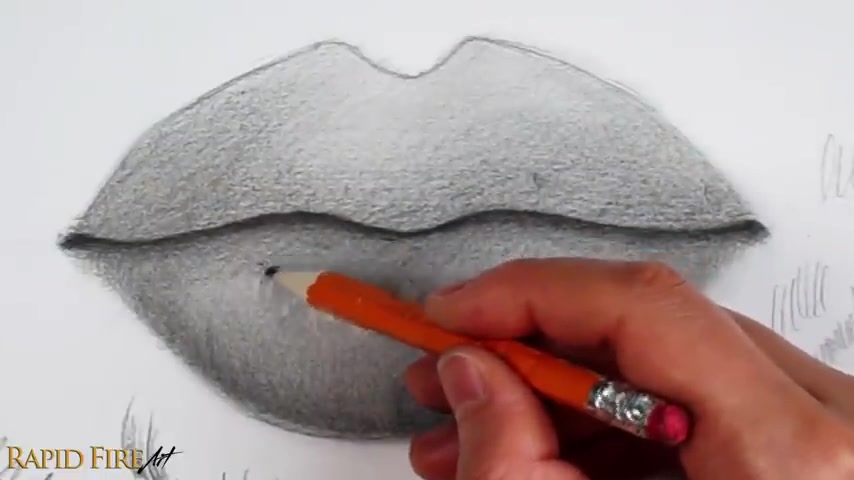
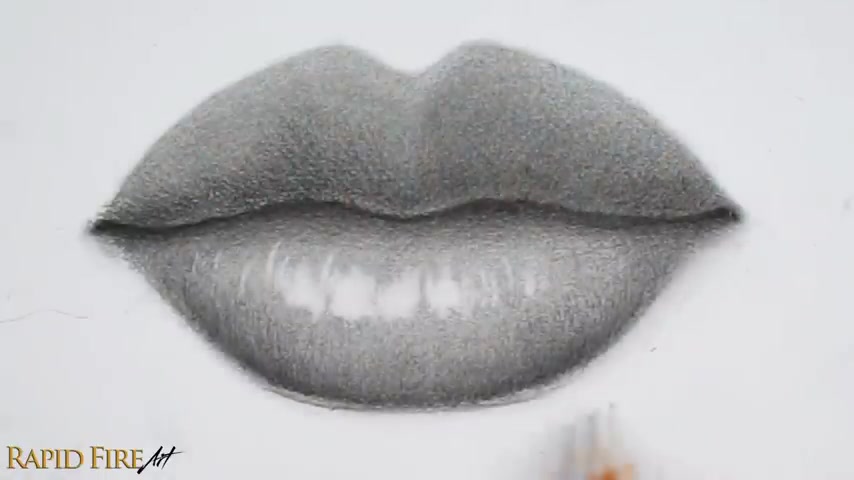
It's finally time for highlights check where your light source comes from .
Again , mine's coming from the top left .
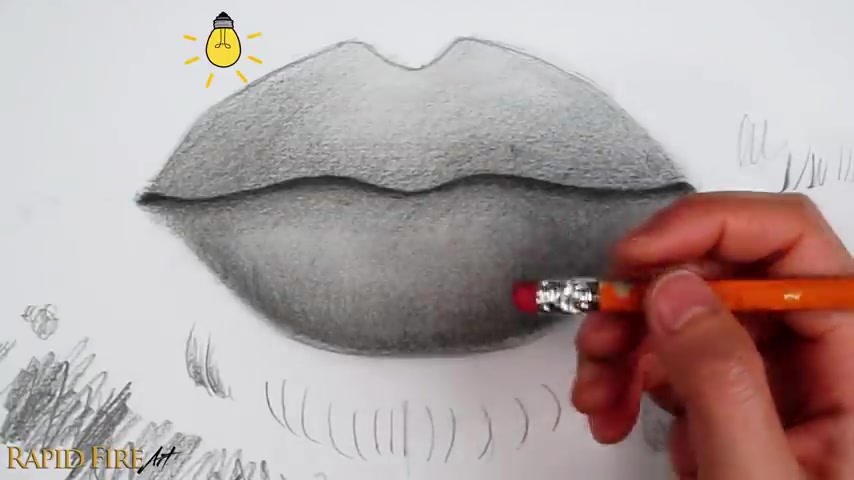
So I'll draw my highlights more along the left side of the lip as you go along , make sure you're not drawing the highlights straight across the lip .
We want to create a slight curve .
Instead , some of my highlights are thin and long .
Others are short and wide .
We want some variety .
You can rotate your eraser to get different thicknesses as you move left and right .
Remember the contour of the lip and curve your lines accordingly to further support that plump shape .
If you make a mistake or something doesn't look good .
Don't worry , sharpen your pencil and lightly fill that space in .
If you want the lip to look matte , create disconnected highlights for a glossy lip clump your highlights together into one large one and smooth out the edges .
See how this large smooth edged highlight looks glossier than the disconnected ones around it .
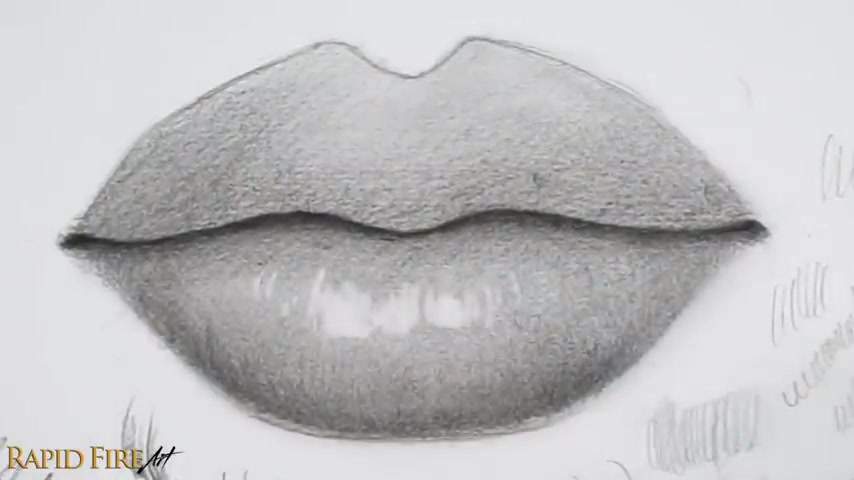
If your eraser isn't doing a good job at creating clean highlights , clean your eraser by rubbing it on a blank piece of paper first , if your eraser is too blunt to make thin highlights , cut a piece off and then use the pointiest or sharpest end as I work outward from the main area , I want to highlight , I spread my highlights out and make them appear smaller , more subtle .
If you can't seem to erase just a tiny amount of graphite erase it as best as you can and then sharpen your pencil to fill back the graphite that you over erased until you're happy with the size and shape .
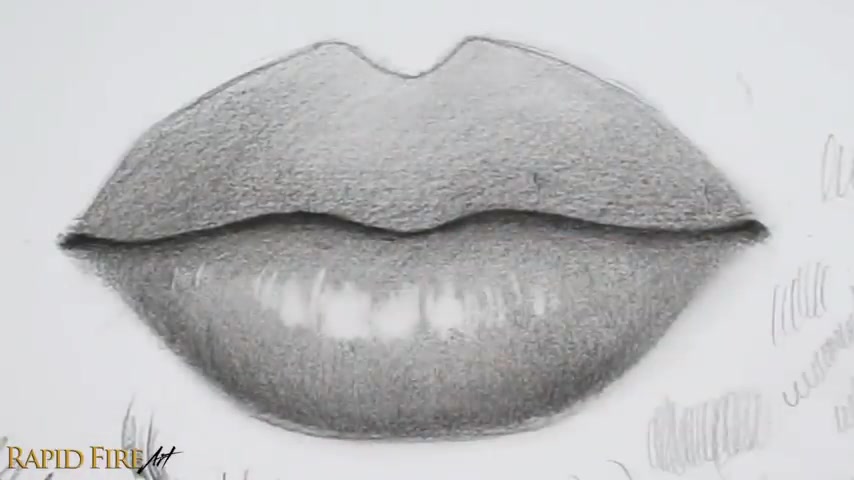
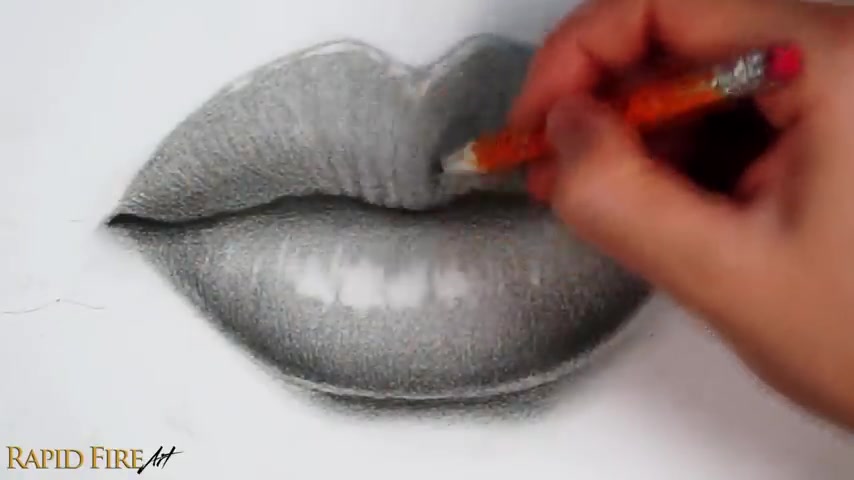
Let's hop back to the upper lip and give it some wrinkle lines like we did for the lower lip , drawing them along the shadow side .
But this time using lines that radiate outward like so again , I'm using the very tip of my pencil .
Let's avoid shading this small sliver of space along the bottom to account for reflected light , build this shadow up slowly in layers .
I'm creating a wavy pattern roughly following the wavy pattern that we see along the bottom edge of the lip play with your stroke spacing and intensity to achieve the look that you're happy with .
I'm gonna blend mine so the skin looks smoother , but there's still some wrinkle detail .
For some reason though , my wrinkles are not showing up as well on camera .

Anyway , if your subtle outline around the upper lip hasn't disappeared by now , erase it carefully and or shade a flat layer of graphite over the rest of the lip using the side of your pencil until it's no longer noticeable blend the entire upper lip very well as you blend the shadow side , let the tissue smudge the reflection to make it very subtle .
If your light source is coming from the left like mine , add a slightly darker layer of graphite on the right half of the upper lip once you're done , the upper lip should be darker than the lower lip overall because it angles down facing away from the light .
I now have a shadow that runs along the bottom half and another along the right half of the lip .
I know it looks kind of weird right now , but I promise things will work out later when we give the lip more detail and shape using our eraser and tissue .
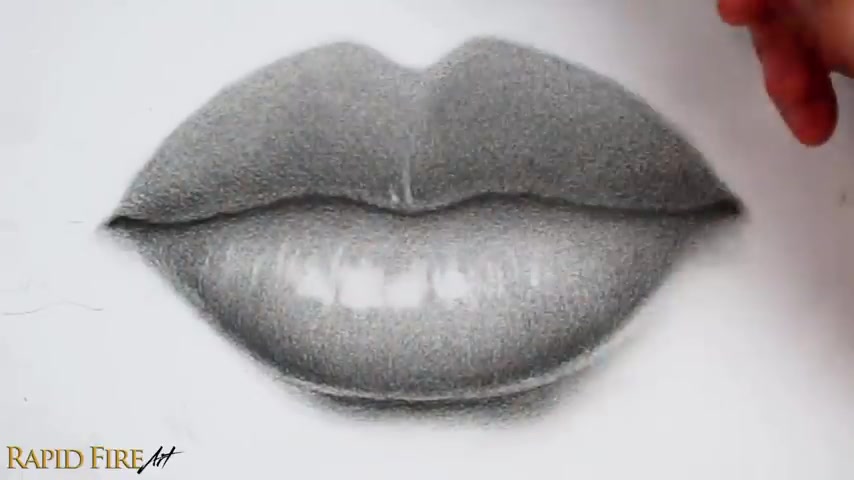
Before we do that , I just want to add a cast shadow directly below the lower lip to make the drawing look a little more interesting .
This is an optional step and you can make the shadow as light or as dark as you want it to be .
I'm drawing a clean dark line where I want the lip to end this shadow brings out nicely .
The bit of reflected light along the lower lip , I'm shading lighter as I move toward the left and right as well as down toward the chin .
Also , since my light source comes from the left side , the cast shadow will be more prominent on the right side , use a tissue to blend the graphite out very well .
And while you're at it gently smudge the reflection to decrease its intensity .
OK .
Now , for the really fun part , let's use our eraser to lighten up certain parts of the upper lip to give it more shape and texture at the same time .
First , make sure you clean your eraser very well , beforehand , then go along these parts of the lip , creating thin light strokes curve each stroke to follow the contour of the lip .
Like you did earlier .
When drawing the wrinkles vary the length of each stroke group , your strokes close together , building them up using multiple layers and avoid creating a noticeable pattern .
I'm just quickly going back and forth without overthinking exactly where I'm erasing .
Just try your best to erase lightly and build your strokes up layer by layer like we've been doing with the graphite .
But also don't worry if the strokes look too harsh because we're gonna soften these up later using a tissue .
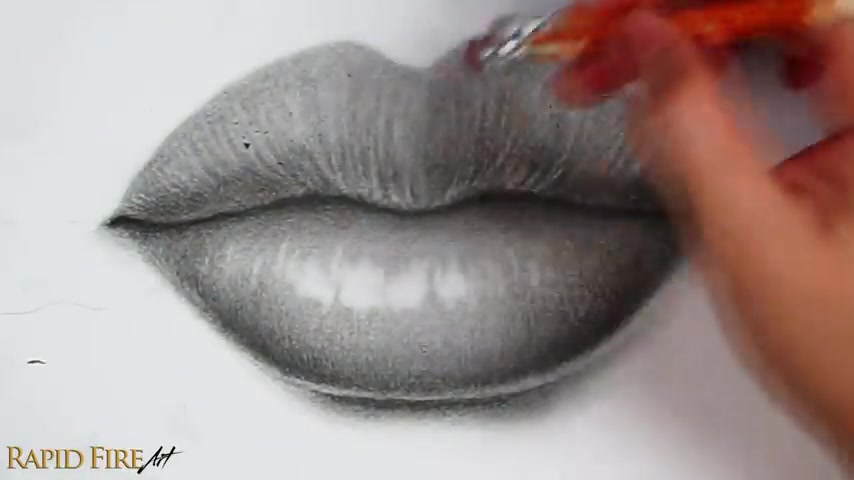
When you're done , the lips should look kind of stripy and the right side should still be slightly darker than the left overall because it's in shadow .
Now , let's blend this .
So the wrinkles look more natural , make sure to clear off any eraser crumbs from your drawing beforehand , even if they're tiny , otherwise you could drag them across your drawing and make a mess .
I just dusted them off using a loosely held tissue again , try to blend from a light zone into a darker one to avoid unwanted smudges .
Once the wrinkles look soft enough for me , I'll stop blending next .
Let's create some very thin highlights along the top left of the lip .
Super close to the edge .
If your eraser is too round and thick to erase exactly where you want pinch or cut off a piece and use the pointiest part highlights should be the lightest value in your drawing .
So erase these very well at the middle of the cubits bow this part , you can continue to stick close to the edge or travel a little further down .
So if you're happy with how your drawing looks , now you can stop here if you want to bunch up the skin like .
So please continue the skin at the middle of the upper lip when resting is usually the most bunched up to make the skin look that way .
We need to go along the bottom edge of the upper lip and make it more wavy .
Here's an exaggerated example of what I'm gonna do .
I'll draw these pinched triangle shapes that are varied in size and I'll space them out randomly .
Some can be linked together , shade all of them in and then draw wrangle lines coming from each one .
These can be slightly curved or even veiny looking .
If your wrinkle lines are already very prominent , you can pick a few that you wanna emphasize and arrange the wave pattern based on that .
Draw your pinched triangle shape below each one .
You can leave these areas alone or make them a little wavy .
I want to deepen my wrinkles some more by darkening the wrinkle valley .
And then after I've done that , I'll lighten the spaces between them using my eraser to make the skin appear raised , lighten your stroke as you work your way up to further bring out these wrinkles , use your eraser to lighten the space between each one , making the skin appear erased when you're done .
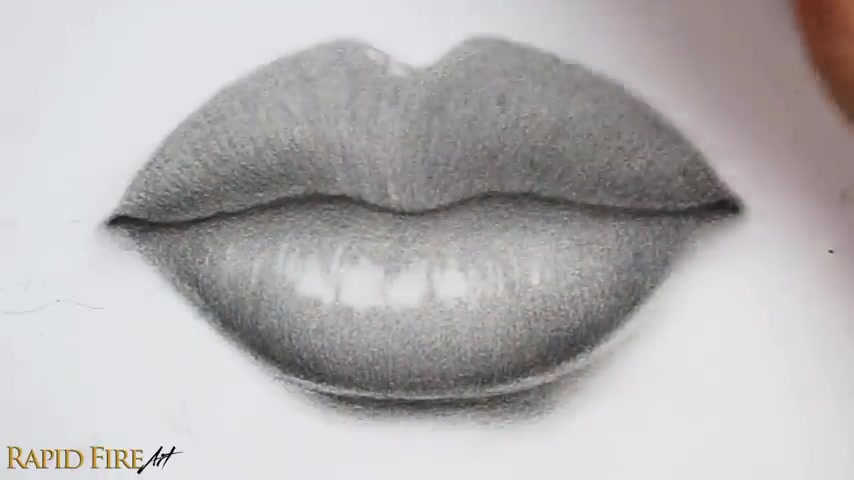
Take a step back and look at your entire drawing to see if you'd like to apply any touch ups .
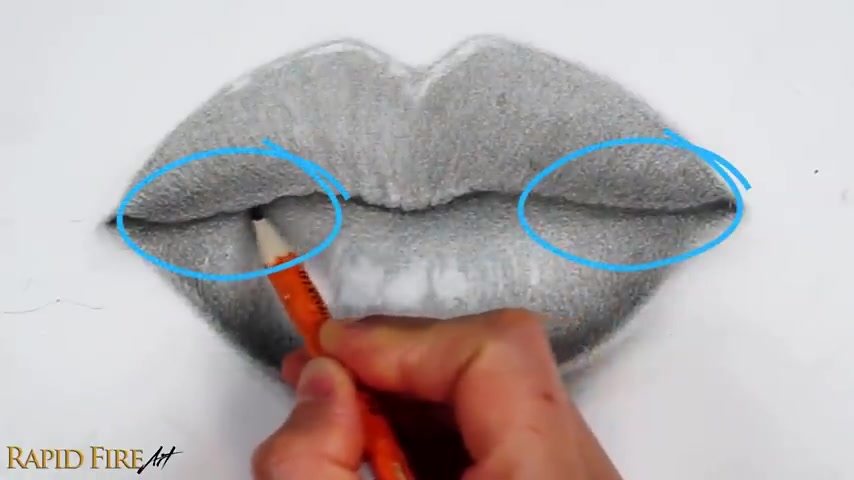
I wanna add some shading around the corners of the mouth .
I'm just putting down a little bit of graphite and then blending it out extremely well .
So it kind of fades into the background .
I think the lower lip would look even better if I extended the shadow on the right , just to highlight how plump the lip is and then blend it out .
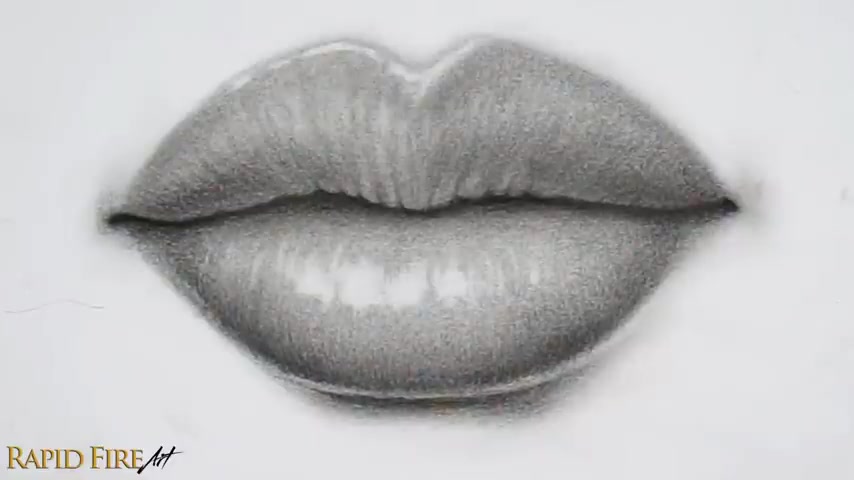
If your drawing doesn't pop out as much as you'd like , try things like brightening zones that face the light or using correction fluid to get a bright white highlight and or darken zones that are turned away from your light source , creating a greater value contrast .
Here's a look at the entire process from beginning to end .
Want to see more tutorials using just an HB pencil .
Let me know by hitting the like button and subscribe if you want to see more detailed drawing tutorials like this one .
Here are some other videos I think you might enjoy .
Thanks for watching and I'll see you in the next one .
Thanks for watching and I'll see you in the next one .
Are you looking for a way to reach a wider audience and get more views on your videos?
Our innovative video to text transcribing service can help you do just that.
We provide accurate transcriptions of your videos along with visual content that will help you attract new viewers and keep them engaged. Plus, our data analytics and ad campaign tools can help you monetize your content and maximize your revenue.
Let's partner up and take your video content to the next level!
Contact us today to learn more.