https://www.youtube.com/watch?v=BJ86jODqexo
How to Make a Naked Wedding Cake (Your First Cake!)
Hello .
Oh hey sis .
How's it going ?
Do you want me to make a wedding cake ?
You know , I've literally never made a wedding cake before .
Right ?
Yeah .
Yeah .
No , I totally can .
I've made a cake before , so .
Sure .
Yeah .
Ok , bye .
Is this you , did you tell somebody that you know how to make a wedding cake and that you could totally handle it and then now you're regretting your decisions .
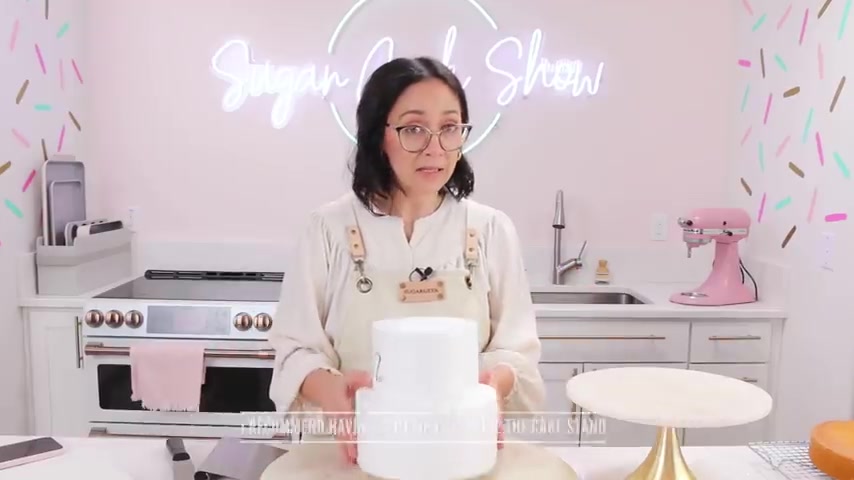
Well , you're in luck because today I'm going to show you how to make the easiest wedding cake .
It's called a naked wedding cake in this tutorial .
I'm going to show you how to calculate your servings how to stack each of your cake tiers , how to support them .
So it doesn't collapse and finally how to decorate with fresh flowers safely .
And I'm even going to show you how to deliver the cake and cut it .
All right , let's get started .
OK .
So first thing we're gonna need to do is do some math .
No , no .
Wait , where are you going ?
Wait , I have a visual aid .
Ha ha .
OK .
Here we have something called a cake dummy .
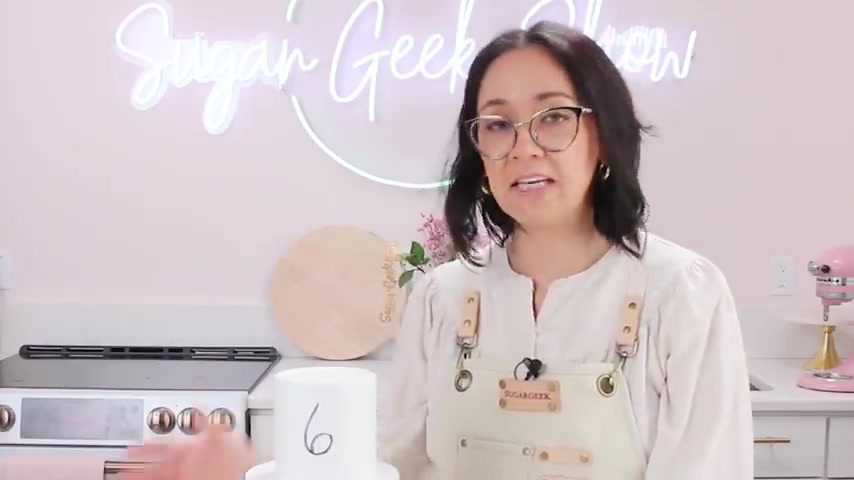
I did not name it that .
All right .
So if we have a four inch cake , four inches tall , two layers of cake inside , you can get six servings out of that probably only four , but we'll say six .
Now , if we add a six inch cake , four inches tall , two layers of cake inside , this is 12 servings plus six .
So we have 18 servings of the cake here .
Now we add in an eight inch cake .
We have 42 servings of cake for a small wedding .
This is gonna probably be plenty .
But let's say you do want some more cake layers we can add in another one .
Here's a 10 inch .
This is gonna give you 80 servings of cake four tiers tall and I have this print out on my blog post .
I'll put the link in the video description below .
So if you need to download it , go at it , four tiers is a lot .
So we're gonna just go with two good old eight inch and six inch .
So this is gonna be 36 servings right here .
You can do two layers or three layers .
It doesn't matter how tall your cakes are .
It's not gonna affect the amount of servings .
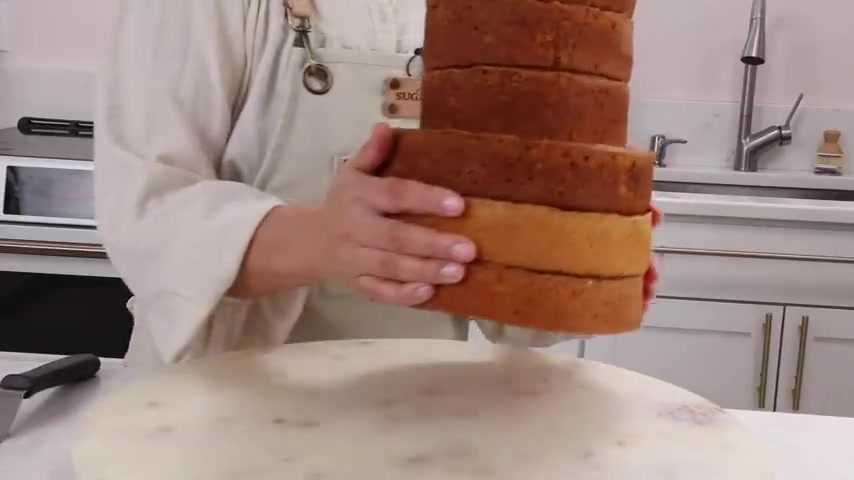
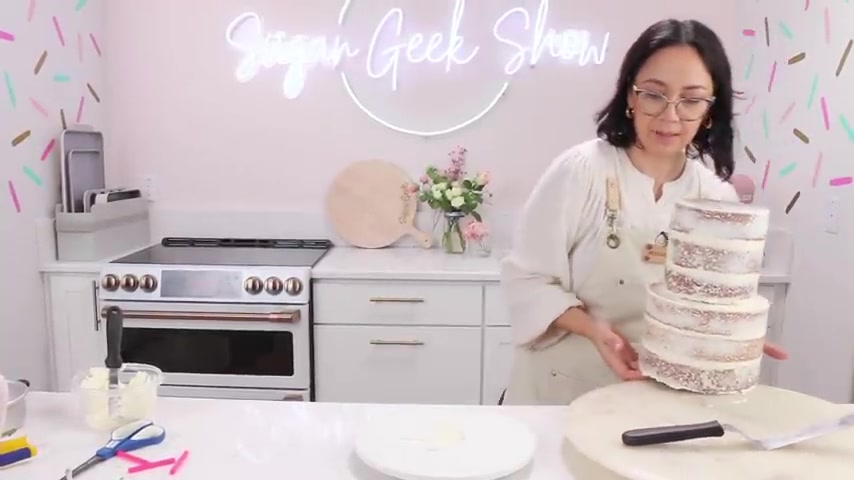
I decided that I'm gonna go ahead and make my cake tiers three layers tall because I think it looks a little bit nicer .
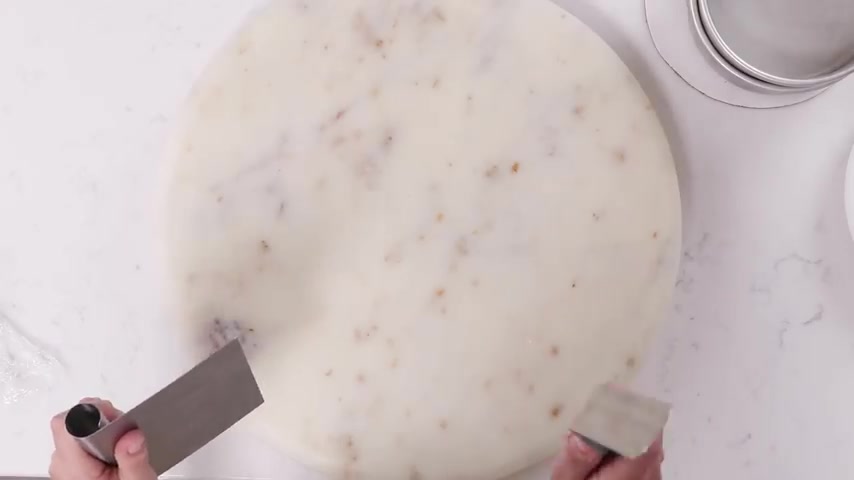
The first thing that I would recommend you get your hands on is a turntable .
This is actually a lazy Susan .
I got it at home goods and I love it because it's huge .
There's plenty of space for any size tier .
You can , you know , like frost your cakes without a turntable .
It's just gonna be a little bit more difficult to kind of be like turning the cake in frosting at the same time .
Now , you need to make sure that you have cake boards for each size tier that you're making .
So we're making an eight inch cake tier and it's six inch cake tiers .
You can get these at Michael's Joanne's Walmart or you can get them online and you have to have a cake board under each tier so that you can move them to and from the refrigerator when you're chilling and for when you're stacking the cake so that they are supported .
Speaking of fridge , you might want to clear up one of those shelves so you have enough space to put two cake tiers in .
All right , let's talk cake pans .
I am using magic line cake pans .
These make really beautiful cake layers .
They , they make them a nice golden brown , not too dark .
I also like fat dados for smoothing the cake .
I like to use a bench scraper and an offset spatula .
Both things that you can also get at home goods for really cheap .
I actually got this one at the Dollar store .
If you don't have one , you can use a ruler like a piece of acrylic , like anything with a nice straight edge .
It's going to make it go a lot easier for you .
And I literally just use this for putting the frosting on the cake .
This is probably my pet peeve .
When it comes to decorating a wedding cake .
Please , please put your wedding cake on a cake board .
Not a cardboard .
This is not strong or pretty .
I like to use these cake boards from cake boards are there .
They're white , they have little feet on them .
They're reusable .
Really nice .
You can get a nice little cake stand which is great for a small cake like this because you can go from a cake .
That's this big to a cake .
That's this big .
Lastly , we're gonna need some straws .
These are called milkshake straws .
They're a little bit thicker and a little bit wider than a standard straw .
And then you need one skewer to put through the two layers of cake so that they don't slide around during delivery .
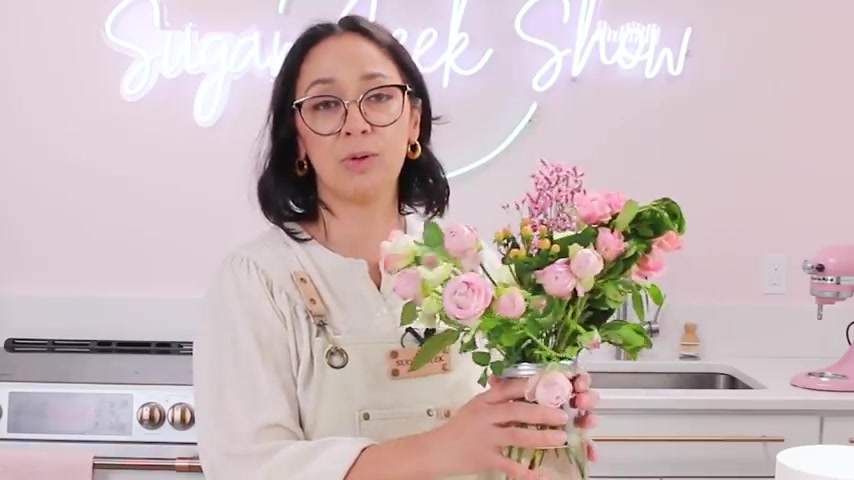
Now , if you're going to decorate your wedding cake with some fresh flowers , which I am going to do and I'm going to show you how to do it at the end of this video .
So stick with me .
You're gonna need some fresh flowers hopefully provided by a florist .
Usually bride and groom will have a florist that they're working with who picked up flowers for the bouquets for the Boers for centerpieces .
They should already have flowers on hand and then make sure they set aside some flowers for you in a glass or a bucket with some water at the menu .
So that when you go to set up , you can then assemble the flowers .
You don't put flowers on in the studio , you do it when you deliver the cake .
Now , if you're making this for a friend or you're attending the wedding , of course , you can do it at home as long as they give you the uh flowers ahead of time .
But in general , you will not have the flowers while you're making the cake .
I'll bring some plastic wrap with me and some straws and some scissors .
OK ?
Because you're gonna wrap each flower stem in some plastic wrap and use a straw to insert it safely into the cake , which will go over more later .
All right .
Now that we got the boring stuff out of the way , let's make a wedding cake .
We're gonna start baking these two days before the event .
Now , I know you might think that your cake is gonna dry out .
But trust me , it's going to be OK .
It's almost physically impossible to bake your cake and decorate it in the same day without crying many tears , especially if you're a beginner .
I'm using my easy vanilla cake recipe and my easy buttercream emphasis on the easy , I have a recipe to my easy vanilla cake right there .

I also have an easy red velvet and an easy chocolate cake depending on what you like easy vanilla cake is great because it just takes one bowl .
You mix all your dry ingredients together , then you add it in the wet , mix it for one minute , divide it into your two pans and bake .
Did I say it was easy ?
You're going to need 1.5 batches of my easy vanilla cake to make an eight inch and a six inch cake .
If you're gonna have more than two layers , some people like three layers , you're gonna have to make more cake batter for that after you bake your cakes and they're barely warm .
I like to wrap mine in plastic wrap and that will trap in all the moisture and then put them in the freezer overnight .
That way it keeps them super moist .
Ok ?
So now we're on day two , you wanna take your frozen cakes out of the freezer , set them on the countertop and get them defrosting .
They do not have to be fully defrosted to start decorating .
And now we're gonna make our butter cream .
I like to use my easy butter cream .
You just add in the egg whites , powdered sugar mix for five minutes .
Add in your softened butter , then your vanilla and salt and mix until it's smooth and creamy .
This is a really versatile recipe for pretty much any climate except for it being too hot .
You might want to go with an American buttercream or even a white chocolate ganache or an Italian butter cream .
I don't recommend using cream cheese or whipped cream , especially if you're a beginner cake decorator because those are very sensitive to heat and you don't want to be struggling with that .
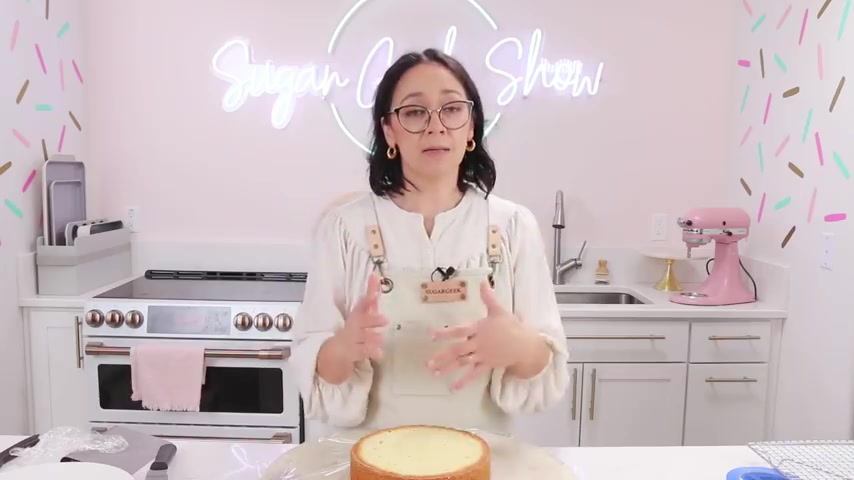
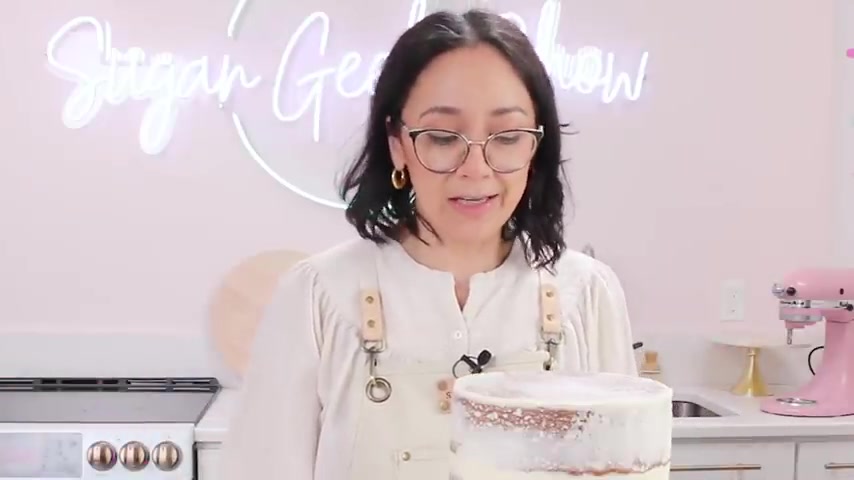
All right .
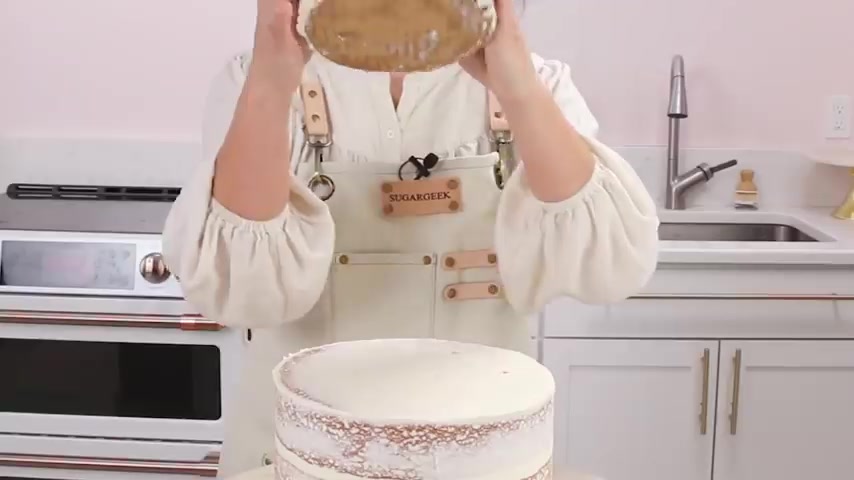
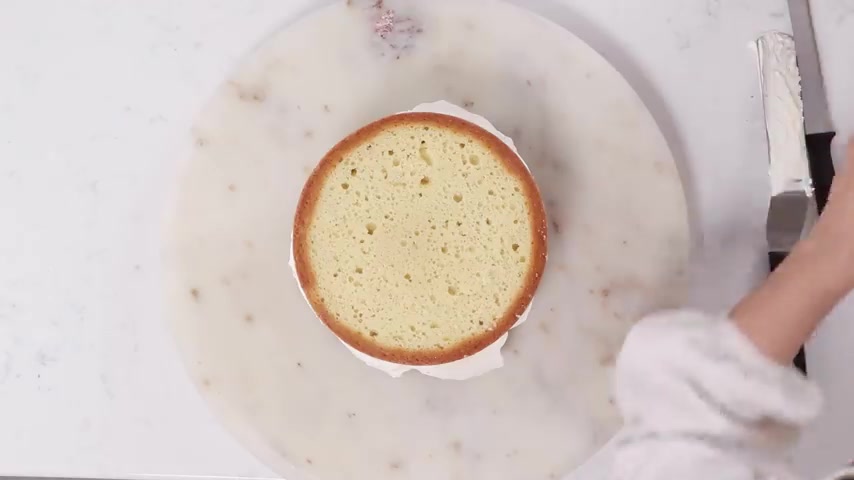
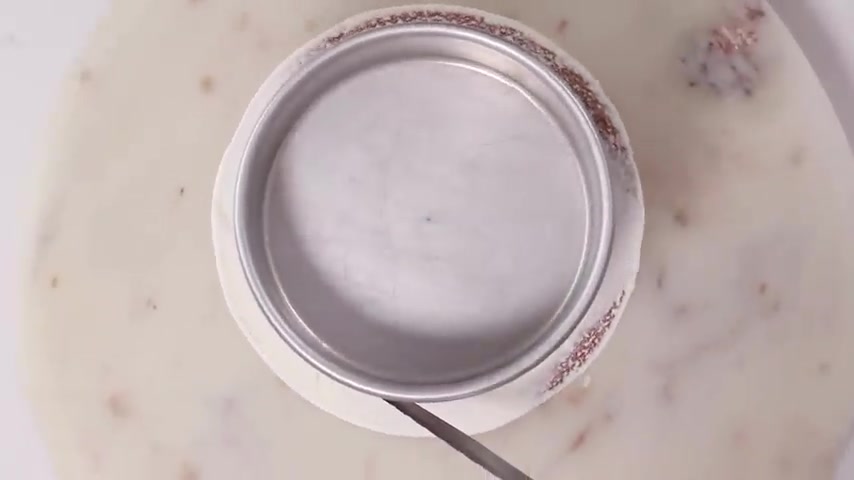
So I have my cake layers here that are defrosted but still cold and all I'm gonna do is cut off the dome .
So my cakes are flat , but because we're making a naked wedding cake , you don't want to cut off the sides .
Very important for keeping the moisture inside the cake and for how the cake looks , try and cut that dome off as level as possible .
No hiding our mistakes with the naked wedding cake .
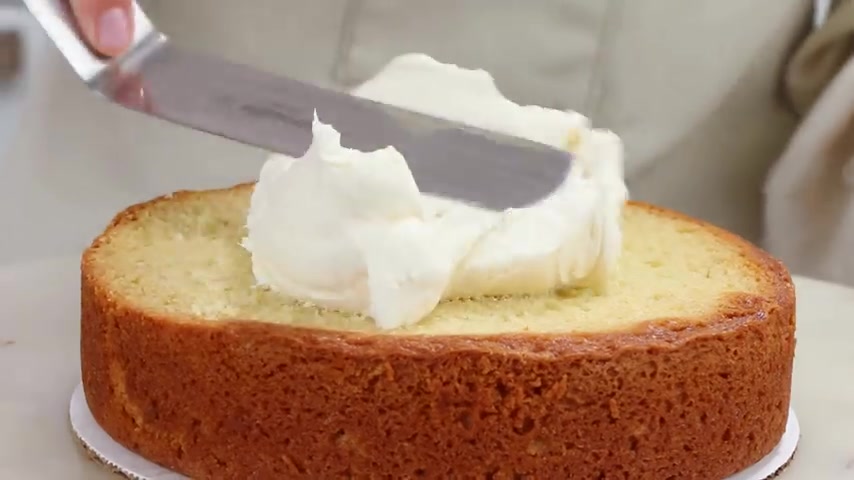
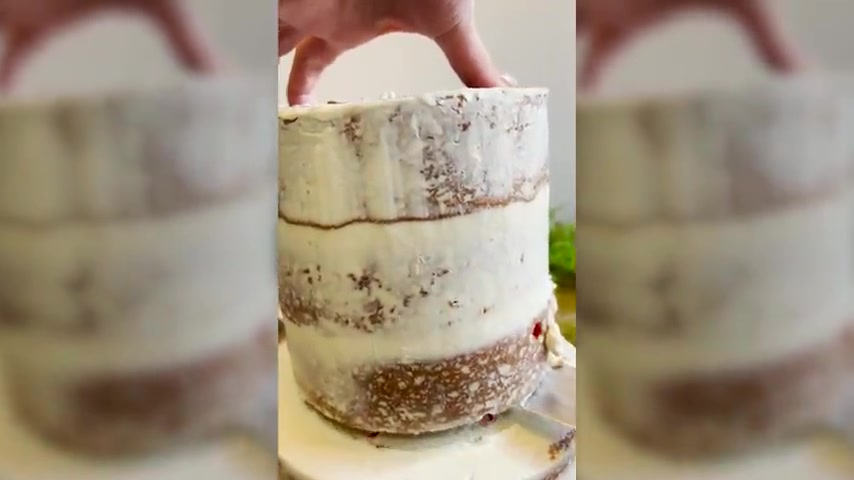
The style of naked wedding cake that we're making is kind of like a rough iced where there's butter cream all the way around the cake .
But you can see the cake showing through .
Some people really prefer really seeing the layers of cake and they just don't want any butter cream on the outside .
If that's the case , you're gonna wanna do some simple syrup around the edges of the cake to keep them from drying out .
Simple syrup is just equal parts water sugar , bring it to a boil , let it cool down and then apply it to the cake with a pastry brush .
So because we're doing a naked cake , our cake board has to be a little bit smaller because we're not going to be putting as much butter cream as you normally would , you don't want to see that cake board .
So I'm just , I'm gonna eyeball it .
It's not a big deal just about a quarter inch all the way around on it .
And I'm gonna do the same thing to the eight inch .
I'm gonna take a little bit of tape , apply it to my turntable or you can use a non skid mat if you have one and then you can put your cake board on top and that will keep it from sliding around as you stack .
And then we're gonna place our first layer of cake on top .
Now we're going to spread our butter cream out using our offset spatula .
We want that to be about quarter inch to a half inch thick , nice and level .
So the biggest mistake I notice begin our cake decorators is they tend to hold their spatula like this , right ?
So it makes a big hump in the center .
So your cakes don't stack evenly .
So you just wanna really take a look and make sure that you're going as level as possible , just going from the center outward .
And it's obviously OK , if the butter cream goes over the edges , next layer on top , nice .
And even with the bottom layer , I like to rotate the cake because then you'll see if anything is like hanging over the edge .
Last layer of butter cream smooth that out .
That butter cream looks so good .
And the last layer on top .
So this technically is a naked cake like literally no butter cream on the outside look how beautiful those edges look .
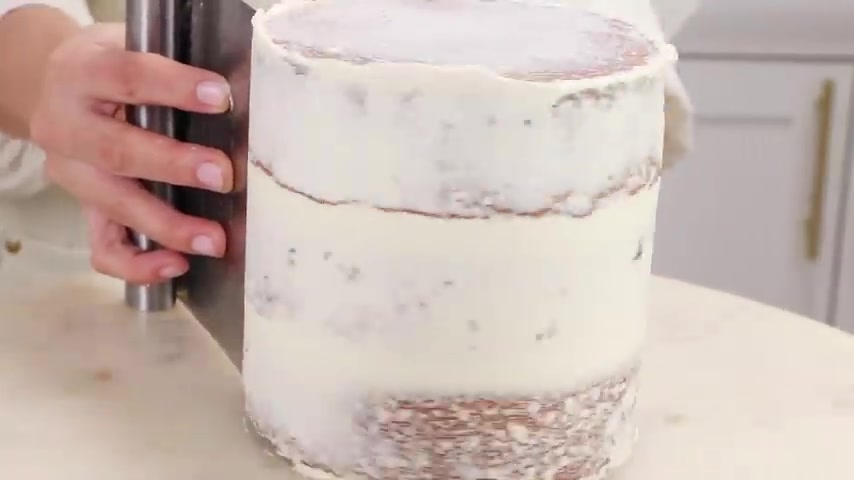
So now we're gonna make this semi naked .
I put a little , a little something , something on her right now .
I'm just gonna kind of put a thin layer of butter cream all over the cake just like you would do like a crumb coat .
And what this is going to do is it's going to settle into all of the little crevices and make the cake perfectly even .
And it's also going to seal in the moisture .
So the cake won't dry out in the fridge and then I'm gonna do the top .
Ok , here comes the fun part .
We're gonna literally just scrape all of this butter cream off .
Look at that , the really straight edges that are kind of almost caramelized , really pay off , fill in any holes that you need to .
And then um yeah , that's , that's kind of it .
You guys , I'm going to smooth out the top done .
I'm gonna put this guy into the refrigerator and do our six inch .
I put my offset spatula right underneath .
Lift up and that handy dandy cake board helps us lift our cake right .
So now we're gonna do our six inch the exact same way .
This is where you put on some good music .
Pump up the tunes like all right , I got this Liz .
What was your first wedding cake like um my first wedding cake was not that good .
This was like 2008 and at the time I didn't how to bake .
So I was using box mix .
I didn't refrigerate it and the sugar flowers were like so heavy .
Every bump .
We went down like the wire were like cutting through the cake .
So by the time we got to the venue , the whole bottom tier had literally vibrated itself into crumbs .
I used the hotel phone called my sister because she's the only phone number that I have memorized said you need to go to to Safeway right now and go get me two pre baked cakes and beg them to sell you some butter cream and she went and got it delivered it to me at the hotel .
The reception is happening and I remade their entire wedding cake in the back kitchen with just like the flowers .
I just like quickly took them off , cut off the top ref frosted it and they were just like , oh , I thought she was supposed to set that up like an hour ago and I was like , this is normal .
Yeah , that was my first experience .
It was it all worked out .
It was fine .
They were not mad .
I mean I hardly charged anything for that cake .
So lesson learned .
All right .
So let's go ahead and stack our two wedding cake tiers .
I'm gonna use a six inch cake pan , which is the same size as the top tier to mark a line in my butter cream .
And this is gonna tell me where to put my supports .
So I'm going to go right in the center and then I'm going to use my thumb to mark right where it hits the top and then cut and then I'm gonna use this straw to measure all of my other straws .
So they're all the same length .
So then I'm going to go about a quarter inch away from that line .
A lot of people put all of their straws right in the center like this .
And then what happens if you take a sharp corner ?
Your cake actually collapses on the edge here .
So you wanna bring your straws out to hear .
And then for cake supports , the rule is however many inches the cake is on top is how many straws you put in ?
It's a little bit lower here than it is to hear .
So we're just gonna even that out with some butter cream .
Don't want to see any gaps .
If you don't have the straws in here to support the weight of your other tier two tiers , you might be able to get away with it .
But in general , the weight of the cake will crack the cake below .
So now I'm going to place this one on top , make sure it's centered and then we're gonna take this lovely skewer here .
This is actually Kebobs stick .
So it's a little bit thicker than a typical skewer .
And we're gonna go right down in there and then you're gonna feel it pushed through that cardboard .
So I have just a little bit too high .
I'm gonna go under just a touch so that it's all the way inside and then we're just gonna cover that little spot , a little bit of butter cream .
Now I'm gonna transfer the cake to my cake board .
If I was thinking ahead , I could have just built it on the cake board , but I wasn't thinking I put a little bit of butter cream on there so that it doesn't slide around , make sure it's centered .
And now I'm going to place this into the refrigerator overnight .
A chilled cake is going to transport much easier than a freshly decorated cake .
Don't worry , it's not gonna dry out because we have that thin layer of butter cream over everything .
But if you are worried about it , you can cover this in plastic wrap to make extra sure it doesn't dry out .
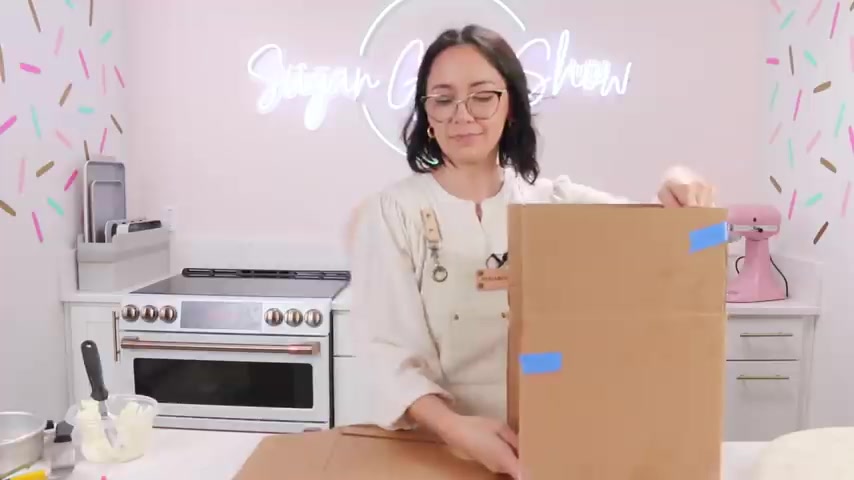
All right .
So to deliver a wedding cake , I use just a regular old fedex box .
I go with whatever the size the cake board is .
So this is a 10 by 10 box , I already taped to the bottom and then I'm gonna use an exacta blade and I'm just gonna cut the corners .
So then we'll have a little flap like .
So we got to take down the center and then we can take our cake that's nice and chilled and just slide it right in there .
Oh , that's a nice fit .
And you're like , Liz , this is too short .
You can actually buy boxes that are 12 inches tall .
I just didn't have one just tape up those little tops the corners and then the front and then if it's raining or if you want to just like have extra cover , you can put some plastic wrap on top just to keep any like dust off of it , whatever .
But the main thing about this is it just is stability for the cake and ability to carry it around la la la .
We're on our way to the venue .
We're in the car .
It's been very bumpy .
Ok ?
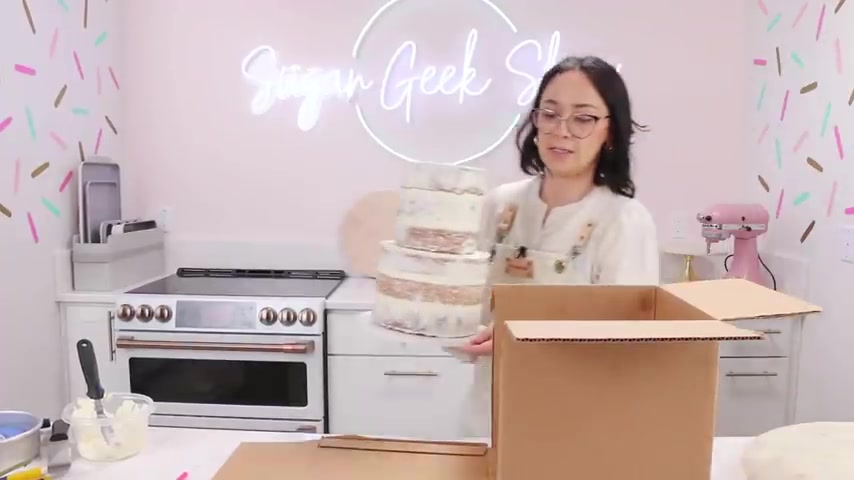
We're here now , I'm now at the venue and I'm setting up my cake and I can take it out of my box .
You can also travel with your tiers individually and stack on site .
Take it out right on to the cake table .
I always take something with me called an op kit , scissors , plastic wrap , uh straws , extra butter cream piping bags and always , always bring baby wipes because you will get butter cream on your hand .
So in my uh kit , I will have my piping bag and what you wanna do is just put a thin layer of butter cream in that little crevice .
You could do this actually at home , but I tend to do this at the venue and then just pretend that you are a construction person and you're just going to wipe off the extra butter cream like you're in a bathtub .
This is why you can't have that board that's bigger because you wouldn't be able to hide that scene because there's no fruit filling and no uh whipped cream .
No uh cream cheese .
This cake could literally be sitting outside for 24 hours or more .
And I mean , I don't recommend it , but you don't have to worry about this like going bad .
This kind of butter cream is totally stable at room temperature if it's really hot , I recommend you , you know , eat it pretty quickly .
But uh you don't have to worry about refrigerating this at all .
Right .
So our cake is ready to decorate .
Let's go ahead and prep our flowers .
So it's very easy to prep your flowers .
We're just gonna go with about two or three inches of stem and then you want to remove any of these little bad petals that look kinda yucky .
Oh , so pretty .
These are actually little tea roses .
They kind of look like reas and you can kind of open them up with your finger .
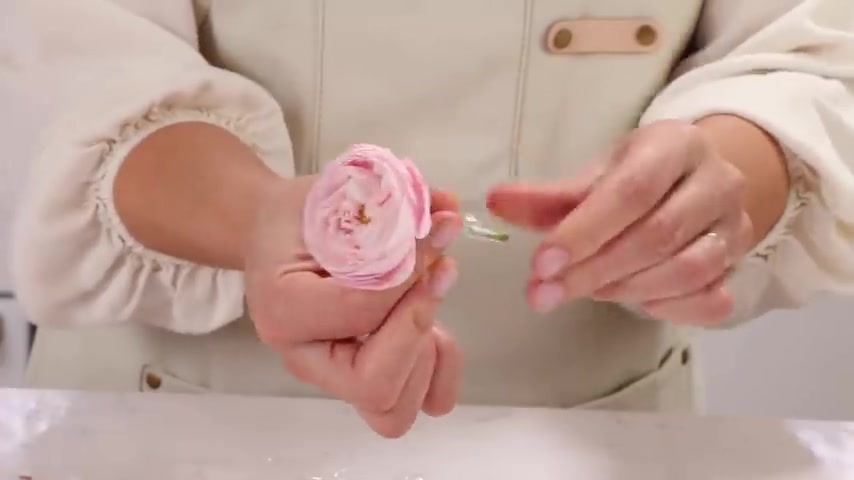
Now to trap all of that water inside the stem , we want to cut a little piece of plastic wrap , not very big , maybe two inches by two inches and you're just going to wrap the stem and what this does is it not only does it , keep the water inside the row so it stays fresher for longer , but it keeps anything from leaking out .
So I got these flowers from one of my favorite florists here in Oregon called Showcase of Flowers in Newburgh .
One thing you always want to keep in mind when you're picking flowers for your cake is , think about how big your cake is , right ?
So we don't have a very big wedding cake .
So you don't want some huge , huge roses .
So this is kind of like a standard rose and this is the tea rose .
So this would look way too big on a little two tier cake .
So now I'm just gonna kind of continue on fluffing my little flowers , adding the plastic wrap and you also wanna have a couple of berries .
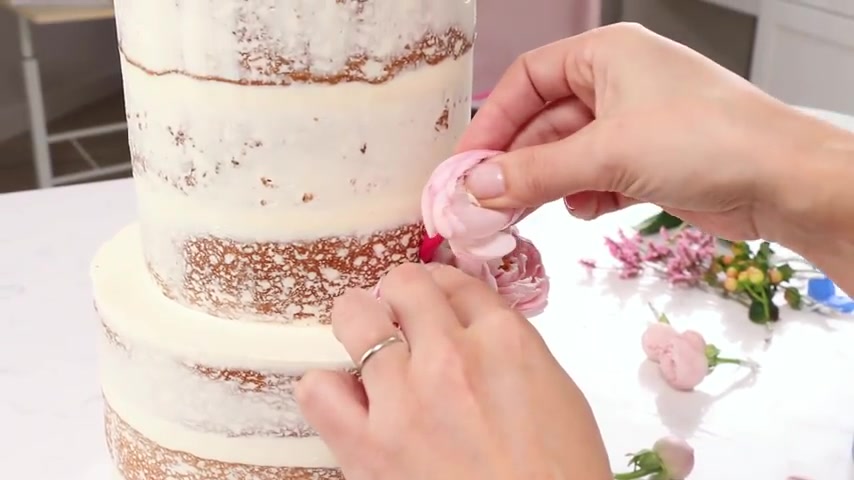
It's basically like a mini bouquet , right ?
So we're going to take our flour and insert it into a straw and now we can insert this into the cake and then I'm gonna do a slightly smaller one for the chip .
So for this one , I have to cut the stem down a little bit because I'm hitting the cardboard , right ?
So that's kind of like a little mini bouquet .
And then I want to add a couple of my berries and filler around that .
This flour doesn't wanna stay .
So I'm gonna pipe a little butter cream in there .
There you go .
I try to create like flow , right ?
So a little bit filler up , top some down at the bottom .
So your eye kind of flows up the cake .
Very cute , very natural .
All right .
So I know you're gonna ask , I'm gonna tell you how to cut and serve a wedding cake first .
You want to take off all of the flowers , set them aside and then you want to take the top tier off of the bottom tier and just place it in front of you with a knife if you can .
It's really great to have a cup of warm water nearby so that you can keep your knife hot .
This is going to make your servings a lot cleaner .
Then you're going to go ahead and use my serving guide , which I'm sure you printed off from my website by now .
If not , it's there for you .
And you might think , oh , we're gonna cut this into wedges .
That's true for smaller tiers .
But generally what you want to do is start with cutting off a wedge off the very front of the cake and then cut that into two pieces and then you're gonna come in two inches , cut it another slice and then cut that into roughly 1.5 , 1 inch pieces .
You might think this is a small , but because it's so tall , it's plenty of cake for each person .
And this is how you're going to get the most servings out of each tier .
Hopefully , you guys enjoyed this tutorial .
Please hit that subscribe button and don't forget to ding the bell if you want to see more videos like this one and I will see you in the next one .
Bye .
Are you looking for a way to reach a wider audience and get more views on your videos?
Our innovative video to text transcribing service can help you do just that.
We provide accurate transcriptions of your videos along with visual content that will help you attract new viewers and keep them engaged. Plus, our data analytics and ad campaign tools can help you monetize your content and maximize your revenue.
Let's partner up and take your video content to the next level!
Contact us today to learn more.