https://www.youtube.com/watch?v=xHTLHpBWJ18
HOW TO MAKE THE CRUMBLE FOR STRAWBERRY CRUNCH CAKE AND OTHER TREATS
Hey , everyone .
It's Dion on cravings and I'm back with another video and in today's video , I'm gonna show you how to make the crumble for the strawberry crunch cake .
Now , a lot of people are always asking me , Dion , how do you make your crumble for your strawberry crunch cake ?
And you know , it's no big secret .
I go ahead and tell them I'm not one of those people who act like I can't tell you nothing .
You know , if you need help , I'll give you advice .
And so now a lot of people be wondering how to make this , but they be confused because it's so many different ways that you can do it .
Folks are undecided .
But today I'm gonna show you the most simplest way for you to do it to make the crumble .
It is only a few things you need .
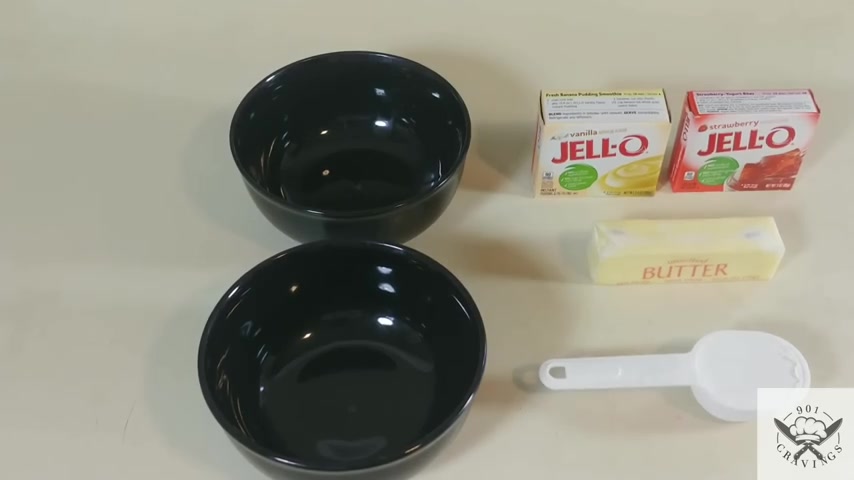
You need two bowls , a box of vanilla pudding , mix a box of strawberry gelatin , a stick of butter , 2 1/4 cups of flour and two forks .
OK ?
And so now let's get started first things first .
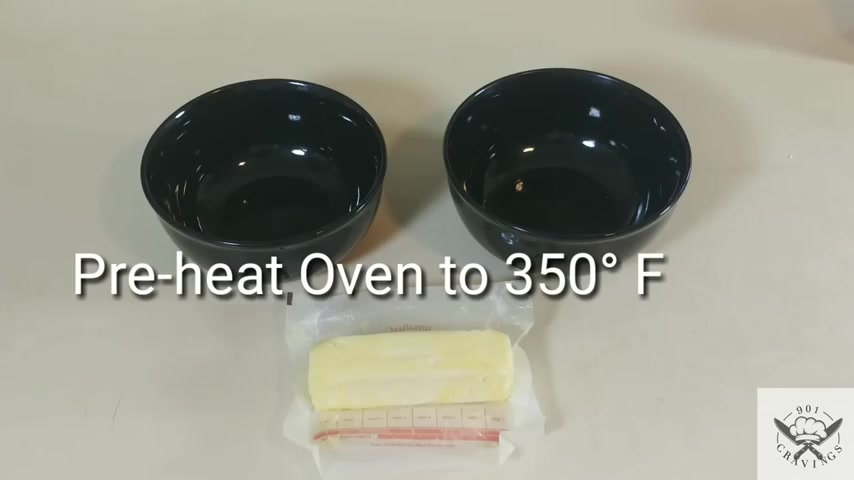
Make sure you preheat your oven to 350 degrees , ok ?
And make sure your butter is at room temperature .
And now to get started on making the crumble and the two bowls , you are going to need to put four tablespoons or half a stick of butter in each bowl .
So you would divided in half oops and put four tablespoons in each bowl .
Yeah .
Ok .
Next , after dividing the butter into the bowls , you will take your strawberry gelatin and your vanilla pudding mix and you will both add them to each individual bowl .
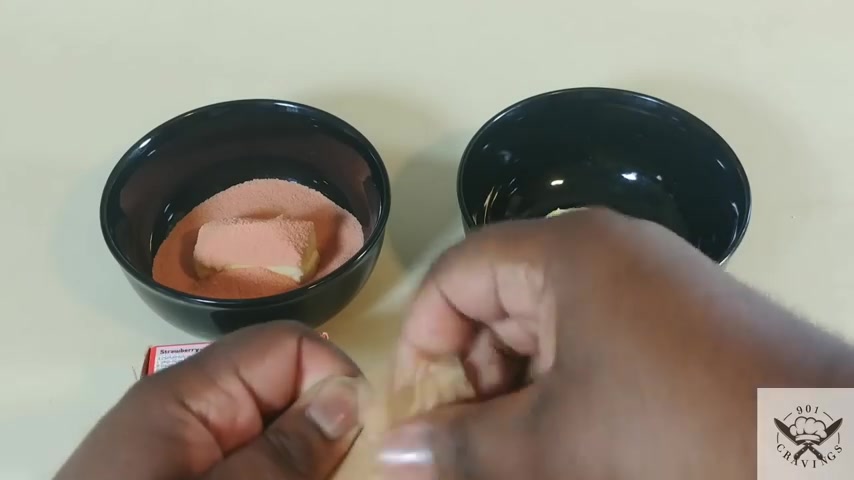
So pour in the strawberry gelatin , pour in the vanilla pudding mix and then you will both put 1/4 cup of flour into each bowl .
So there goes that cup and then 1/4 cup and a that ball .
And so now what you would do next is after everything is , is in the bowls , you would take the forks and you would use the forks to start mixing everything together .
You know , it's almost like the process of when you are baking and uh you are combining butter into the flour .
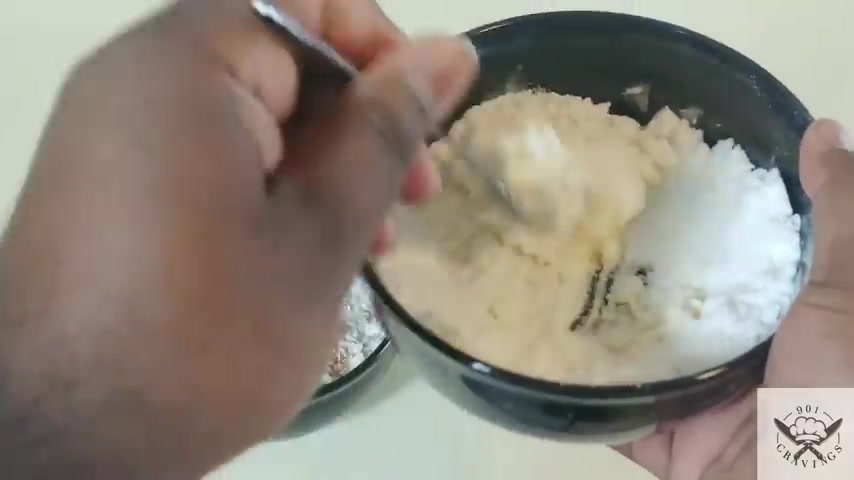
It's the same process as that .
You just gotta take your time until it all mixes together and it's gonna become a very grainy texture once everything is combined .
Yeah .
So as you can see how everything is starting to come together right there , you just keep doing it until it almost appears like it's sand and you , and you would do this for both the vanilla and the strawberry .
And so now let me go ahead and skip to the end and show you how it's supposed to look .
Ok ?
And so now this is the finished product of how it's supposed to look .
You see how it has a real grainy and like sand , like texture .
That's exactly what you want .
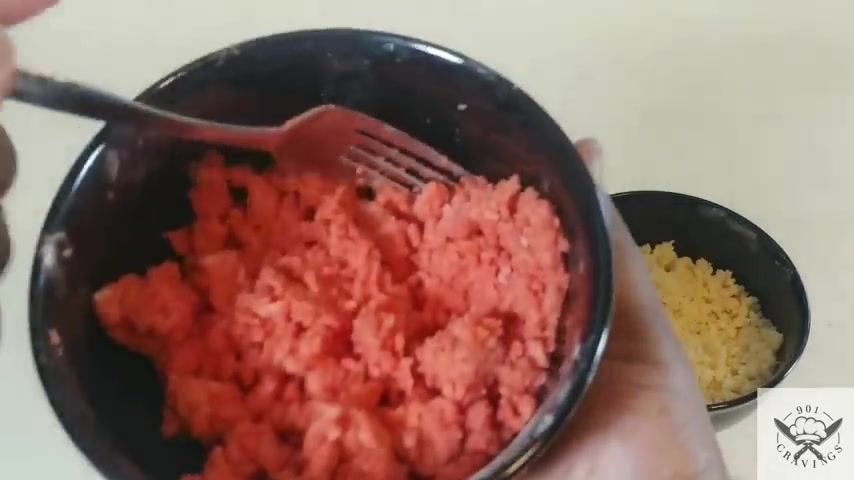
Now show you how the strawberry look , the strawberry isn't gonna look exactly like the vanilla one , the strawberry mixture or will be a little bit more clumpy , but it'll be about the same text texture though .
Ok ?
Bring that into the light some more so that you can see our focus was going a little haywire , but that's better .
Now I'm gonna show you one more time for the vanilla .
Ok ?
And so now next , you would then take a sheet tray lined with parchment paper , wax paper .
You can even use aluminum foil .
I would probably spray a little bit of non-stick cooking spray on the aluminum foil first .
But other than then that parchment paper will be the best thing to use .
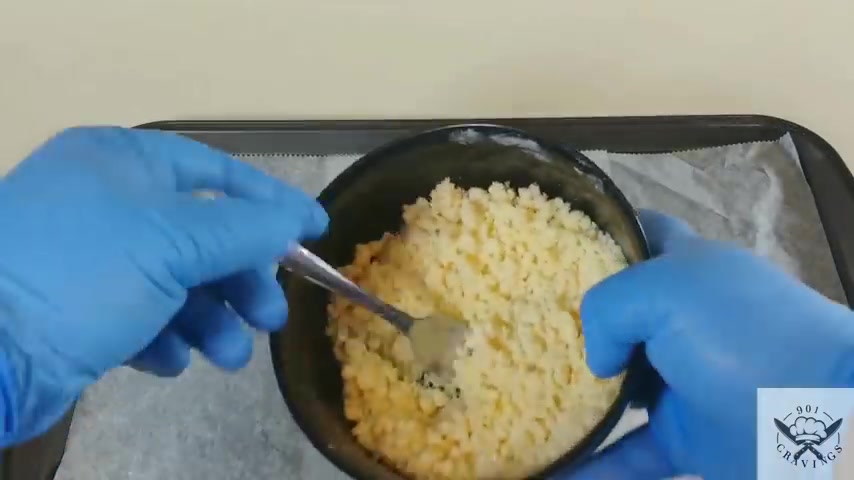
So now you take a sheet tray , you take the mixtures and you just dump them on , you know , make sure you get every little bit , every little bit counts , take them , double them on out .
Ok ?
And so now what you would do is you would just mix it up , spread it around and flatten it out .
It's not good to try to just bake it in one big clump because that's not gonna work good .
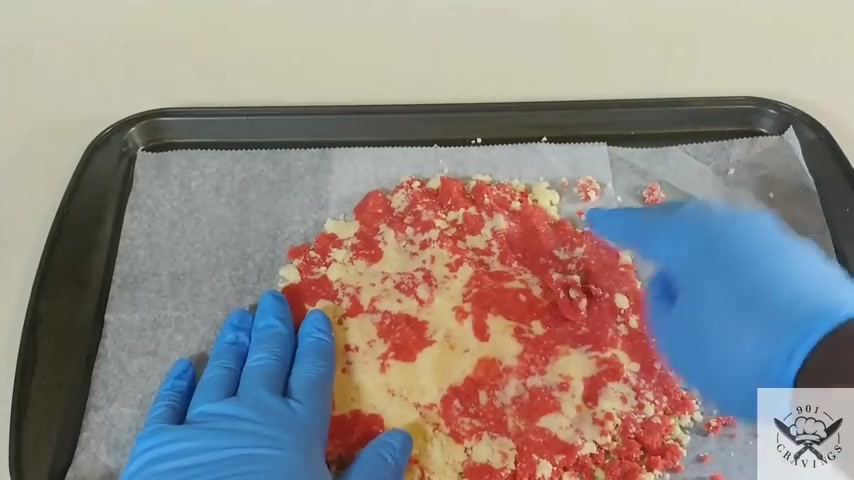
Especially when it comes time to when you have to process it .
And so now if you ever want more than this amount , all you have to do is just double the ingredient amounts .
So you would do one whole stick in each bowl , two boxes of each gelatin and pudding mix and half a cup of flour .
Ok .
So now that's all beat and spread out .
Ok ?
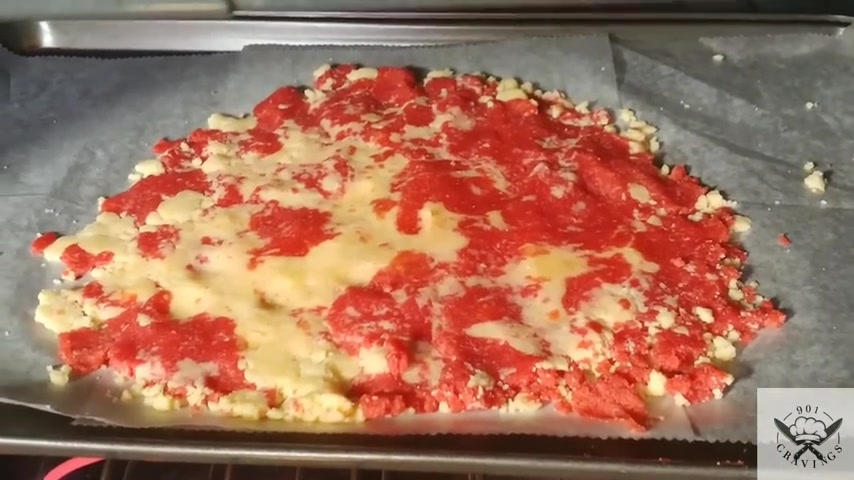
So next you place it into your oven for 6 to 8 minutes , anything longer than that and the crumble will instantly start burning like you will be able to smell it if you keep it in there for more than eight minutes .
Ok .
So now close the oven and let it bake for exactly 6 to 8 minutes .
Ok ?
And so now after it's done baking , this is how it should look , you see how it's gonna round up some .
And so now after you take it out of the oven , sit it on the cooling rack and let it cool off for at least 30 minutes to an hour .
Ok ?
And then after you cool it off a tip , after you let it cool off the room , room temperature , I would then sit it in the fridge for at least another 30 minutes .
And that will really make the butters and everything else and it really up because when you process it , you know , it's , it's gonna warm up again .
And so it's gonna seem kind of like , like it has moisture to it .
But if you let it sit in the fridge and let it completely stiffen and dry out , it will process even better .
Ok , guys , and now that the crumble is out of the fridge and let me show you what I meant by , you should let it sit in the fridge .
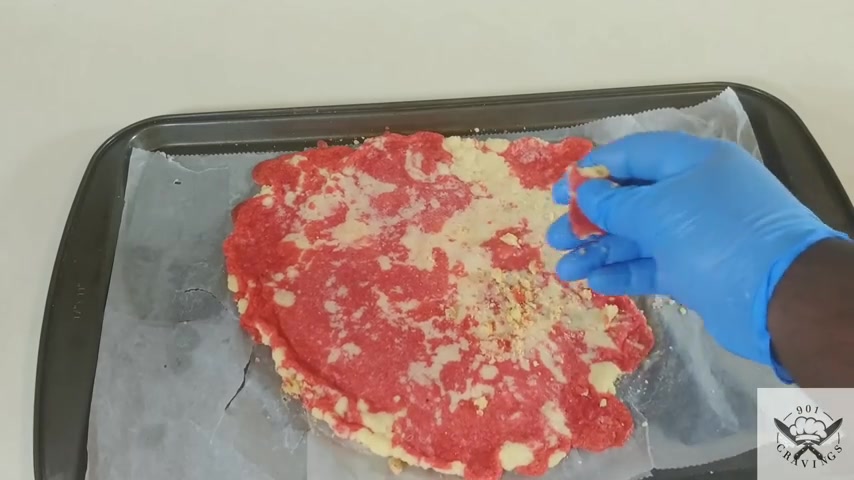
You see how easy that it crumbles up now .
Well , that's because by send it in the fridge , you allow the butters to fully stiffen and dry up .
So that way when you do cause friction , especially from uh processing it , it won't be uh kind of moist and mushy as it's uh colliding against each other breaking up .
Ok ?
Then now I'm just having fun .
Let's get the process in it now .
OK ?
And so now let's go ahead and put it into the processor .
I have my small processor here .
I need to invest in the big one soon .
Who's so go ahead and start breaking off chunks of it and put it in .
Thanks .
And no , I will say this .
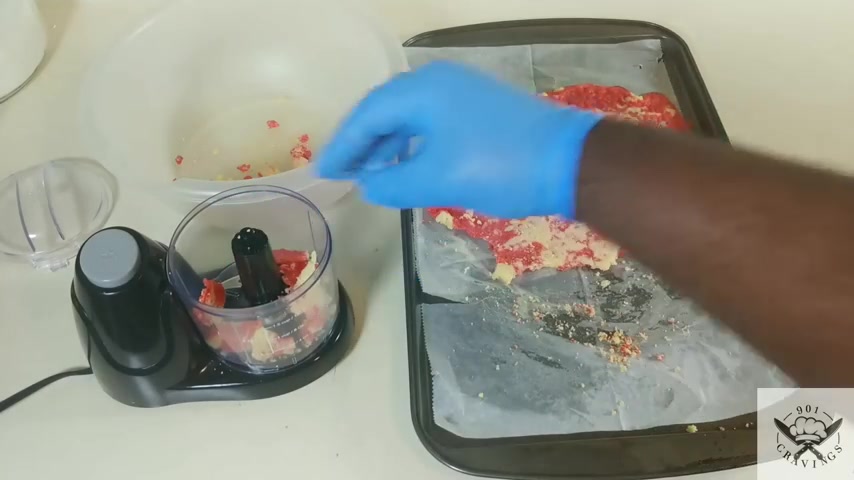
You can use a processor or a blender or a Nutribullet or ninja , whichever one you have just make sure that you do not overload it because if you do , you will run the chances of messing up your blender or your processing .
And so now that should be enough in there .
Oops , let me break that up just a little bit more .
Ok ?
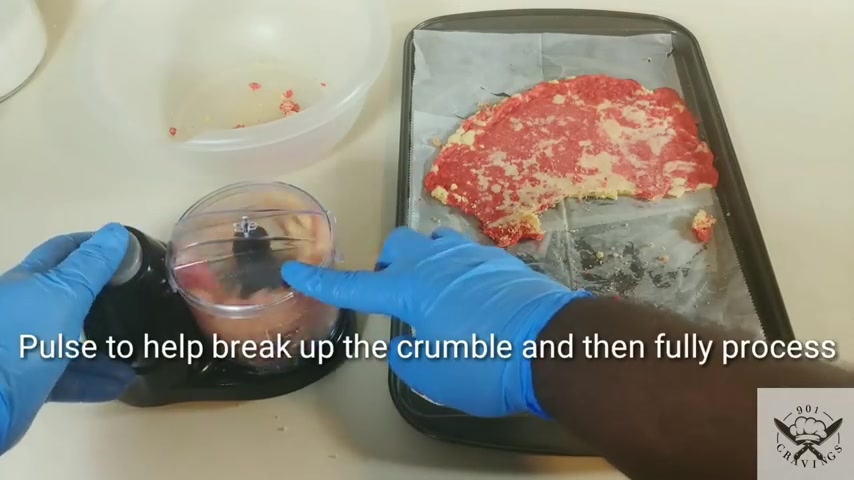
Close it up and ok , now let's take this off and take a look at it .
Oh Yeah .
Now those are some fine crumbs crumble .
I mean take that and just dump it into our bowl and you repeat the same process until it's all used up .
OK , everyone .
And there you have it .
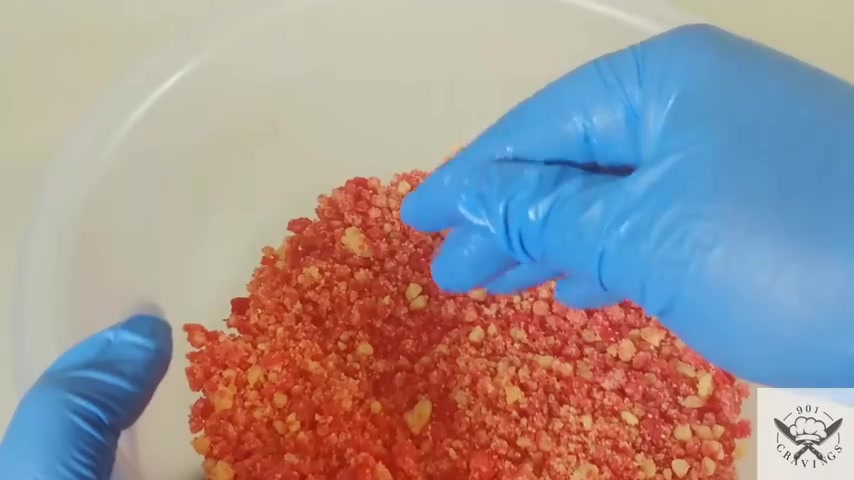
Perfect strawberry crumble for any cake dipped , strawberries , cupcakes , whatever you wanna use it for .
Now me , usually whenever I make a cake with it , I like to make my crumble a day ahead of time cause it's easier to work with when it's dry .
And so I'll make it a day ahead of time .
I will let it sit in the fridge and let it completely dry out because as you can see right now , if you can see how greasy my glove is , it's still moist .
I mean you could go ahead and use it now if you want to , but I like to go ahead and , and let mine dry out all the way before I use it for anything .
Ok .
Oh , that looks so good .
I just wanna eat , eat some of it right now .
Excuse me real quick .
Just joking .
Now , on a side note , this recipe is very universal .
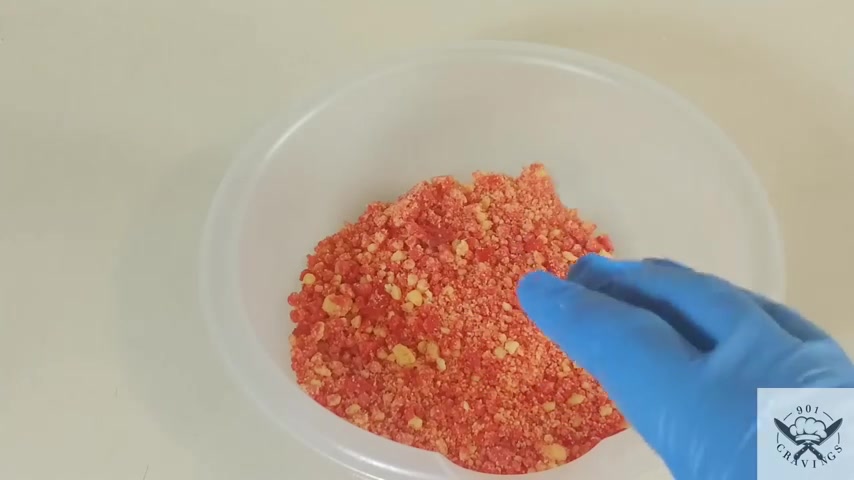
You can use it to make any flavor crumble that you want , whether it's the strawberry crunch or cookies and cream or orange flavored crunch , lemon peach pineapple , whatever flavored gelatin you wanna use it will work with this recipe .
Ok , guys .
Well , that's it for to , for today's video .
I hope you enjoyed it .
If you enjoy the channel , give it a big thumbs up like this video , subscribe and stay tuned for more .
My next video I will be showing you how to make the strawberry crunch cake .
Thank you all and have a good day .
Are you looking for a way to reach a wider audience and get more views on your videos?
Our innovative video to text transcribing service can help you do just that.
We provide accurate transcriptions of your videos along with visual content that will help you attract new viewers and keep them engaged. Plus, our data analytics and ad campaign tools can help you monetize your content and maximize your revenue.
Let's partner up and take your video content to the next level!
Contact us today to learn more.