https://www.youtube.com/watch?v=drV4FHYpGRw
Key Components Of Fur - Drawing Realistic Fur Tutorial _ How To Draw Fur Step By Step Do’s & Don’ts
Learning to draw fur can be kind of hard in this video .
I'm going to talk about fur , drawing mistakes and what you can do to change them as well as giving you a breakdown of the key components of drawing realistic fur .
So you can learn exactly how to draw realistic fur and stick around for a bonus tip as well .
The first mistake people make is stiff looking fur , drawing fur in a very uniformly way making hairs that are too evenly spaced and not filled in enough .
I would have to say that this is probably the single most common mistake I see people making and it is what hurts your drawings the most you can get away with other things about your drawings being a little off .
But if that fur looks stiff , it's definitely not going to look more realistic , no matter what you change about it , you would need to redo every bit of the fur you drew in order to help or fix it .
How you draw the hairs of the fur is very important in it looking realistic and we're going to go over what you can do to improve how you draw the hairs of fur in just a moment .
The second mistake that I see people making is not getting values accurate , going either too light or too dark and not leaving room for mid toes and shadows .
More often than not .
Most people go too light and do not get a good representation to all of the shadows that need to be there in the fur .
Drawing fur isn't just about the strokes you make .
It is about building structure and to build structure , you need a good balance of shadows , tones and highlights .
Shadows are crucial in making fur pop and without them , this is going to make your drawings look very flat and not as interesting to look at .
The third mistake that I see people making is not planning out your fur structures .
This ties into the last mistake I mentioned because what it boils down to is planning out your drawing in a way that allows you to be able to build structure to your fur .
What's going to give your fur structure is figuring out where you are going to put shadows and highlights because fur is a layer building process and it requires you to know an idea of structure details in order for it to look realistic if you do not plan out the process and just do things as you go .
This will hurt the realism of your drawings and can also make your drawings look flat and interesting .
You need to be able to identify areas of your subject to focus on making more or less highlighted or with shadows and planning is also particularly important when it comes to clumping hairs .
If you aren't thinking of where and how you can make these clumping structures , then your drawing will suffer because of that .
Some mistakes with this .
You can correct by erasing a little bit here or there and reworking an area but not everything .
Now , let's get into exactly what you can do to combat the mistakes you find yourself making with drawing fur with a few components of individual hairs before we move on to the key components for drawing fur and how you can build the much needed structure for your fur .
First is individual hair direction each and every hair that you draw .
You want them to be in a slightly different direction than the ones you previously drew .
If you study reference photos or even look , keep your pet's fur up close , you'll notice that the hairs all vary just a little bit on which way they go in the general direction that they are growing .
This is the key to not having stiff looking fur , learning to master the technique of drawing this variation into the fur of your drawings .
Next is individual hair thickness , each hair that you draw , you want to be varying just a little bit in thickness .
This helps you create shadows with your fur and it isn't too hard to do as you change the slight direction of the hairs .
In the last tip that I mentioned , this should already take care of some of this for you .
What you also want to do though is occasionally go back over an area , you just drew hairs and draw a few thicker strokes in there .
And this can be done by running your pencil back and forth , which creates a heavier application and widens the edges of the original stroke .
Next is individual hair length .
You will want to pay really close attention to a reference photo that you may be drawing from and notice how short or long the hairs are for the area that you are working on , try to match the lengths that you see as closely as you can .
And as you work through drawing an animal , the hair lengths change all the time and you need to incorporate this into your drawing as best as you can because it is what will make the animal you're drawing look more or less realistic .
This contributes to the structure of the animal and you can easily throw off a jawline facial structure or other anatomy with the animal you are drawing if you don't draw the fur at the right length .
So to help yourself out with this , it might be helpful to you to keep a piece of scratch paper handy .
And when you get ready to begin drawing fur in an area , make some practice strokes to see if you have gotten the length into your mind before you proceed to start filling in your drawing .
Now let's move into what you can do to build structure with drawing fur .
These really are the key components when drawing , that will allow you to draw realistic fur faster than it .
Feeling like a painstaking process of each and every hair first is to develop a pattern for the specific area and subject that you're working on different animals have different fur types .
So drawing fur varies depending on those factors .
So what you need to do is study reference photo .

If you're using one or sketch out a fur pattern to use with drawing the fur of your subject or study the fur pattern you are seeing in the reference photo and plan out a way you can replicate that on maybe a piece of scratch paper .
For example of drawing a pattern .
The first hair that I draw is up and slowly out to the left , the second hair in the center and more straight but slightly curved , either left or right , the third hair also centered but crossing slightly over the last hair and the fourth hair with a slight curve out to the right .
You don't have to draw your hairs exactly as I have drawn mine .

However , this is a repetitive pattern that I have created and each time you draw this pattern , it will vary just a little bit as well as help your fur drawing process go a lot smoother and you can of course , create repetitive patterns like this that are different as you should anyways because you will need lots of different ones that are different lengths for different areas of your subjects fur .
Now this applies to short and medium fur length .
Next is pattern repetition .
Once you've done the previously mentioned pattern , you are going to want to draw the same similar pattern of hairs in a series of applications .
Once you've gotten the repetition down , then you're going to move into grouping .
So we've got the application of the hairs , the repetition pattern .
Now , what we want to incorporate is the spacing between these repetitive patterns with strokes .
You want to overlap these repeat patterns just a little bit .
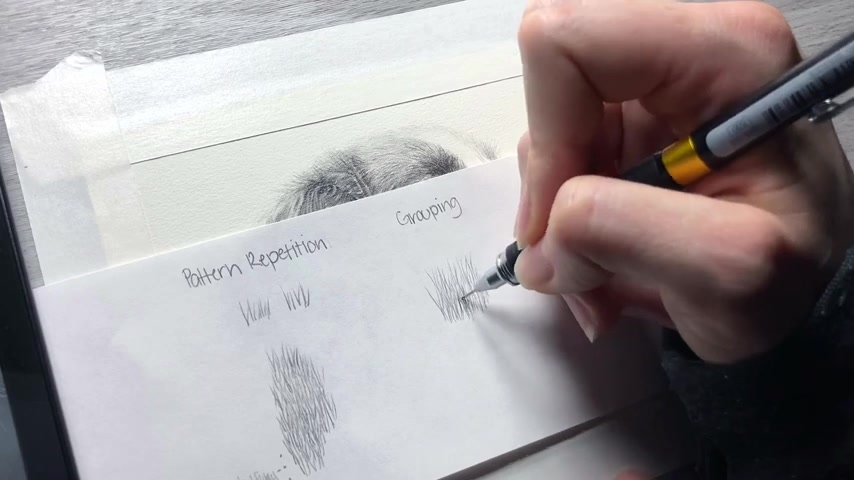
So draw your next set of pattern strokes slightly into the ones you just drew .
This creates the overlapping of fur that helps it look real .
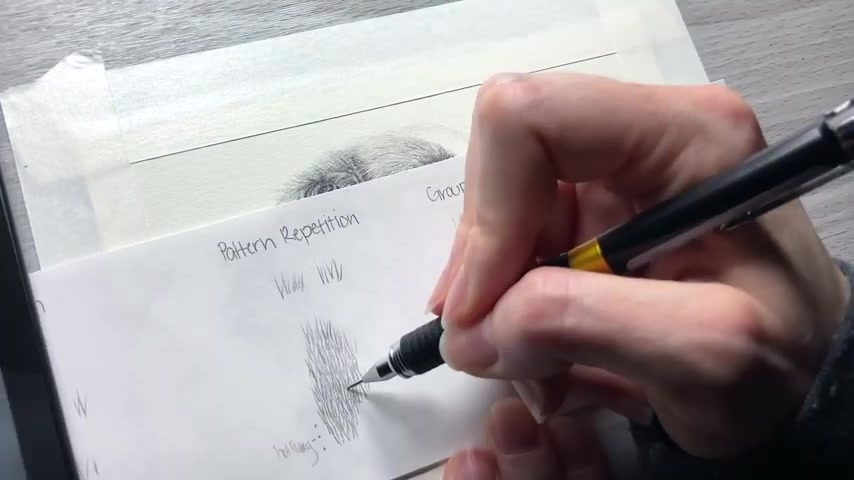
You want to always double check your fur as you go about your drawing process and judge whether or not the fur looks too uniform and add in more strokes or patterns if need be .
And as you see me doing , I am drawing my hairs or my series of pattern strokes .
And then I've got a couple of dots off to the left to show you kind of a endpoint , a beginning point and a middle point between those and when you overlap your hairs , what you want to do is start drawing the next series of pattern strokes halfway through the last set that you drew next is clumping for our hairs tend to clump together .
They don't grow in uniformity or , you know , spiking out in all directions where there is one hair , there are always 3 to 4 others with it that overlap in some way .
There are a few ways you can add clumping to your fur .
One is adding shadow strokes that are darker , thicker and some of them in a little bit of a AV shape .
This creates some of the breaks that you typically see in the fur that clumps together .
And it will also help break up any uniformity in your fur as well .
The other is to draw multiple hairs coming to almost the same point .
So when you're drawing longer fur , you want to kind of have a point of reference for where you're going with your hairs and then draw at least , you know , a series of maybe 5 to 6 strokes and draw all of those kind of starting in a little bit of a different direction , maybe some overlap each other .
But they all come down to the general point area that you have either mentally taken note of or if you're practicing , you've physically drawn A dot For you to help guide you to where to end your hair strokes .
Most of the tips I've shared are more easily applied to short fur long fur is a bit different and more like hair and you can use the same application components I've mentioned for that as well .
But first , you're going to want to build up a good base layer of gradients for highlights , mid toes and shadows because this is what's going to make it look realistic .
Without this gradient of value transitions , your long fur will not look realistic and it will look like you've drawn a bunch of draw .
What you also want to do is draw longer strokes and pay close attention to the multiple changes in direction of the first strokes .
A lot of the time the stroke curves are in one fluid direction or curve in two or multiple directions .
So you can start off drawing one stroke , but you're not going to see that specific stroke continue in the specific area all the way to the end .
Sometimes those strokes , a lot of them will come down halfway and then kind of change and get lost in there .
And the ending strokes that come to the point end up being in a little bit of a different direction .
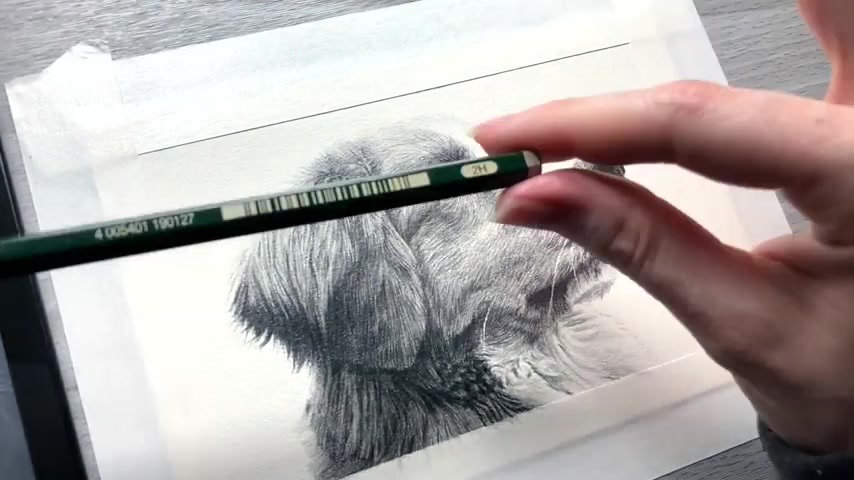
Let's move into my bonus tip that will help you with your fur drying process before you begin drawing your fur .
And that is to take a really light lead hardness pencil like a two H and lightly draw in fur strokes and the length that you need for the area that you're going to be working on next this is light and enough of a layer that it won't hurt .
The actual fur layers you put down over the top of it layer and it is going to really help take the guesswork out of figuring out which direction and how long the fur needs to be as you get into the fur drawing process , just don't apply a whole lot of strokes with this pencil because you only need a few to get the idea of which way the fur is going .
If you put too much on there , it will end up being a thicker layer that will make it much harder to add any more layers over the top of it later .
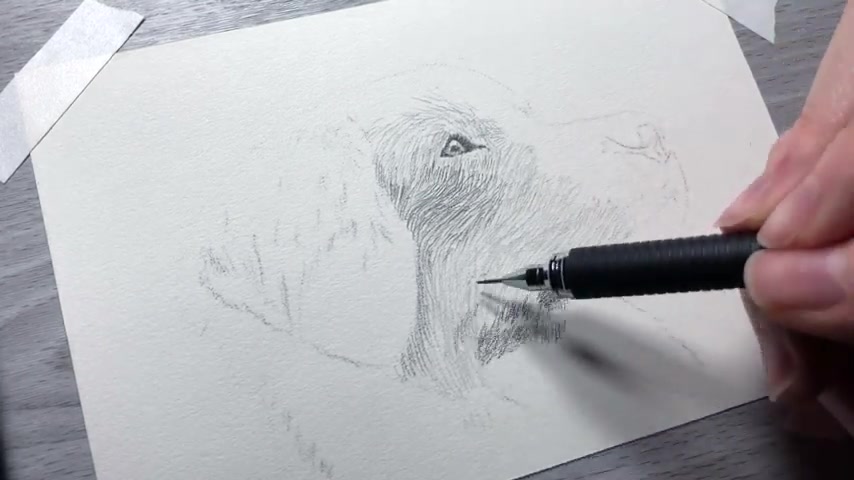
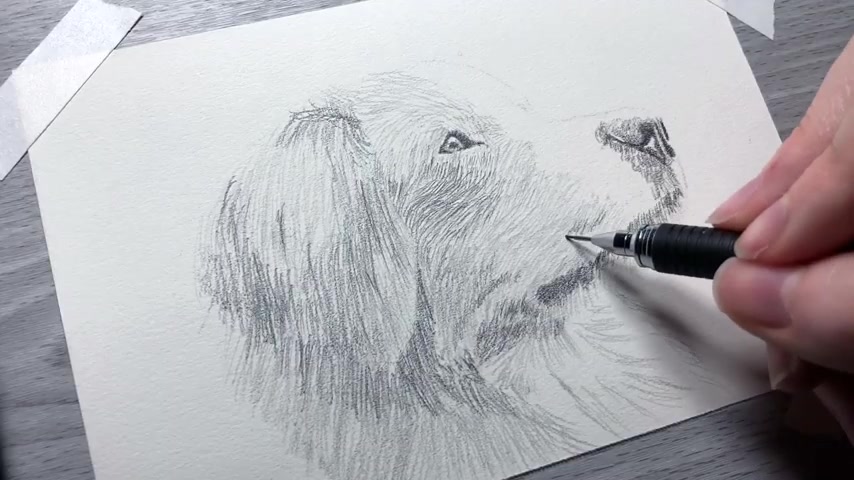
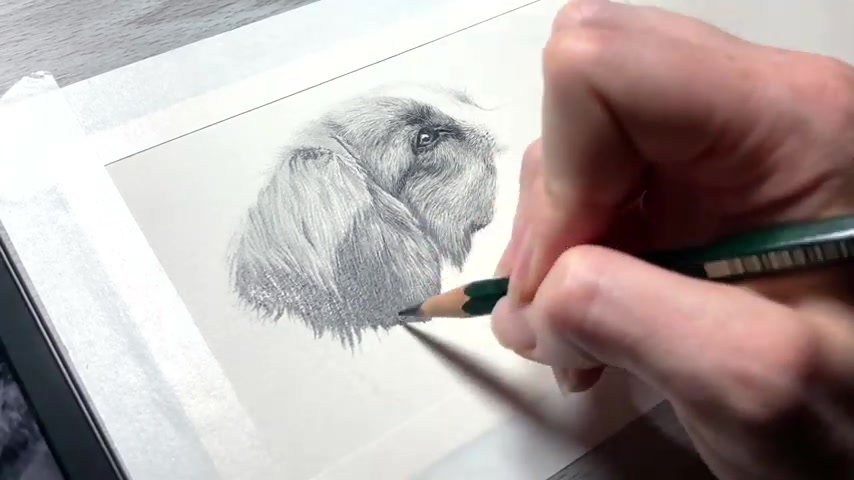
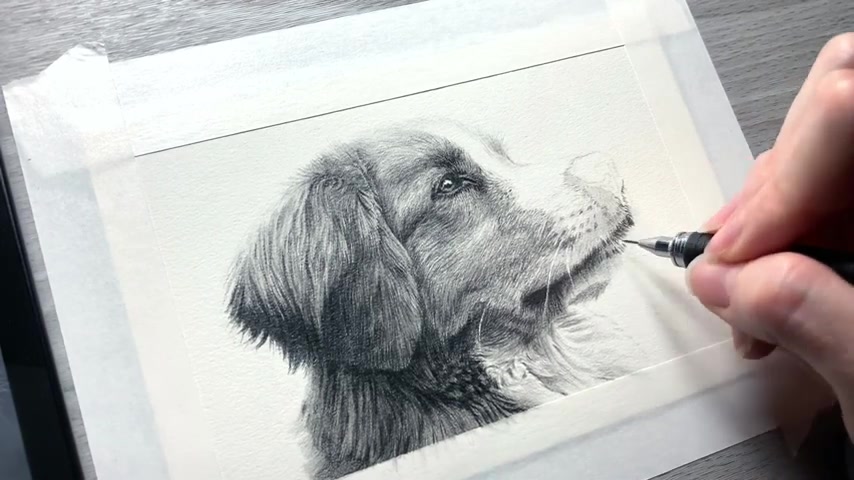
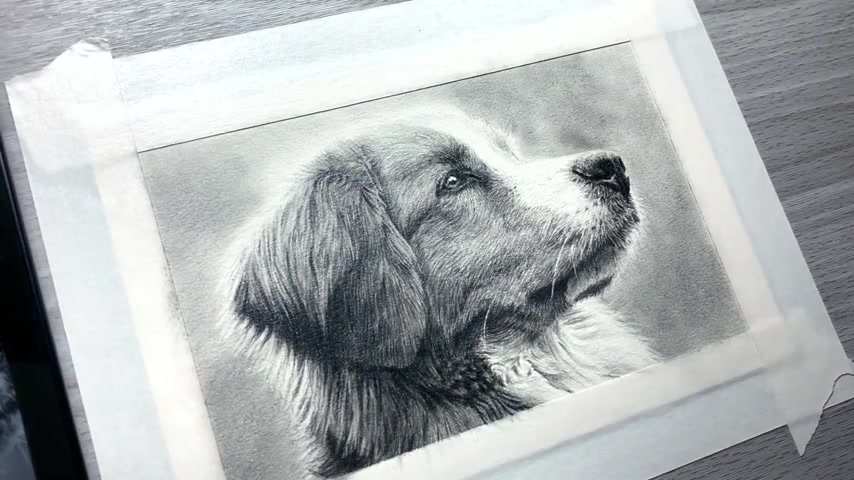
Now I will show you all of the application tips I've shared with you in actual action as I draw this dog and I will talk about some more tips for drawing fur .
As you watch all of the application tips I've shared with you will really help speed up your drawing process of fur .
Once you get an understanding of it and help your fur look realistic .
I've got links to all the drawing supplies that I used for this drawing in the video description .
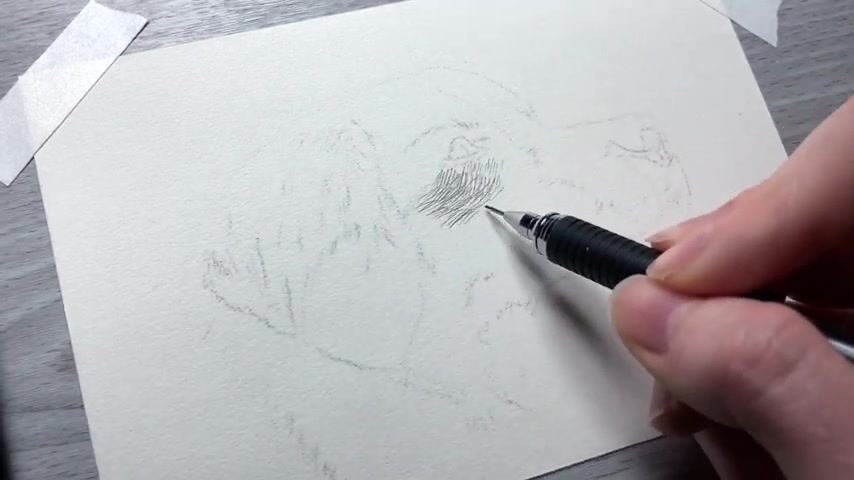
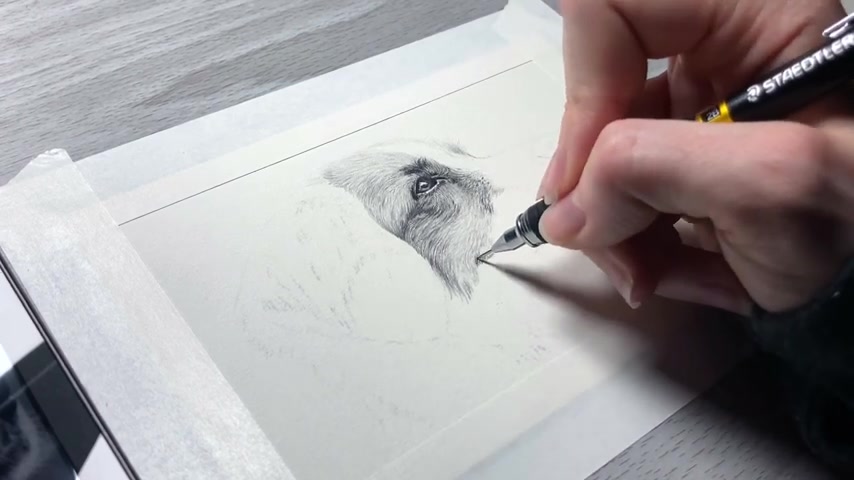
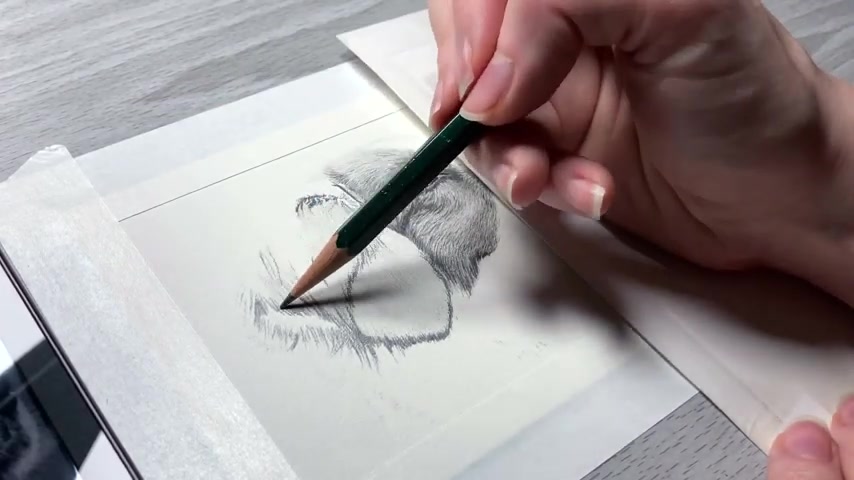
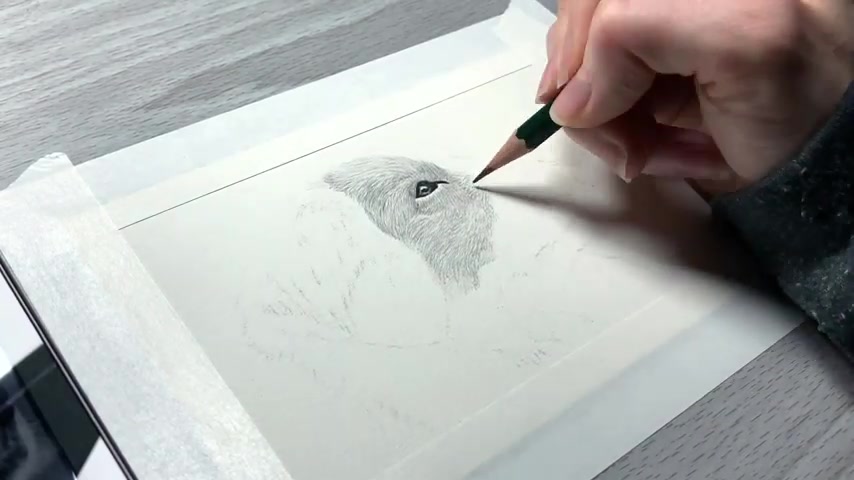
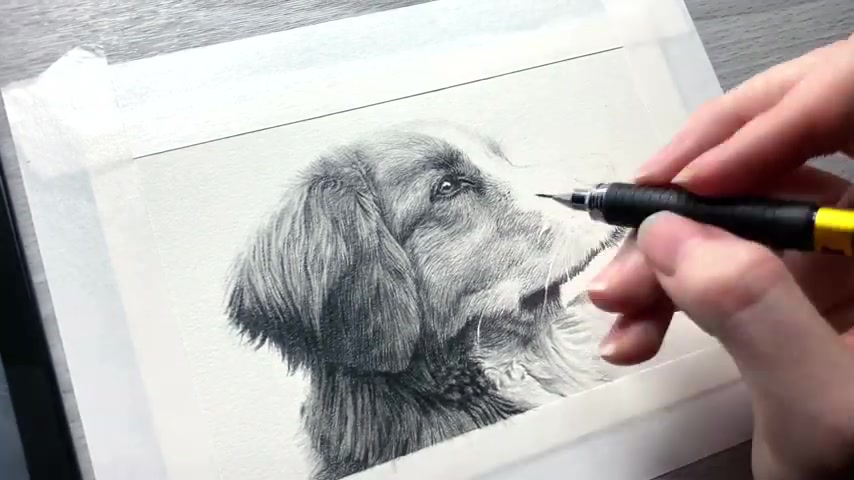
If you're curious about what I use or recommend for drawing with graphite , I start off by using an H pencil to draw in some of the kind of mid toes for the eye .
And then I use a four B point , it's a 0.5 millimeter lead in a mechanical pencil .
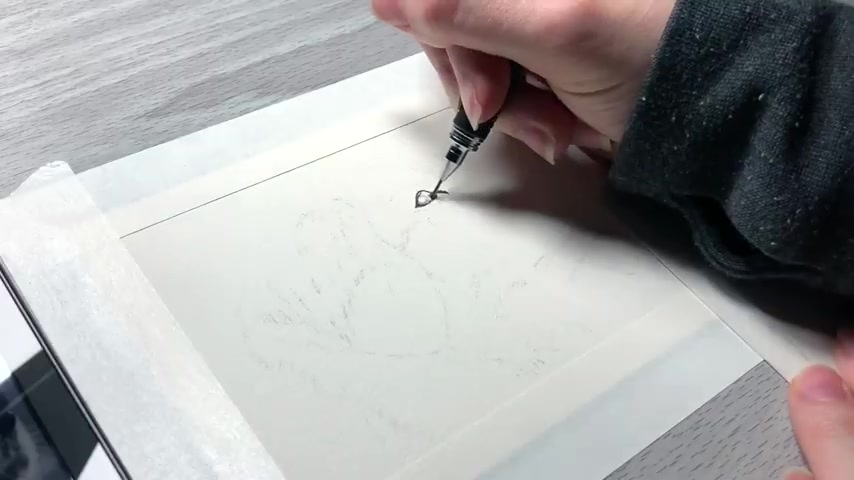
And I use that to get the base for the dark shadow of the eye .
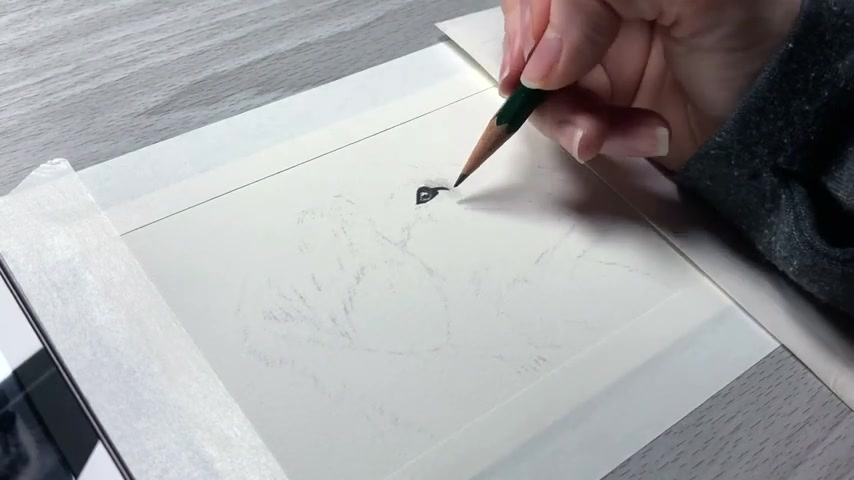
And one of the reasons why it's great to go in and try and do your darkest area of your drawing first or at least in the area that you're gonna be working on to do the darkest area for that section is that it's gonna help you really judge the values of your drawing .
So then all you're left with is the white of the paper .
If you're using white paper , of course , and then the darkest area that you fill in , then you all you have to judge is everything for the in between .
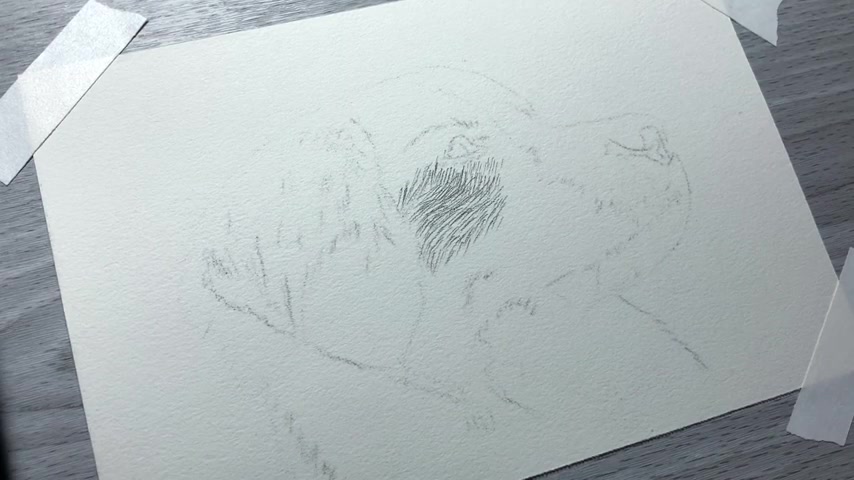
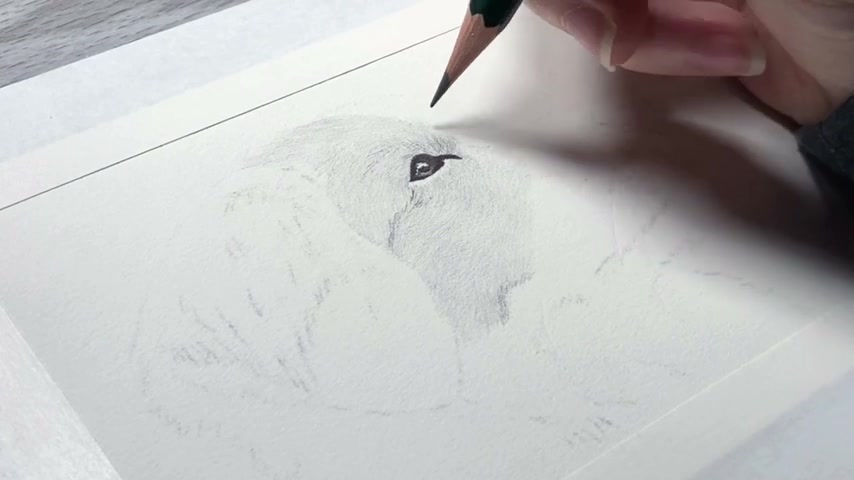
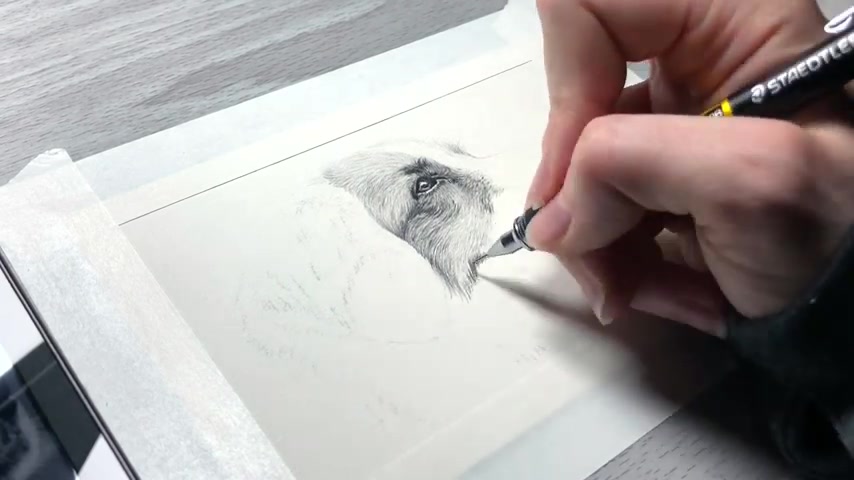
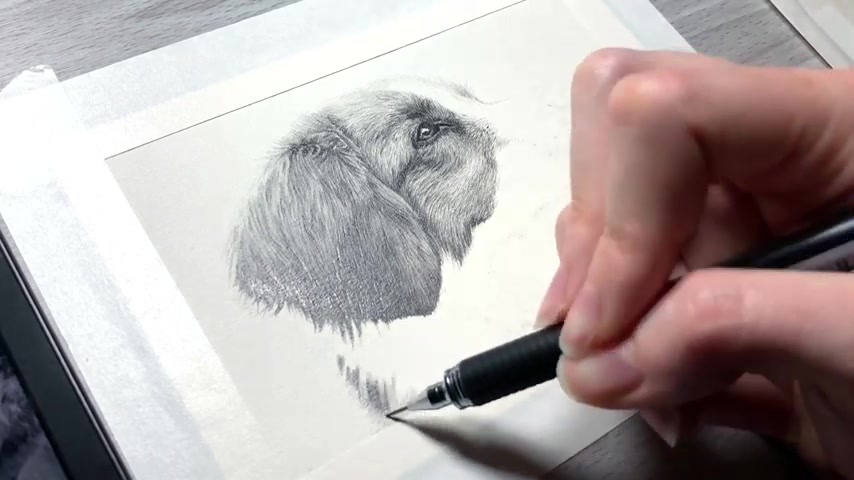
So what you've seen me do there is I took a light pencil .
It was either a two H or an H and I filled in all of the area that I'm going to be working on with this lighter shade of pencil .
I didn't push too hard .

I tried to use kind of a really light hand , but I just wanted to get an even coat of this pencil over that section before I go through and work in any fur details .
And the reason why to doing this is because when you look at your reference photo , if you're using a reference photo to draw from what you want to do is identify the area that you're gonna work on , look at the highlights of that section and try to identify what shade of value it is and then try to match that with your drawing .
So then fill in that area with that lightest value , then you're gonna work in the actual fur details over the top of that using a softer lead .
So the softer leads are going to be leads that look a lot darker when you put them onto paper and the really hard leads are going to be the super light colors or light values .
I mean , and when you do your furthest way , it takes all of the painstaking effort of having to just constantly reo over the same area and create a whole bunch of different fur strokes .
So if you fill it all in and you need to also identify the different kinds of gradients .
So if you could take the photo that you're looking at and just kind of separate out all of the shadows or the dark tones and just focus solely on the light tones that you're seeing and fill those in for your base layers .
So everything that is kind of a little bit darker than some of the lighter areas you want to try and incorporate that in there as well .
So kind of create like a very muted .
How do I put it like a uh gradient to your drawing ?
But it's very light , it's not dark at all .
You're not putting any darks in at this point , but you do that for your base layer and then when you come back over it to draw some of your F stroke layers with your darker shades , it's going to make that fur just come to life with a lot less effort put into it .
Whereas if you constantly just went through and did your dark tones , then some light tones and then more dark tones and more light tones , you're constantly going back and forth and you're having to guess twice as much as to what the different values are .
So generally how at least I build my fur layers .
And this is particularly with graphite .
When you're working with colored pencil or other mediums , things can kind of differ a little bit .
But for graphite , what I usually do is , as I've said before is work in a white layer for my base layer .
And I want to make sure that all of my strokes are in the direction and the correct length for the fur growth .
Because if anything shows through in the end , you don't want strokes being in every direction that's gonna not help your fur look realistic at all .
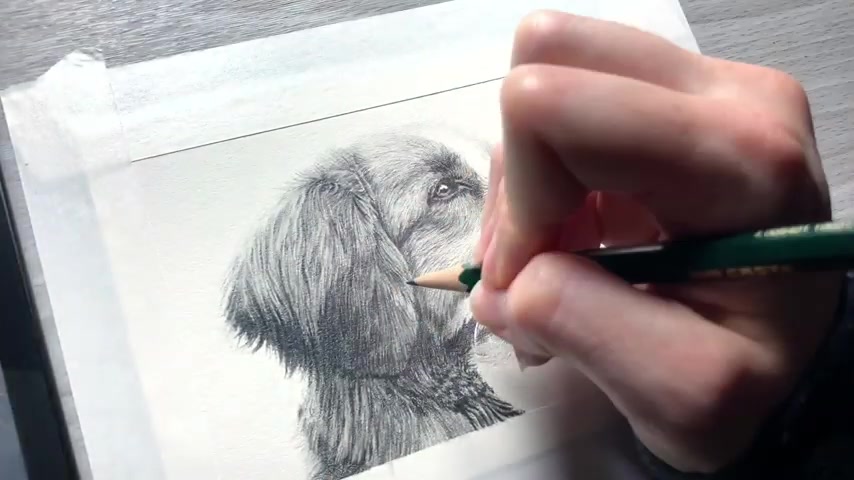
But then what I usually do is I work in the next kind of shade for the fur stroke .
So if I started out using maybe A two H , then I'm going to probably use A B for the next set of fur strokes .
And this is kind of a mid mid range for the darker shades .
And once I get this worked in there .
I don't want to go too heavy with this pencil .
I need to pay particular attention to where it is on the reference photo .
If I'm using one where this value is that I'm seeing it and try to incorporate my strokes in only those areas and not to go too heavy .
Because if you go too heavy with it , then you've created more shadows than is really necessary for the fur and you wanna be able to kind of spare some areas because you're gonna come back through at least once if not two more times to add in some even darker shadows to the fur .
So then after I use the B , what I'll usually end up doing is using a four B or A two B even to add in the secondary darker tones to the fur .
And I'll go through and work over the entire area for which I started with .
This is all just the area that I started with filling in the lightest pencil and I'll fill in strokes in that particular area .
And as I'm working all of these strokes , and I'm following everything that I mentioned in this video , I'm following all of my pattern repetitions and the uh clumping and grouping techniques that I've discussed with you in this video .
One thing that you may not know if you're not using these kind of pattern repetitions if you haven't figured this stuff out yet with trying to draw fur and learn all the techniques to it is that once you learn how to do this , it becomes kind of almost like riding a bike .
You don't have to second guess anything .
It just becomes natural , you just do it .
And there's really kind of an effort li effortlessness that goes into drawing fur .
Once you understand that kind of a breakdown process of what really goes into creating that realistic fur .
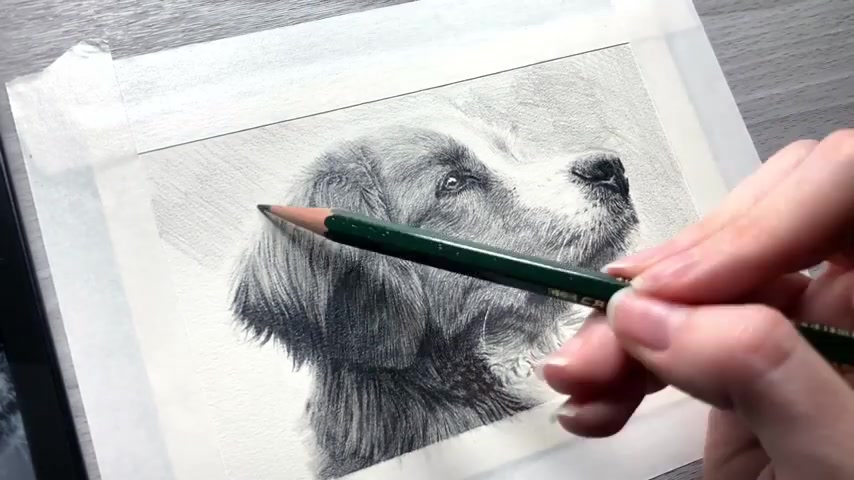
And then I also want to mention that for my last layer of um shadows to the fur is when I'll take the darkest value that my pencil set comes with .
And I use the fabric castel 9000 graphite pencil set which ranges from A two H to an eight B .
So the eight B is going to be the darkest two H is going to be the lightest .
So then I take my eight B and kind of touch up any areas that need to be the darkest or essentially almost black .
So if there's any areas in the fur at all , I'll look for those in the reference photo and then I'll go over those , either the first strokes that I had already done in the darker tones , which may have been the four B or two B .
I'll go over those and make it just a little bit lighter because you don't want to create too many extra shadows in your fur .
So if it , if there isn't any there that you're seeing that you didn't do before , then don't put them there .
You want to go over the darker tones that you already have down and make them a little bit darker and this is why it's important that with each layer of the pencil that you draw on the paper that you don't press too hard .
All of my strokes , everything you see me drawing through this dog .
I am not pressing hard at all .
I am actually pressing very , very lightly .
I'm , I'm just kind of using the weight of my hand and if I need it darker , I'll just go over that same stroke or that same area a couple of times and it will apply more and make it a little bit darker , but you don't want to push because then what you'll end up doing is burnishing the pencil to the paper and that creates a smooth finish , then you're filling in all of the tooth of the paper and you won't be able to add anything more on top of it at all .
So that's going to ruin your ability to create realistic fur if you do that .
So as I mentioned with drawing the last layer , usually the eight B for the shadows in the D or shadows in the fur .
Is that going over it a couple of times with that eight B I can still apply that there .
And the paper is going to take it because I have been very liberal with how much pencil , I've been applying with each layer that I put onto the paper .
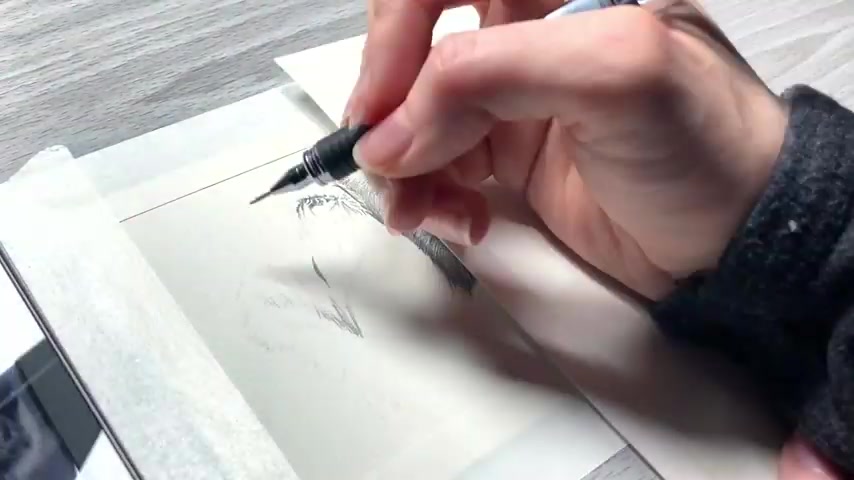
And when you're trying to work with a long fur , you're going to be doing less individual hair strokes .
So kind of the , the key components that I talked about before is that you create these repetitive patterns and draw your strokes with those repetitive patterns .
But with the long fur , it doesn't quite apply so much .
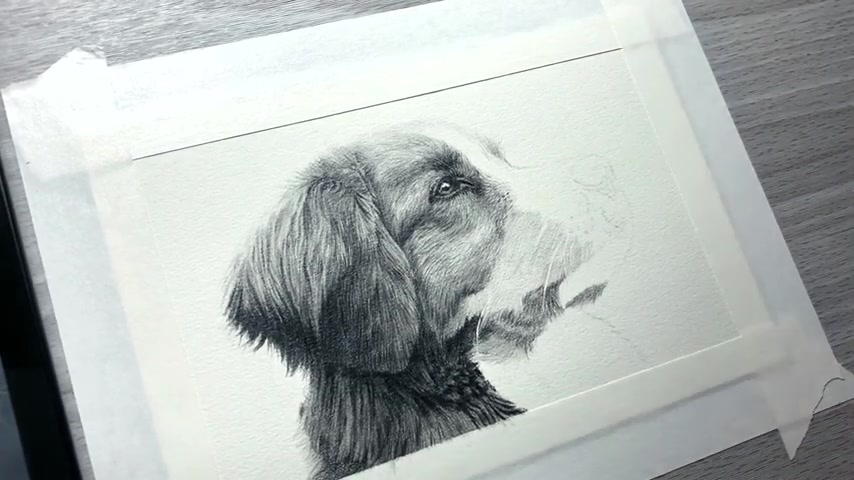
So that really mostly just works for short and medium fur , which would be all the fur on this dog's face , but the ears and behind this dog's head on its neck and shoulder , that's where a long fur is at .
And what you want to do for a long fur is you need to think more in terms of not the hairs that you're seeing , but shapes .
So you need to try and single out .
Ok .
Well , here's this clump of , you know , a bunch of hairs in this strip and say this strip is only about a quarter of an inch thick and then maybe it's about an inch or two long and you need to think about that's the shape that I am going to try and copy onto my drawing .
How can I make my drawing look like that ?
What are my first layers going to be ?
Then what do I add on top ?
And when you're working with these shapes like that , once you learn to identify your hairs like that , then you're able to draw much , much more realistic fur .
You need to stop thinking about fur as drawing each little hair because when you draw it like that , it looks like straw .
It doesn't look real hair clumps together .
And that's why I talked about clumping as one of the key components to fur looking real is that especially with long hair , the hairs really clump together .
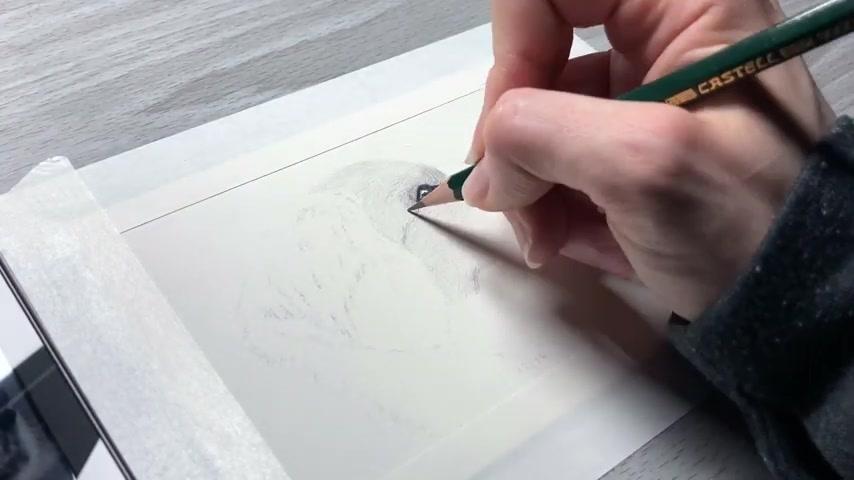
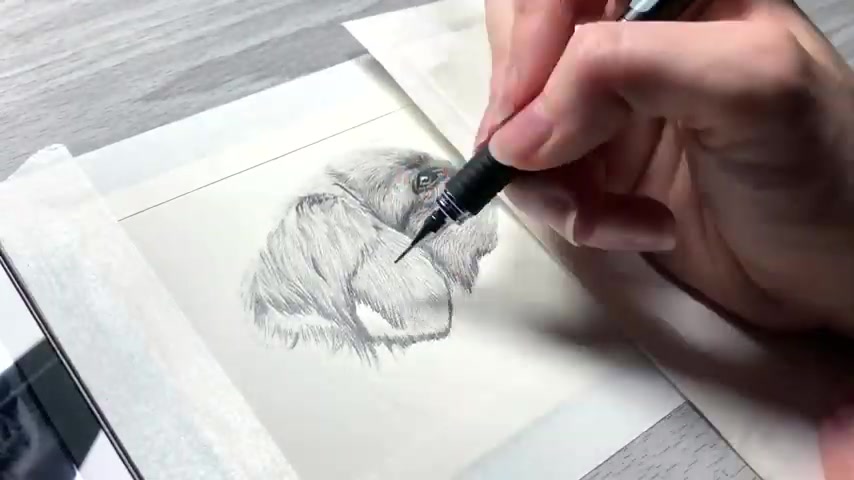
So as you're building these shapes and trying to make them look real in this ear of the dog , you need to try and build the fur structure with the shadows .
So if you want your fur to kind of pop out more and stand out , you're gonna create darker shadows really , really close to where the hairs kind of taper off to a point and that's going to bring out that section of fur even more .
And then of course , when you're working in the highlight areas , I honestly feel like the lighter tones to fur , whether it be you're working in colored pencil or graphite , um they tend to be kind of the hardest because the judging the values of lighter tones is really , really hard when you don't have a really dark tone in there to judge anything else for the in between .
So as I said before , when starting out my drawing is that I went to get the darkest area in first because that's gonna help me judge the fur around it .
So when you're working in a lighter section of fur , you should try to do the same thing , kind of try to work in some of the darkest areas of that fur first before you start working on the lightest sections , because then you'll have an easier time judging your values and getting them accurate .
But when you're building the um light layers of your fur , what you want to do is focus on the shapes .
Again , with these sections of lighter fur , though , it might be a little harder to identify those shapes .
And when you identify these shapes , especially on this dog's ears , you'll notice that a lot of the fur isn't individual strokes like you , you can't see each little white hair .
And so when you're drawing your strokes for this portion of either this dog or if you did another dog or another animal , and it's really , really light like this and you can't see every single hair you want to try and make your strokes very , very faintly .
Don't put a lot of pressure on the paper .
And oftentimes to create those shapes , what you you need to do is draw your , your not really strokes .
But when you're applying your pencil to the paper , do really , really small circular motions and hold your pencil to the side .
So you get more of an even application on the paper and then you won't have any harsh pencil strokes because an area like this , you don't want harsh pencil strokes .
And usually when I'm working on my graphite drawings .
I don't rely on using a cotton swab or a blending stump to smooth things out because you can only do so much .
And if you make too harsh of pencil strokes through the drying process , you may not be able to smooth them out later .
So you need to be very , very careful about how much pressure you're applying and don't apply too much because you don't want to add strokes that you can't get rid of later .
You can learn more about drawing fur with graphite from the top right playlist of all of my fur tutorials and tips or you can learn even more about how to draw fur from my real time tutorials over on my patreon .
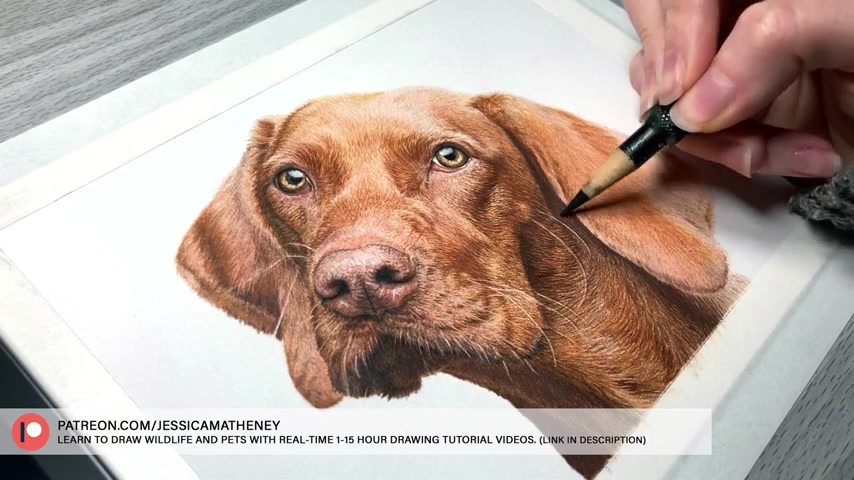
I offer 1 to 15 hour drawing tutorials of wildlife and pets and colored pencil , graphite and pastel .
When you sign up , you have instant access to a growing library of tutorials and new tutorials are added each month .
Thanks so much for watching .
See you in the next video .
Are you looking for a way to reach a wider audience and get more views on your videos?
Our innovative video to text transcribing service can help you do just that.
We provide accurate transcriptions of your videos along with visual content that will help you attract new viewers and keep them engaged. Plus, our data analytics and ad campaign tools can help you monetize your content and maximize your revenue.
Let's partner up and take your video content to the next level!
Contact us today to learn more.