https://www.youtube.com/watch?v=-c3L90nsesw
How to draw a face for beginners from sketch to finish _ Emmy Kalia
Hi , everyone in this video , I'm showing which techniques I use to draw from a reference photo .
I start by drawing some guidelines on my reference photo .
You can see that the lines from the chin to the nose , from the nose to the eyebrows , and the eyebrows to the hairline are three equal spaces .
Those are the lines I always start with and then the corners of the eyes , normally the eyes and the space in between are also three equal spaces , but she isn't looking straightforward .
So you will have different proportions .
If you don't have an ipad , you can also print the reference photo out and draw the guidelines with your pencil .
It's easier if you make sure that your reference photo is the same size as your drawing paper .
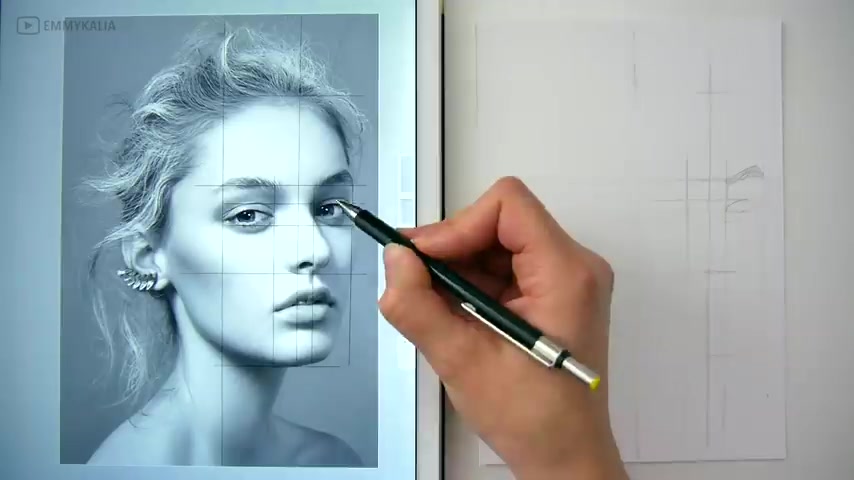
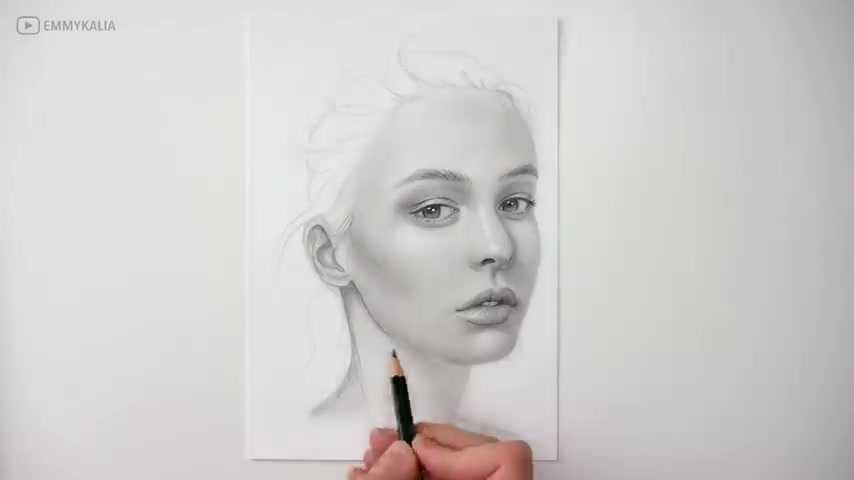
Once I have the guidelines , I draw them onto my drawing paper and then I start drawing the face features by looking back and forth .
I always start with the eyes and then go from there because of the guidelines , you will be able to draw the sketch easier and get accurate proportions .
You can measure whenever you need to .
I just use my pencil .
But if you want to be more accurate .
You can use a ruler .
You also want to make sure that your guidelines are light enough to erase later on .
I'm using an HB but to be safe , you can use a two H or even a 4h pencil , take your time while sketching and try not to be too hard on yourself .
You are not using the reference photo to copy it 100% the same .
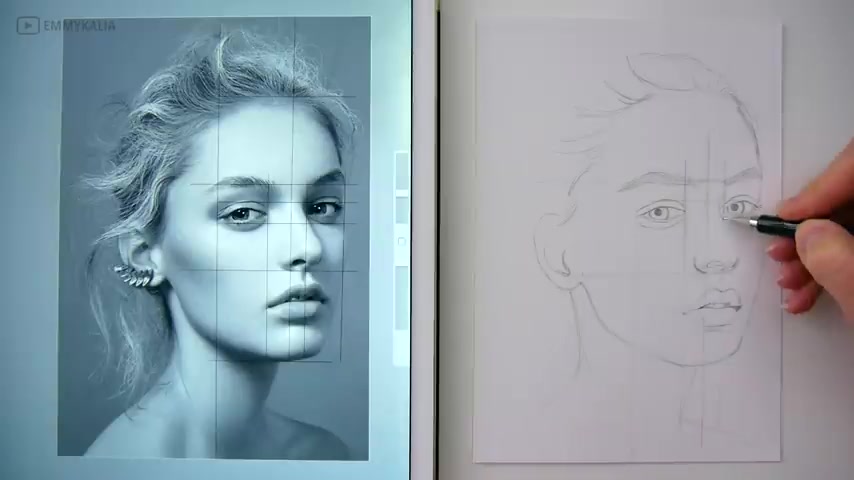
You are not a copy machine .
So try to enjoy yourself and practice this technique as much as you can until you get the hang of it .
Once you are happy with your sketch , you can erase the guidelines and start with shading .
If you want to see the narrated real-time version of this video where you see the process step by step , you can join me on Patreon .
There is a link under this video or you can go to patreon dot com slash for this portrait .
I'm going to use graphite pencils and black pencils for the darkest values .
You can find a full material list under the video as well .
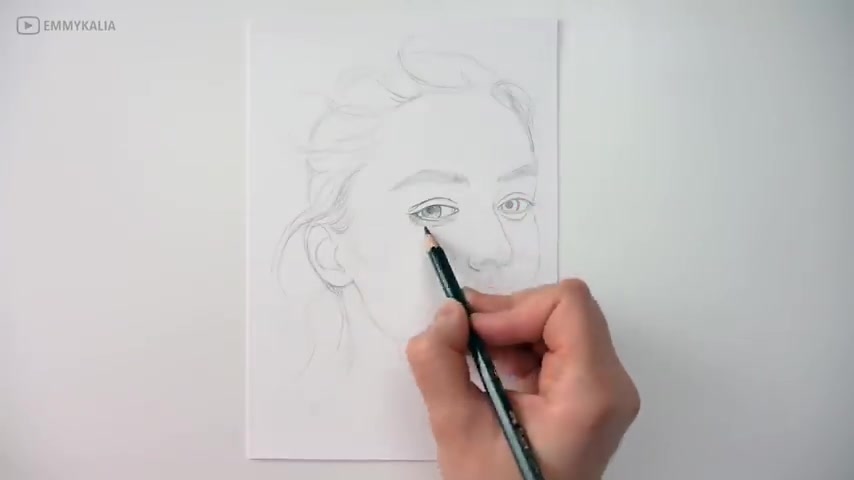
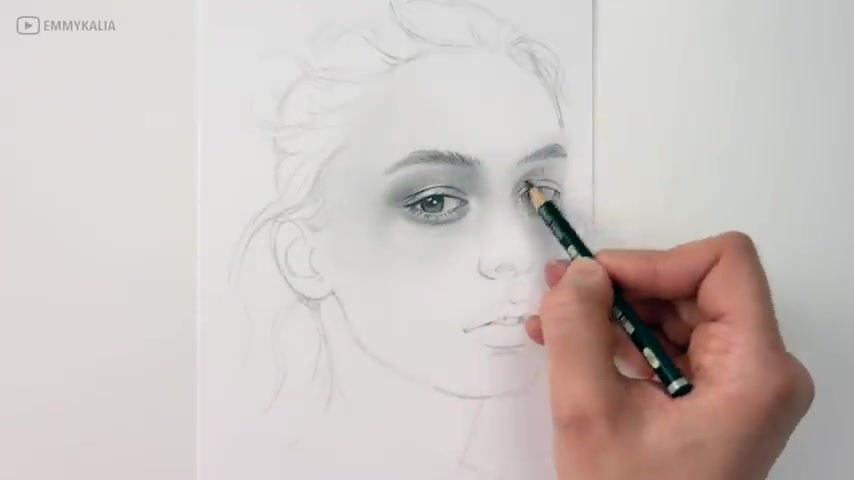
Now when I start shading , I also start with the eyes and I build up the layers gradually starting with the four B , then the six B , then the eight B and to add the darkest values like the darkest shadows and the iris and pupil for that , I use the black pencils .
You also want to make sure you are shading your layers with light pressure .
Because if you use hard pressure right away , you won't be able to layer over it or erase for the highlights .
So you will build up the layers gradually using light pressure .
If you start by shading with the four B graphite pencil with light pressure and the value in your drawing isn't dark enough .
You will move on to a darker graphite pencil like the six B using light pressure .
And if it's still not dark enough , you will use the eight B with light pressure .
If that value isn't dark enough , I use the black pencil also with light pressure only if you are drawing the last layers , you can use harder pressure , but you won't be able to erase over it that easy .
So you want to make sure that you don't need to correct anymore .
After moving on to the next , I I still go back sometimes to add more detail or maybe correct .
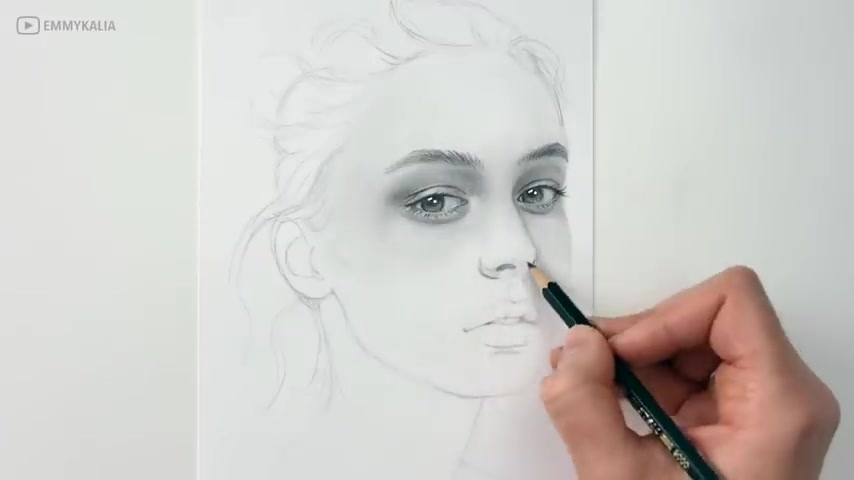
If I need to , I always finish the eyes first and then I move on to the nose .
Even when I almost finished the whole portrait , I still look back and see if the shading on the eyes or maybe nose have the right value or if the proportions are still correct .
So I don't finish them completely and move on .
Even though they look complete , you might still need some correcting to do or adding some more value .
The eyes look dark now .
But once you have shaded , the rest of the face .
You will see that you might need to add some more shadow .
When you are drawing from a reference photo , you also want to pay attention to the highlights and shadows .
So try to tell from which side the light is coming from .
For this portrait , the light is coming from the left .
Now , you know that the face will be lighter on this side and darker and more shadows on the other side , the highlights and shadows is what will make your drawing look round and 3D you see because I have very light layers , I can easily correct the nose a bit and I can also easily use the needed eraser to erase the graphite for the highlights .
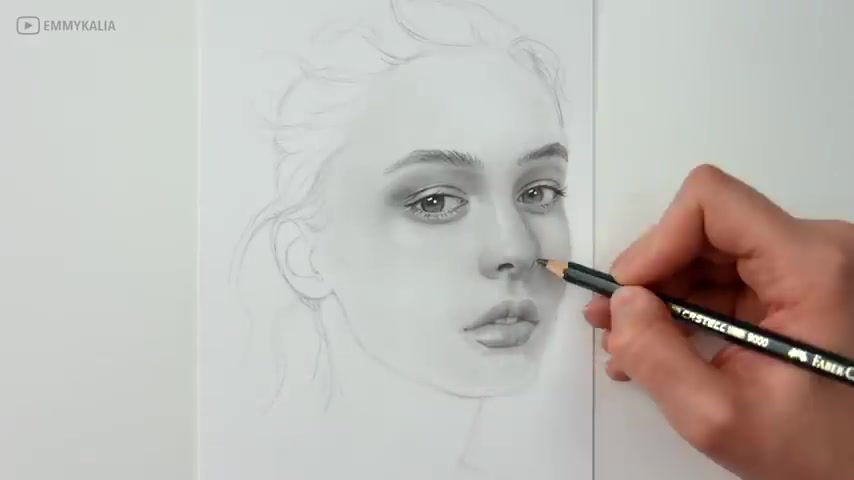
Now I start shading the rest of the face and when I shade a larger area , I hold the pencil more to the back .
That way you will be shading with the side of the pencil and you will get smoother shading .
After each layer , I use a soft tissue to smoothen the layer even more .
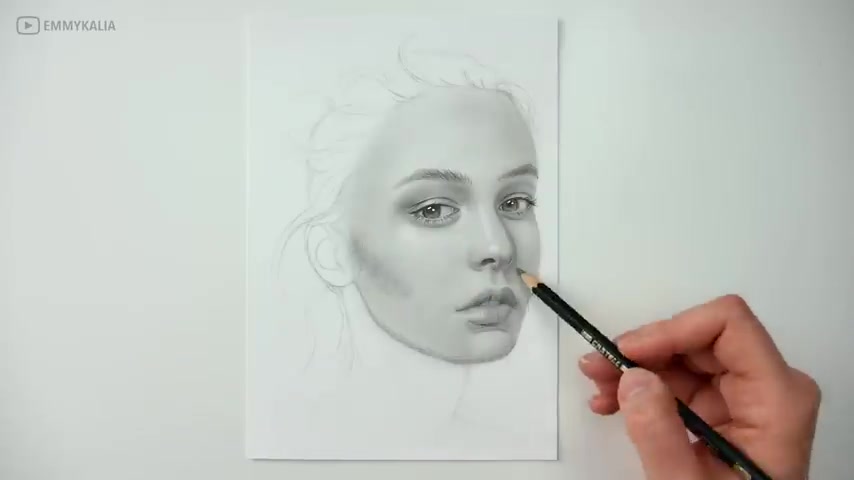
When you have shaded the face , you see that the lips look flat .
Now , so I'm using the black pencil to darken some more .
If you are a beginner and you want to start drawing your first portrait , I would advise you to draw the face features .
First practice with drawing a single eye and then two eyes , then practice with drawing noses from different angles and the mouth .
If you want to practice your shading , you could draw a sphere , see how you can start with a circle and make it look round with shading and creating highlights and shadows .
How can you get a smooth transition from the mid to to the shadow practice ?
With that ?
First , I have a tutorial about drying and shading a sphere .
I will link it under the video too .
If you are interested when I draw hair , I draw this in smaller sections .
I think it's easier that way .
And don't try to draw each individual strand of hair that won't work .
You will also have medium tones , dark tones and light tones that will make your hair look 3d and realistic .
I start with the medium tones .
Then I shade this using the blending stuff .
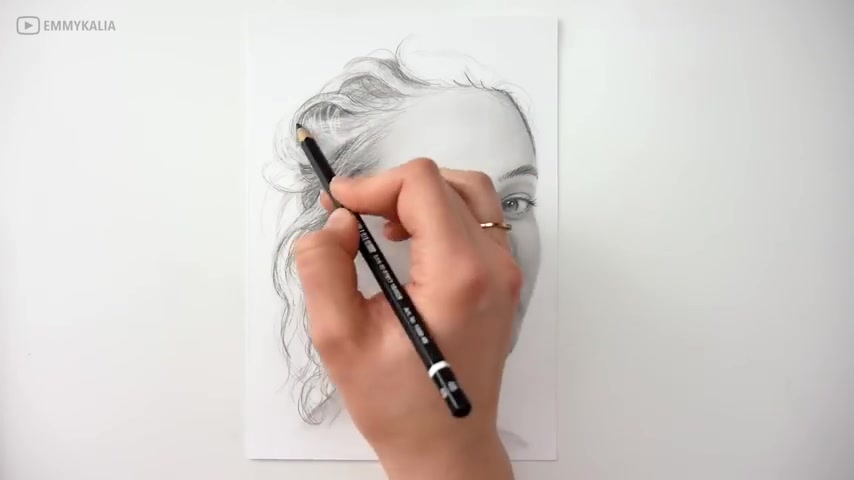
Then I use the pencil eraser to erase highlights and create some loose flyway hairs and look at your reference photo to make sure you are following the direction of the hair and to see where the shadows and the highlights are .
That's how I go back and forth on each hair section .
I also make sure I recreate these flyway hairs because hair is never perfectly altogether .
Now , I went back to the face to darken the shadows some more .
When I started drawing the hair , the value on the right side of the face didn't seem dark enough .
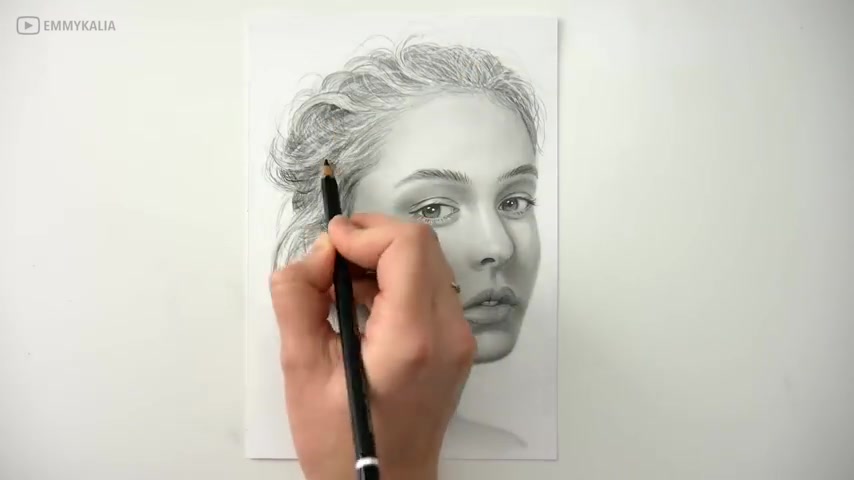
So I just added another layer to darken a bit and then I draw the rest of the hair and the portrait is finished .
I really hope you are able to learn something .
If you have any questions , just leave a comment under the video and please like the video .
If you enjoyed it also , don't forget to subscribe , so you won't miss the next video .
Thank you so much for watching and I'll see you the next time .
Bye .
Are you looking for a way to reach a wider audience and get more views on your videos?
Our innovative video to text transcribing service can help you do just that.
We provide accurate transcriptions of your videos along with visual content that will help you attract new viewers and keep them engaged. Plus, our data analytics and ad campaign tools can help you monetize your content and maximize your revenue.
Let's partner up and take your video content to the next level!
Contact us today to learn more.