https://www.youtube.com/watch?v=gnY6PWai8vw
How to Create a Free Website (Free Domain & Hosting) 2020
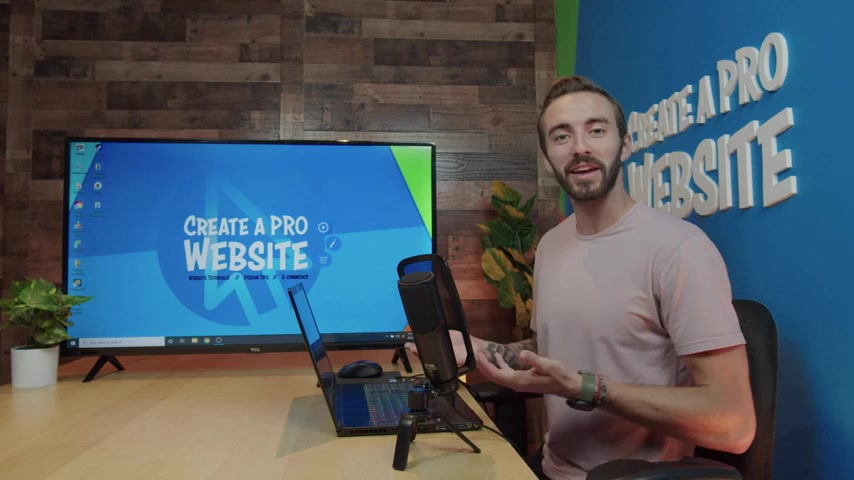
What's up guys ?
I'm Dale mcmanus from Creative Pro website .
And in this video , I'm gonna show you how to create your own free website using a free domain and free hosting .
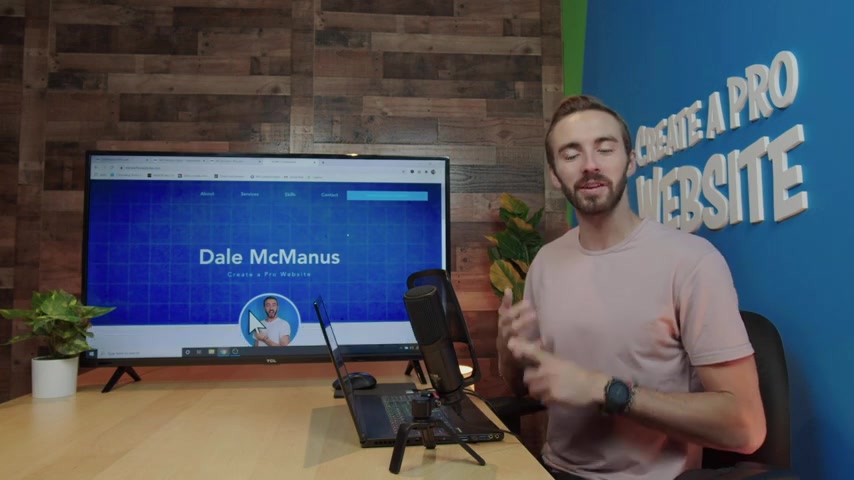
By the end of this video , you'll have a website that looks like this and it will be published live so that anyone with internet access can view it .
And this website was designed using drag and drop and I'll walk you through the whole process step by step .
So if you're ready , let's get started .
Step .
Number one is to create a Wix account .
So to do that , just click on the very first link in the description or you can just go over to create a pro website dot com slash wix and that will take you to a page that looks like this and it's completely free to set up an account .
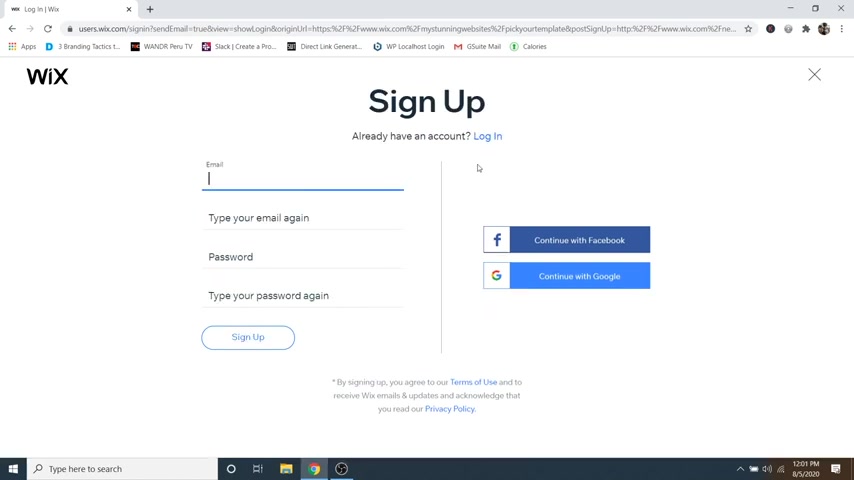
So to do that , just simply click on start now , then you can just go over to sign up right here and then just type in an email , then type it again and then a password and then retype your password , then just go ahead and click on sign up .
OK ?
So now we can move on to step number two , which is to customize your website .
So to do that , you can just go ahead and skip this tutorial down here at the bottom , right .
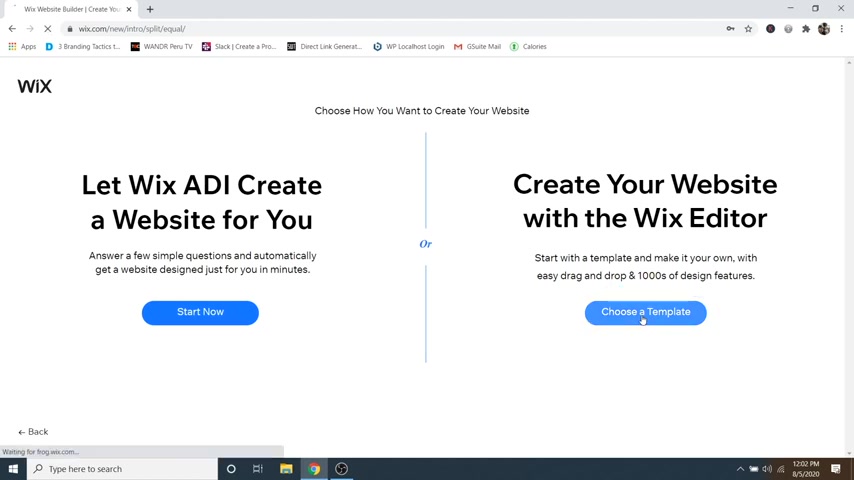
And then we're just gonna select , choose a template and you can explore tons of different templates in here .
And really what I recommend doing is starting with one that looks semi like what you want your website to look like .
And then we'll go in and drag and drop and replace items on the website .
And you've got all sorts of different categories up here .
Like creative , you've got photography , design , music , and so on , or you can just search by all templates right here .
But in this case , I'm gonna go with a professional portfolio type one .
So I'm gonna click on portfolio and CV .
And then I'm just gonna scroll down and look at some of these websites .
And if you want to view one , you can just hover over it and click on view and it will show you a little animation of what the actual website looks like .
So I like this one .
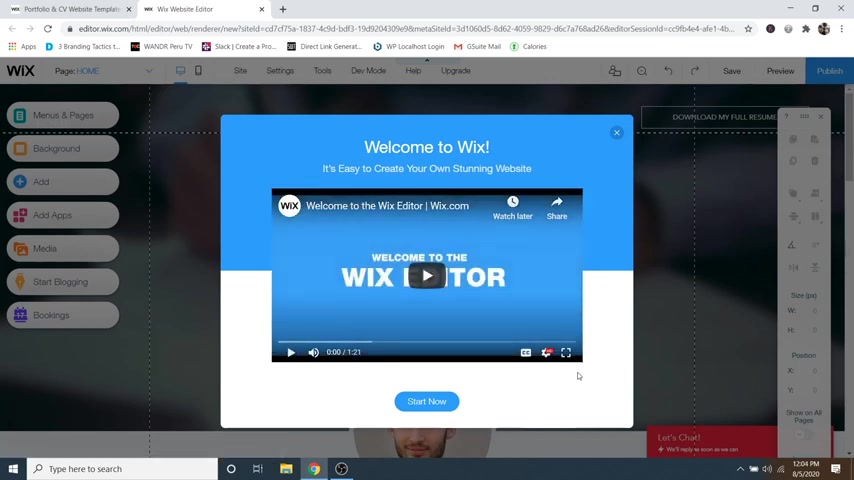
So I'm gonna go ahead and click on edit and then that's gonna bring us into the Wix editor and then you can just go ahead and close out of this tutorial as well .
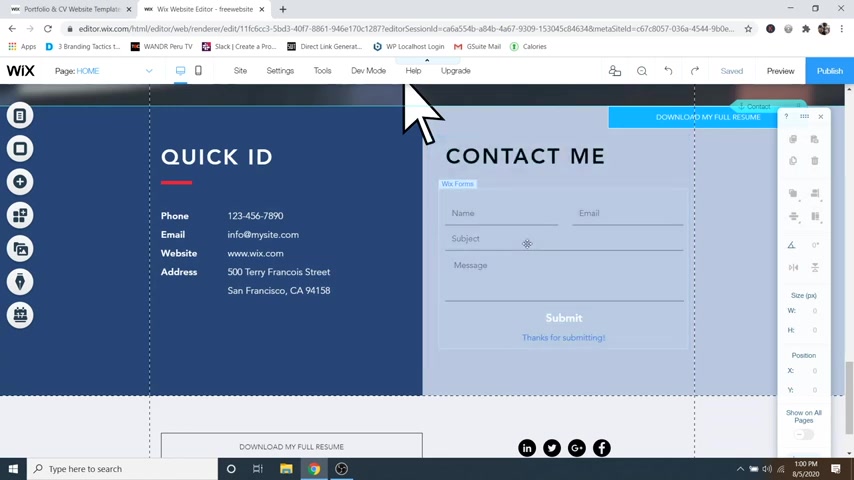
So now let's do an overview of the interface .
So first you've got your navigation menu over here on the left and this is where you can create new menus and add pages to your website as well as change backgrounds and add new sections and elements to your website and a few other advanced items here , which I'll get to later in a different video .
Then over on the right , you've got your toolbar for editing the elements on your website such as their alignment and position the size and so on .
And then you've got your main toolbar for the website up here , which I will be getting into later in this video .
So first let me show you how to change text on your website .
It's very easy .
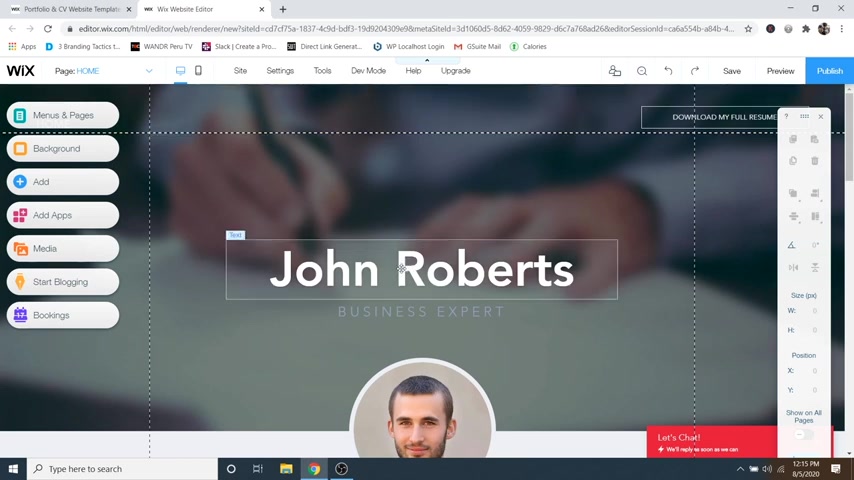
So to do it , you can just go over to some text that's already there and you can just double click and then you can write whatever you want .
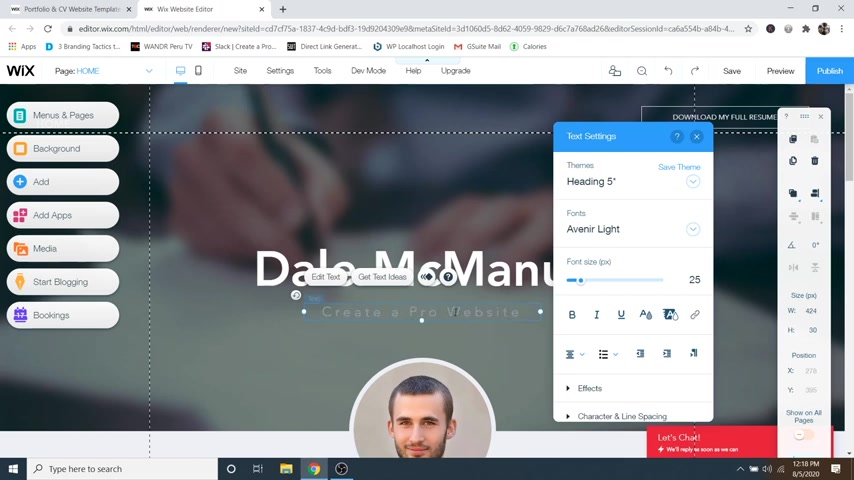
So I'll write my name and then you'll see this text editing window pop up here on the right .
So if you'd like to change the font , just simply double click and then you can change the font right here .
There's a whole list of ones that you can try out or if you'd like to change the font size , make sure that it's highlighted .
And then you can just drag this little slider bar up and that will make it bigger or smaller .
But I'm going to stick with an 88 just like they had .
And if you'd like to change the color of the text , you can just go over here to this little color button and click on that and you can change it to anything that you want and you can just hover over to see a preview of them .
But I think white looks pretty good .
But if you'd also want to add your own color , that's not in this little list here , you can just go down to add color and then you've got a whole spectrum of color to choose from simply by clicking and dragging through this huge slider .
But again , I'm gonna stick to white and then you can just close out .
And then if you've ever used anything in a word document , it's pretty much all the same settings right here .
And then we've got effects down here , which we can open up and you can add drop shadows to your text borders and things like that .
And then you can also edit the line spacing , the letter spacing and so on in this menu right here .
So now I'm gonna change the second bit of text and I'm gonna make this one a bit lighter .
So I'm gonna go to the color and then I'm gonna choose maybe something like this .
Let's just make sure that's highlighted , go to color and we'll go with maybe something like that and then just click the X and if you'd like to write new text on your website , so let's just say that there's some here that you want to add underneath .
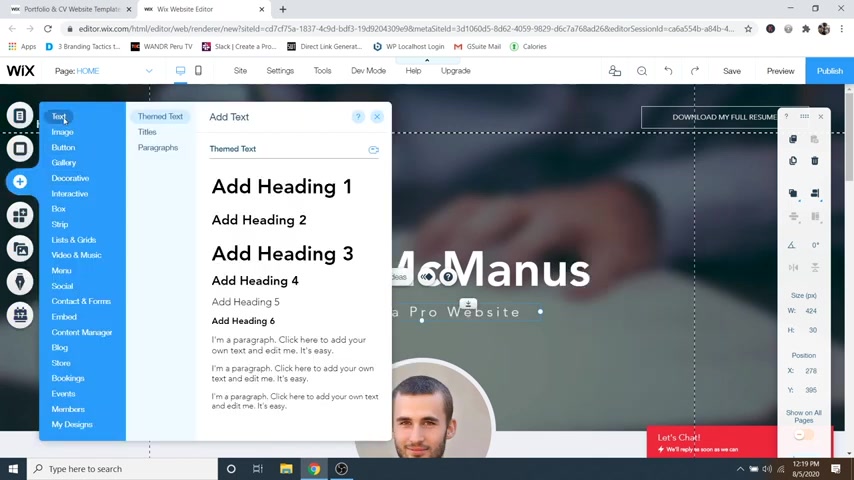
You can just go over to add and then just go up to text and then you can pick theme text , titles , paragraphs and so on .
So with theme text , we'll just say we'll do a heading too and that will just add that in and then you can edit it however you want and you can just move it around by simply clicking and dragging .
But in this case , I kind of like what I've got .
So I'm just gonna hit backspace and delete it .
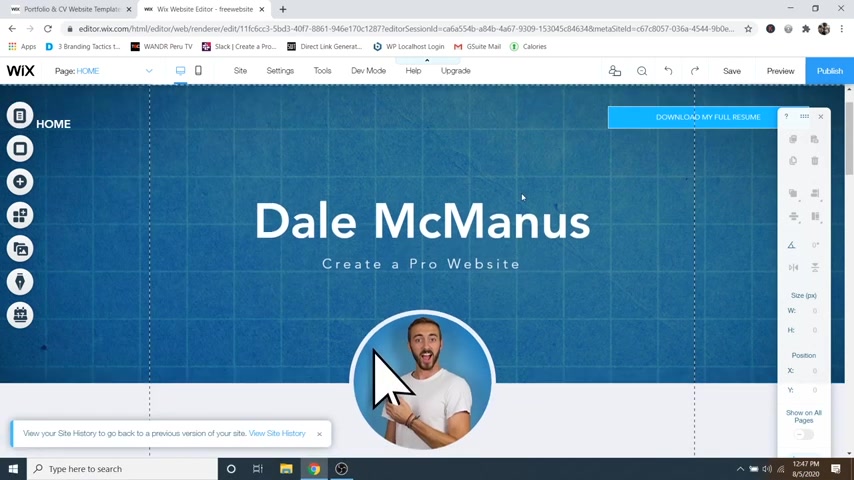
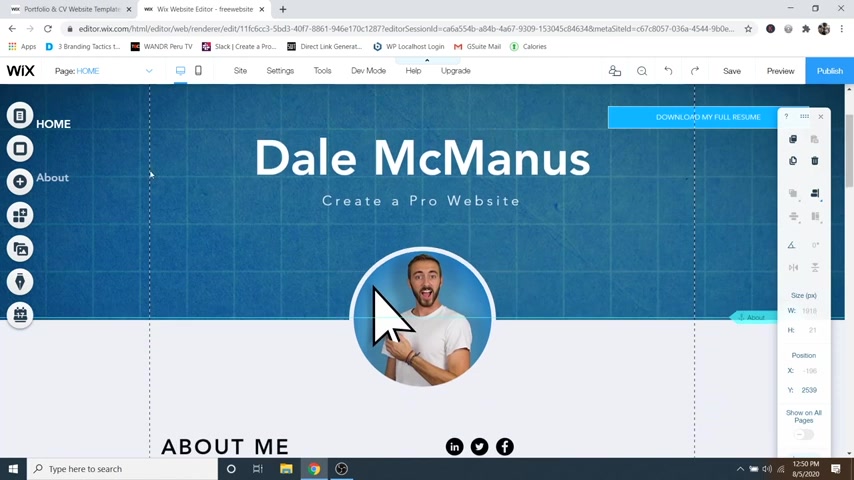
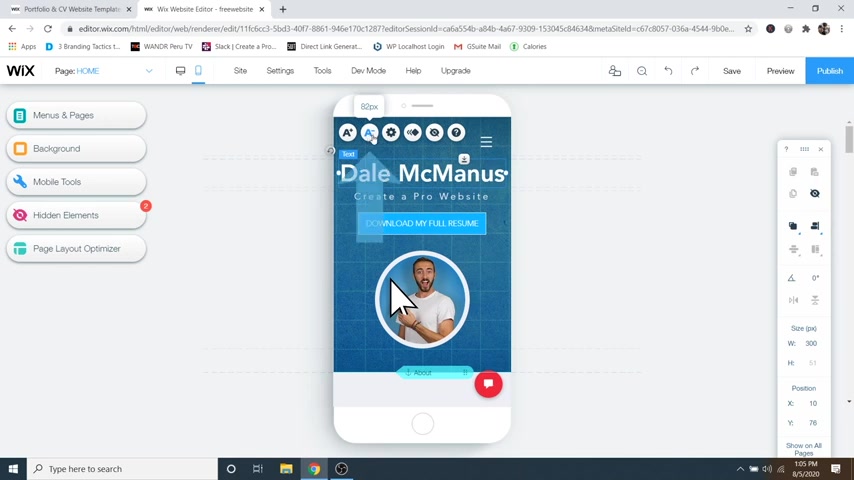
So now I'll show you how to change the images on your website .
So it's really simple .
I'm just going to scroll down and I'm gonna click on this guy right here and then I'm just gonna click on change image and then you can upload new files by clicking on , upload media right here .
So I'm gonna go ahead and upload a picture of myself and then upload from computer and then I'm just gonna grab this one and then click on open .
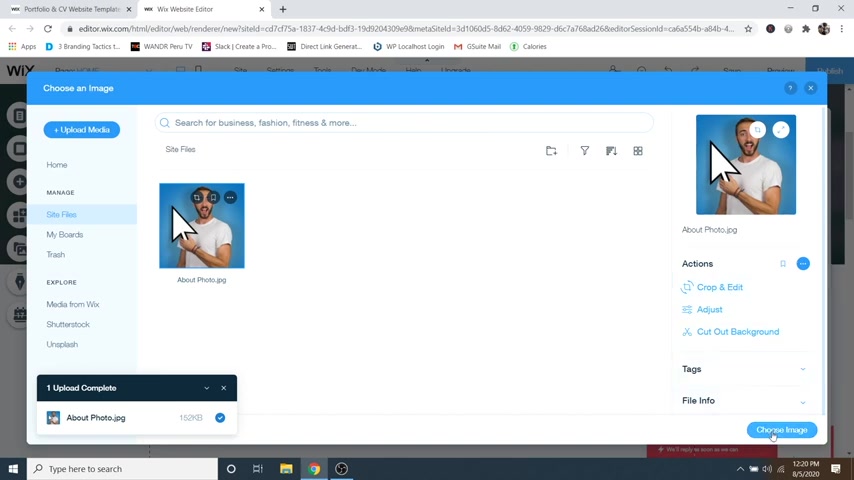
Cool .
So now I've got that image of myself and you can crop and adjust them over here on the right .
But I like the way mine looks .
So I'm gonna go ahead and click on choose image and there we go .
Now , I've got an image of myself right there .
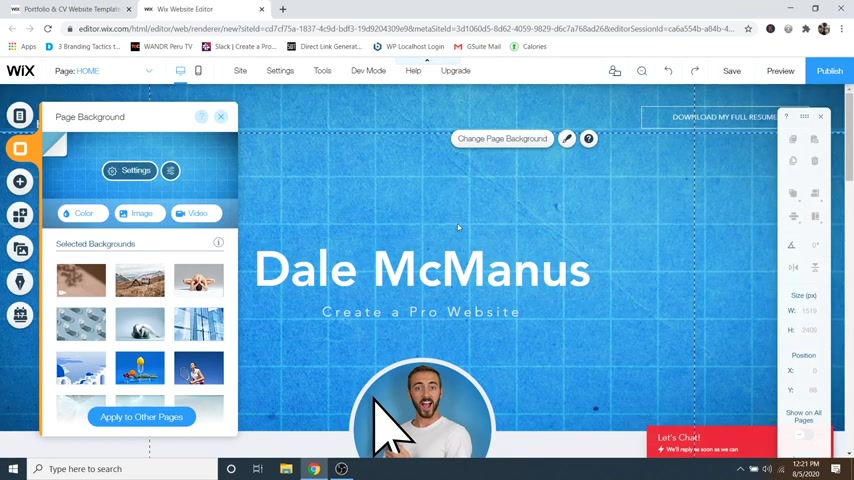
And if you want to change the background image , you can just go up and click on this whole section and then just click on change page background and then you've got ones that you can select here that Wix gives you .
And some of them are even videos which you can see a little preview of here .
So let's say there's some sky movement right there .
It's pretty cool .
And if you load that in , it's not actually going to play in the editor , you'd have to preview your website up here to actually see that video working .
But in this case , I'm gonna use another image of my own .
So I'm just gonna go to image and then back to upload media up here and then upload from computer .
And then I'm just gonna drag in this blueprint paper right here and click on open .
Cool .
And then now I'm just gonna click on change background and there's my new background in there and it looks a little bit light .
So what we can do is also add an overlay to this .
So what I'm gonna do is just go on over to settings and then I'm gonna click on the color behind image and I'm gonna change that to black and then click on the X and then you can just drag this image opacity slider down and create a bit of a darker background which I like just something like that , then just click on the X and that looks pretty good .
So now let's look at how to change the button and the button style .
So to do that , you can just go over and click on the button .
And in this case , I already have one .
But if you don't , you can just go over to add and then go to button and then select one from the list .
So I'm gonna cancel out of that .

And then if you want to change what the button says , you can just click on , change text and you can change that right here .
So right now mine says download my full resume .
I'm just going to keep that the way it is .
And if you want this button to go to a specific place , you can just click on this little link button right here and then you can send them to all different places .
So if you want to do a certain URL , you can just click on web address and then you can paste in that URL right here or you can go to a different page on your website right here and then you've got things like anchor which will send them to a different part of this home page down at the bottom maybe or you can display a phone number or an email and so on .
But let's just say you wanted to do web address , you can just type that in right here .
But in this case , I'm just gonna leave it .
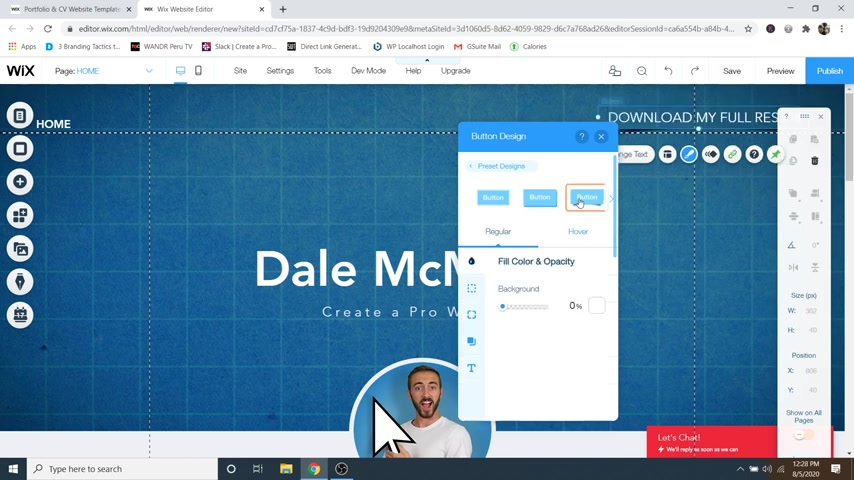
And then if you want to change the style of the button , just click on design and then you can pick different themed options right here , which are presets or you can just go over to customized design and then you can change kind of the style of the button .
So if you want a little bit of a shadow on it or some sort of a border on it , you could , I'm gonna leave it the way it is and then you can change the color .
So right now , this has got an empty fill on it .
So if I want it , I can make it a blue button by simply clicking there and selecting one of the colors here .
Or I could go to add color and create my own , maybe something like that and then just click , add and then click on the X .
But in this case , I'm gonna go over to hover and I'm gonna change the hover color to be translucent .
So you have the option to change the color or in this case , I'm just going to bring this all the way down that way .
When I hover over the button , it turns transparent like that .
So it will start blue and then whenever I hover over it , it will be transparent .
So let me show you .
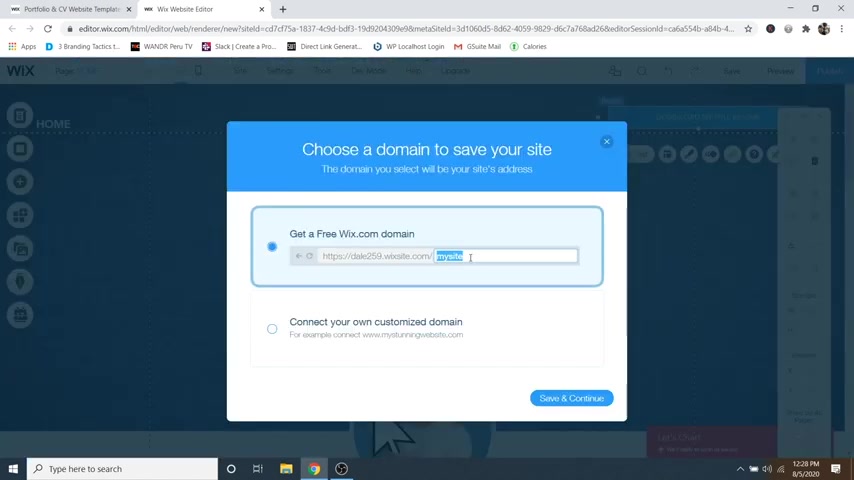
So I'm just gonna click on the X and then I'm gonna click on save to save my work .
And then from here , you can also just name your site .
So I will call this free website just like that and then click save and continue .
Cool and then just click on done .
And then I'm just gonna go over to preview and then as you can see whenever I hover over this button , it will turn transparent .
Cool .
So now just go back to the editor and you can drag around and resize any element on your website .
So let me show you if I were to scroll down , I could just grab this social bar right here and I could drag that around anywhere that I wanted .
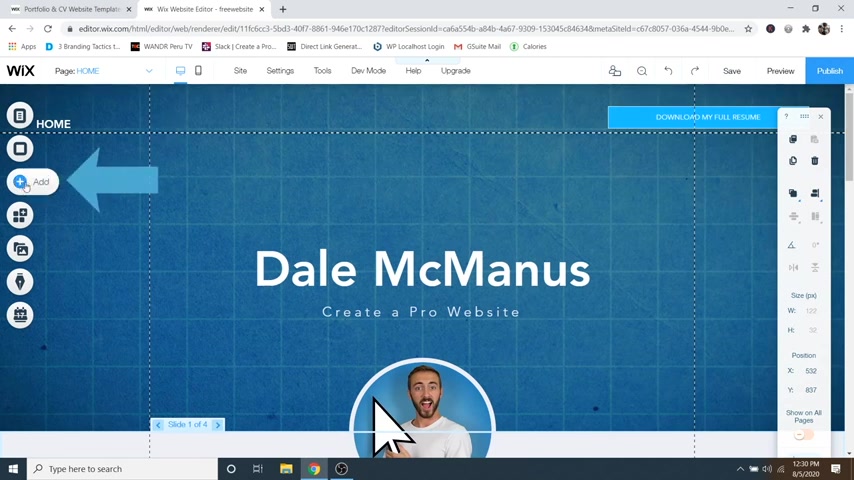
So if I want to reposition it , I could or if you want to add new images and things like that to your website , you can just go over to the add button and then click on image and then just go over to my image uploads right here and then again , upload media , upload from computer and then I'm just going to drag in this mouse .
So I'm gonna click open and then add to page .
Cool .
So now I've got this giant mouse all over my screen .
So what I can do is resize it by simply going up to one of the top corners and you can see the mouse changes to this little resize button .
So we're just going to drag that down to make it a bit smaller .
And then I'm just gonna scroll down and put this somewhere else on my website .
So maybe something like this or actually I'm gonna drag this down to be maybe somewhere on here just like that .
I'll resize it just a bit , maybe just like that .
Cool .
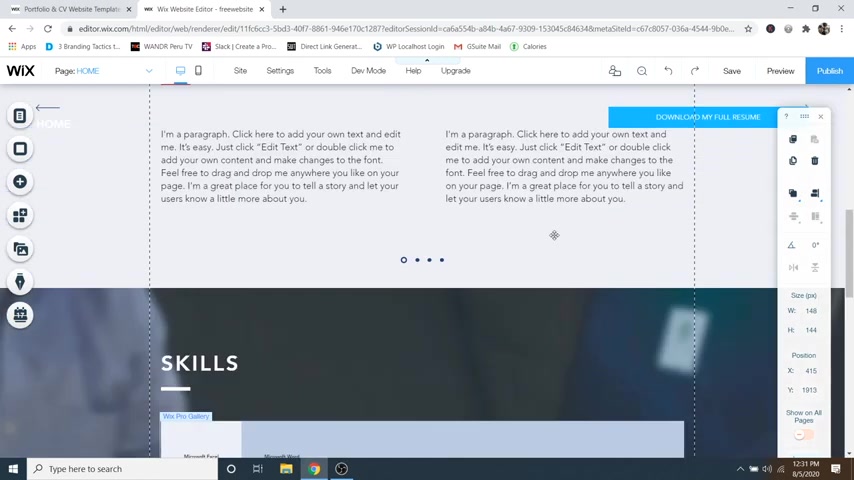
Now , let me show you how to resize sections on your website .
So maybe you've got a section that you think is too big or too small .
What you can do is just click on that section and then you can just go down and drag this little stretch button right here and that's gonna resize the whole section just like that .
And you can do this for any one of the sections on your website .
And if you want to reorder these sections , what you have to do is just go on over to the little zoom out and reorder button right here , which is a little magnifying glass and then you can just come down and drag whatever you want around .
So if I wanted , I could just drag this whole section and put it underneath the contact me if I wanted , which I don't want to do because it looks a little funny .
So I'm just gonna drag it back the way it was just like that .
Cool .
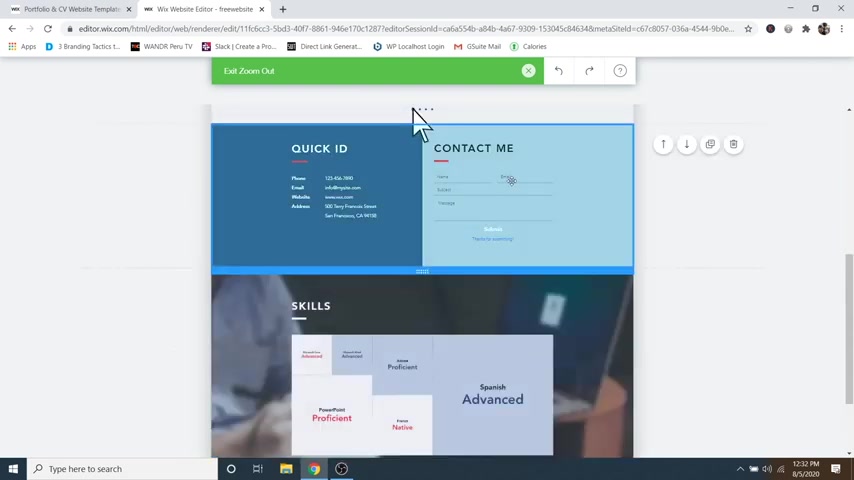
So now just click on the X and if you'd like to add a new section to your website , you can just go over here to add and then just go down to strip and then you can select all different ones in these little categories right here .
So let's say that I wanted to add a services one , I could just go down and click on one and that's gonna add that at the very bottom So what I need to do is reorder it .
So now I'm just going to go back to this little magnifying glass and zoom out and reorder and I'm just gonna grab it and I will put it right underneath the about section just like that and then just click on the X cool .
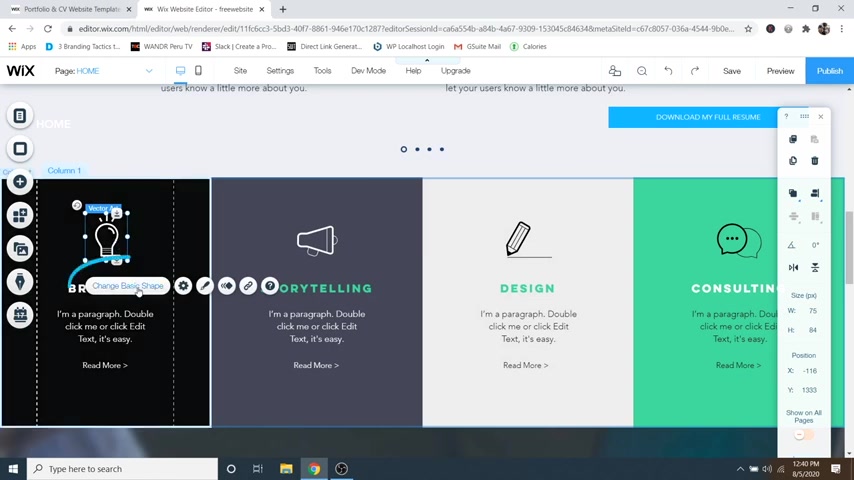
Now , if I go down , we've got that whole section right here , which we can edit the same as everything else .
You can replace text , replace these icons by simply clicking and then you can just change the basic shape .
So now we can move on to step number three , which is to create a header .
So first what we want to do is add some menu items to this menu .
So what I'm gonna do is just click over here in this orange area .
And then I'm just gonna go over to menus and pages and then from here , you could add an entirely new page to your website .
So if I wanted , I could click on that and then call it about .
And that's gonna add , if I click on , done a completely new about page that we can edit completely separate from this home page .
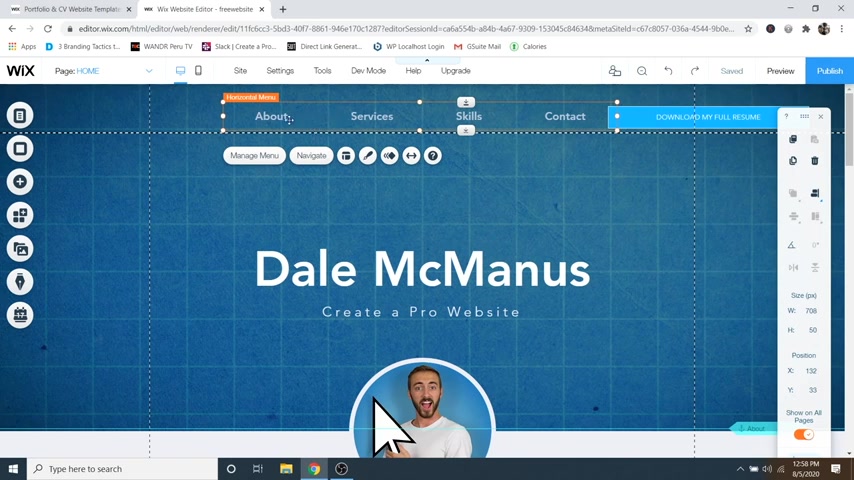
But in this case , I'm going to control Z and then what we could do is also create an anchor .
So if we wanted , we could click on a button up here in our header and that's gonna take us down to say our about me section or it might scroll down automatically to the services section .
So let me show you how to do that .
So what I'm gonna do is just go on over to the add button and then if you go over to menu right here , you can go over to Anchors and then you can just click on an anchor right here and just drag that in and we'll put that right here .
So this is at the top of my about section just like that .

And then what you can do is just click on rename and then you can just call it about just like that and then click on the X and then that way whenever we go back up to the header , then we click on it , then we can go over to menus and pages and then you can just go down here to this little add a link button and then you can just create an anchor right here .
So you might already be on web address or something like that .
Just click on anchor and then you can say where you want this to go to and it automatically has about already put in there .
So I'm just gonna click on done and then I'll just name it about and then click on done .
Cool .
So now if I just click on the X and scroll up , you can see I've got a little menu over here on the left .
And if I were to preview this and click on about .

It's gonna automatically scroll to that anchor right down here .
So let's add a few more anchors to our website .
So I'm gonna go over to a and then grab another anchor and I'm just going to put that here on services and then I'll just rename it and then call it services .
Click on the X .
I'll go down , go over to add , should I get a new anchor ?
And then we're just gonna rename this one and call it skills .
Click on the X and then lastly , we'll do contact .
So I'll go to add anchor , drag it in right above the contact section right here and then rename it .
And we're just gonna call this contact and then click on the X .
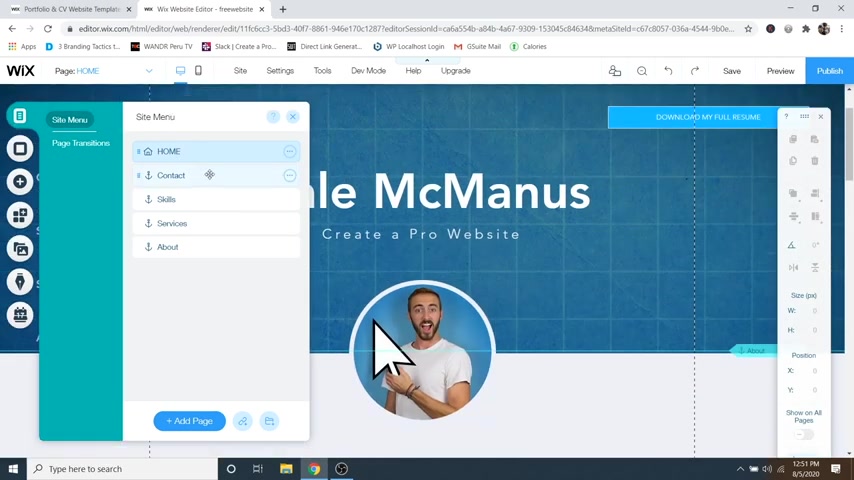
Cool .
So now let's go back up to our menu and click on it and then we're gonna go to manage menu and then we're gonna add a few more links in here .
So I'm gonna click on the little link button and then we are going to call this one services .
So just go to which anchor on this page and click on services .
Click on done and then just name it services , then click on done and then we'll add another one .
Go over to here , go to skills done .
We'll call it skills and then lastly , we'll add a new one and go down to contact and then done and then just rename it contact and you can reorder these in your menu .
So if I go up , it's gonna be blocked by this window .
So I'm gonna just exit out of that .
So you can see we've got contact skills services about , I'll show you how to make this a horizontal menu instead of a vertical one .
But in order to reorder it just click on it , go to manage menu and then you can just click and drag .
So I'll do about first and then I'll do services then skills then contact just like that .
And then I'll just click on the X scroll up .
So now let's make it into a horizontal menu .
So I'm just gonna click on it and then we're actually going to delete it by clicking on the backspace .
And then I'm gonna go over to add , go down to menu and I'm gonna go to themed menus and just pick this basic one up at the top , which is a horizontal menu and that's gonna add it into our website and then we can just click and drag that up to the top just like that .
And I also want to get rid of the home button .
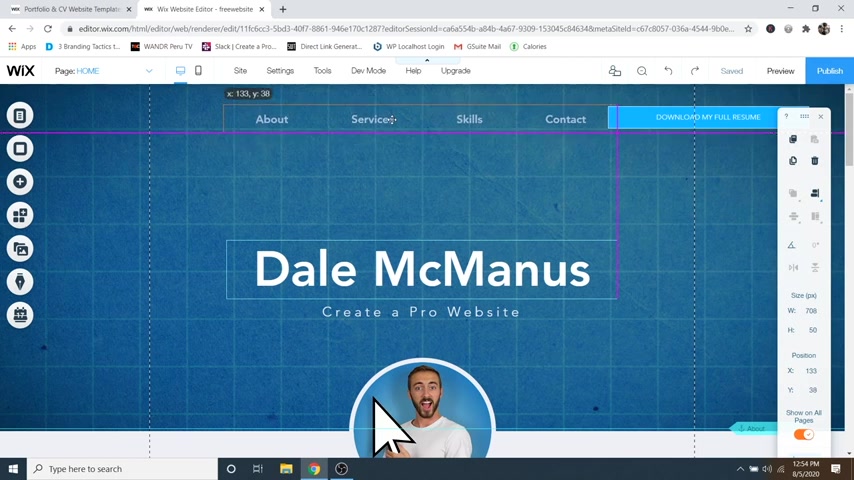
So I'm gonna click on the menu and then go over to manage menu and then I'm just gonna go to the little three dots next to home and then I am just going to hide this and then just click on the X and there we go .
Now we've got our four different menu items and we want to kind of align it with our button .
So I'm just gonna drag it down just a bit , maybe like that .
So now let's save our website and just click on done and then just go over to preview and now you can see we've got our menu up here at the top .
So if I click on these , they will jump to the different sections services and so on , which is pretty cool .
All right .
So let's go back to the editor and now let me show you how to add a completely new page to your website and edit it .
OK ?
So to do that , you can just go back over to your menu up here because realistically you're gonna want to put this page in your menu so that people can get to it .
So I'm just gonna click on that menu and then go to manage menu and then we can just add a page .
So I'll just click on that and then we can give it a name .
But in this case , I'm just gonna call it new page .
You can call it whatever you want it to be for and then just click on done and then this is gonna add it to your menu .
So now if I just click on the X , you can see we've got a new page right here and you can see it's also created a whole new page for us .
Automatically , there's nothing in this page yet .
So if you wanted to add stuff to it , you could just go over to add and then you could go down to strip right here and you could drag in all these different types of strips and build your website out like that .
But in this case , I don't want to waste too much time doing that .
Just wanted to show you how to add a new page .
So I'm just gonna go back and click on that and go to manage menu and then just get rid of that page .
Cool .
Ok .
So now let's move on to step number four , which is to create a contact form .
So let me show you how to do that .
So if we just scroll down to the bottom of our website , you can see I've already got a contact form right here .
But if you don't , maybe you selected a different template that doesn't have one , you can just go over to add and then just go down to contact and forms right here and you can select a whole bunch of different contact forms .
But in this case , I've already got one .
So I'm just going to edit this one .
So what you can do is just click on it and then if you just click on form settings first , what we'd want to do is make sure that this contact form is sending these emails to the correct email .
So to do that .
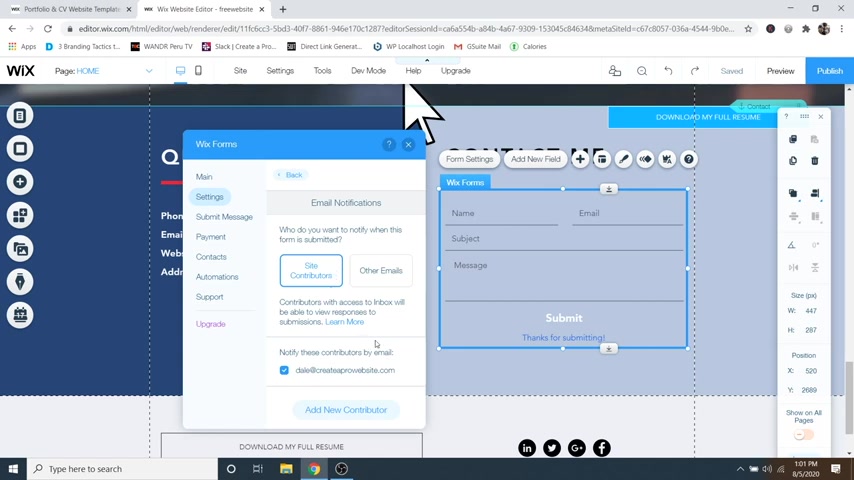
You just go over to settings and then you can rename your form right here if you want and you can go down to email notifications and then you can see we've got my email down here and it's going to notify me whenever I get a new submission to this contact form .
So if you wanted to add a new email or change that one , you can just click on add new contributor .
And if you go over to submit message , you can change what the submit message says right here .
If you want or whenever they actually send you an email through here , you can change it to go to a specific site or a external URL .
It just depends on what you're using this contact form for now .
Just go ahead and click on the X .
And if you'd like to add a new field to this contact form , you can just click on the add new field button right here and then you've got a whole bunch of different options here , like text number , the anti spam options and so on .
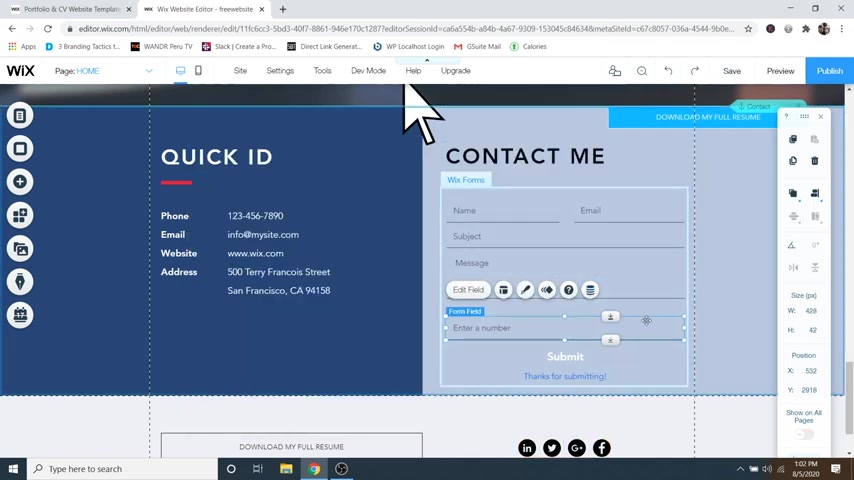
So if I wanted to add , let's say a phone number , I could just do number and then click on number field and that's gonna add that in right here .
And I can just click , oops , I can just click and I can rearrange the order of that by simply dragging up .
And let's say I want to put it underneath the subject and then I can drag the message one down just like that .
Cool .
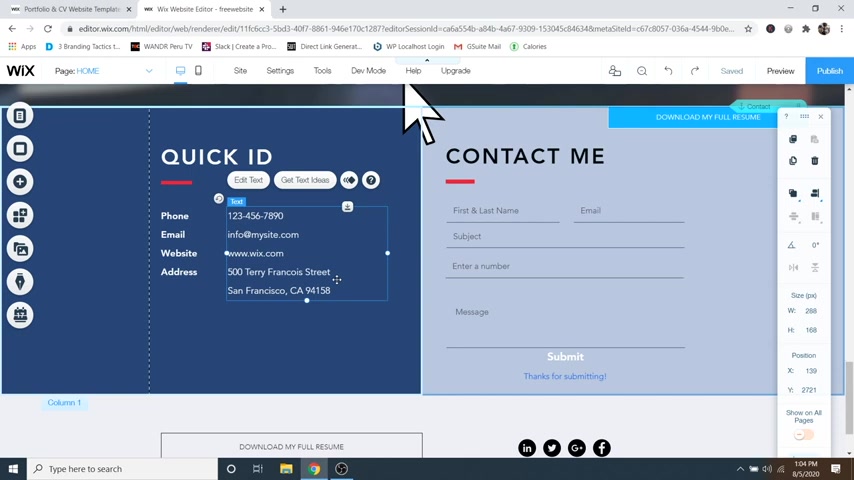
And if you want to edit each one of these fields , let's say you wanted first and last name here , you can just click on name and then click on edit field and then you can see placeholder text right here .
We could just say first and last name just like that and then just click on the X .
And if you want to edit this info over here , all you have to do is just click on it and then you can just edit the text and put in your information .
OK ?
So now let's move on to step number five , which is to edit for mobile .
You always want to make sure that your website is looking great on the mobile version because honestly , more than half of internet traffic is actually searched on a phone rather than a computer .
So you want to make sure that it looks great on both devices .
So to do that , you can just go over to this little switch to mobile icon right here and click on that and then it's gonna try to give you this little tutorial .
We're just gonna go ahead and click on , skip this and it's gonna give you this little simulation of a phone just like that .
And all you have to do is just scroll through your website and make sure that everything is looking good .
So maybe I want to drag this anchor down a little bit to be right on top of my about .
And by the way , whatever you're editing on the mobile version is not gonna change on the desktop version .
So let's just scroll through and make sure everything is looking good .
So maybe my text is a little bit big .
So I'm gonna click on the text and then I'm just gonna click on this little a minus button and that's gonna bring it down just a bit , maybe like that .
And I'll edit the text underneath to be just a bit smaller as well , just like that .
And I want my button to be lower than my image .
So I'm just gonna drag that down to be somewhere around there and I'll just drag my image up like that and then you can use the arrow keys on your keyboard to scoot them in micro doses to go up or down .
And then let's just keep scrolling and make sure that our website is looking good .
So this section is a little big .
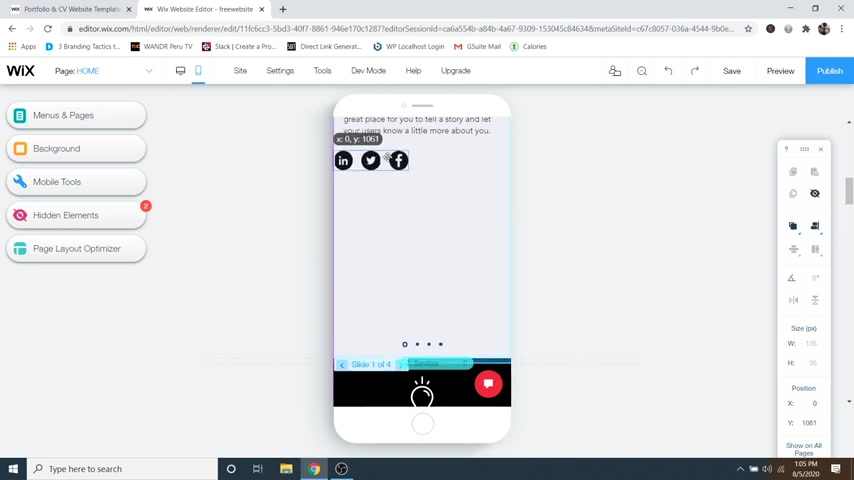
So what I'm gonna do is just drag the social bar and put it right underneath the text and then you can resize a whole section by simply clicking on it and then just dragging this little slider button up like that and that's gonna close off that section a bit , which looks a lot better .
And in this case , we've got a little bit of blue in between these sections So what I can do is just click on this one and then I'll just move it up just like that and also adjust the anchor .
There we go .
So it keep scrolling down again .
We've got a little bit of blue popping through here from my background .
So let's just go ahead and scoot that up just like that .
Cool .
And then you can see we don't have a background behind our contact form .
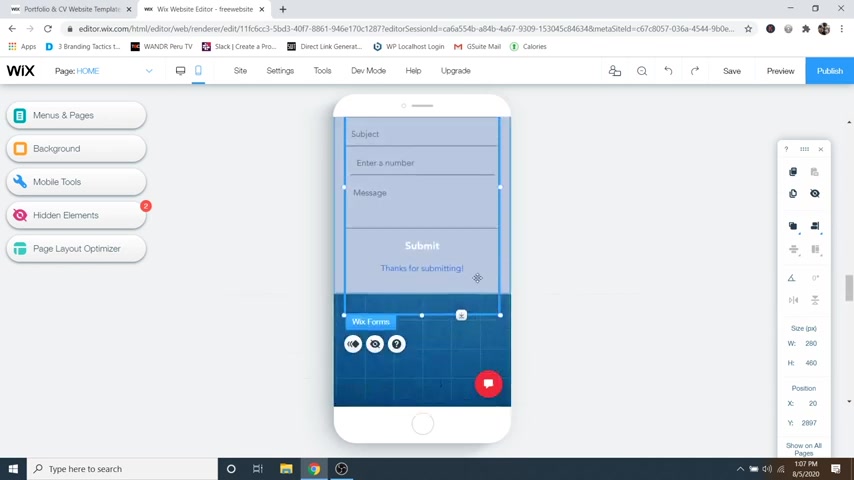
Well , to fix this , all you have to do is just grab this section and we're just gonna pull it way down to fit that contact form in .
And then I'm just gonna grab the contact form and just slide it up into that section just like that and we'll give it a little bit more room , maybe something like that , that looks pretty good .
And then to close off this whole blue section here , all we have to do is just click on this section and we're just going to slide it up with that little button right there and close that off .
Fix our anchor just looking pretty good .
So let's just check the rest of our website .
It's again a little bit more blue here .
Let's just drag this footer up just a bit .
Oops , gotta drag this section down , put this guy up in here and there we go .
Now it's gonna close that off .
Cool .
So now our website is looking great on mobile and on desktop .
So what I'm gonna do is just click on the save button and then just click done .
And now we can move on to step number six , which is to publish your website .
So this is very easy to do .
I'll show you right now .
So all you gotta do is just go up to the publish button right here and click on that .
And then it's gonna give you your URL right here .
And the reason this URL has the name and a few numbers and then it says dot Wix site dot com is because you don't technically own this domain .
Wix is actually hosting this website for you and the domain .
So it's going to give you a little bit longer domain .
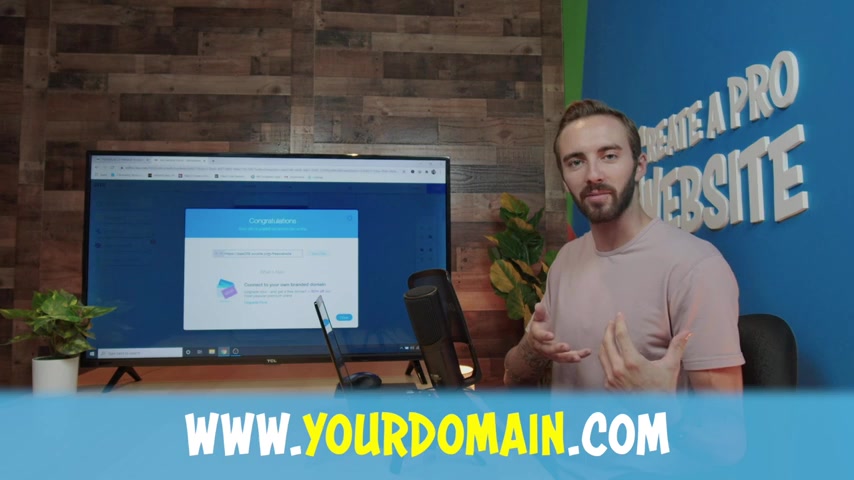
And this is why I recommend buying a domain and hosting because then you can put in your own professional domain like your domain dot com and there's a lot of limitations to free websites as well .
The first one being that you do not own your own domain name , which is why it looks something like this .
Secondly , with a free website with Wix , you're gonna have Wix ads appearing on every page and even in your facon , which is the site icon in the browser tab .
And you also can't monetize your website by putting Google ads on it .
So you can't make money with this website .
You also only have 500 megabytes of storage which will fill up relatively quick and you also can't put Google analytics on your website to see how it's performing in Google searches .
So this is why I highly recommend paying for hosting and a domain name and it's very cheap .
So if you want to do it , let me show you just go ahead and click on done and then we're just gonna go up to the upgrade button and then just click on compare plans .
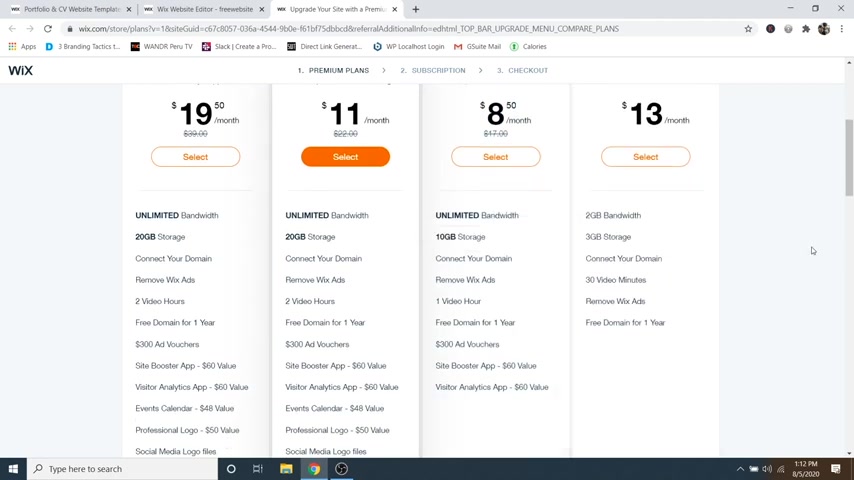
And here you can see we've got a few different options .
Now , the best option , which is obviously the cheapest is the unlimited option for entrepreneurs and freelancers .
This is gonna give you unlimited bandwidth , 10 gigabytes of storage .
You can connect your own domain name .
And if you sign up for one year , you get a free domain .
So I'm just gonna go ahead and click on select and then you can see here we've got our different plans .
So the longer that you commit to the cheaper it's going to be , it's only gonna be $6 a month and a yearly is 8 50 a month .
But let's just say that you just want to try this out .
You're not sure , then just go ahead and you can do the monthly plan and then just click on select .
But this is also not going to give you your free domain for one year that only comes with the yearly plans , but domains are relatively cheap .
They're usually anywhere from 15 to $20 .
So I'm gonna go ahead and click on select for the monthly plan and then here's where you just put in your card information .
And then it's gonna ask you to find the best domain name for your site .
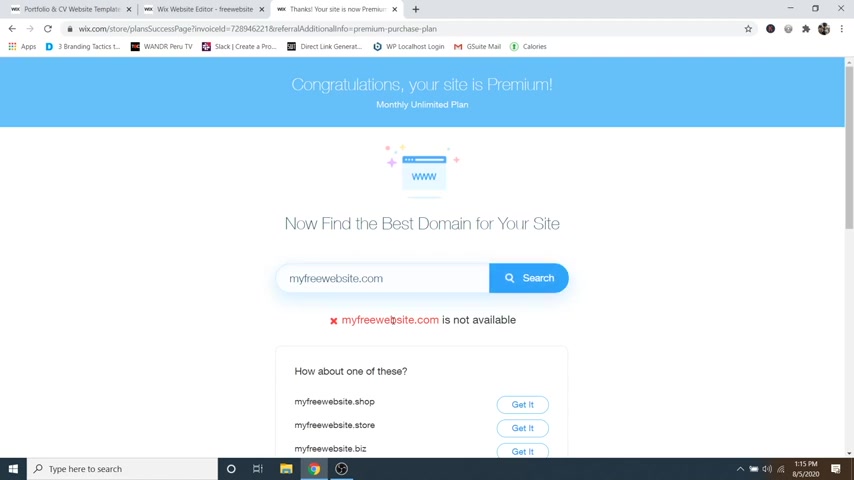
So now we can just type in whatever one that we wanted .
So I will do my free website dot com and then click on search and it's gonna say that this one is not available .
So I need to pick a new one .
So I'm just gonna type in , let's say my new free website and then click search .
Cool and then that one's available .
So let's just go ahead and get it .
And if you already have a domain name bought somewhere , you can just hit on this button right here to connect it .
But in this case , I'm going to get a new one .
So I'm just gonna click on get it and then it's gonna ask you how long you want to buy it for .
Let's just say you just want to try it out .
We'll just do one year , but obviously you save a little bit only about a dollar or so uh whenever you commit to two or three years , but I'm just gonna do the one and then click on continue and then it's got all of my same information again .
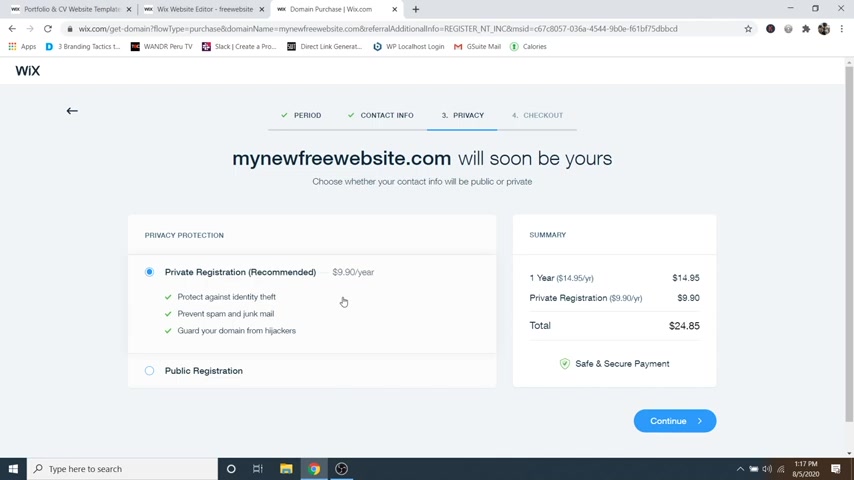
So I'm just gonna click on continue and then I highly highly recommend the private registration because if not , you might get called by people that want to , you know , design your website for you and optimize it and all this stuff .
They're gonna call you , email you .
It basically protects all of your information by having this on .
And I made the mistake of not doing this on my very first website .
And I really wish I had .
So go ahead and leave that checked and then click on continue and then we're just gonna go down and submit the purchase .
Cool .
So now it's gonna say thank you for your purchase .
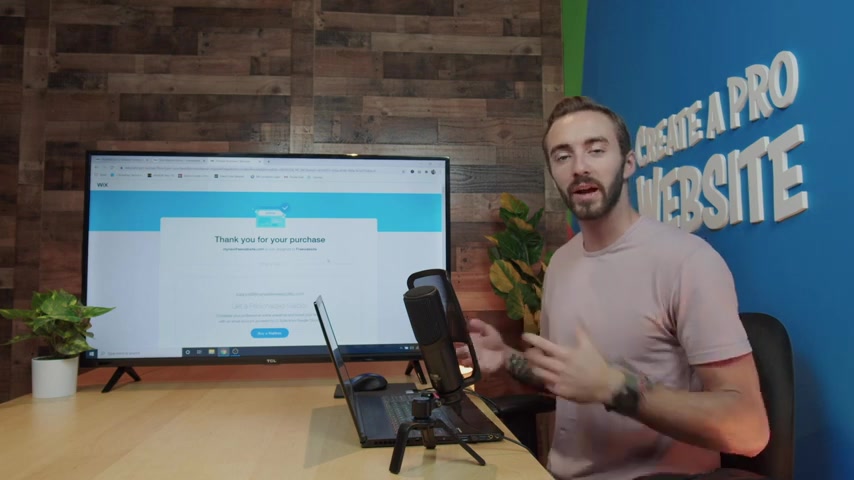
Your new domain name is now assigned to this website and this could take around 30 minutes to an hour for this website to propagate and propagation is basically just Wix is sending out your new domain name across the entire world to let every server in the world know that hey , this domain name now exists and it can be viewed and this process can take a little bit .
So just give it an hour .
So now I'm just going to scroll down and go to my domains right here and then from here , you can see that our site is live right over here and again , after about 30 minutes to an hour , we can go ahead and check on it .
So I'm just gonna open up a new browser type in my new free website dot com .
And here is our website which is all live and ready to go .
It's mobile friendly and looking good .
All right guys .
So that was how to create a free website with a free domain and free hosting as well as how to upgrade to a professional domain .
So if you like this video , please hit that like button and feel free to check out my channel .
I have lots of awesome website related tutorials for how to make professional websites from home as well as how to make money with websites and so on .
So please hit that subscribe button .
All right guys .
Thank you for watching and I will see you on the next video .
Are you looking for a way to reach a wider audience and get more views on your videos?
Our innovative video to text transcribing service can help you do just that.
We provide accurate transcriptions of your videos along with visual content that will help you attract new viewers and keep them engaged. Plus, our data analytics and ad campaign tools can help you monetize your content and maximize your revenue.
Let's partner up and take your video content to the next level!
Contact us today to learn more.