https://www.youtube.com/watch?v=bqlZoXrutYI
6 Simple Camera Hacks To Get You Off AUTO Mode Forever
Do you have a digital camera that's always on auto mode ?
If so , you're definitely not alone .
In fact , most amateur photographers don't know how to use their expensive cameras to their full potential .
And that's why they almost always take average photos that they don't really feel proud of , but it really doesn't have to be that way .
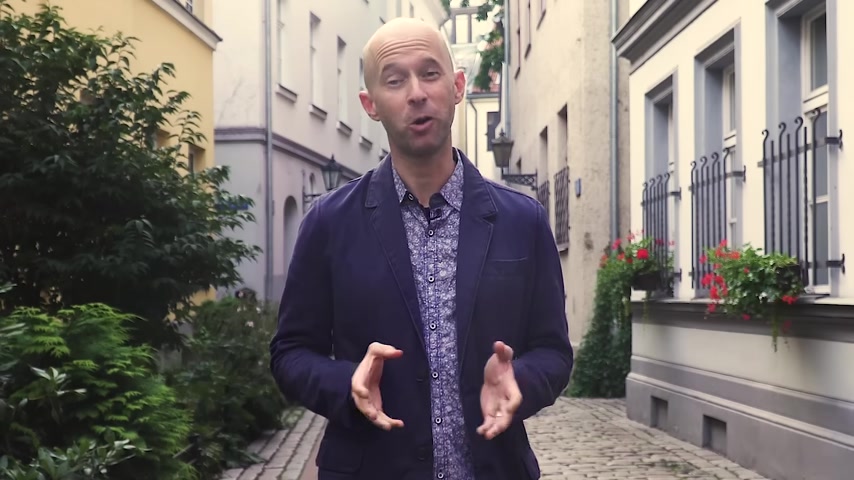
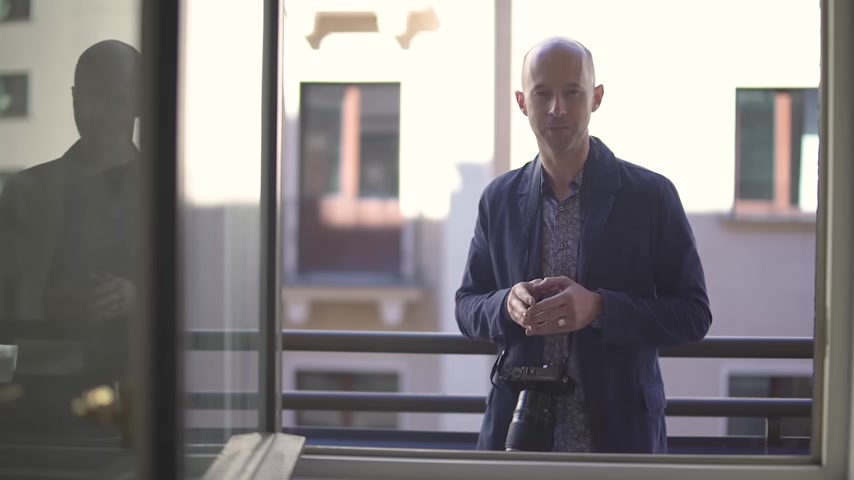
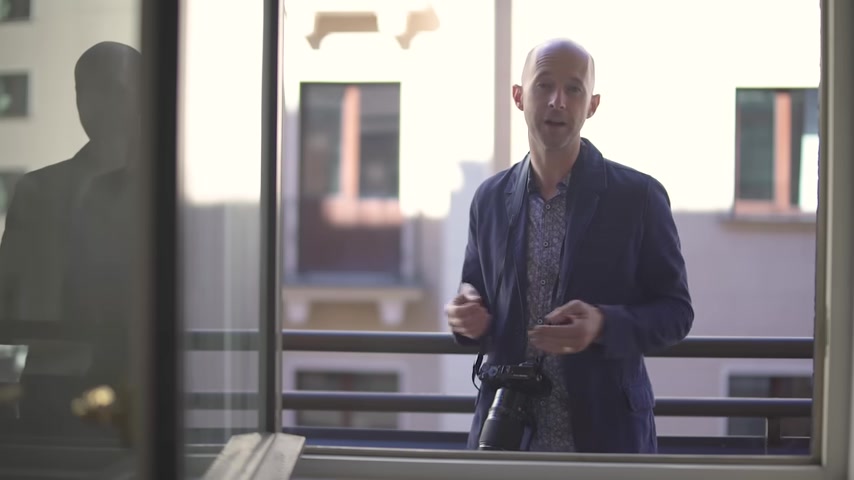
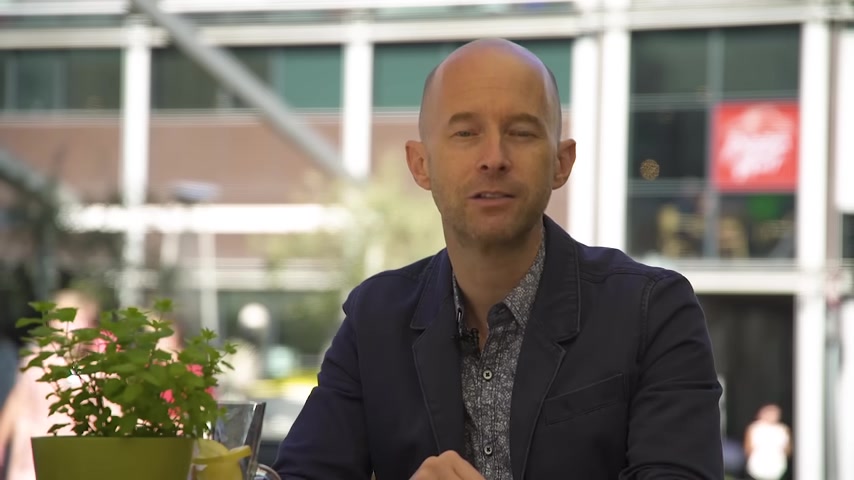
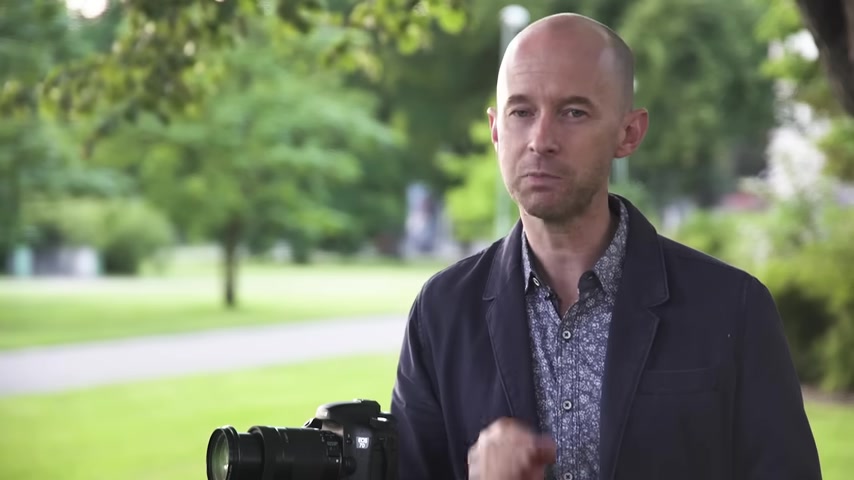
My name is Mark Hemings and I'm an internationally recognized photographer and photography instructor .
And in this short video , I'll share with you six simple photography hacks that will finally get you off of the auto mode and help you take photos that are so stunning .
Nobody will believe it was you who took them .
Now , I know it's a big promise .
And if you're struggling with the technical side of your camera , you're probably a bit skeptical .
And I totally understand that .
In fact , when I got started about 20 years ago , I was also struggling with camera settings .
So I know exactly how you feel .
And that's why I recorded this video revealing six simple camera hacks that pro photographers rely on to get high quality photos for their clients in any photographic situation .
So by the end of this video , you'll have the confidence to stop using the auto mode once and for all .
And you'll be able to quickly select the perfect camera settings for any photography scene .
Exposure compensation is an extremely useful camera feature that's going to let you control the brightness or darkness of your photos .
What this allows you to do is make your photos brighter than normal for a cheerful appearance or darker for a more moody atmospheric appearance .
And it's really simple to do .
It's as easy as pressing a plus button for the camera to increase brightness and a minus button to make your photo darker .
The first step is to find a scene that the camera thinks looks good , but you feel is either too bright or too dark .
Now take a look at this test shot .
OK ?
Go ahead .
OK .
I feel this photo is too dark for my artistic purposes .
So I'm going to adjust my brightness level using exposure compensation .
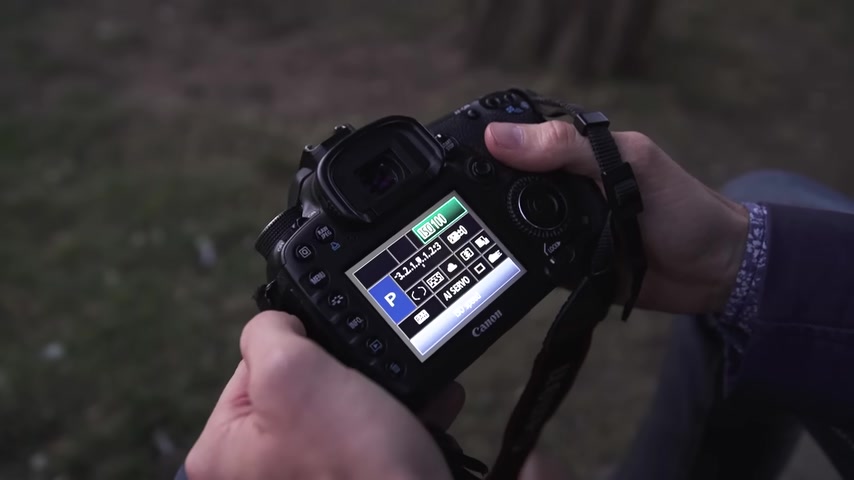
I'm going to go from auto mode to program mode represented by the letter P .
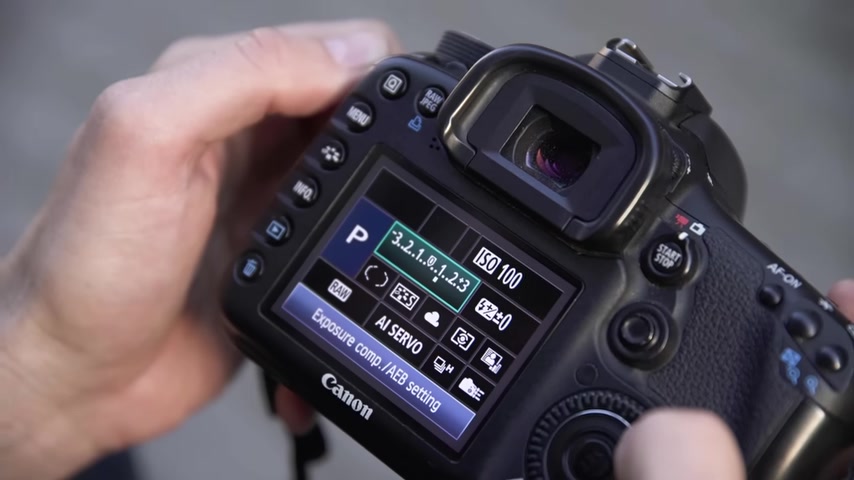
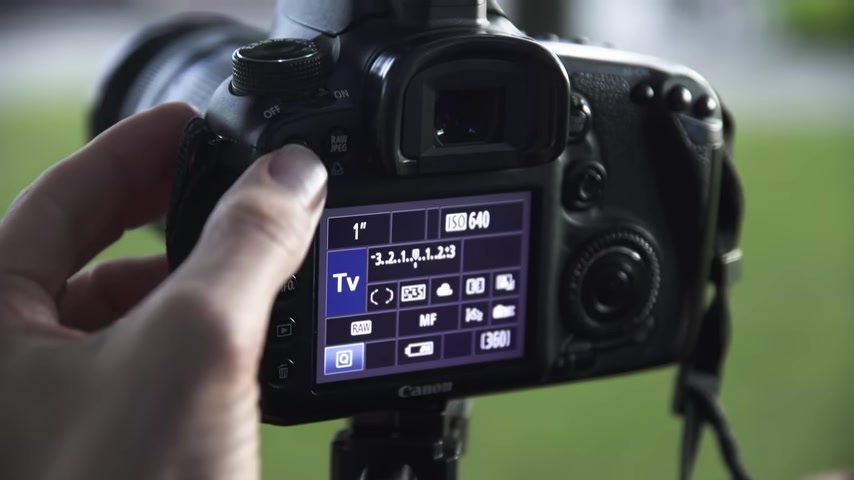
If you use a canon camera , most models require you to press the Q button on the back to access exposure compensation .
If you use an icon or any other camera maker model , you should see a little plus minus icon located on the top of the camera or on the back by pressing these buttons to access exposure compensation .
You can now adjust the plus and minus scale by using one of your finger dials or the rear scroll dial , depending on your camera model , you should be able to see a scale that has a 3210 plus one plus two plus three .
By default , your camera is probably set to zero .
Now , I'd like you to change from the default zero setting down to minus one and then take the same photo .
Ok .
Here we go .
Go ahead .
Ok .
As you can see the photo is darker than the original that I took .
Now I will get you to switch to the plus one setting and again , take the shot .
OK .
Go ahead .
OK .
And as expected , it's a brighter photo because I didn't like the way that the camera decided my exposure first when I review all three shots , I really like the brighter photo that was taken at plus one to sum up use exposure compensation when you either want a brighter or darker photo than what the camera thinks is best .
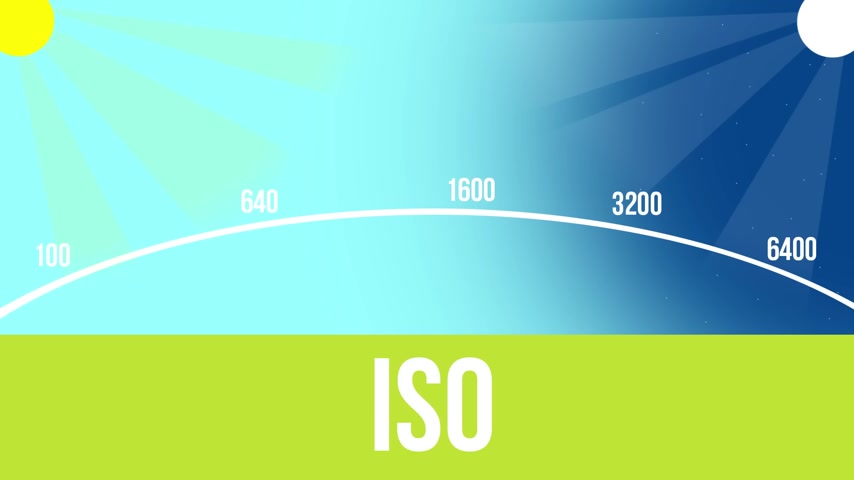
Next , you're going to discover what is o or also pronounced ISO is all about and how you can use it to freeze the action when photographing moving subjects iso is a scale that usually goes from 100 to 3200 or more .
And it represents the camera's ability to absorb light .
Your camera becomes more sensitive to light with the higher ISO number which allows you to photograph successfully , even when it gets dark outside , this will allow you to create stunning photos no matter what time of the day , I remember a crazy photography job where I was hired last minute by an international magazine to fly to Japan for a one day photo shoot .
My task was to capture Tokyo street scenes both in an artistic abstract way and also just normal shots of life in the big city because the sun was setting and my ISO was set really low at 100 .
I was able to get purposely blurry photos when I wanted to get normal sharp photos .
All I did was increase my Isso setting from 100 to 600 .
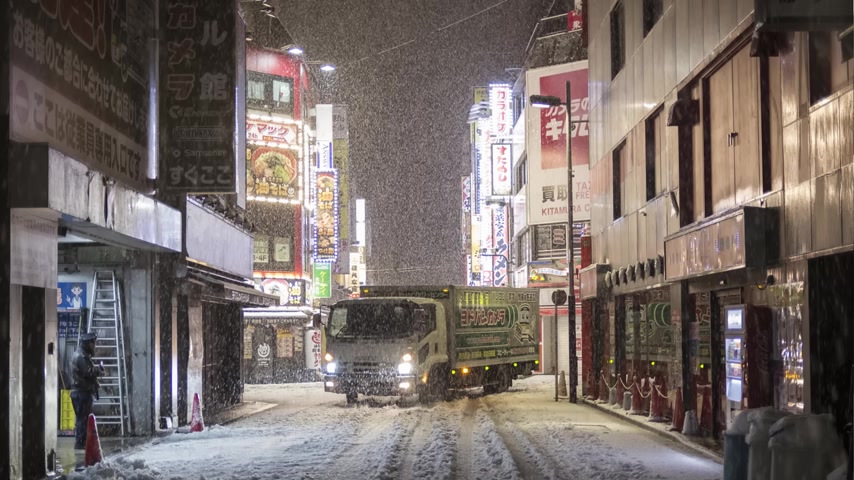
And this was the result , a good sharp image when the evening light is coming and the light is getting lower and lower by increasing your IO you can extend your shooting time even when it gets darker .
So by now you're probably wondering how to access is o on your camera while each camera model has different ways of changing Iso this Canon camera is a good example of how to alter is O on a standard DSLR .
If you're still in the program or P mode , you can stay there for now .
OK .
Now let's take a test shot .
It's now evening and the light is getting really low .
And I want to photograph these people walking past me and I want them to sharp my Isso is set to the default for this camera which is 100 your camera's default is is probably 100 or 200 .
OK .
Let's review .
As you can see my background is acceptably sharp but the people are blurry .
So to fix this , I'm going to switch my IO from 100 all the way up to 1600 which will give my camera the extra boost needed to create a sharp photograph .
OK .
Let's take a look at the result .
A good sharp photo of both the background and the people .
By now , you're probably asking yourself well , if a high iso is so great , why don't I just keep my iso high all the time ?
Well , the answer is that there's always a trade off to consider a higher iso creates a reduced quality to the photo .
So you really only want to increase is when it's necessary .
For example , you would increase your iso when you don't have a tripod and you want to photograph moving objects when the light is getting low or you're inside the building with lower light , check out the sample photo that shows the quality of a picture I just took by expanding the photo digitally .
You can see that the low is photo has better quality than the high iso photo .
So I have a quick cheat sheet for you when you're photographing in normal daylight , use 100 or 200 IO when photographing in mid morning or mid afternoon is 400 is a good option when photographing inside a building or sunset or sunrise is 800 or 1600 will help you get sharp photos .
Finally use the maximum is possible either before the sun rises or after the sun sets .
Next , I want to share with you my favorite camera mode , a mode that I use 90% of the time to get all of my best shots .
Aperture priority is a mode that allows you to choose how much background blur you want in your photos and the camera looks after pretty much everything else .
Think of it as a semi automatic mode that benefits you by giving your photos a rich wonderful background , softness .
Have you ever wanted to take portraits that have a soft background behind the person ?
But your photos never turned out like they do in the magazines .
Well , aperture priority is going to radically alter the way that you photograph people forever because it allows you to control how much beautiful soft blur is behind the person that you're photographing .
During one of my photography teaching workshops in Mexico .
My friend invited me to photograph an internationally known couple who were experts in tango dancing because I knew that they needed to be the center of attention in my photos .
I immediately blurred the background so that all of the visual attention went straight to them .
Aperture priority can help you take the same types of photos .
OK .
Let's get to your camera .
What I would like you to do is switch your top mode dial over to a V for Canon cameras or a for most other cameras .
If you have a retro style camera , it's easy .
Just place your shutter speed dial to a .
Now , what I would like you to do is find a friend to stand in for a test shot .
If you have a zoom lens , make sure you zoom it in .
For example , you don't want a wide angle lens view .
You want a zoomed in view , which looks better for portraits .
The next step is to alter your aperture .
An aperture is a small adjustable circular opening inside your lens that opens and closes based on your desire for a lot of background blur or no background blur .
A large aperture opening gives you a lot of background blur and a small or narrow aperture opening gives you a very little or no background blur apertures are measured in something called F stops and to get background blur behind the person you're photographing , you should choose your lenses lowest F stop number on my lens .
The lowest F stop number is F 2.8 but your lens is F stop number may be as low as F 4.5 or 5.6 regardless whatever the lowest F stop number is on your lens .
I'll get you to change to it right now .
OK .
My friend is all ready for a test shot .
I'm an aperture priority and the lens's aperture F stop is low at 2.8 .
OK .
Let's take the photo .
OK , let's review .
Do you see how nice and soft the blur looks behind the person ?
This is a result of using aperture priority and using the lowest F stop number possible .
I'm sure that you will be able to create the same types of photos .
Now that you have a new tool in your photographic toolbox .
Next , you're going to discover why F eight aperture has been a favorite F stop .
Number of many photographers throughout the history of photography is when the opening of your camera lenses aperture , it is neither very large , nor very small , sort of in between halfway open , halfway closed .
But how does that benefit you ?
F eight is an incredibly effective aperture to work with as it will give your photos a lot of focus sharpness which works perfectly well for photographing groups of people who are at different distances from your camera is considered to be the lens's sweet spot .
A sort of universal aperture number that works for so many different photographic scenes and subject matter .
In the previous tip , I showed you how to photograph a person with a blurry background .
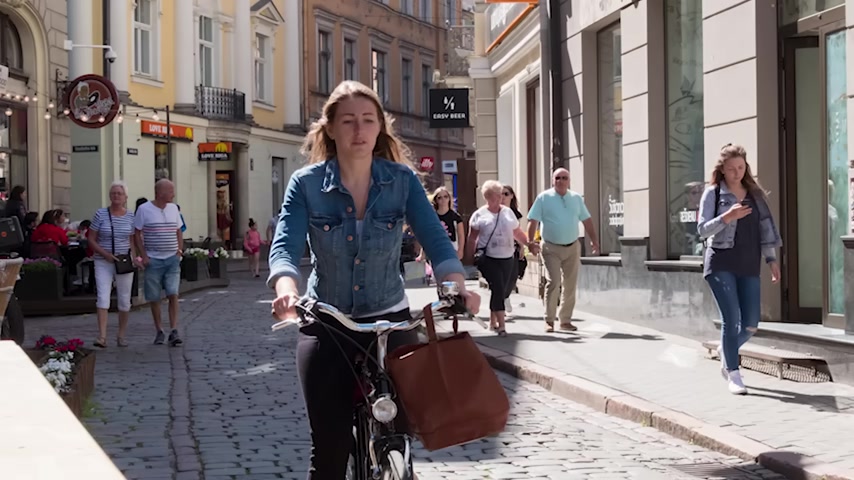
But when you want to photograph a group of people within any type of situation or scene or location , that's the time when you don't want much of a blurry background because some of the people who are not as close to the camera might end up being out of focus and a bit blurry when you have more than one person in a photo and you want everyone in the shot to be focused sharply fa can help make sure that all of the faces have perfect focus .
OK ?
I'm at an outdoor cafe now .
I'm ready to take a shot of people moving through this lovely street .
Don't forget to be in aperture priority mode and change your aperture to an F stop number of FA S .
OK .
I'm going to take my picture and it may take a little while to get the right shot , but I'm sure I'll get it .
OK .
Let's review the photo .
As you can see everyone is sharp and the background is sharp enough to see a lot of details just the way I wanted it F eight is a wonderful F stop number to keep everybody sharply focused .
Have you ever photographed a beautiful landscape scene ?
But when you reviewed the photo later on , you realized that a lot of the picture just didn't have enough sharp focus .
Well , the solution is to use a high F stop number which will ensure that both the foreground and the background of your landscape photo is nice and sharp .
OK .
Let's give this a try .
I'm on a lovely river side right now and I want to practice capturing as much of the scene with sharp focus as possible , both the green grass in front of the camera and the land on the other side of the river .
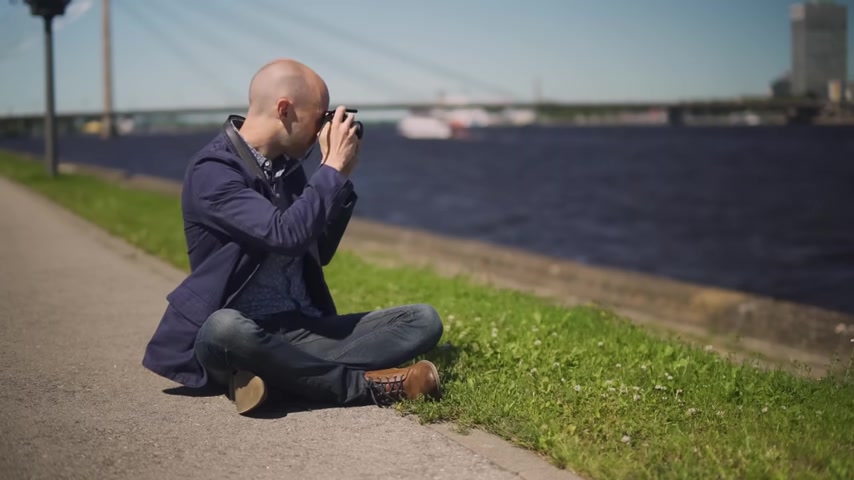
So with my camera still on aperture priority , I'm setting my F stop number to F-16 now because it's day time and it's very sunny .
I don't need a tripod .
But before and after midday , you may need to use a tripod to avoid blurry photos .
OK ?
I'm gonna take the picture .
OK .
As you can see the grass immediately in front of the camera and the distant land are all sharply in focus .
This is a great success .
Now , just to show you what happens when you photograph the scene with a low F stop number such as F two .
Now , as you can see , the photo doesn't look as good because landscape shots really require sharpness both in front of the lens all the way to the distant horizon .
That's what happens when you shoot with a low F number in a landscape setting .
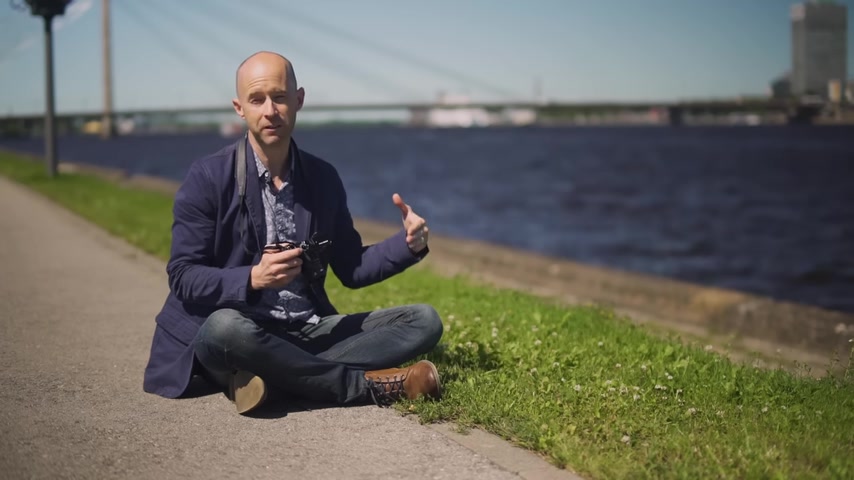
So to sum up when you're photographing landscapes , try a higher F stop number like maybe F 11 F-16 F-22 , which will allow you to get sharpness both in front of the camera , the foreground and all the way to the distant horizon .
Have you ever seen magazine photos of waterfalls where the water is wonderfully smooth or the opposite where you can see every single water droplet shutter priority mode gives you the creative freedom to manipulate the capture of water , smooth and silky or clearly defined a shutter speed is simply the amount of time it takes for a shutter to first open and then close .
A fashion speed , freezes fast moving objects and a slow shutter makes fast moving objects , blurry shutter .
Priority is a camera mode where you choose the shutter speed on a standard DSLR like this Canon .
Set your upper mode dial to TV .
If you're an icon user or have a camera from a different manufacturer , set your dial to S mode for the photos that I'm going to take of this fountain .
I am first going to use a one second exposure to show you how you can make water appear beautifully blurred .
Don't forget that you'll need a tripod for this type of photo or at least a stable platform like a chair , a rock , a garbage can or anything that you can find to keep your camera still .
This type of photography works best either early morning or late evening .
It's almost impossible to get this type of photography in the daytime unless you purchase special lens filters .
Also in tip number two , I showed you how to adjust your is make sure that your iso number is the possible , which for most cameras is , is 100 or is 200 .
OK .
With your shutter speed set at one second and your camera is in shutter priority mode , you're ready to take the photo as soon as you gently click the shutter button , let go of the camera .
So you don't shake it .
Just let the camera record for the full one second and then review .
So what do you think ?
Did it work ?
The environment surrounding the fountain is good and sharp and the water is silky smooth .
Now , that's the way to shoot in shutter priority mode , but that's not all .
Let me now show you how to freeze the water by choosing a faster shutter speed instead of one second .
I would like you to now change your shutter speed all the way to 12 50 th of a second , also called 1/250 .
This is a fast shutter speed and it will help you freeze the water in place because it's getting dark outside .
Now , I need to increase my iso to the highest amount possible for your camera that might be is 1,603,200 or maybe even higher .
Ready to take the same picture this time with a fast shutter speed to freeze the water .
OK .
Let's compare the two photos , one at a slow shutter speed of one second , which has a nice soft blur and the other at 12 50 th of a second , which is a fraction of a second and this one has the streams of water nice and sharp .
OK ?
I hope you enjoyed these six photography hacks and I promise you that once you start using them , you will never have to rely on the auto mode again .
With that said there's only so much I could share in a short video like this .

And while I didn't hold anything back , there are so many other photography tricks and techniques that would really make a difference to your photos .
And while the technical side of your camera is really important , it's just one aspect of becoming a great photographer .
You see , when I finally mastered the technicalities of my camera , it took me another 10 years to get my photography to a level where I was really pleased with it .
And that's because the creative side of photography is even more important than the technical side .
Now , if you're stubborn , like I was , you'll try to figure it out all by yourself .
That's what I did .
And after 10 years of being a full time photographer , I finally felt confident about my photos , but it took me so long and it was so difficult that I wanted to create an easier option for people like you who want to take stunning photos without wasting 10 years of your life to get there .
And that's exactly why I created digital camera mastery , which is an online course that reveals everything I've discovered during my 20 year career as a professional photographer .
This course will help you take stunning high quality photos in just a few short days from now .
Now under this video , you'll find information about my digital camera mastery course .
So if you'd like to take stunning high quality photos that leave your friends and family speechless .
And if you don't want to waste 10 years of your life trying to figure it all out by yourself , then take a look at my full course right under this video .
Thanks and I hope to see you there .
Are you looking for a way to reach a wider audience and get more views on your videos?
Our innovative video to text transcribing service can help you do just that.
We provide accurate transcriptions of your videos along with visual content that will help you attract new viewers and keep them engaged. Plus, our data analytics and ad campaign tools can help you monetize your content and maximize your revenue.
Let's partner up and take your video content to the next level!
Contact us today to learn more.