https://www.youtube.com/watch?v=zn1geTG3YrQ
HOW TO MAKE AN ONLINE SHOP + WEBSITE (for artists) 🛍 Beginner’s Tutorial
A big thank you to Squarespace for sponsoring this video .
Hi , everyone .
Today , I'm going to show you how to create an online shop and website specifically for artists .
I'll keep this intro short .
This tutorial is to help any artists out there who want to make a website to showcase and sell their art .
I think it's important for artists to not just have a social media presence and online shop , but also a professional website to showcase their best work to galleries clients and connect with customers .
I've been using Squarespace for the last six years even before I started my youtube channel and it's my favorite e-commerce and website building platform because it allows me to unify my shop and portfolio into one elegant website and it's super easy to use even for beginners .
So let's get started .
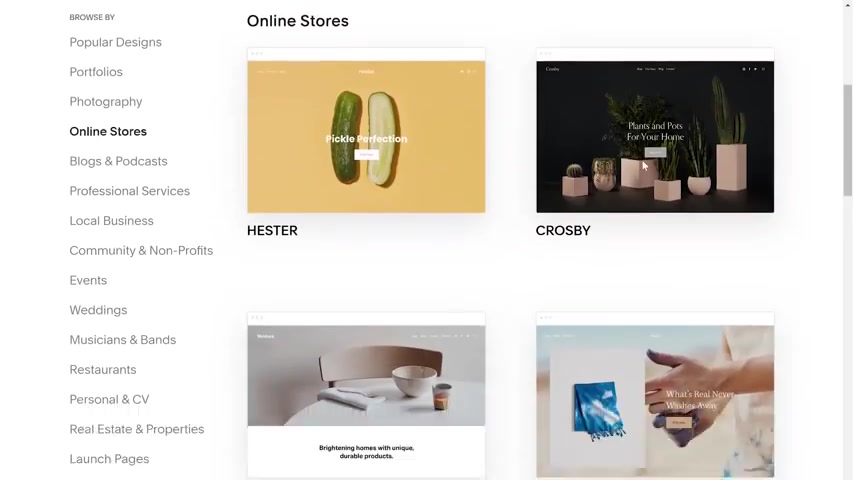
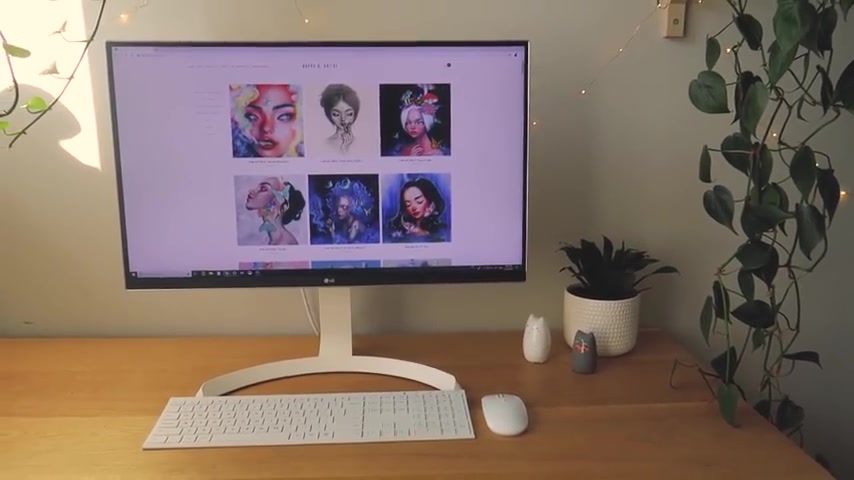
The first step is picking a template from Squarespace extensive template gallery that features modern and elegant designs categorized by website type .
Since I plan on using my site to sell my art , I'll be starting from the online store category .
You can demo each template to help test out which one is the best for you .
Previews are available in desktop and mobile formats .
So you can see how it looks on your phone .
After poking around a bit in the template gallery , I think I found one .
I like .
It's a clean and minimal design called Hester .
So I think I'm going to go with it .
After picking the template , we can finally start building our site for now .
I'll name my website Happy D artist website plus shop creative .
I know before moving on to the next step , I'm just going to quickly change the font because I'm not a super big fan of the default template font .
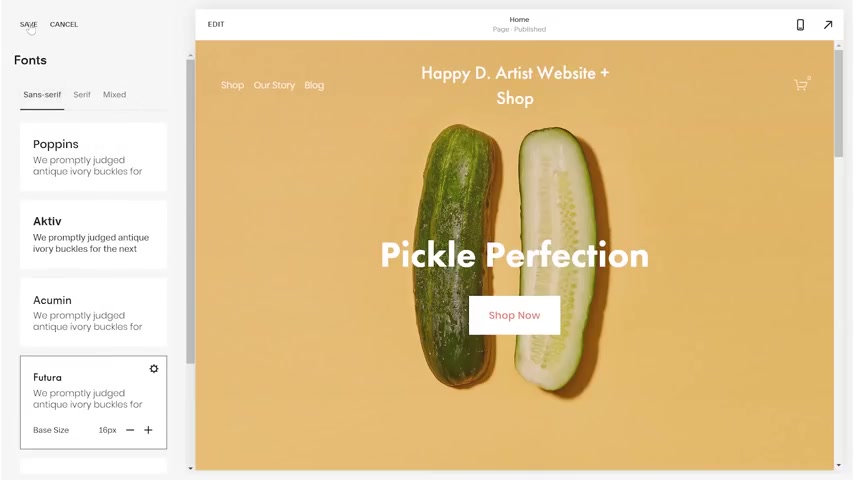
I'll be coming back to this style editor later to customize the design of our template .
So I won't be spending too much time here for now .
Let's move on to the next step , which is creating pages .
The template already includes some default pages which I will be ignoring for now because I want to try creating one from scratch to add a page .
I click on the plus sign in the left navigation menu and select page layouts which allows me to choose from a gallery of page templates for my first page .
I'm going to start with the about category because I want to create a simple about me section .
Once I select a page layout , squarespace automatically creates a sample page prefilled with text and images .
All I have to do is replace them with my own since I don't have to waste time finessing the design .
I can focus more on the content of my website in the about me section .
I usually like to include a short introduction , brief highlights from my resume , including major gallery shows , clients , et cetera or if you're just getting started , you can write an artist statement , explaining the themes and style of your work .
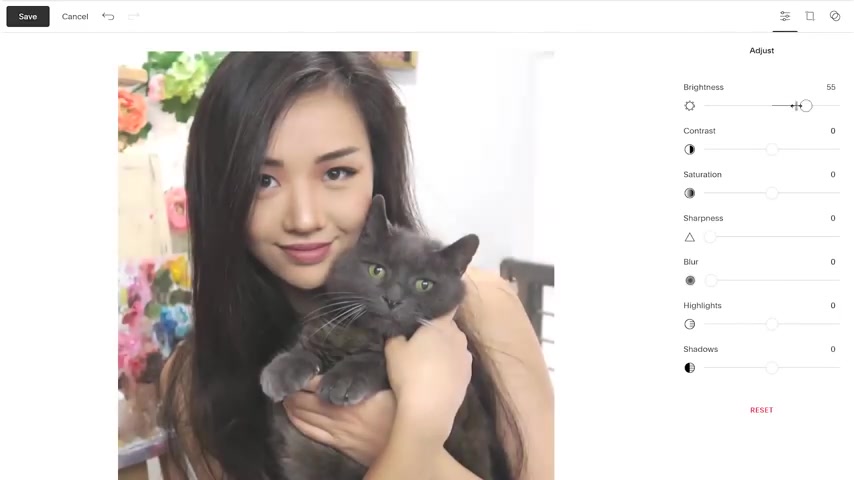
I'm also going to add a photo of me and my adorable studio assistant .
I'll be using this nifty built in image editor to polish up and brighten my photo .
OK .
Now that I'm done with the About Me page , it's time to move on to the next page which is my portfolio .
Once again , I click the plus sign to add a page .
But this time , I think I want to start with a blank page instead of the layout gallery .
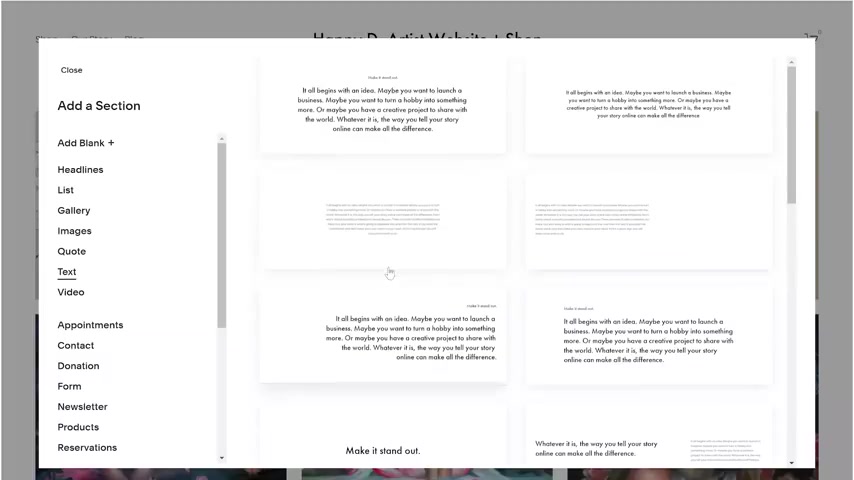
Once the empty page is created , I can click on the blue plus sign to add some content blocks .
This evokes another template gallery of sorts where I can choose from many different content types .
I'm selecting the gallery section to see all the different ways to showcase my portfolio .
After choosing a style , I'm able to start off with a prefilled gallery template .
I can remove the sample images and import some of my own art .
I also want to add a title to the page .
So I'm going to hover above the gallery block until I see the blue plus sign again .
After I click on that , I can select the text content block and choose a simple header , text to start off with .
And like I've done many times before , all I have to do is replace the sample text with my own .
I'm not quite ready to call this page done yet .
So I'm going to click on the edit icon on the top right corner of my gallery block .
This allows me to change or tweak the gallery until the design is to my liking .
The beauty of squarespace is you can customize as meticulously as you want or you can choose to just follow the preset templates for a more streamlined process .
Either way the tools allow you the flexibility to do both .
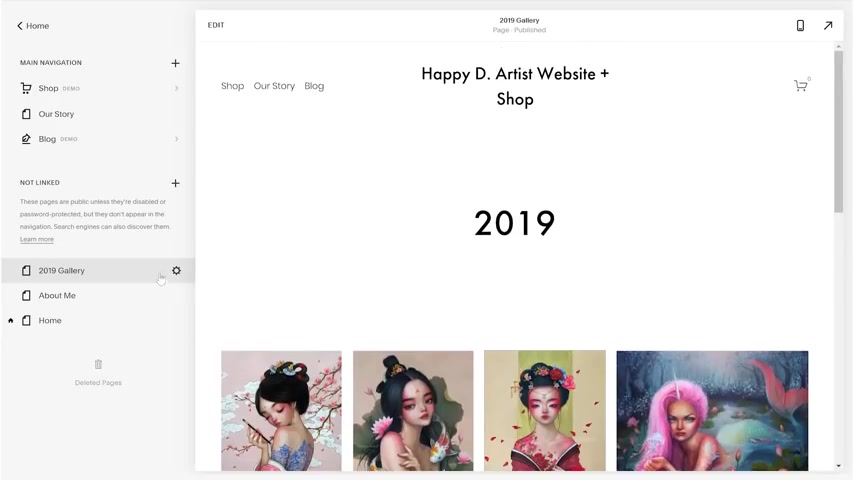
Now , I'm going to make a copy of my 2019 gallery by clicking on its settings icon in the navigation menu and selecting duplicate page from the pop up window .
This creates an exact replica of my 2019 gallery that I can simply rename to 2018 and replace the images to host my 2018 portfolio .
And I'm just going to repeat the same process for my 2017 portfolio as well to organize the three gallery pages .
I'm going to add a folder from the navigation menu , name it portfolio and simply drag and drop the gallery pages into the folder .
This will create a sexy dropdown menu which I will show you later .
I'm going to add one final page before I start working on the shop .
So from the page layouts gallery , I'll be selecting the contact section which will help me create a simple but useful contact form .
A contact form on your website is a much better method of communication than Instagram D MS or your personal email where business related messages often get buried with all sorts of personal messages with a contact form .
You can specify an email address for the messages to be sent to or customize a unique message title so that you can easily search and organize the customer service email in your inbox .
And overall , it's always more professional when you start doing art as a business to offer a reliable and straightforward way for your customers to reach you .
Ok ?
And with that , we're done with all of the initial simple pages and we can move on to creating the online shop .
This website template already came with a sample store , but I'm going to delete it because their products are quite different from mine .
Starting an online store can seem intimidating , but it's just like creating any other page .
You click on the plus sign in the navigation to add a new page and simply select store from the menu .
This will lead you to a layout gallery similar to the previous ones we've seen where I can then pick the shop design .
I like the most .
Next .
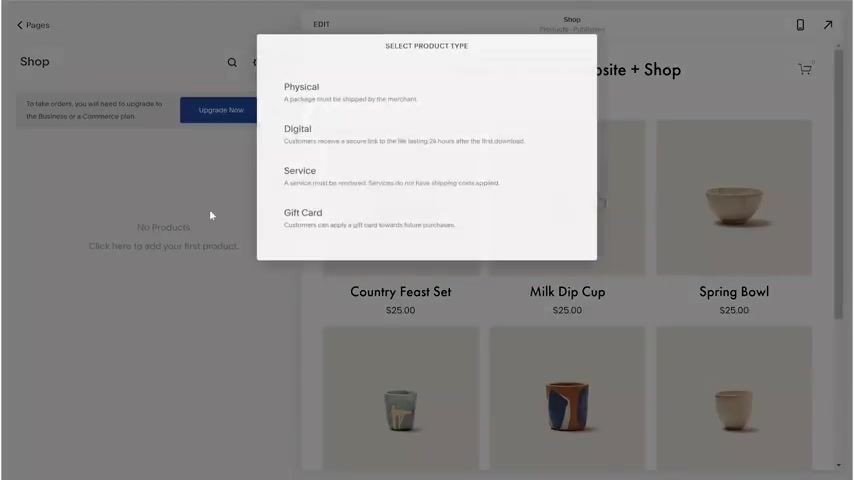
As usual , we get a page that is preloaded with sample products which I will delete .
So that I can create my own product listings from scratch to add a new product or to add anything in squarespace .
I click the plus sign .
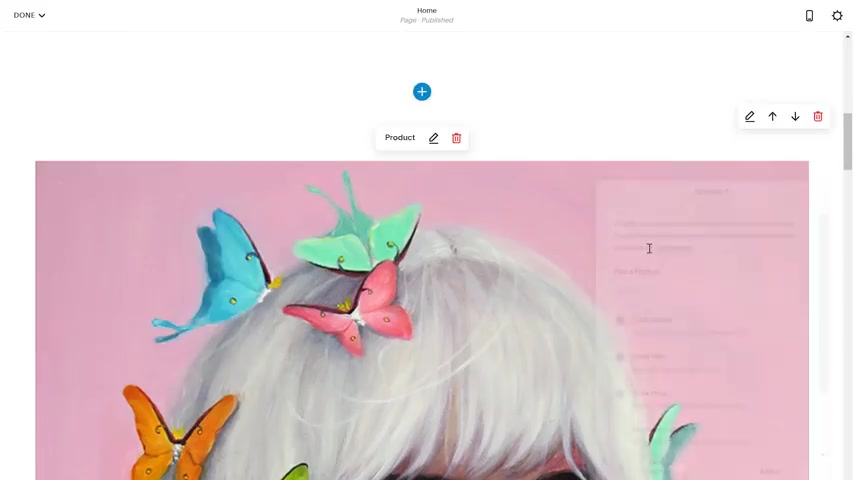
And from there , I want to select the physical product type since I'll be shipping physical prints in the mail .
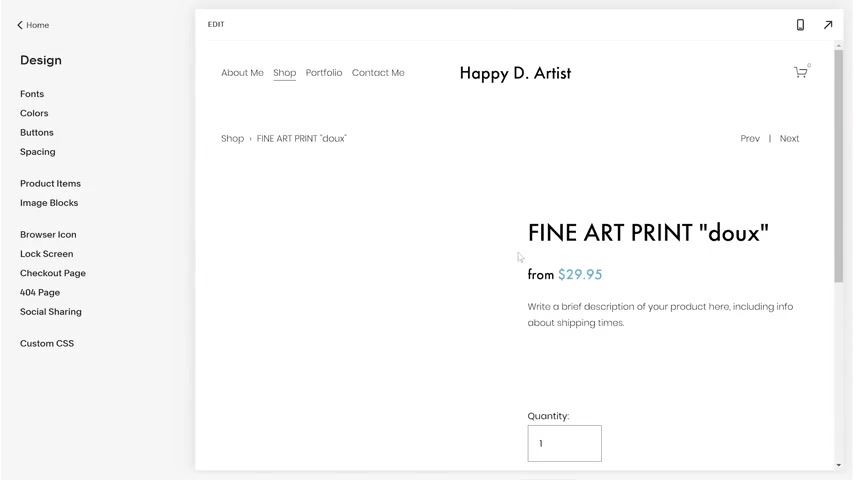
This product listing will be for a fine art print .
So I'll first upload an image of the artwork , add a title and brief description .
And I can also specify different size options as well as weights for each of the sizes .
This will come in handy for calculating shipping later .
And once again , I'll be using the super convenient duplicating function to duplicate this product to create a few other fine art print listings that are pretty much identical to this one other than the name and artwork image .
Now that we're done with creating our store page and products , we can begin flushing out the important behind the scenes components of an online store , starting with payment methods .
Squarespace accepts pretty much every payment method under the sun , including all major credit cards , debit cards , paypal apple pay , and more international orders from all currencies and all countries are supported as well .
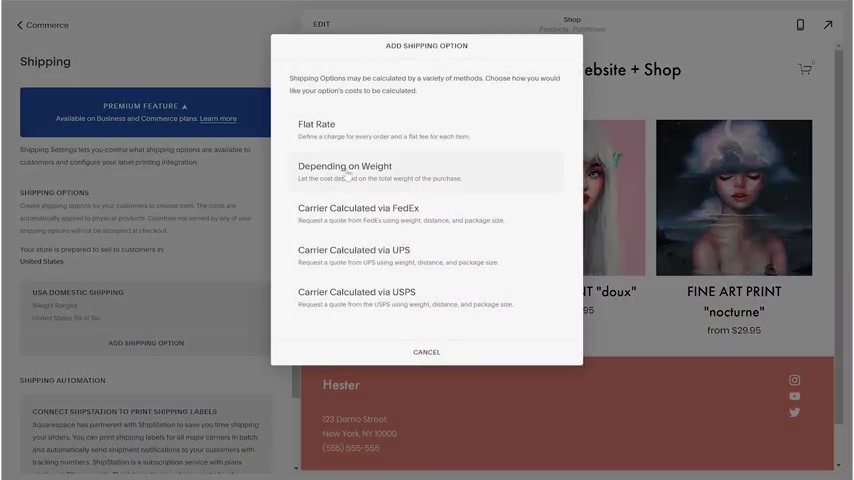
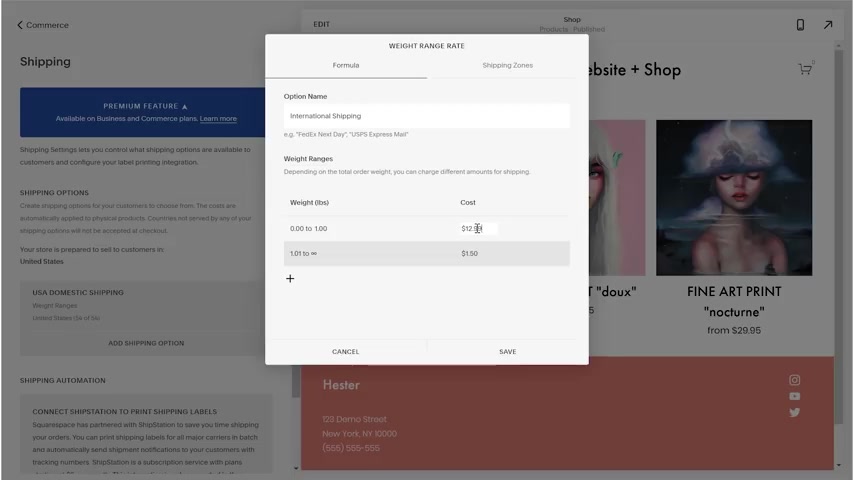
Next up is shipping , there are many ways for you to calculate and price your shipping costs .
And it's important to research the best method for you because postage can get quite pricey , especially for international orders .
Since I operate from the United States , I found that the best method for me is to delegate costs based on the weight and size of each product and have a whole separate profile for international orders .
Since the postage costs are so different from domestic orders .
This part of the process can require some time and research , but it's a necessary part of doing business online .
Luckily , Squarespace provides the most helpful tools to make this experience a lot easier and more intuitive .
OK .
Now that we're done creating all the pages , it's time to organize everything together .
The first thing you'll notice is that our pages don't show up on the website navigation yet .
And that is because they are currently in the not linked section .
This is a good place to create and test out new pages without having to publish them publicly .
So once the pages are ready , I can just drag them from the not linked section to the main navigation section right above and voila here they are in the official website preview and the main navigation bar up on top .
I'm also going to delete the sample blog page because I won't be using it .
But I'll keep the sample home page as a starting point for my own home page .
A home page is basically the central hub that loads when someone visits your website for the first time .
It usually includes a quick preview of all the different sections in your website with eye catching visuals and easy to use navigation buttons to guide the viewer into the different pages .
I like to think of it as a visual table of contents in the first section of the home page .
I usually like to promote my store because that's the main reason people visit my website .
I always like to keep the background banner image updated as I create new pieces and I always make sure that it's fresh and reflecting of my most current work .
Next is a little preview of the About Me page , but honestly feel free to organize your homepage .
However you want , even for me , it takes a lot of experimentation and trial and error to land on a website layout that works .
And even then my site is a constant work in progress because I'm always tweaking or editing little things here and there .
In this next section .
I want to delete their three sample images and add a preview of my three most recent products .
I love this search functionality which is particularly useful when you have to search through a large inventory of products .
And it makes previewing your latest listing so much easier .
You can easily format the amount of columns and rows in your display by dragging and dropping the elements , squarespace will automatically reposition and resize things in the most elegant way possible .
OK .
Next up , it seems like the sample layout has an arbitrary image here .
So I'm just going to go with it and replace their sample image with one of my own artworks .
Hopefully , this looks good .
But if not , I can always tweak this in the future .
At the very last section I want to replace what they have with a recent preview of my Instagram feed .
I can do so by tapping on the blue plus sign as always and then selecting social as my content type .
Then all you have to do is link your Instagram account with your squarespace and this section will always show your latest Instagram feed .
The sample footer of the website shows some contact information including a physical address .
But since I run my business purely online , I'm just going to erase that section and use the footer to display my different social media links .
That way it looks clean and concise .
I just love how squarespace automatically generates these perfect little icons for the different social media profiles .
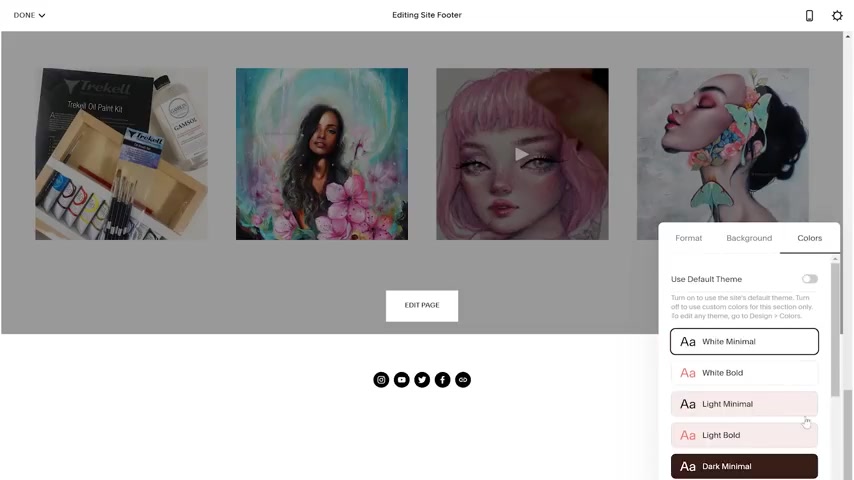
And now last but not least we're at my favorite part of the website design process and that is the final touches .
This is the step where I polish up the visuals of my site and make sure everything looks good together .
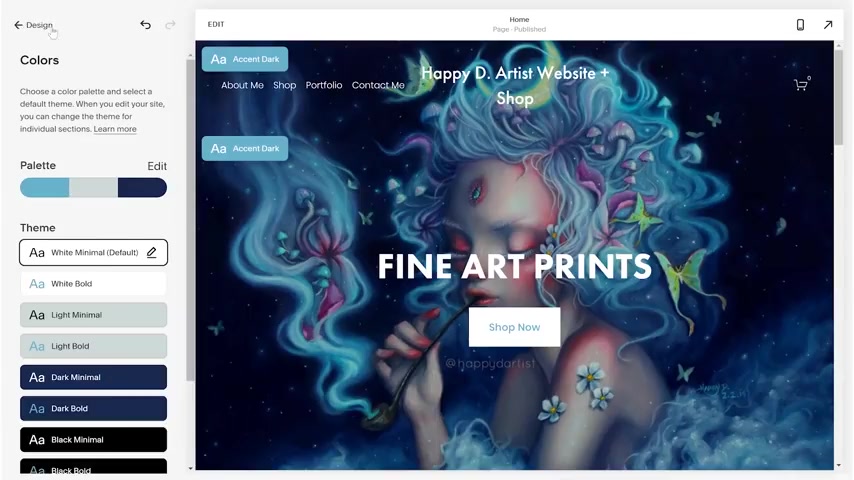
I always have a blast using Squarespace design editor because they're always coming up with new exciting features like this color scheme picker which automatically generates a color scheme from my website based on the main home page banner image like Magic .
I honestly wish Adobe Photoshop was this easy to use Squarespace tools help anyone even people with no design background like me create a website that looks professionally made and well designed .
I also decided to change my website title to Just Happy D Artist because I feel like my original title was too big and cluttered up the main navigation bar and I'm just going to do one final inspection , clicking through every page , making sure that everything looks the way I intended to both on desktop and on mobile .
I love that .
Squarespace automatically reformats your website to be compatible with mobile devices .
So you don't have to worry about that .
It's a huge burden off my back .
I particularly love how effortlessly my online shop is integrated with the rest of my website and how everything fits together nicely under one roof .
And after inspecting every page in both desktop and mobile , I think it all looks pretty good .
I am ready to call this website done .
I wanted to conclude this tutorial with some final thoughts starting with the different pricing plans after the two week free trial that you can use to create and design your site .
It's important to select a pricing plan that best fits your needs .
When I first started out , I used the simplest business plan and as I started to list more products and make more sales , I eventually upgraded to the advanced commerce plan where I can better understand and utilize the more advanced e-commerce features to help streamline my sales and product pipeline and also to grow my business as a whole .
But no matter what plan you choose , every squarespace website comes with a free domain name and access to their amazing customer service and help desk .
There's 24 7 email support that always responds within a day , a live chat and a super active community forum .
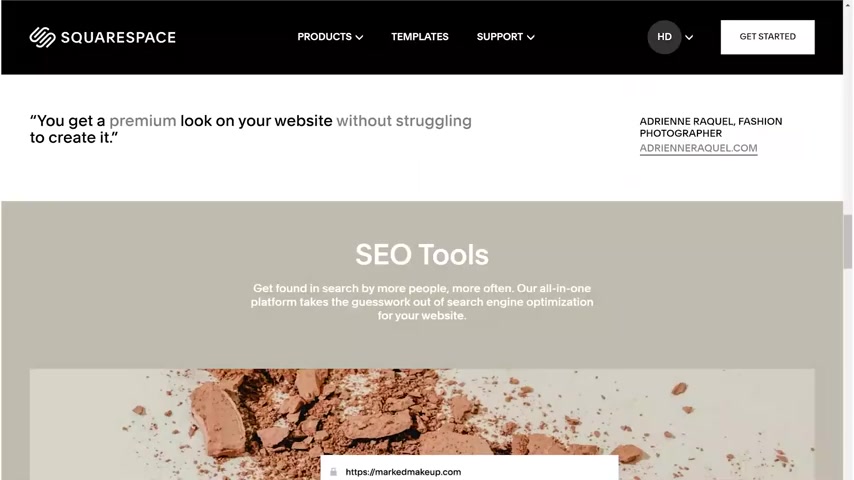
Also , there are so many other exciting features that I just didn't have time to show in today's short demo , such as SEO tools , analytics , integrated apps and even mobile editing so that you can manage your website on your phone .
Out of all the platforms , I've tried Squarespace has been the most intuitive and easy to use while still retaining the most capable e-commerce functionalities .
All without requiring any coding experience .
Squarespace has been crucial in my personal art journey helping me evolve my hobby into a full time career .
So what are you waiting for ?
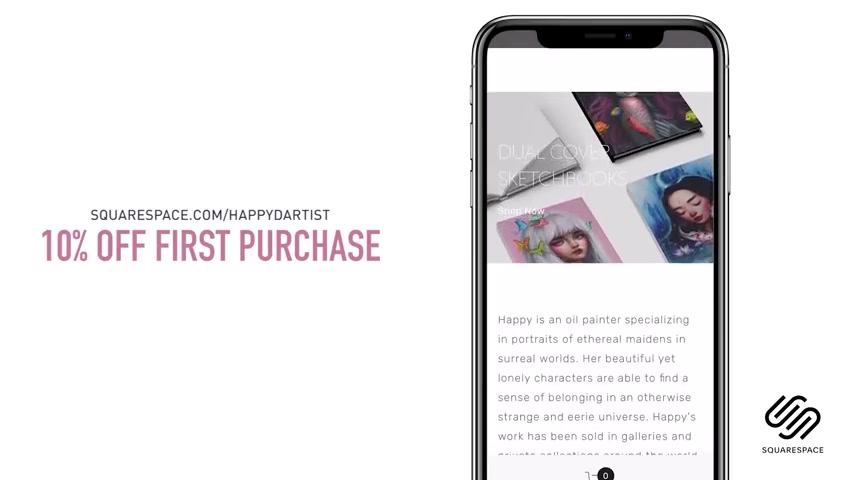
Try Squarespace today and elevate your artist game , get 10% off your first purchase at squarespace dot com slash happy D artist .
And if you're interested in learning more about how to paint and draw , I have lots of art educational content on my Patreon page , including exclusive video tutorials , step by step , photo tutorials , live streams , podcasts and surprise art gift boxes , all available at patreon dot com slash happy D artist .
I'd love to have you join my Patreon family .
Also , if you want to check out more artworks , works in progress and just random daily artist adventures feel free to check out my Instagram and you can follow me at the handle at Happy D artist .
Are you looking for a way to reach a wider audience and get more views on your videos?
Our innovative video to text transcribing service can help you do just that.
We provide accurate transcriptions of your videos along with visual content that will help you attract new viewers and keep them engaged. Plus, our data analytics and ad campaign tools can help you monetize your content and maximize your revenue.
Let's partner up and take your video content to the next level!
Contact us today to learn more.